Painting a Dresser
As an Amazon Associate and member of other affiliate programs, I earn from qualifying purchases.
Welcome to Week 7 of The One Room Challenge. If you are just joining me for this Fall Edition of the ORC, I am refreshing my master bedroom. Here are the previous weeks’ posts:
WEEK 1 WEEK 2 WEEK 3 WEEK 4 WEEK 5 WEEK 6
Completed Projects
Walls and woodwork are painted. I can’t believe the change. The light fresh color really brightens and makes the room seem much larger.
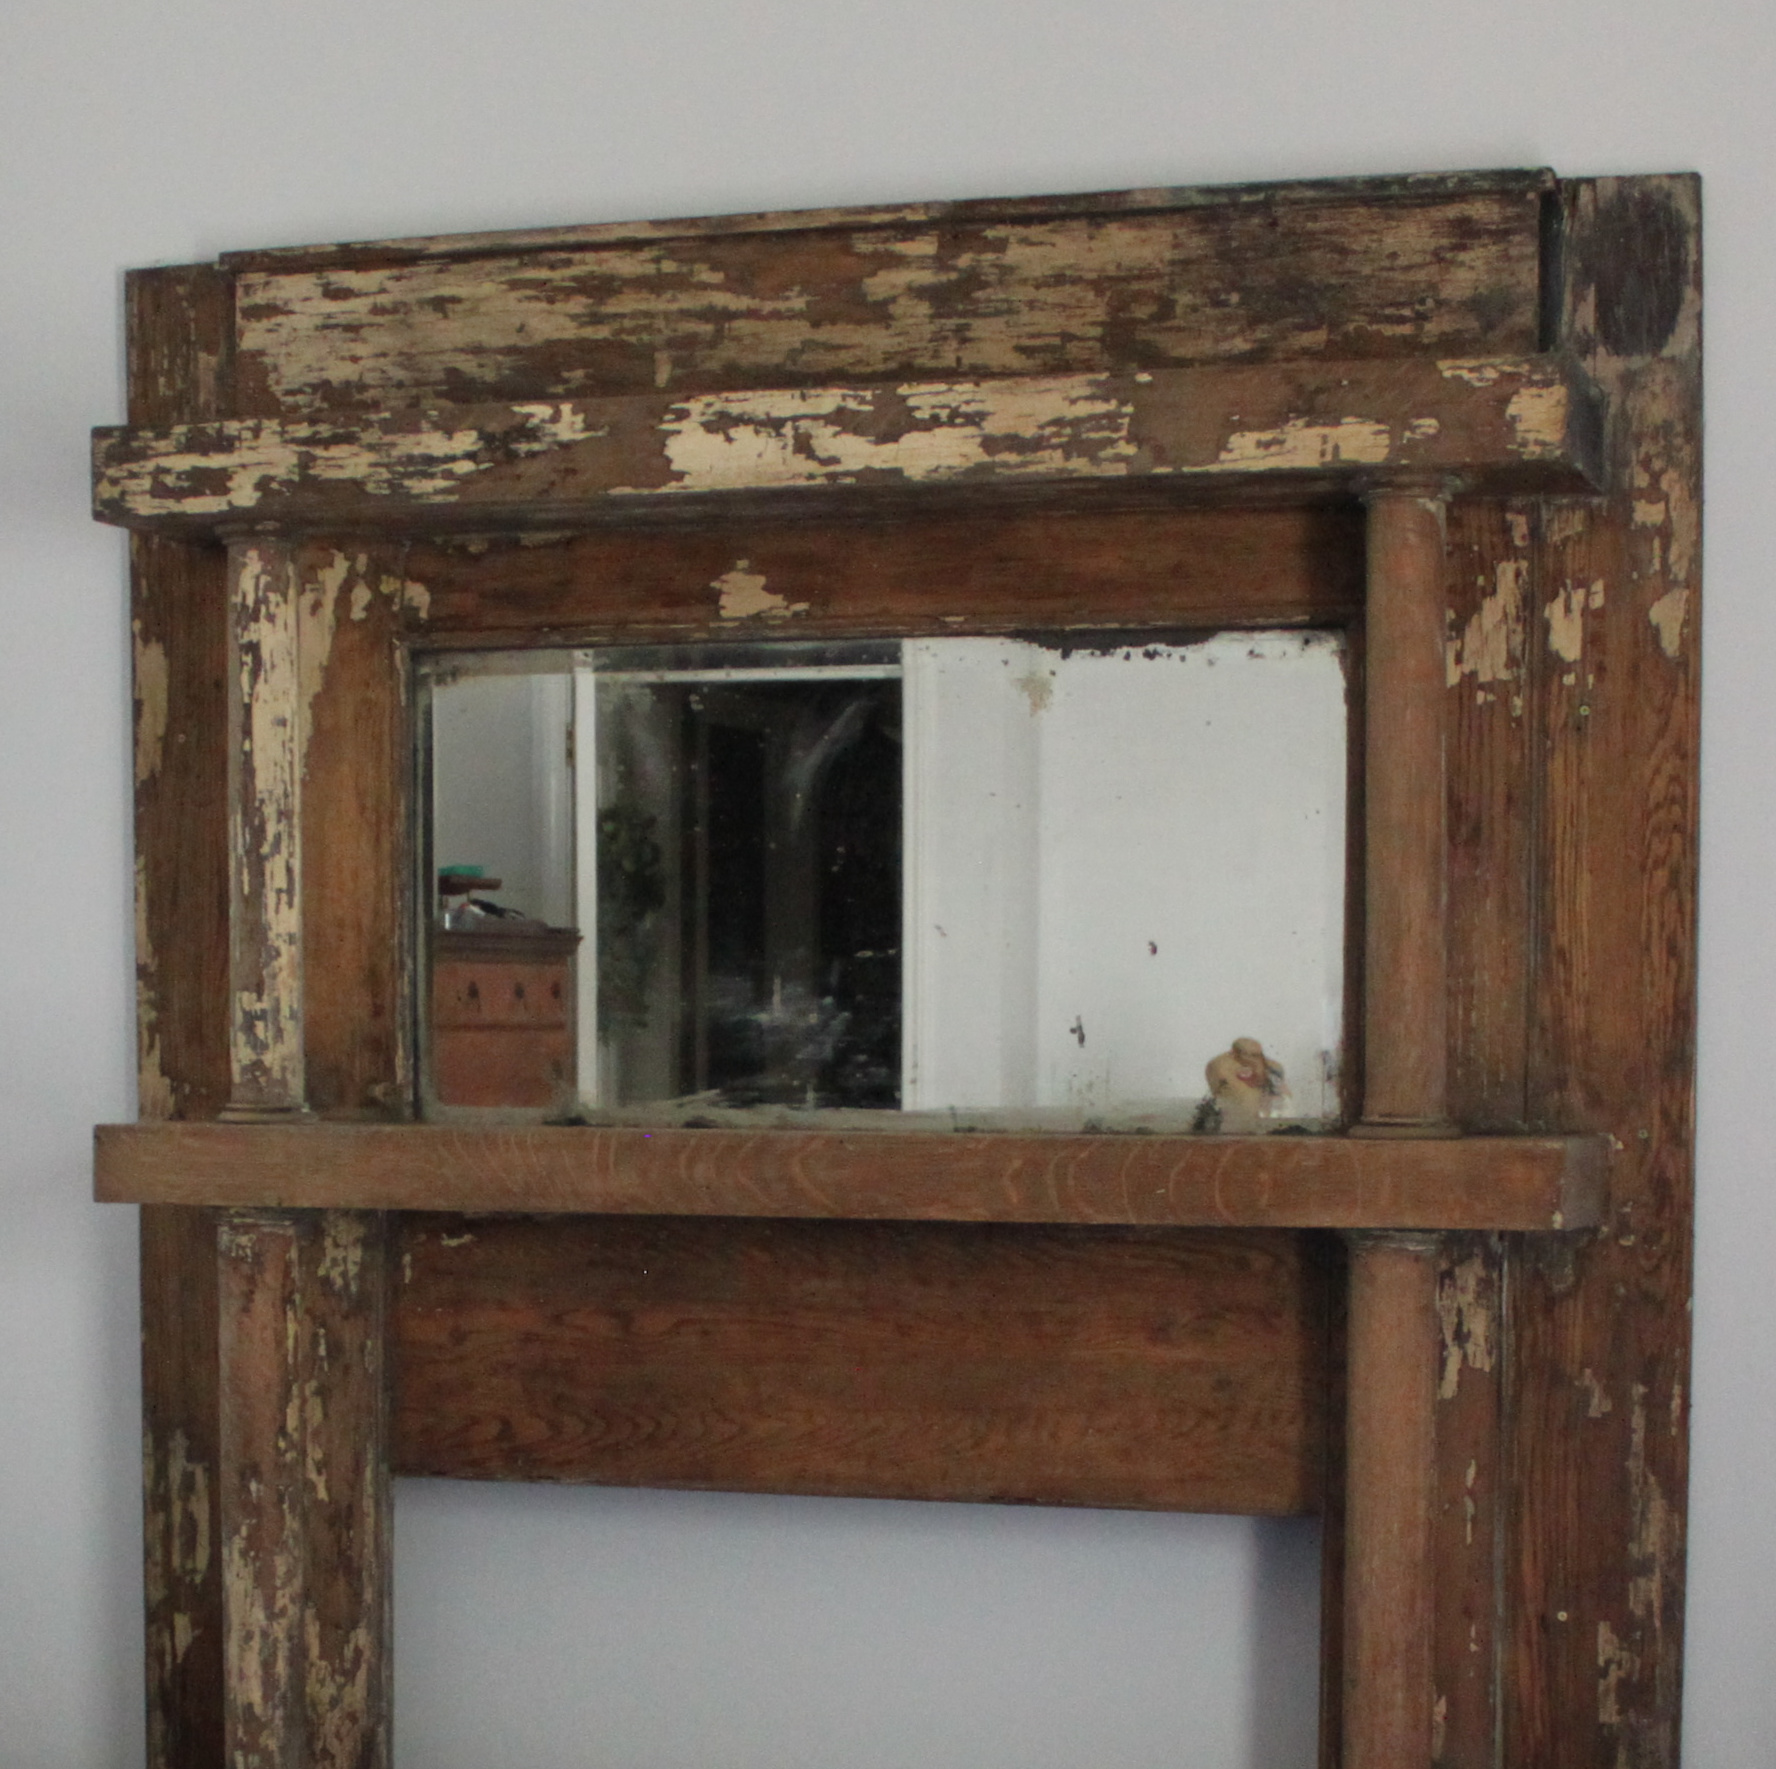
The antique paint covered mantle has been stripped and is being installed as the headboard.
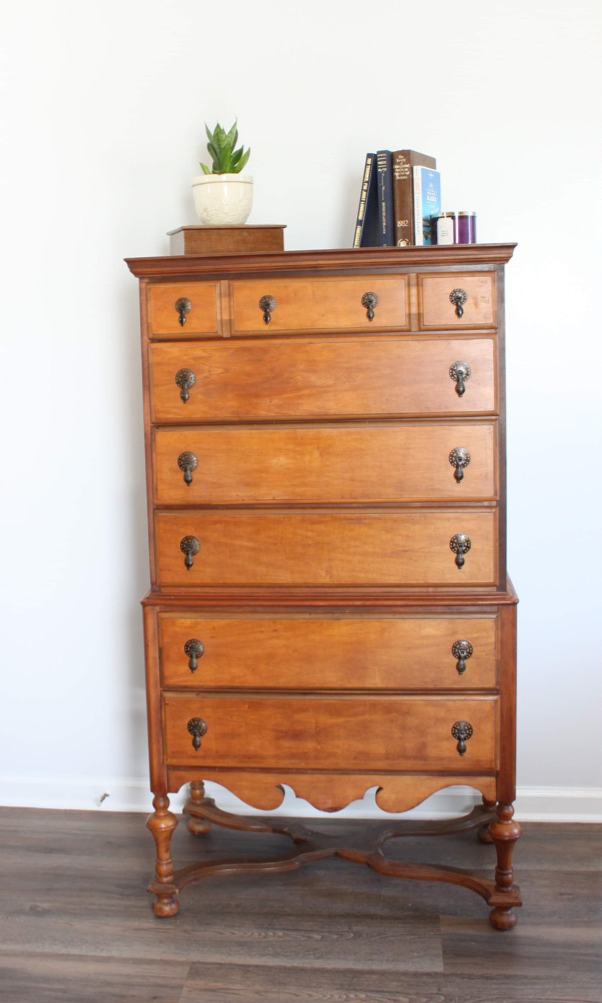
The gorgeous antique highboy has been revived and is looking quite stately.
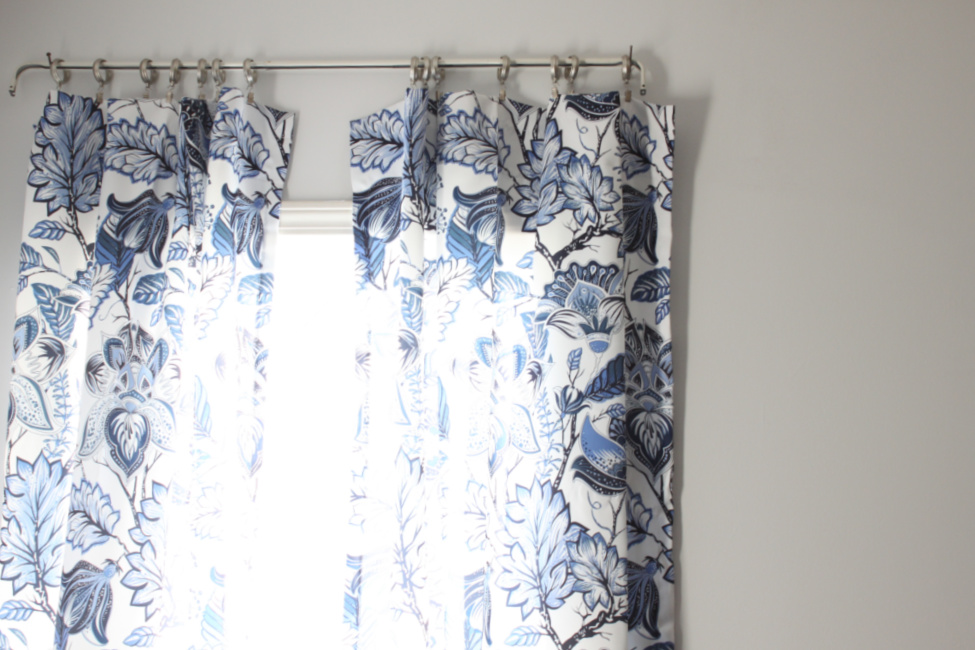
Curtains are hung and the blues have arrived in the room.
Bedding has been ordered and I am crossing my fingers that it arrives this week. Otherwise I will really be scrambling into the home stretch.
Prep the Dresser
The first step in prep of the dresser is to remove all of the drawers and all of the hardware. This enables you to do a great job on the next step which is cleaning the dresser.
You can vary this prep stage depending on what type of paint you have selected for your dresser. Years ago, when I first started painting furniture, chalk and mineral paints did not exist. If they did, I was not aware of them and they were not readily available. If you are using chalk paint or mineral paint, you can skip the sanding stage of the dresser prep as these paints often claim “no prep necessary”.
Sand the dresser lightly. You can use a sanding block or an electric sander. If you use an electric sander, be cautious because some of them are very powerful and used incorrectly can damage your wood. Practice first, as always.
Sanding helps the paint to adhere to the wood because it makes the surface rougher. This dresser needed a more severe sanding as has many wear marks, scuffs, and dings. After sanding, wipe the dresser with a damp cloth to remove the dust produced by the sanding process.
Wipe the dresser completely with TSP. TSP comes in a variety of forms. I use a soft cotton rag liberally doused with tsp.
Once the dresser is dry, you are ready to paint.
Brushes
My favorite brush is Cling On. But I often use Purdy which are sold locally at Home Depot. Another favorite is the shorter handled brush from Country Chic Paints.
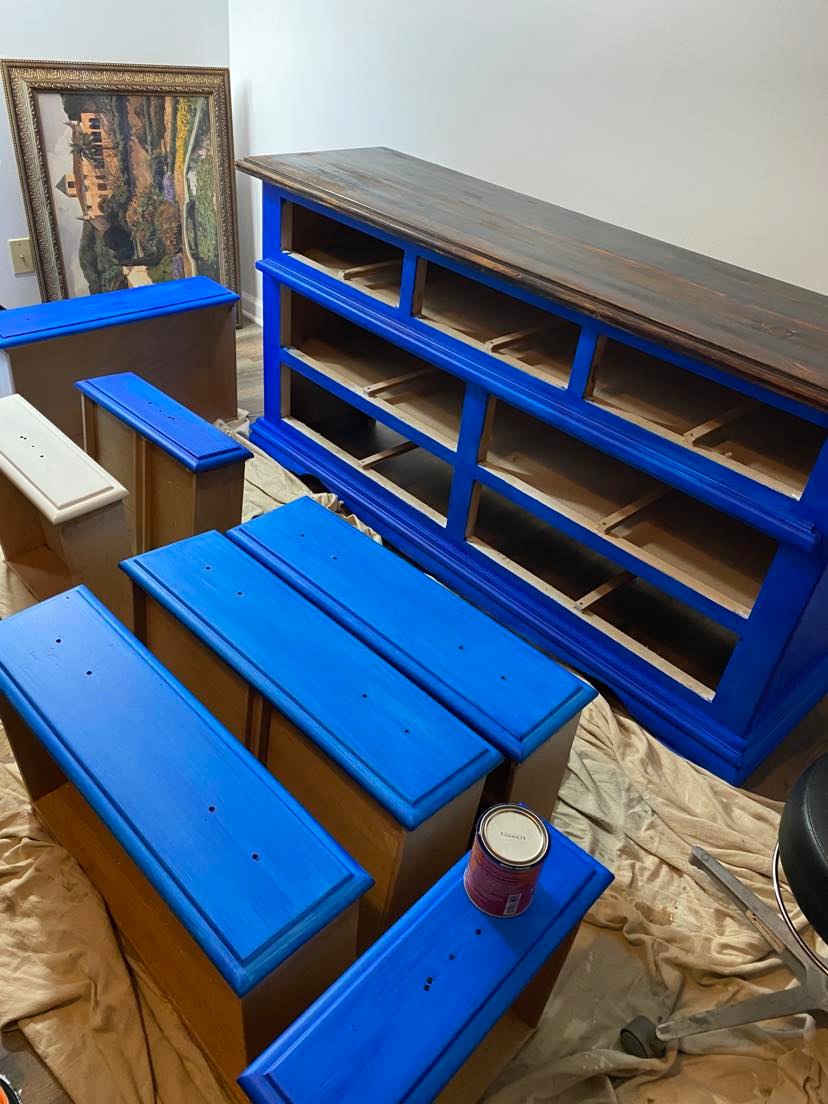
Since I am painting a vibrant blue over top of a dark stained original finish, it is necessary to paint the entire dresser first with a good quality primer. The primer helps in 2 ways:
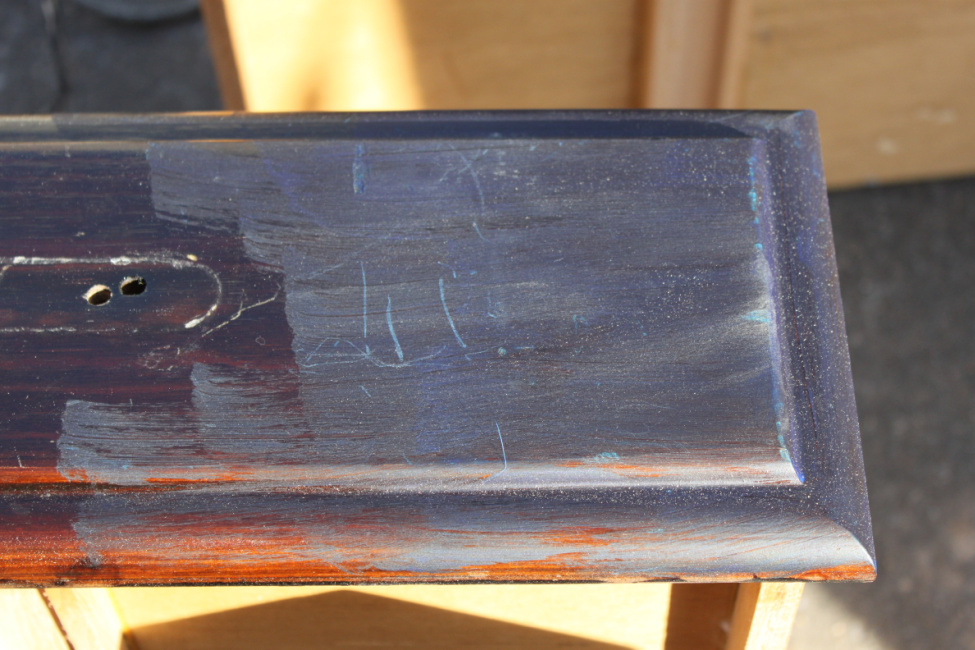
- The primer is white so it will provide a light base under the new paint. Below is a photo of the selected paint on the dark finish. You can hardly see the blue color. The white base allows the paint to assume its vibrant color as intended.
- The primer will help to fill the dings, mars and scratches that exist all over this older and well loved dresser. So, after the final paint has been applied, the dresser will appear less worn.
The Paint Process
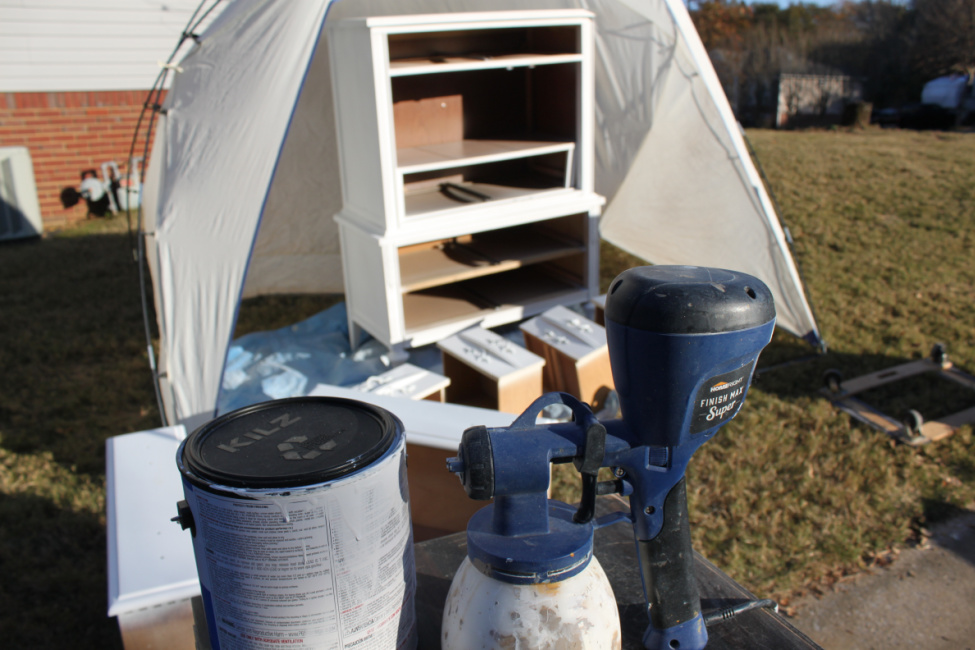
I used my Homeright Super Finish Max paint sprayer. This is my go to sprayer and I could not love this product more…unless it came with an unending supply of paint that automatically filled the sprayer when needed.
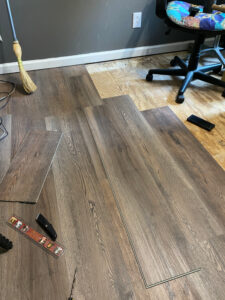
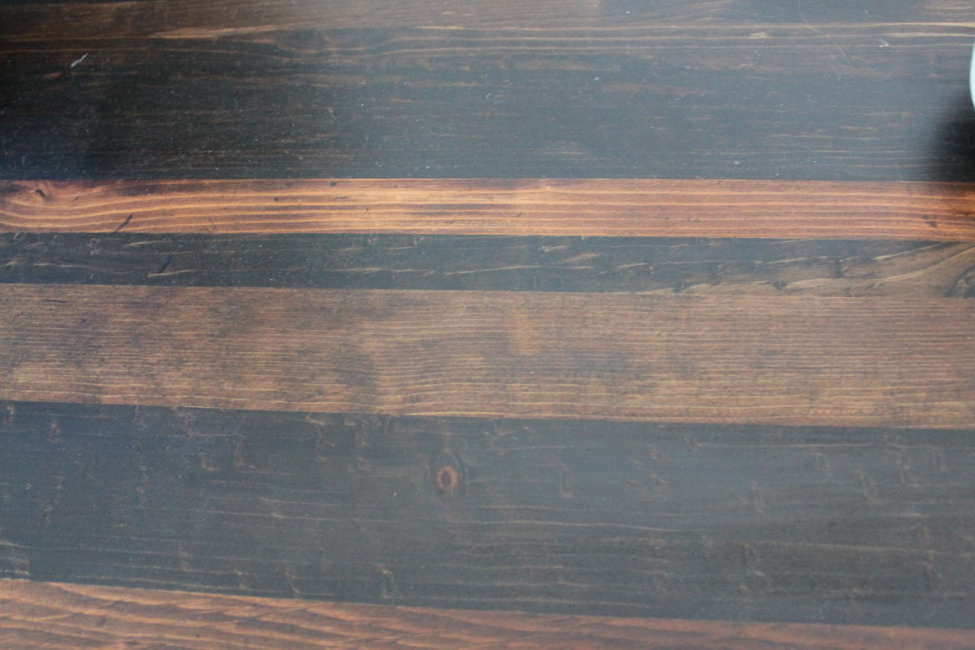
My sander simply did not cut through the thick sealer on the dresser top. So I used stripper and then sanded the top of the dresser to see what color the wood was beneath the heavy factory shiny finish. It was beautiful multi colored wood so I decided to stain the top instead of painting it. This would allow me to highlight the different shades of wood and help pull together the room since several colors of antique wooden furniture will be used. I used two different color stains to unify the furniture. Here is the result. I will share details on how to refinish a dresser top in a later post.
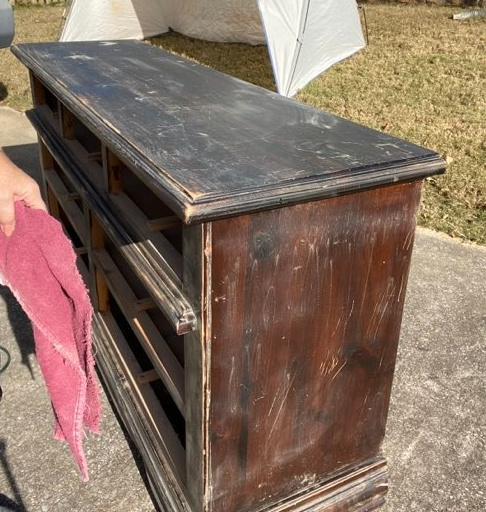
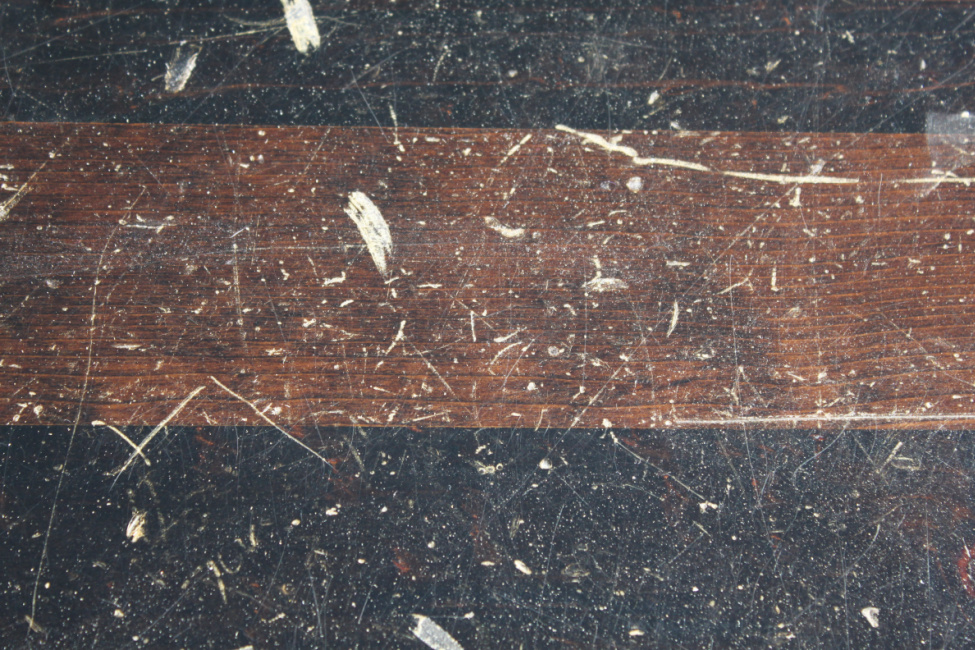
I am quite pleased. Here’s a reminder of what I started with:
Getting that Vibrant Blue
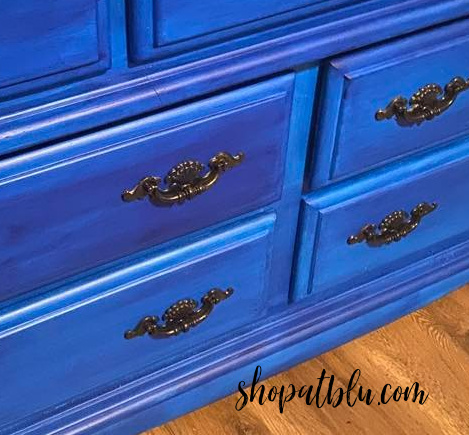
I hand painted the blue onto the dresser. My paint selection was General Finishes Klein Blue milk paint. I love General Finishes and have used several of their milk paint colors in addition to their gel stain, which is my absolute favorite for table and dresser tops.
This Klein blue was very streaky at first application. I actually stopped and gave the paint a more thorough stirring. I suppose it is just the color that requires several applications. This paint seemed to be more translucent than others that I have used in the past. That tends to be the case when paints have more color pigment, like reds.
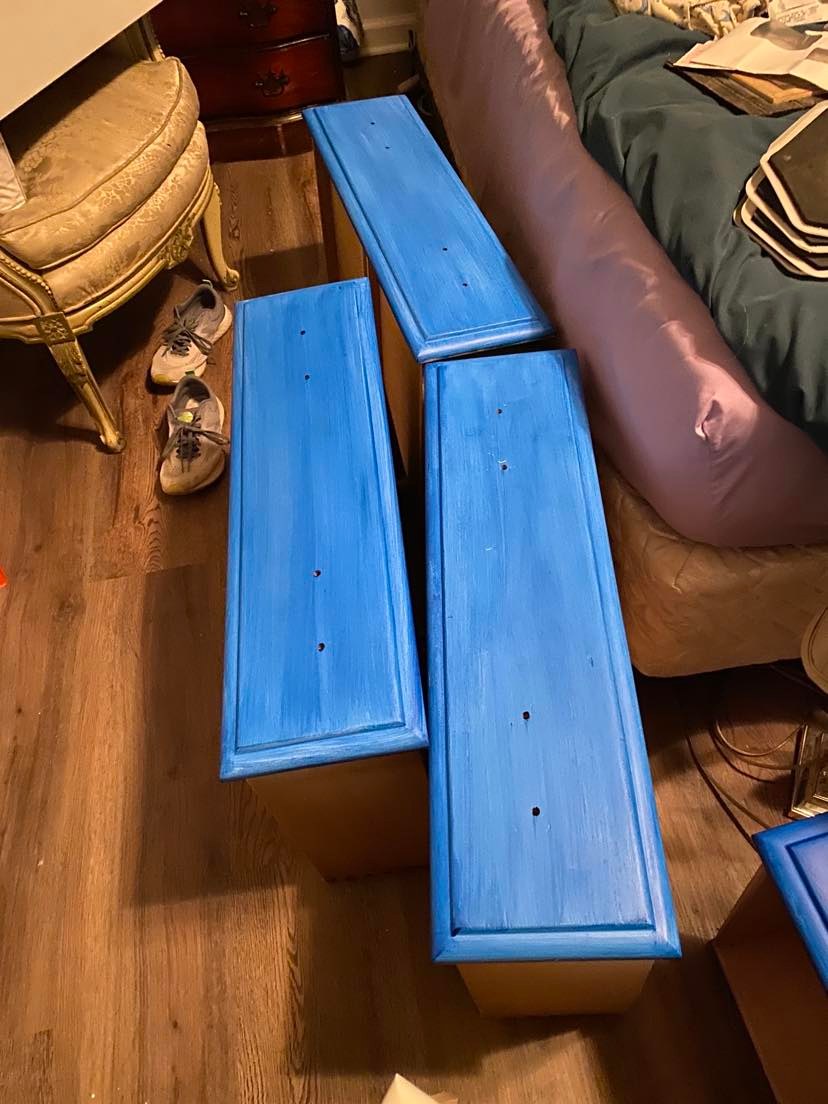
But, after the 3rd coat, the coverage was better. And the vibrancy of the blue is undeniable.
Hardware
I am planning to replace the hardware on these drawers but in the meantime, I gave them a light coat of Rustoleum Navy. They now appear to have a bluing texture which is quite unexpected but different. I love when the unexpected works!
Be sure to check out all of the projects from the Featured Designers and the other Guest Participants.
![]()