Using Epoxy Resin
As an Amazon Associate and member of other affiliate programs, I earn from qualifying purchases.
DIY is all about learning new skills, practicing, honing those skills and creating! I had the pleasure this past summer of talking Jess Crowe’s Epoxy Resin class sponsored by Total Boat. I have a bathroom project planned but before I take that on, I must practice and learn the art of applying resin. So, with any newly acquired skill, I am starting with a small project.
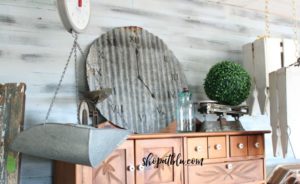
Welcome to Week 6 of The One Room Challenge. If you are just joining me for this Fall Edition of the ORC, here are the previous weeks’ posts: WEEK 1 WEEK 2 WEEK 3 WEEK 4 WEEK 5
I am refreshing my Master Bedroom with new decor and new colors. Thus, I need some new accent pieces and accessories.
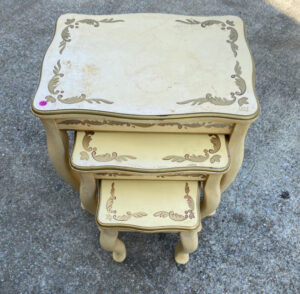
I found this side table in my garage that was left over from closing my store, The Blue Building Antiques and Consignment.
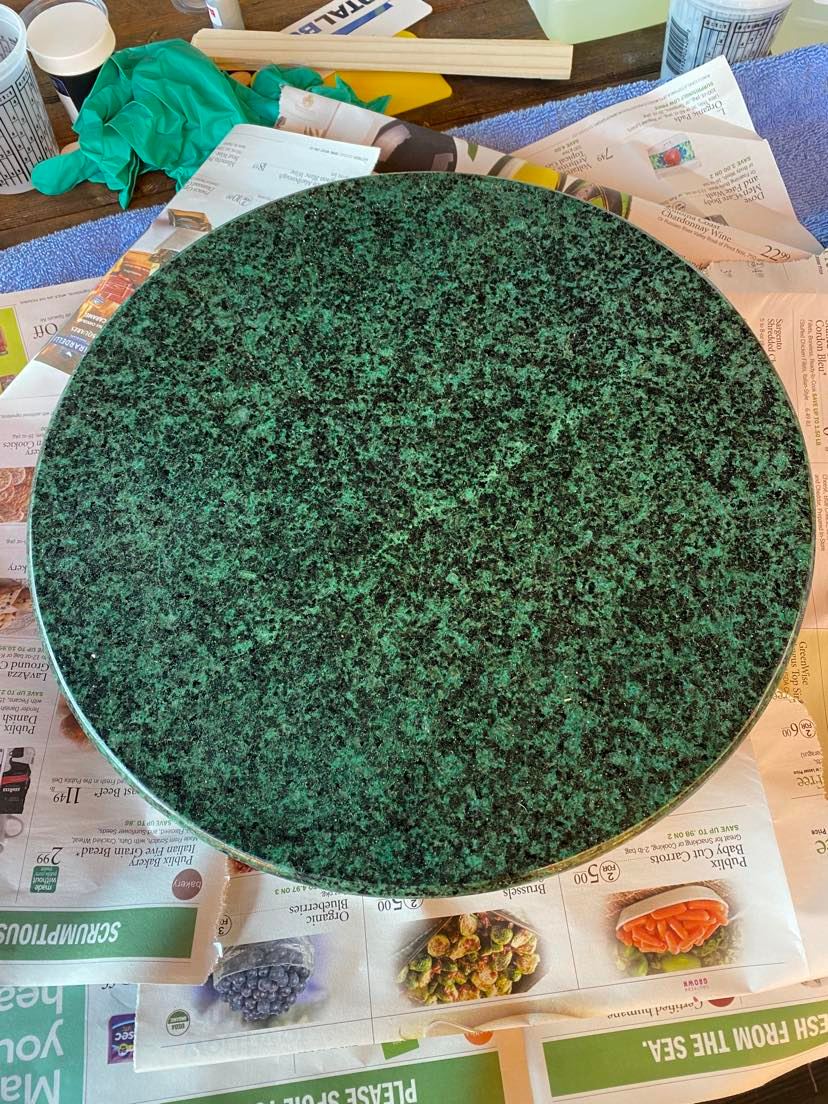
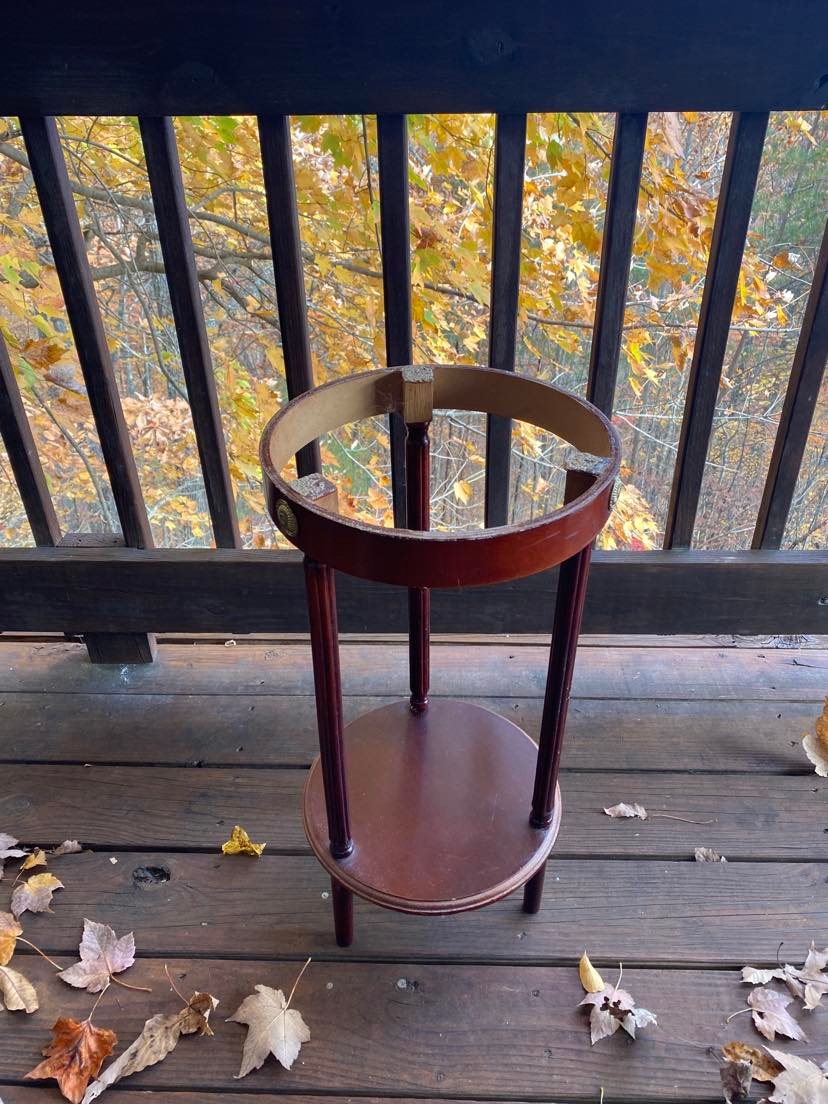
I needed a small yet functional side table. This antique style will mesh well with the new highboy and the antique mantle. But this green marble top just will not compliment my new room. So let’s change it’s look with some resin!
My room will be toned with woods and whites and highlighted with an added splash of vibrant blue. I’m a marble lover so my plan for this table is a faux marble look with some blue accents.
Resin Prep
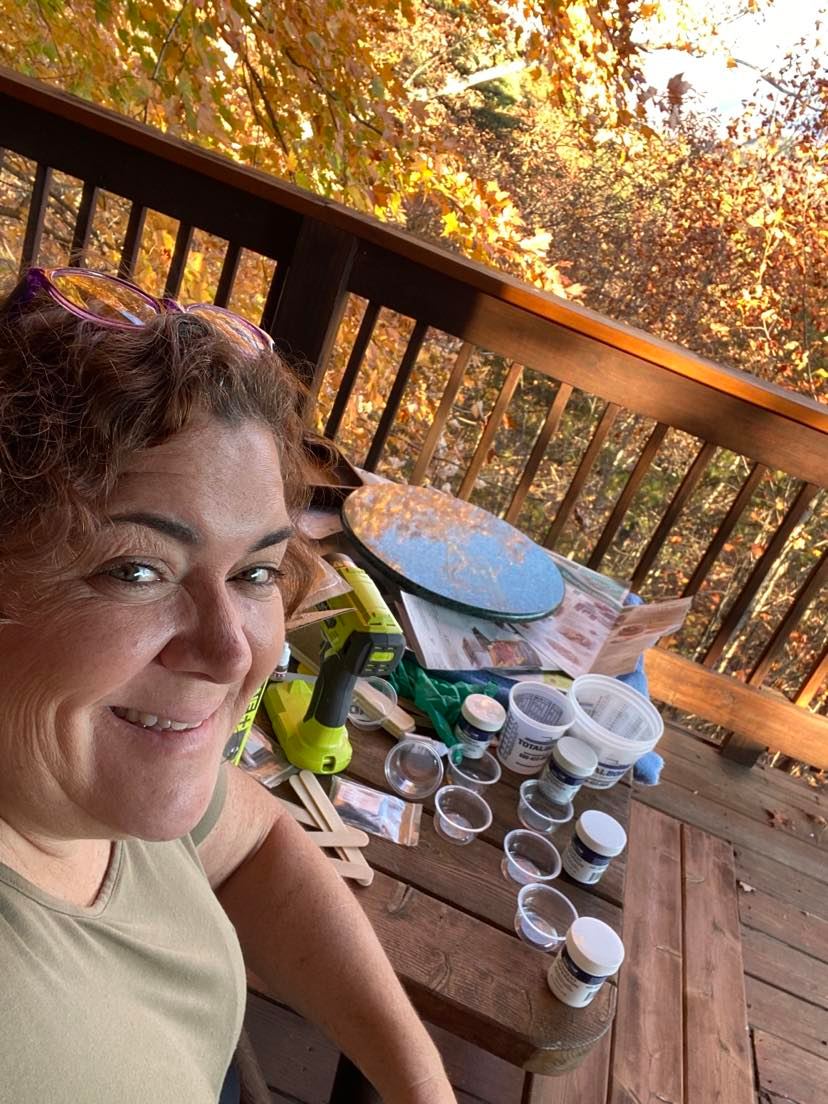
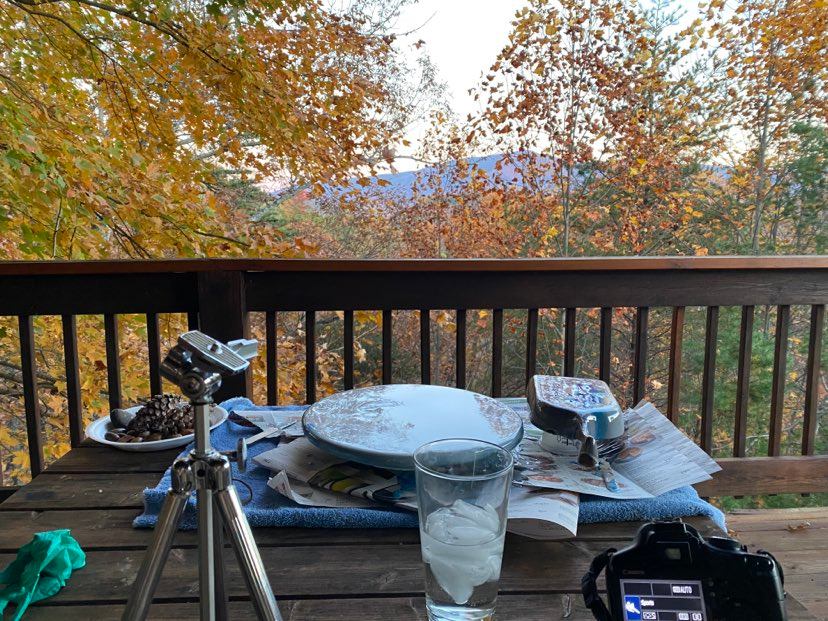
When using any resin you must ensure proper ventilation of your work area. I only use resin outdoors. This project coincided with a planned trip to the Tennessee mountains so I packed up my supplies and brought my project along. Fortunately, our little hideaway for the next few days has a beautiful deck which was the perfect work space for this project.

I covered the work area with towels and newspaper to protect the work surface. Gloves are a must with resin projects as resin contains harsh chemicals and a mask is recommended as you can’t be too safe!
An Oops Right Out of the Gate
Let me start by saying that the workshop was back in July. I was so excited to start this project that I forgot one step…prepping the surface. For this project, I should have painted the marble top white. Although the resin will be pigmented with white, a starting surface of white means less of a chance that the green will show through. Not to worry though. For this project, I simply will add a second coat of resin after the first has dried. But, had I remembered to properly prep the surface the first time, I could have eliminated a second coat of resin. So, the final result was fine! And isn’t that what DIY is all about? Learning, improving, and honing your skills. This is exactly why I am practicing before I tackle that big bathroom project.
Mixing the Resin
This resin is created by combining a 1:1 ratio of resin A and resin B(hardener).
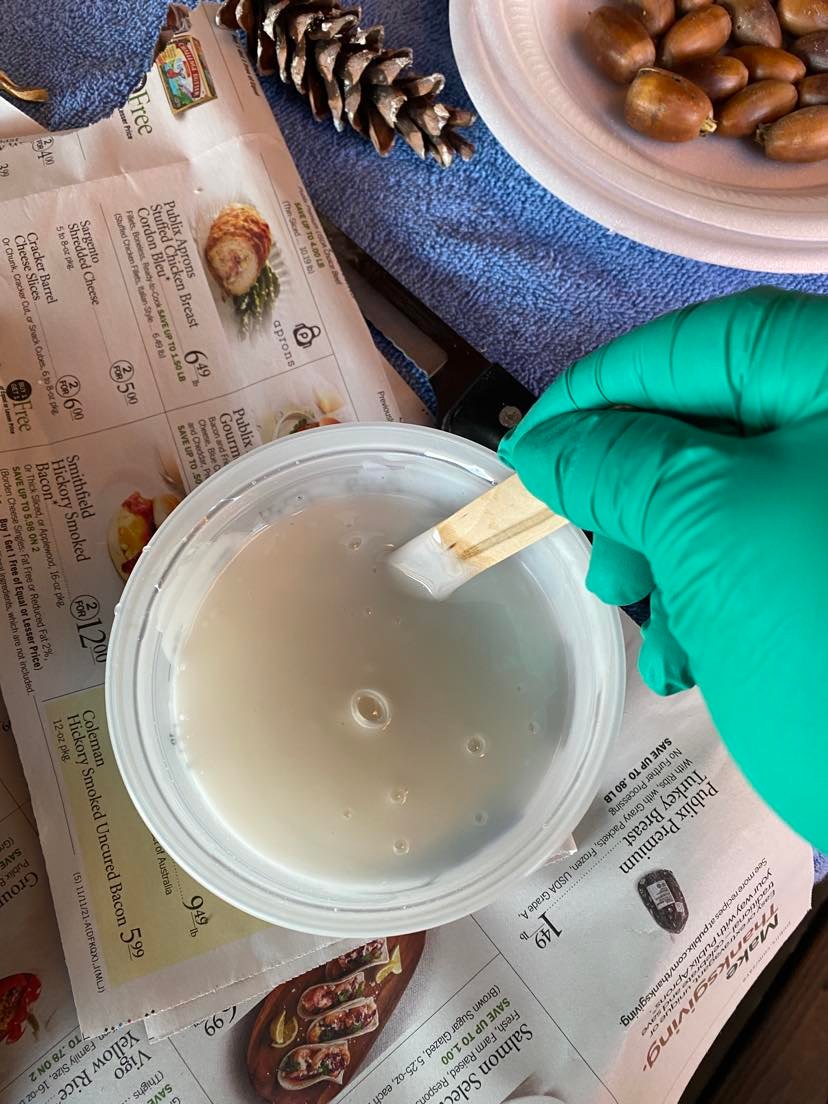
You have about 20 minutes of recommended working time before the resin starts to set. In this case, I was working outside where the temperature was on the cooler side so the resin took longer to set. Recommended temperature is aboe 70 degrees. It was definitelyly too cold for this first pour. The next day was much warmer and the resin was easier to pour and manipulate. See how cloudy the resin mixture is in the photo above? That is a telltale sign that the environmental temperature is too cold. Fortunately, I was able to pour the resin so it did not go to waste. And in my mind, I could hear Jess Crowe saying “if you make a mistake, you can just let it dry and pour over it again.” Even veteran DIY’er make mistakes.
Supplies
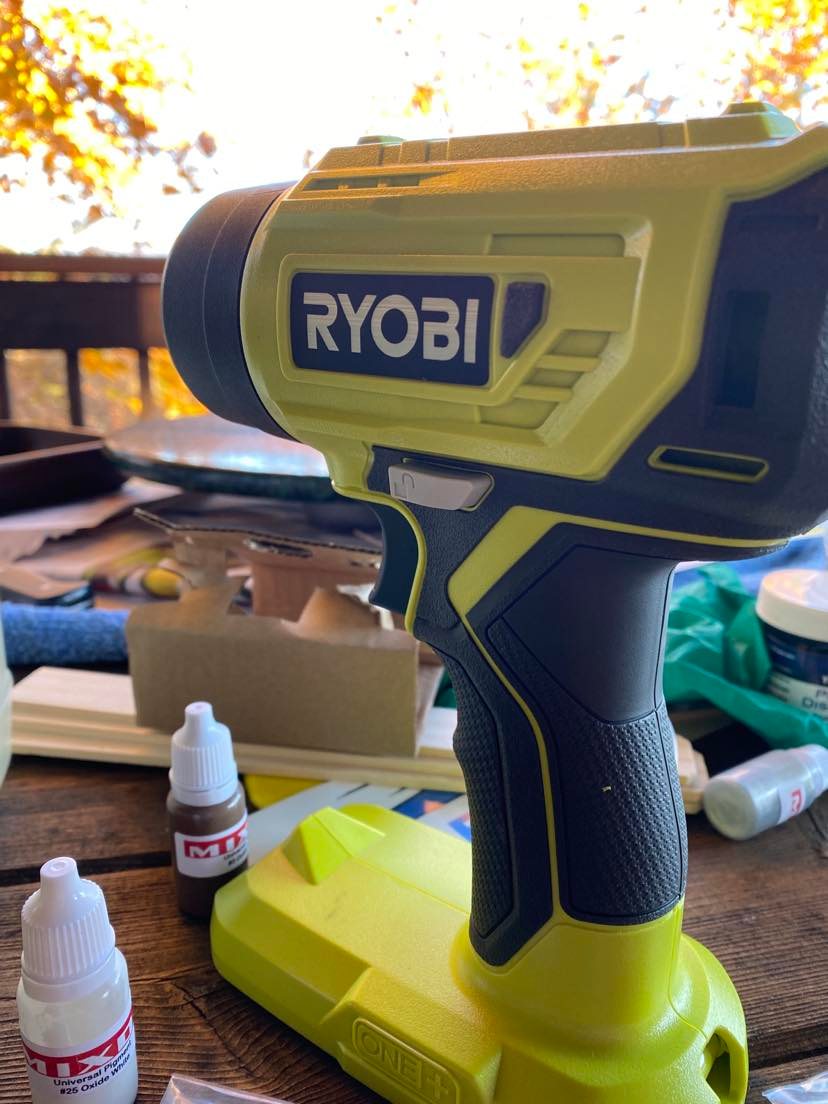
Total Boat had sent me a complete kit with both resins, measuring cups, wooden stirrers and pigments. They included everything needed for this project. I only needed to add gloves and a heat gun. Of course I bought a Ryobi…they are my favorite go to for tools.
Time to Pour
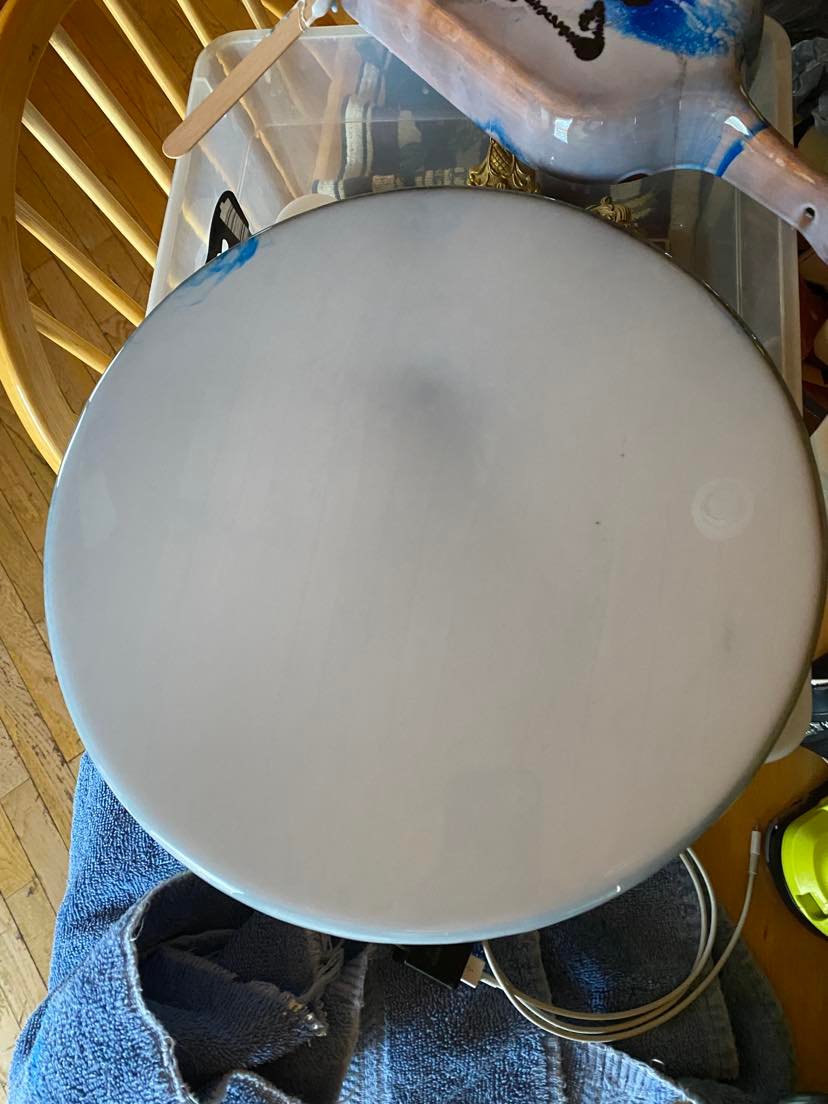
I lightly sanded the marble surface. I mixed the resins in equal parts into a plastic cup and stirred for 3 minutes. I set the table top up on one of the plastic mixing cups so that the excess would run off of the sides and not pool around the edges. Then I poured the resin onto the table top. I used the wooden stirrer to move the resin across the table top. Total Boat Epoxy Resin is self leveling. So once I got it spread across the table top, I did not stress about it being of uniform depth as this product will take care of that automatically.
The next step would be to add the pigment to form the marble look and add some color. Since I did not do the base coat of white, I will save the pigment for the second pour which will be revealed next week. I will walk you through that process then. This is just an intro to resin.
I used my Ryobi heat gun across the entire surface starting at the center and working outward. This has two purposes: 1-It releases and bubbles from beneath the surface and, 2-It pushes the resin toward the edges so that it runs over the edges leaving a smooth edge to the top. Once I had covered the entire surface and the excess resin was running over the sides, I simply walked away for an hour allowing the resin to begin to dry. After 1 hour, I took the wooden stirrer and ran it along the bottom edge of the table top to remove the drip spots. I repeated this process again an hour later.
Here is the table top. She is ready for the final coat of resin which will include the marbling and added color steps.
I have a busy few days when I return home as we are in the final stretch for this challenge. But, for now, I will enjoy these Tennessee mountains.
See you next week with the final result.