How to Restore an Antique Mantle
As an Amazon Associate and member of other affiliate programs, I earn from qualifying purchases.
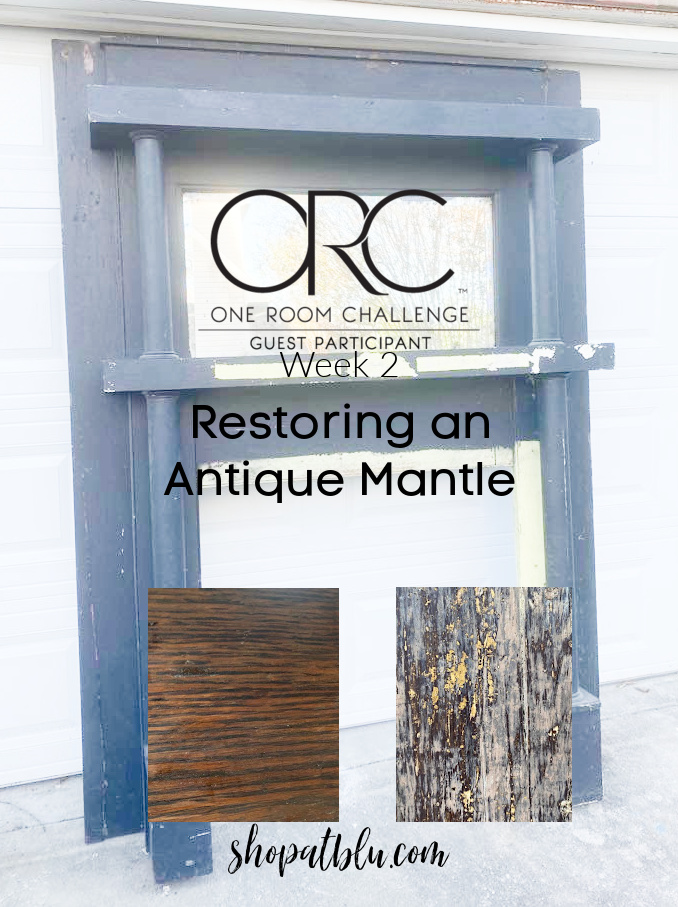
It is Week 2 of the One Room Challenge and I am ready to tackle how to restore this antique mantle. In this post, I will teach you how to strip an antique mantle of old stain and paint.
If you missed Week 1, here is the link that explains the ORC and my plans for my master bedroom.
How to Strip Wood…But First, A Little History
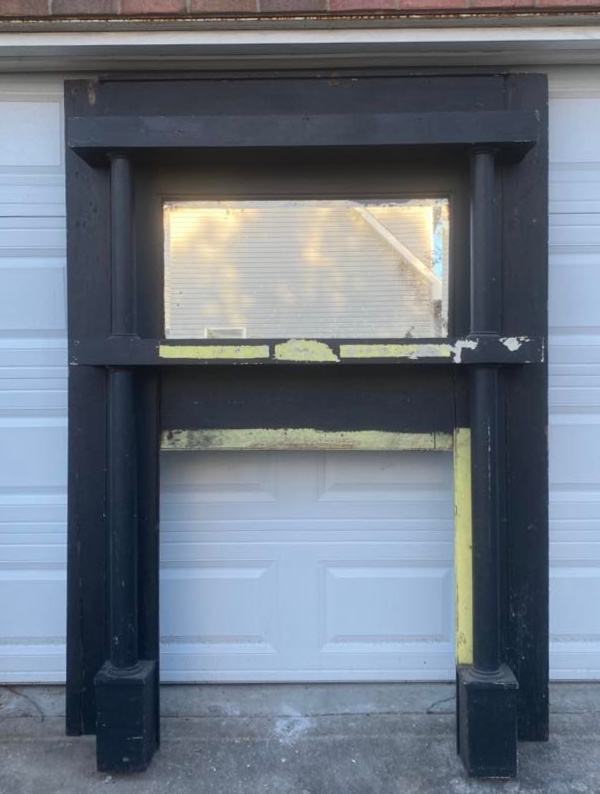
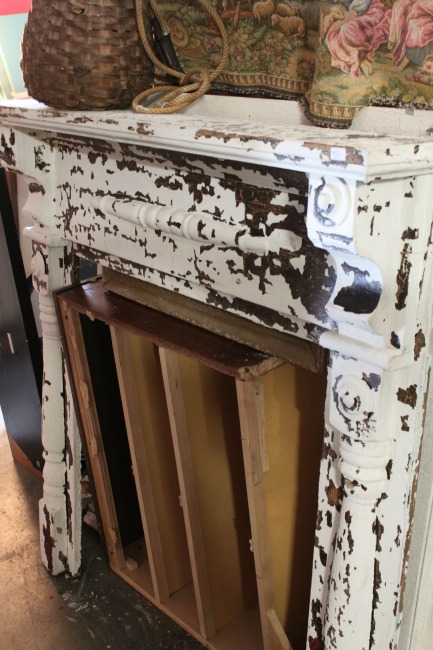
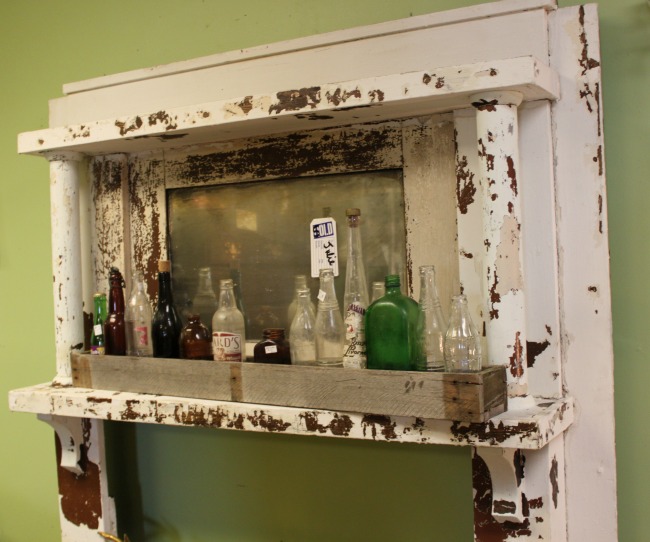
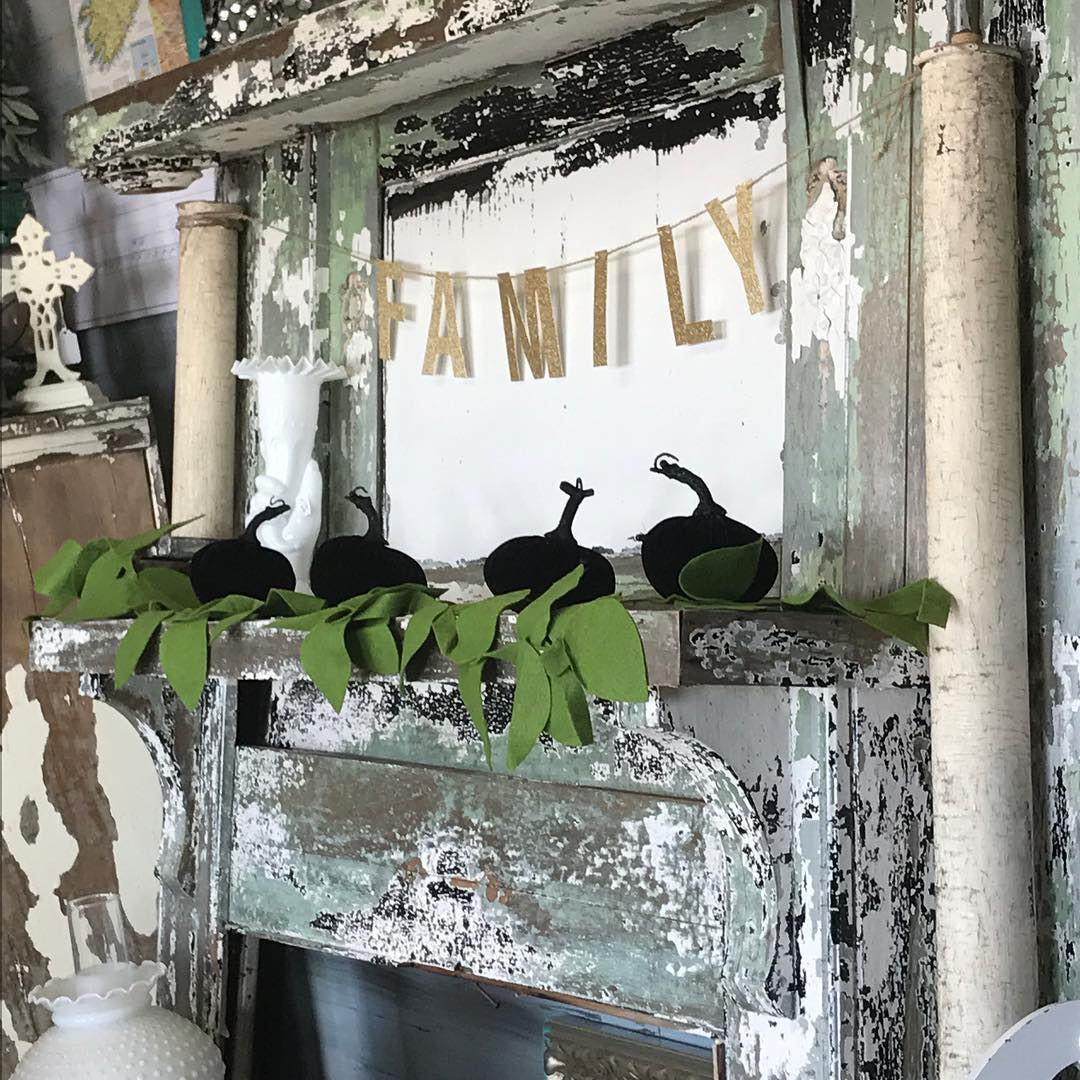
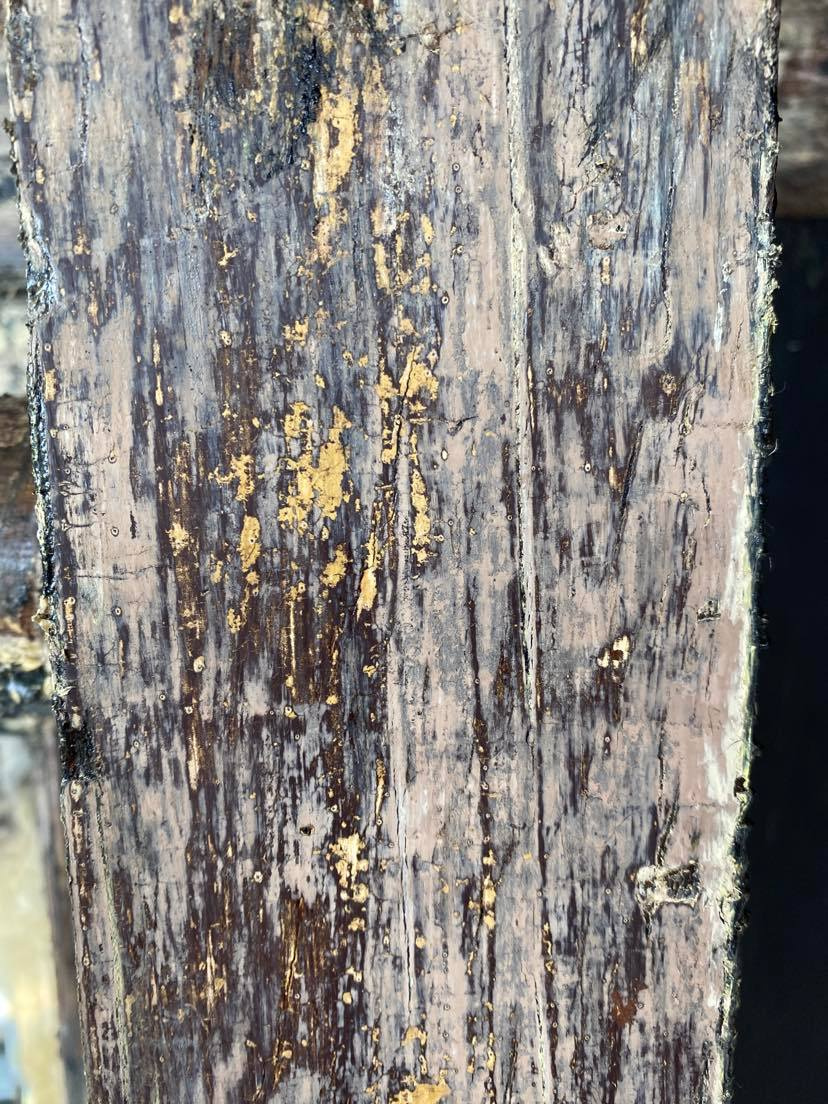
This antique beauty was savaged from a very old home in Bessemer Alabama. Bessemer was established in 1887 and was a steel making center from 1890 through the 20th century. I suspect that this mantle was installed around 1890 in one of those historical Bessemer homes. Here are a few of the other mantles that were salvaged from Bessemer. These are photos from after I used my special magic to make them chippy gorgeous. Their pre-Suzy splendor looked much like that black mess above which is covered in not one, not two, not three, but at least four coats of paint as best that I can tell.
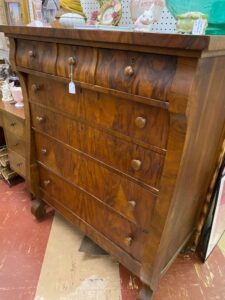
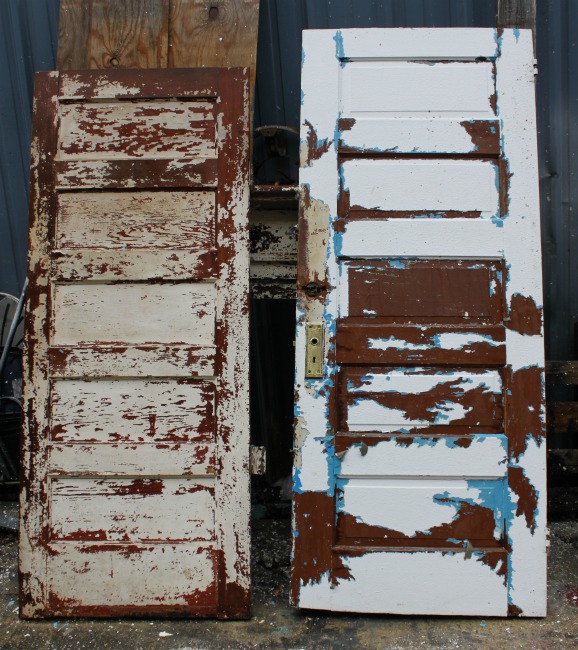
Tiger Oak was the primary choice of craftsmen as the wood is commonly found in historic homes and in antique furniture. Over the years, people would slap some paint onto their tiger oak mantles, doors, woodwork or furniture in an attempt to contemporize. We still do this today. When a stained wooden dresser gets old and needs refreshing, the logical and quick choice is paint. This is evidenced by the multiple layers of creative paint colors on old wooden pieces. Check out these doors…
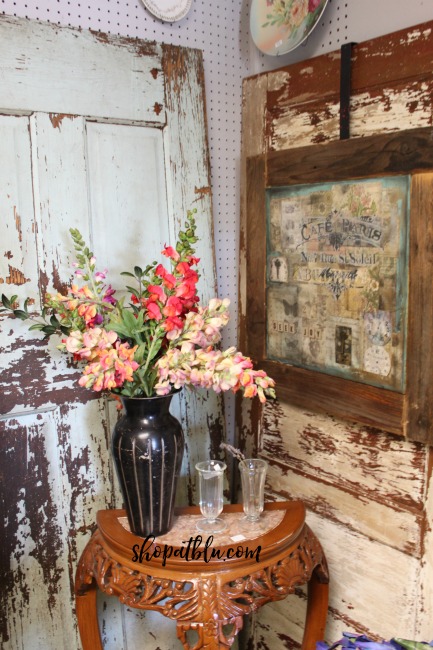
These layers make for incredible chippy creations. Check out my post on how to get the most incredible chippy doors! It is so much easier than you would think. Are you ready to learn how to strip wood?

Restore and Widen Mantle
My first project for Week 2 of the ORC is to restore the mantle and create the design for its use as a king sized headboard. Here is the plan:
- Completely strip the mantle of all paint and stain.
- Select a finish, most likely a stain but I am considering leaving the wood natural and simply sealing it.
- Extend and embellish the sides of the mantle with wooden panels of some sort to widen the headboard width to meet the king sized mattress, most likely an addition of 12 inches on each side of the mantle.
- Select sconces or other embellishments for the 12″ extensions on each side.
Sometimes You Do the Hard Work
I very rarely strip furniture. It is very time consuming and requires the use of strong chemical solutions. But every now and then, I find a piece that simply begs to be restored. This mantle is one of those pieces.
The most physical part of this project was simply getting the mantle upright to photograph and then into a location where I could work on it without having to move it. I pride myself in being able to move giant and heavy furniture pieces alone. Over the years I’ve learned how to maneuver giant dressers, sofas, massive china cabinets and other furniture by working smarter and utilizing tools like furniture dollies, hand trucks and methods like sliding, wiggling, rolling and other mom tricks.
But, 2 years of Covid couch sitting and inactivity have forced me to ask for help with this heavy and awkward mantle. So both V (child #5) and Mr. Blu kindly lent their assistance when needed.
Prepping the Mantle
Since my ultimate goal is to strip the mantle with a chemical solution, I did not clean it thoroughly before starting since the chemical process will remove everything from the wood’s surface. But I did give it a good dusting and wipe down with a damp rag. This baby had over 100 years of dust. If she could only share her
stories!
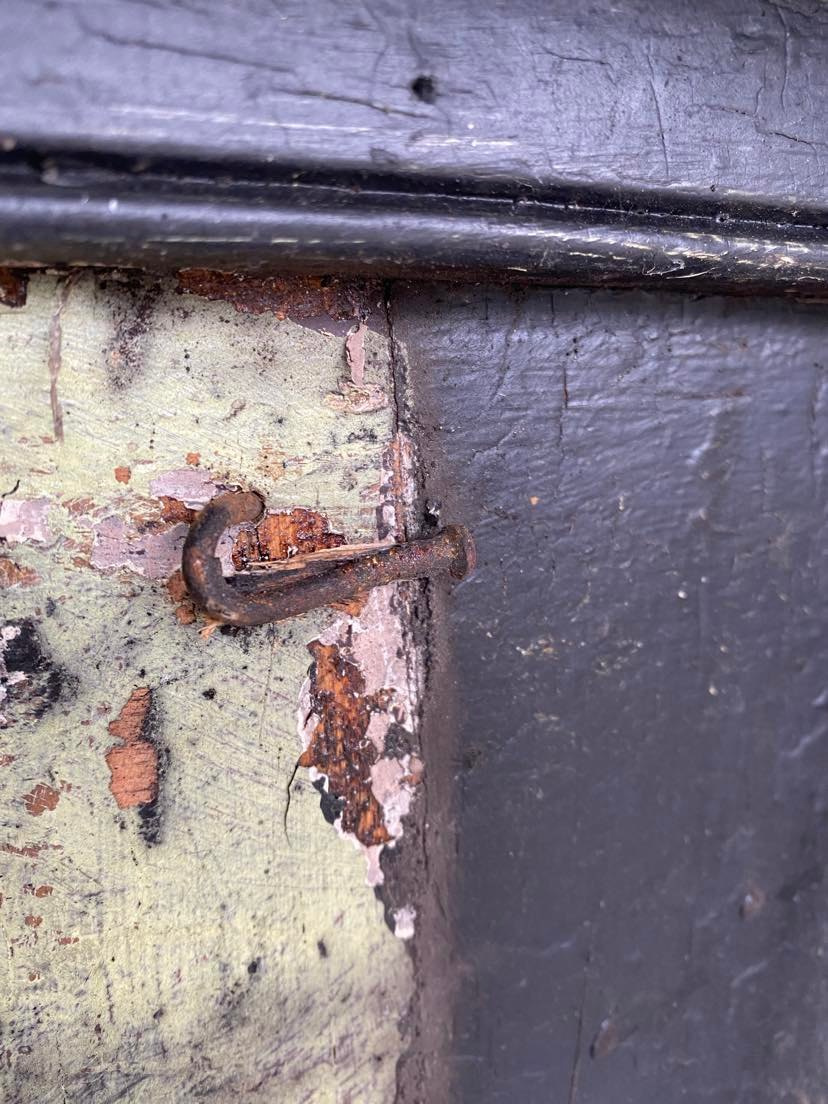
As with most dated mantles, you will find stray nails, staples, and oddities embedded in the wood.

I took a minute to remove any visible nails. You always find a few more when you start to strip and drag a scraper across the wood. It’s also interesting to see the different quality of nails…some skinny finish nails and some that are obviously very old.
Stripping Supplies
I am fortunate to have had a father who was quite handy with tools and blessed with handy skills. Pop’s grandfather was a carpenter. I love the stories of how Pop and his brothers acquired their handyman skills by helping their grandfather renovate their childhood home in North Philadelphia. In fact, I have several wood planes that belonged to my great grandfather.
Pop used to refinish pianos for a living. I can’t ever remember a time when he wasn’t stripping something in the basement. His rule for stripping…be patient. You will see why.
To refinish any wooden item, you need some basic tools. Here is a list:
- Paint brush to apply the stripper.
- Plenty of rags. I use cut up old towels.
- Steel wool. I start with 2 bags and replenish if needed.
- Stripping solution. I use Stripeze.
- Metal or plastic scraper.
- Sandpaper
- Tin can. I use an old soup or coffee can.
- Gloves
The Most Important Rule: Safety
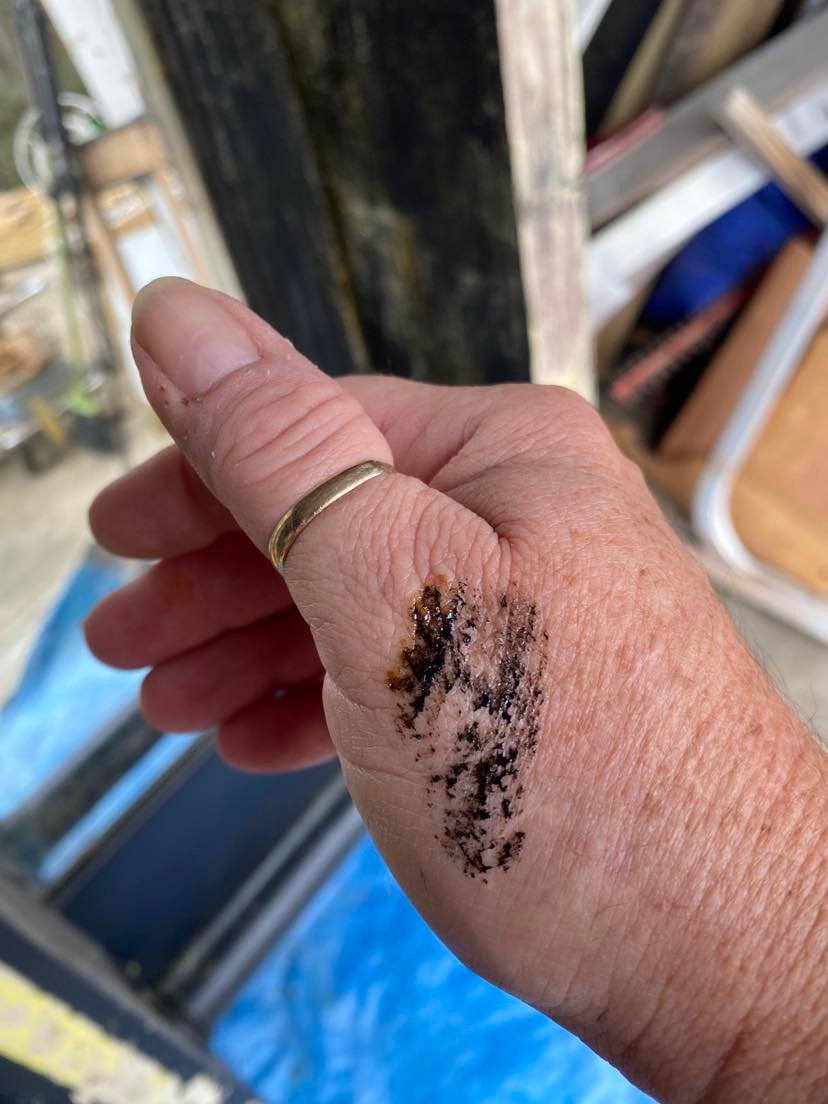
The first rule is wear gloves. While there are many new stripping solutions than don’t use harsh chemicals, the old stuff is tried and true and most effective in getting the job done quickly. Just my preference. The chemicals are hard and can burn your skin. Stripper is like paint. You think you will be careful. You think you won’t splatter. You are wrong. It gets everywhere. Drips. Splats. Globs. But with stripper you add “burns”. Just don’t risk it. Wear the gloves.
Preparing Your Work Area
Protect your work area by laying paper or a drop cloth beneath your furniture piece. Stripper can drip, splatter, and run. It will take paint off of a floor and skin off of your body. Protection is key. Wear your gloves and cover your surrounding surfaces.
Ensure your work area is well ventilated. I always complete the stripping process outside in my driveway or in the garage with the doors open and a fan blowing. Chemicals can emit dangerous fumes. Always wear your gloves.
Stripping solvent usually comes in a metal container with a small pouring spout. I use an old soup or coffee can, depending on the size of the brush I am using. Pour some solvent into the can. Start with a small amount, maybe 1/4 of the soup can. The solvent evaporates quickly. Remember Pop’s rule…be patient. Stripping furniture involves a lot of waiting.
Application
Use your brush to apply a liberal amount of stripper to your wood. Work on one section at a time. In this video I was overly cautious not to drip solution because I had not placed drop cloths around the mantle. So I am applying thinner coats to avoid dripping. You will see a much more aggressive application in later videos. Proper work environment saves time and ensures safety.
Application

You want the solution to be thick enough that it will not dry out or evaporate as it is reacting with the old paint and stain. If your solution dries, you must start all over again. So, start with a small section. Apply the solution. And wait. It takes anywhere from 5-30 minutes for the stripper to start dissolving old paint or stain. My mantle is well over 100 years old. It has, from what I can see, 5 coats of paint plus the original stain. Sometimes you can see an immediate reaction as the paint appears to bubble.
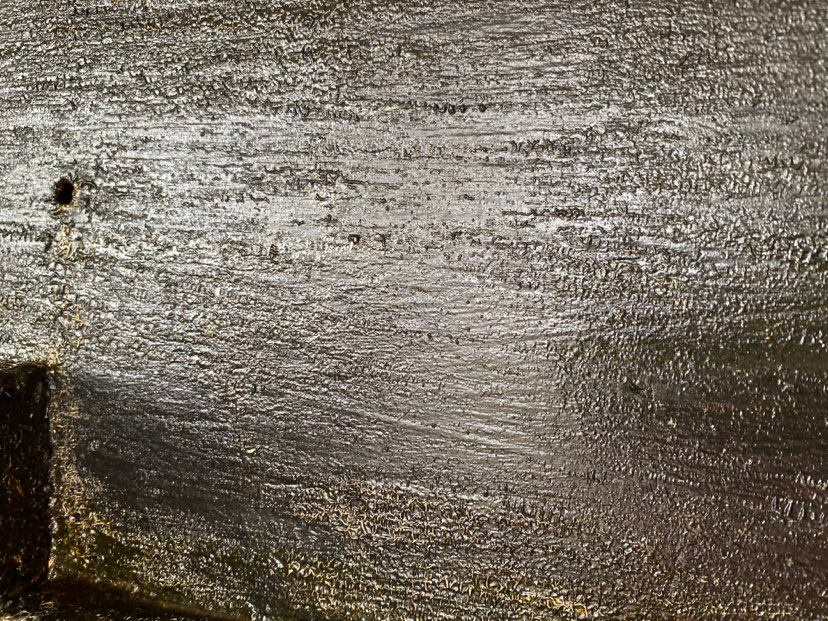
The older the paint or stain, the longer the solution must sit. Several applications will be necessary.
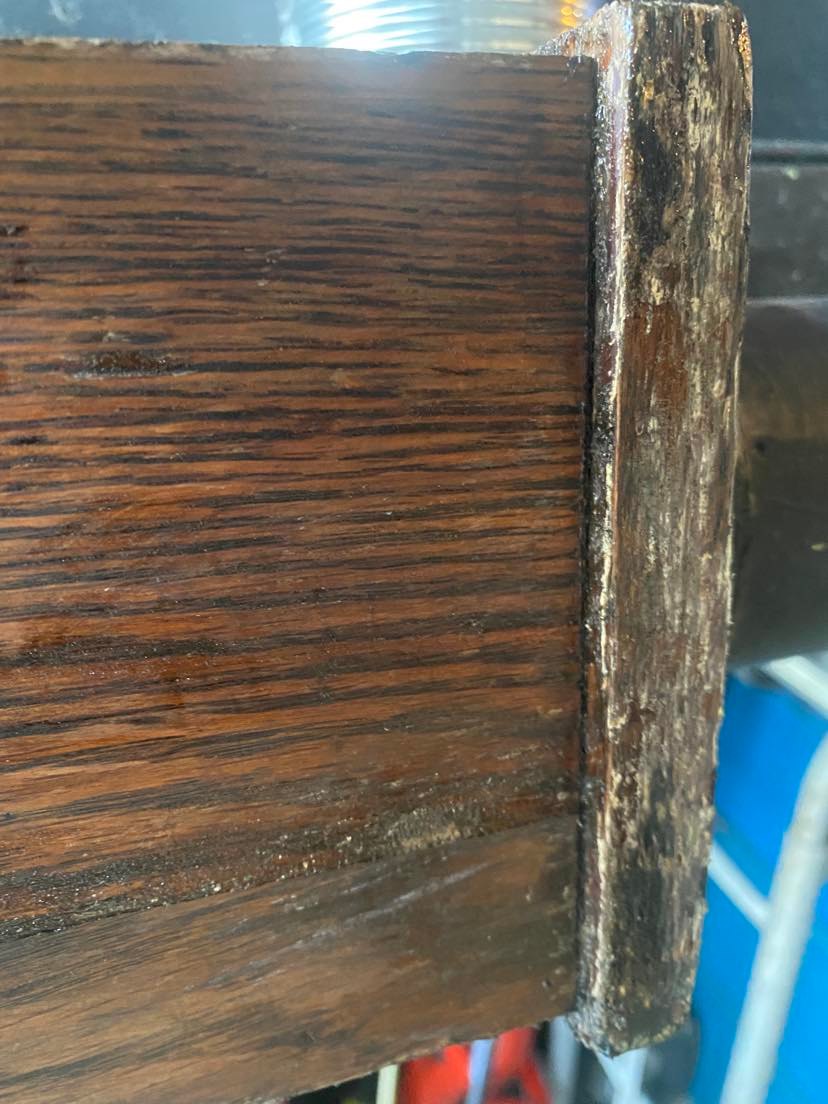
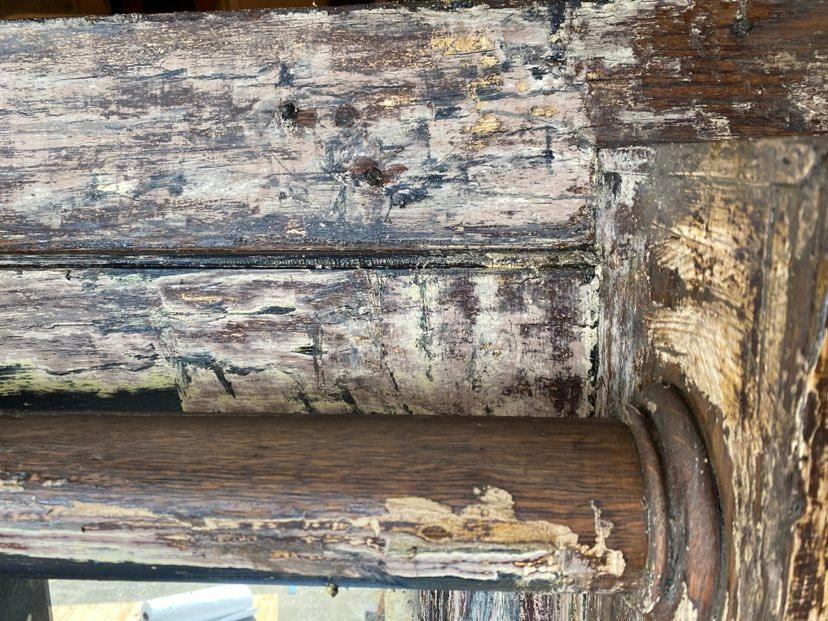
After 20 minutes, I used a flat scraper to remove the top layers of paint that were loosened by the stripper. In this video, on this section of the mantle there were only 2 coats of stain and paint so the first application was very effective and revealed the original stain on the wood. Most of this mantle, however, had 4-5 layers of paint and stain.

Then I applied a second liberal coat of stripper to remove the stain. And I waited. After 20 minutes, I repeated the removal with the scraper.

This step removed removed the stain. This part of the mantle seemed to just have 1-2 thin layers of paint and the original stain. The first coat of stripper removed the paint and the second coat removed the stain.
https://youtu.be/7pmWt9uaB9s
Once you think you have removed the paint and stain, apply one last coat. Allow the solution to sit for 10-15 minutes. Then use steel wool to remove any residual stain. At this point you should be able to see the beauty of the wood.

For flat surfaces this is very easy. However, the mantle has some curves, grooves, and moldings. For these areas I used a wire brush and a sanding sponge. Both of these tools are pliable and can get into the grooves and around the curves as needed.

A final wipe down with a rag dipped in the stripper solution completes the process. This ensures that the wood is completely stain and paint free.
Final Step
Next you should lightly sand the entire piece with a fine grit sand paper. Clean the wood of all dust and debris. You are now ready to stain your mantle. You have learned how to strip wood!
Now you must decide on a stain color or final finish.
This entire stripping process can be very simple when your wood has just one coat of stain. But the process is very time consuming when you have a 120 year old mantle with 5-6 layers of stain and paint. And the process is that much more complicated when you change plans mid project. Here is what I discovered when I started to strip the heavily painted areas of this antique mantle…
I did warn you back in week 1 about my tendency to change plans mid project! Let’s just say…there’s been a change in plans. Can you guest what it is???
See you next week!
Check out the Week 2 projects of the Featured Designers all of my fellow Guest Participants. There is truly so much talent and inspiration here!
![]()