Lord! My home needs ALOT of work. I mean, I need to update, repair, refresh, you name it…it needs it! But in this day and age, who can afford to throw $25,000 at a kitchen? Or even $5,000 at a bathroom? Not me! That’s for sure! I am thrifty and handy so I put my DIY and creative skills to work for a wonderful bathroom makeover where I spent less than $100 on some refreshing changes. Welcome to my $100 Bathroom Makeover!
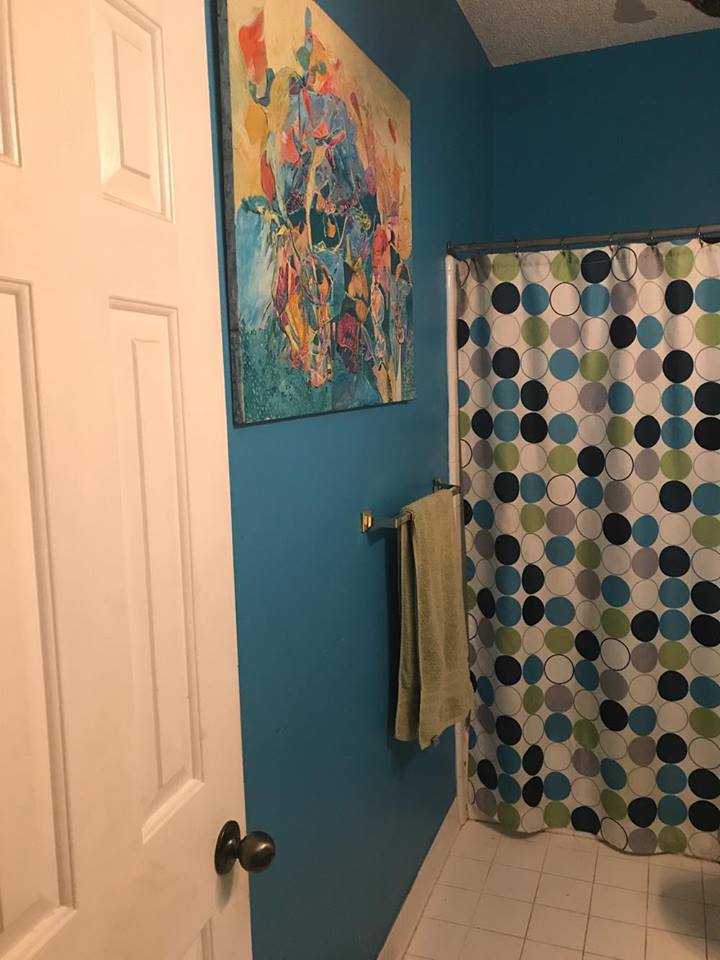
When my husband and I moved our family to Alabama some 15 years ago, we had been renting homes for over 10 years. I was so tired of neutral beige walls! So I painted with color…huge color. Our living room was eggplant purple and king’s gold. I was thrilled and it was stately…cause back then, color was stately. Eventually we had a lime green bathroom, a coral bathroom and this one:
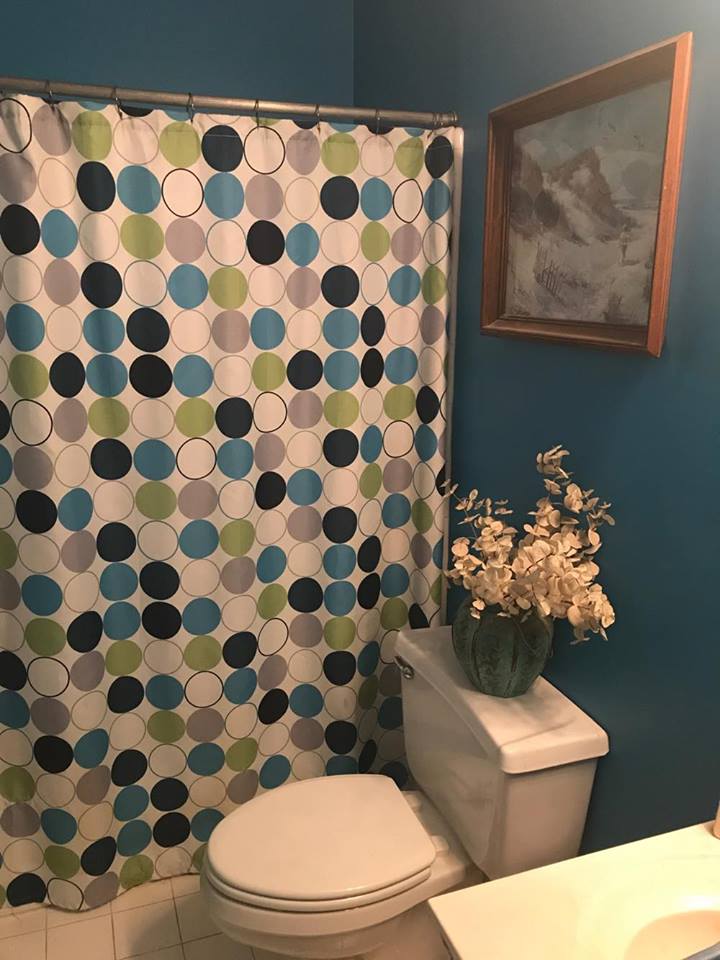
This color is still my favorite. I must admit it pained me to paint over it! But, our sweet home has served us well and she deserves an uplift. So we are going white in this bathroom makeover!
Note: This post contains affiliate links to products used in this project. If you click on the link, i can earn a small advertising fee with no cost to you. This helps defray the cost of blog upkeep. Thanks!
Paint the Walls!
The first and most important change was to lighten the room so I selected a bright white. Usually I buy the cheap paint at Walmart but I splurged this time and bought Behr. I even selected a better grade since there was a chance I would only need two coats. And indeed only two coats were necessary. Behr, you’ve got a new fan!
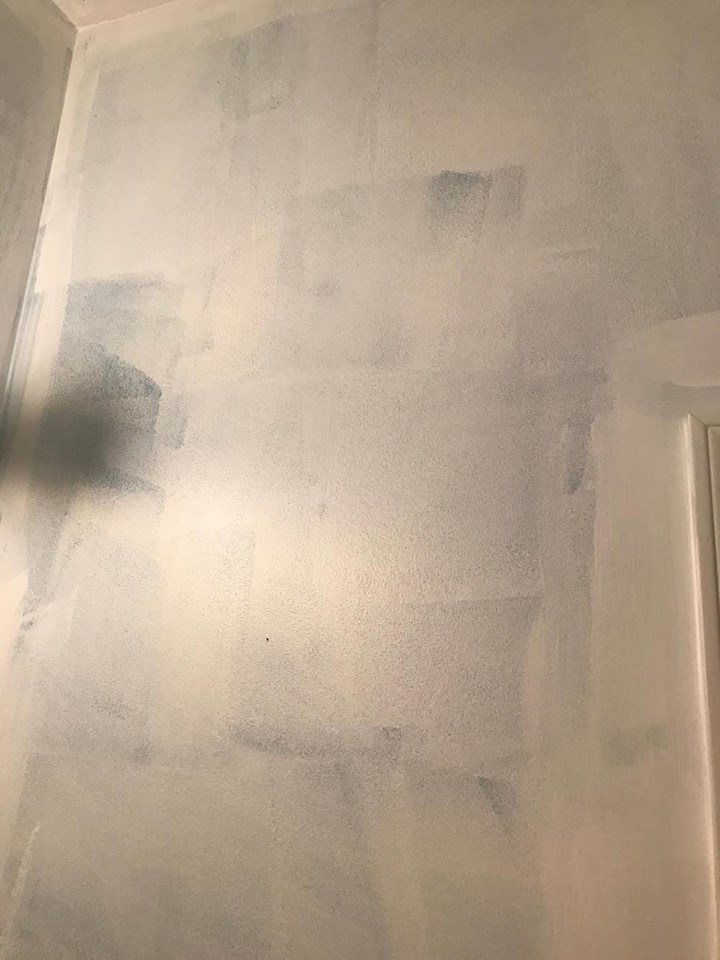
This is just ONE COAT of white over that vibrant turquoise! I’m still amazed! Just a little bit of paint made an immediate difference in this bathroom makeover.
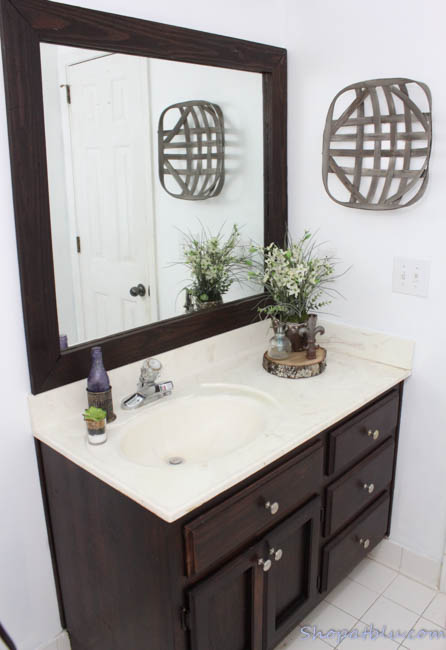
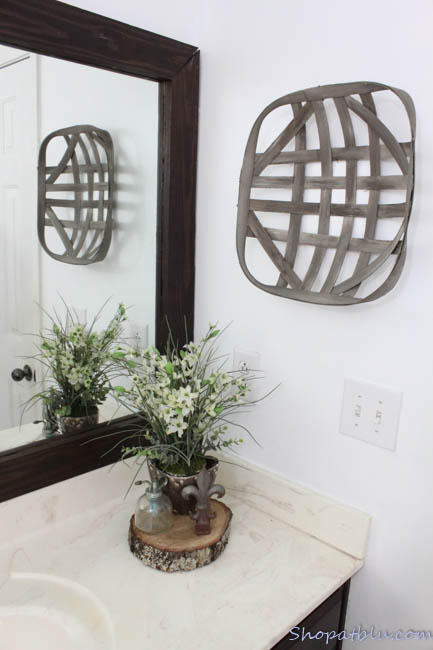
Upgrade the Mirror!
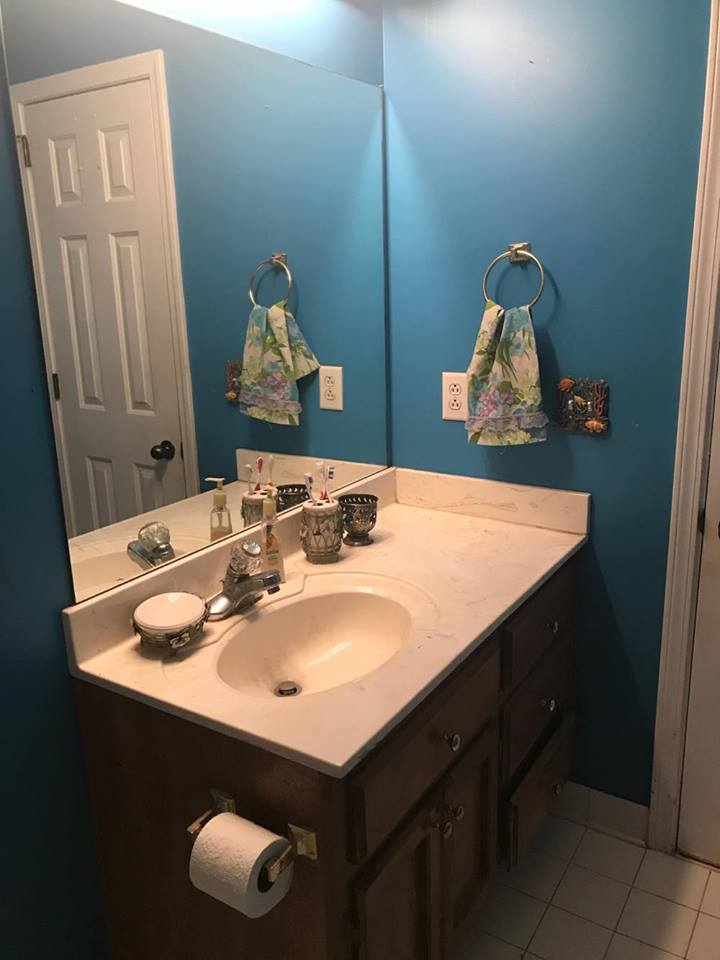
Let’s talk about mirrors. A mirror can literally make or break a room! Wouldn’t you agree? All of the bathrooms, and there are three, in my home have standard builder grade mirrors. While I am ready to replace every single one of these with something absolutely stupendous, my $100 bathroom makeover budget kept me from doing this right now. I am certain I will come across a real beauty for an incredible price…at some point. So for now, I will just wait it out. Indeed, some things are truly worth the wait!
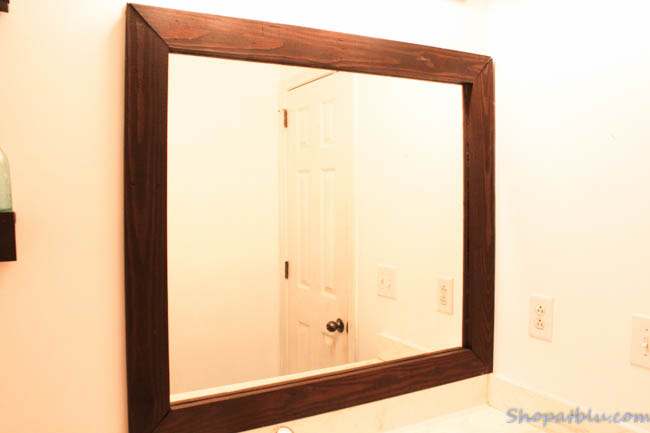
With my $100 budget in mind, I decided to build a frame for my existing mirror. This shouldn’t be that difficult right? Grab a few planks of wood, make angled cuts…voila! Done! Um…right! It’s never THAT easy!
Well I measured and cut my 45 degree angles only to realize…they were a bit wonky. Duh! Easy fix…just return to the chop saw and make the cuts…carefully. I spent more time on these cuts than I would have liked to but this really was my first dance with the mitre saw where I was completing tasks it was intended for…mitre cuts! Up until now, I have merely used my mitre saw as a chop saw. My wish list now contains “laser” mitre saw. I’ll let you use your imagination here. Let’s just say that eventually I cut four sides to frame my mirror. And they fit beautifully together!
My favorite stain always has been dark walnut. I used to buy Special Walnut by MinWax. And it was my absolute favorite…until I discovered General Finishes Gel Stain in Java.
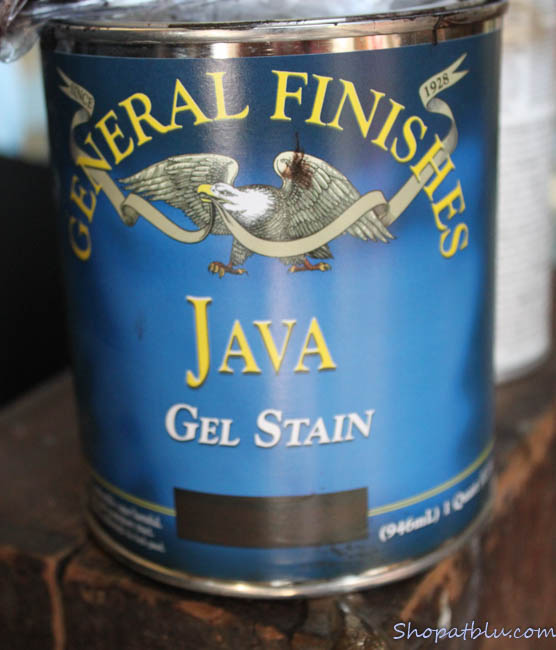 Here is a post about my first time using the product. I have used this many times while refinishing furniture at my store, The Blue Building Antiques and Consignment. So this was a given…I love this product. This is now my go to stain so naturally I used Java Gel Stain on the mirror. I stained the wood before I assembled the mirror just for the sake of simplicity.
In lieu of pulling out the router and making intricate engineering decisions involving grooves that fit perfectly around the already installed mirror, I decided to simply glue the wooden frame pieces onto the mirror. Originally I grabbed some E6000 to secure the frame. But I wasn’t sure if E6000 was considered heavy duty or if it would hold up to the extremely steamy shower conditions when Number 4 returned home from college for the holidays. I could be wrong but I felt E6000 was for smaller, lighter projects. So I grabbed some Liquid Nails from the garage. I applied the Liquid Nails directly onto the wood and set the first of the 4 pieces in place. I secured each piece with duct tape to hold it in place and allowed each piece to dry before moving onto the next.
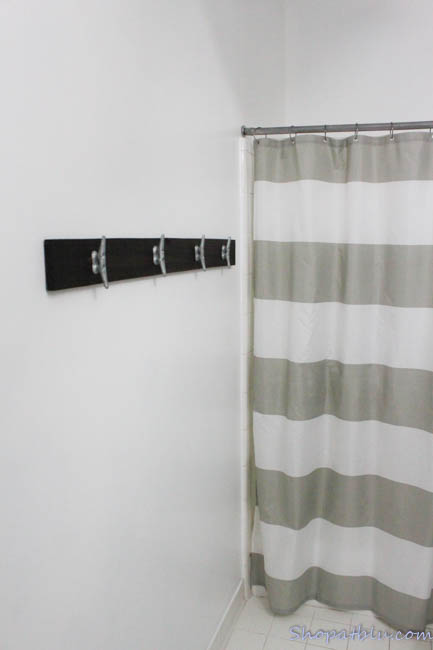
To Towel Bar or Not to Towel Bar?
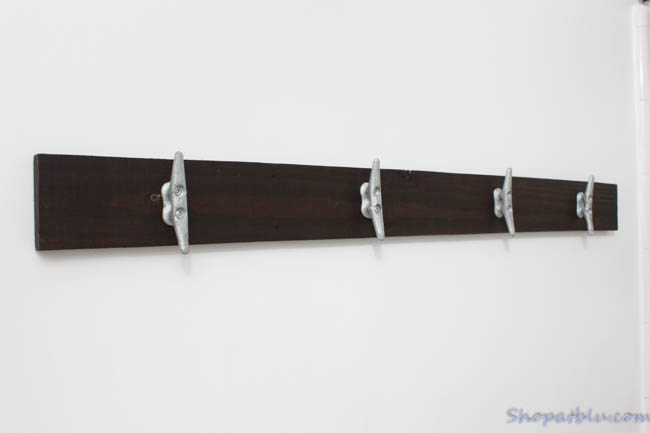
My niece and her husband, Tara and Mike, refinished their new home a year ago and they have the most lovely bathroom. The walls are simple board and batten with a sweet simple farmhouse molding. This was my inspiration for my towel rack. Now I know most folks have done away with towel racks. You just don’t see them any more. But I am somewhat of a traditionalist, a scatter-brained eclectic traditionalist but a traditionalist all the same. Plus, with 5 kids, nothing irks me more than wet towels thrown in a pile. So yes…this simple towel bar-ish wall feature was a must. Plus, it fit right into my budget since I have a pile of beautiful wood just sitting around waiting for projects! I simply measured the distance between the edge of the shower tile and the edge of the opened bathroom door. I cut a piece of wood that centered nicely while leaving a few inches on both sides. I stained the wood and attached it to the wall being certain to screw into the studs at each end.
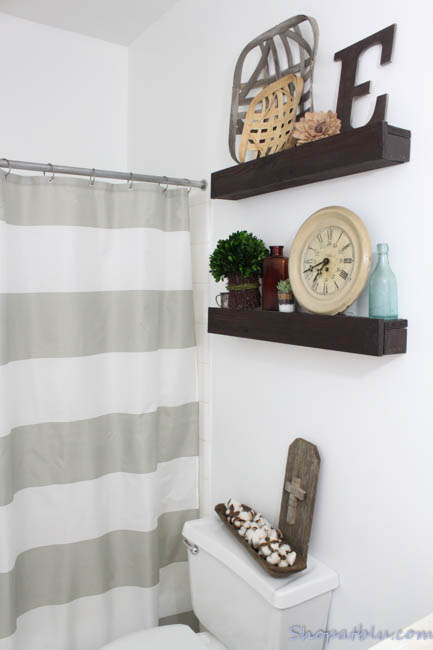
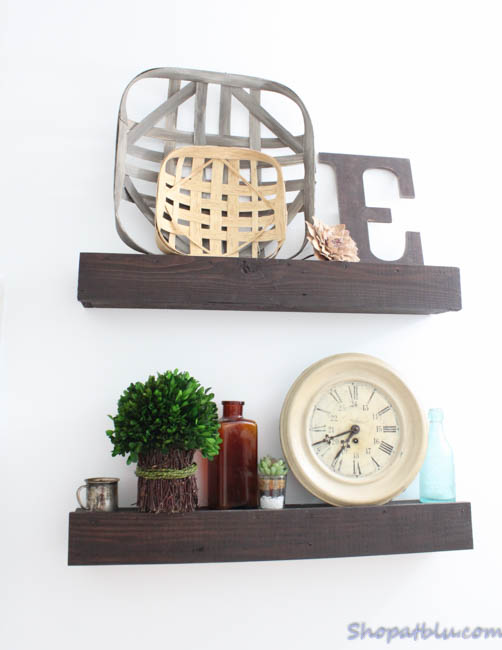
Farmhouse Shelves!
My last impact project was to build farmhouse shelves for over the toilet. I decided on two 29 inch shelves. I could place these on the wall over the toilet and space them about 14 inches apart. This would allow ample space for leaning pictures, small vases, toilet paper, etc. Essentially I was making space in which to place things that I would have the joy of dusting time and time again. But…the aestethics would be great!
The wall shelves are essentially three sided wooden boxes that are secured onto mounting strips on the wall. You can read about my first time building boxes out of pallet wood HERE. This process was similar.
I hit the wood pile again to make some lovely shelves for over the commode…haha, sounds so much better than toilet! And to boot, I splurged on a new toilet seat from The Home Depot. Oh Happy Day! It really is the small things, right???
And after a coat of Java Gel Stain, the shelves were ready to hang.
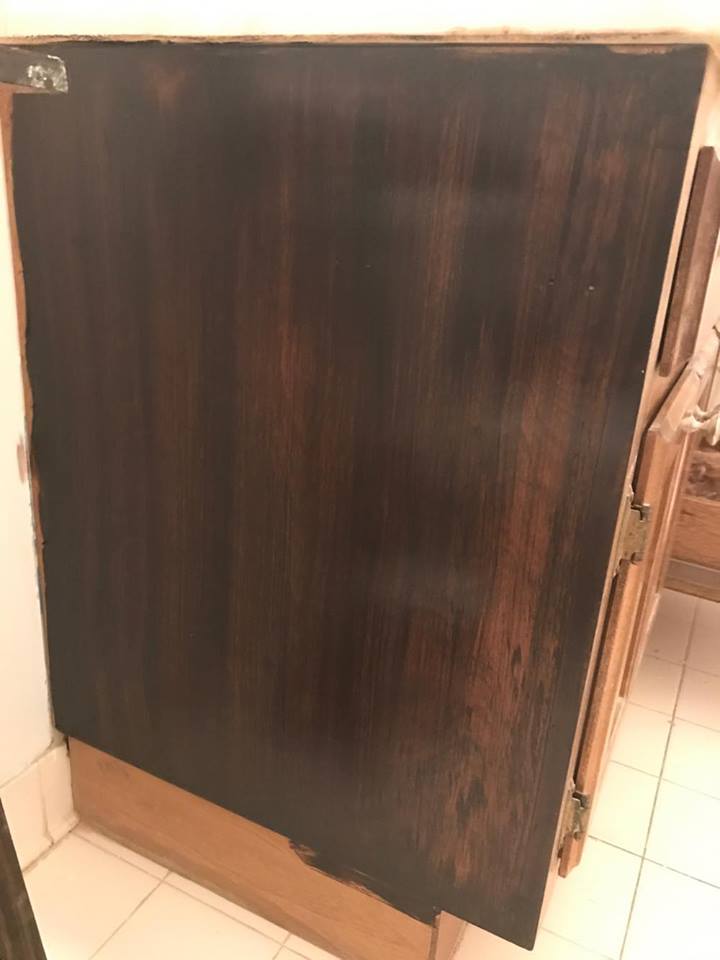
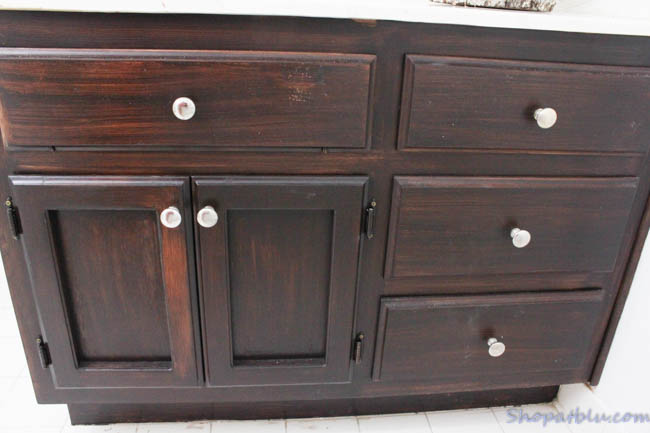
Restain the Vanity!
I grabbed the Java Gel again. After a quick sanding, I re-stained the vanity. Here is picture of the beginning of the staining process.
I still need to replace the knobs. But again, due to budget, I will do this when I come across a great deal. Fortunately for my budget, the knobs polished up nicely.
And the piece de la resistance is this lovely peacock stained glass light that I bought from one of my dealers for…drumroll please…$40!
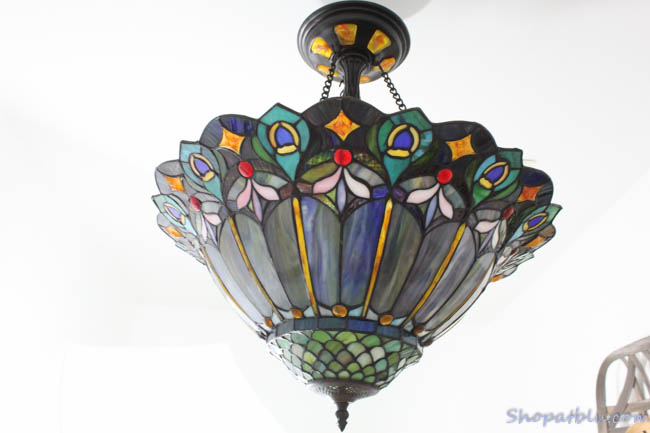
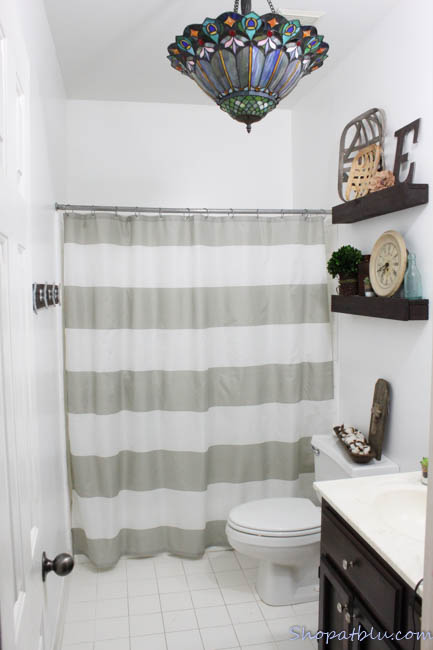
And here she is:
Cost of Makeover
ITEM (I’ve included my affiliate links) PRICE
- 1 gallon of Behr satin paint $26.00
- 1 toilet seat $22.00
- 1 quart GF Java Gel Stain (had on hand from previous project) *
- 1 shower curtain (Amazon) THAT PRICE IS NOT A TYPO $11.49
- peacock light (from The Blue Building Antiques) $40.00
- Misc decor items *
- Total spent $99.49
All of the decor items we mine. This is one of the perks of owning an antique store. I have accumulated alot of items that I use for staging. However, all of these items have accumulated over the course of 9 years. So while I realize that many of you won’t have this volume of selection available, I encourage you to pick up one or two items that you LOVE every now and then. This is exactly what I’ve done. Then you will have a nice selection of items to switch out!
While this project certainly looks quite complicated, it really was not! I finished it in only 2 days! My Sundays are my free days and have quickly become my project days. I broke this project down into multiple smaller projects. While walls were drying, I was measuring and cutting wood. While gel stain was drying, I was touching up the walls. It was alot of fun to watch the dramatic transformation take place one step at a time.
I am sharing this post along with my blogger friends from the Inspired Makers Challenge.
For our September challenge, we’ve taken on (once again) the $100 Room Makeover! All it takes is $100, and 1 room needing an overhaul, update, refresh, restyle, or makeover.

For our September challenge, we’ve taken on (once again) the $100 Room Makeover! All it takes is $100, and 1 room needing an overhaul, update, refresh, restyle, or makeover.
The Purple Hydrangea – Powder Room Makeover Under $100
1915 House – Small Budget Big Makeover Dining Room
Duct Tape and Denim – $100 Bathroom Makeover
Pearl Street Designs – $100 Home Office Makeover
My Thrifty House – Glamper Living Room Makeover
Shop At Blu – $100 Bathroom Makeover
Farmhouse Made – Affordable Dining Room Refresh… for $100
As always, follow along with #inspiredmakers and #inspiredmakerschallenge!


Comments 11
Omg! This is absolutely amaxing and that light fixture is to die for. Great job!!!
You really squeaked in under budget girl!!!! I cannot believe that stained glass light was only $40!!!
Your bathroom looks awesome!
The light was from my favorite dealer who has since moved out of state! It was a sad sad day! Thank you!!!
Thanks Denise! I love the light!
Oh my GOODNESS, Sue!!!!! This bathroom is aMAZing!!! What a huge change!!!! Rock on – and you know I’m digging that light… 😀
Thank you!!!! I’m finally on the farmhouse wagon…always late to the party!
What a transformation!! Your bathroom looks so big and airy now, I love all your decor and bravo on the use of the mitre saw!! Girls with power tools rock!!!