DIY Three Panel Room Divider Refresh
As an Amazon Associate and member of other affiliate programs, I earn from qualifying purchases.
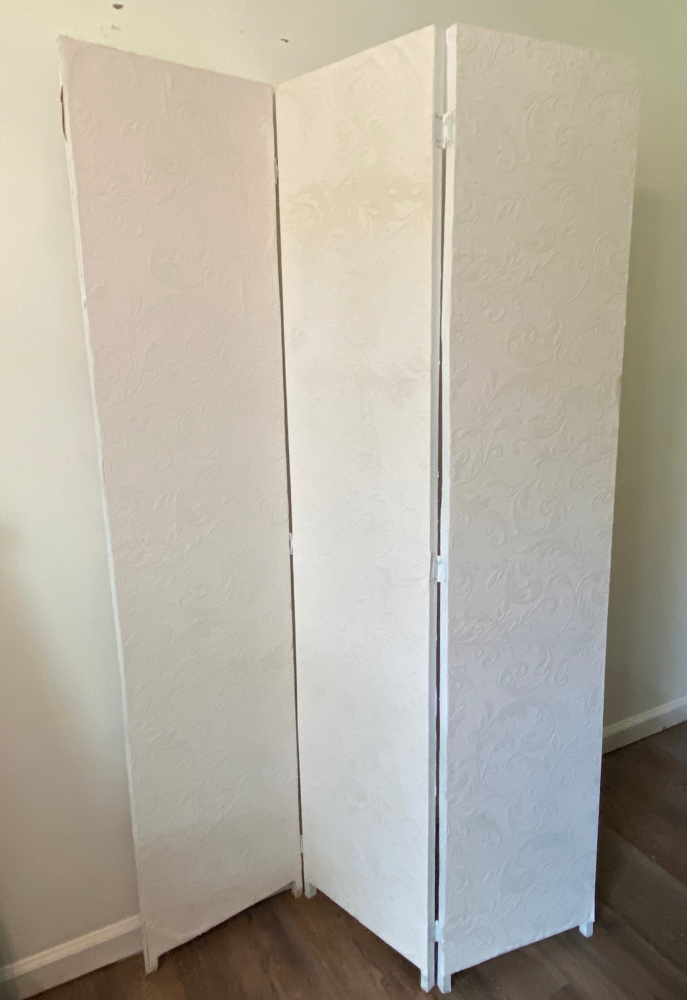
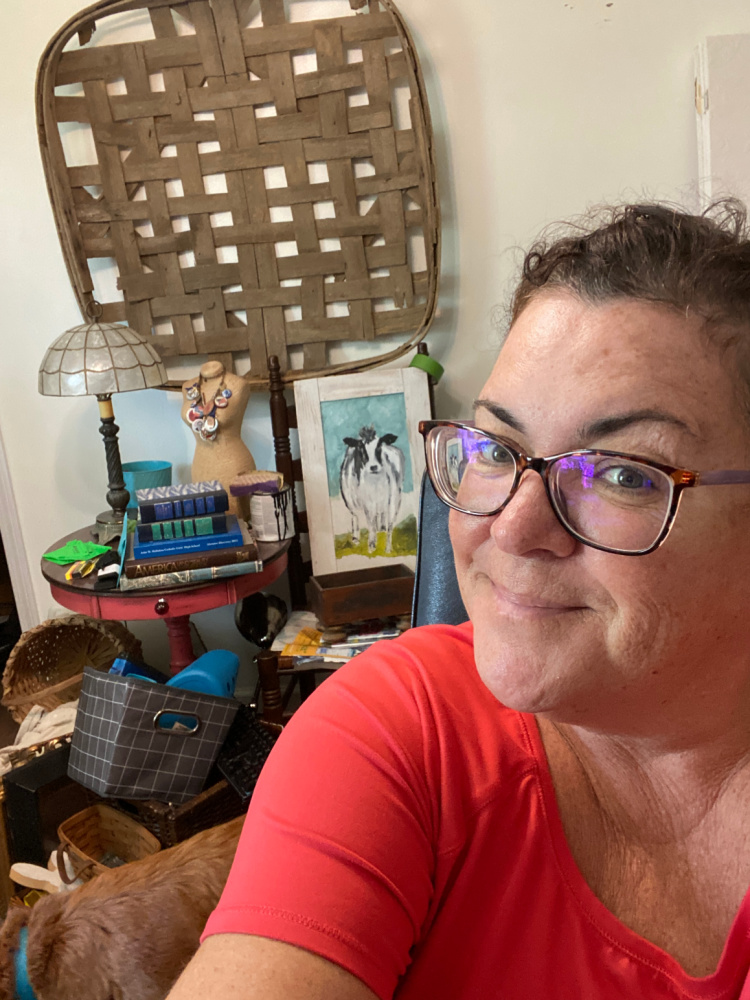
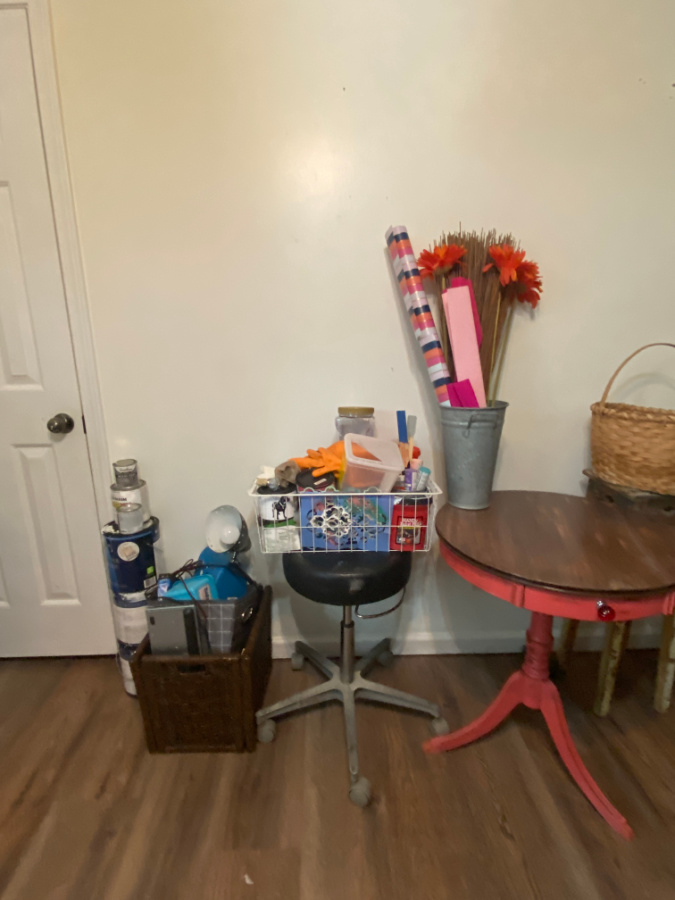
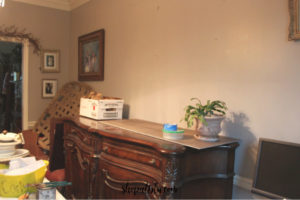
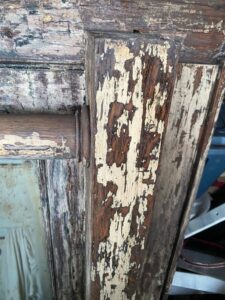
I don’t know about you, but I have a ton of DIY and craft supplies. Having owned an antique and consignment store for ten years, I guess I just have a ton of STUFF in general. To complicate matters, I always have a few projects in the works so there are always staged items for projects. In my never ending quest to become clutter free, I thought I would spruce up an old three panel room divider that I found many years ago at the thrift store. My plan is to make it functional and helpful for my organizing attempts. This three panel room divider will also be handy for celebrations and special occasions. Here she is before I started the refresh:
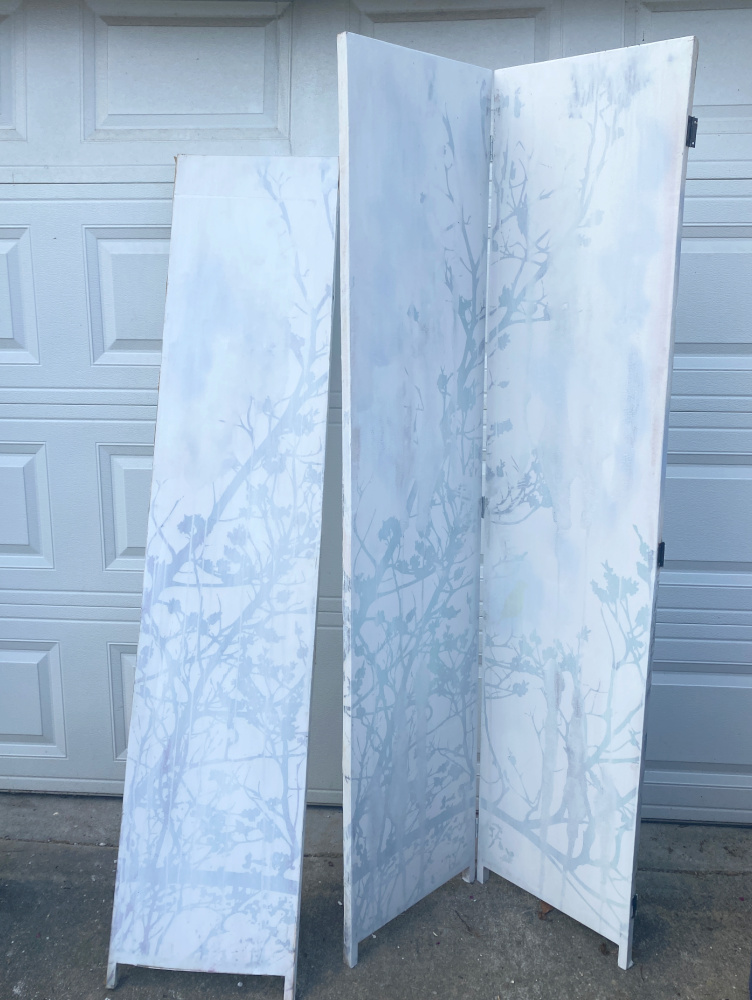
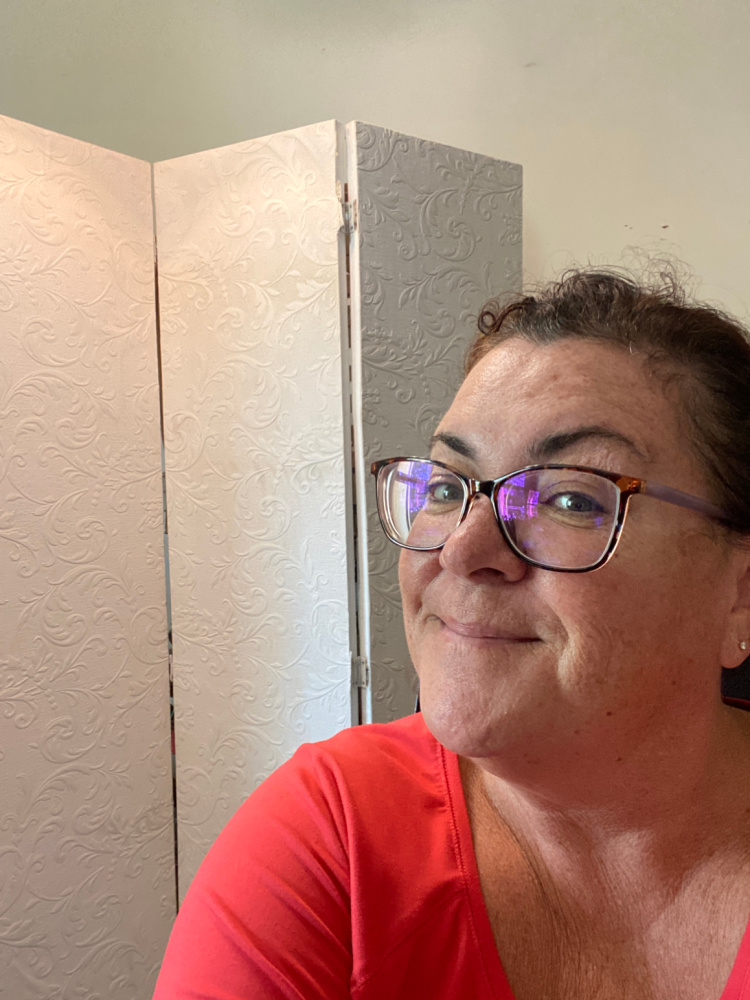
There was a tree pattern on this three panel room divider but I sprayed it with primer years ago. The back of the panel is white. She has definitely seen better days.
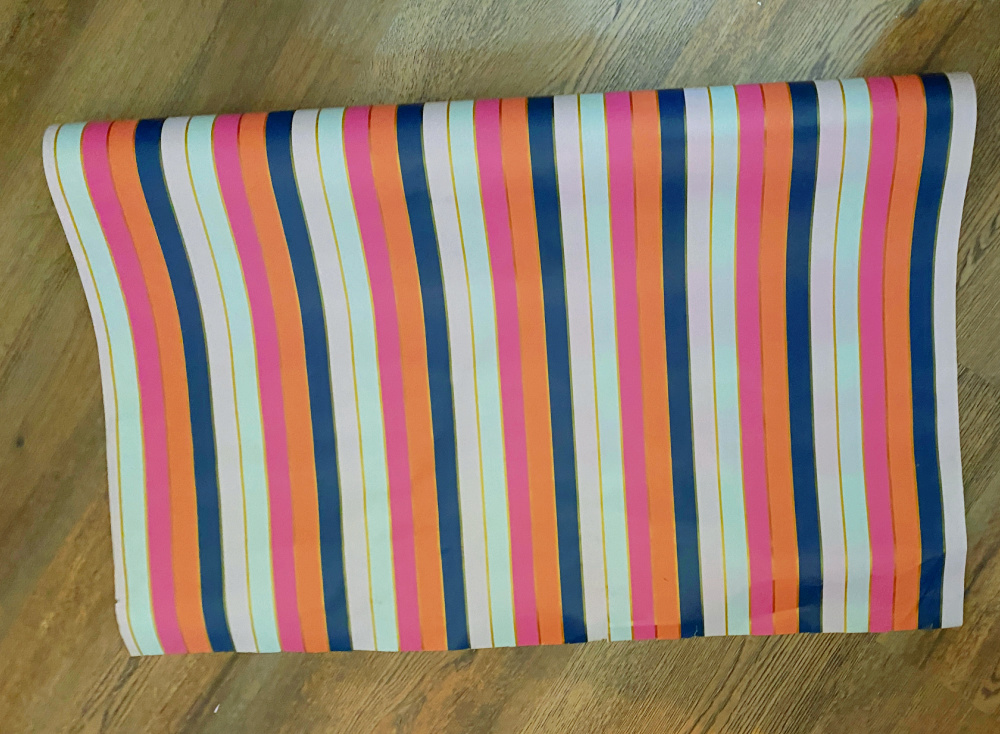
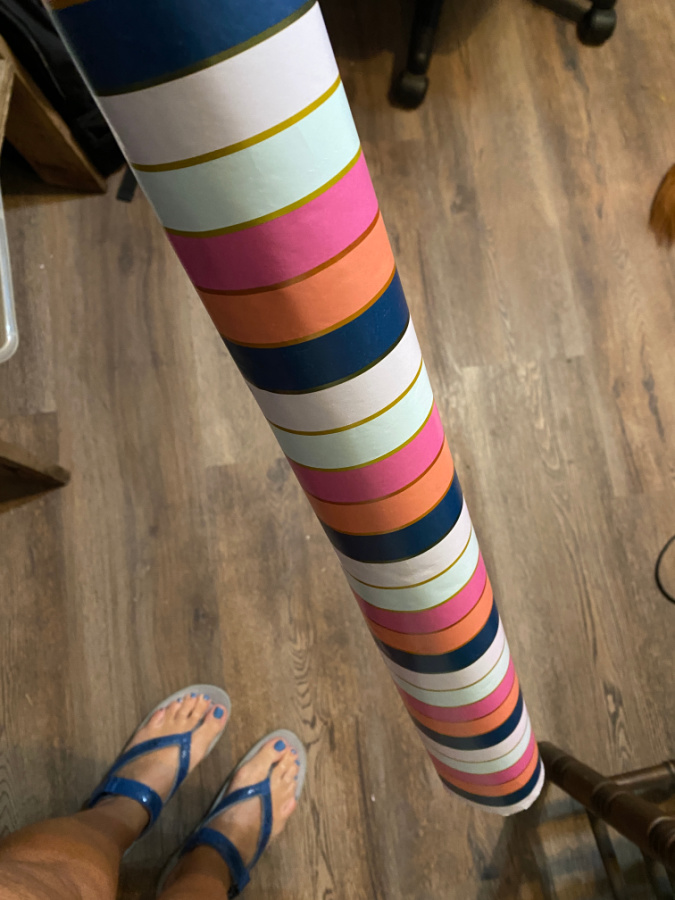
You know I love color. I had grabbed this wrapping paper on sale a year ago with the intention of using it on a tray for my office. I am still loving these vibrant colors so I decided to use this color scheme for my panel.
During the planning stage, I realized at 15 stripes per panel X 3 panels X 2 coats = 90 stripes to paint??That is a lot of stripes. Then you have to consider laying and securing the painter’s tape because, yes, I can paint, but straight stripes freehand? Nope. Lay the tape, prime the stripe, paint the stripe, let it dry, second coat? Again, a hard fast no. The answer was sitting right there…decoupage the paper onto the three panel room divider.
You know what that logo means…it’s Thrift Store Decor Team Wednesday. Welcome, if this is your first visit! Eight of my creative DIY friends and I share one thrifty makeover on the second Wednesday of every month. Wait until you see the fabulous projects for this month! They are linked at the bottom of this post.

Upcycling a Three Panel Room Divider
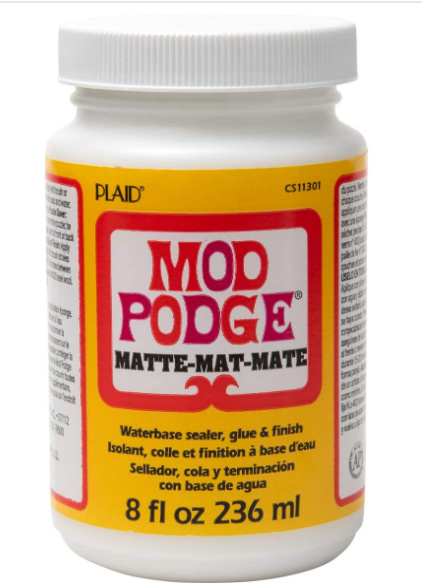
My go to decoupage solution is Mod Podge. I love the easy application and the easy clean up. The product always results in a nicely sealed finish. I will share some of my other Mod Podge projects later in this post.
I’ve never decoupaged such a large surface and I’ve never used stripes. So this would be learning project for me. To avoid a long and detailed repetitive post, you can find detailed tips and application process in the following posts. I will just highlight the things that I learned from mod podging large areas with striped designs.
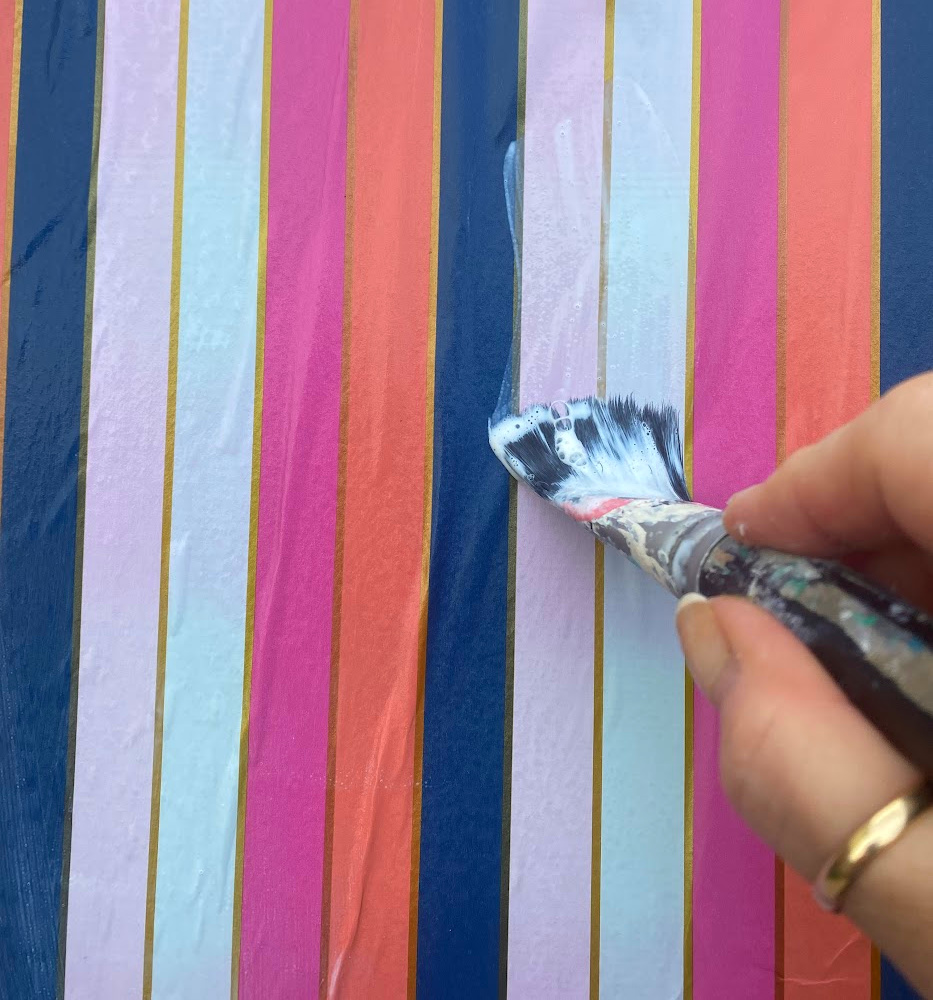
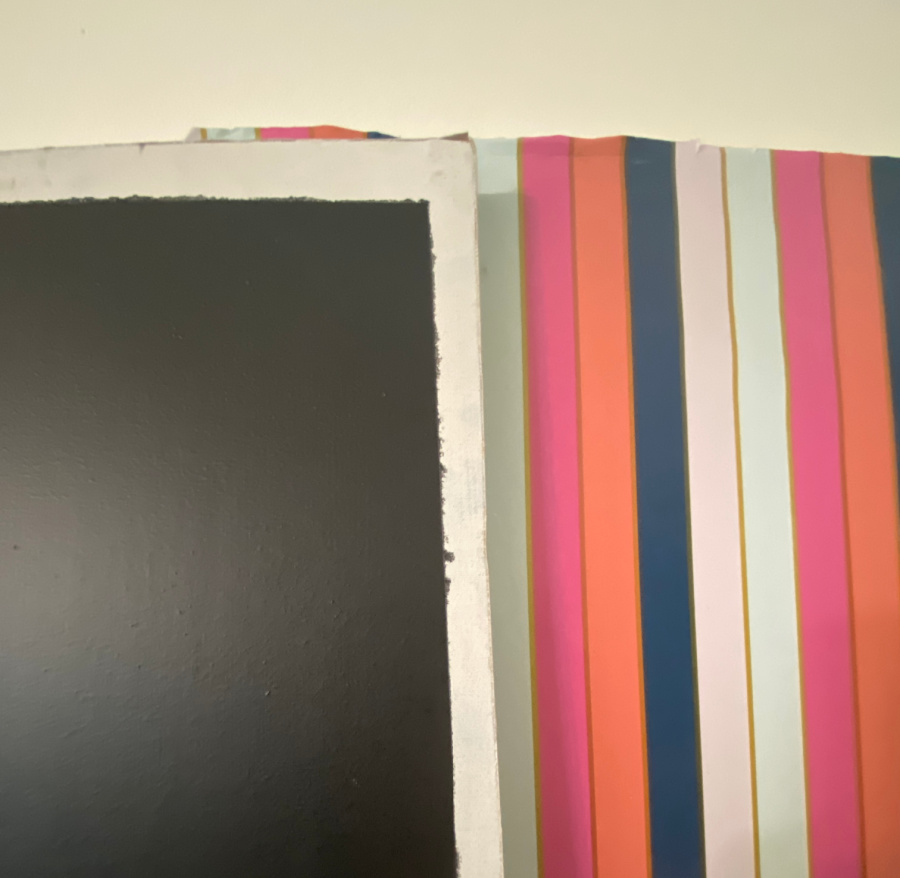
I started by laying the Mod Podge on about and 8-12″ section at a time. Brush the Mod Podge onto the screen and smooth the paper over the area. Hold the roll of paper back and brush the Mod Podge onto the next section. Carefully smooth the paper over the Mod Podge to eliminate bumps and air bubbles. Continue until your panel is finished.
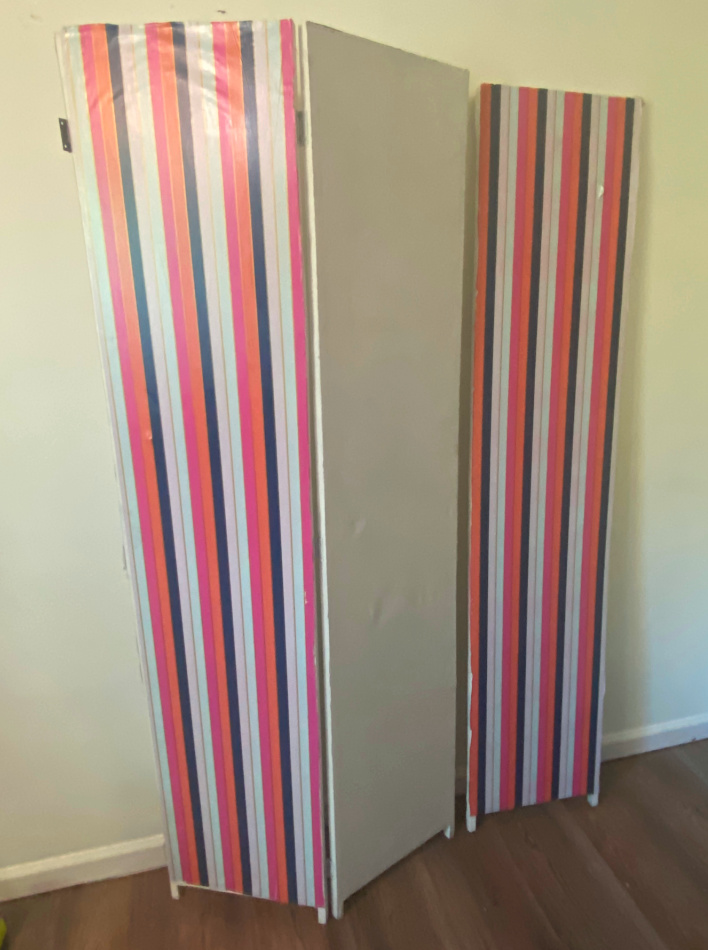
You can see a few of the spots where I rushed the process. See the tops of the two outside screen panels. I had to go back and repair these.
Speaking of repairs, I did have a small tear in the paper when this panel fell over. Also, forgive the lighting variations as I’m trying to master the indoor/outdoor adjustments.
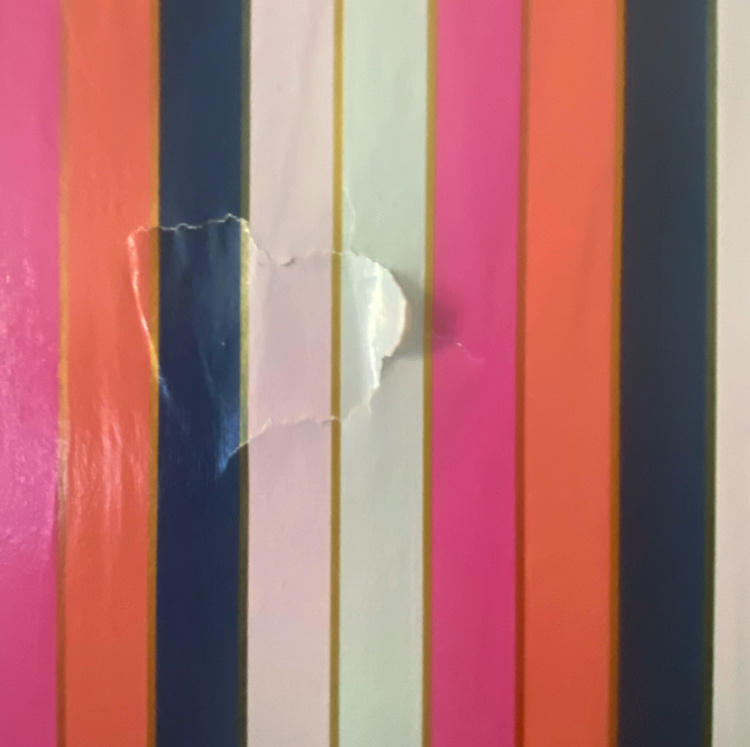
I simply lifted the paper and reglued the area. It’s not a perfect repair, but it will do. It isn’t super obvious in the end product.
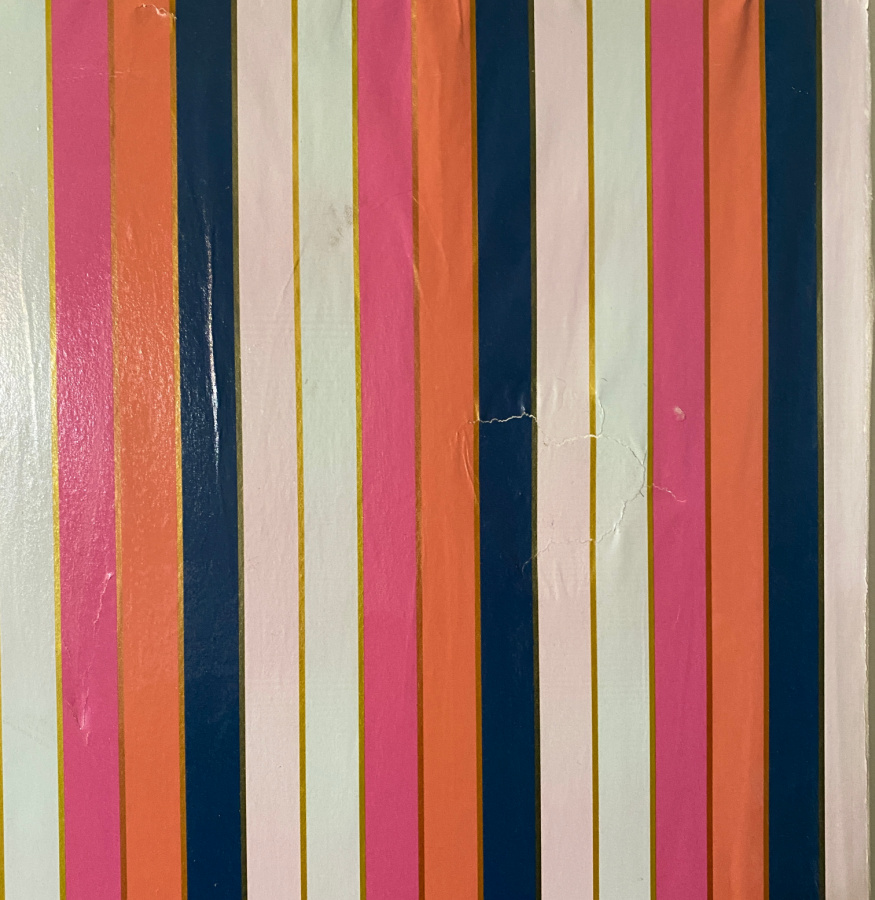
It is a little more obvious close up. But from a distance, it is really hard to see the repair. It works! I also had to resecure the paper at the top of the two outer panels with additional Mod Podge. You can see the inconsistencies in the photo below.
Adding Interest to the Three Panel Screen
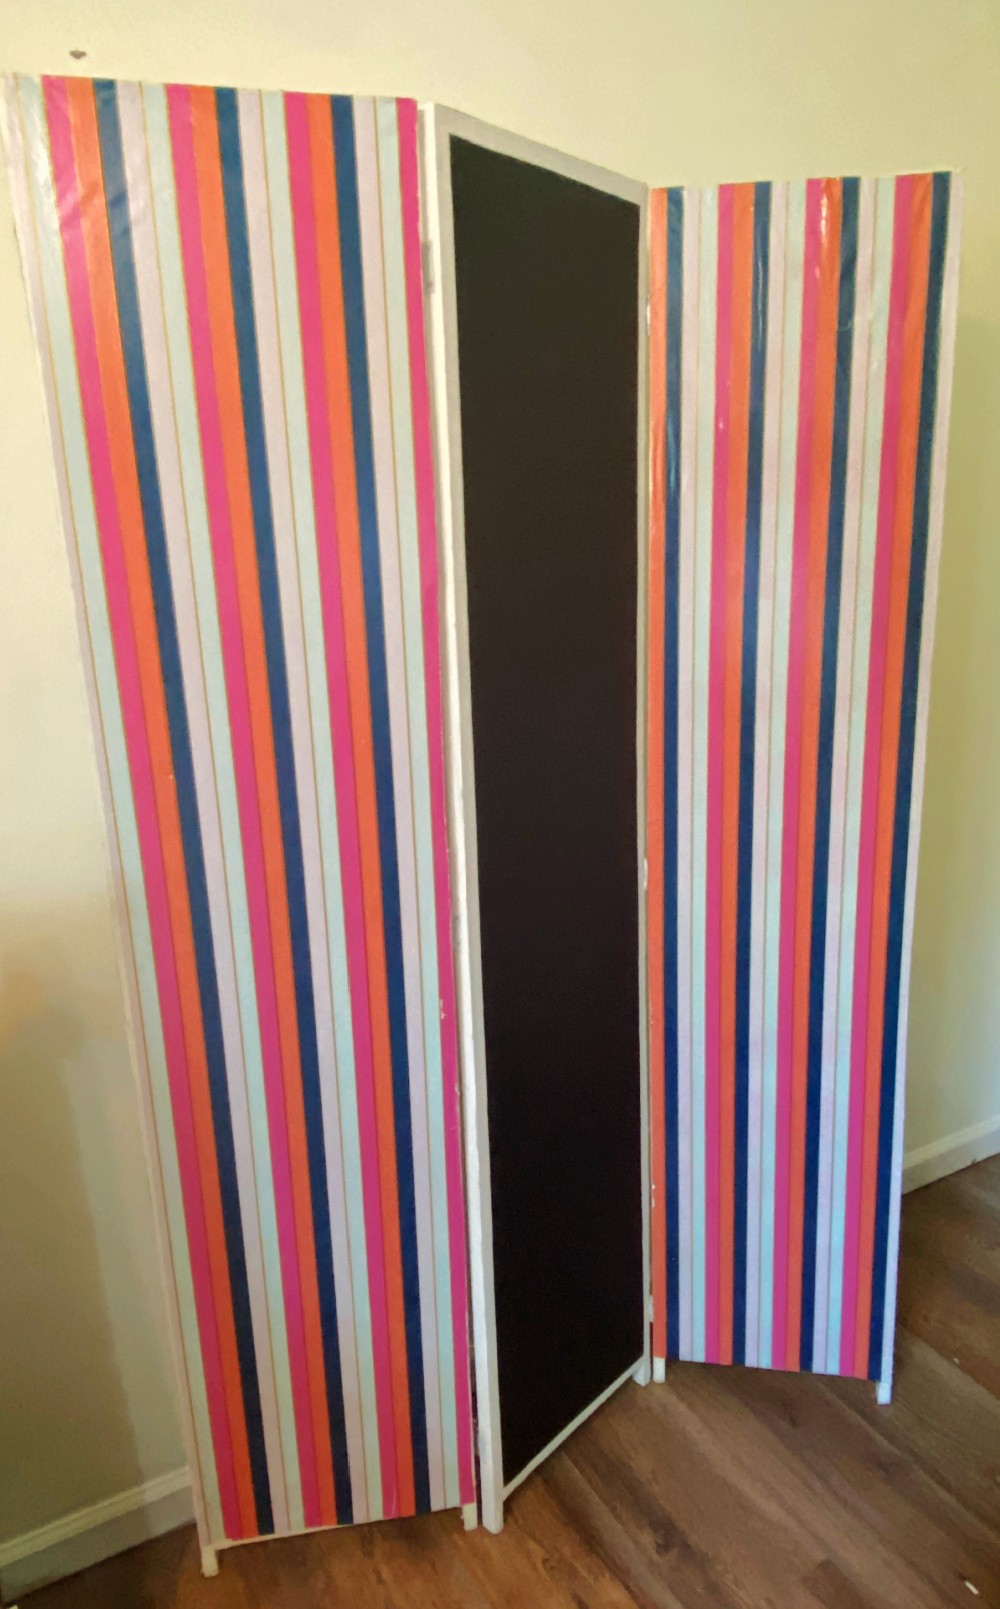
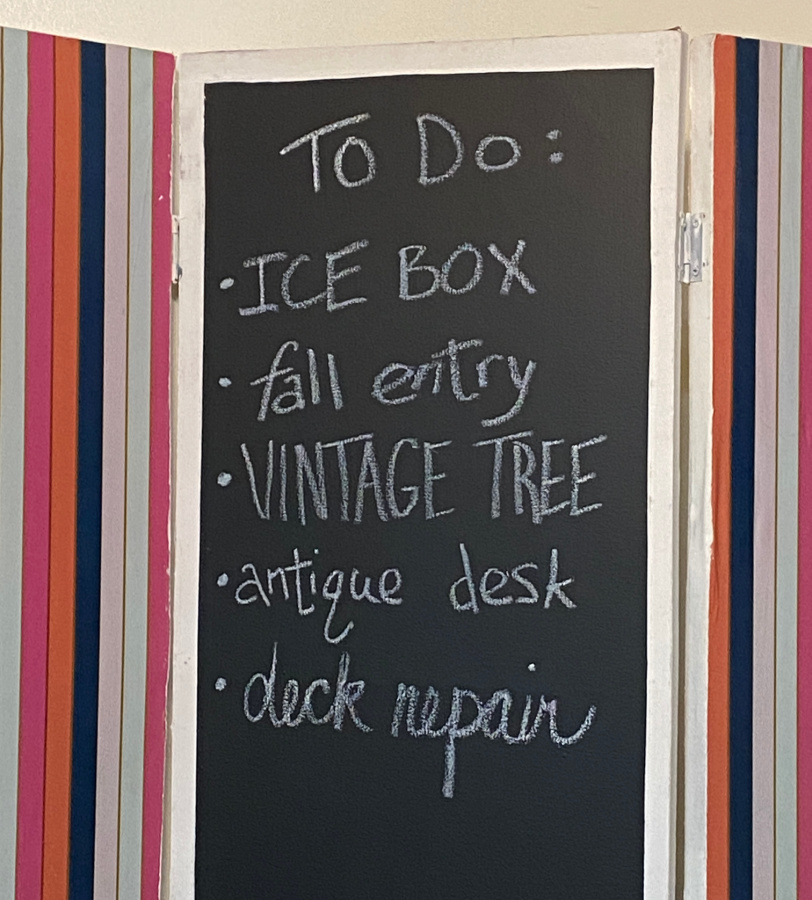
As always, in the midst of this project, I had a great idea! Why not break up the stripes by creating a functioning chalkboard on the center panel? I could use it as a project board and list my upcoming projects on it. And, if used for parties, I could add a special message for the occasion.
So, I taped off the edges with Frog Tape to make a border, and painted the panel with Chalkboard paint.
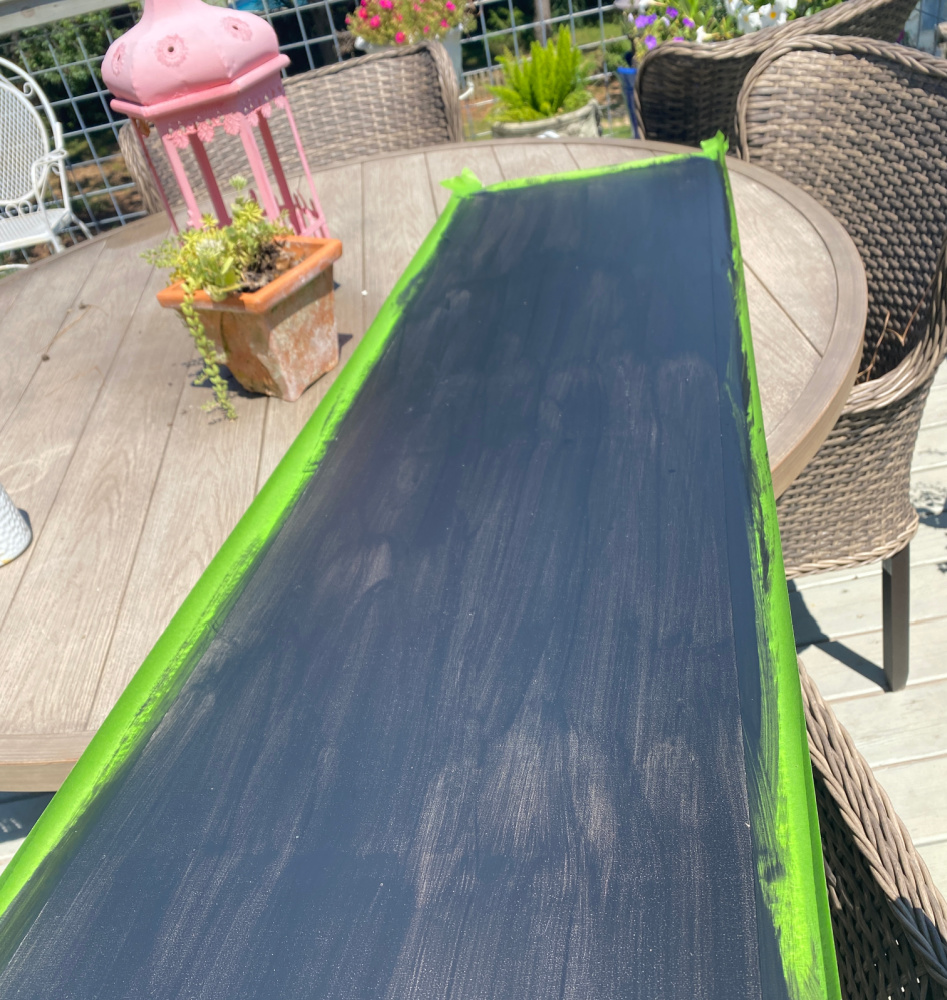
Because the base was white, I needed to apply 3 coats for full coverage.
Even though I carefully burnished the edges of the Frog Tape, I did have to go back and edge the chalkboard panel. I suppose this was because the three panel room divider is made of canvas. Thus, the paint got under the edges of the panel. No worries, though. My Zibra brush is perfect for edging! It is great for edges and straight lines. It’s also of mine favorite for painting trim and baseboards as well.

The final step was to reattach the hinges to complete the screen. Here was my first try:
This assembly would be great if you are viewing the screen from the right. I reversed the hinges on the panels as I will be viewing it from the left. You can easily switch them around as needed.
Why Stop Here??!
And, how about a dual purpose screen? I had some textured wall paper in the garage from a kitchen backsplash project from some 15 years ago (remember I said I have stuff??).
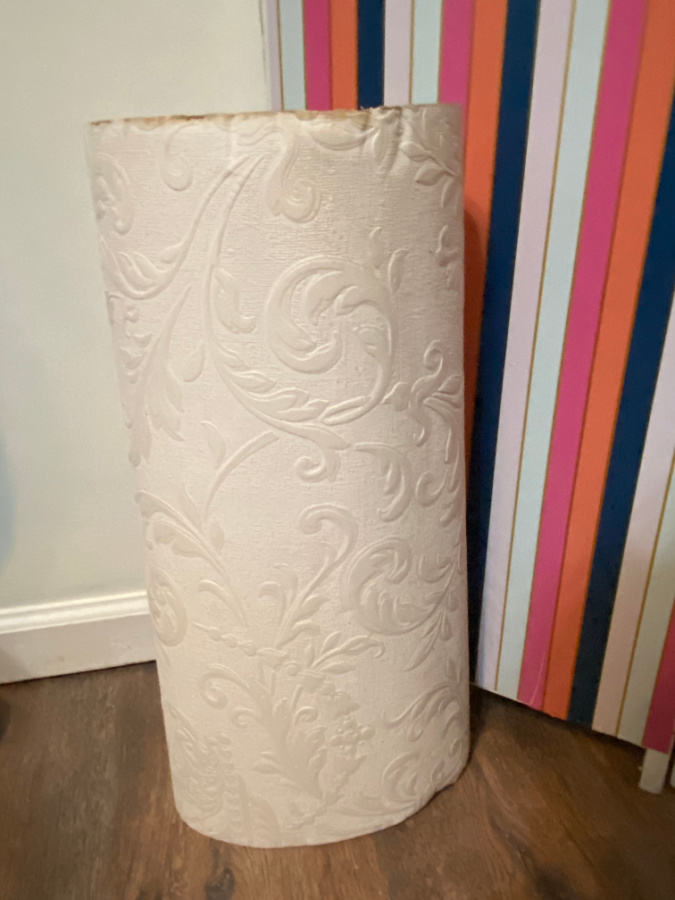
I grabbed it and added it to the backside of the three panel room divider for a more neutral look.
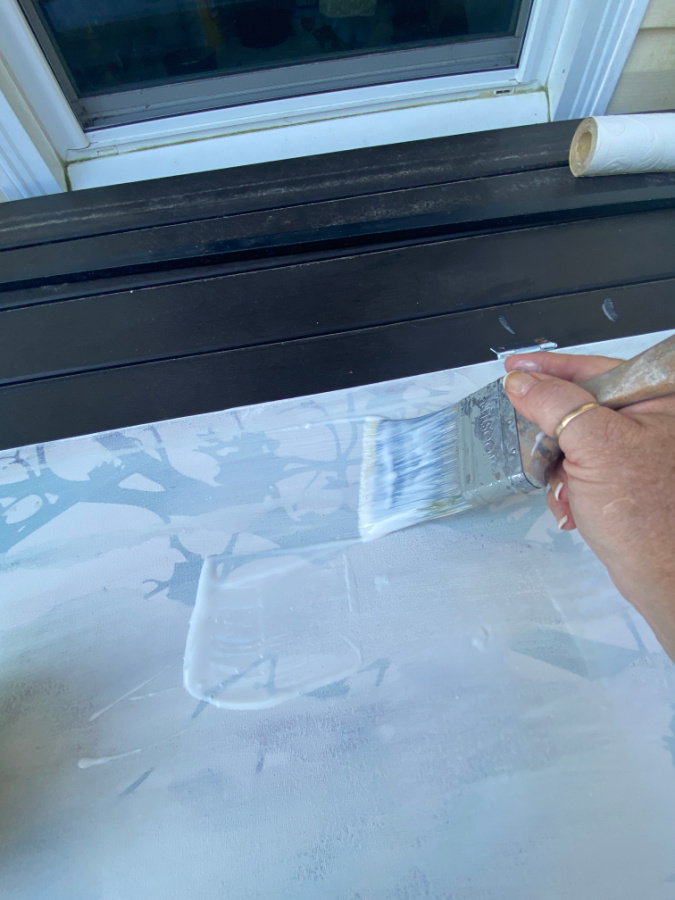
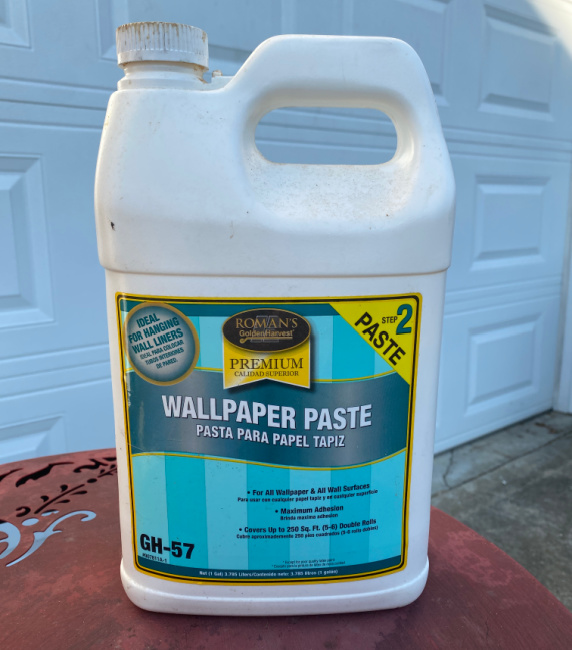
I used wallpaper paste instead of Mod Podge to attach the wallpaper. I had this paste leftover in the garage from a previous project.
Wallpaper has really really evolved over the last 10 years. The selection of colors and textures is unprecedented. And wallpaper is so easy to install these days with the availability of peel and stick or removeable wallpaper. You should really spend some time in a showroom. The variety is simply amazing. How times have changed!
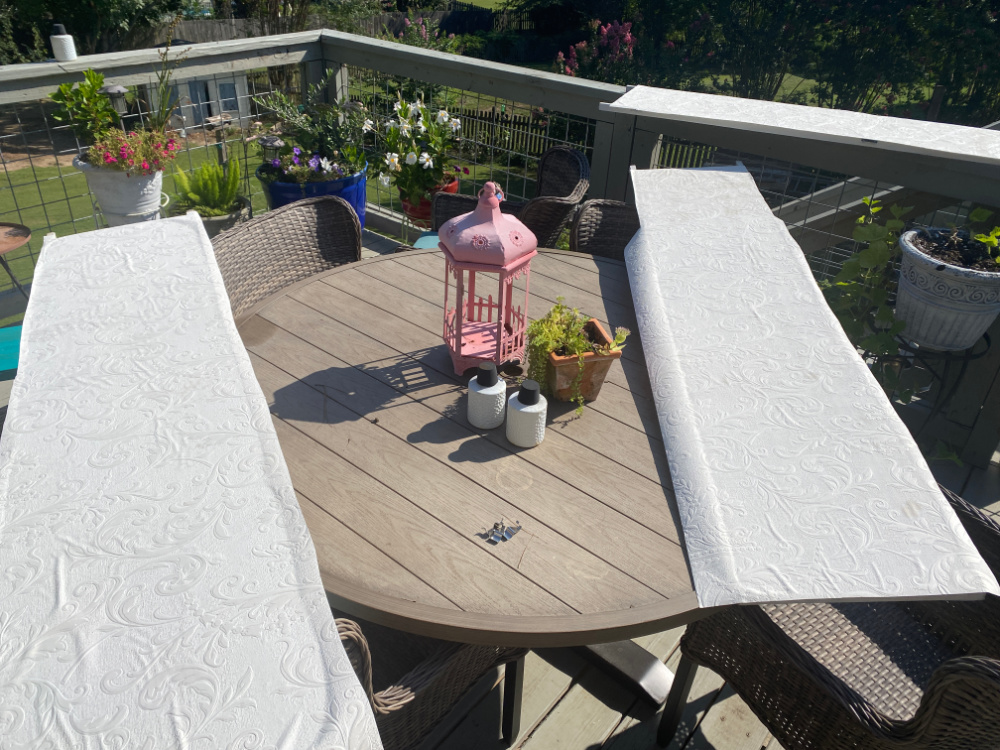
I allowed the panels to dry completely in the sun for an hour.
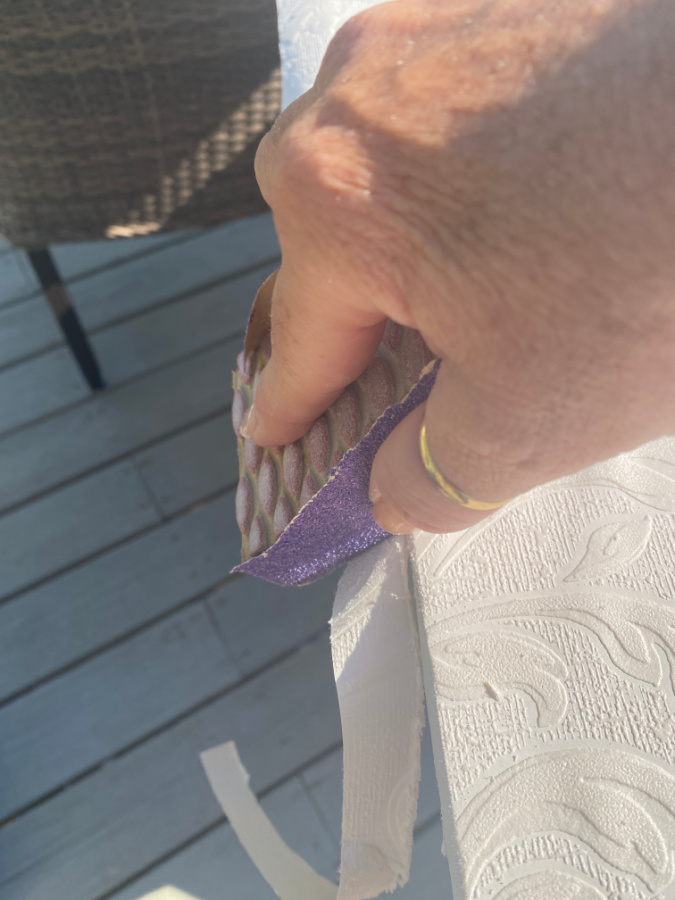
Again I sanded the overage off with a sanding block. And I had to secure a few of the edges with some more wall paper paste.
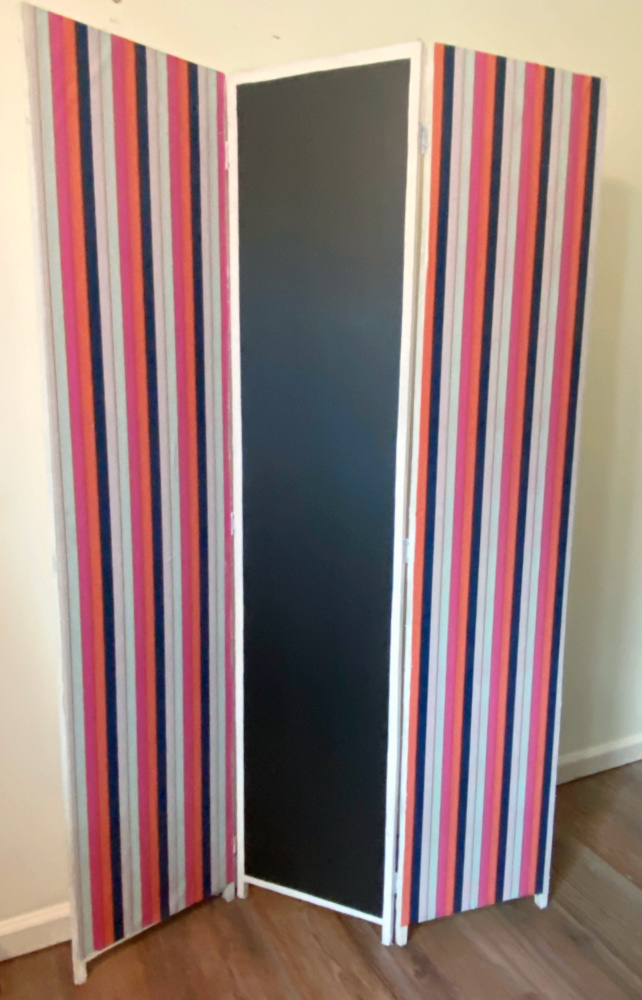
Finally, I reinstalled the hinges. Now I have two options for this three panel room divider: colorful frontside and neutral backside.
At some point, I supposed I will paint this with a nice mix of white, beige and antiquing medium. This wall paper mimics tin ceiling tiles and I love a good patina. What a great project for the future? For now, I am appreciating the stark clean white amidst my cluttered office.
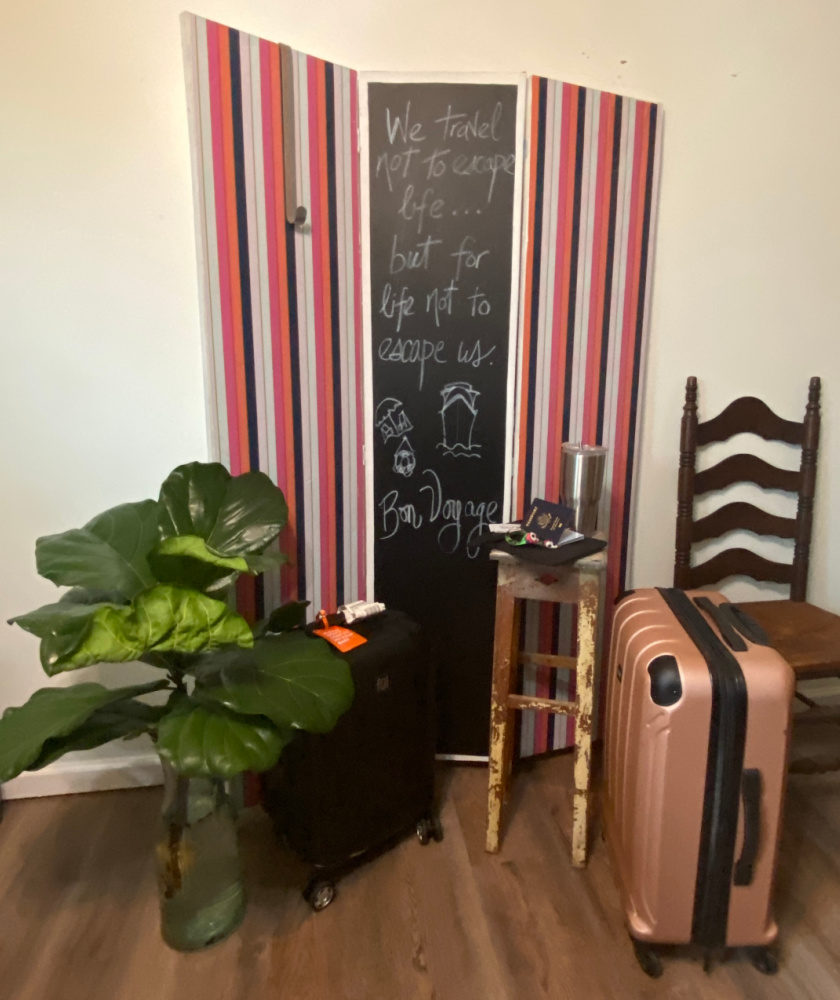
This three panel room divider will make a great staging area for upcoming events like a planned trip or vacations. We moved our travel items into this space as we were preparing for a recent trip. On the morning of the trip our items were centrally located in this spot so we just grabbed our gear and off we went.
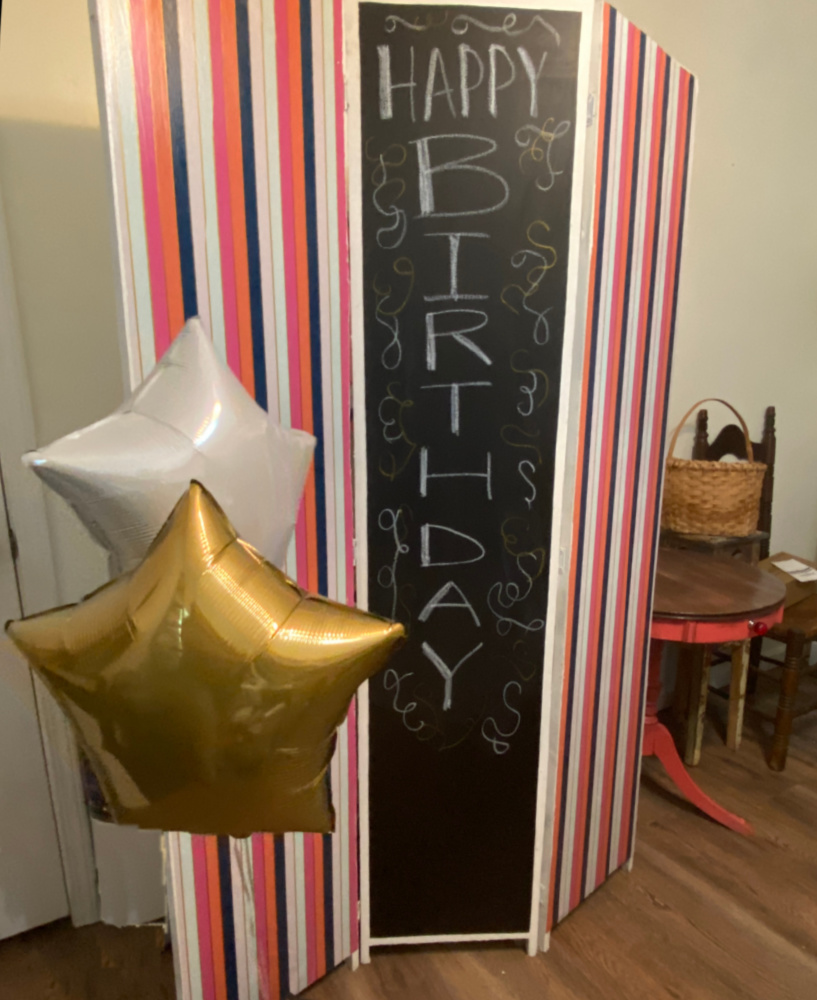
It is also a great focal point for messages and celebratory occasions. Have you seen the available variety of chalkboard markers? Write your messages with better control and fabulous colors. And clean them off with water! Crazy cool.
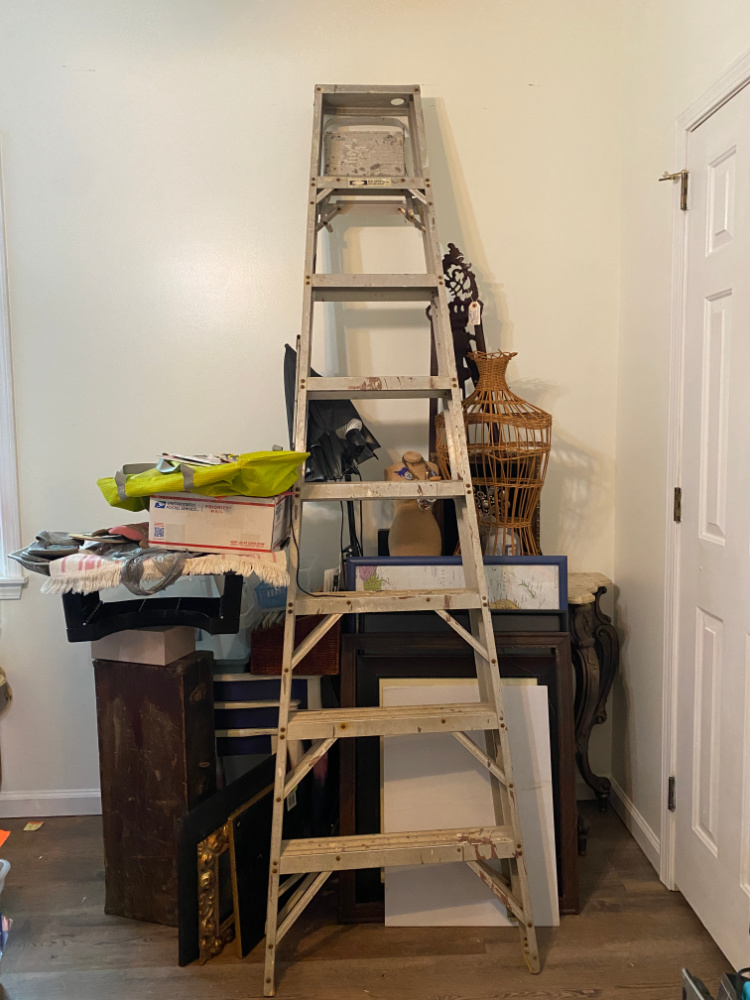
Realistically, though, I will mostly use this as a planner for upcoming projects. I can stage the supplies behind the panel!
This will especially comes in handy for Zoom meetings and work calls when I’m knee deep in a project or have to break from a project due to time constraints. This hide the eyesore of supplies laying in wait.
Instant camouflage! So quick!
I realize that I am just hiding my supplies, but sometimes you just need a break. Or a new view. Once a month, I do spend a few hours sorting and storing supplies back to where they should be in the closet or the garage. But in the meantime, it’s nice to be able to mask the clutter until I can tend to it properly.
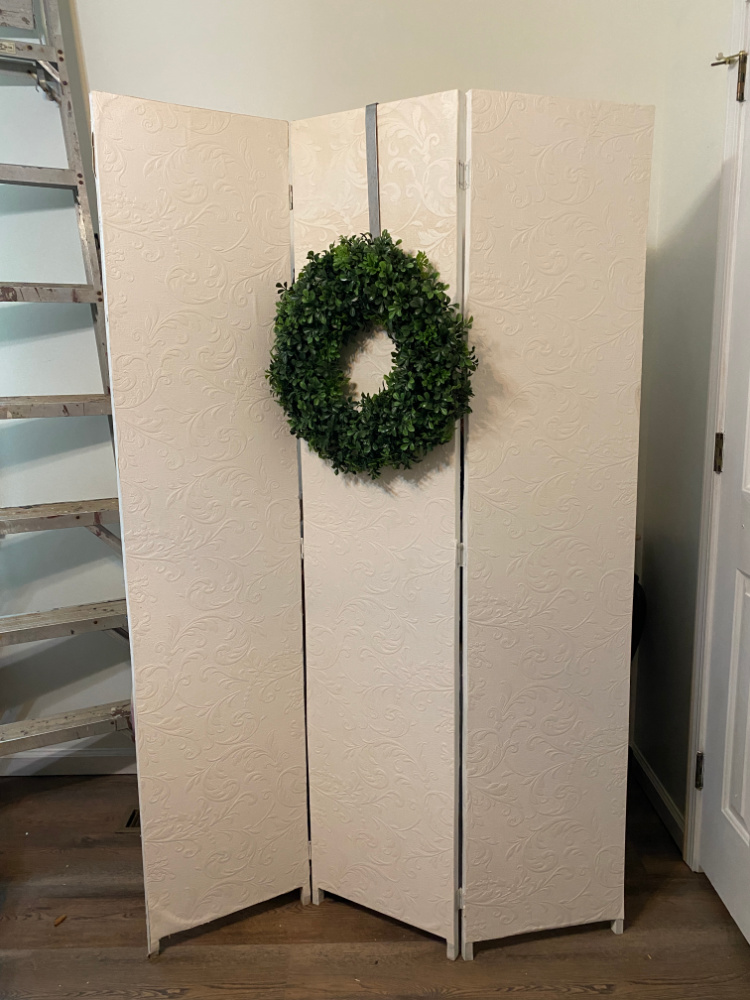
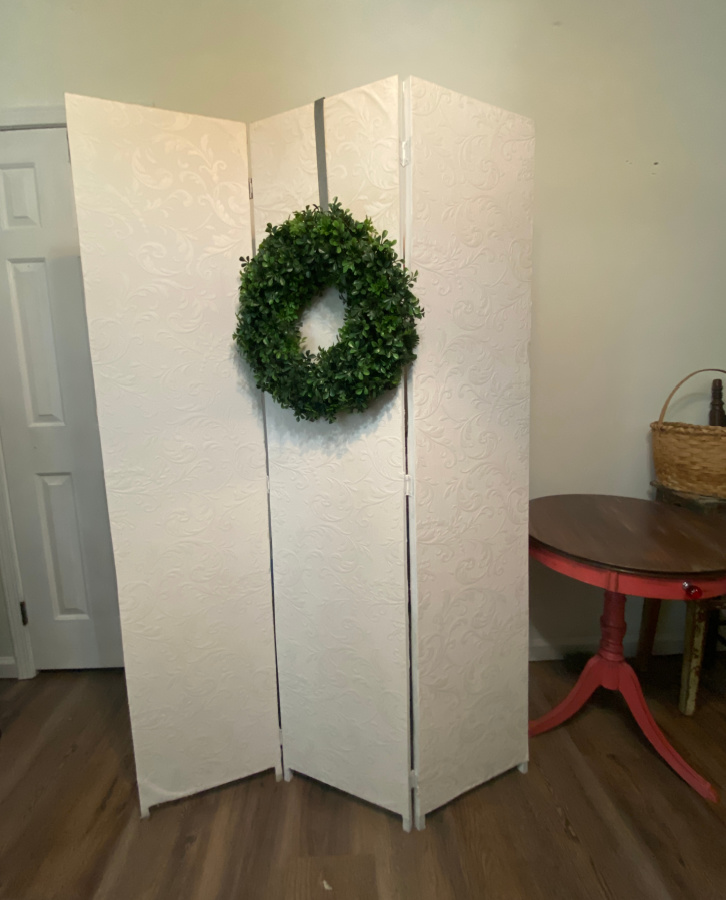
You can dress up your trifold panel with a wreath hanger or two.

Bonus…I still have some of the striped paper left to finish that tray that was the original target for this paper.
Thrift Store Decor Team
As promised, here are the projects from my fabulous teammates!
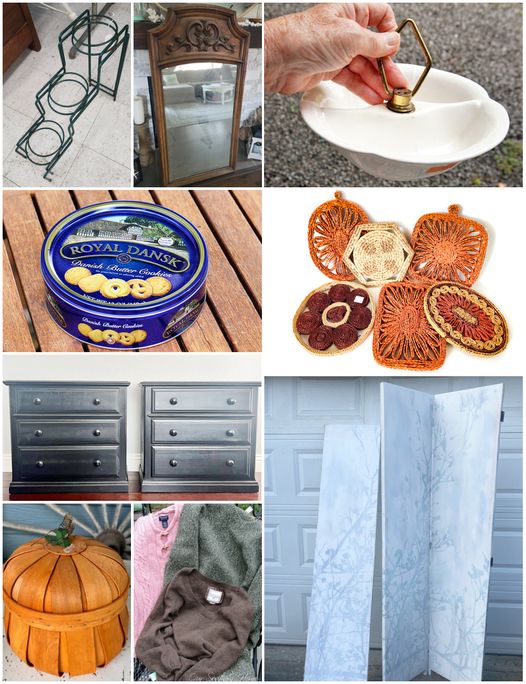
Three-Tier Wrought Iron Plant Stand for Fall My Repurposed Life
Easy Modern Mirror Edge Domestically Speaking
Hanging Candy Dish Petticoat Junktion
DIY Bird Feeder House of Hawthornes
Pumpkin Decor from Straw Trivets Sadie Seasongoods
How to Make A Painted Surface Look Like Wood My Uncommon Slice of Suburbia
DIY Three-Panel Room Divider Refresh Shop At Blu
Thrifted Pumpkin Basket Makeover Organized Clutter
DIY Felted Leaves Our Southern Home
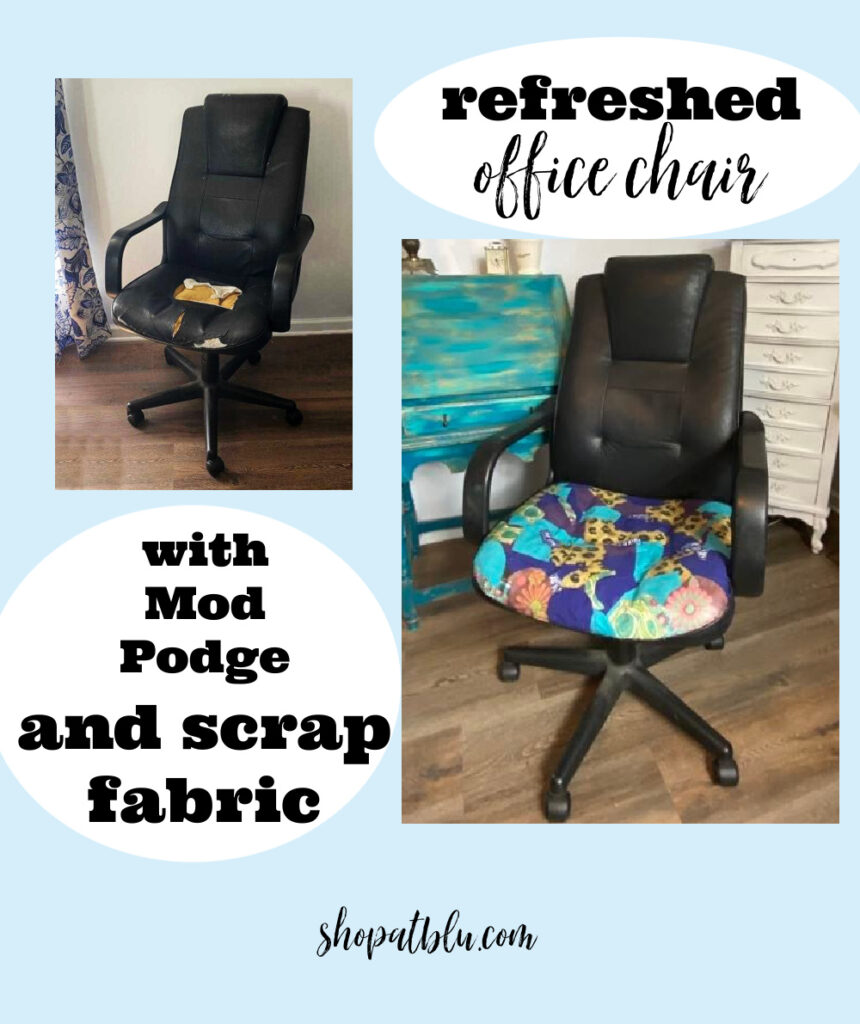
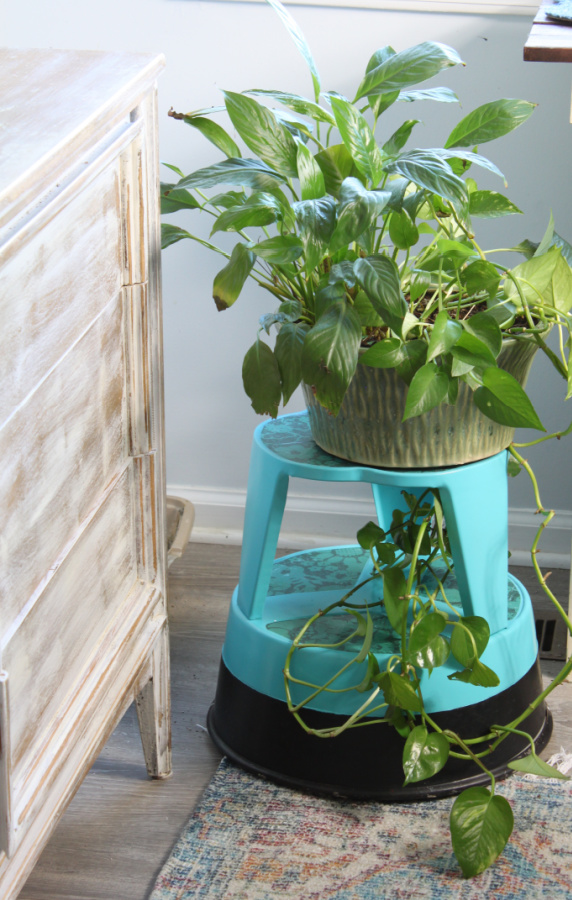
More Mod Podge Projects
And here are some of those other projects where I decoupaged with Mod Podge. I hope you find some ideas and consider trying some of these new products.

What a great update!
Thanks Maryann. Hoping it helps but it sure is pretty!
This is awesome, I love how you used both sides for different affects and what a great idea to have a chalk board on it as well, super clever! Now I wish I hadn’t gotten rid of my mom’s divider.
Haha, Kristin. That’s why I have so much clutter…FOMO on future project that I don’t have time for.
Way to go Suzanne! Craft clutter…. it’s everywhere around here. I guess it’s par for the course given what we do, eh?
I love the addition of the chalkboard. Super cute.
gail
pinned!
Ain’t that the truth! It is a never ending battle. Thanks Gail!
What a great idea for staging or just hiding a little mess! And reversible too.
Thanks Carlene. I can use all of the help I can get.
Look how clever you are! I love that you have a totally different look for each side. I could use one in every room. I have stuff everywhere. I love the idea of using it for zooms.
Thanks Christy! When time is no longer a luxury, You need to find ways to hide the clutter until you have time to reorganize.