I’ve been painting furniture since I can remember. I honestly can’t even remember my first project…it’s been that long. I painted my kitchen cabinets in the first house Mr. Blu and I bought back in 1990. I used a roller. The first time I used a paint sprayer was to paint my oldest daughter’s bedroom Pepto Bismal Pink in a cute little bedroom in a wonderful old farmhouse we rented in Williamsport PA. Besides the radio-active nature of the color, the most memorable part of that experience was the ear-ringing that resulted from listening to the Wagner Power sprayer operate…bang bang clang clang. I can still hear it! It was loud and sputtered terribly. I was determined to finish and I did but it was not pretty at all!

Since then I have longed for a fine finish sprayer that could be used without ear plugs and that was…and this is key…AFFORDABLE! This is critical for someone like me with five kids and a small budget! I always end up in the paint sprayer aisle in Lowes and Home Depot ogling the equipment. I compare models and the prices always cause heart palpitations. As my business began to grow and I was sought out by customers to paint their furniture, I knew it was time to invest in a sprayer.
I pulled out the old Pepto Wagner sprayer. Perhaps my memory was bad and it really wasn’t such a difficult tool. I plugged her in and…NOPE…good memory, horrible tool. I figured after 10+ years the product surely must have improved.
So off I went to Lowe’s. At this point I was painting ALOT of custom furniture for clients and many pieces for sale in my newly acquired store. Naturally I started with Wagner since that was the brand with which I was most familiar. I realized that I probably needed a more industrial unit so I decided to try the Wagner Pro Coat unit.
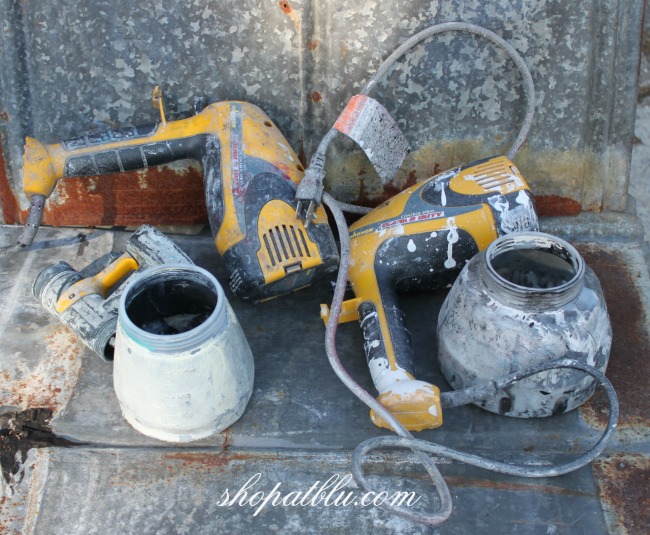
It had a really cool spray gun just like the expensive pros so I figured why not! It provided a wonderful finish but used a TON of paint. I had to be careful because the paint went on in very thick coats. Initially I had lots of runs and drips but was able to keep the gun moving and this helped reduce a sloppy finish. I realized that it was probably for painting drywall and rooms but the price was right and I needed something that would last. Look at the length of that cord…that baby had to fill with paint before I could start my project. Waste! Waste! Waste. But I probably would have continued on this path has the plastic components not broken…several times. Frustrating! Several calls to Wagner Customer Service but they had no resolutions. I even exchanged one but the same results. The plastic components just were not durable. Very disappointing!
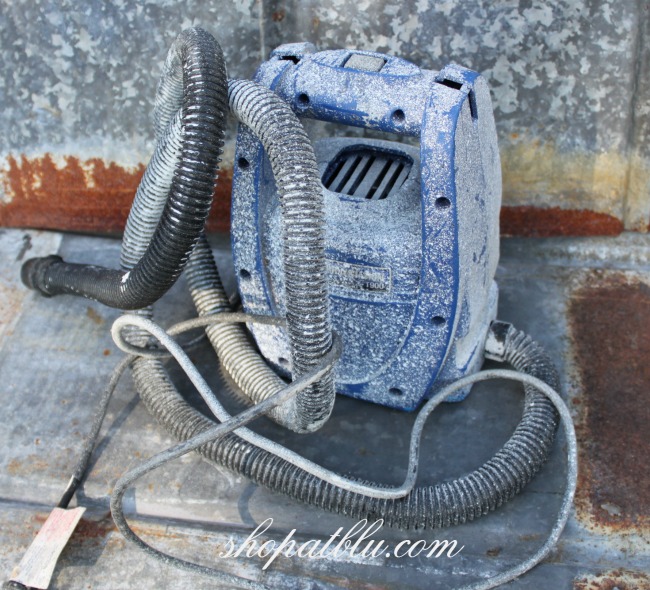
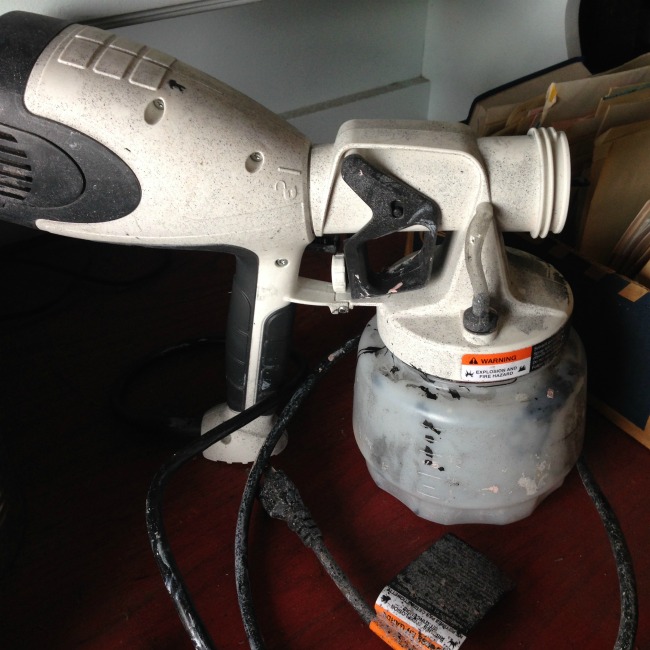
Next I tried a Graco Spray Station. It looked like it had some thought behind it with this cute little mini station with the air hose. And it was light and affordable so I bought it. It worked for about a week but then the paint began to splatter and spit. The finish was horrible!
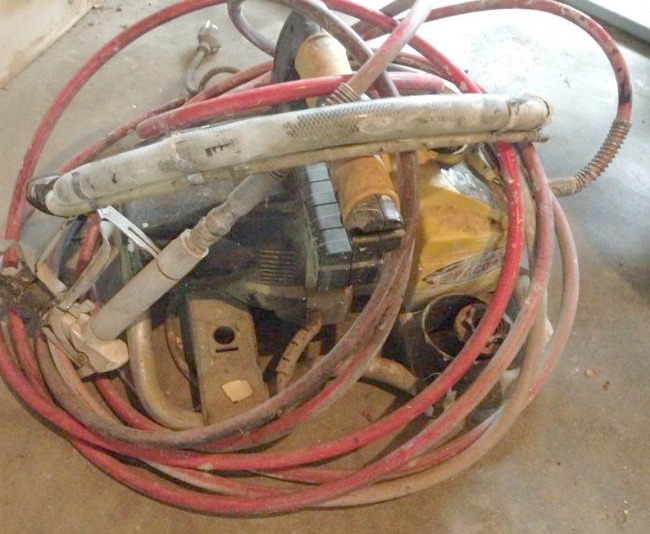
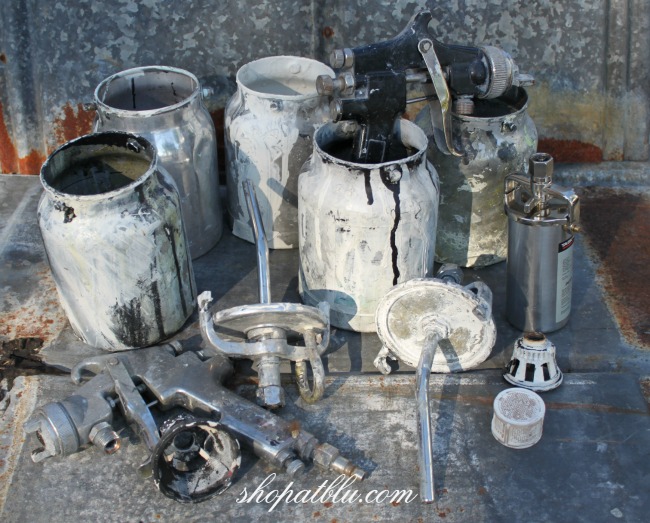
Well, I thought I might need an industrial unit so I bought myself a big girl compressor, you know the kind that takes 4 large men and a horse to load in your van. I educated myself on accessories and I was in business. I found a discount hardware store in my area (30 mins away) that sold the canister spray cans for $14.95 which was definitely affordable. My problem with this unit was that they must be kept very clean. Because I have a retail store, I would use it daily but stop to wait on a customer and then resume painting 15 minutes later. Sometimes it was an hour later. In the Alabama heat, this causes the spray guns to clog and clump and need to be cleaned. Cleaning means total disassembly and there were a ton of parts to these buggers. Usually I would just hit my favorite little discount tools supply and buy another for $14.95. But then I blew up the air compressor. I just couldn’t justify replacing this $250 unit even bi-annually so onto find another paint sprayer.
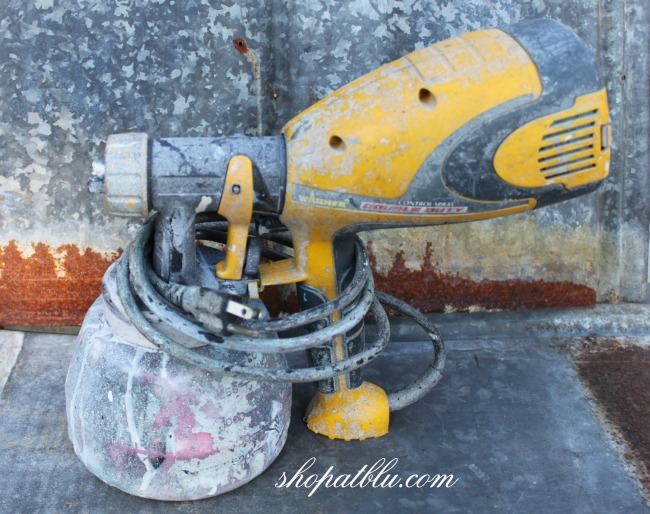
After months of not painting, I went back to see what Wagner had available. Finally, I tried what looked like a nice unit and was reasonably priced…Dual Duty by Wagner. This became my go to paint sprayer for about 3 years. Unfortunately, it did not hold up well and I ended up replacing this unit just about every 8 months.
In July 2013, I had attended my first Haven Conference and was enamored by the Homeright booth. Still being brand spanking new to this world of DIY’ers, I timidly spoke with the Homeright rep and asked some questions. This sprayer was light, compact, and easy to use. Yup, I decided this was the tool for me. So I kept my eye on Homeright. A few months later I stumbled upon Gina Luker’s blog, The Shabby Creek Cottage. Gina had done a post on the Homeright paint sprayer. Homeright was now on my radar.
At this point, I was still using my Wagner Dual Duty spray gun. I suppose I was on my second unit at this time. I was still rather satisfied with the ease of assembly and use of this product. However, after a few months, it would splatter and spit and become impossible to use regardless of how carefully and thoroughly it was cleaned. So I bought another.
I attended my second Haven in August 2014 and was a little less shy in speaking to the Homeright gals. They were very helpful and I was excited. They gave me an Easy Twist Paint stick to try! It was fabulous. This led to one of my very first posts and you can read about it here. Don’t laugh at the horrible pictures! I said it was one of my first posts!
I was probably on my 3rd Dual Duty when I realized it was nearing the end of it’s life. So I went to my local home stores but could not find it anywhere! I finally searched ebay for the Dual Duty. I found it for $65! So I bought it. Months later, same scenario but different outcome. Wagner had discontinued the Dual Duty and the price on ebay had risen to $150-$200 per sprayer. What?? No way! The apparent replacement for the Dual Duty was the Wagner Paint Ready Sprayer.
It was the closest likeness to the Dual Duty in size and price. It had more parts to assemble after cleaning and was a little bulky. It worked ok the first few times of use. And then it was horrible. It sputtered and sprayed too thick of a coat which ultimately resulted in drips, runs, then sanding, then touch up. It clogged continuously and splattered horribly even when the paint was diluted. I was officially on paint sabbatical! My business was at a standstill. I hated to resort back to a roller…so bulky and labor intensive. I was lost and stalled and going through painter’s withdrawal!
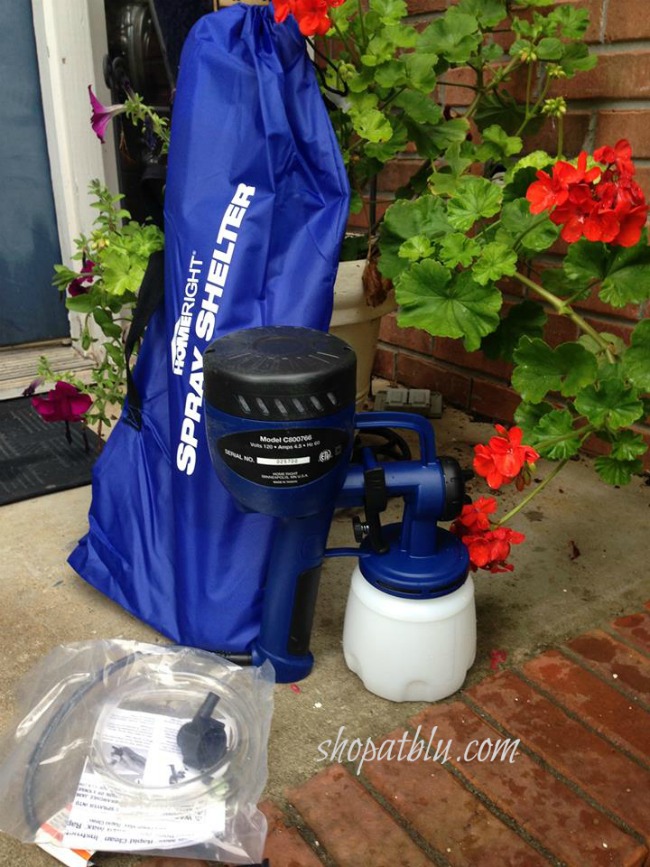
As fate would have it, Debbie Westbrooks who blogs at Refresh Restyle was running a contest on her blog. The prize: none other than the cherished Homeright Finish Max Fine Finish HVLP (high volume low pressure) sprayer! I entered and guess what??? I won!
Later that same week, I headed off to my 3rd Haven Conference! I spent some time with my friend Gina Luker and got to chat with Laura in the Homeright booth. I told her how excited I was to have won the Finish Max. We chatted about my business and how handy the sprayers are with painting absolutely any item. I told Laura the story of my history with Wagner and how disappointed I was in their products. Laura insisted that I take the Finish Max Pro Fine Finish Sprayer along with me to compare the two units! Can you believe that?
I have used both sprayers over the past few months and they are both superb! I would highly recommend both products. Below are the most impressive facts:
- Both units are super easy to assemble and fill with paint in preparation to paint.
- Both sets of instructions are thorough.
- Both units provide a smooth and even finish. I call it a factory finish because it mirrors the finish on high end furniture that you find in elite furniture stores.
- Clean up is super easy for both units. Homeright has a clean up kit that attaches directly to your faucet for easy clean up. This is a simple tool but absolutely genius!
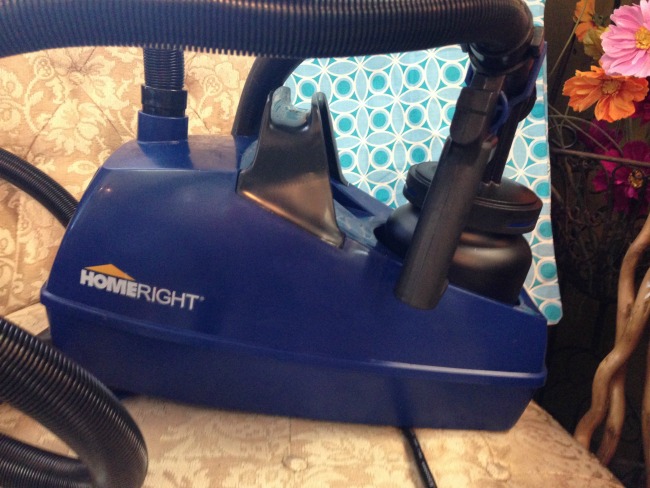
- The Pro version is a tad bit smaller due to the motor being housed in the docking port as opposed to being located on the hand sprayer itself. This feature gives the Pro the definite advantage in painting items like bookcases, cubby units, china cabinets, and other areas where there might be limited space to turn the sprayer for an even flow and application.
- The Pro is a little easier to clean as well only because you don’t have to worry about keeping the motor dry as it is housed in the base unit.
- The Pro is also a bit lighter because the motor is not attached to the hand unit. Additionally, both units are substantially lighter than all of the Wagner models I had previously used.
- Both units provide a smooth professional finish.
- Both units perform with minimal overspray.
That last point is perhaps the most pleasant surprise of all. With the Homeright sprayers over-spray is minimal during normal use. There was a time that I had special clothes for painting because by the time I was finished with the sprayers, I was covered with paint. I literally would stand in the driveway and scrub off under the hose! The over-spray was horrid. Not with Homeright! I know professionals who use the Homeright sprayers to spray kitchen cabinets IN THE CLIENT’S HOME! Yes…true!
You can virtually use any type of paint in the Homeright sprayer. Some of the paint I have used in these sprayers are latex, ASCP, homemade chalk paint, and MinWax Polycrylic top coat. Homeright also makes a sprayer for stains!
I recently visited Homeright’s website and was pleasantly surprised to see that there is a Tune -up kit available. You can also purchase additional spare parts including foam splash guards, etc. They just keep adding products to make the sprayer even better!
Useful tips for using the Homeright Paint Sprayer
- I have found that it is sometimes necessary to dilute the paint. On a few rare occasions the sprayer seemed sluggish and slightly splattered the paint. This was because the paint was to thick. 100% of the times that this has happened (because I was rushing) the problem was eliminated once I thinned the paint.
- It is always advisable to strain your paint before starting. This is especially helpful when you are using an older can of paint that has been previously opened or has been stored for some time. Straining the paint before using the sprayer prevents sediment or clumps from getting into the sprayer and clogging the sprayer. Should this happen, you simply clean the unit and start over. But be sure to strain the paint first!
- Keep the sprayer moving to avoid heavy application of paint that can cause paint to drip and run.
Things I have painted with my Homeright Paint Sprayer:
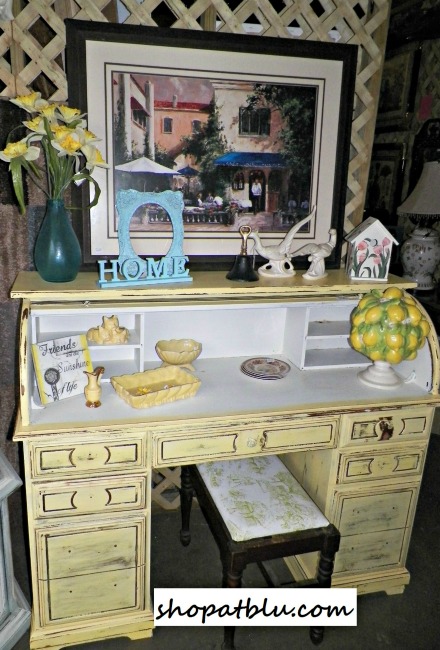
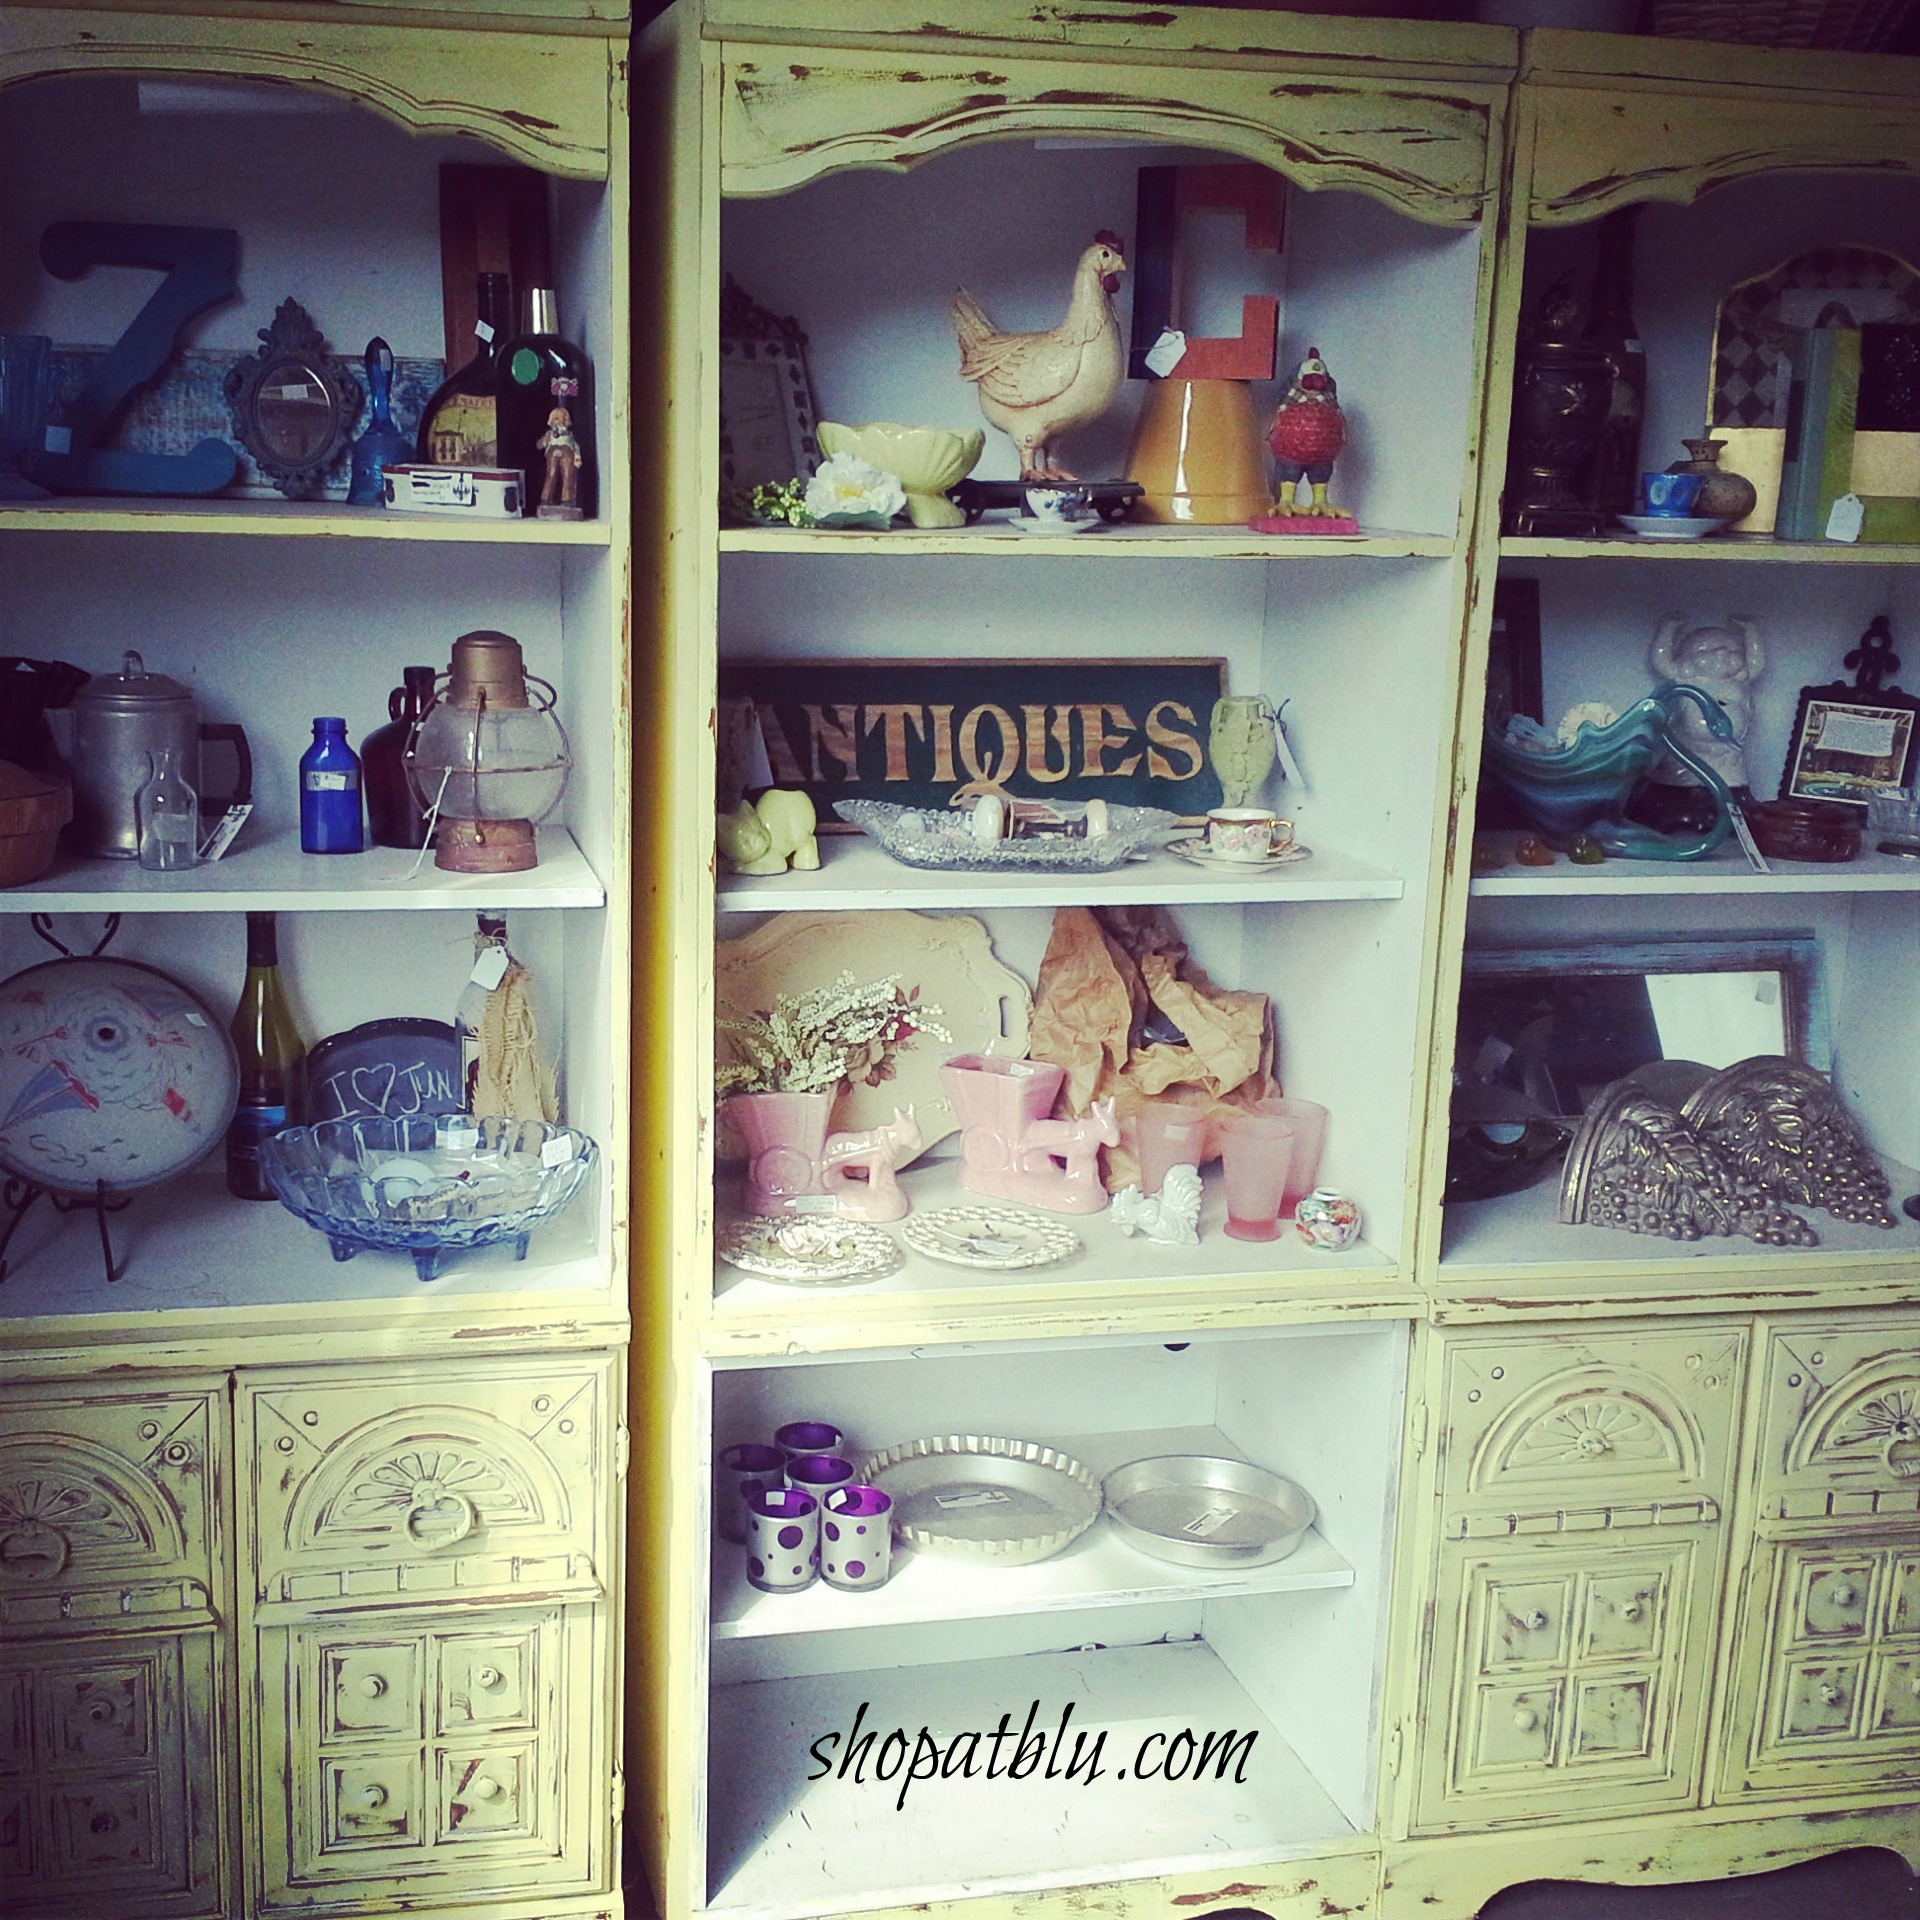
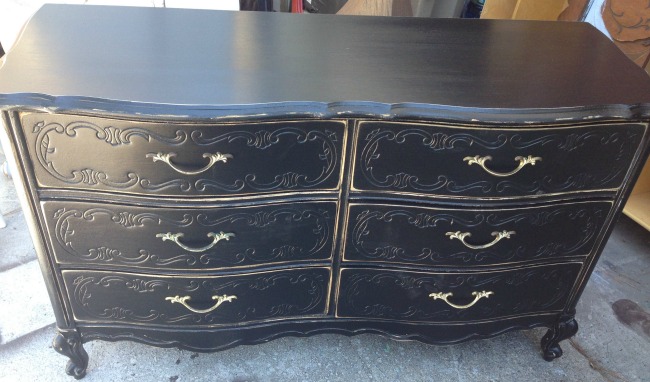
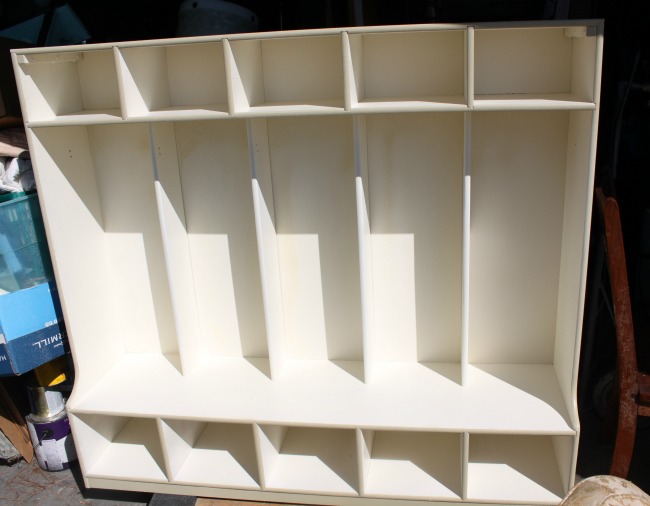
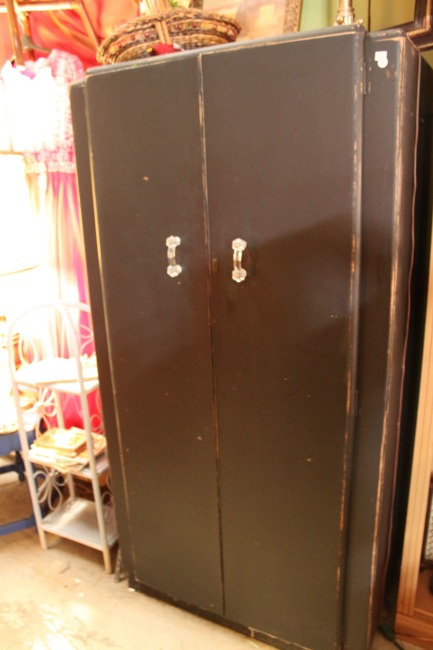
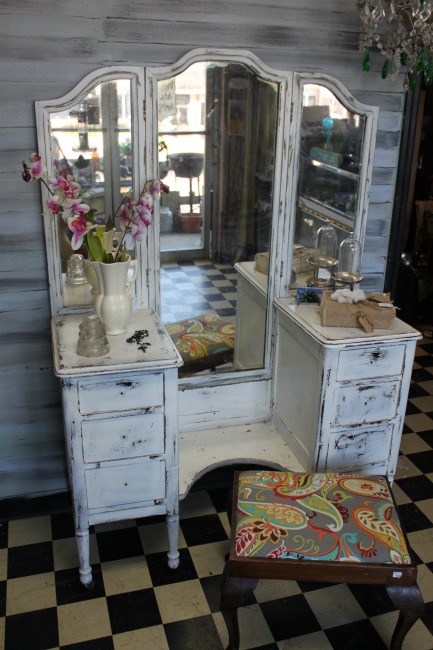
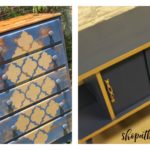
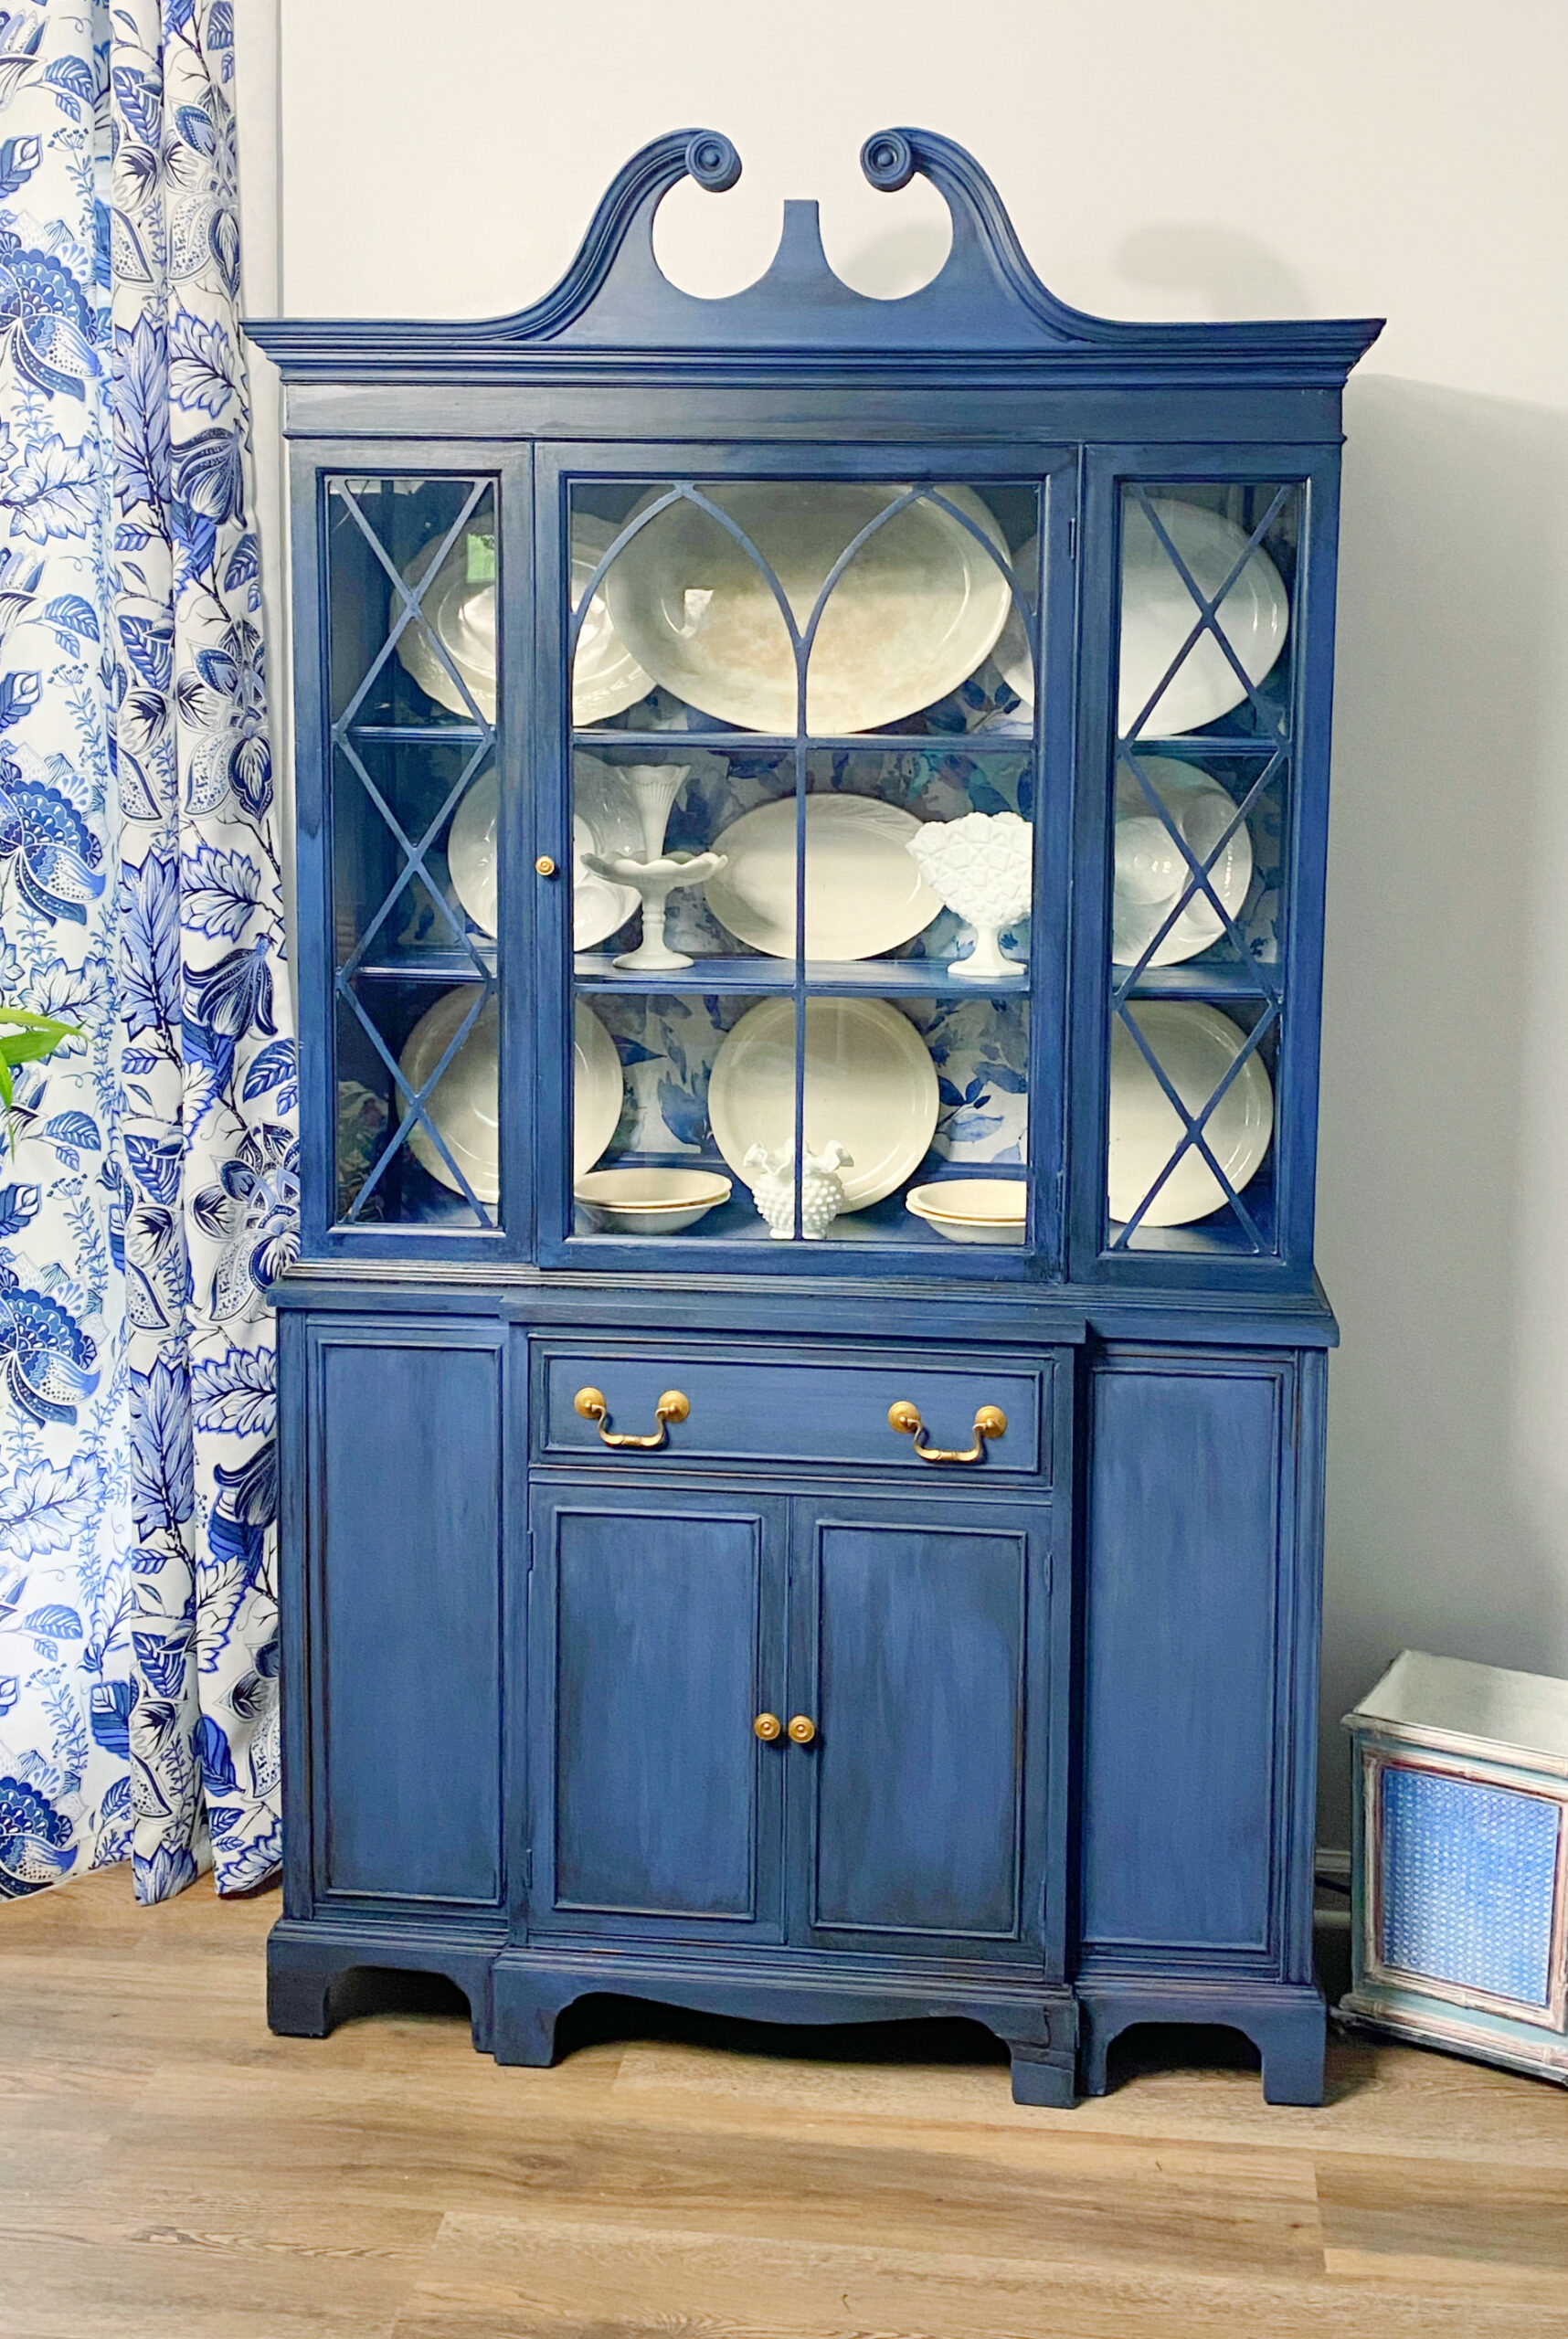
As I stated before, I paint a ton of furniture to sell in my store. I usually accumulate several pieces and will break out the sprayer to mass spray multiple pieces…forming an assembly line for painting, if you will. When my furniture inventory gets low, I will set aside 2-3 days of the week to paint. Day one will be white day. I select 5-8 pieces to paint white. I prep then, if necessary, stage them in a line, and spray all of the pieces in about an hour. I clean the sprayer, and sand any pieces that will be distressed (I’m an uber distressor so that usually means EVERY piece gets distressed). Then I fill the sprayer with a sealer and spray seal every piece. Day two consists of the exact same process but I use black paint. Day three repeats this process but with my favorite color of the week, usually a blue or teal since they are consistently hot sellers.
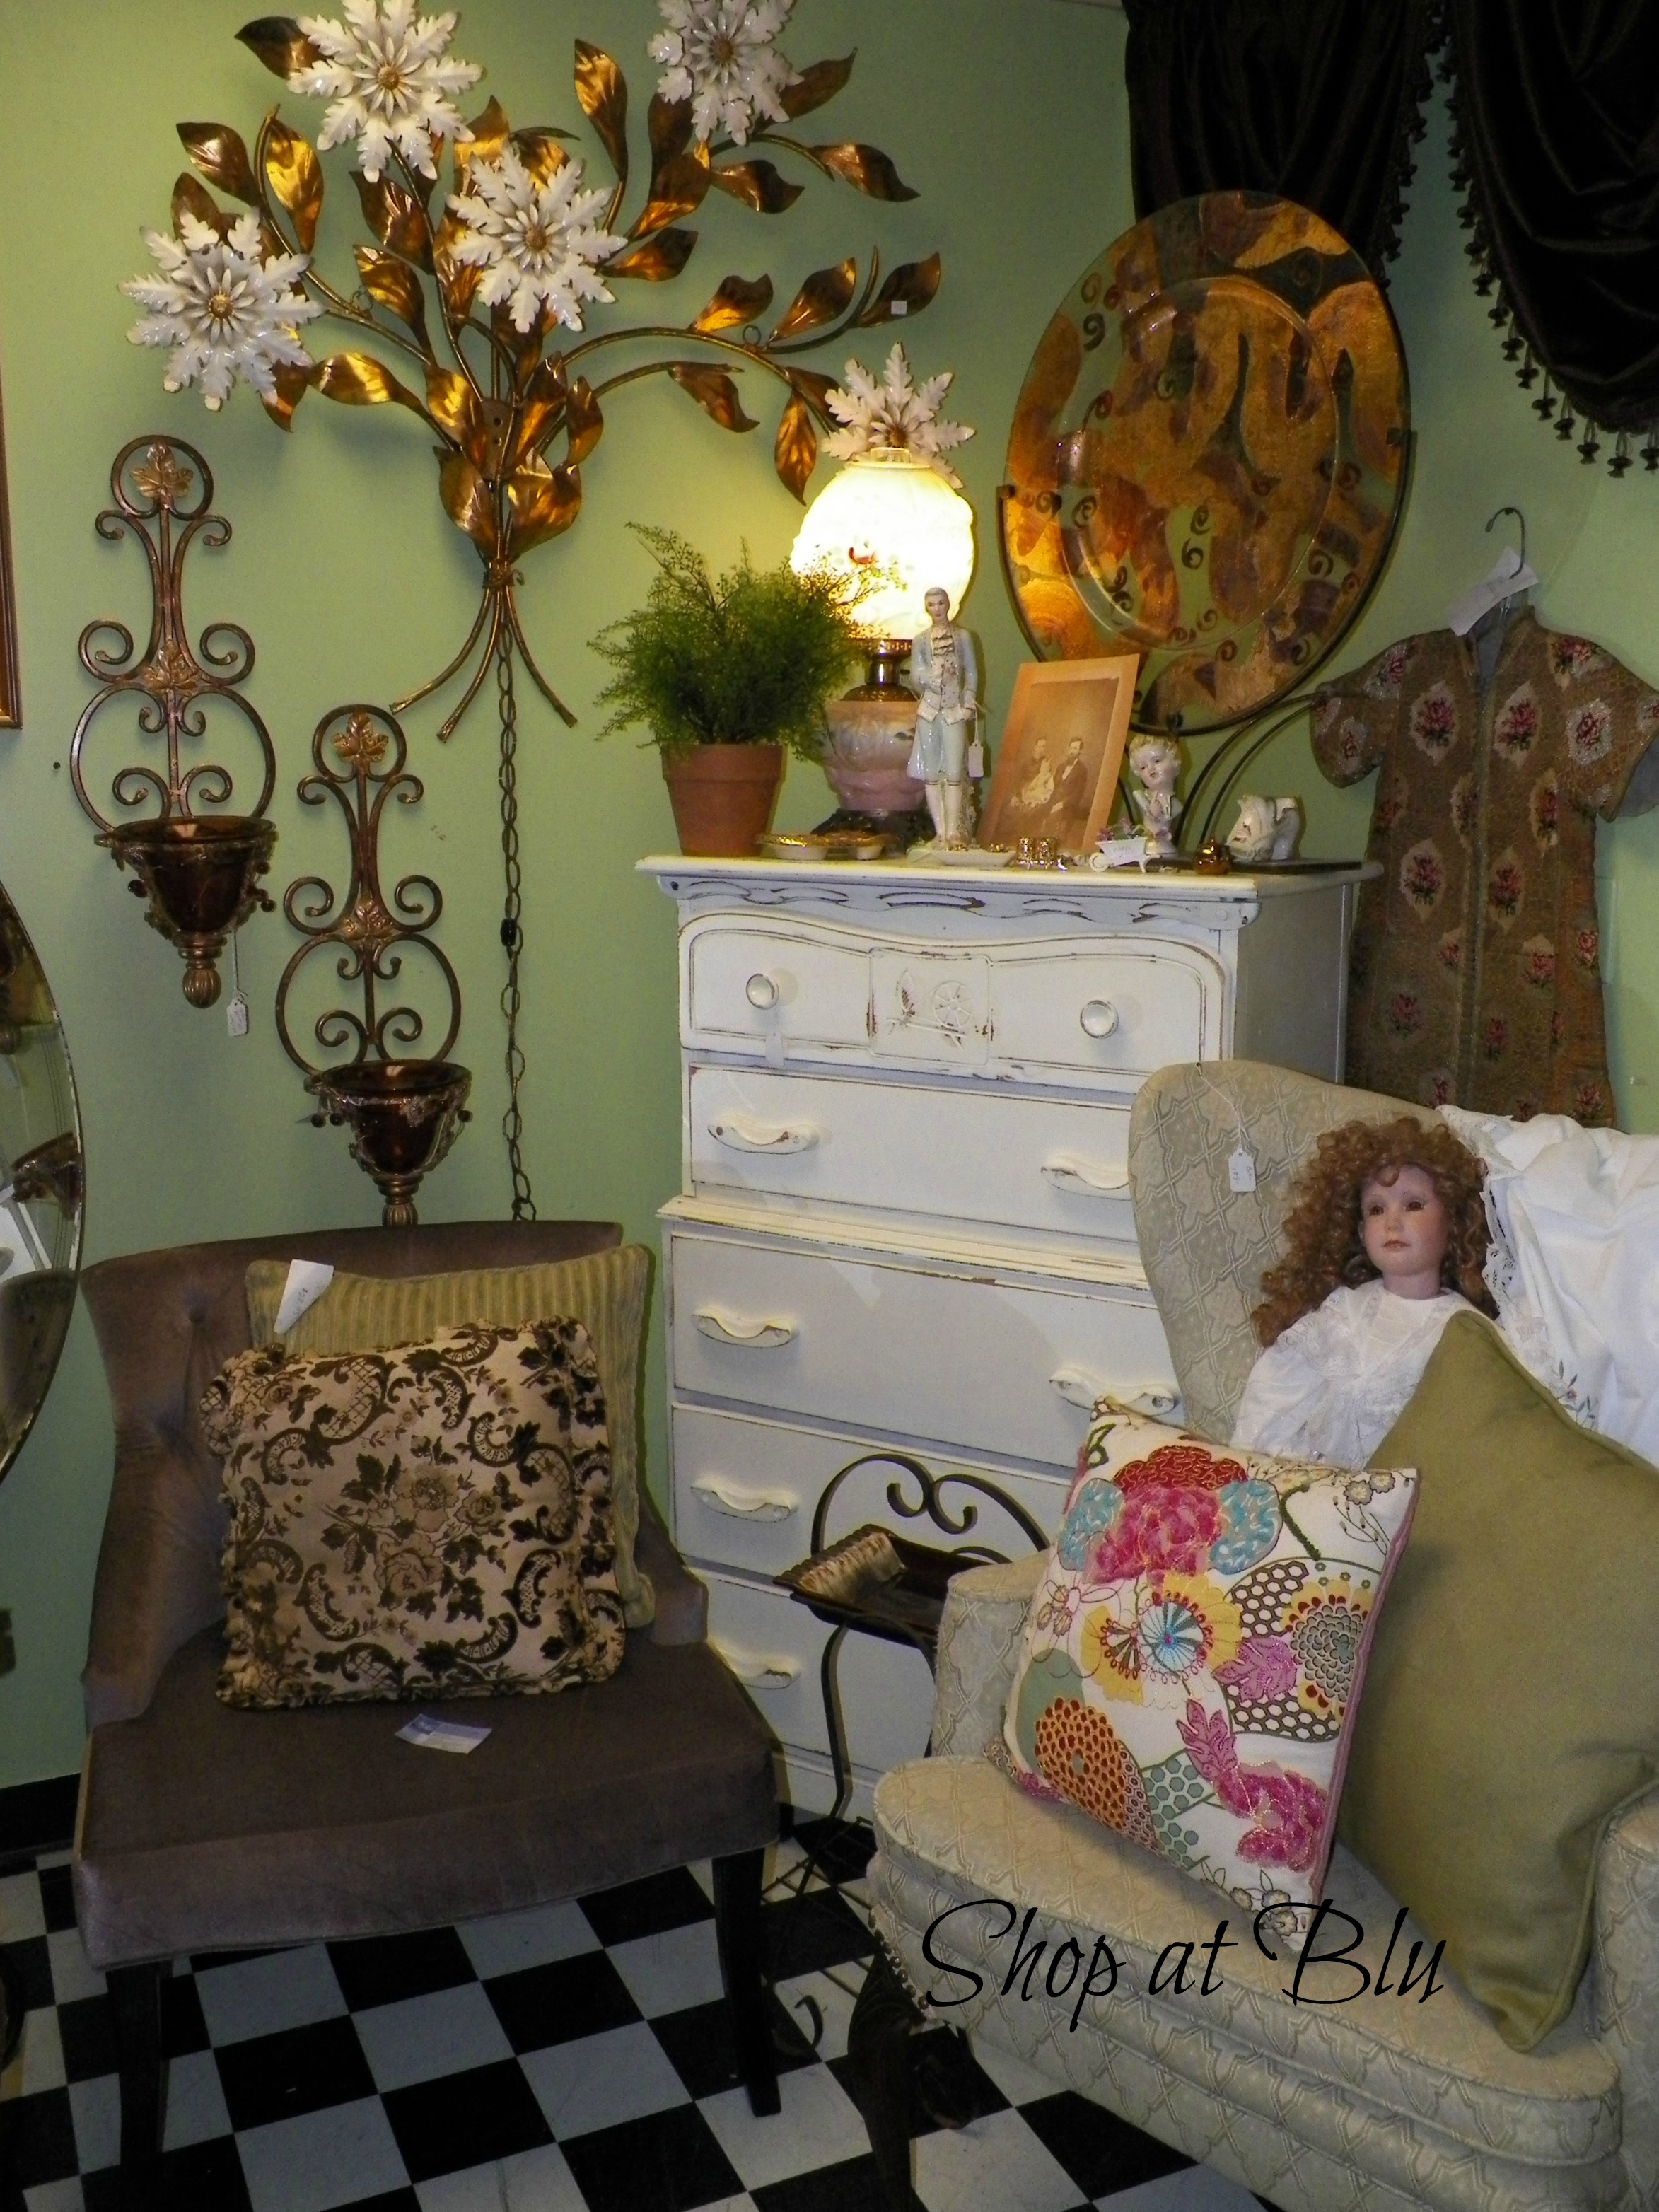
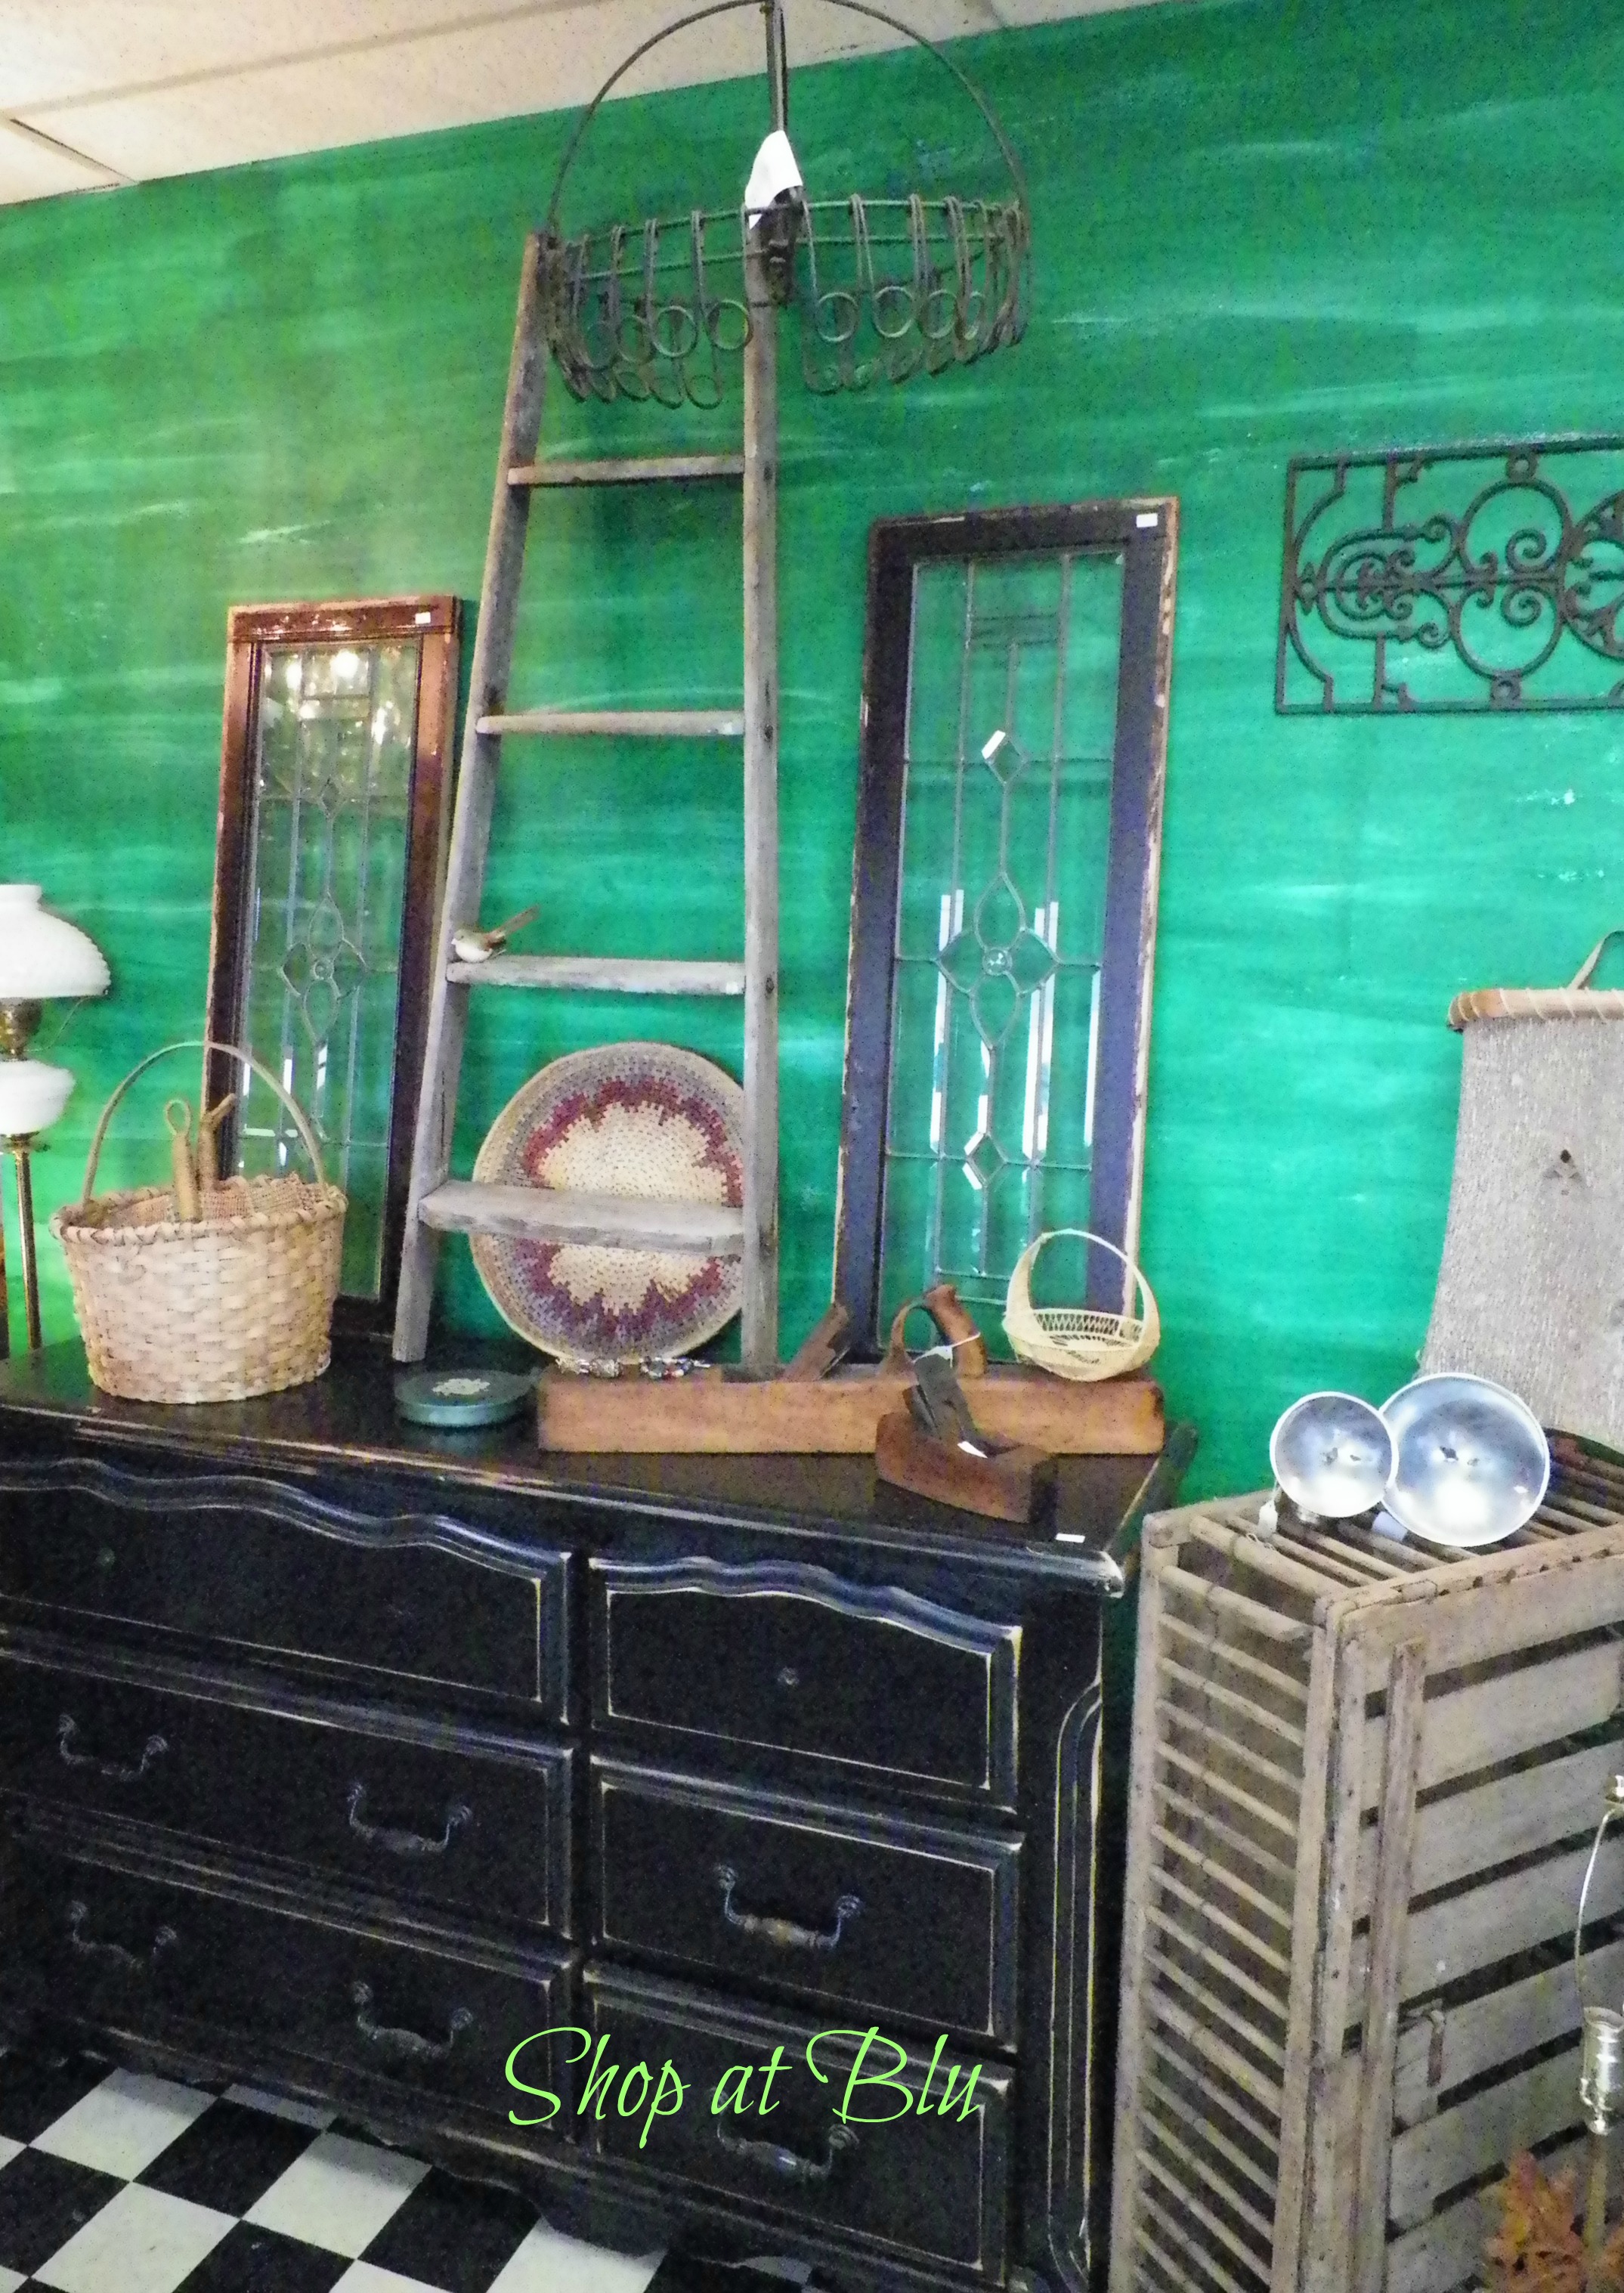
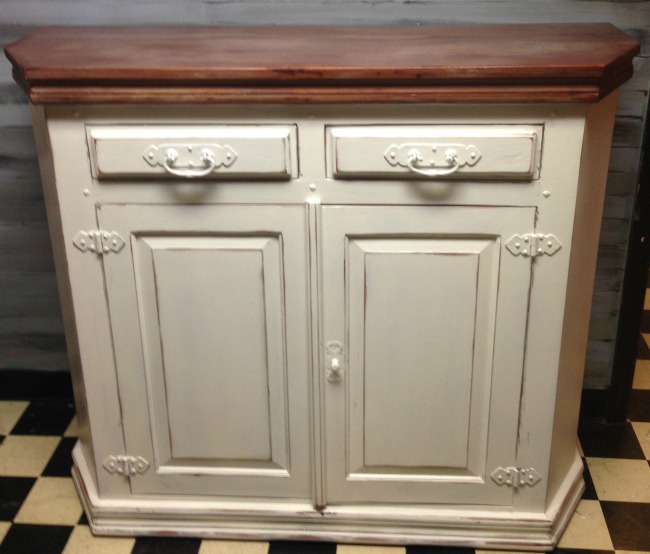
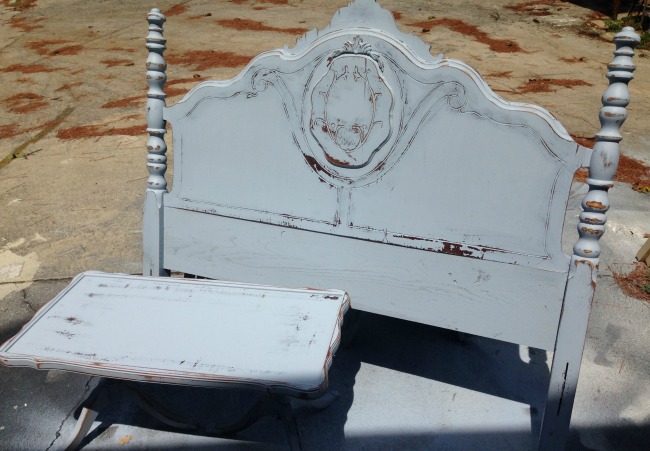
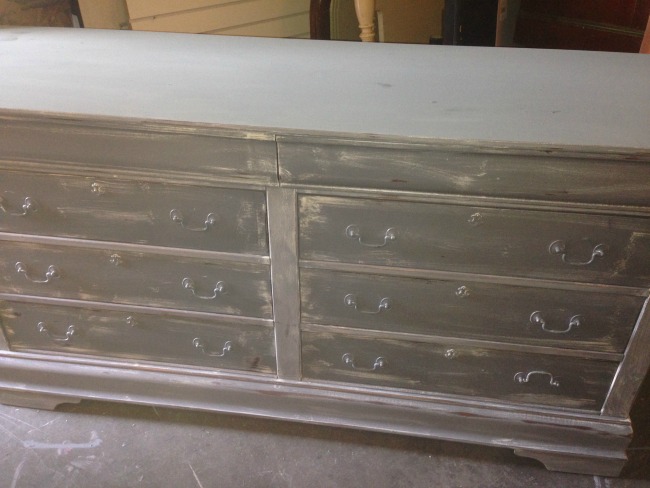
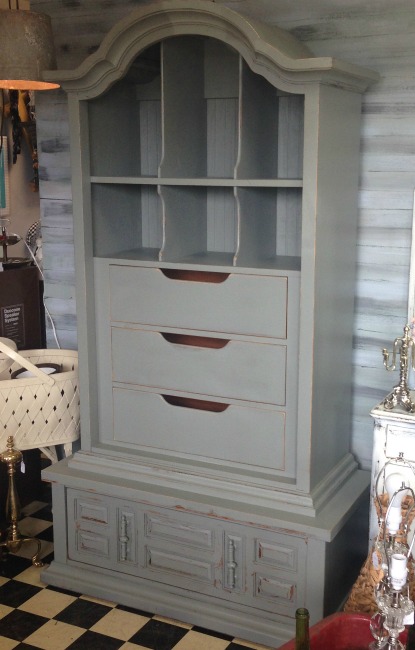
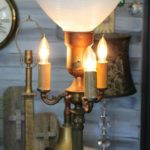
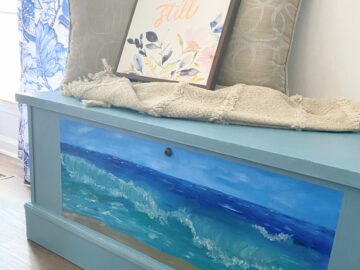
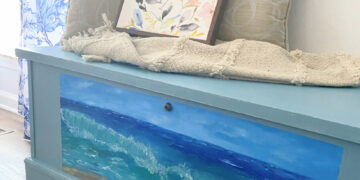
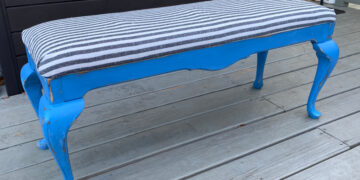
Below are some of the pieces I have painted using my Homeright paint sprayer.
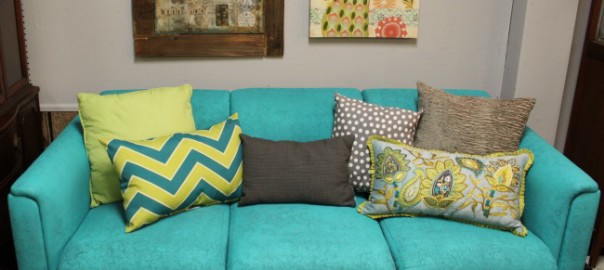 Sofa painted with homemade chalk paint! See the post here.
I seriously don’t know where I would be without my Homeright paint sprayers! They have become an essential part of my go to tool supply. My next project will be to paint my kitchen cabinets! I will keep you posted!


Comments 3
From the pictures of the sprayer( no, I haven’t looked it up yet!), it looks like it works of regular electric outlet and no air compressor needed. Is that correct? Your pieces look great!!
Yes! No compressor. It has the motor contained in the lightweight unit. It produces a factory-like smooth finish! You just must make certain the paint is not too thick. I primarily use latex so I can dilute it with water although usually I use it straight from the can! Very easy to use and even easier to clean! Let me know if you try it!
Thanks!! I was considering chalk paint but I guess that’s not advised. Hope you had a good weekend!