
Stain Finish Upgrade on an Oak Plate Rack
As an Amazon Associate and member of other affiliate programs, I earn from qualifying purchases.
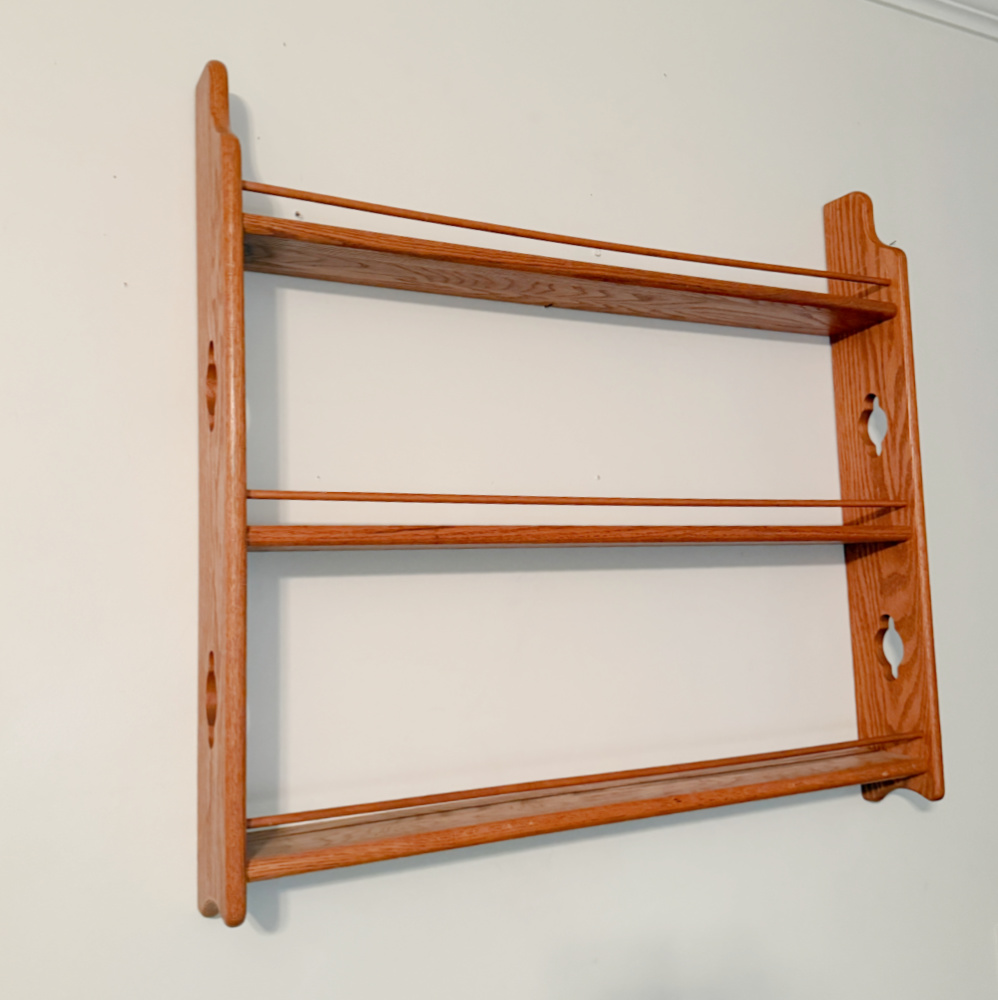
Last week, I stumbled across some Ironstone that I had packed away. I used it as staging accessories for furniture and blog photos. It reminded me that I had a beautiful oak plate rack somewhere in storage. I had grabbed it at the thrift store some time ago and, due to the ridiculous amount of stuff in storage, I had forgotten all about it. The Ironstone forced the plate rack back onto my radar and now I feel the need to use her in my kitchen or dining room. So, I found her and got her ready for a facelift.

It is the second Wednesday of the month so the Thrift Store Decor Team has some fabulous projects for you featuring our favorite thrifty upcycles. You will find them all at the end of this post.
RETRO vs. VINTAGE vs. ANTIQUE
While I have always loved the country simplicity of a solid oak furniture piece, my taste leans toward a darker finish. This plate rack is in pristine shape. I don’t think she is vintage. However, my longstanding idea of vintage has been pre 1980. So I fell down that rabbit hole and here is what I discovered:
Older items seem to fit into the following categories:
Retro – an item that is 20-30 years old.
Vintage – an item that is 30-100 years old.
Antique – an item that is 100 years old or older.
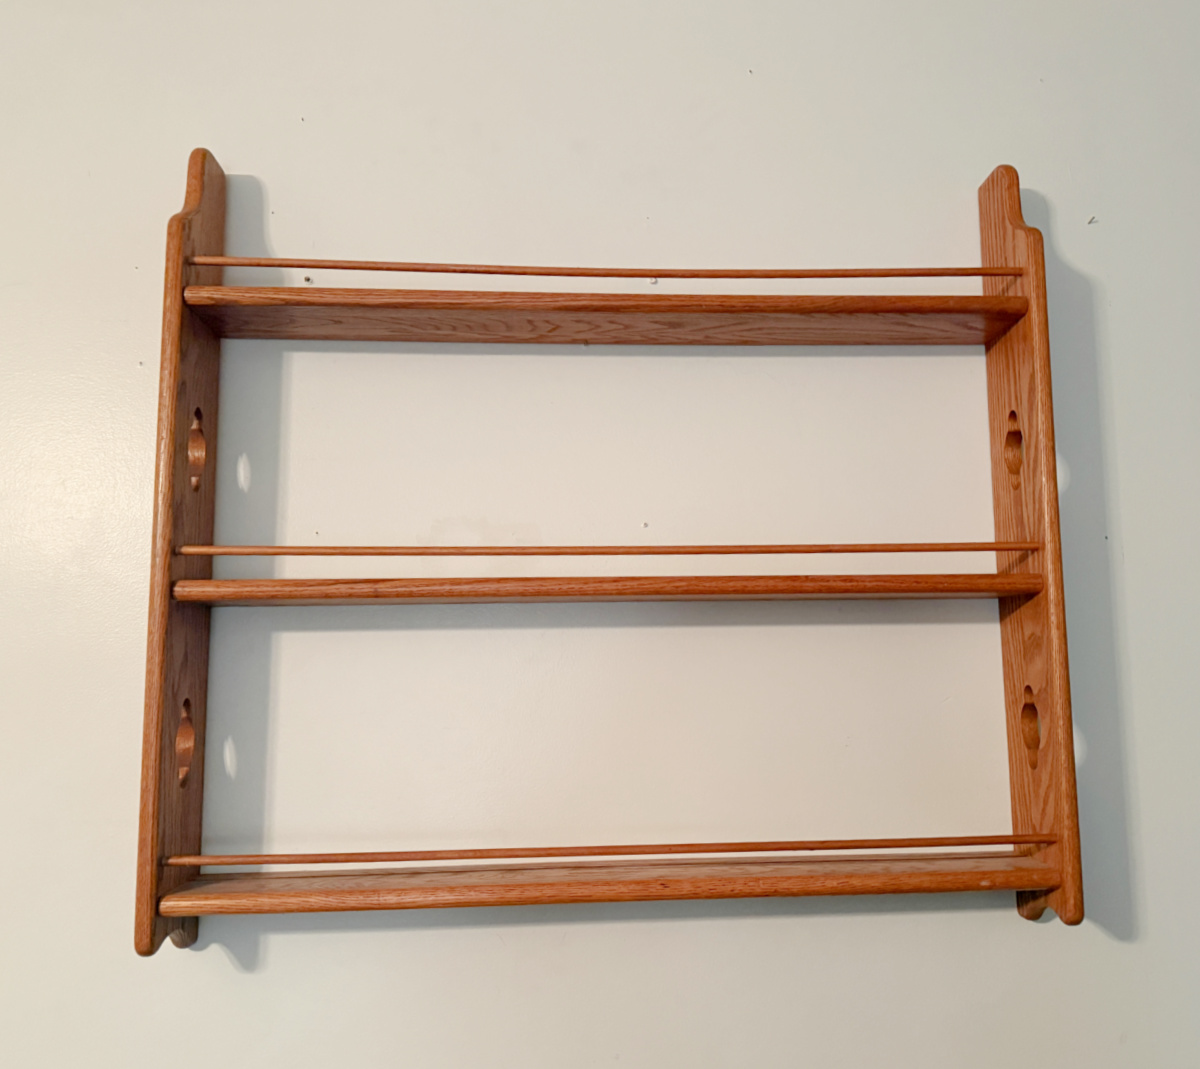
Vintage seems to be a little looser of a term as some sites indicate 20 year old items qualify as vintage where other sites claim the defining age to start at 30 years old. With these standards, I believe this oak plate rack is probably vintage. This makes me happy! But I am still going to darken the stain.
Refinishing Methods
There are many different methods for refinishing and mostly because of the variety of tools and products one would use to get the job done. Here are a few:
Some DIYers use a variation. I prefer the a chemical stripper since this is how my dad taught me. But, I will vary my methods depending on the size, age, quality, and end use of the project piece.
In this case, the plate rack is a smaller more recently manufactured piece and has what appears to be an original light stain application. I will start with a light sanding and hope that this will be enough to remove the factory finish. I suspect that it will be. If not, I will apply some of the chemical stripper to the entire piece and remove it with some steel wool. Thankfully this is a small piece, a newer piece, and a piece without multiple coats of finish. So, fingers crossed, I grabbed some sandpaper, a sanding block, and my electric sander.
Prep your Plate Rack
Always clean your project piece. Removing unseen grime, dirt, or whatever else may be lingering on the surface from being in storage is always a good start. I usually wipe the piece down with warm soapy water.
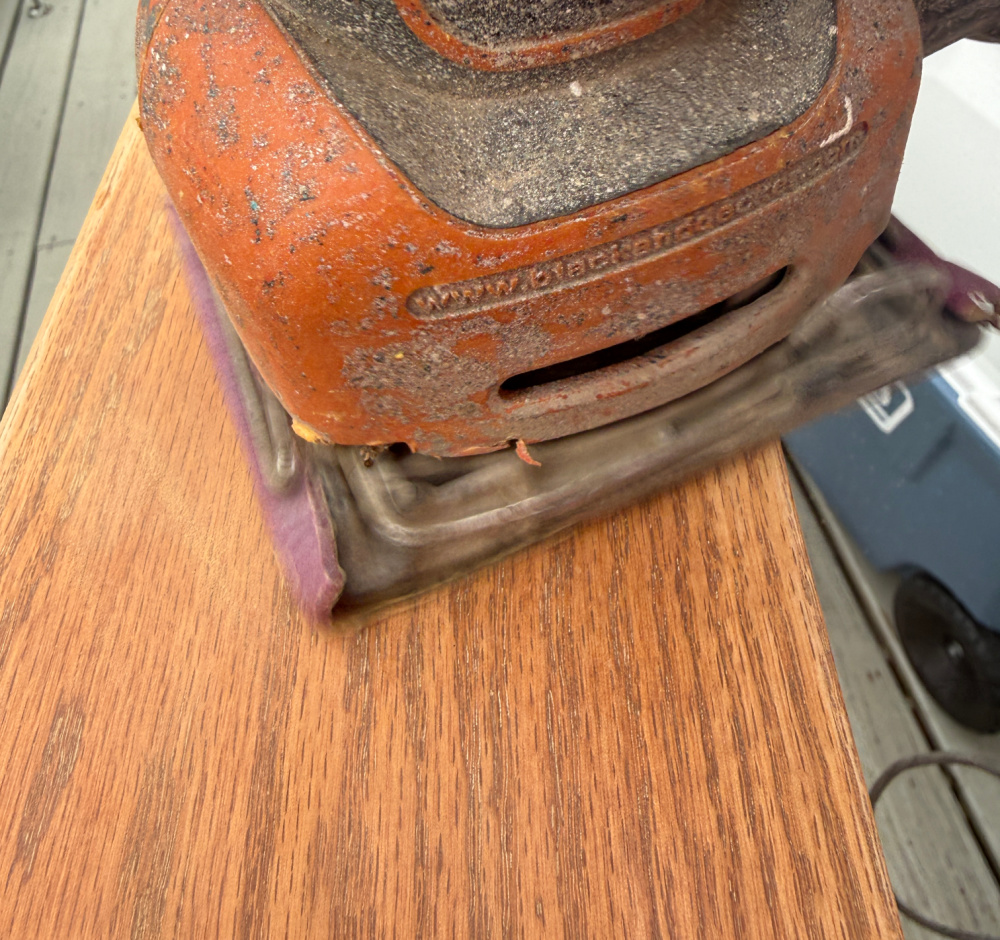
Next I lightly sanded the plate rack to remove the sealer. If I was going for a much lighter finish, I would have to completely strip the plate rack. But I am going to darken the wood so sanding to remove the sealer and expose the wood should suffice. The new stain will adhere to the wood and will cover the lighter stain. I always use an electric sander for flat surfaces and a sanding block for edges and areas that the sander will not reach.
After a light sanding, I cleaned the plate rack again with warm soapy water.
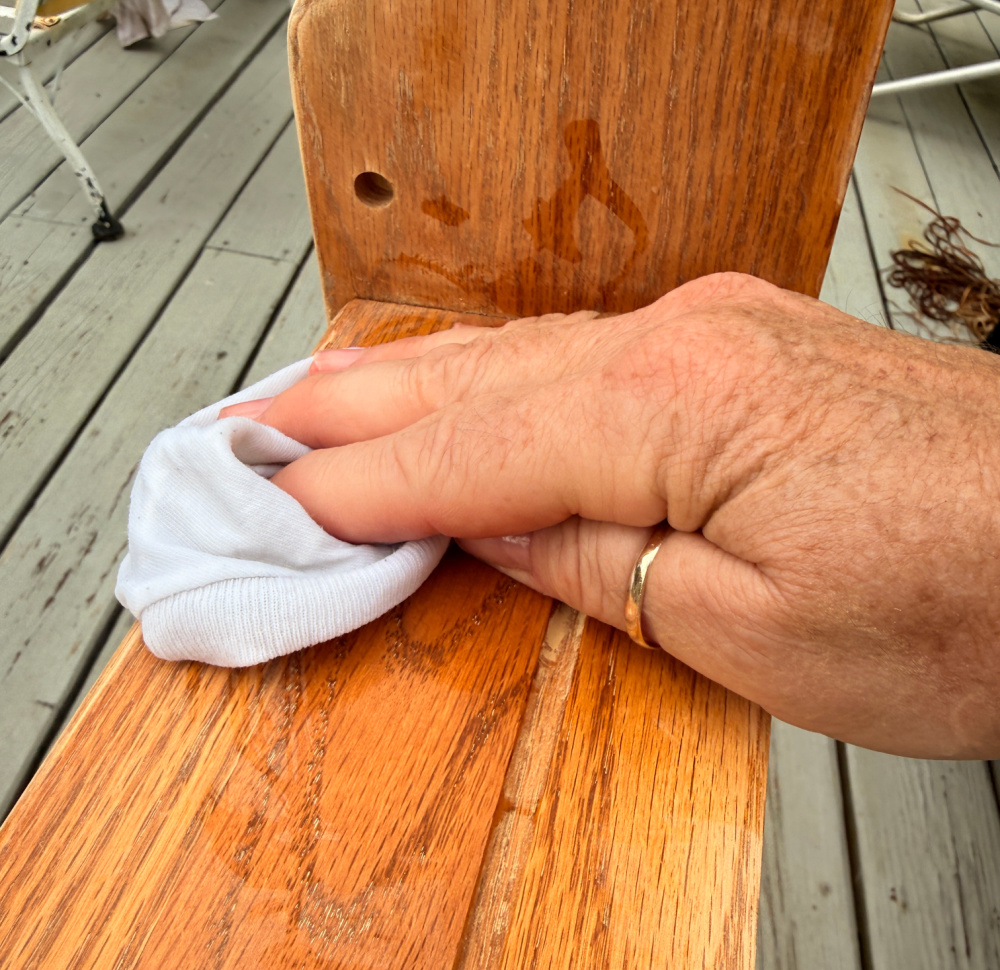
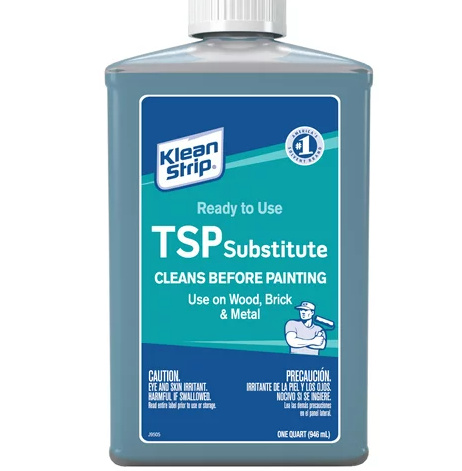
And the last prep step is to give the plate rack a good wipe down with TSP or TSP substitute which will remove any residual dust and oil from the surface.
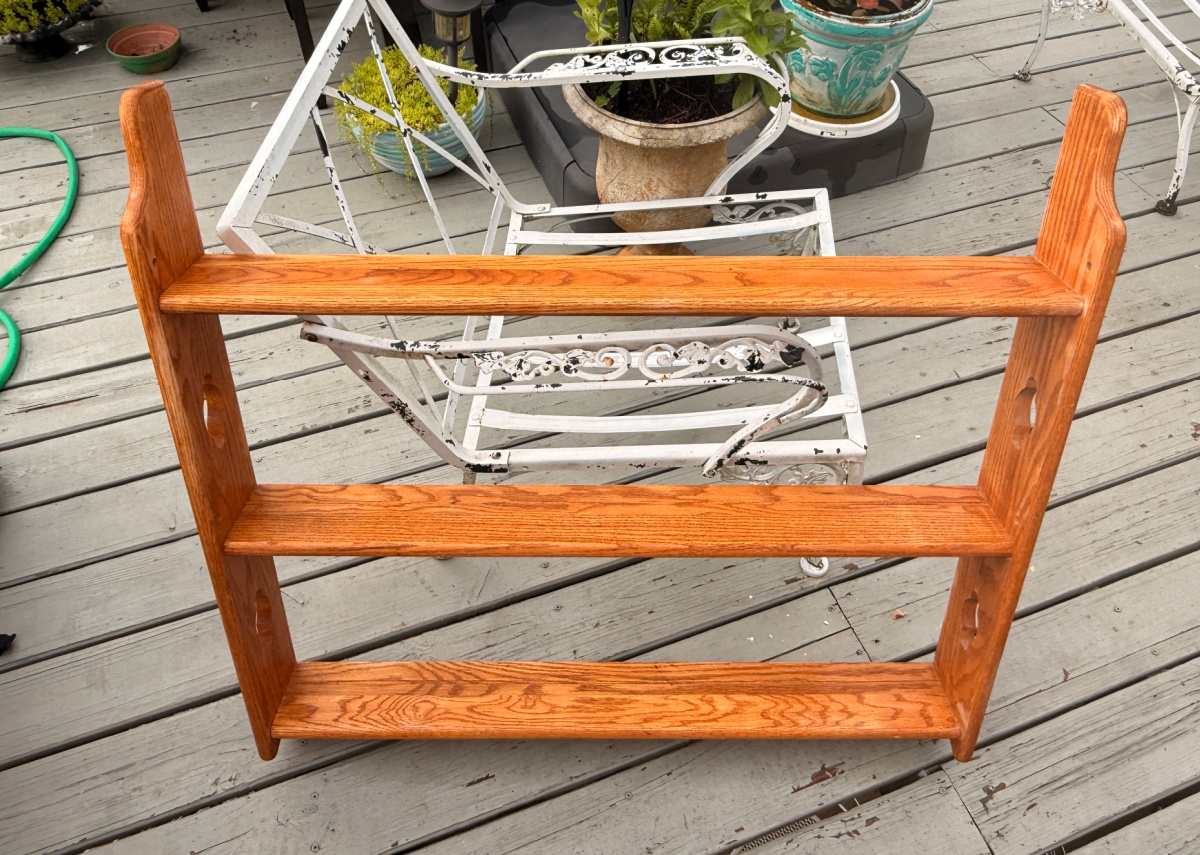
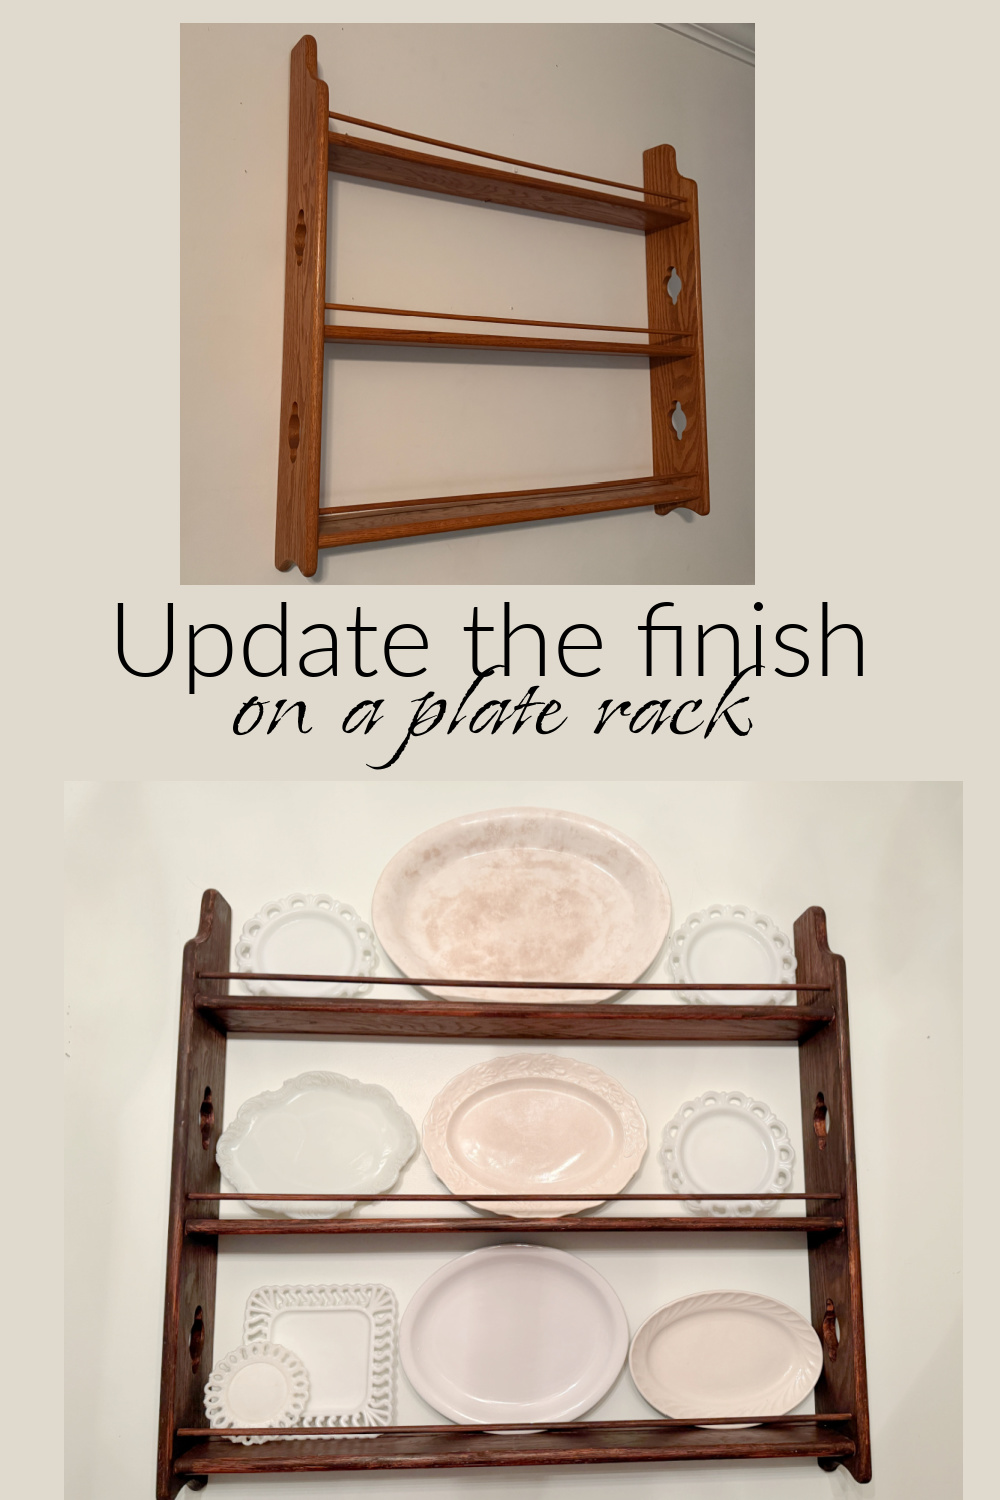
She really is quite orange so I can’t wait to darken this finish.

Time to Stain
I want a darker finish so I selected General Finishes Java Gel Stain. This is one of my favorite stains because it is in gel form so it does not run or drip off of the project piece surface.
I used a brush to apply the stain into the corners of the plate rack. I switched to a rag to finish the flat areas.
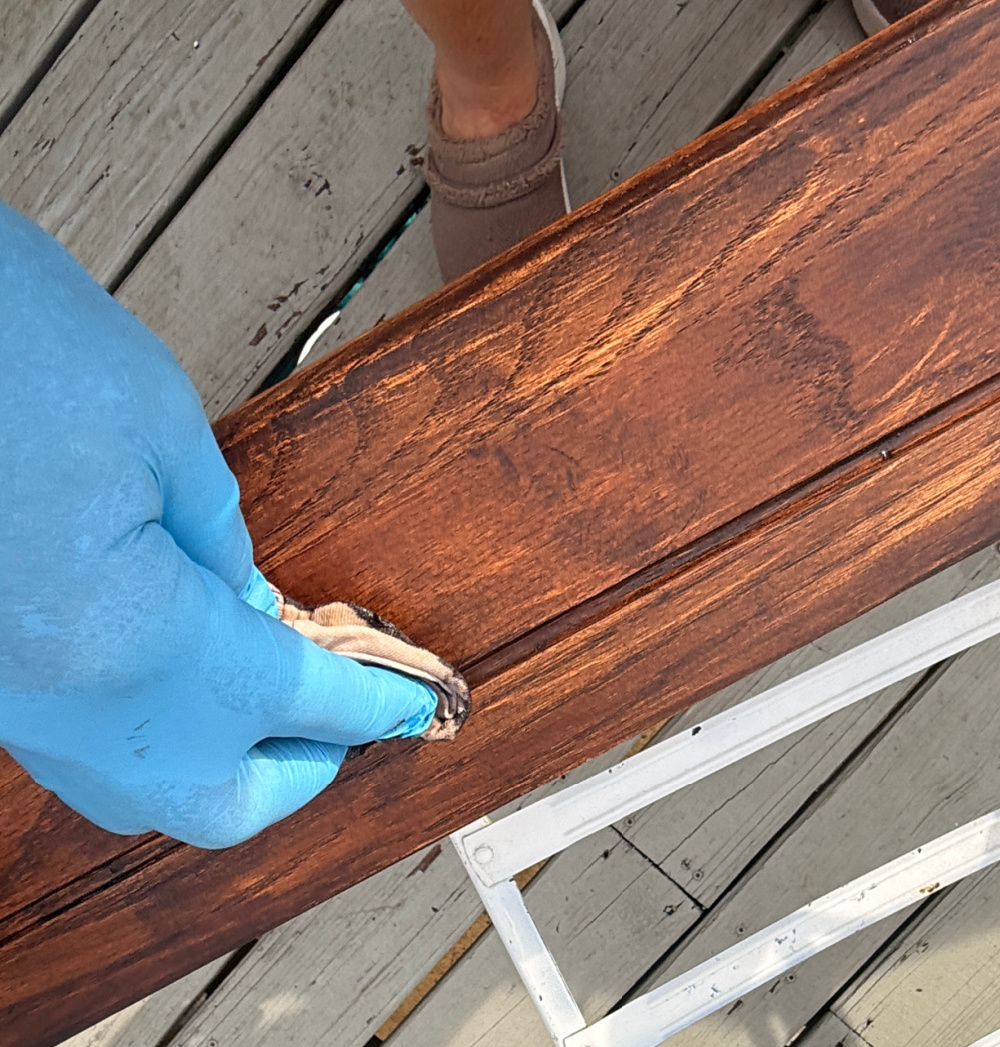
When applying stain, you can obtain a darker, richer finish by applying multiple coats. Since this gel stain is very dark, I will be using a lighter application since I don’t want the finish to be too dark.
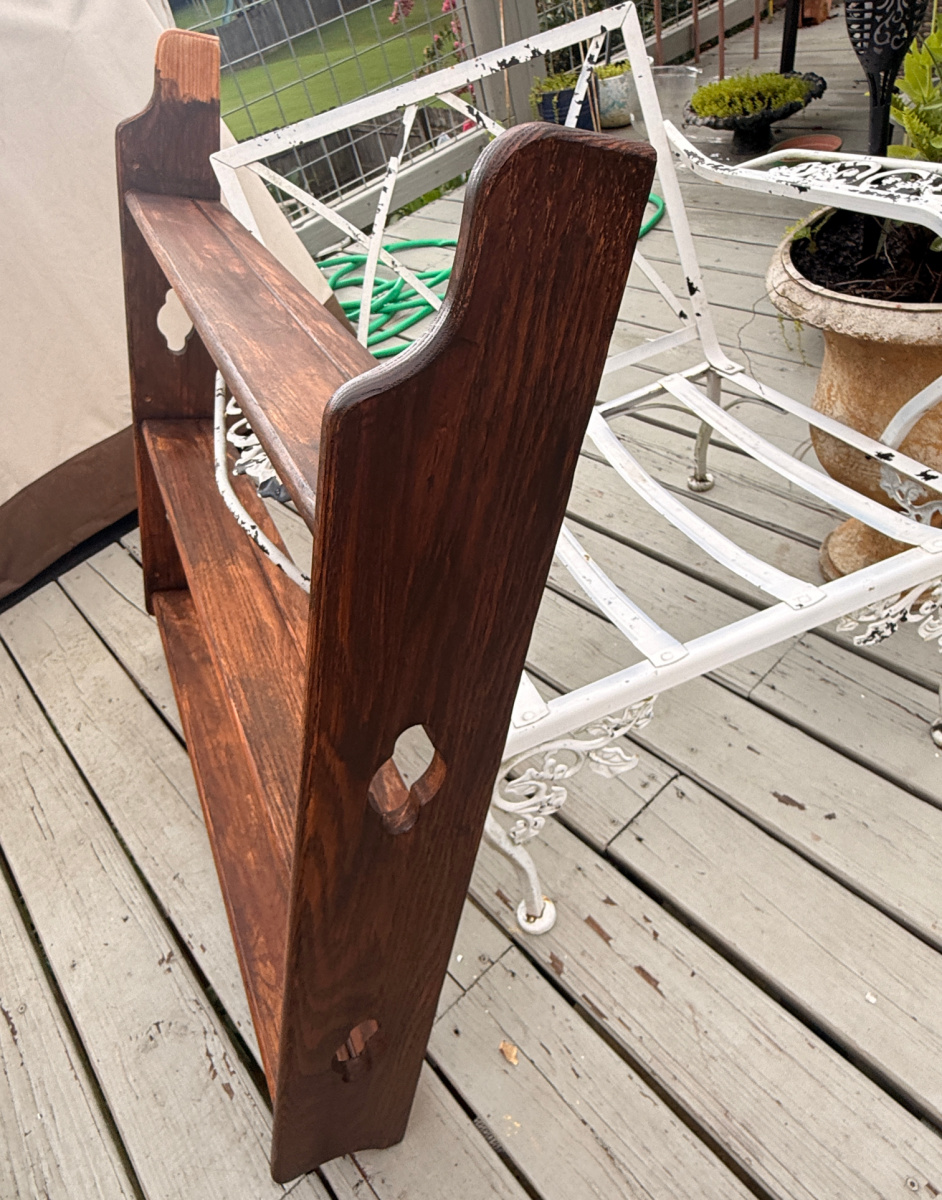
You can see where I sanded the piece a bit heavier is some spaces since the stain seems to be adhering better to some spots.
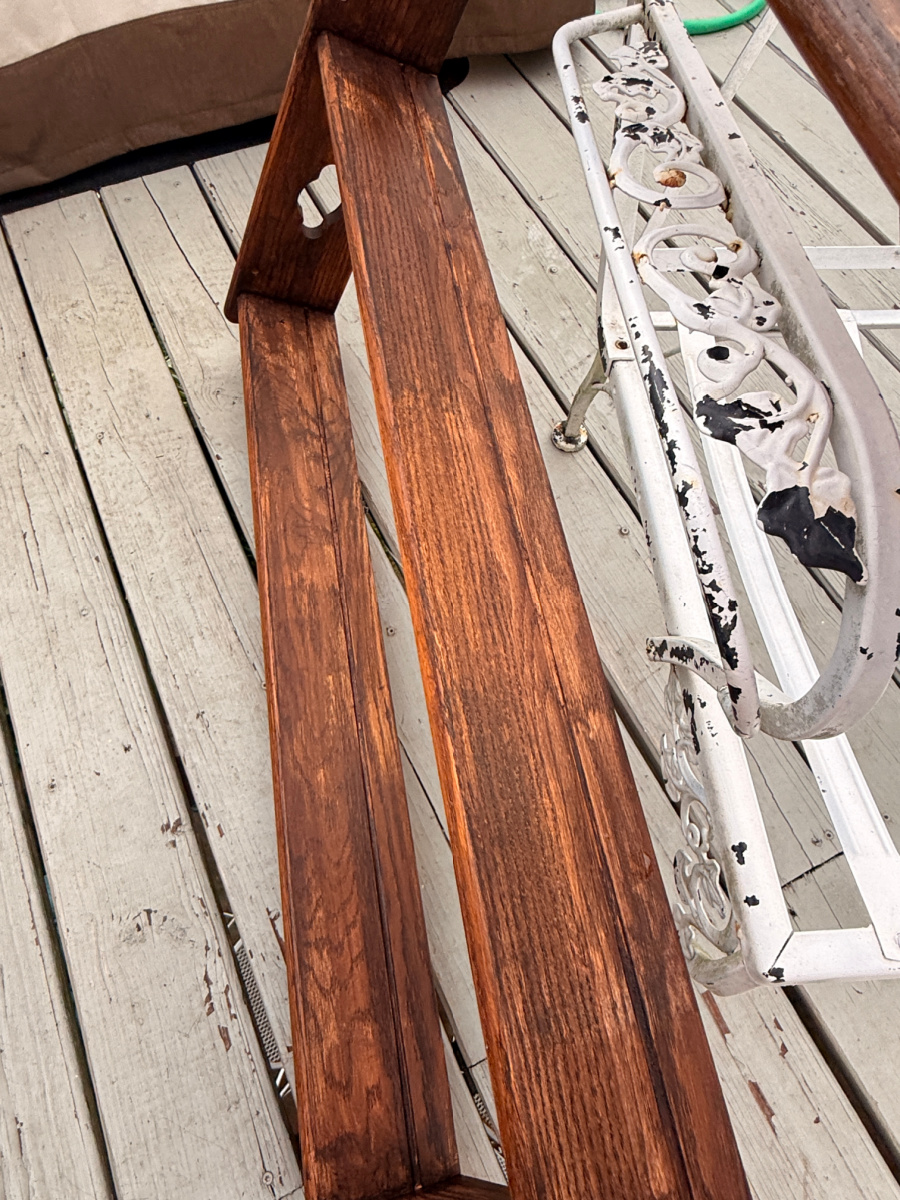
To correct this, allow the piece to dry completely and apply another layer of stain adding and removing the stain as needed until it the finish looks smooth.
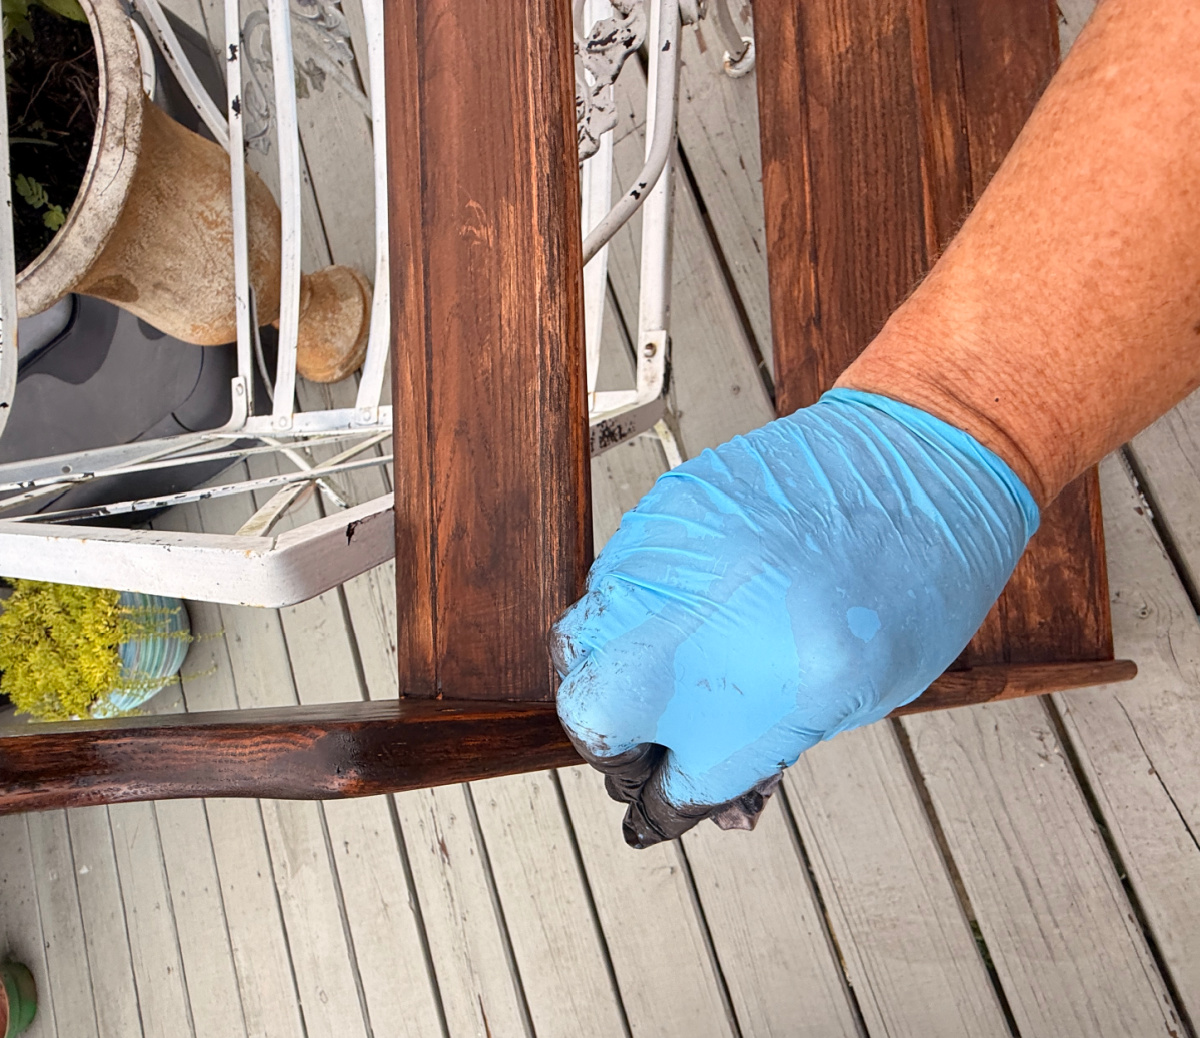
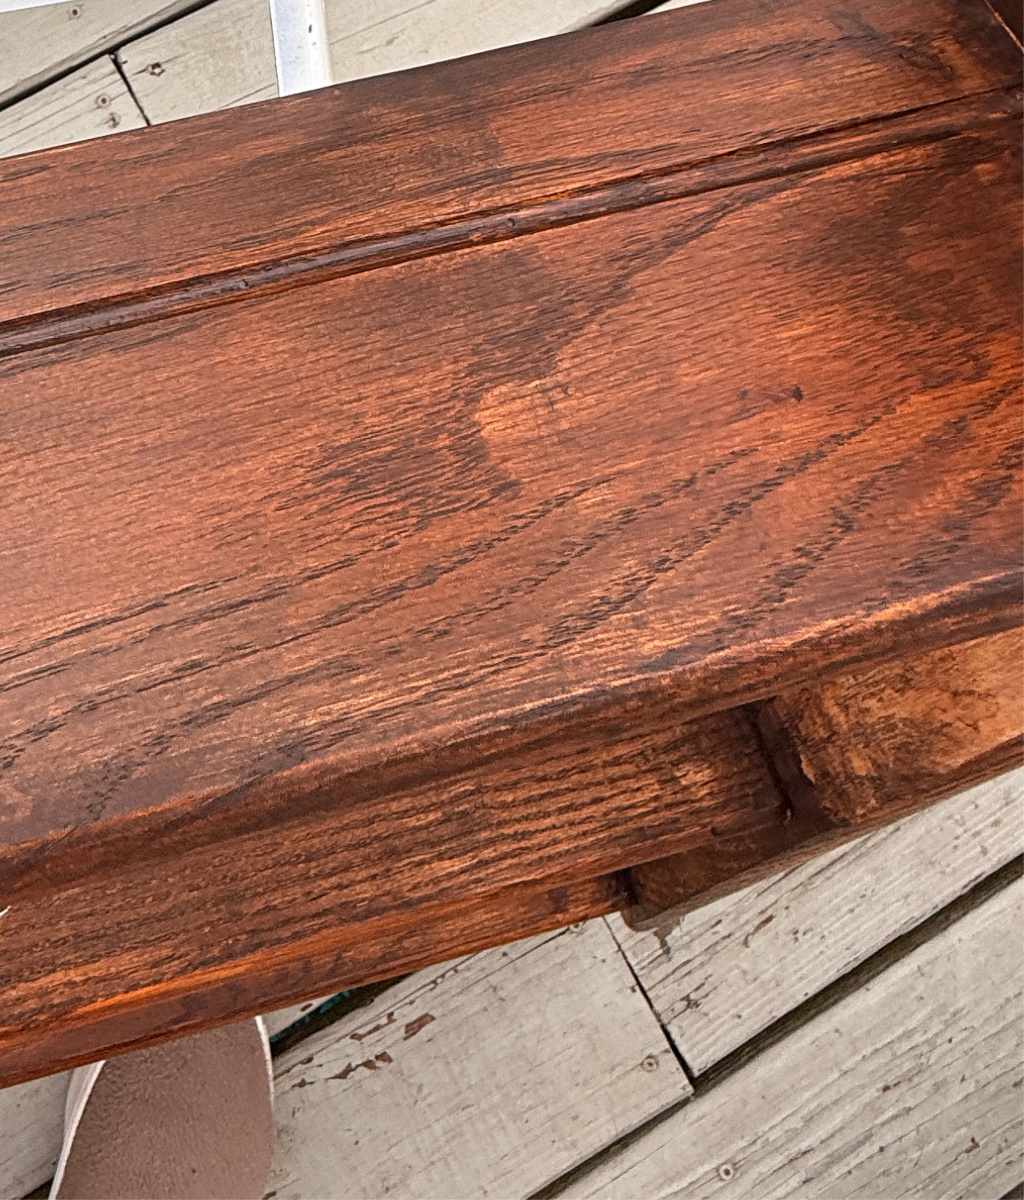
The final step in the process is to seal the stain. I used General Finished Top Coat as a companion for the stain. Apply it with a clean dry rag. Allow wo dry overnight.
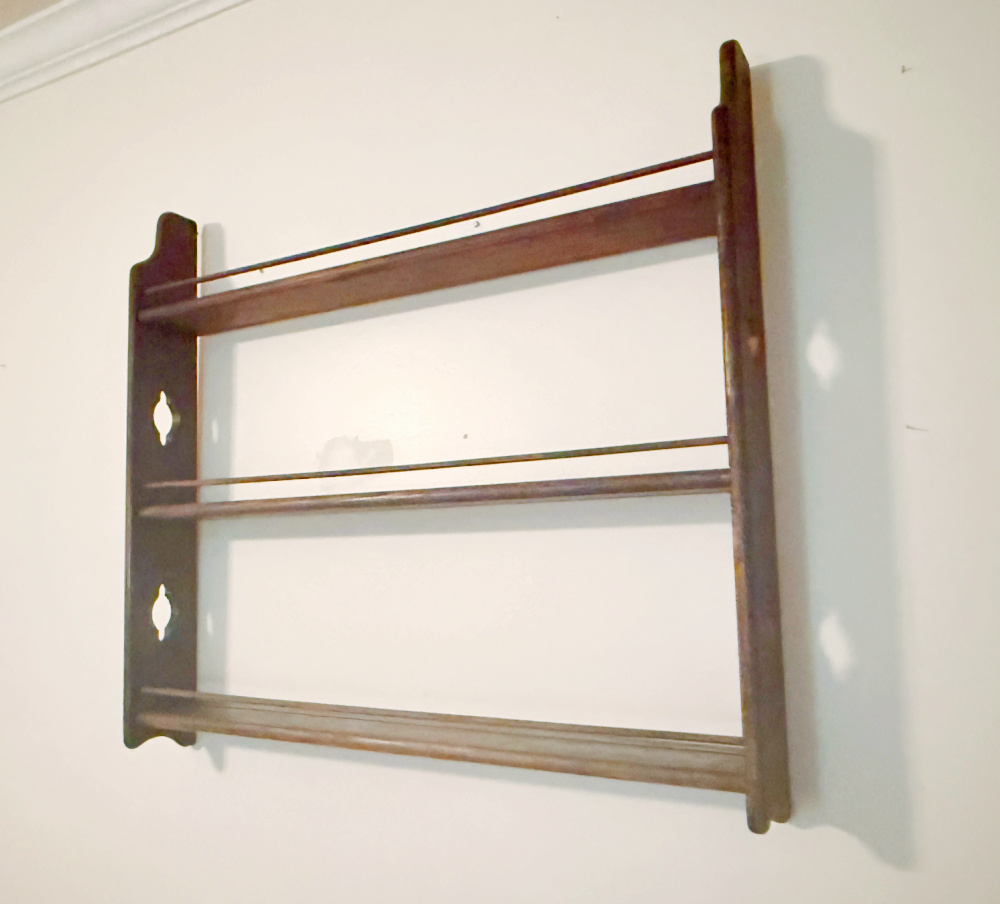
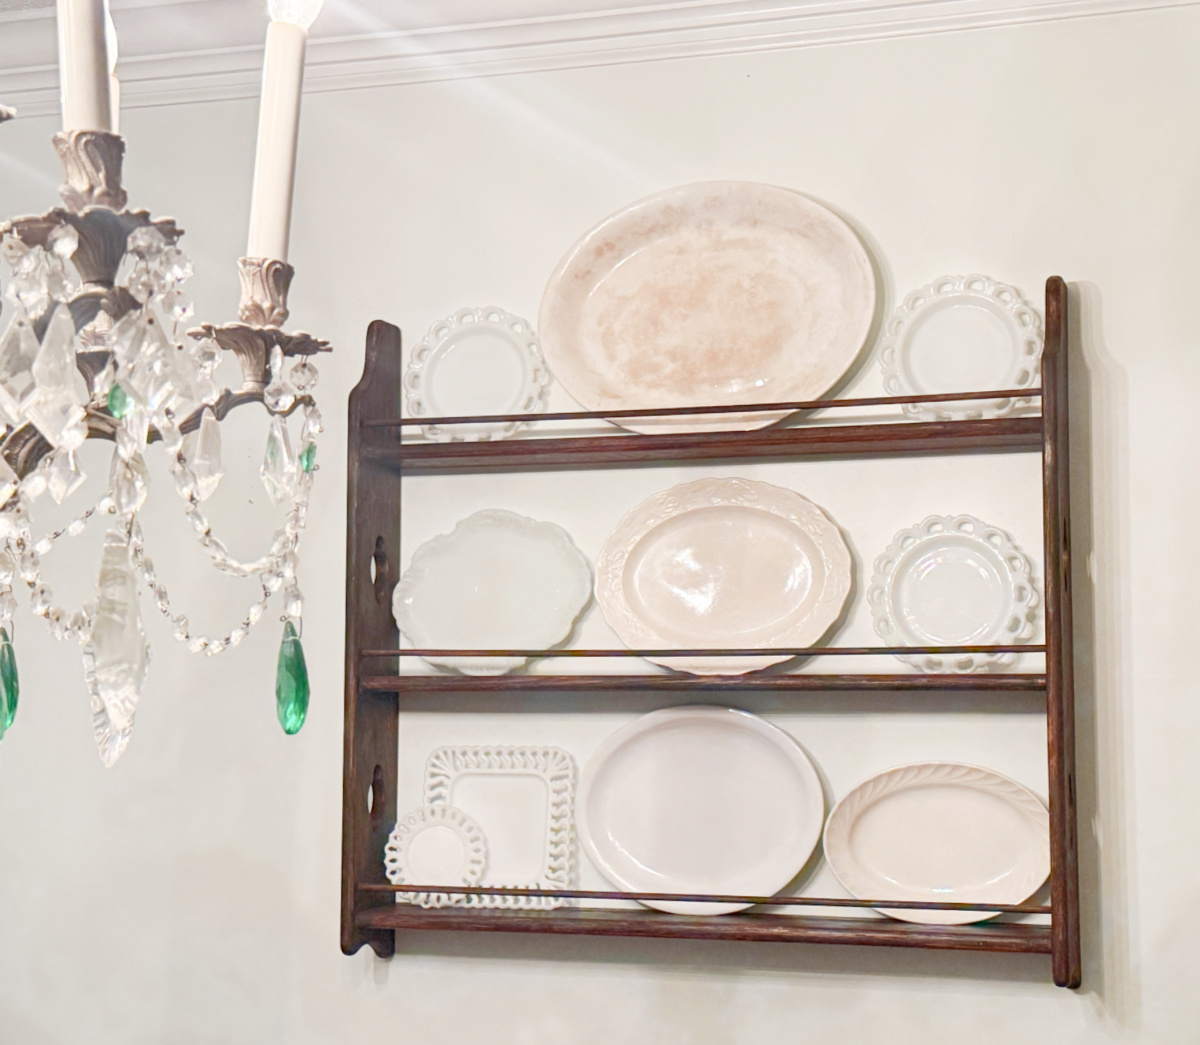
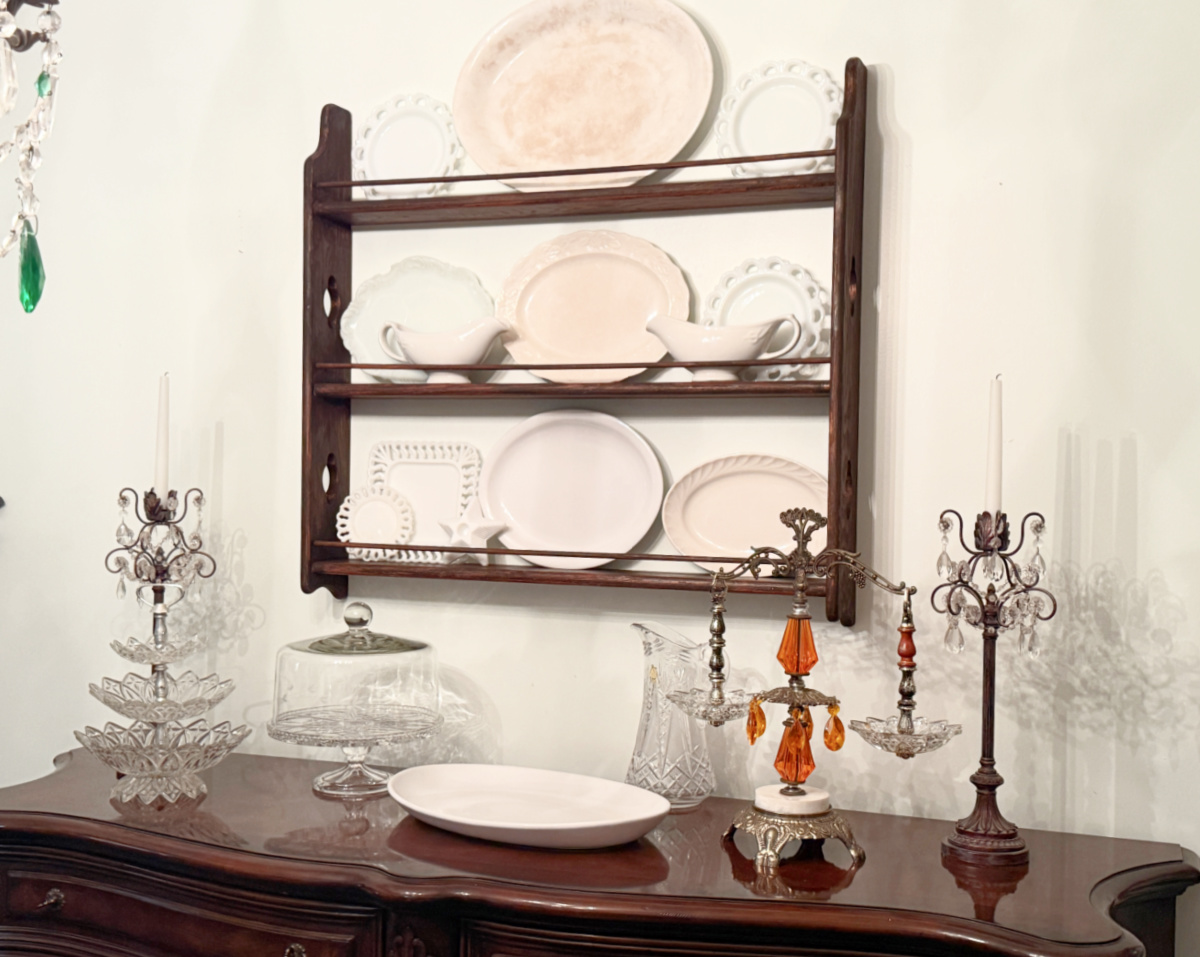
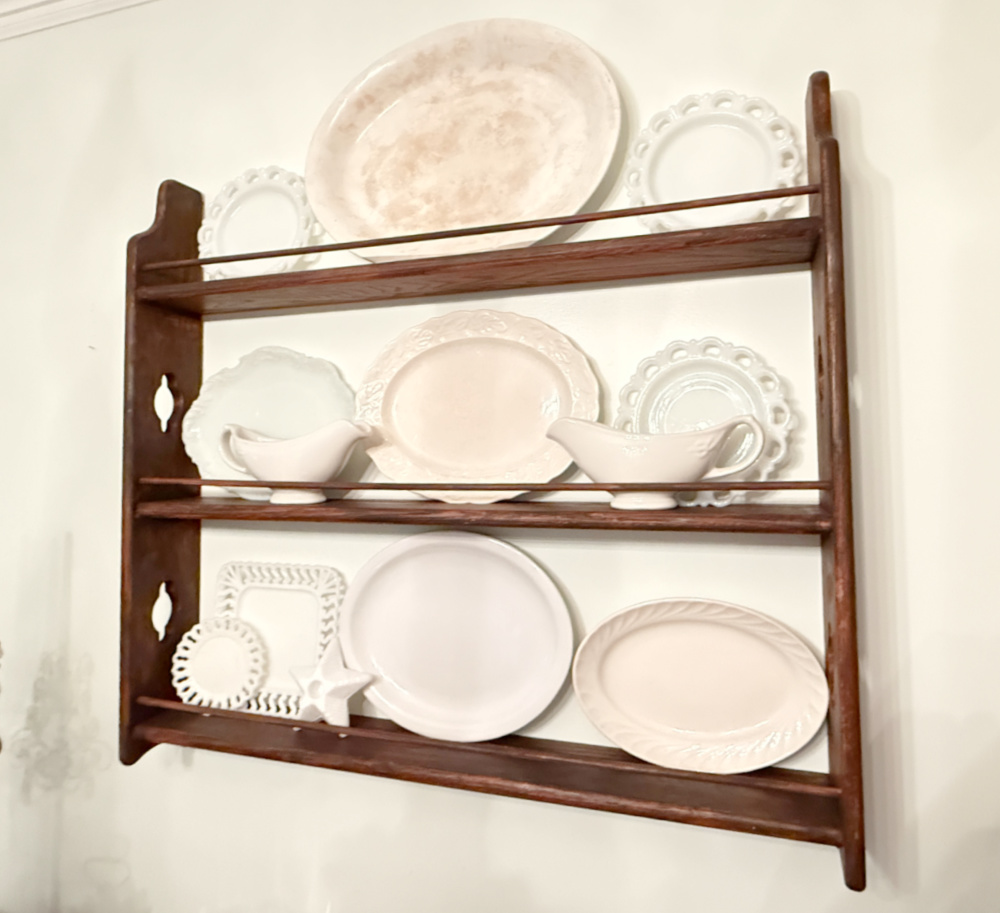
She is ready to hold some beautiful plates or other collectibles.
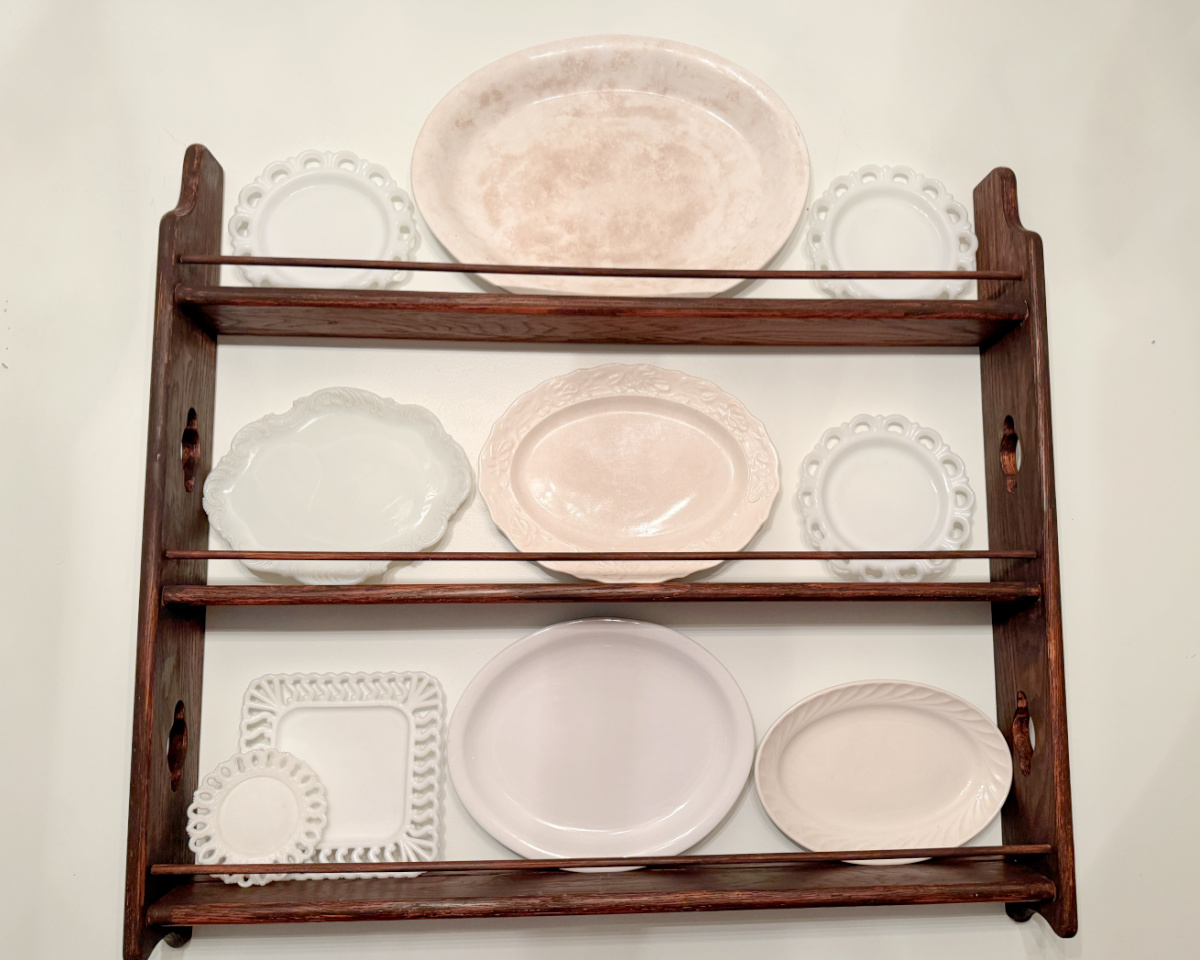
I started with some ironstone platters and milk glass plates.
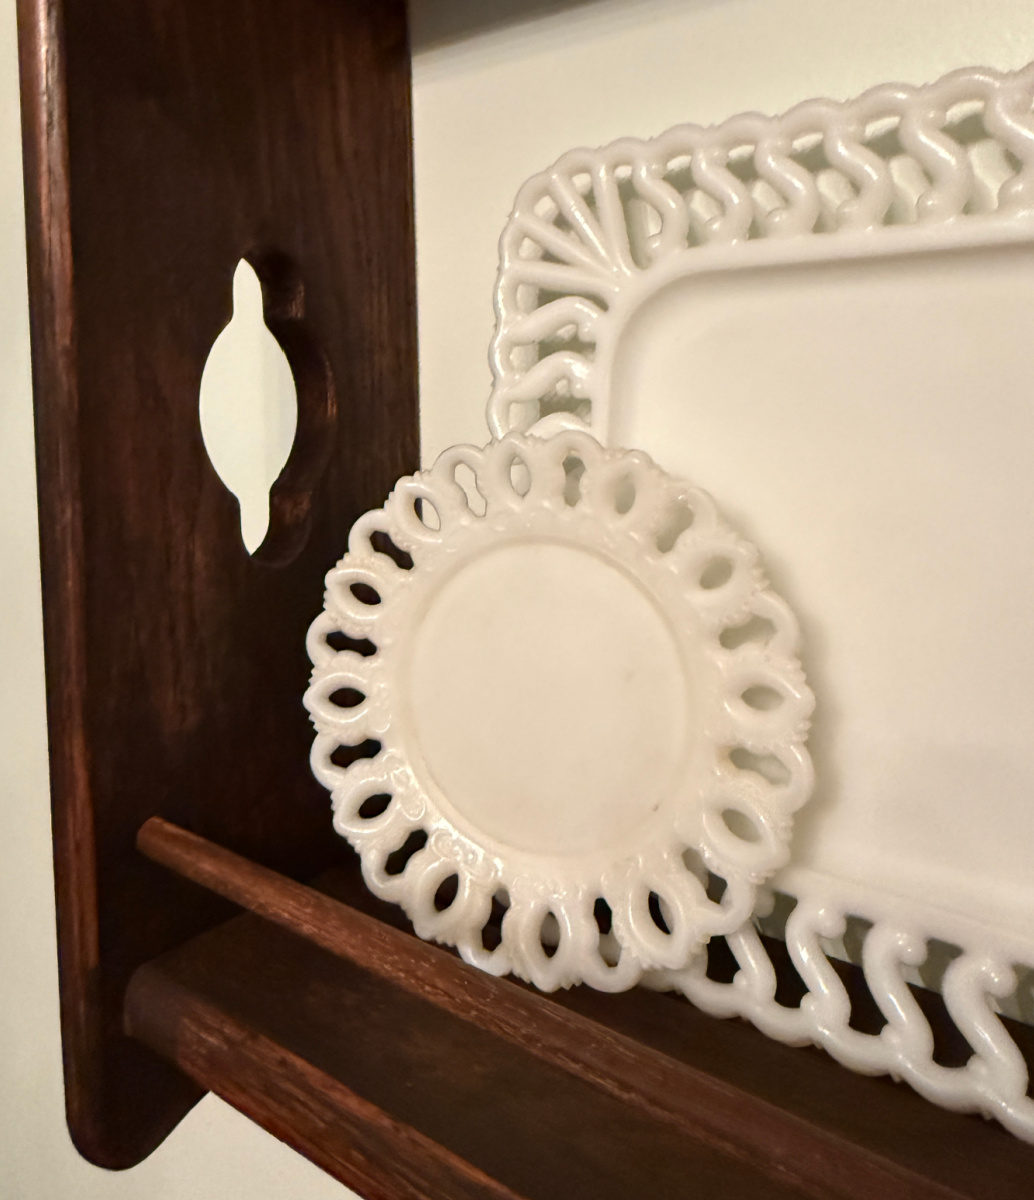

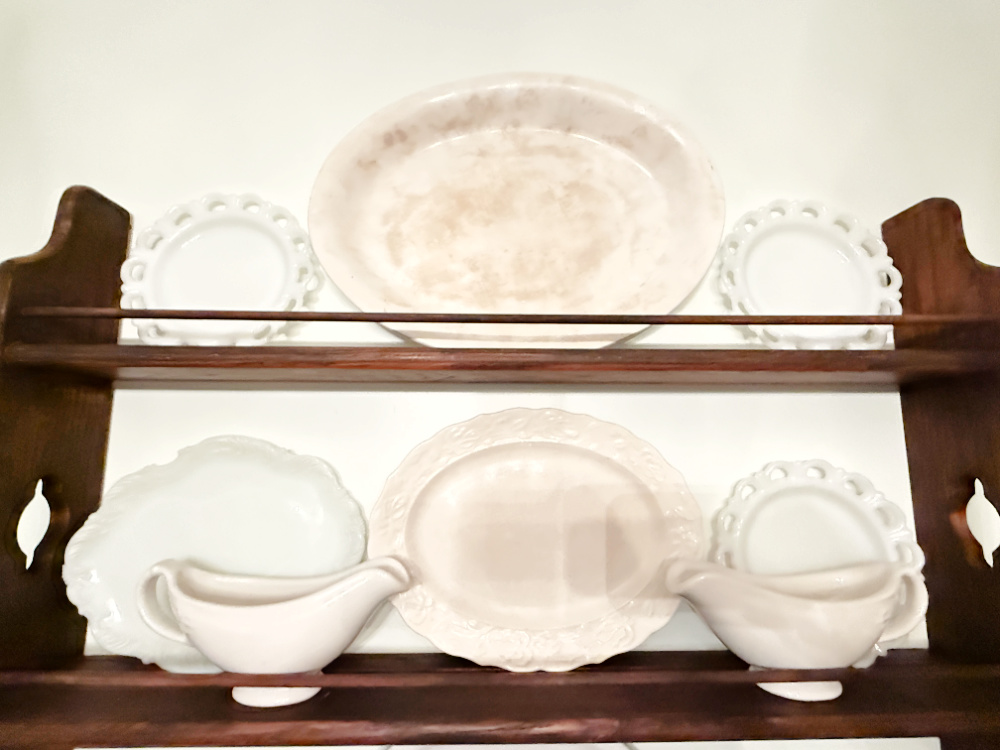
I added a few smaller plates. And then some more ironstone.

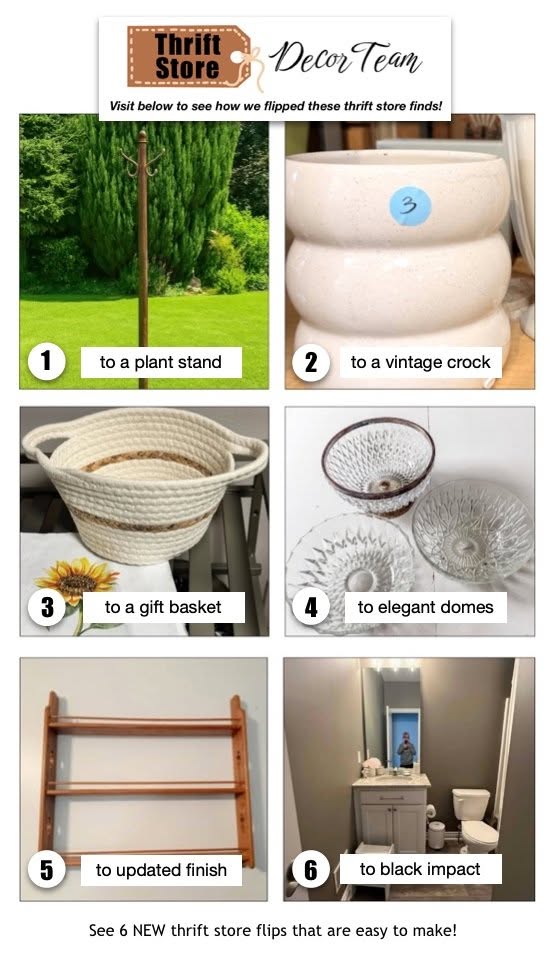
See how Funky Junk Interiors’ forgotten coat rack got a 2nd life as a charming DIY hanging plant stand. Perfect for an outdoor patio!
Kristin transformed a $3 glass vase into a high-end vintage crock with a simple napkin decoupage technique.
Learn how to update a Dollar Tree rope basket with Mod Podge and a sunflower printable to craft a budget-friendly gift basket from Our Crafty Mom.
Songbirds is showing us how easy it is to make elegant glass domes from thrift store crystal bowls!
See how you can update a wood stain finish to match your favorite wood tone on an Oak Plate Rack from Shop at Blu.
Redhead Can Decorate is showing us how black paint can make a stunning impact in a small space!
Here are a few other posts where I used my stripping skills (I should probably rephrase that) and stain techniques.



Sue! I love how you changed the color of the stain while keeping the integrity of the piece. Beautiful makeover! XO Kristin
Thanks, Kristin. I’m so glad it didn’t have a horrible finish to transform.
This is beautiful, Suzanne! I am happy you remembered it and now it can display your pretty plates!
Thanks, Julie! I love seeing the Ironstone and milkglass on the wall.
That rack looks so much better now! Thank you for the detailed tutorial.
Oh, and thank you for calling me vintage! Ah well, it sounds better than being retro LOL.
Haha. Thanks, Marianne. Retro sounds a little crazy, right?
Pulling ironstone out of storage and remembering the oak plate rack, bought because the finish felt too light, is a tidy second act. A darker stain on a piece that is still in pristine shape fits a taste that leans away from pale oak. SendSong (https://sendsong.org/) turns a short family story into a song when a thrift find becomes a gift.