
A Timely Refresh for a Vintage Metal Yard Chair
As an Amazon Associate and member of other affiliate programs, I earn from qualifying purchases.
I’m sure you have seen these vintage metal yard chairs. I call them patio chairs. They are also commonly called shellback, clamshell or tulip chairs. They’ve been around my whole life. We didn’t see too many growing up in the Roxborough section of Philadelphia back in the 70’s and 80’s. But they were prevalent in Wildwood New Jersey and along the Jersey Shore where people often used them on their porches and patios. They were staples in the hotels and motels as well. Durable, due to their metal construction, they were often painted in bright colors that brightened the area.
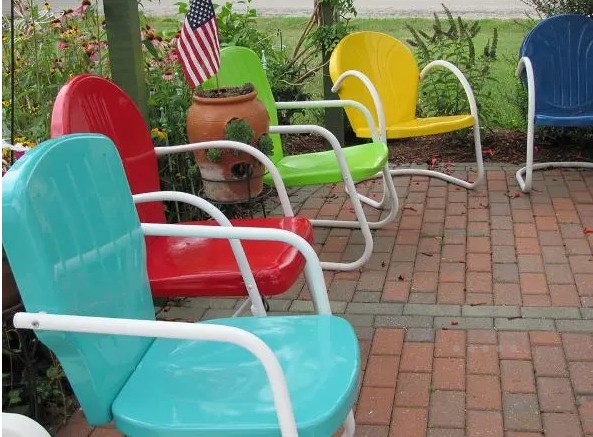
So when I reclaimed this one from my daughter, I knew she needed a refresh and a special place in my garden to invoke those sweet Wildwood memories and brighten a corner in our yard.
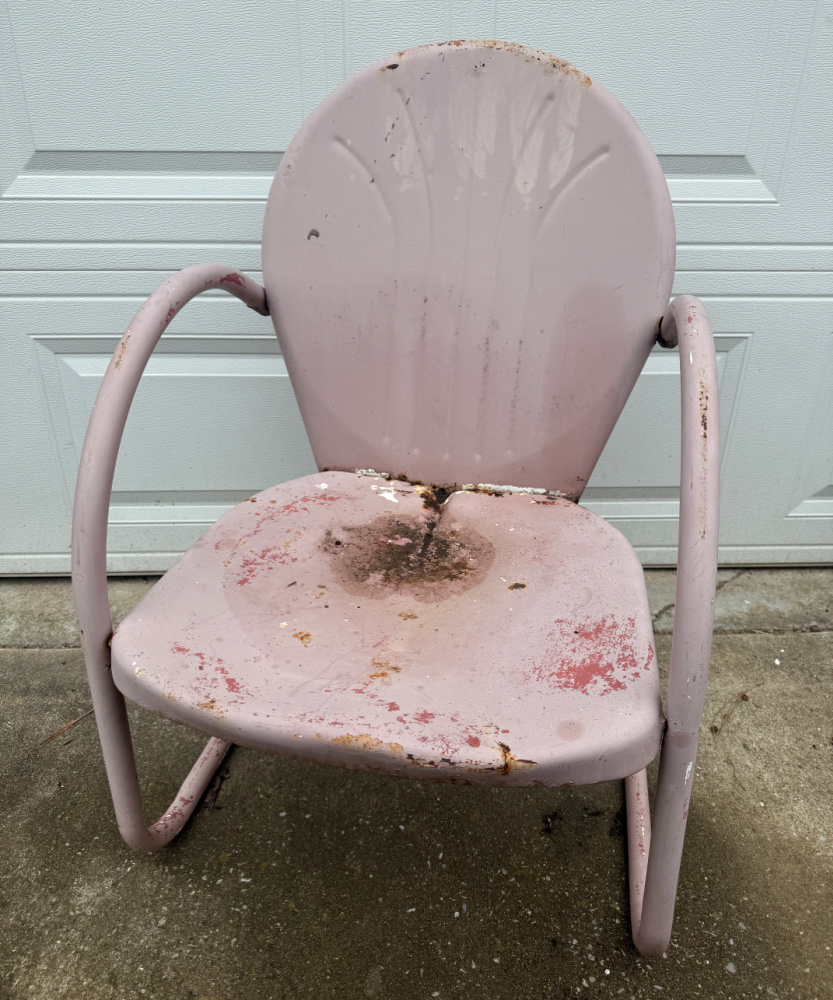
She is in great shape for her age. Very little rust. And most of it is just surface rust.
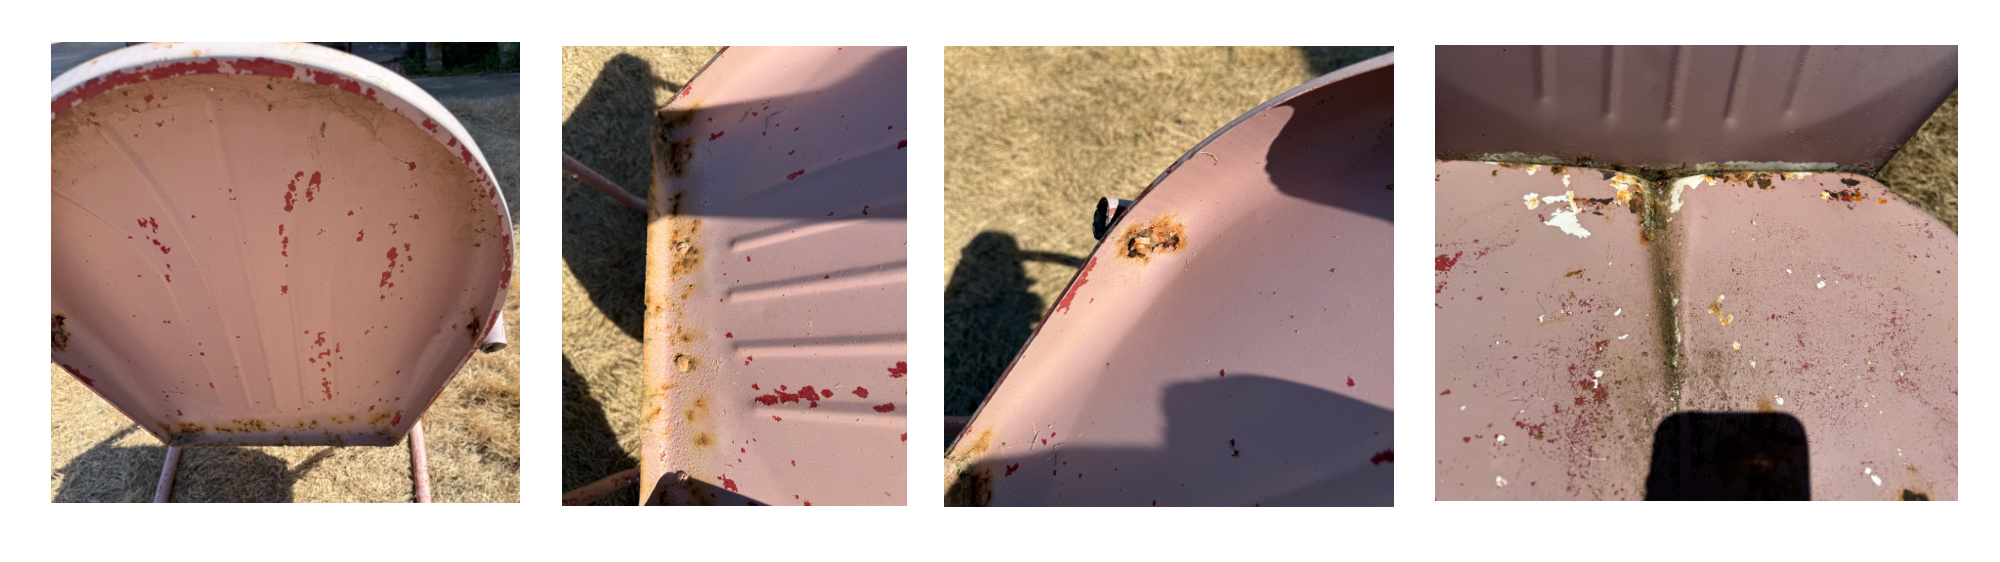
I’ve heard that you can repair more serious damage with auto repair body filler. Good to note that for the future. But my project will just consist of sanding and painting, fortunately.
Let’s Get Started
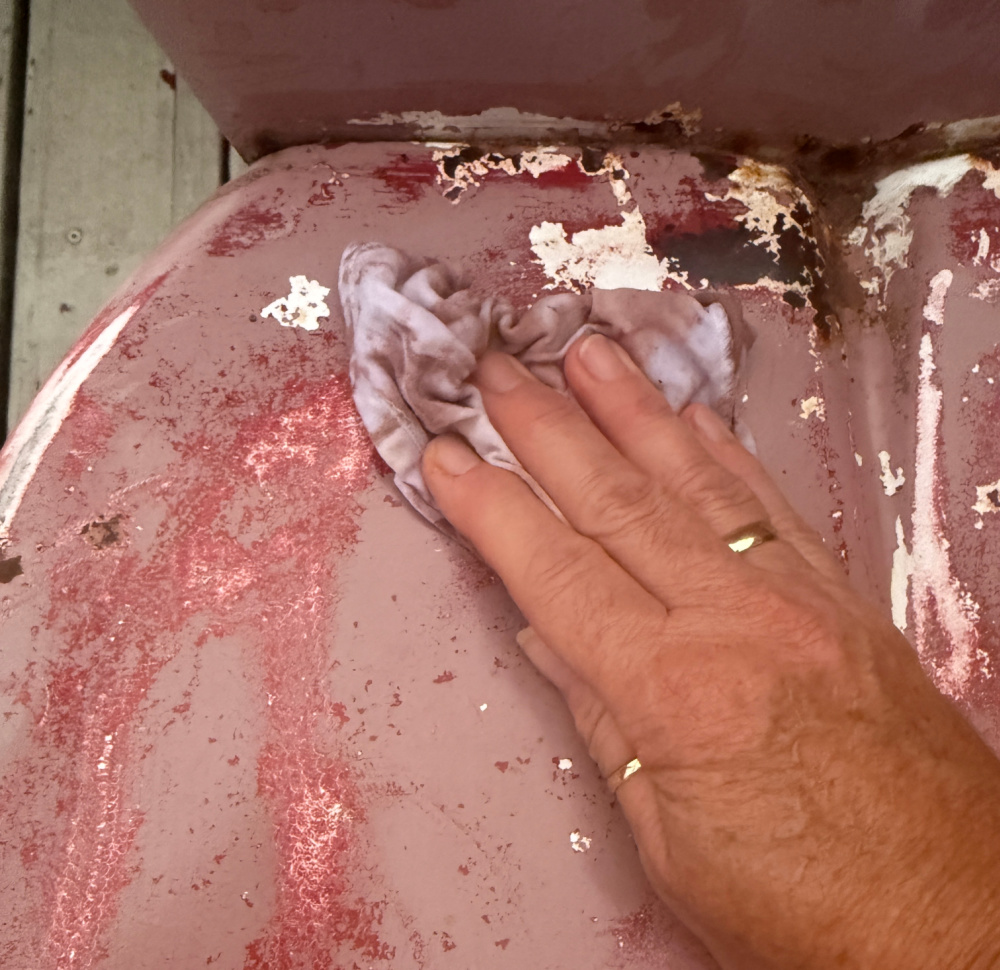
As always, we start with a good cleaning followed by a good sanding to remove loose paint and smooth the surface for better paint adhesion.
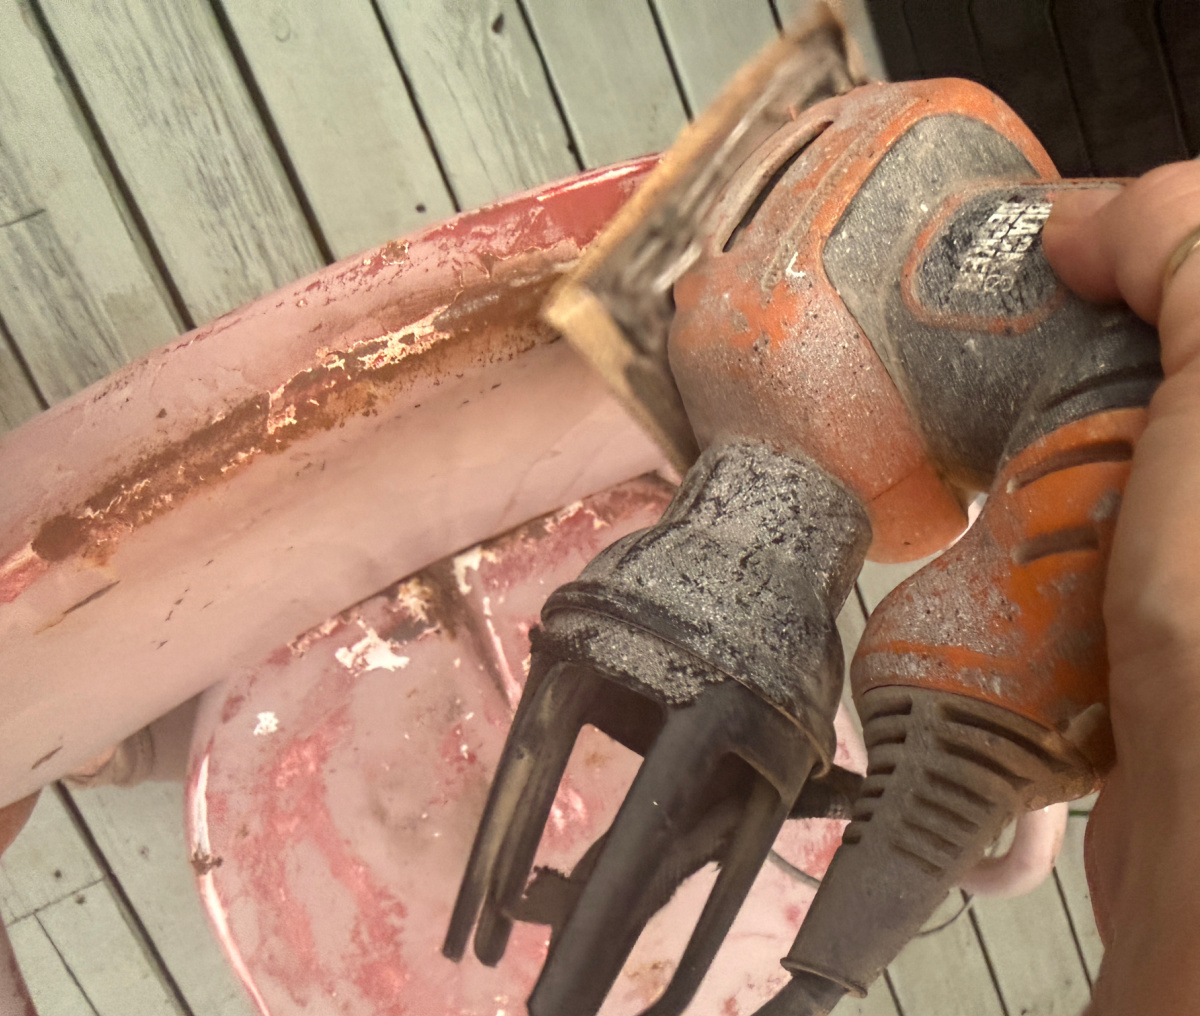
After sanding, she got another wipedown to remove the dust.
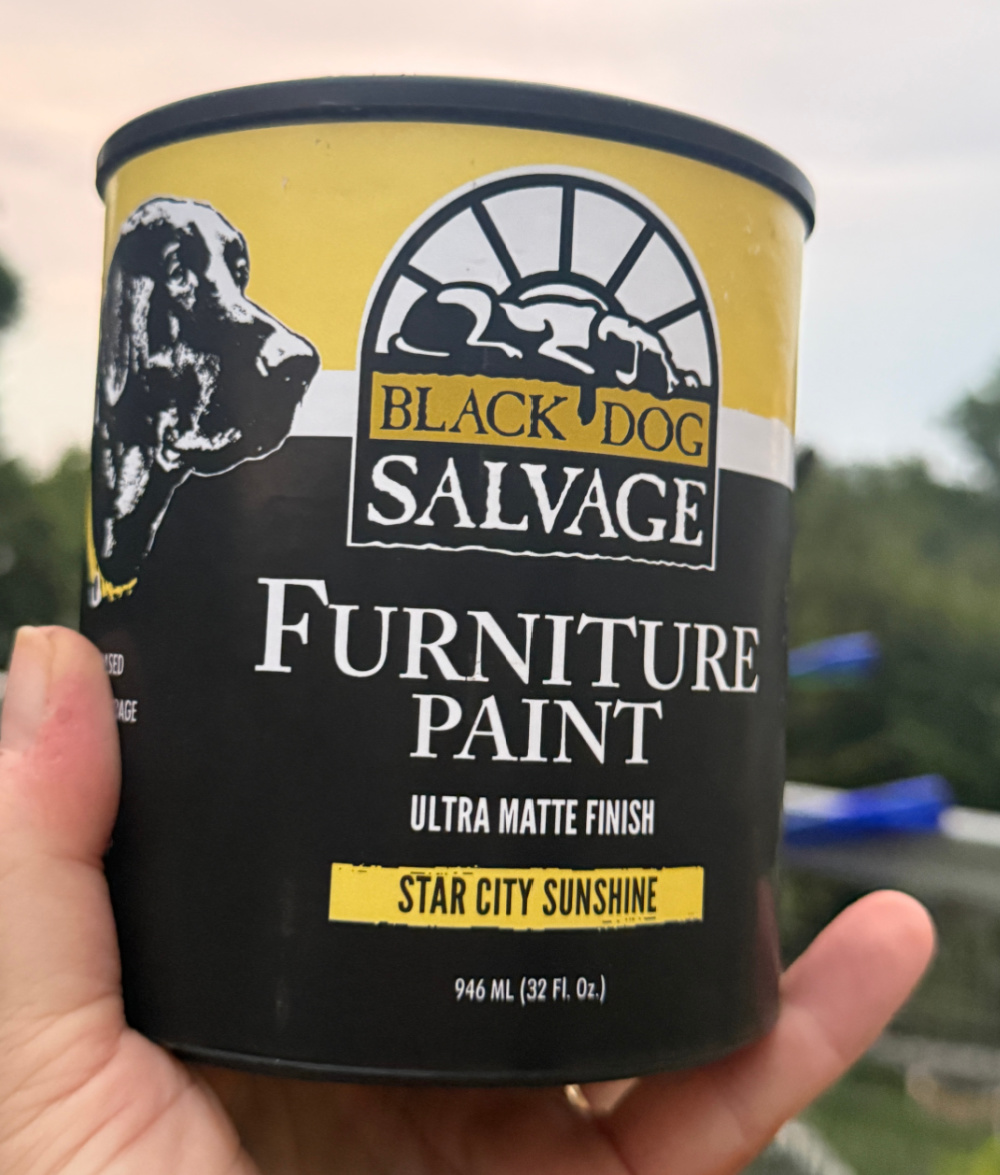
Time for paint color selection. I just received a lovely yellow paint from Black Dog Salvage Furniture Paint. This paint was designed for use on salvaged, antique, and vintage items marked for restoration. So, BDSFP is perfect for this vintage metal yard or patio chair. Let me introduce you to Star City Sunshine!

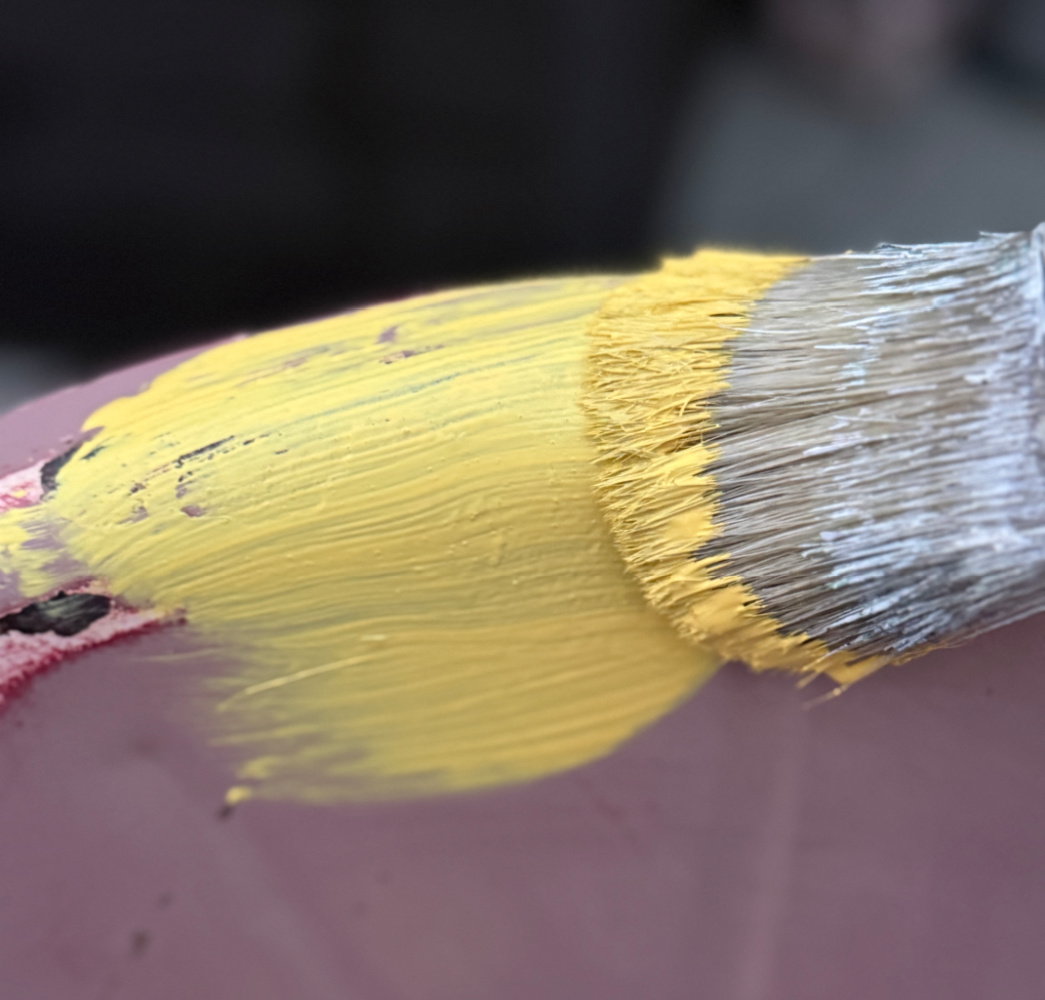
I expected 3 coats would be needed since this yellow is covering the pinky mauve which covered the red.
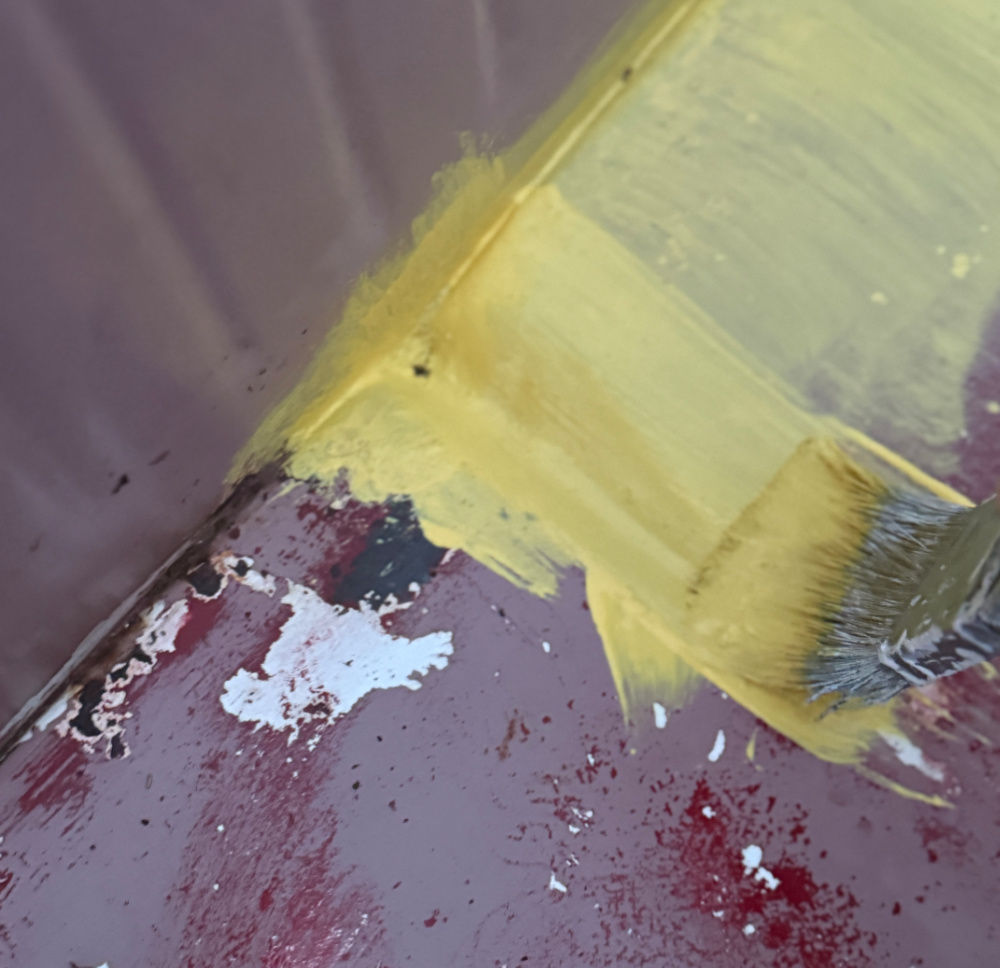
Here is the chair after one coat.
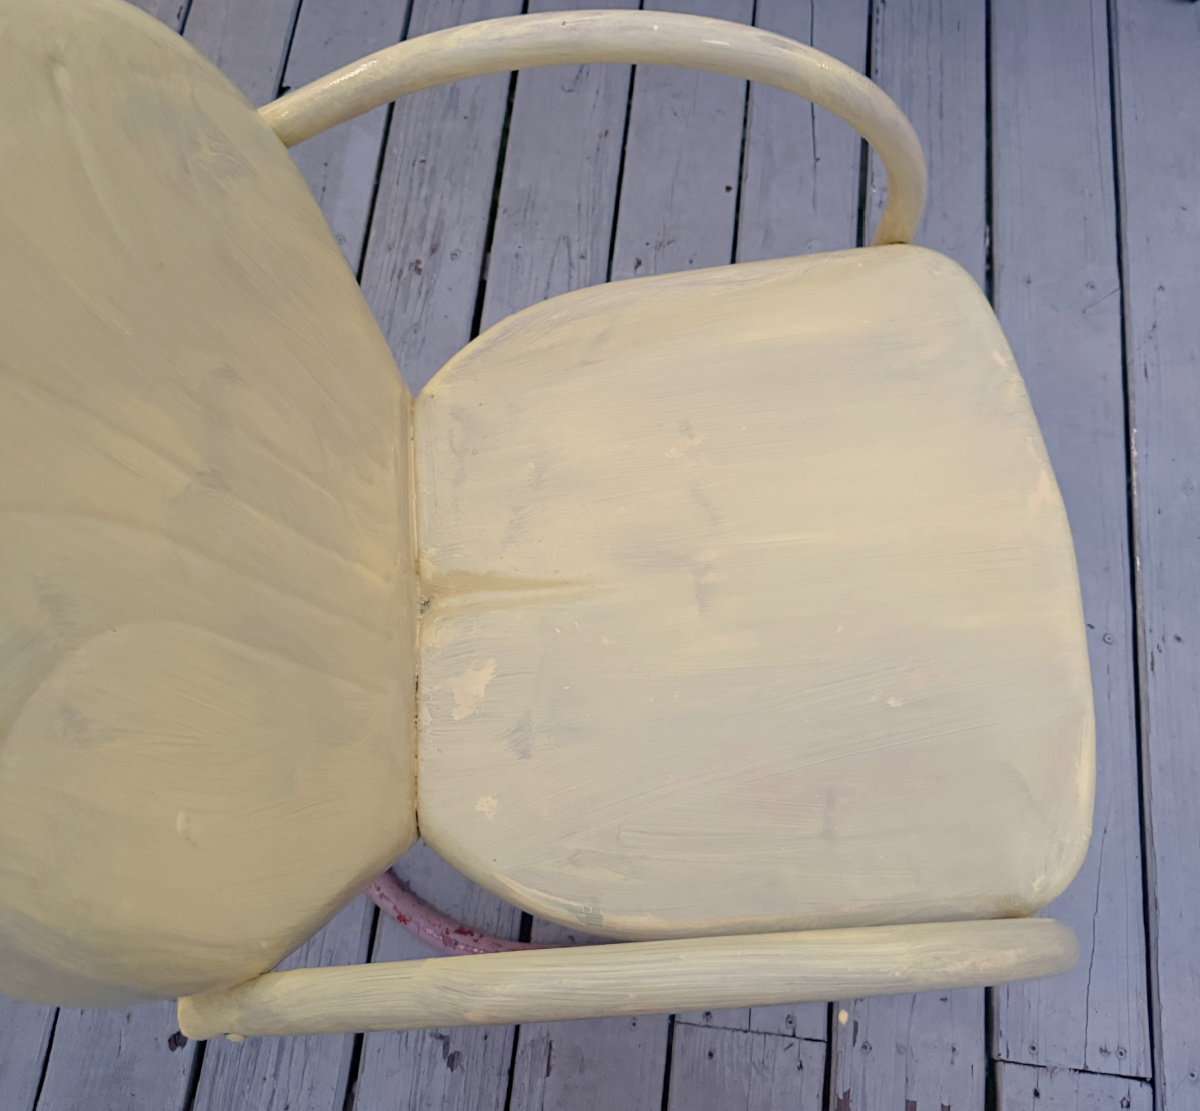
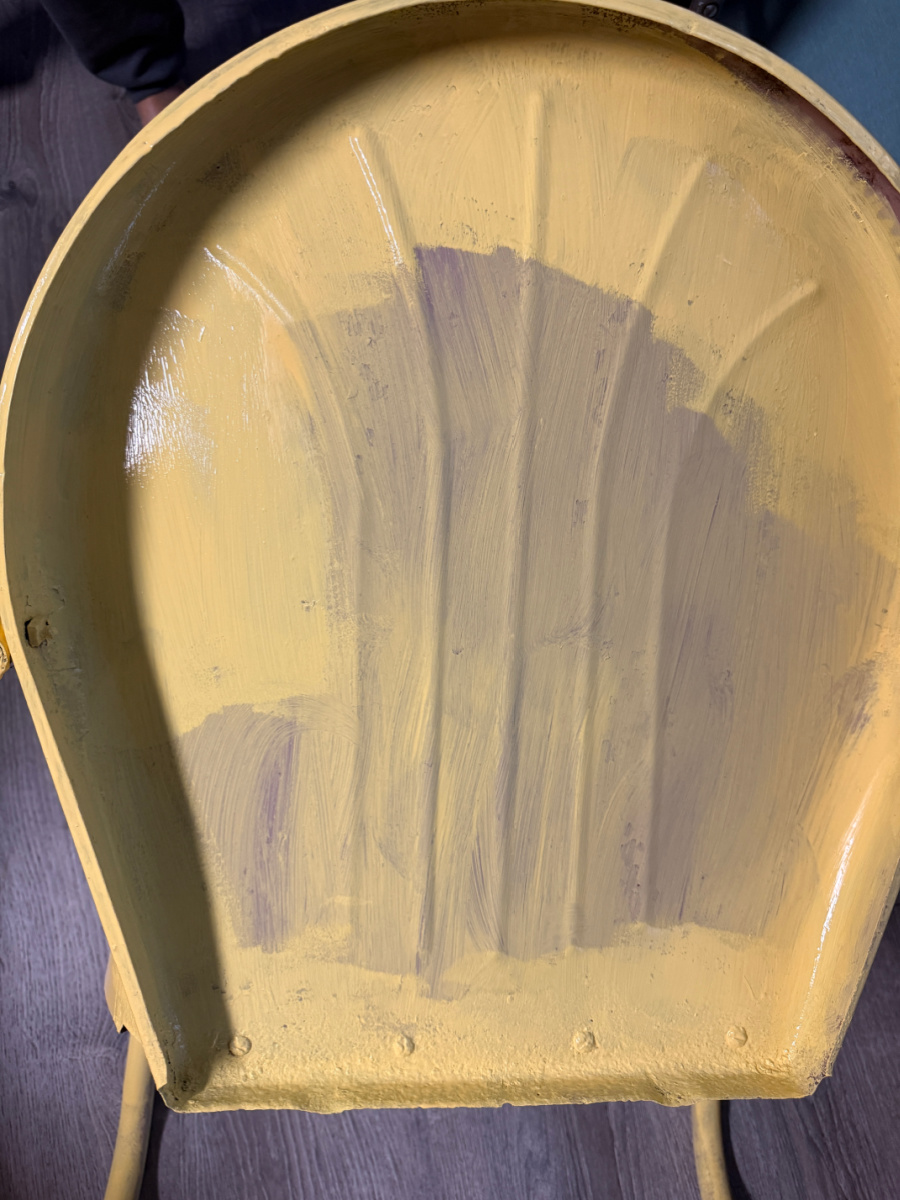
As expected, I moved onto a second coat. The trick to better coverage is to ensure the first coat has completely dried before moving onto the next coat. This keeps the paint from streaking. Here is Sunshine during application of the second coat.
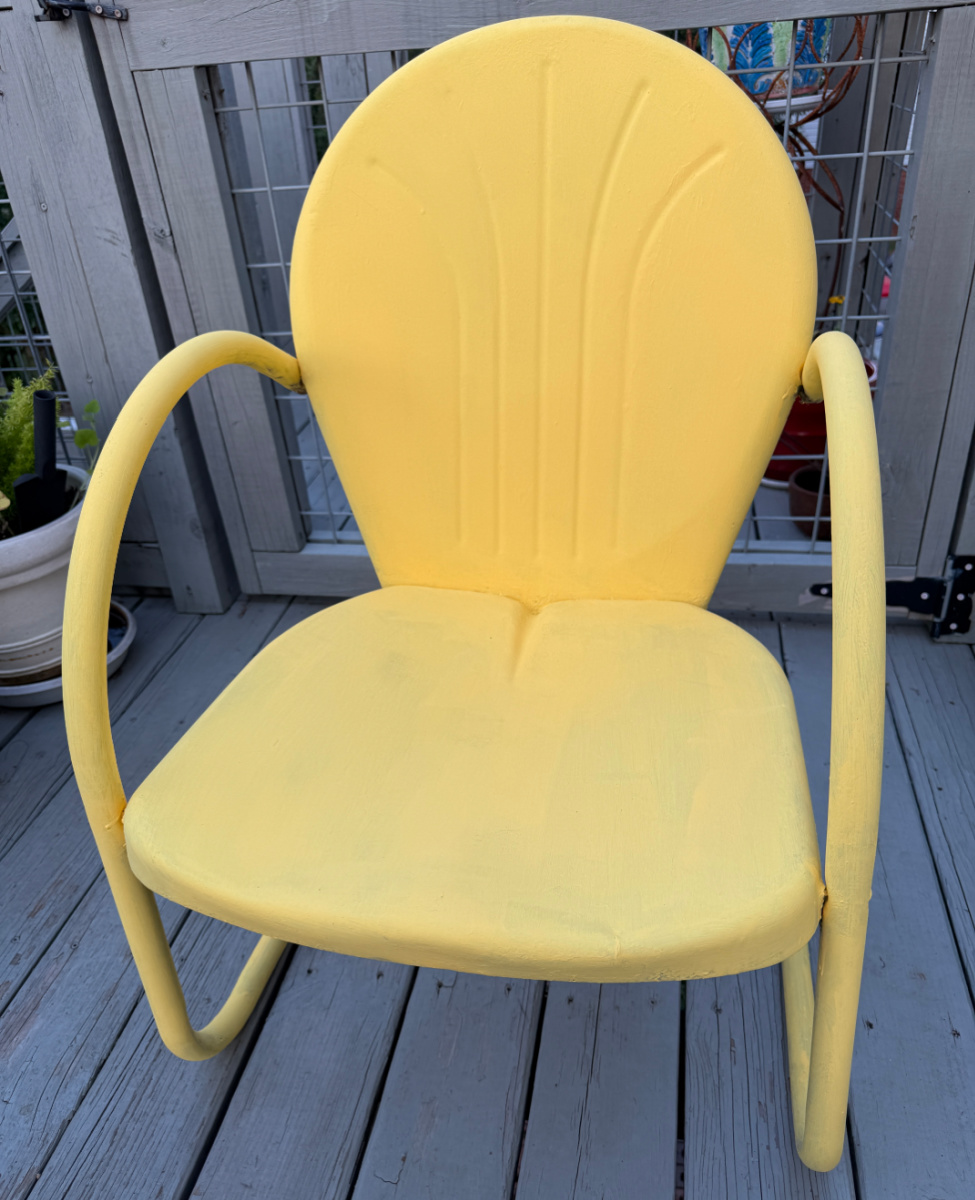
And finally, voila!

It’s that time of month where the Thrift Store Decor Team publishes new posts! On the second Wednesday of every month, the team shares new projects featuring upcycled, recycled, renewed or newly created items that you can use in your decor. Accompanying the transformation pieces are always new tips, skills and products to help you in your DIY and upcycling journey!

You will find all of this month’s projects at the end of this post. Be sure to visit everyone!
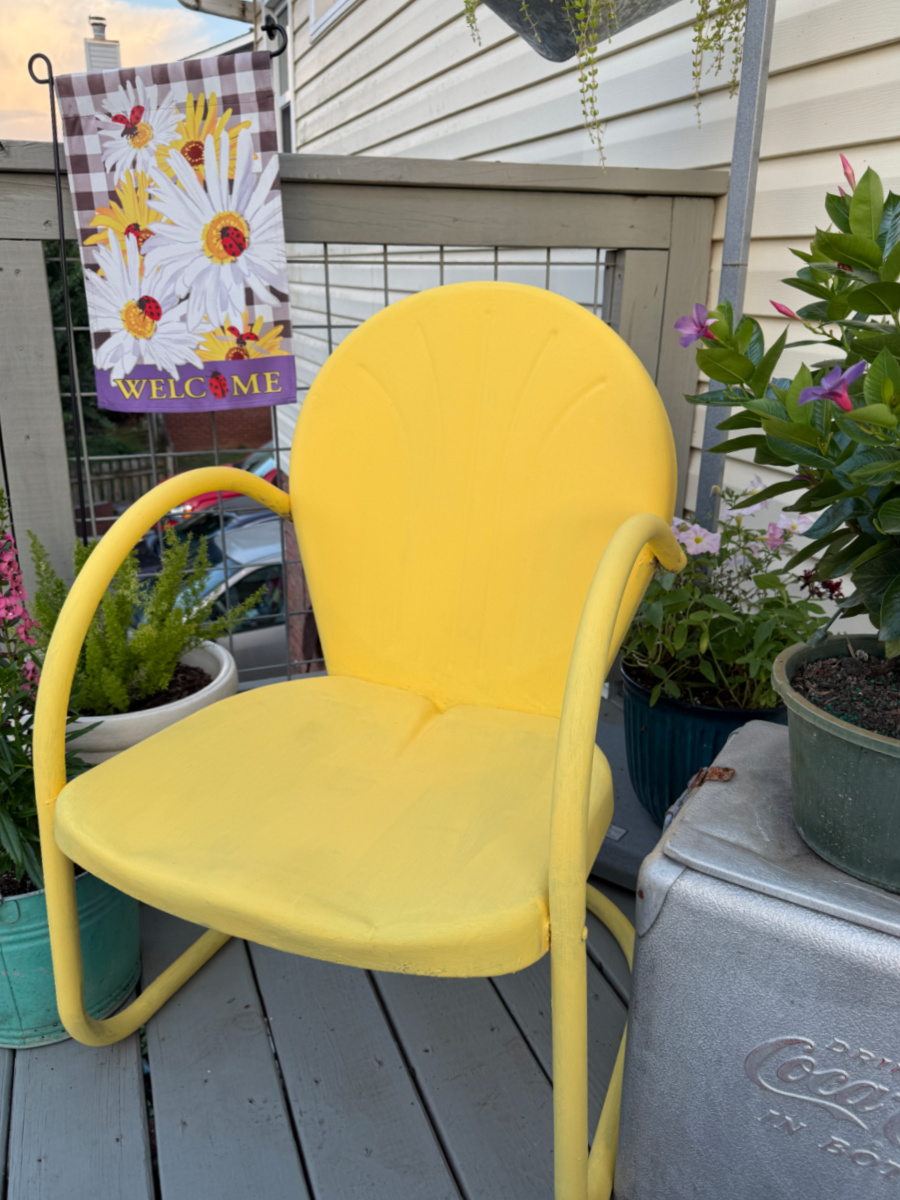
Now, to decide where this beauty should live.
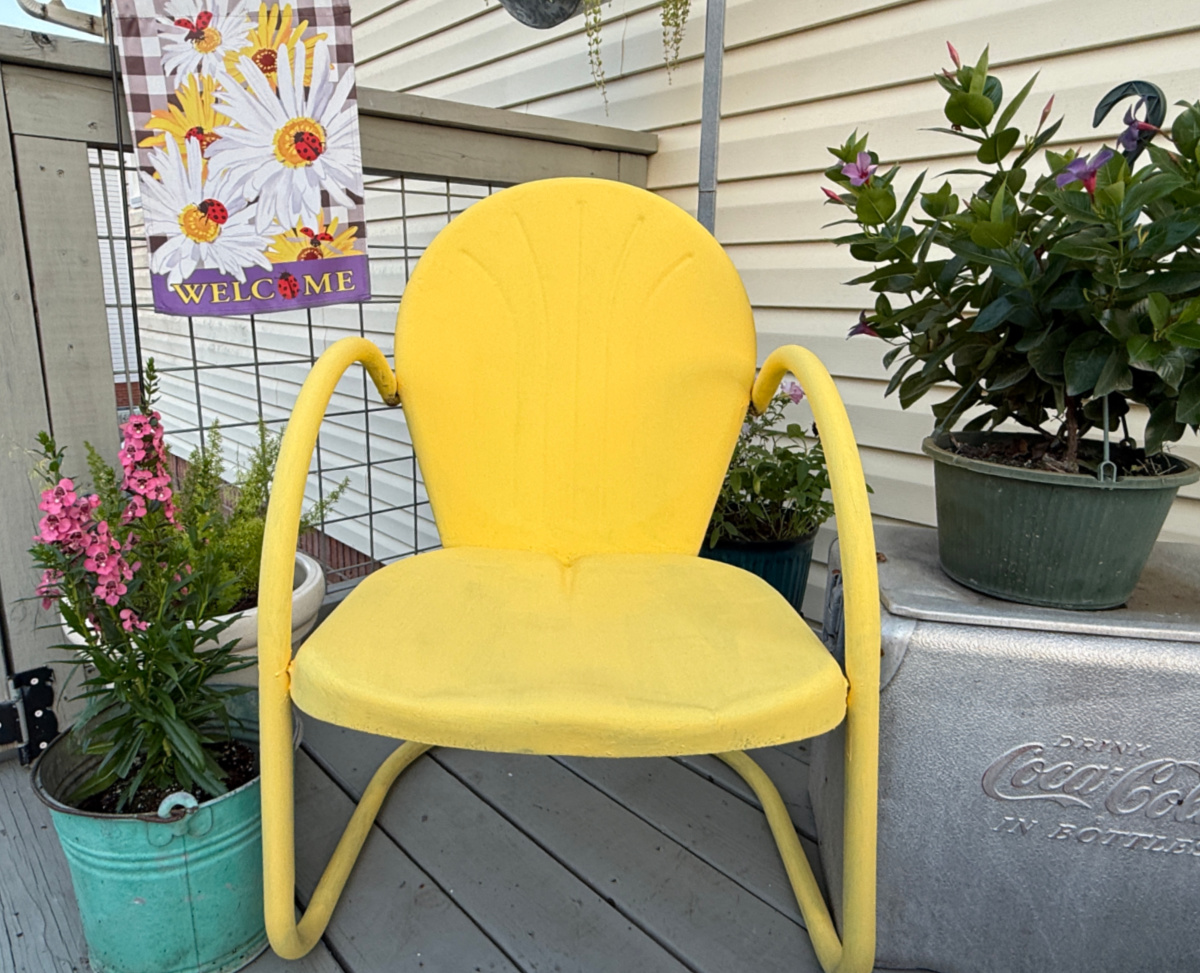
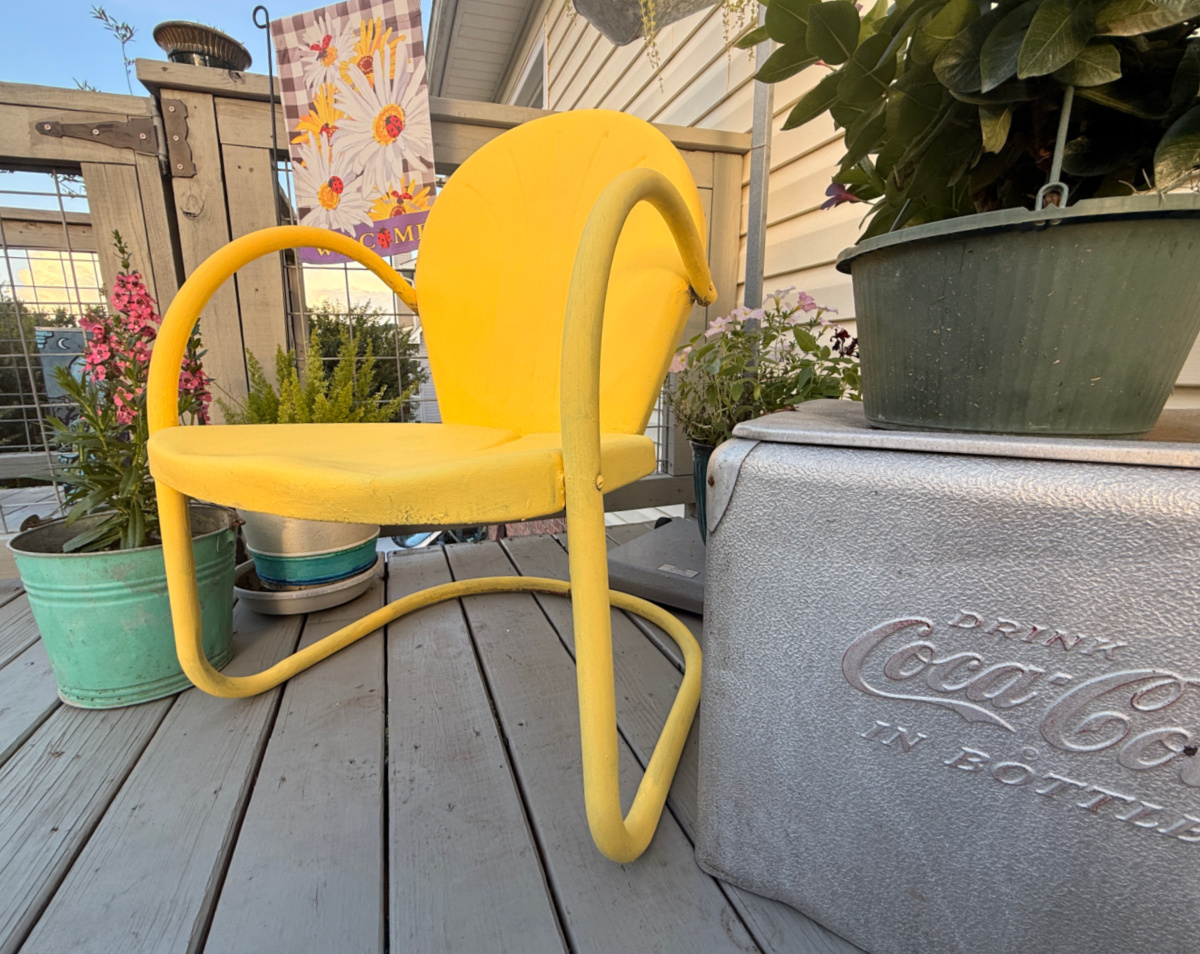
For now, she is residing on the deck by the entryway. She is quite welcoming.
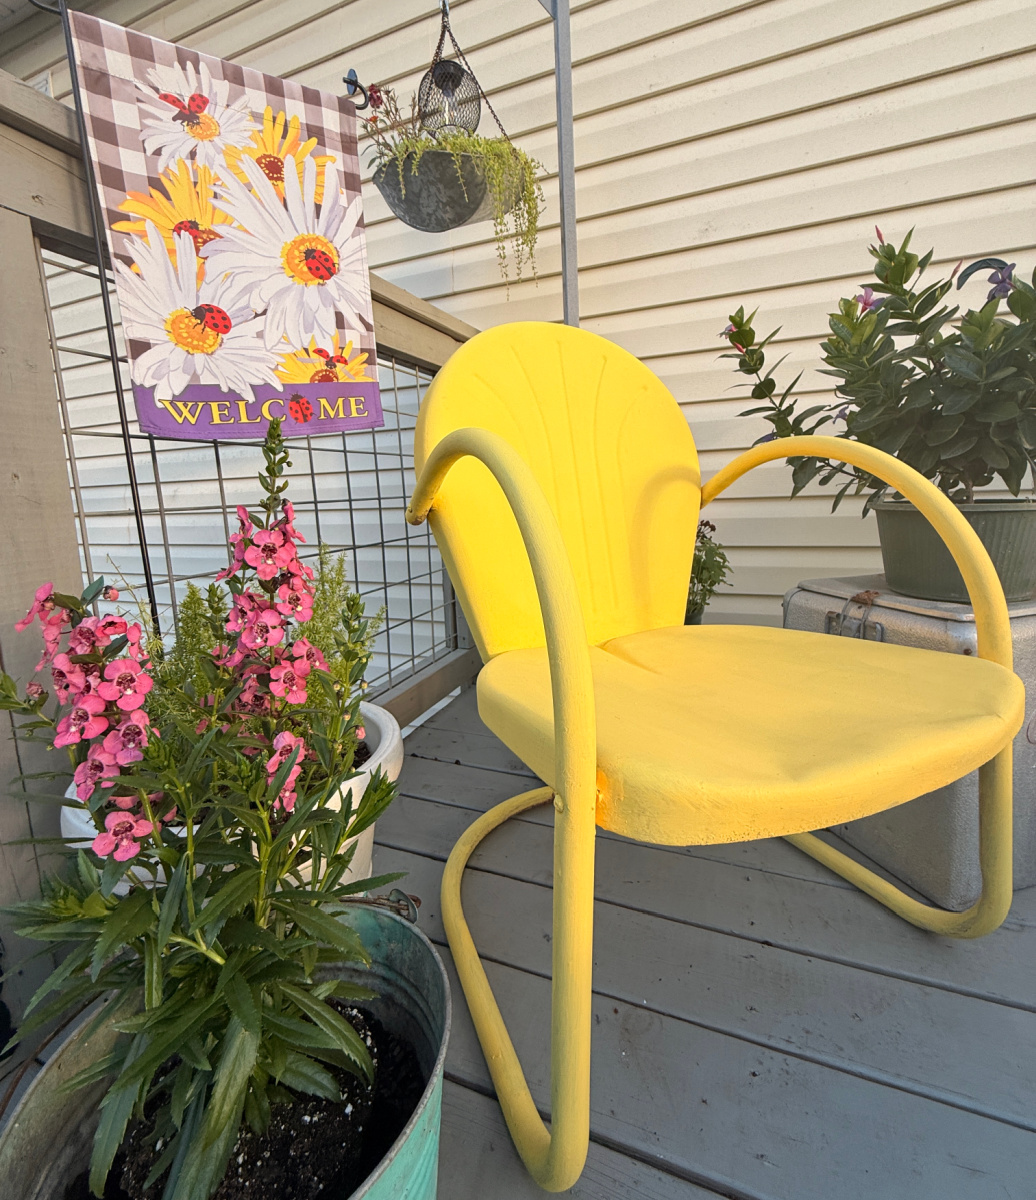
And she looks even better in the bright sun!
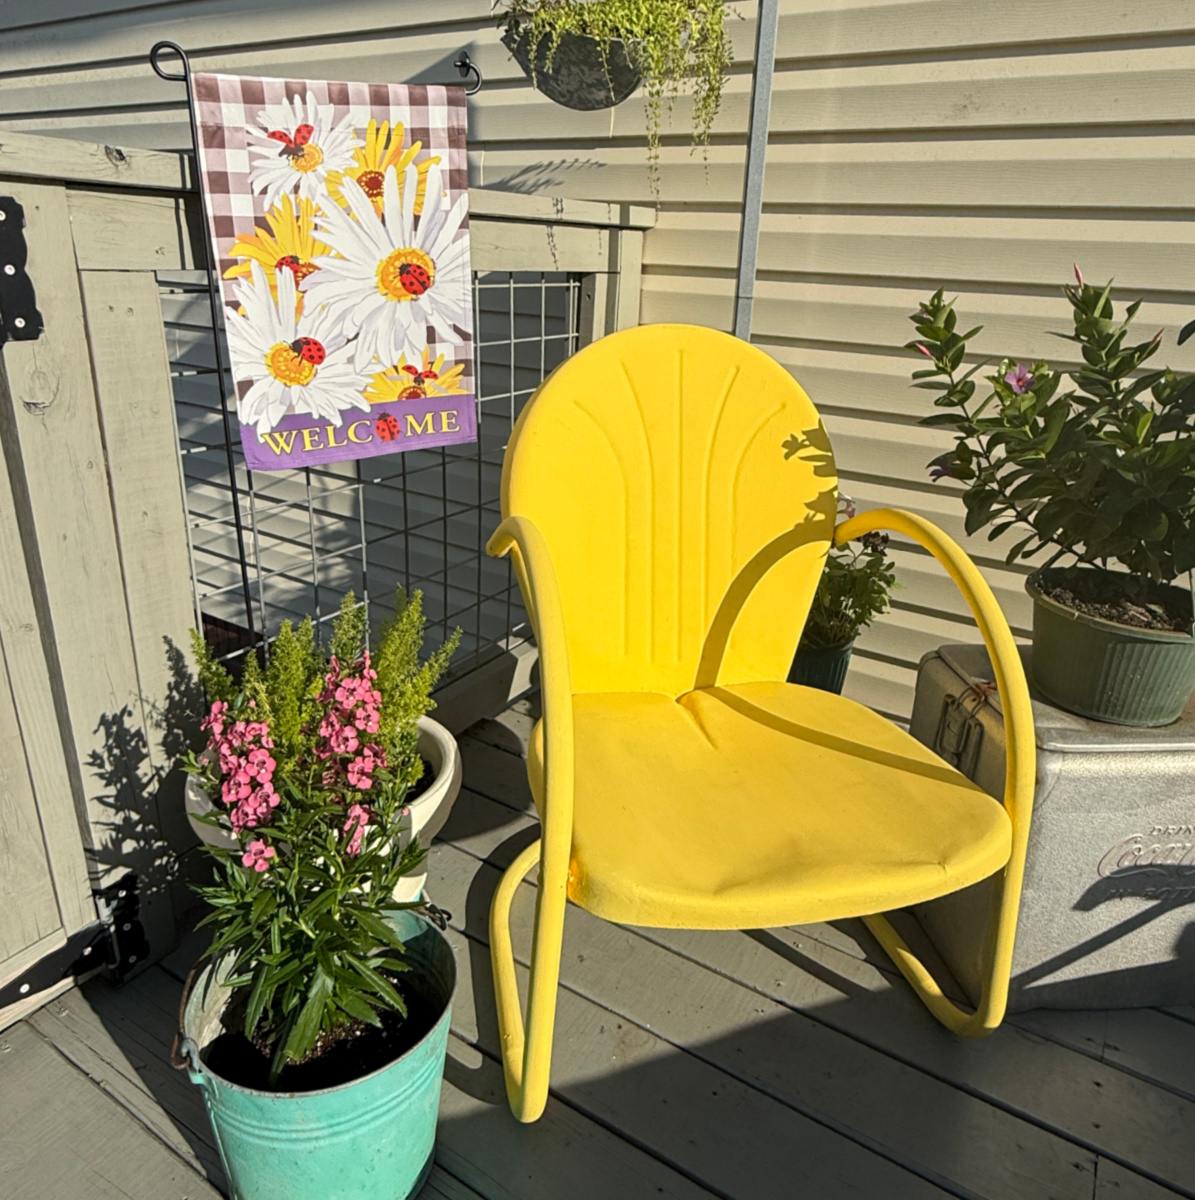
Ah! I just love vintage everywhere!
Here is another vintage garden post:
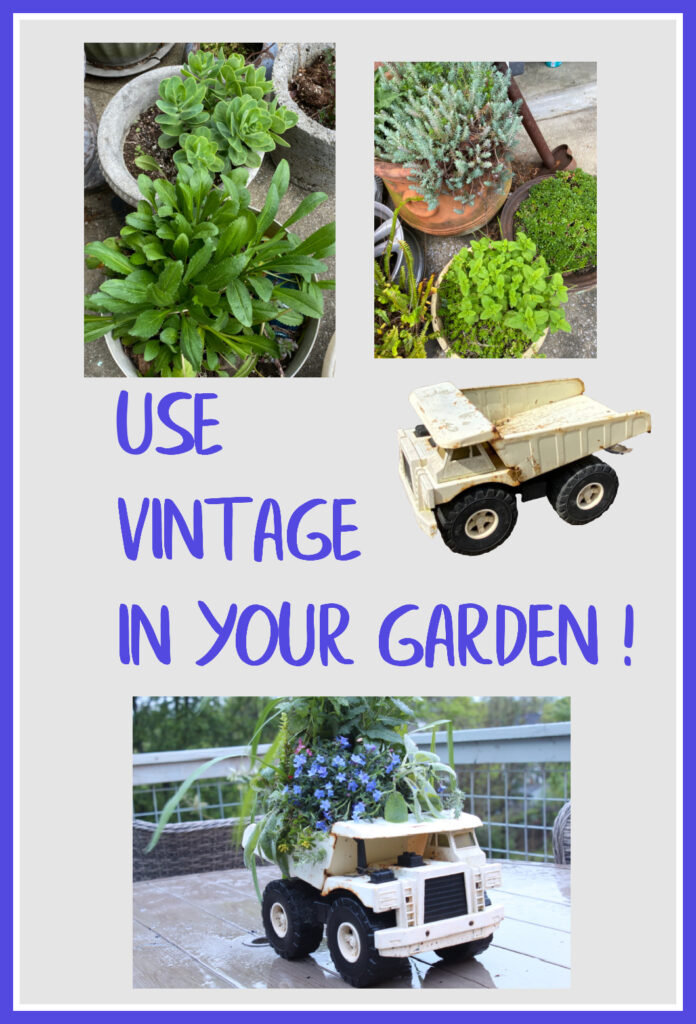
And apparently I do like vintage seating!

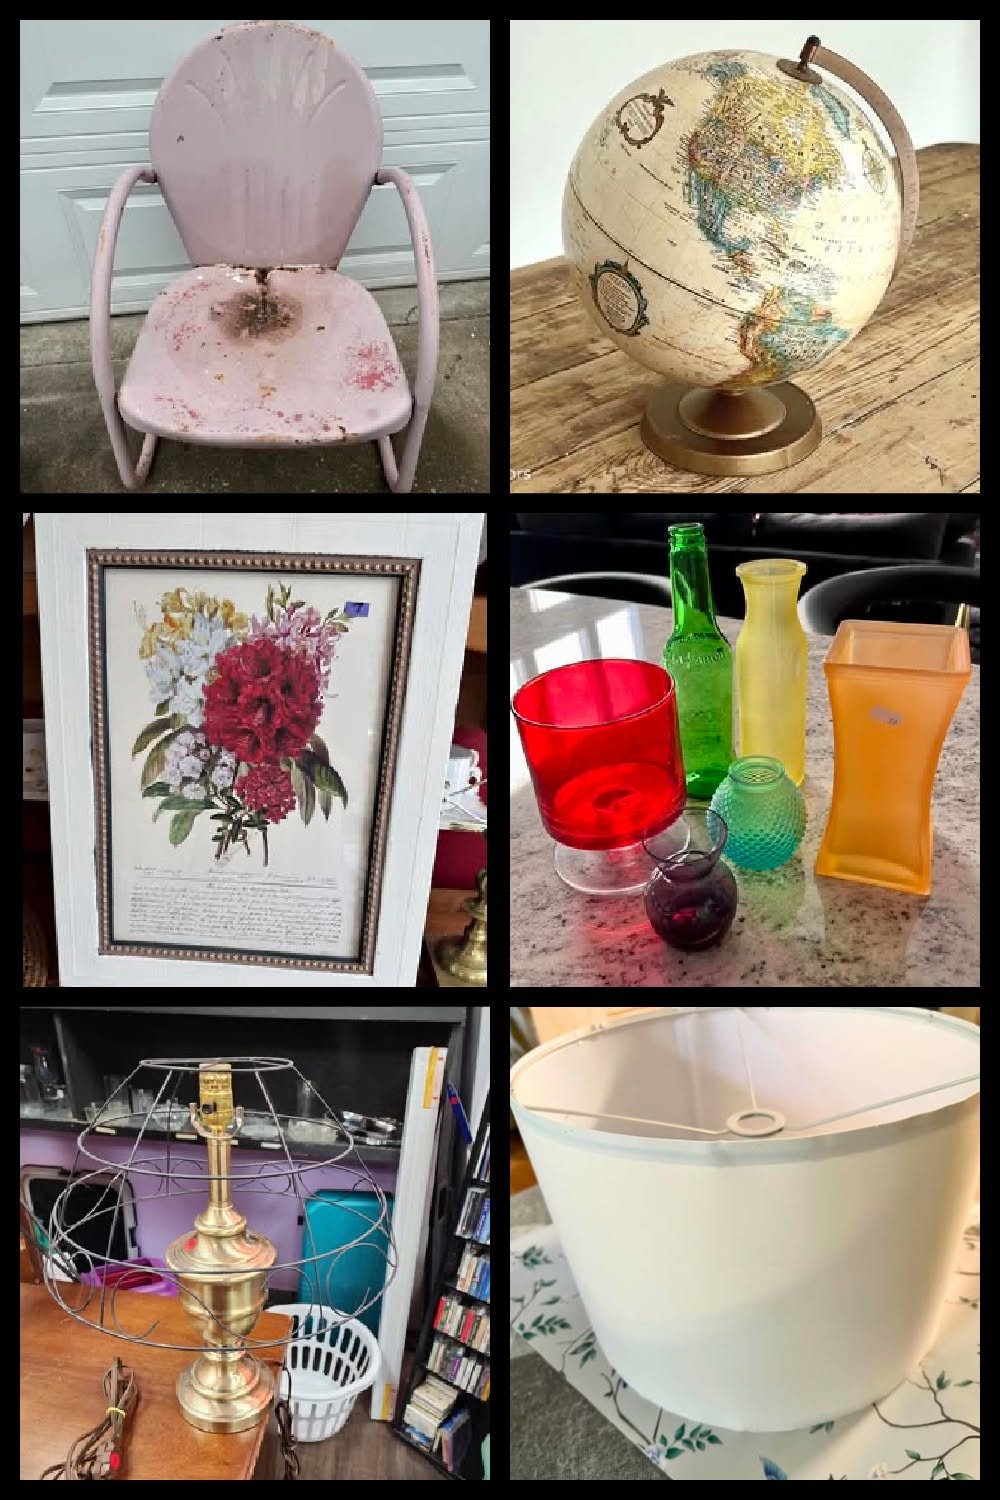
My Repurposed Life DIY Outdoor Fairy Light Lampshade
Shop At Blu Refreshed Vintage Metal Patio Chair
Our Crafty Mom Thrift Store Lampshade Makeover
Funky Junk Interiors DIY Upcycled Globe Light, Cloche, Pedestal Bowl and Paper Towel Stand
Redhead Can Decorate Glass Rainbow Garden Tower
Exquisitely Unremarkable Thrifted Botanical Print Makeover
You’re right, those chairs are classics and you brought that one back to life in the prettiest way! SO perfect for summer in that bright yellow. Sunshine indeed!!
Thanks, Kim. Enjoying it on the deck!
Sue,
I don’t think I would have even started this project. But! You did a fabulous job on the vintage metal yard chair makeover.
I love the color!
pinned
gail
Thanks, Gail. It was a quick project and super cheerful with that yellow.
I could not wait to see what color you chose! Absolute perfection! I say we get Gail’s lamp and my rainbow tower to join your chair! Pinning!!
Yes! How fun would that be??
Sue, I love love the bright and cheerful color you chose for this chair makeover. It looks just lovely! I’m always on the lookout for patio chairs whenever I’m thrifting you can never have enough. Thanks for the inspiration.
Thanks, Michelle. I have a soft spot for chairs!!
I can see the metal through the paint on the chair seat. The coverage would have been so much better, and the texture would have been smoother using spray paint. I understand that this is the paint you had on hand but why does everyone insist on using a brush instead of a foam roller? I only use a brush for cut-in then a foam roller for a smooth finish. Also, would have tried to get the 2 sharp dents in the seat front hammered out (gently) a little bit (yes, I know, they’re vintage, worn, used, etc.). But I’d have tried anyway.
I certainly appreciate your critique. My projects don’t always go perfectly and the products I select for them can vary in results. I learned a long time ago that having perfection as a goal results in many unsatisfying projects. I don’t see any metal showing through the paint. Could the chair use another coat? Sure. But I don’t mind the imperfections. Do I make mistakes in my projects? Yes! Would I do somethings differently? Yes, again. Am I satisfied with this project? Also, yes. Thanks for your comments! I certainly do hope you got at least something positive from the post.