Paint Your Shower Door Surround
As an Amazon Associate and member of other affiliate programs, I earn from qualifying purchases.
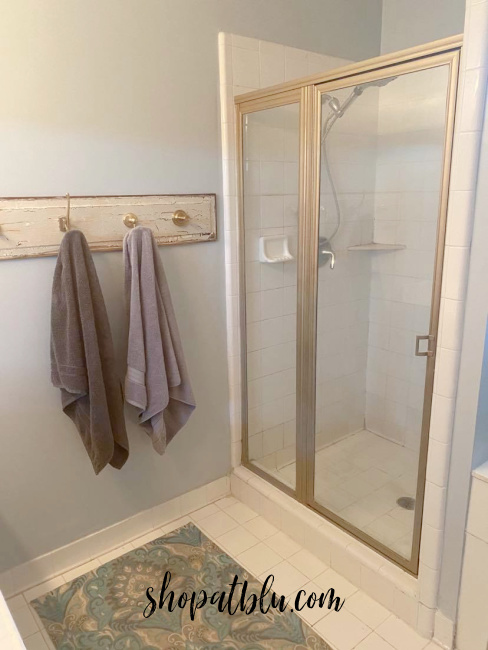
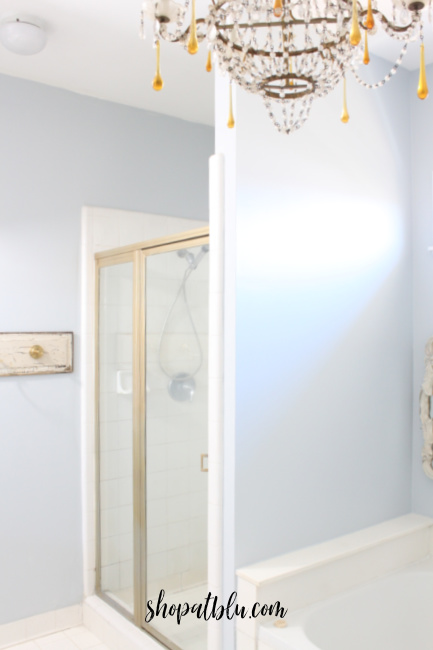
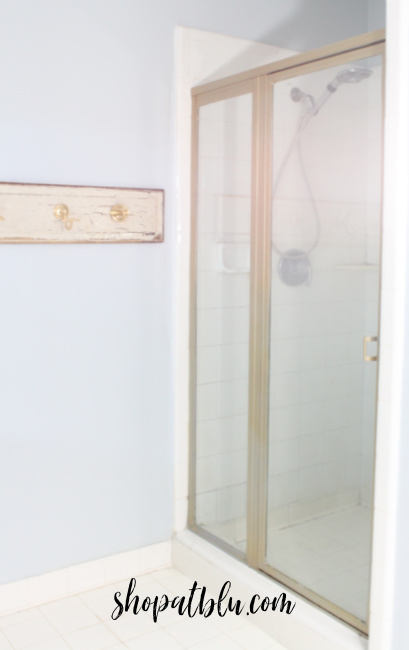
Recently, I worked on a refresh of my master bathroom. I felt the need to change my faucets from silver to gold to fit the new decor plan. But, you know how it is…you want the bling without the cost. I had purchased a replacement for our garden tub faucet and finally had that installed. But the cost of the faucet and installation was over $250. This Bathroom project was part of a $100 room challenge. Thus, I did not have a big budget. So I painted my two vanity faucets! At the end of that project I turned around and realized that the shower door and surround needed the update as well. I had all of the supplies in front of me so I jumped right into this additional project.
I documented the simple process I used to spray paint my vanity faucets in my blog post How to Paint Bathroom Faucets. My game plan for the shower was the exact same, just on a larger scale.
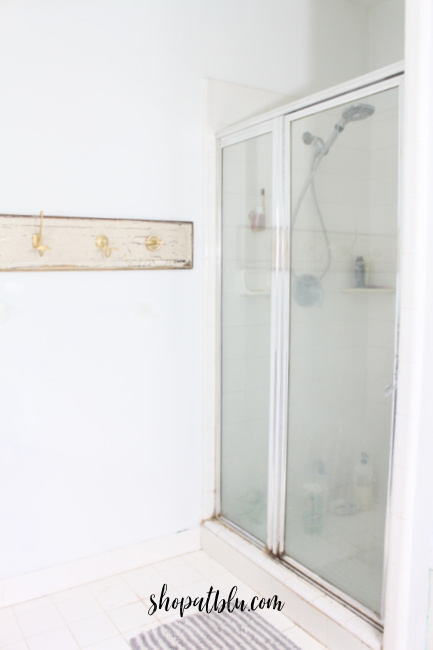
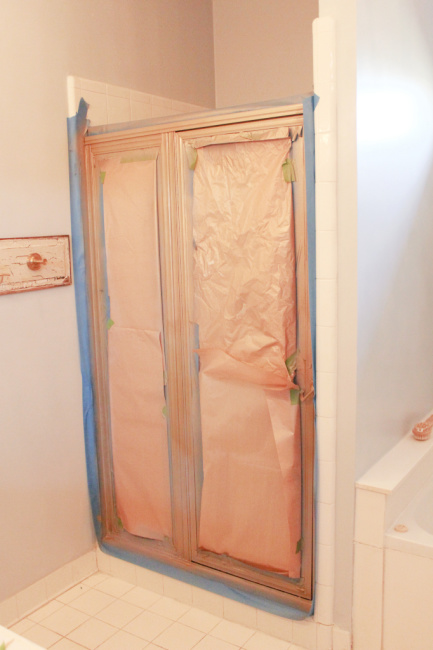
I cleaned all of the silver parts and lightly sanded. Then I cleaned again. Next step was to block off the glass and walls to prevent overspray onto areas that I did not want to be gold.
A steady arm and an even grip contributed to the process. I used my Rustoleum comfort grip spray paint tool. Rustoleum has long been a favorite brand of mine. I received my first comfort grip tool at The Haven Conference 9 years ago!
So many projects have been completed using this handy tool. No more index finger tips with spray nozzle indentations. No more goopy spray paint residue running down that finger and seeping under my finger nails. DIY is strenuous enough without have your manicure ruined! Thank the good Lord for Rustoleum!
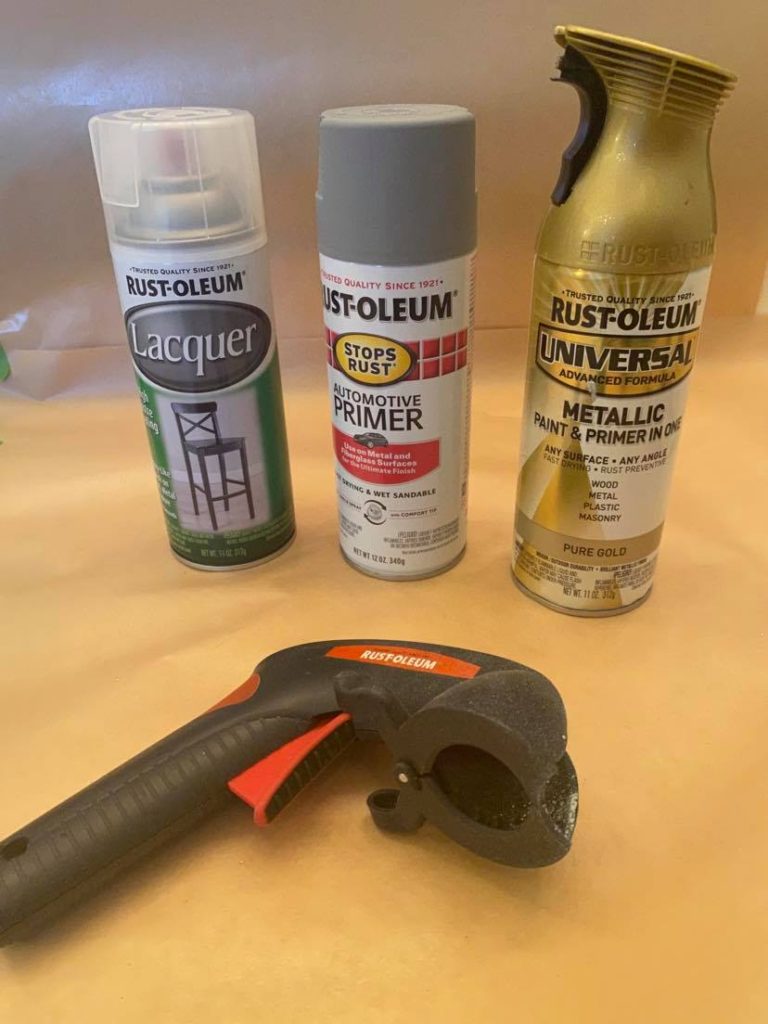
I applied two light coats of primer allowing them to dry completely between applications. Did you know Rustoleum has Auto Primer? Perfect for heavy duty projects. I allowed the primer to dry overnight. Three light coats of gold were applied again allowing complete drying between applications. I finished the project with a quick light coat of Rustoleum Clear Lacquer Finish. And the doors look fabulous!
Spray paint has really come a long way! Stay tuned for updates as I attend Haven next month. Rustoleum is again challenge bloggers for creativity in using their products in a contest. I will share those project when they are available!
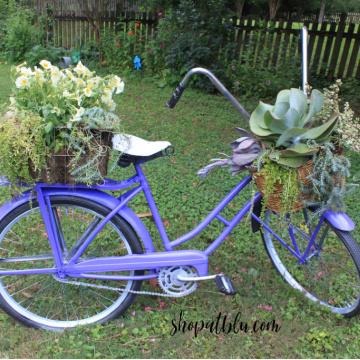
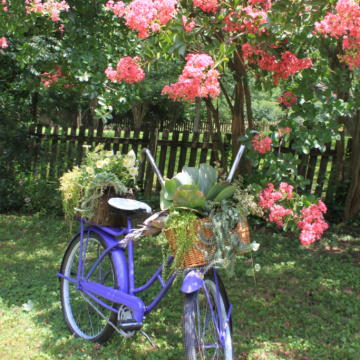
Last year I participated in the Rustoleum Challenge for Haven. My project was a Vintage Bike Upcycle.