How to Build Closet Shelves for the Office
As an Amazon Associate and member of other affiliate programs, I earn from qualifying purchases.
Week 3 of the Once Room Challenge finds my office closet EMPTY! It’s a miracle! This week I removed all of the wire shelving and designed replacement shelves to house all of our office supplies and many of my blogging items including photography and silhouette equipment, staging items, seasonal decor and props. Whew! Are you wondering if it will all fit? Me too! Let’s build some closet shelves to make sure that EVERYTHING fits and EVERYTHING has a place.

But first…
HOW TO REMOVE WIRE CLOSET SHELVING
I’m sure that these closet systems were like the invention of sliced bread back in the day. I remember when we moved into this home, 20 years ago, and I was excited that every closet came equipped with wire shelving. Don’t get me wrong, it definitely helped keep the full closets somewhat organized. But I’m ready for pretty AND functional. I’m entitled! Right??? And so are you.
My dream office closet is filled with ceiling to floor shelves. Everything is organized and has its place. Silhouette items here. Project materials on one shelf shelf sorted of course by project: recently completed, upcoming, in progress, maybe. Photography supplies in their home. Florals all together! Seasonal decor in one specific area! YES! All of it! Am I dreaming? Nope! I’m just working my DIY projects in my home, one room at a time! On a budget!
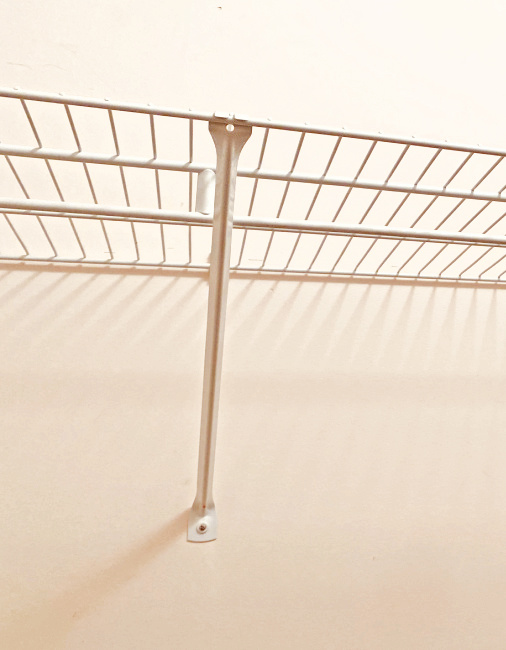
Wire closet shelving is super easy to install and just as easy to remove. I started with removing all of the support brackets from the shelves. Simply remove the screw, tap the support upward to disengage it from the shelf and remove.
Removing the plastic anchors for these closet shelves was also quite simple. The hardest part was prying the thick little nails up slightly so the heads rise above the plastic anchors.
Once you pry the head up slightly, you can simply grab it with some pliers and firmly pull the nail out of the wall. Then you have a choice of how to remove the plastic anchor:
- Use your pliers and grasp the head of the anchor and give it a firm pull. However, this method can cause holes and breakage in the surrounding drywall. To reduce drywall repair, I recommend that you use the next method.
- Use a pair of wire cutters to grab the head of the plastic anchor. Wiggle the cutters so that the round top of the anchor is within the cutting area. Clip that top off completely. Use a screwdriver to push the reset of the anchor into the wall.
- You will be tempted, as a beginner, to use the first method above. But I would encourage you to be patient and use the second method to preserve the integrity of your drywall.
Repair Holes and Damage
Next, fill the holes with drywall putty. Allow to dry and sand smooth. I opted not to fill some of the holes as my 1 X 2’s will cover these holes once installed.
I would like the far wall of the closet to appear like floating shelves. So I’ve ordered some steel brackets. I’ll show you how to install those later in this series. For now, I am installing some supports under the shelves. This is accomplished by simply screwing 1 x 2’s into the wall. Make certain you screw into a stud. Use a level to make sure your shelves are straight!
Selecting Shelf Material
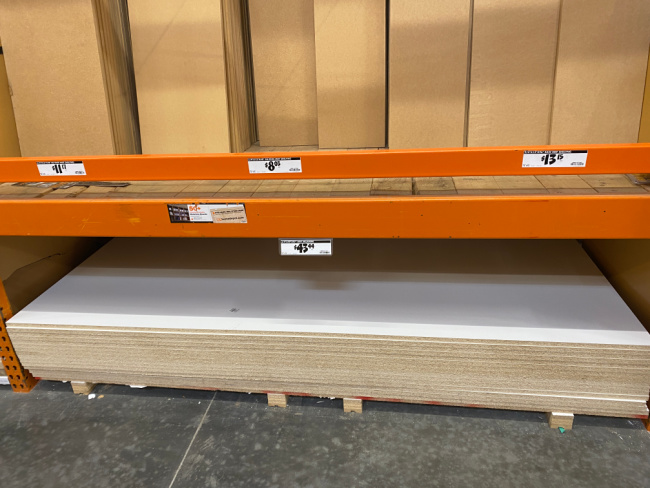
I really wanted to use wood for my shelves but the price of wood is just still way to high. So, I opted for melamine covered MDP which is so much more reasonably priced. I bought one sheet of Melamine MDP for $43. From this I will fashion four 1 x 12 x 5′ side shelves and two 16″ side shelves.
The pine wood, in comparison was $37 for a single 1 x 12 x 10 from which I could fashion only 2 side shelves.
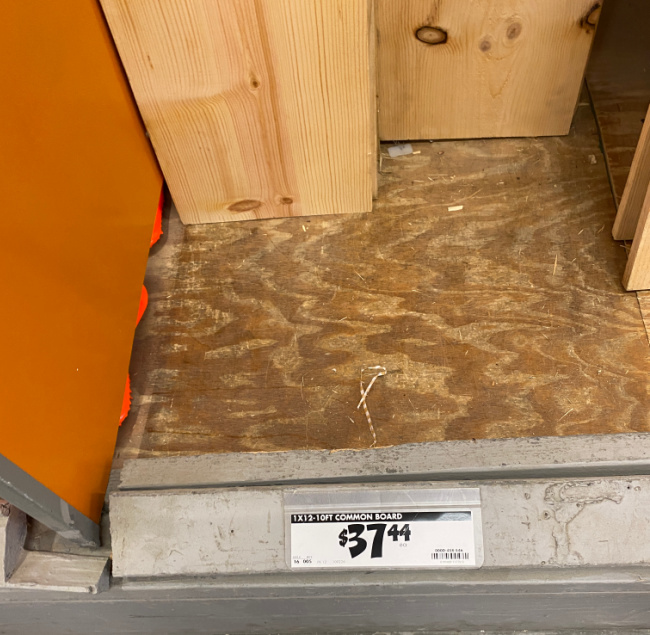
So…no brainer. Maybe when the prices of wood come down I will replace these and recycle them as shelving in the garage. All good. They will still look fantastic and BONUS…I don’t have to prime and paint them!
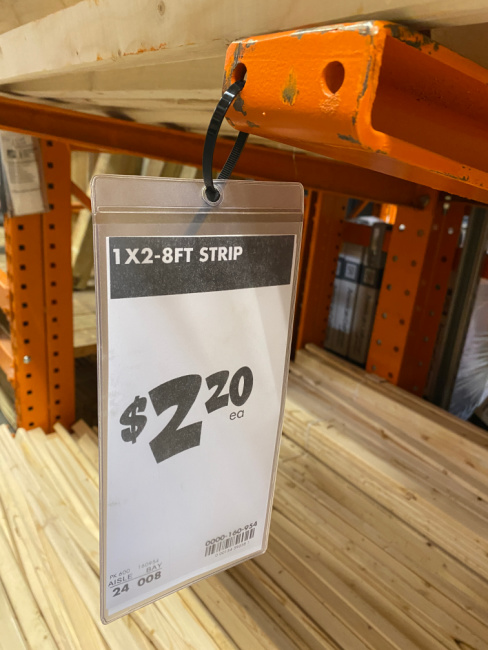
Here is another tip if you are new to buying wood. I found some 1 x 2’s for $4.20 each.
I will probably need 10 so the cost would be $42.00. Check the lumber section and look for alternatives. I found these for $2.20. So much better for my budget especially since they will not be visible once the shelves are installed.
Install Shelf Supports
I am installing all of the 1 x 2 supports and waiting for the shelf brackets to arrive. Until then, I am continually changing the number of shelves. I started with a plan of 5 shelves that wrap around the entire closet. Today, I changed that number to 6. But I think I might do 7. Who knows??? That’s the beauty of design and the grand reveal!
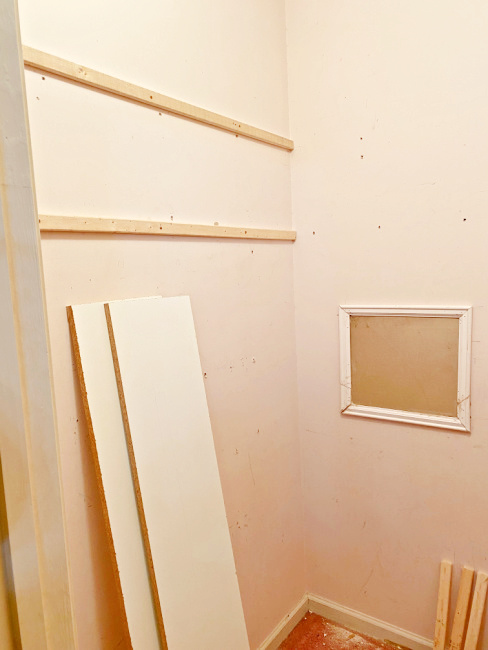
Note the lovely pink walls! This millennial pink was considered the “neutral” of the 90’s! I could not cover it fast enough. But apparently, the closest weren’t a priority back then. And the pink rugs!!! That is next week’s focus.
An Unexpected Surprise
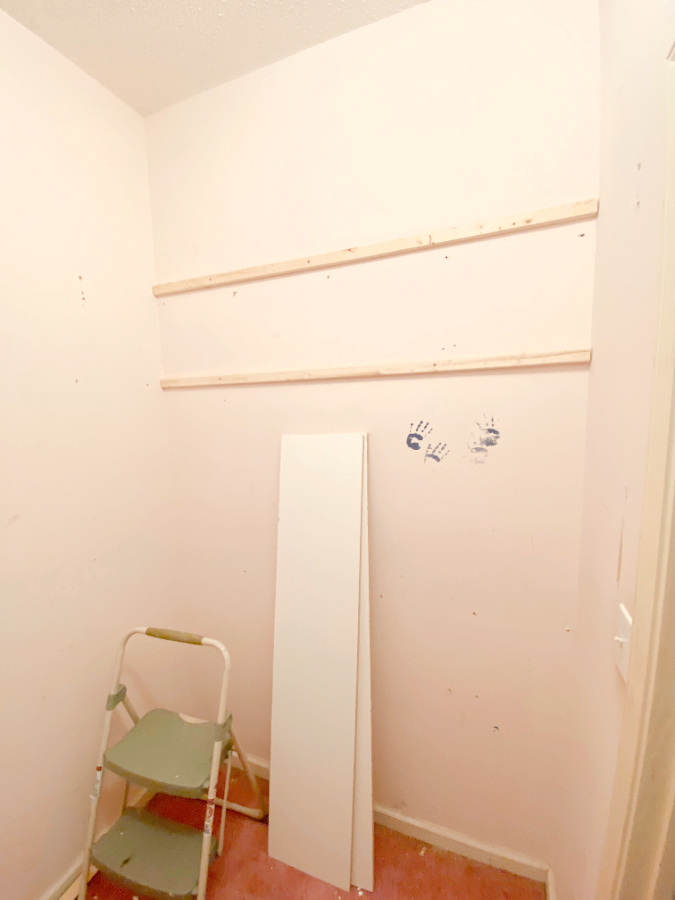
Do you see the little surprise I found behind the shelves in this closet? Little handprints!
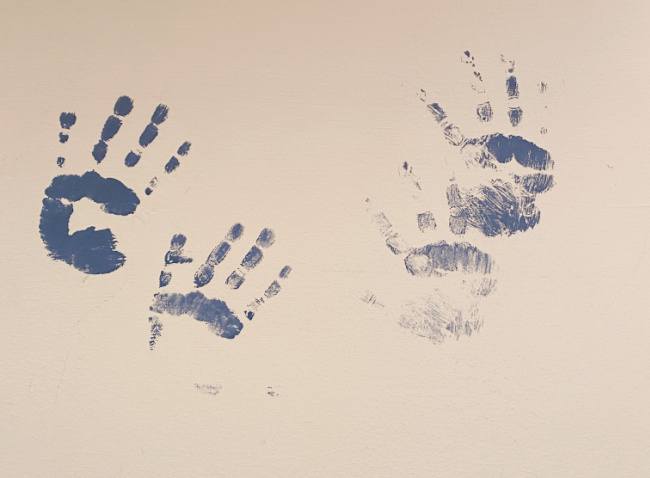
TWO and THREE were 9 and 6 when we moved to Alabama. They helped paint their room this navy blue. They are now 29 and 26. I don’t think I can paint over these memories.
Have a great week!
Remember to check out all of the progress from the Featured Designers and from all of my Guest Participant friends. There is a ton of decorating going on right now! Check it out!