Mahogany Side Table Upcycle
As an Amazon Associate and member of other affiliate programs, I earn from qualifying purchases.
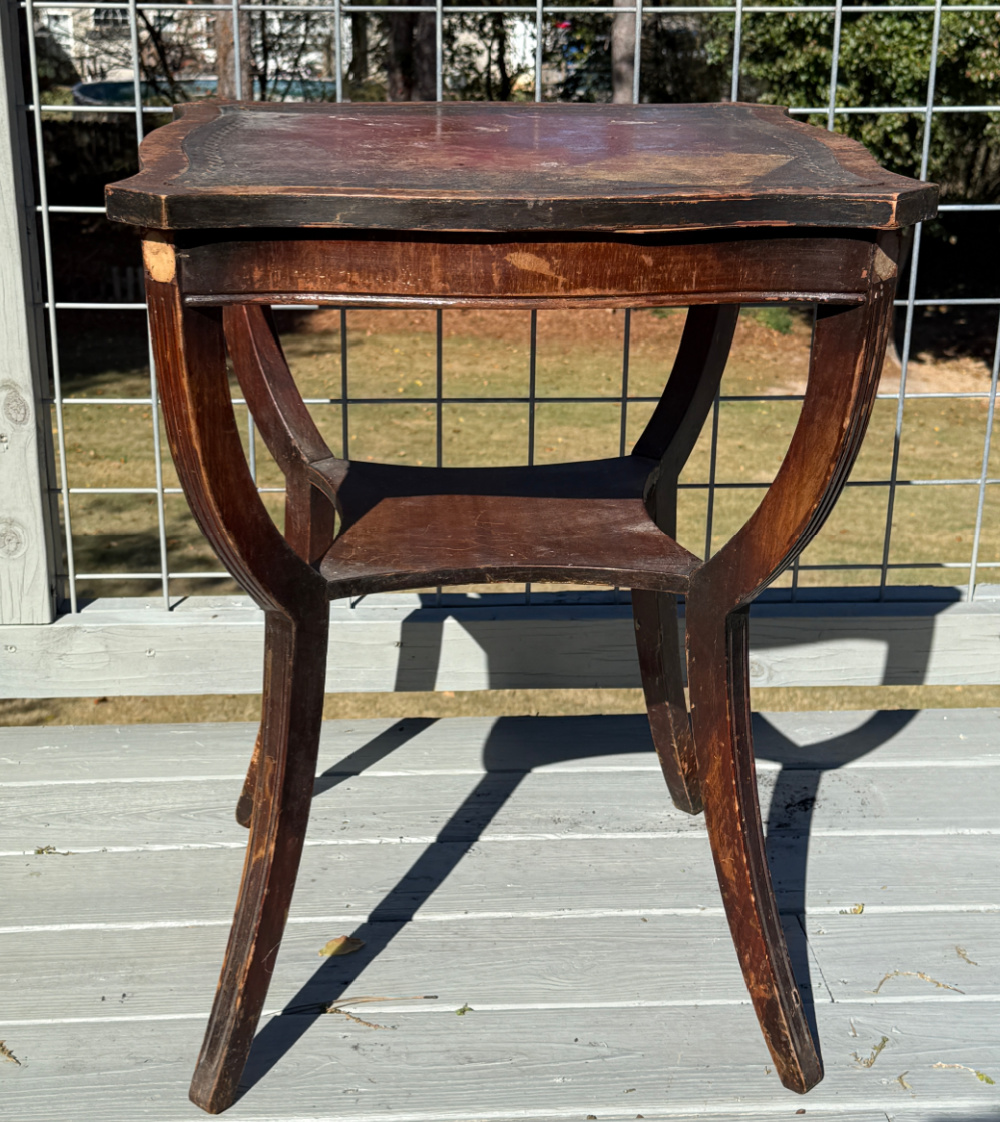
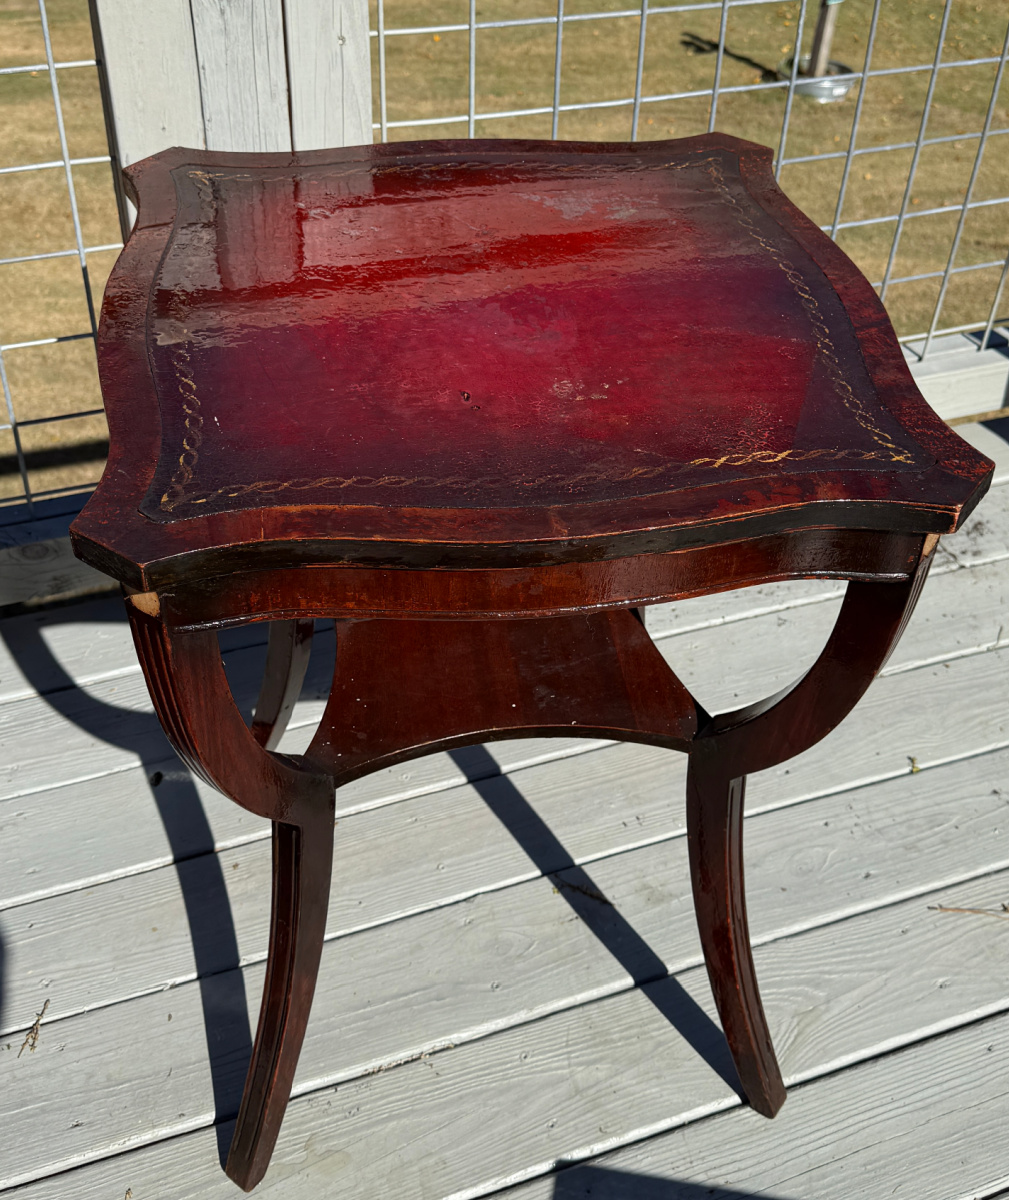
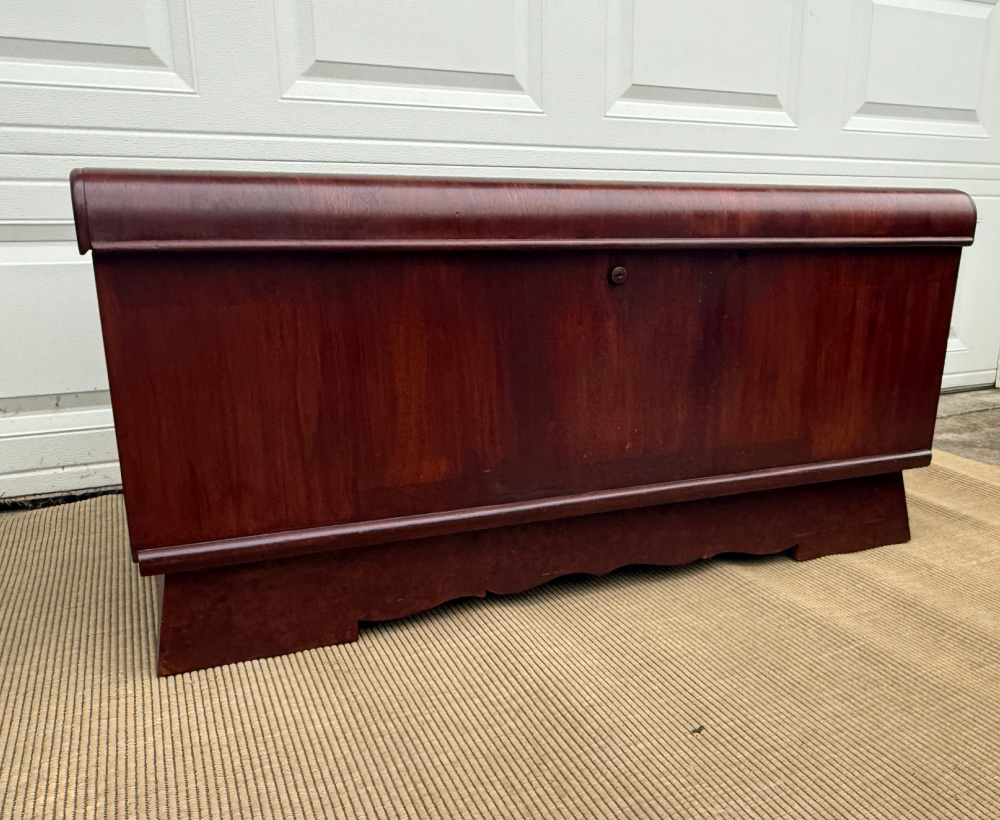
I grabbed this 1950’s thrift store mahogany side table some time ago for $5. She’s been sitting quietly in my garage since I closed The Blue Building Antiques and Consignment in 2019. She’s been very patient and when I was digging out the camping gear a week ago, she winked at me. How could I not move her to the front of the line?!
Did someone say THRIFT STORE? Let me hear it…UPCYCLE! Those words can only mean it is the second Wednesday of the month and time for the Thrift Store Decor Team monthly projects!

I have to admit that I am a little giddy this month. We have some new members joining us. And, I’m gonna say it, though it might sound creepy, I just know that you will all understand…I’m girl crushin’! These new gals to the team were seriously some of the creators that I would follow with awe and fascination back when I started to blog. Yikes! It’s been a minute but they are as fabulous as ever!
Welcome to Donna from Funky Junk Interiors, Kim from Exquisitely Unremarkable, and Julie from Redhead Can Decorate. I’m so grateful for this team and all of the past members. Creating is really a fabulous world and the blog world offers the best of the best. As we all evolve, we get to share on different platforms and graduate to new highs. We are all just living our normal lives. We have the same normal challenges of making a living, enjoying our families, starting jobs, leaving jobs, caring for family member, losing family members, raising families, becoming empty nesters. You know…all of the major life stuff. But we are impassioned by creating.
Beyond the actual process of creating, my most cherished part of this blog world is meeting new friends and making new connections. I am so elated that you are all joining us. I’m talking to our 3 new creators and TO ALL OF THE NEW FRIENDS WHO ARE JOINING US TODAY and, of course, to my devoted readers who help keep this little blog going!

WELCOME TO THE FABULOUS THRIFT STORE DECOR TEAM!!! We are going to have so much fun together!! I’m beyond glad and grateful that YOU are here! Can’t wait for you to see what magic happens in this community.
HELLO!
Hello! I’m Suzanne. I owned an antique store, The Blue Building Antiques and Consignment, for 10 years, here in Alabama near Birmingham. We closed it in 2019. I have loved creating for as long as I can remember. I’m an only child and my oldest memories are of puttering beside my dad in his workshop in our Philadelphia home. I’m back to work full time now for a regional bank but I still dabble with this blog every chance I get. My passion is for furniture but really any kind of painting gets me going. I love a good challenge and transforming old items into beautiful focal points is one of my favorite things to do. Enough about me, let’s get on with today’s project – the upcycle of this antique mahogany side table.
Upcycling Vintage Beauties
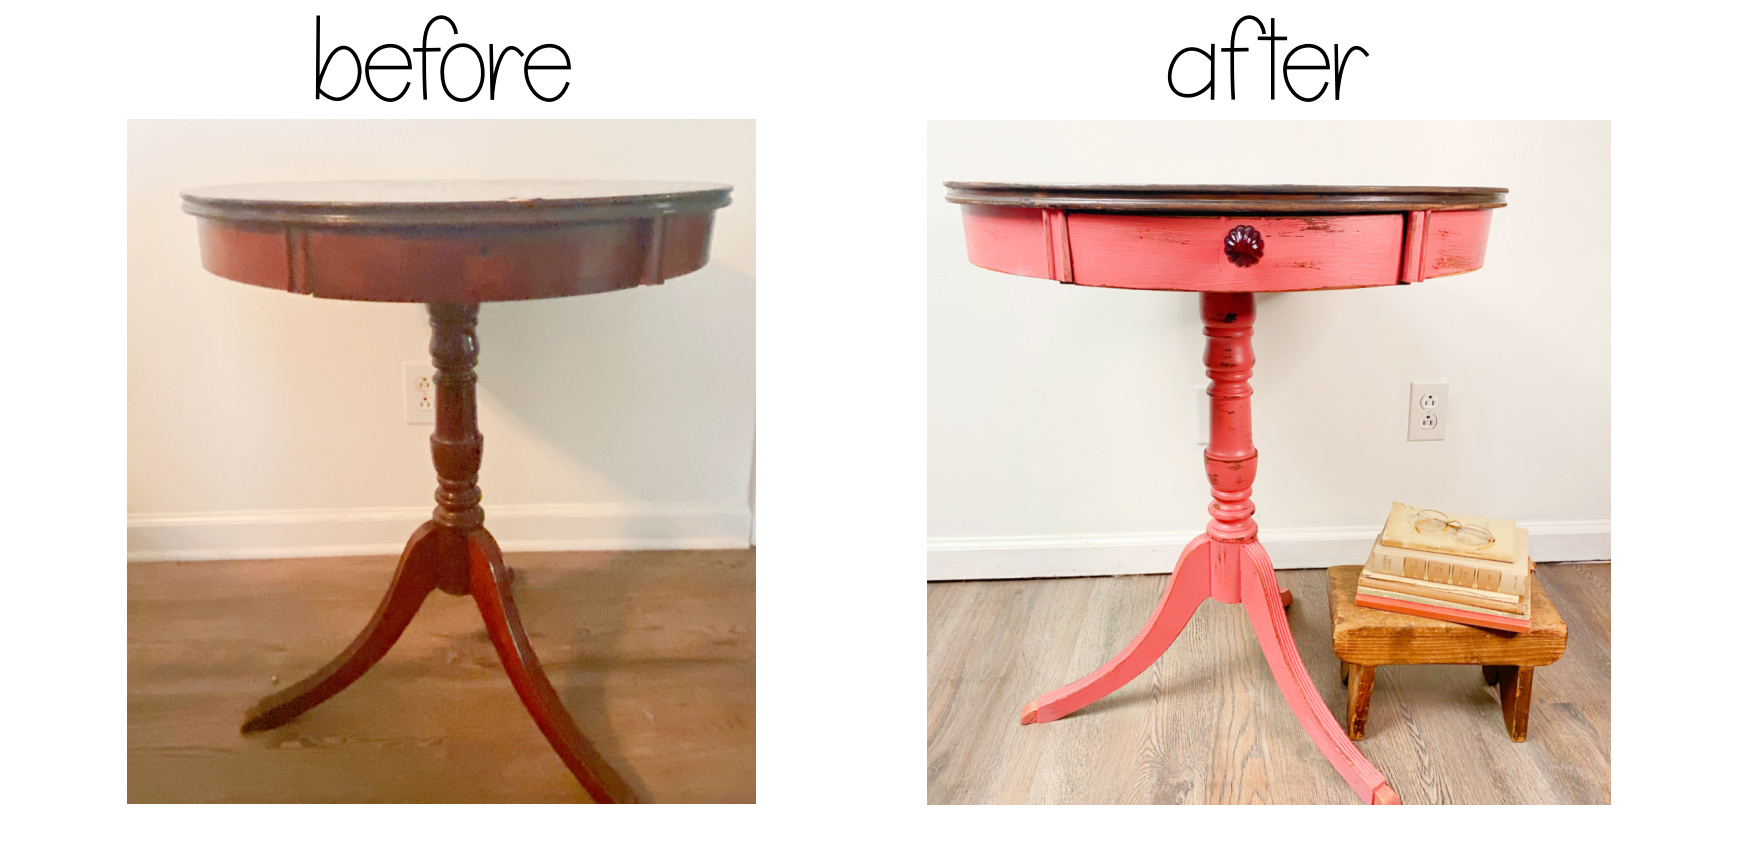
I’m sure you’ve all seen an old vintage side table like this. Maybe it was round like this one that I previously upcycled.
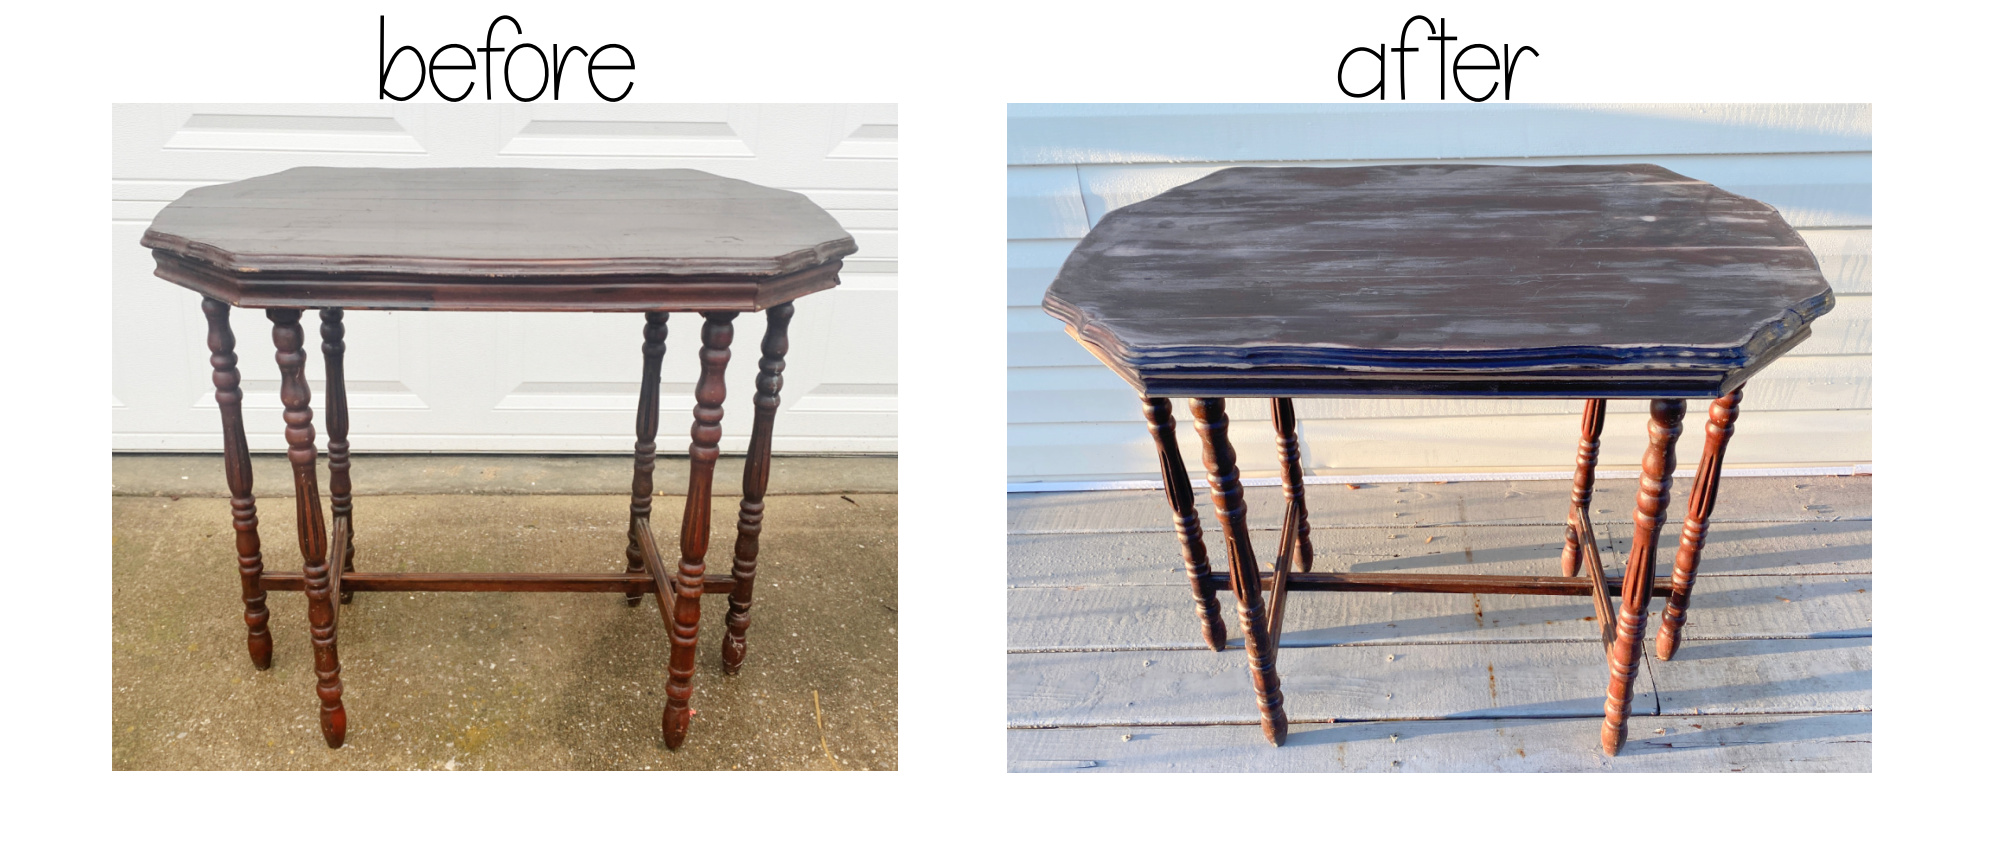
Maybe the side table was made of oak like this radio table.
We’ve all seen those old tables with great bones that just look sad and worn. When I see one that speaks to me, I feel compelled to grab it and give it new life. Much to Mr. Blu’s chagrin, these project pieces sit a while in our garage while life happens. But, I’m cleaning out corners and making space. So, you can count on some more of these reinvented projects in the future. And today, we are working on the mahogany side table upcycle.
To Paint or Not to Paint!
The big decision when working on old furniture pieces is always DO I RESTORE or DO I PAINT? So many people have so many opinions and I’m sure you’ve read the comments. When I had my store, it was easy. If someone brought me a piece of furniture and said “Paint it!”, I painted it. That was so easy. But when it was my piece, I found myself stuck. I finally realized that I was in the business to make money so if the piece was easy to restore, I would do that. If it was a piece that would take too much time and resources to restore, I would paint it. If it was a beautiful solid wood piece with little damage, I would restore. But as the number of these pieces dramatically diminishes and pieces are really damaged, I find my self wanting to restore which can take hours and hours of effort. You will never be compensated for that time because, let’s face it, folks want a good buy for a great price. So, I generally reserve the full restoration for sentimental pieces.
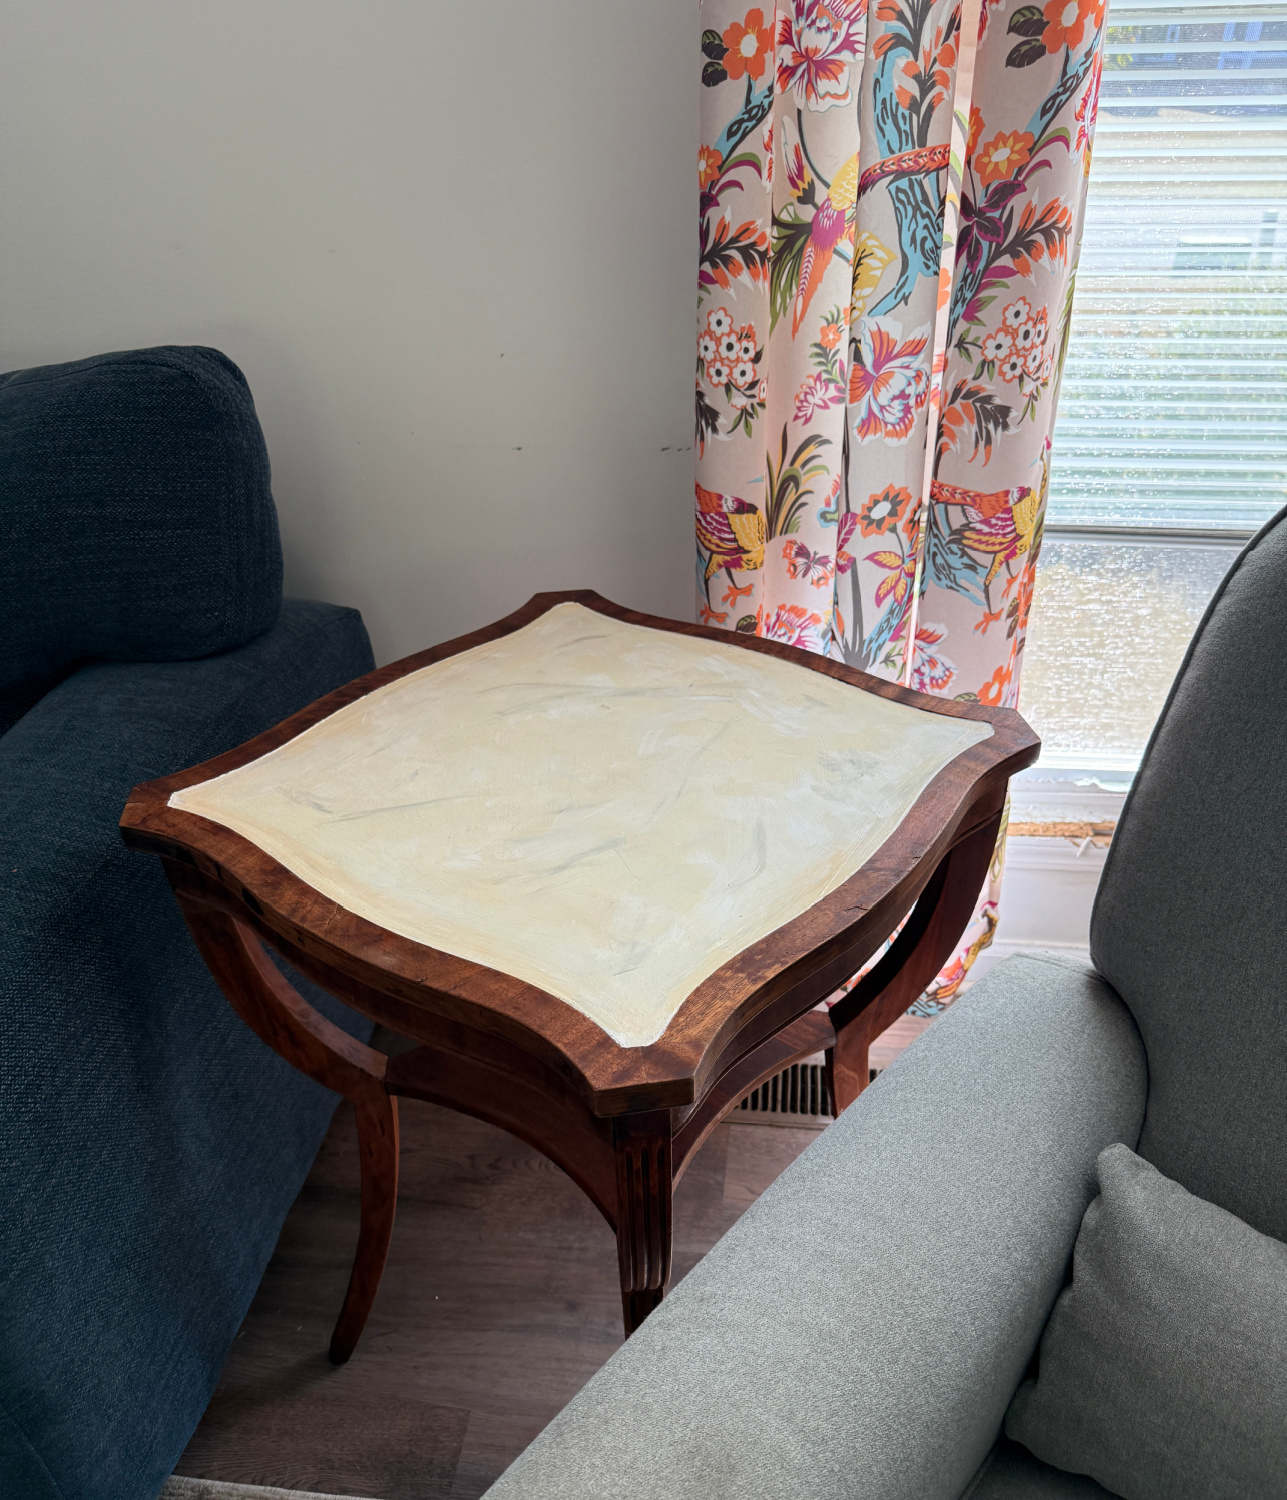
So this one was a quanumdrum for me. I saw the beauty. But she had so many issues.
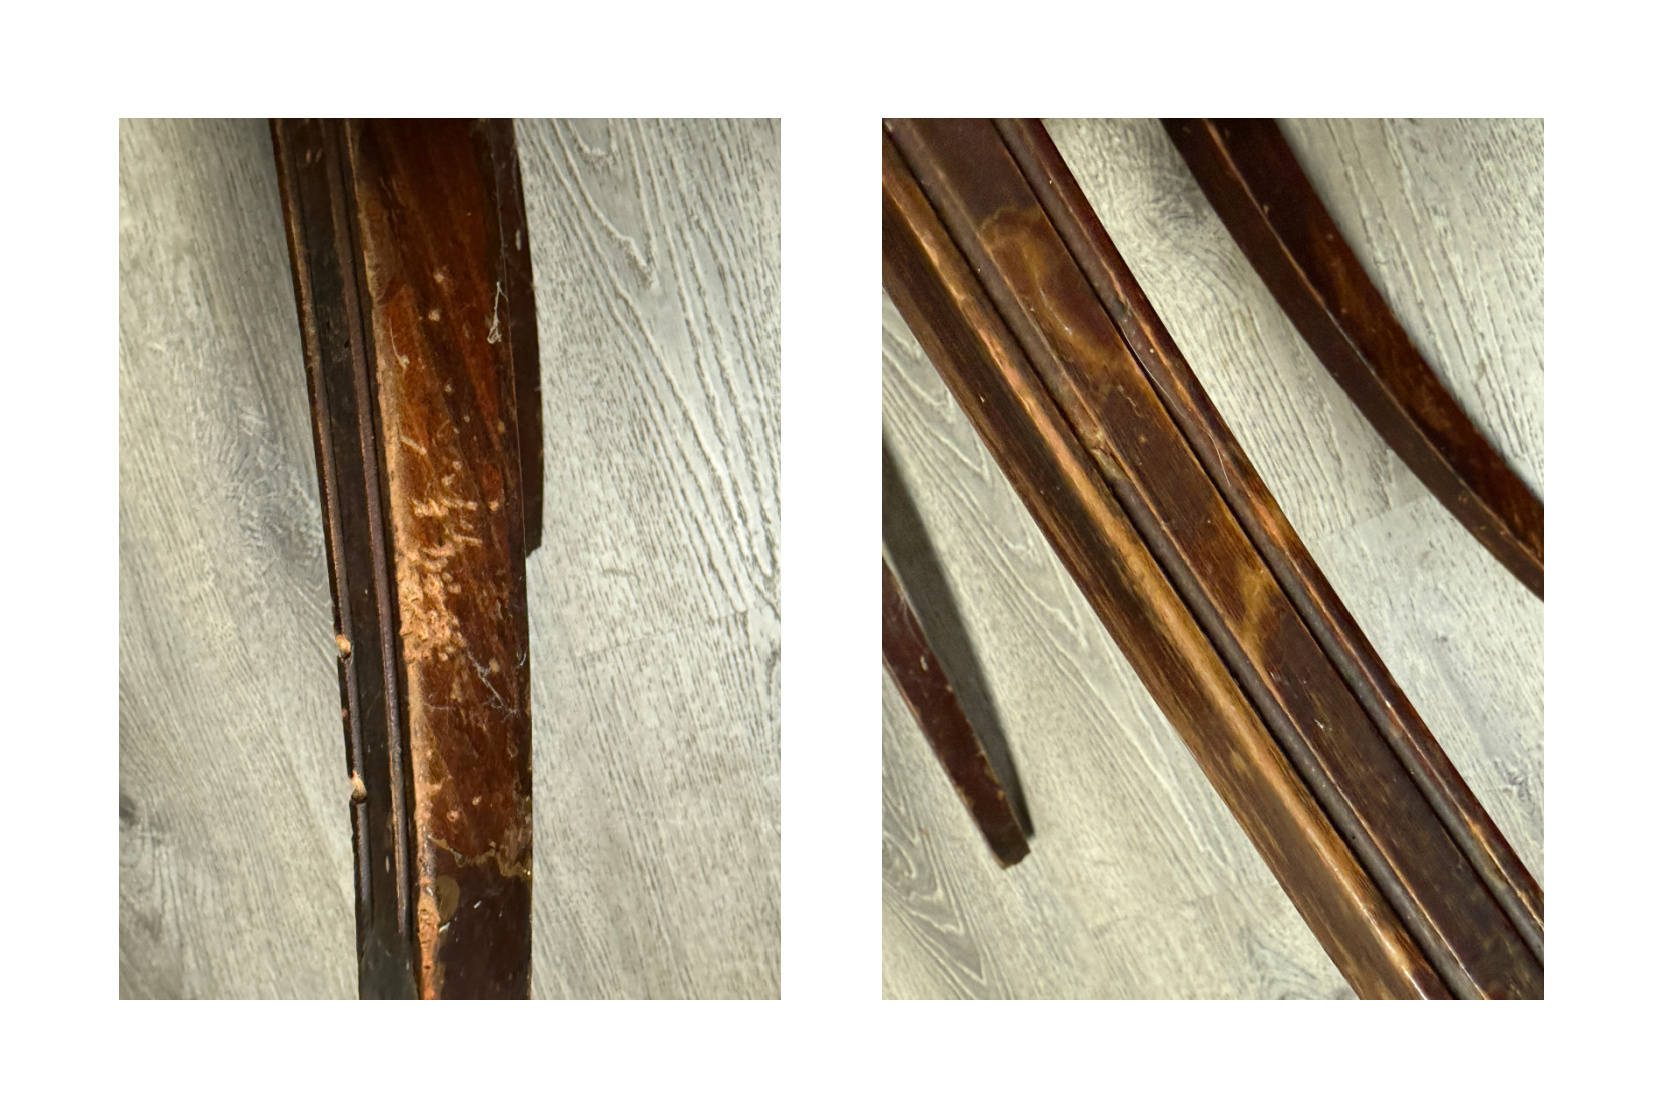
Normal scrapes and dings and scratches covered this piece. There was not a single spot that didn’t look worn.
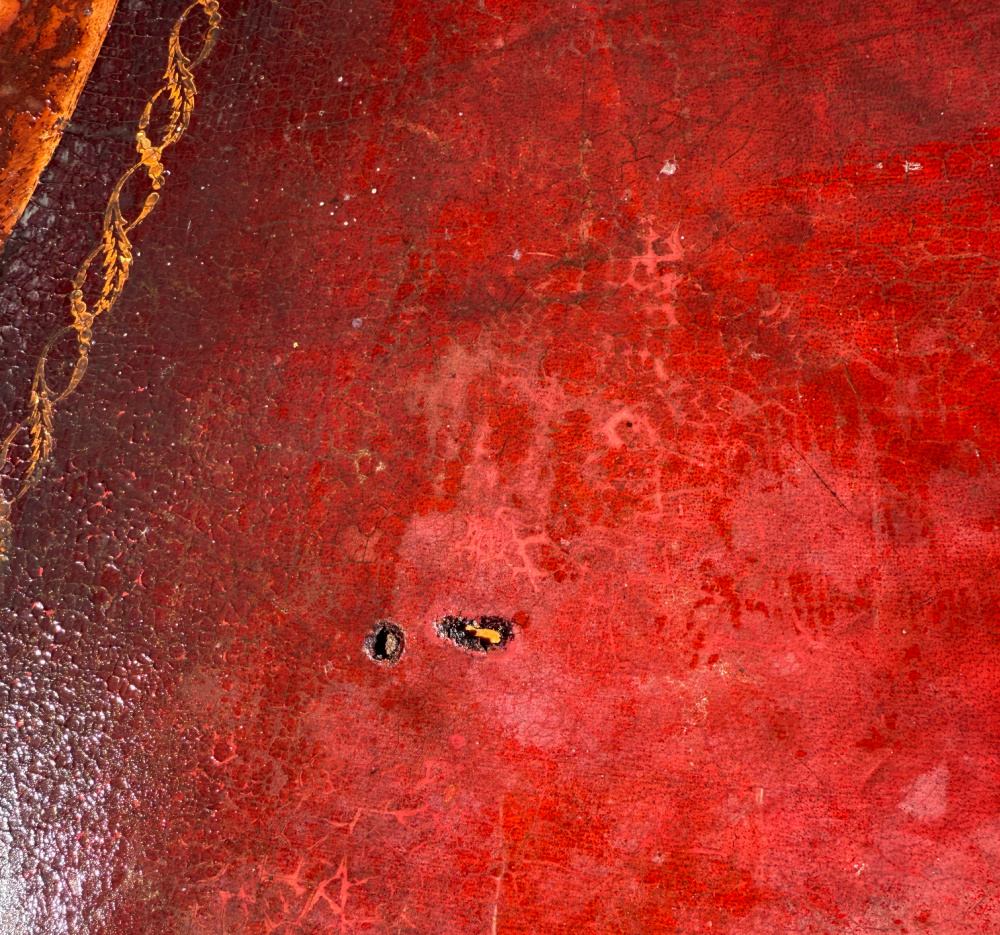
Burn marks on the leather.
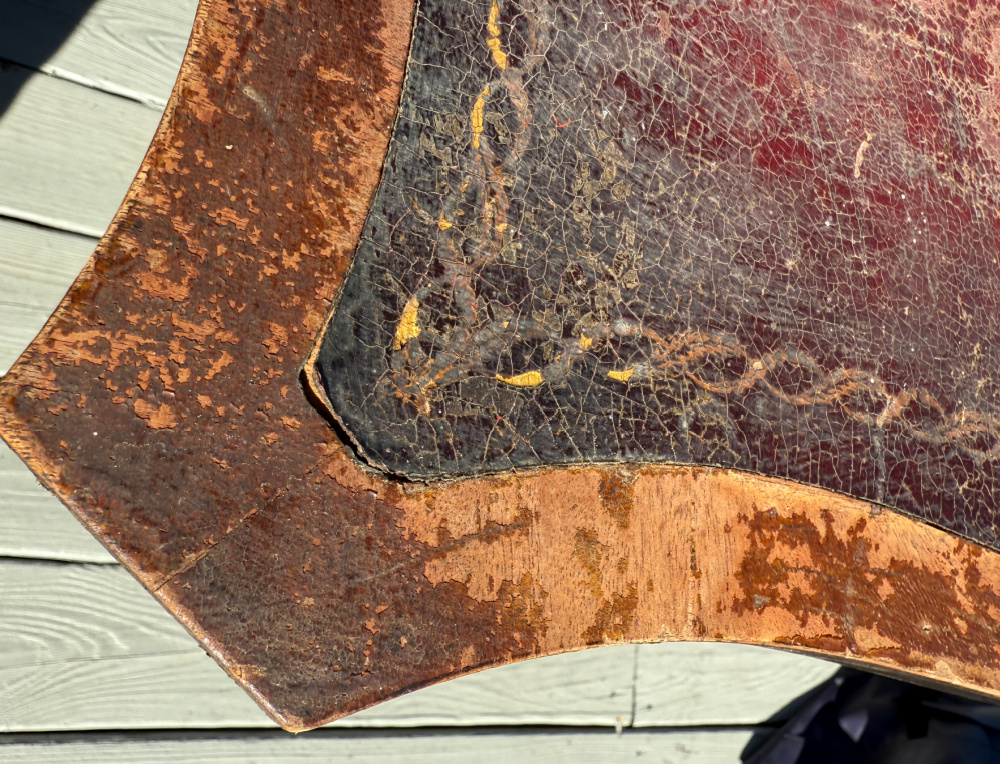
As well as other damage to the top including the leather ends peeling.
So, I decided to paint. Don’t hate me. She will still be beautiful.
The Design Process
Honestly, this is sometimes the most difficult part of a project. I tend to put too much thought into colors and finishes. Should I go with a Mahogany wash to continue the authenticity of the piece? Blue wash because…well…it’s me and blue is always a priority. Or something that blends with the mint-ish green room where she will live? A watermelon accent color like that vintage table I upcycled, loved and just sold? A new accent color like a vibrant purple? Yikes.
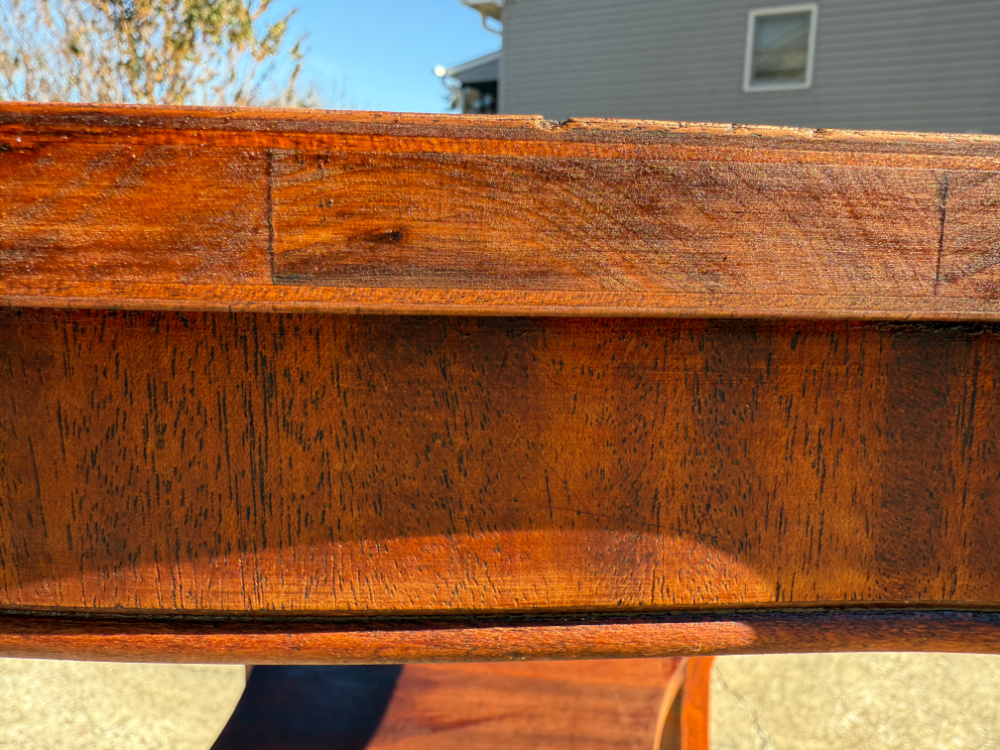
Inevitably, the piece tells me what to do and in this case, she spoke loudly. The decision still shocks me. As I started to clean and prep her, it became clear that she is in much better shape than I had thought. Every issue was simply a surface issue. The legs and shelf were sturdy. No major dings or gouges. Just a bunch of finish issues.

Dang. Grab the stripper. She’s going to be restored.
FIRST STEP TO FURNITURE PREP
First step is always to clean and prep your piece. This girl had been in storage for years so a good bath of warm water and Dawn removed the grime.
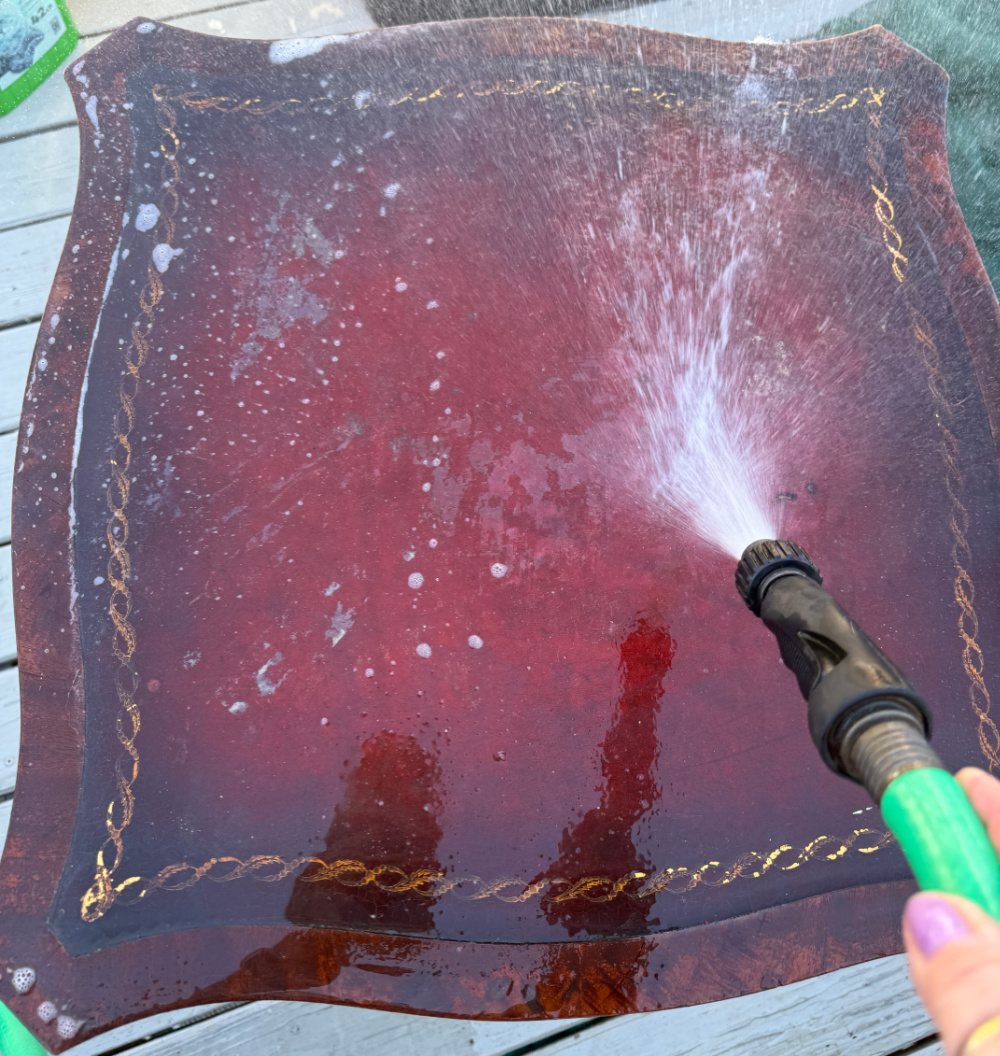
I set her in the sun to dry.
The leather inlay top had two small burns and various discolorations.
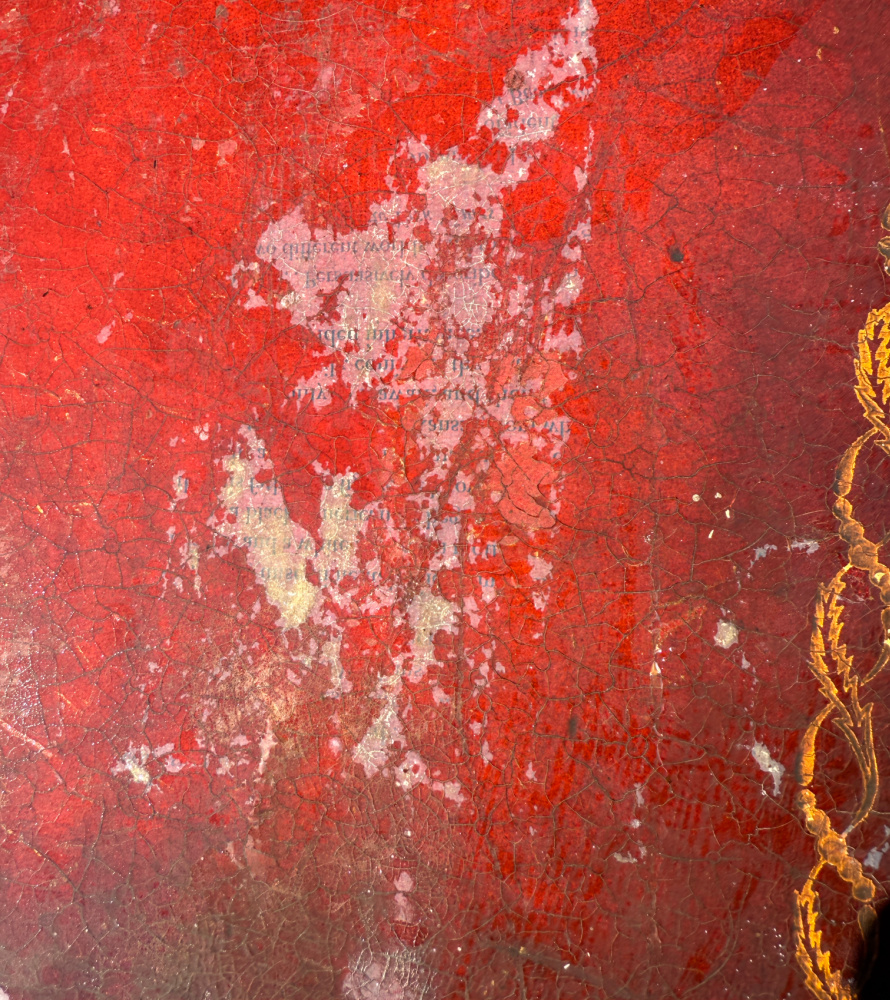
I let the leather soak with some water for about 15 minutes and then tested to see if the spots seemed removeable.
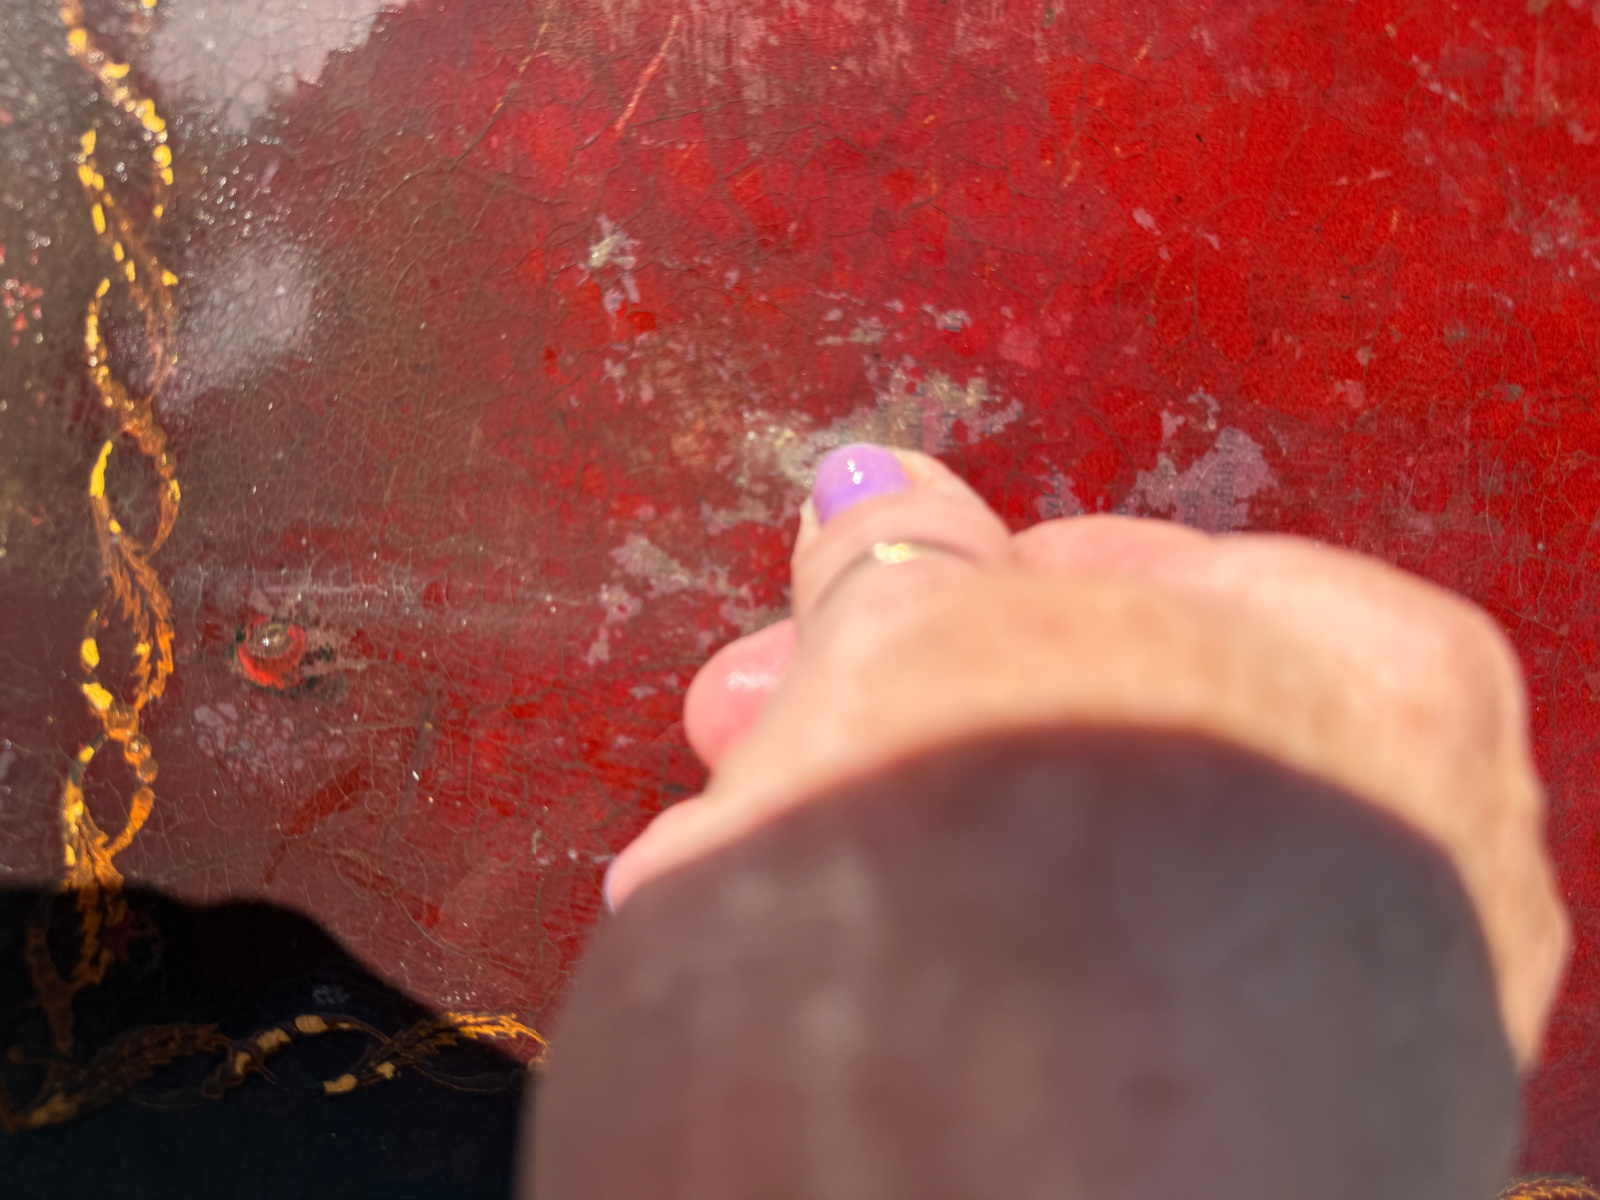
No good. This would not be a quick fix. I could possibly dab with some stain to marble the top thus muting or possibly making the stains. But then I noticed the end peeling.

I decided to remove the leather.

Fear not, I am saving it (you know I salvage everything). This will make a great future project on how to restore and reuse leather.

In the meantime, looks like the project got a little more complicated as now I have to decide how to finish the top.
I grabbed the stripper and got to work.
SUPPLIES
- Kleen Strip
- paint brushes
- rags
- sandpaper
- steel wool, both coarse and fine
- scraper tool
- rubber gloves
- safety glasses, always protect your eyes.
- trash can
- newspaper to cover the floor of your work area
My Safety Speech
Always wear safety glasses to protect your eyes. Splashes occur when you lease expect them
Always wear thick rubber gloves to protect your skin when handling chemicals. Chemical burns are not fun.
Always work in a well ventilated area. I strip my furniture in my driveway.
Place newspaper on the floor under and around your furniture piece. Floors and work spaces need protection too.
Tips for Removing Stain
The best tips for using stripper…
- Be patient.
- Wear gloves and safety glasses.
- Don’t rush the process.
- Keep the area loaded with stripper.
- Allow the chemicals to work.
- Scrape, reapply, scrape, reapply.
2 hours later, the old stain was removed (sort of…see next paragraph).
In the interest of not repeating posts, here are a few more detailed posts on restoring wood and removing stain. These posts list all of my best tips,
She Spoke and I Listened
For a minute, I considered changing the stain color to something more contemporary, like a light wash. But, I have other antique mahogany pieces in my living room and bedrooms so I decided to stay strong and preserve the integrity of this beauty.
Remember I said, I often let the project piece guide me? Well, it happened…yet again. I had a plan and as I worked the plan, the plan changed.
As I proceeded through the stripping process, I actually liked the stained wood beneath the thick old top coat. I decided NOT to re-stain, but rather leave the wood as is. This provided a lighter wood color and the existing stain really brought out the beauty of the mahogany wood. So I simply sealed the wood after the oldest top stain had been mostly removed. In this process, I removed the old gummy stain. But I stopped shy of completely stripping ALL of the stain from the wood. The wood was so beautiful.

I mean, gorgeous! Why strip it completely when this is so lovely as is??
Right??? My project time was just cut in half! Whoohoo! Stripping is so labor intensive and takes so long. I’m celebrating! I sealed the wood with a nice coat of General Finishes Top Coat, made for wood.
Moving on to the Top
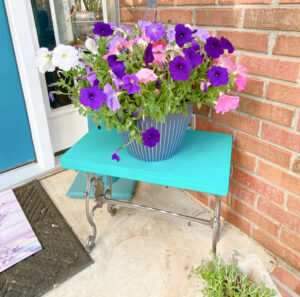
Knowing that I will want to restore that leather top and eventually re-install, I resisted the desire to create a faux marble inset with resin. I topped off a sweet little plant stand with a faux marble resin finish and she is just lovely.
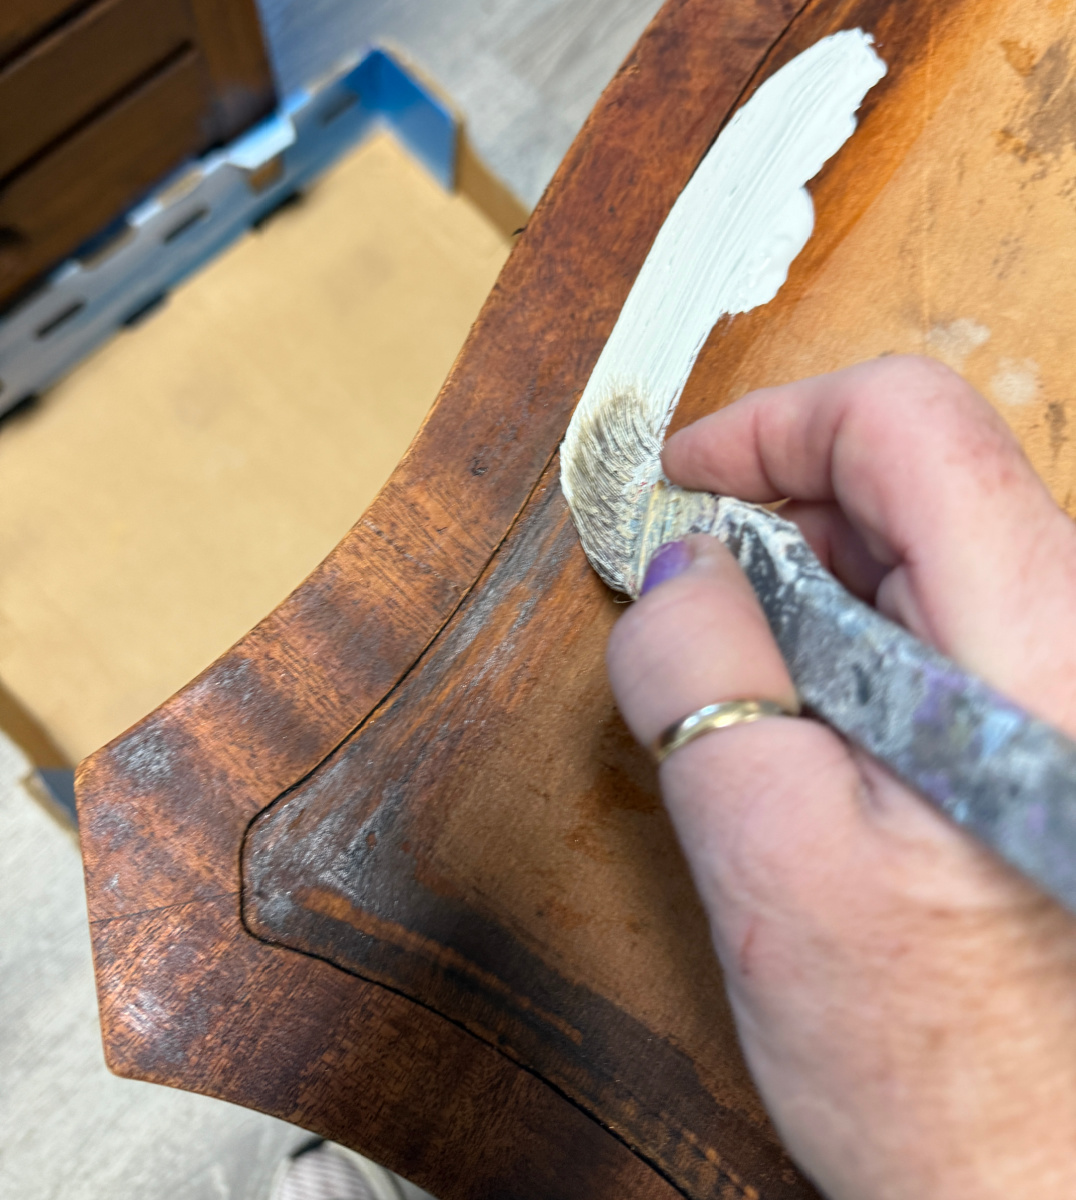
Instead, I chose to go the easy route and faux paint the inset to look like marble.
Creating a Faux Marble Finish
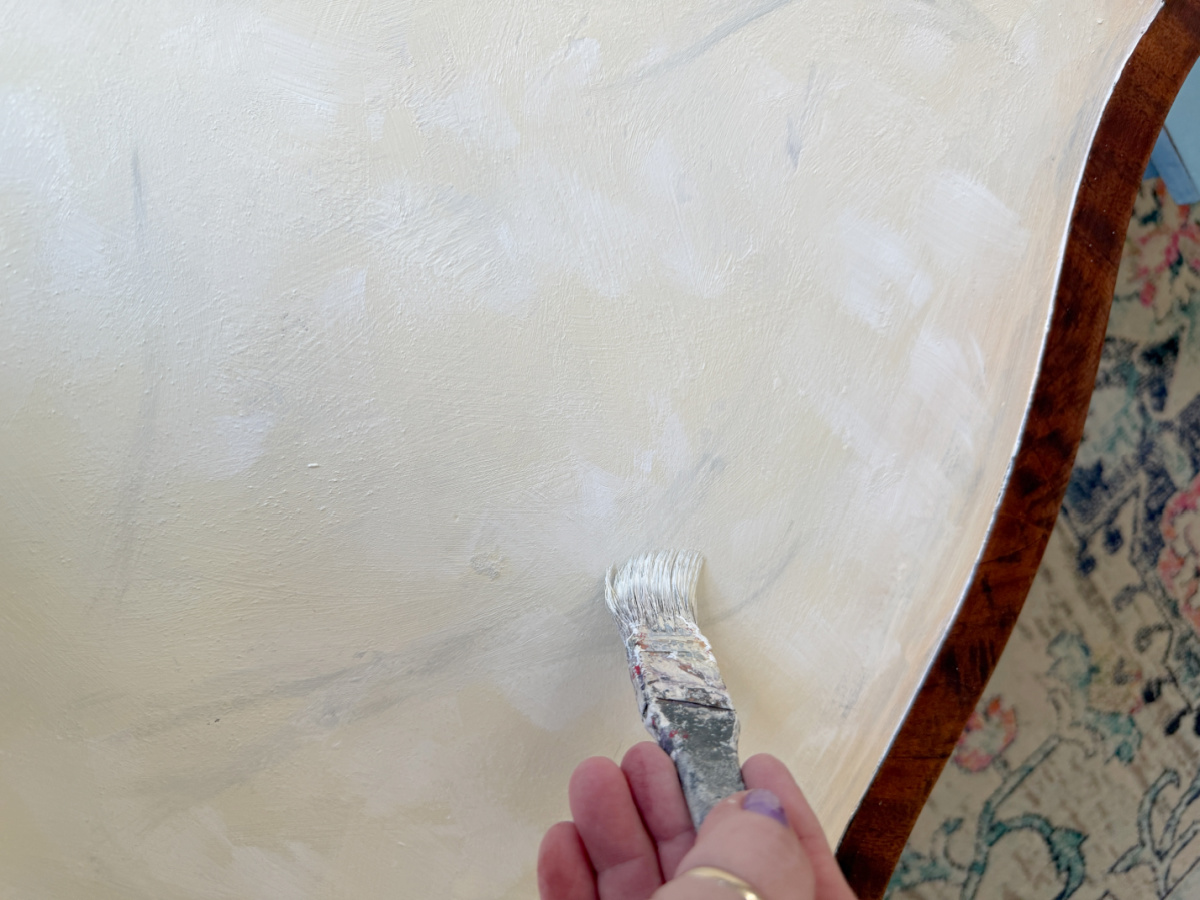
I started with one coat of white paint. I used simple craft paint that you can find in the craft section at Walmart – Folkart multi surface acrylic paint, because I am out of my favorite white furniture paint, Black Dog Salvage Furniture Paint.
The white was a little bright so I applied another coat with ivory.

Much better. I dabbed some white here and there to create some texture. Then I blended the paint by drybrushing across the dabs of white.

Next, I used a skinny art brush to draw some veining.
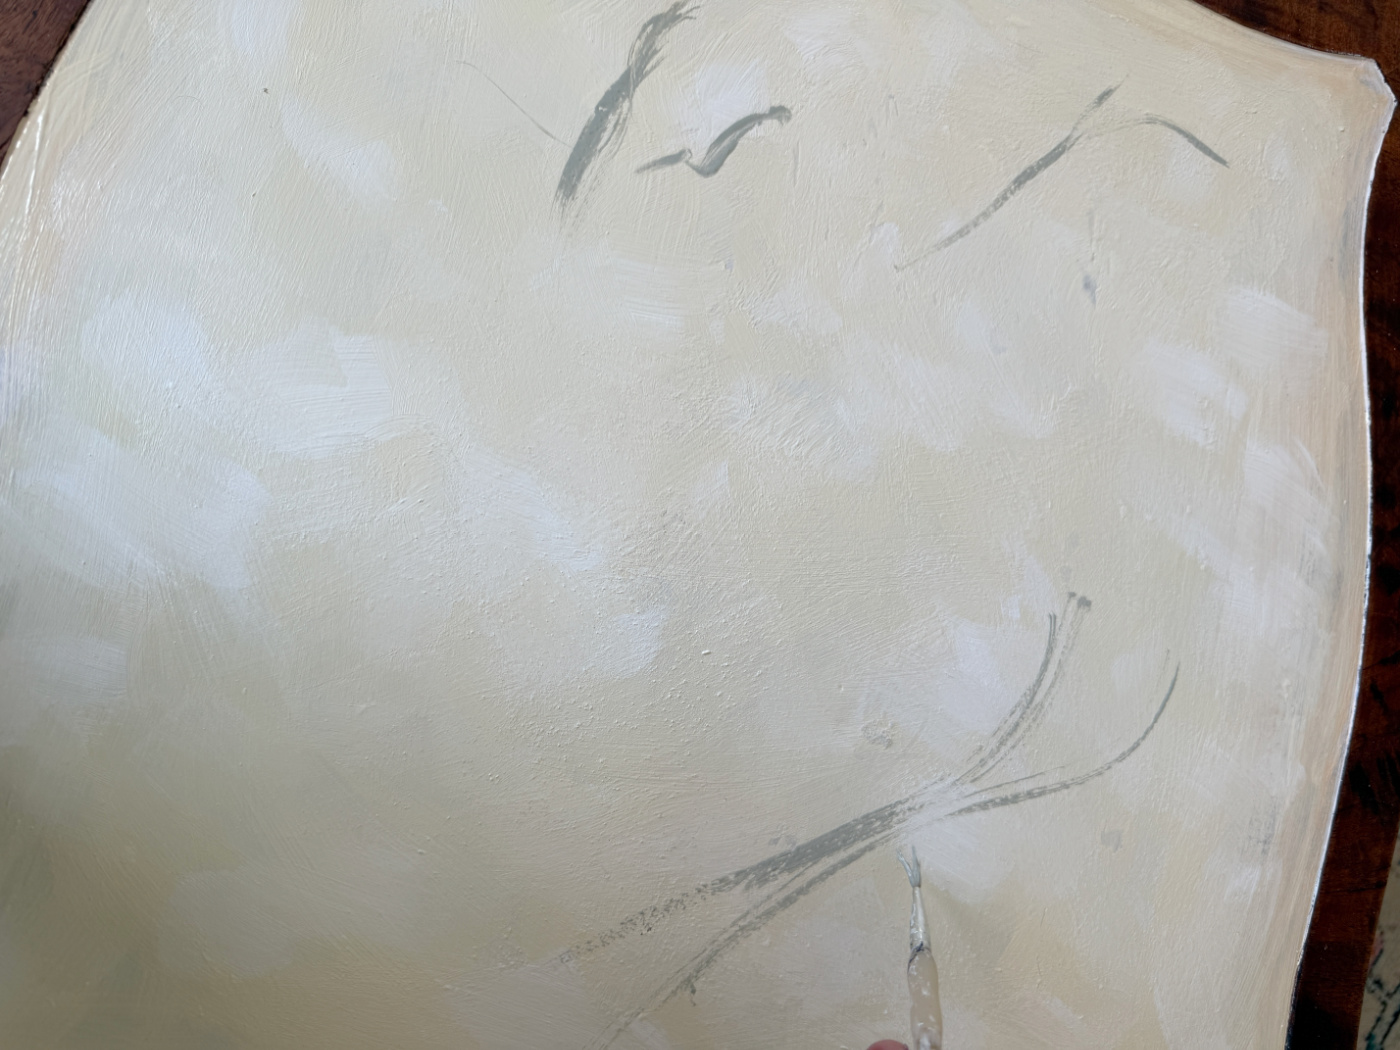
Use a sponge or rag or brush to blot the area muting the veining. Practice first if you are nervous. I’m more of a wing it and react creator. Do what works for you.
Keep blending, adding veining and repeating until you have the desired look.
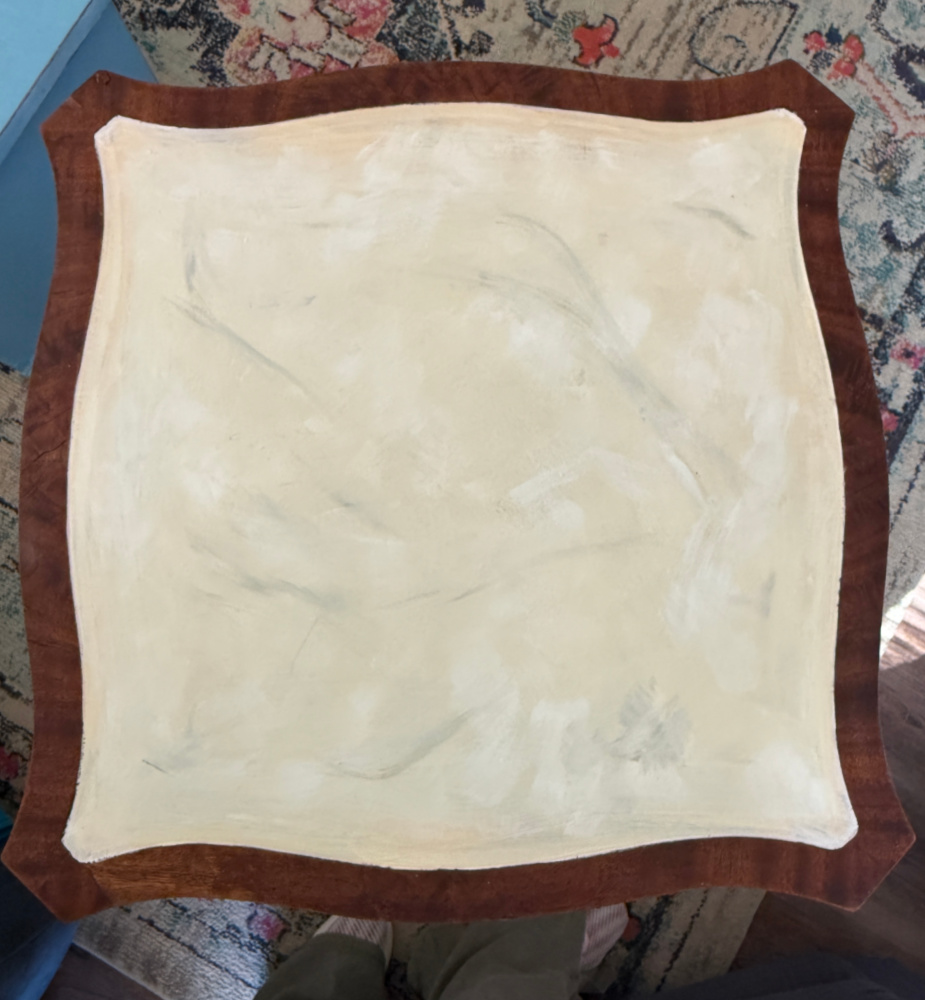
Not bad, right? Seal the top with some polyurethane. MinWax Polycrylic is my go to.

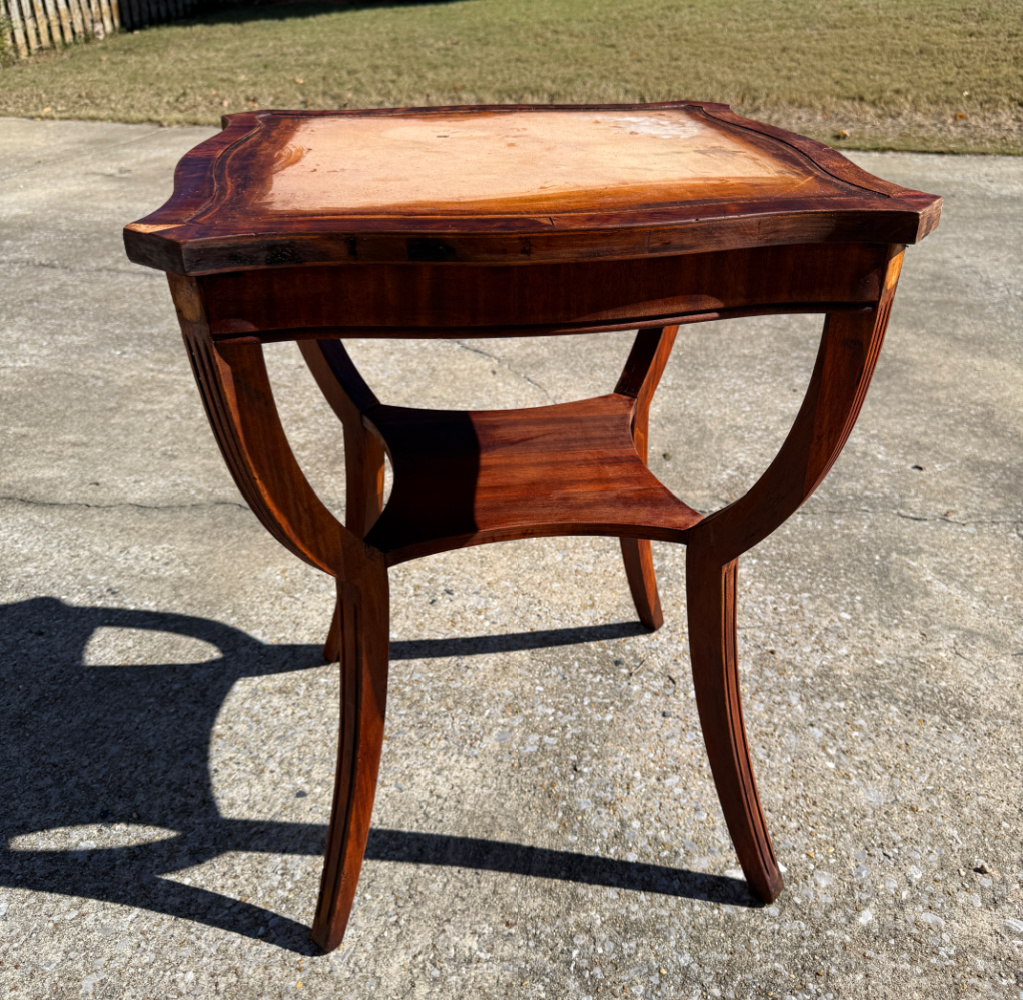
How about that bright beautiful wood??!!!!
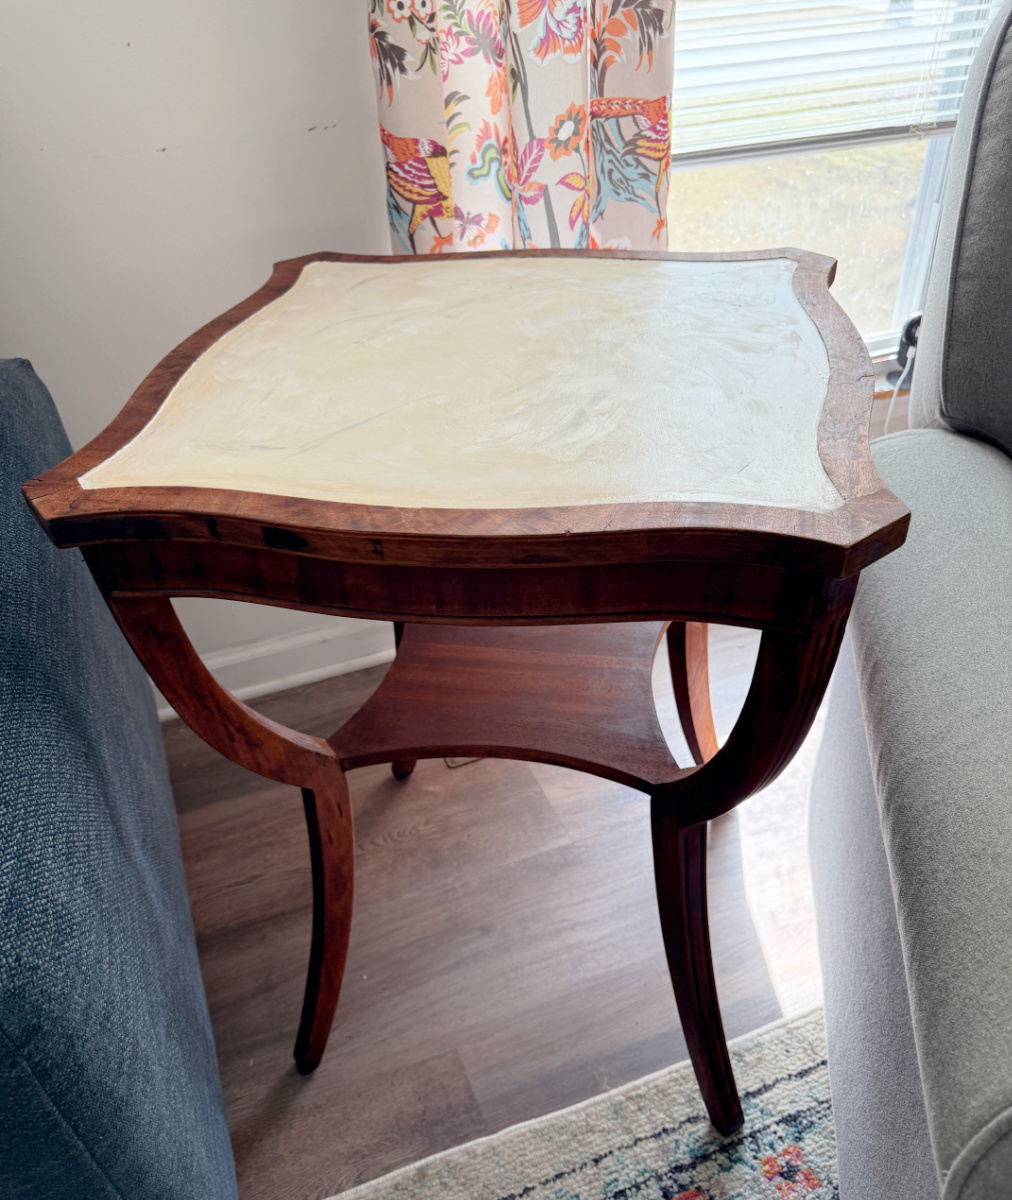
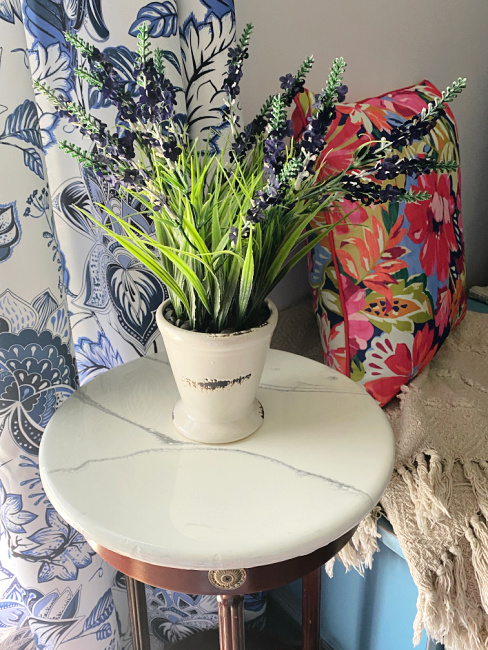
She looks great indoors by the window where the light hits that beautiful woodgrain.
She had a nice surface area for a lamp, candle, book, plate, or whatever.


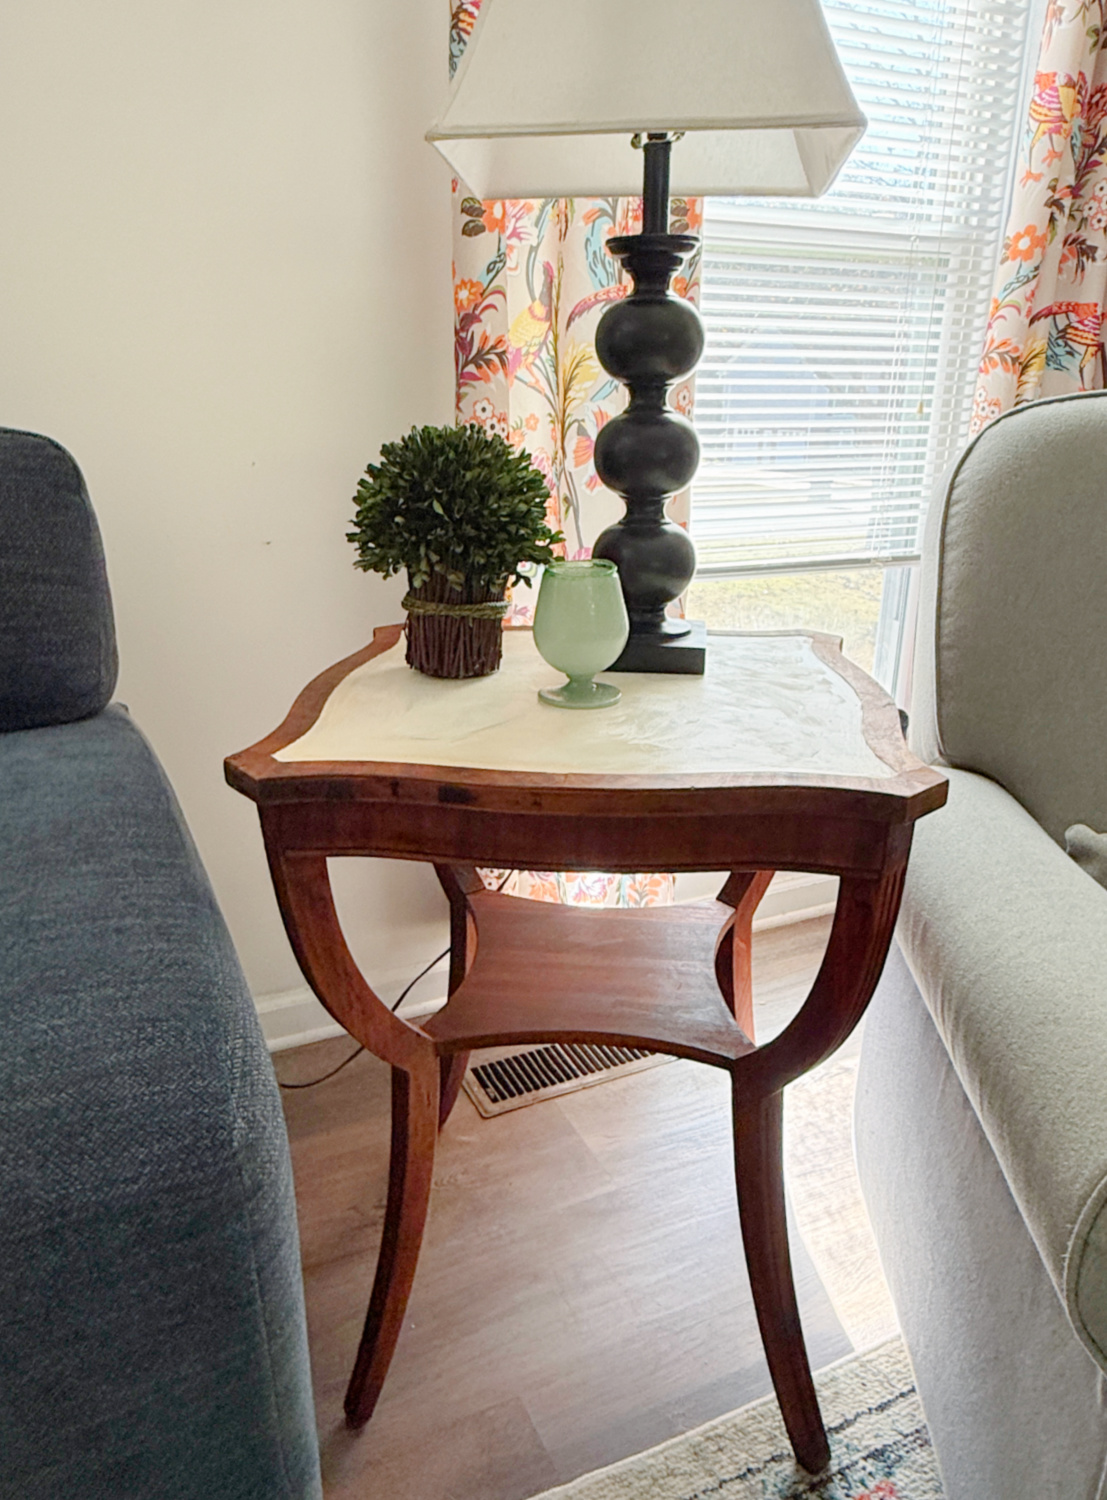
And a little shelf for other whatnots or books.

I’m so glad I didn’t take the easy road an just paint her. She’s fabulous again!

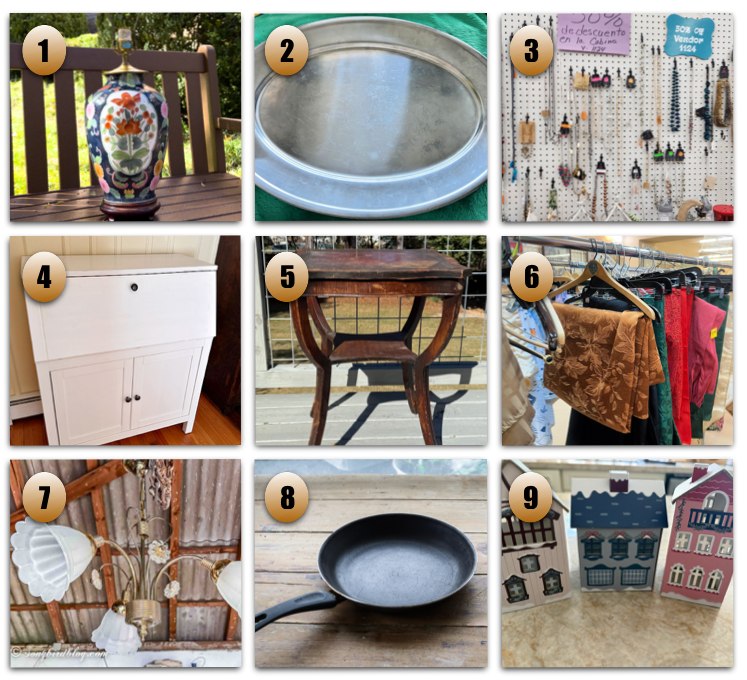

Revamp a Lamp
Our Southern Home
Old World Santa Christmas Tray
Our Crafty Mom
Salvaged Jewelry Suncatchers
My Repurposed Life
IKEA Secretary Desk Makeover
Exquisitely Unremarkable
Mahogany Side Table Upcycle
Shop At Blu
Beautiful Thrifted Thanksgiving Tablescape
Redhead Can Decorate
DIY Christmas Bells
Songbird
Fry Pan, Tiered Tray, and Decorative Bowls
Funky Junk Interiors
Gingerbread Village from Christmas Houses
My Uncommon Slice of Suburbia

Great technique and a fabulous result. Wow, you really brought her back to life…and $5? I’m jealous! 😉
Thanks, Kim. She looks great in our home.
Now that is a great makeover! That darling little table had quite the conversation with you, and you did totally right by her.
I believe you are correct, lol. She seems happy! Thanks, Marianne!
Sue,
What a fabulous save! I’m so glad she finally got your attention. Don’t you love it when you get an empty spot in the storage area?
I’m not a fan of mahogany, but those legs! She’s beautiful. Too bad you couldn’t save the leather.
I look forward to seeing what you do with it.
Pinned!
gail
Thanks, Gail. The leather is now in a long line of to-do projects. LOL.
Wow! I love that you honoured the original wood AND managed to come up with a gorgeous and relatively easy fix for the top! It’s beautiful. This side table has such a unique shape and the size is perfection! What a stunning piece…
And thanks for such a warm welcome to the group! Everyone is SO inspiring. Look out local thrift store and cya soon… again and again. Haha!
Thanks, Donna. When I see those unique pieces, they are hard to leave behind. I know you know.
Suzanne! I knew when I saw the table before hand that this was going to be beautiful! Doing faux marble was absolutely brilliant! I would also love to see what you do with the leather….how about next round, lol 🤩. I am so happy to be together again this fabulous group…it’s been way too long! Oh and my dad still asks about you even though he is off FB. He is doing pretty good! XO
Thanks, friend. Give my best to Dad in New York. No need for him to be on FB when all his folks are around him now. I do miss his comments.
You really did a beautiful job in transforming the side table! I love the marble top. Couldn’t agree more with you on our blogging journeys!
XO
Kristin
Thanks, Kristin. It was a rewarding project…like the journey!
Suzanne, you did such an amazing job with this table makeover. You would never even know there was that much damage to the table. It looks incredible. Thank you for the detailed tutorial. It looks lovely in your home!
Thanks, Michelle. I love to bring revive old pieces.
She’s very pretty now. This piece looks wonderful refinished.
It has such beautiful lines,. Verrry nice 🙂
Thank you so much!!!