Small Epoxy Resin Tabletop
As an Amazon Associate and member of other affiliate programs, I earn from qualifying purchases.
A while back I started to create a faux marble look with epoxy resin for a small tabletop. I think it’s time to finish that project. Here is the original post Using Epoxy Resin. I was giving this sweet table a makeover for the One Room Challenge. And I never finished it. No time like the present.
I had left the table top like this:

What Went Wrong the First Time
I had failed to base coat the dark green tabletop with white paint. Consequently, after the first coat of epoxy resin, the green was still visible.
I took the same tabletop and started with a coat of white paint. I did this some time ago so the paint had scratched with the tabletop being moved from unfinished project staging area to unfinished project staging area. Sounds like me, right?
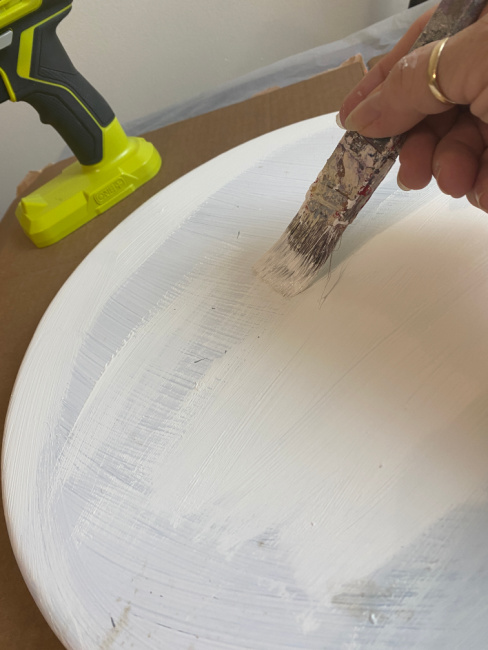
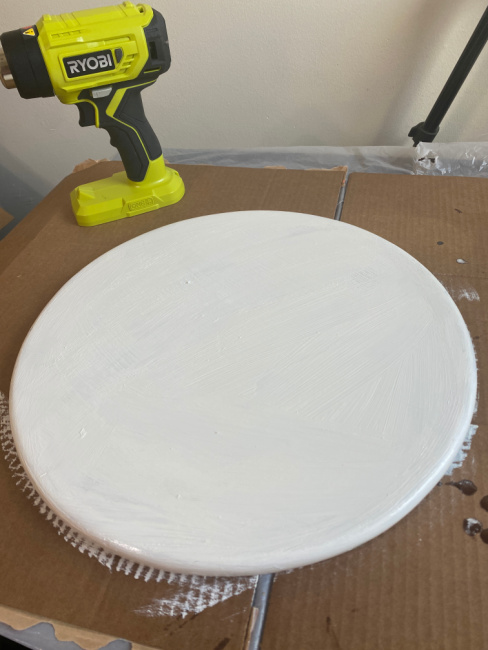
So I gave her a fresh coat of white and allowed that to dry.
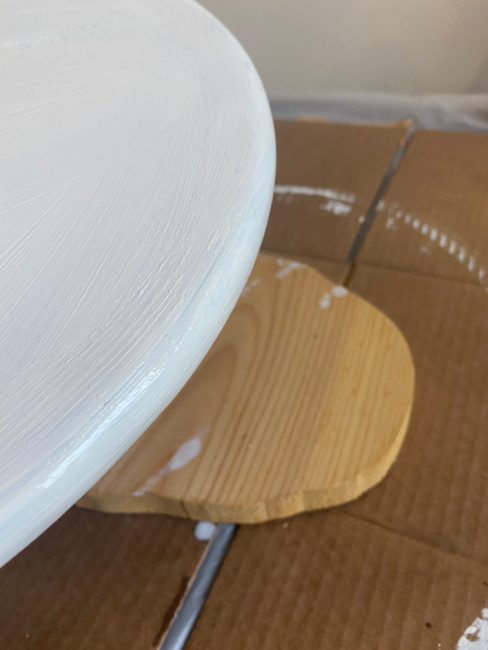
Then I mixed 8 ounces of Resin with 8 ounces of hardener. Once completely mixed, I added some white pigment dispersion to make a rich white resin. I’m using TotalBoat Makerpoxy. For detailed instructions you can see my other post on How to Make Epoxy Resin Coasters or check out TotalBoat’s website for extensive product information and tutorials. I sat the tabletop on a piece of wood so the resin would run off of the sides and not pool at the edges.
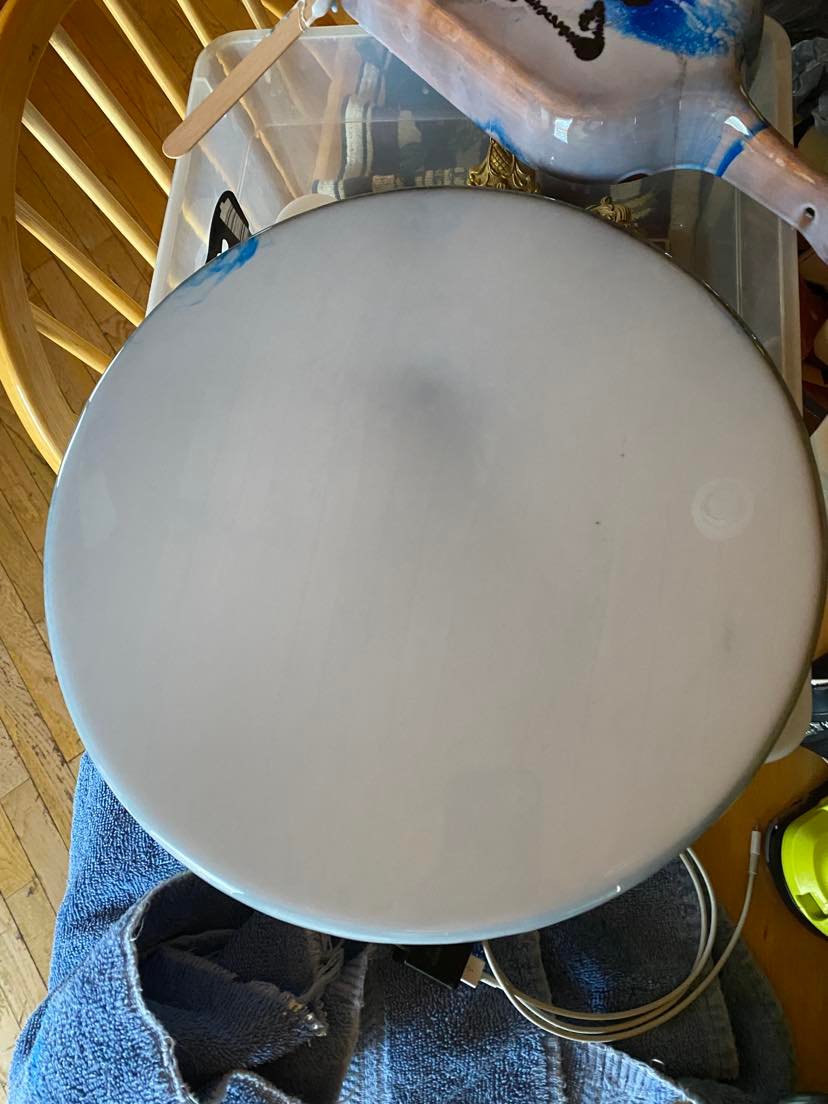
I poured the resin onto the tabletop starting at the center and then moved outward in a large circular motion until the epoxy was emptied onto the table top.
Then I used a spreader, the yellow item in the above photo, to push the resin around the entire tabletop into areas that were not covered. Eventually, the entire tabletop was covered and the resin was running over the sides. I used the spreader to make sure all of the edges were covered with resin.
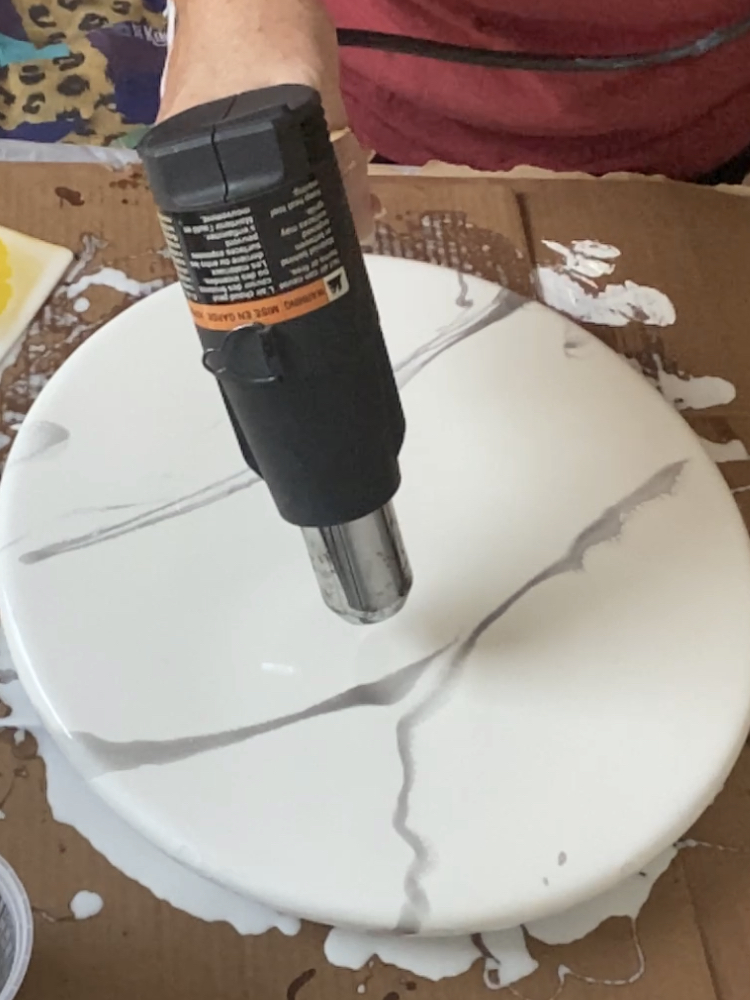
I used the heat gun to move the resin from the center to the edges and made certain that the resin ran over the sides evenly. In this process, I removed many air bubbles with the heat gun.
I mixed about an ounce of clear resin and added black pigment powder. I poured a few narrow lines across the tabletop to mimic marble veining. Then I used the heat gun to move the lines a bit making the veining more realistic.
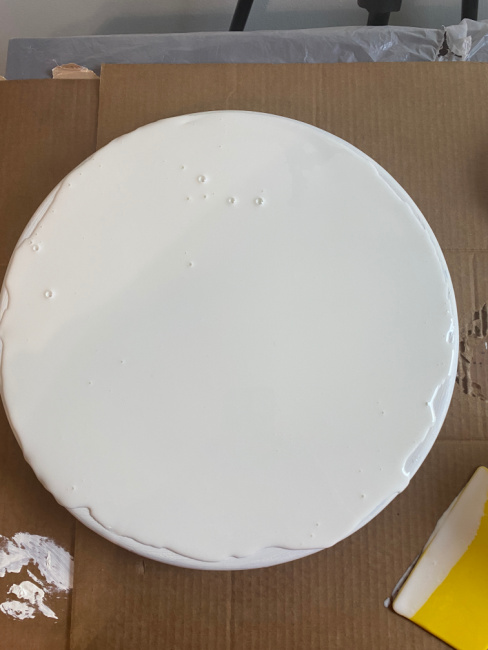
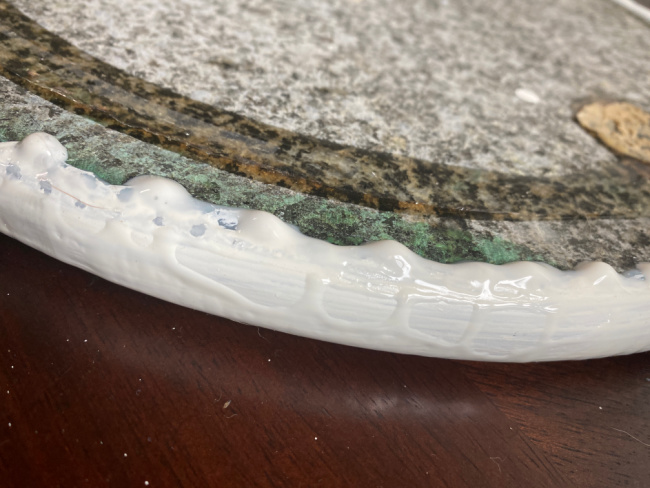
/After about 20 minutes, I ran the long flat side of a paint stirrer along the bottom edge of the tabletop to remove the drips of excess epoxy. I repeated this process again 10 minutes later.
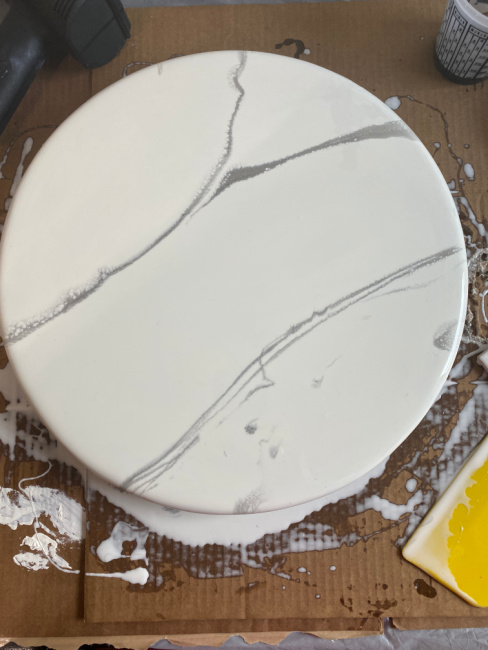
Here is the tabletop as it was drying:
I allowed it to dry overnight.
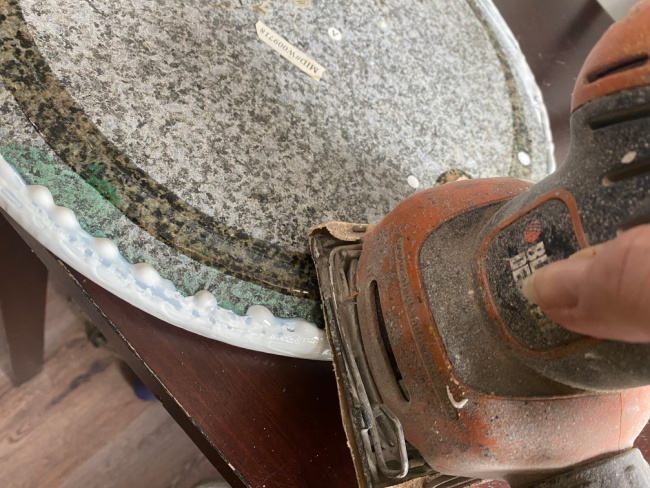
Then I sanded the edges from the bottom with an electric sander to remove any residual bumps from the drying process. A light sanding of the drips will eliminate the rough appearance. Next time I will be more careful to ensure the surface pours evenly.
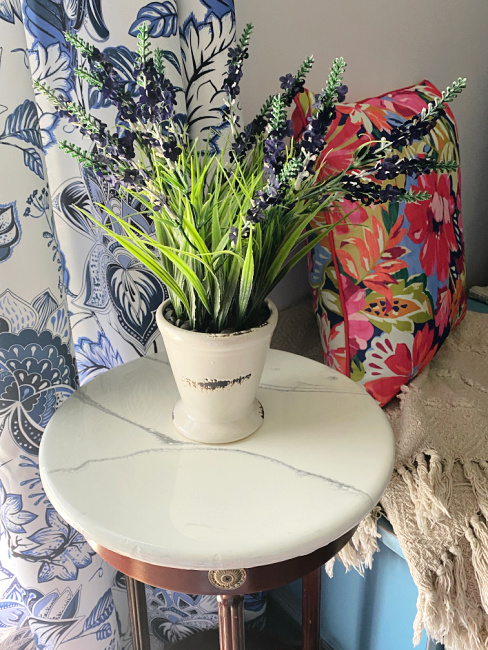
All that was left after sanding was to place the tabletop onto its base.

This is the perfect spot for a live plant.
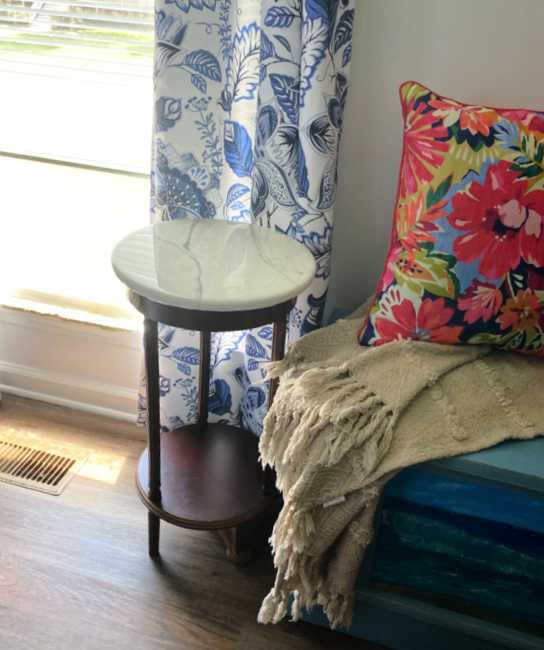
For now, I’m using faux.

If you enjoyed this post, here are a few of my other posts about epoxy resin.
I have a few large projects coming up in my home using epoxy resin. If you have some ideas on smaller projects that you would like to see, send me a message or leave a comment!
And if you give epoxy resin a whirl, send me a photo of your project and let me know how it went!