How to Upcycle and Refresh Bathroom Vanity Lights
As an Amazon Associate and member of other affiliate programs, I earn from qualifying purchases.
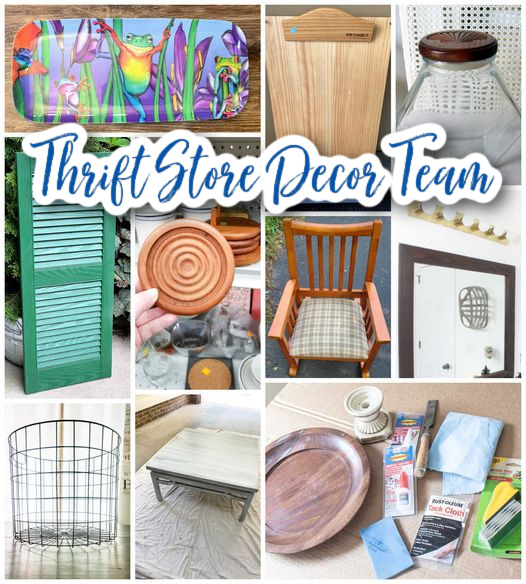
I’m so happy to tell share that I am joining 7 fabulous friends in their monthly Thrift Store Decor Tour. Each month, we will transform a thrift store item. The tour has been going on for many years now an I am simply thrilled to be a participant. Make sure you check out all of the fabulous projects at the end of this post. There is inspiration for everyone! Here is a peek a what is being transformed this month…
Today’s Thrift Store Decor Project
Several years ago, I refreshed our guest bathroom as part of the $100 Room Challenge. I had $100 to spend per the challenge rules so I was limited to a few projects.
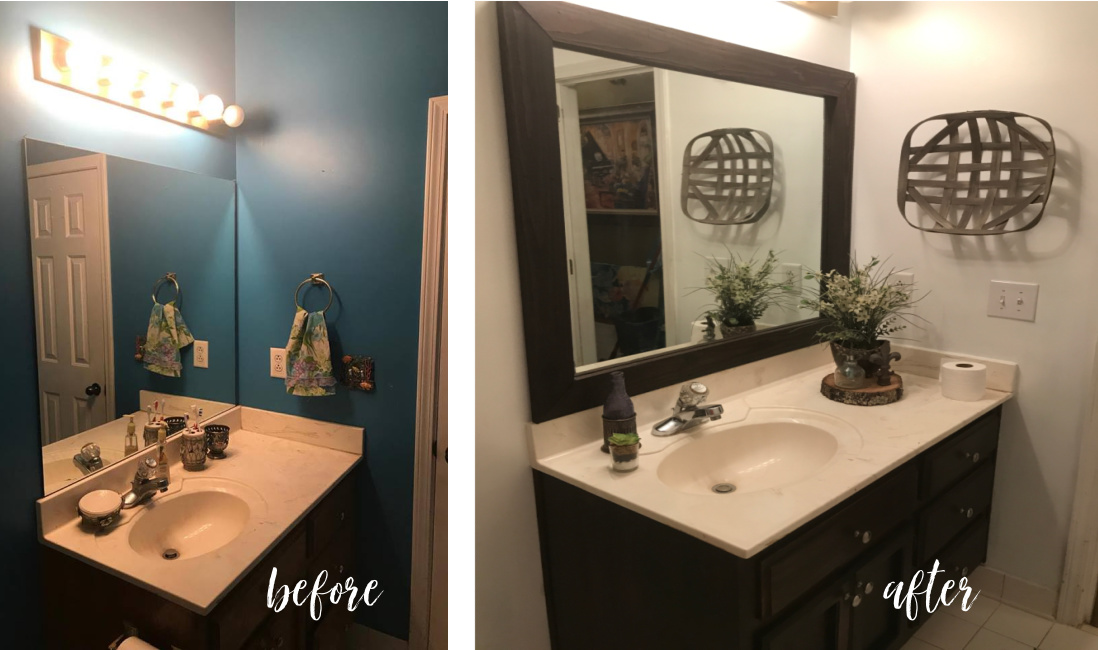
As I look at this picture now, 4 years into my “DIY my home journey,” here are my thoughts:
- I laugh at the thought that leaving this gold was acceptable.
- How horrible is that before photo??!!! I had the lights on! Lol. This makes me realize that my photography skills have actually improved despite my frustrations.
- I did have enough sense not to show that gold light in the after photo. You can just see the corner. I’ll give myself a point for that.
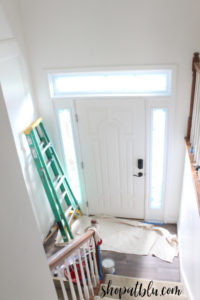
Apparently I was so astonished by my other DIY skills that I thought this was simply ok. More likely is this explanation…I was just starting to DIY my way through our home. This bathroom was the first project and remained the only completed project until last year. I really wanted to replace the vanity lights but I was, like many DIY’ers, very intimidated by this simple electrical fixture. After working my way through the kitchen, dining room, entryway, and master bathroom, I had much more confidence in the fact that most DIY processes can be broken down into simple steps. No, I won’t ever be able to rewire the house or replace the roof, but these smaller projects are definitely doable. Life, indeed, is but a process!
Slow and Steady Wins the Race
If you own a home, you know how expensive it is to make every nook and cranny your own. The only way to accomplish this without breaking the bank is to proceed with small affordable projects. Eventually, if you tackle one area at a time, you reach the finish line. Occasionally, you can throw a few big budget projects into the mix like we did with our Tuscan Inspired Kitchen. But in the race to claim your home, slow and steady wins the race.
DIY Does Not Have to be Expensive
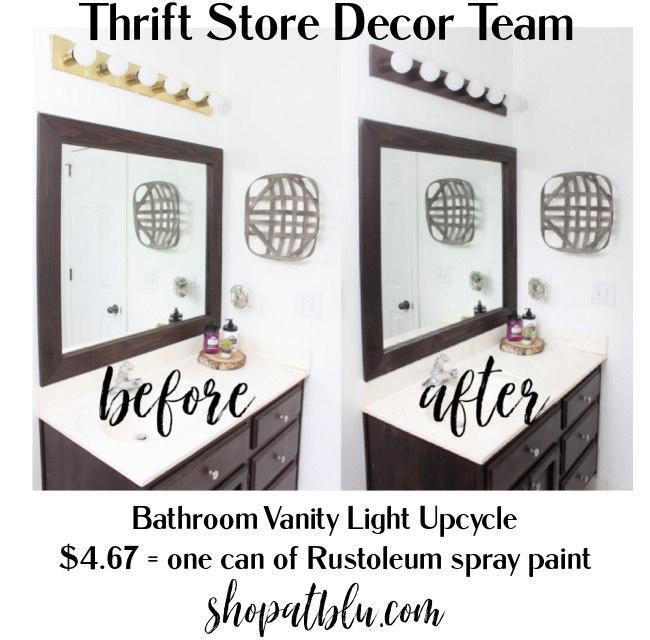
With many DIY projects, the biggest obstacle is simply getting started. When I first started the bathroom refresh and upcycle projects, my budget was super small. Consequently, I found ways to brighten and personalize these spaces inexpensively. This upcycle and refresh of my bathroom vanity lights cost $4.67…the cost of a can of Rustoleum spray paint.
Fast forward to last September and another $100 Room Challenge where I did the Master Bathroom. I updated our outdated vanity lights.

Same Project, Another Room
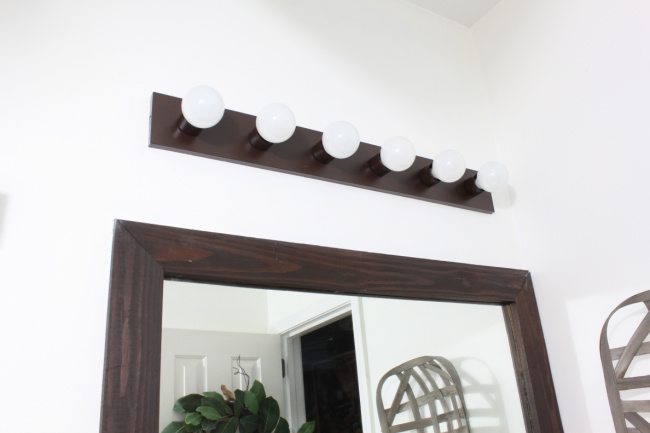
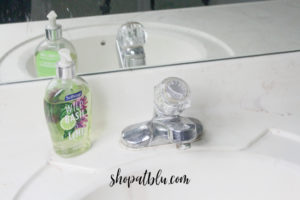
It’s time to use those skills again. This time I will show you, step by step, how easy it is to upcycle and refresh your bathroom vanity lights! Let’s get this poor neglected and outdated gold light fixture upcycled!
Here is the vanity light fixture in all of its golden glory:
I’m sharing the process of my upcycle and refreshed bathroom vanity lights now. Here is the process from start to finish!
Step One: Dis-assembly
- Remove the bulbs.
- Remove the gold cylindrical covers for each light.
- Gently pry the gold rectangular cover from the unit.
Step Two: Prep Surface for Paint
If your bathrooms are as busy as mine, these bulbs and fittings will be dusty. Use a soft cloth to remove the dust. Use a fine grit sandpaper to gently sand all surfaces (in my case the gold pieces) to be sanded. Use a cloth or damp rag to remove all dust from the surfaces. Now you are ready to paint!
If you know me at all in real life, you know that what you see is what you get. I am honest to a fault and always trying to improve. So, when I did these videos (tackling a fear of a new skill) I figured they would be long and boring so I selected the Time Lapse option. Wrong…and I didn’t feel like redoing the videos so I will just apologize for the super fast and hard to follow video. I promise the next will be better. Sometimes you just have to admit defeat and chalk that up to learning. Done!
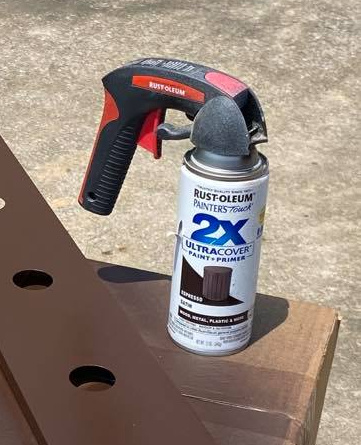
Step Three: Paint
Spray paint all of the old (gold) parts. I sprayed several light coats allowing each coat to dry completely before applying the next. Be sure to keep your arm moving so the paint does not puddle. It’s no fun to have to scrape off globs or drips of wet paint. Be patient and apply several light coats. I used Rustoleum, my go to spray paint, with paint and primer in the same can. Coverage is always excellent. I used a satin finish.
I am lucky to have a several fan decks for use when trying to match paint colors. This one is Sherwin Williams. Look at the wear on the edges. Do you think I use this alot?? I was able to find the closest color to the General Finishes java gel stain that I used on the vanity base and the mirror frame FOUR YEARS AGO! I carried this color to Home Depot and was able to find the closest Rustoleum spray paint. Perfect match!!! Tools are indeed your friend…whether power or design…USE YOUR TOOLS!
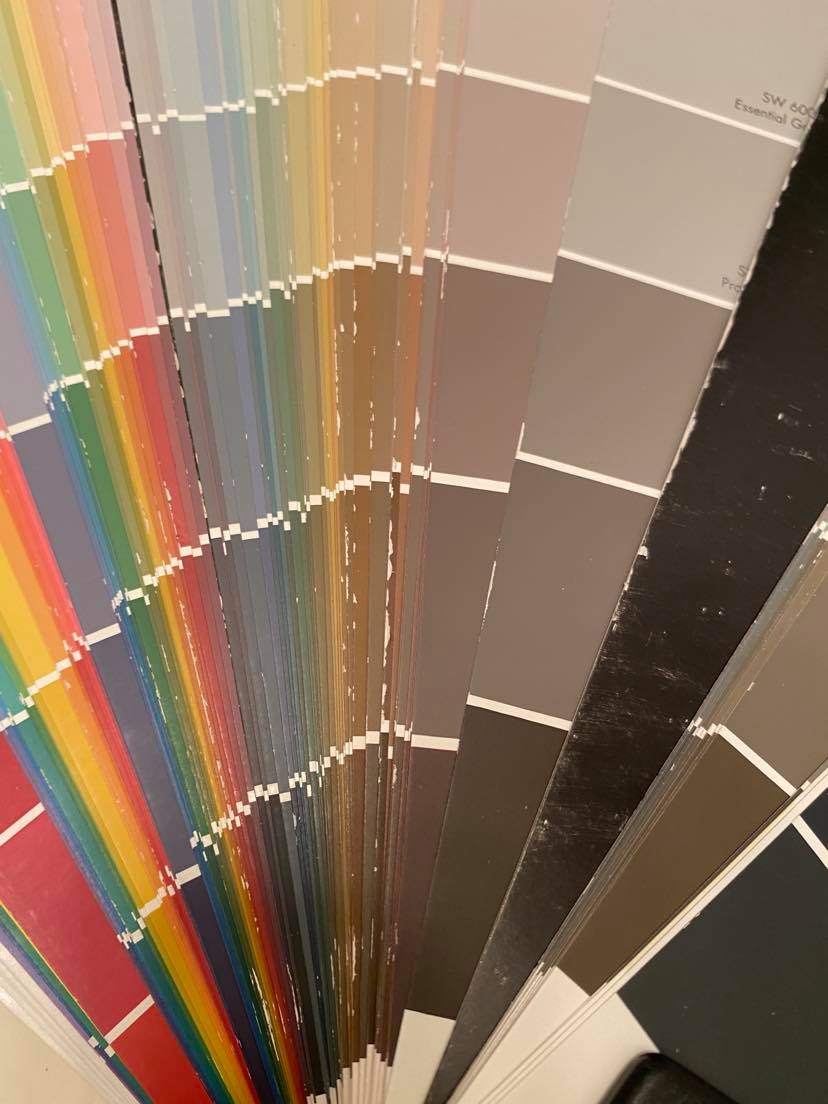 A customer from my antique store, The Blue Building Antiques gifted it to me many years ago when my store was till open. I also have a Behr fan deck as Behr has quickly become a favorite wall paint supplier. This comes in handy when trying to match colors to fixed items in your home, like the bathroom vanity that is stained!
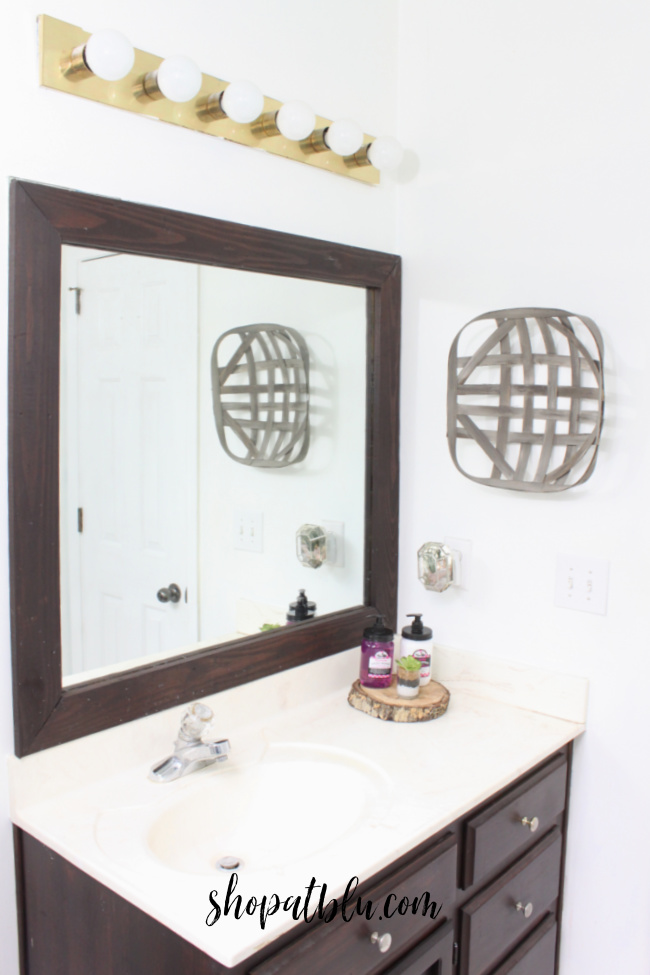
Step Four: Reassemble.
Reverse the disassembly steps and put that baby back together! Sit back and enjoy the newly updated look!

When I disassembled the first vanity light back in November, I was very cautious. The second was much easier. And this one was super quick. I never touched an electrical wire. With all electrical projects, it is always a good idea to turn off the breaker or main power source to the room just in case. And if you are completely removing the unit, it’s always a good idea to hire or consult an electrician.

Do you have any of these outdated Hollywood style vanity lights in your bathroom? This $5 upgrade will buy us some time and allow us to use money on other projects.
I am happy with this simple and budget friendly upgrade. It will make me smile until I find the perfect replacement lights.
 I completed this project as part of a monthly challenge with some incredible blogger friends. This is my first time joining my talented friends at the Thrift Store Decor Team! I’ve know a few of these creative geniuses for a few years and some are brand new friends. I simply cannot wait to introduce you to each one of them! You will find their contributions to this month’s tour below. So without further ado…here they are!
These are the before photos! Click through to see the final reveals!
Large Farmhouse Metal Basket – Domestically Speaking
Boys Rocking Chair – My Repurposed Life
Sand And Seashells Beach Jar Idea – Petticoat Junktion
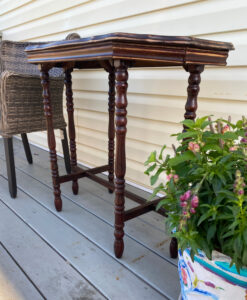
Outdoor Coffee Table Makeover – Our Southern Home
Boho Chic Jewelry Tray – My Uncommon Slice of Suburbia
Coastal Coasters – Sadie Seasongoods
Upcycled Shutter Angel – House Of Hawthornes
Thrifted Child’s Wall Easel To Wall Decor – Organized Clutter
Easy Cake Stand – Reinvented Delaware
Refresh Bathroom Vanity Light – Shop At Blu
Thanks for stopping by! Can’t wait to get started on next month’s project!
Shop the Look!

That makes such a huge improvement! Love it! BTW, I enjoy the super-speedy videos 🙂 Who really wants to see someone spray paint in real time!
Thank you. And as you can tell, I’m a newbie at video. I thought they’d be longer and forgot to change from Time Lapse. Now to figure out the code so my body doesn’t take up the entire screen!
I am always amazed by the power of spray paint. I love the updated look for the bath. Welcome to the group!
Thanks Christy! Feelin’ fancy. So happy to be here.
What a great makeover, the black looks so much better then the gold!!!
Thanks! I agree.
The update looks great!
Thank you! I can’t believe I waited so long.
oh my! What a change you made in those lights. I love me some spray paint. Know what else I love? Fan decks! All of those colors just make me smile. So funny how yours is so tattered. I have a couple and they still look new. lol
Pinned!
gail
Haha. Thanks Gail. It’s really old…and I got it second hand too.