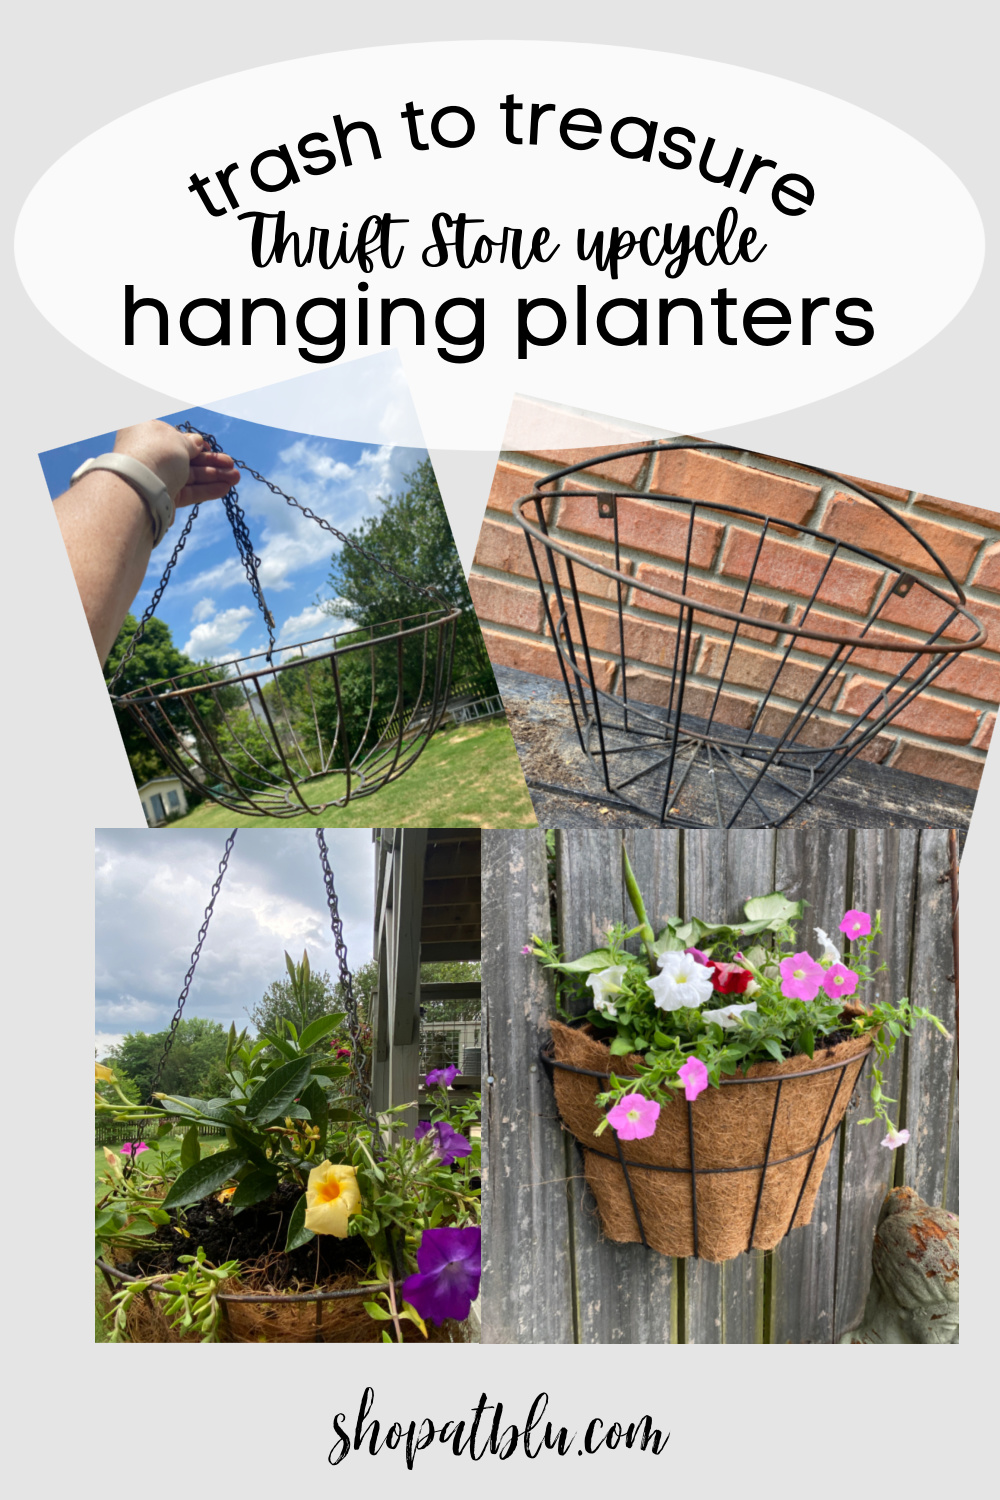
DIY Garden Hanging Planters
As an Amazon Associate and member of other affiliate programs, I earn from qualifying purchases.
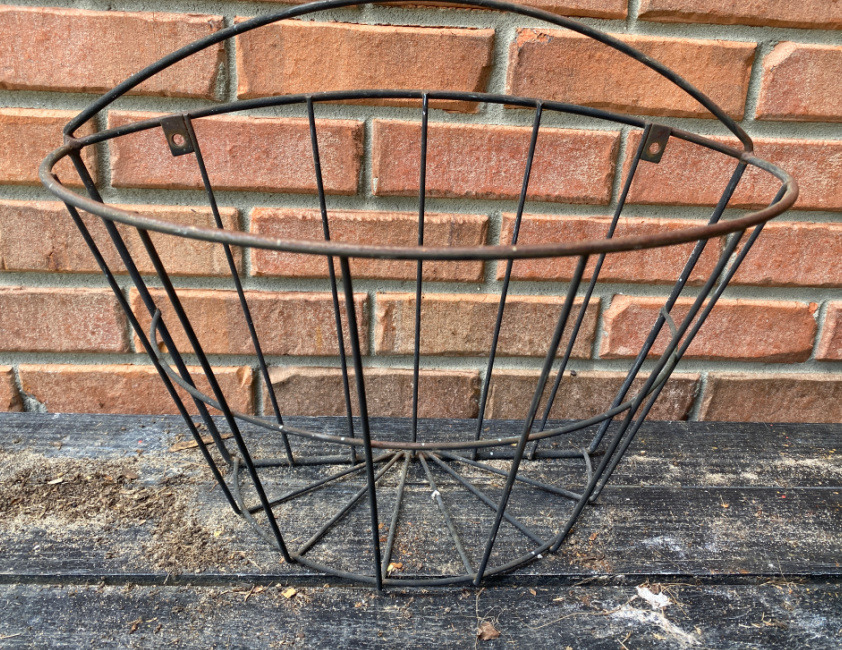
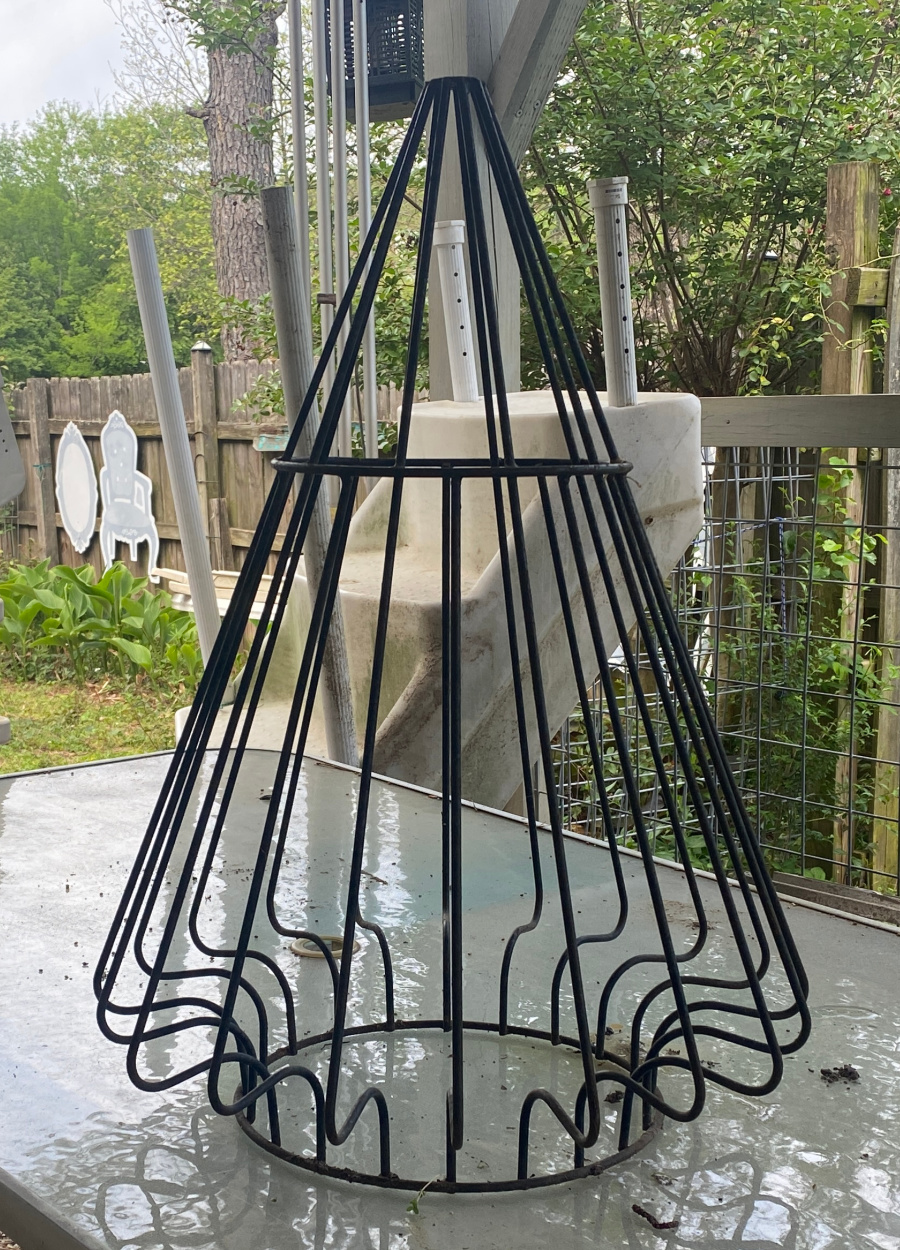
The sticker shock of a garden hanging planter at the local nurseries is real! I’ve seen some, though absolutely stunning, for $99…at Home Depot. If I had that kind of disposable income to use for a garden hanging planter, I would be very happy. But, I’m still not sure I would take the chance knowing that there a possibility that the plants wouldn’t make it through the extreme Alabama summer. So when I saw these standard wire hanging basket forms at the thrift store for just $1 apiece, well…that’s a gamble I can take. Let’s DIY our garden hanging planter!

Thrift store find? It’s time for this month’s Thrift Store Decor Team projects! As always, they will be listed at the end of this post so be sure to check out all of the fabulous thrifty upcylced projects from my super talented friends.
Easy Way to Refresh Any Area
Two years ago we replaced our old deck . We’ve enjoyed using the deck but his year, we are finally getting around to finishing the patio area under the deck. While we have a few concrete projects planned, the area needs a quick fix to spruce up the area in the meantime. Of course, an easy and cost efficient way to immediately add character to a space is with plants!
A Garden Hanging Basket Staple
I had come across these wired garden hanging planters at the thrift store but you can also buy them new. I saw these at Home Depot.
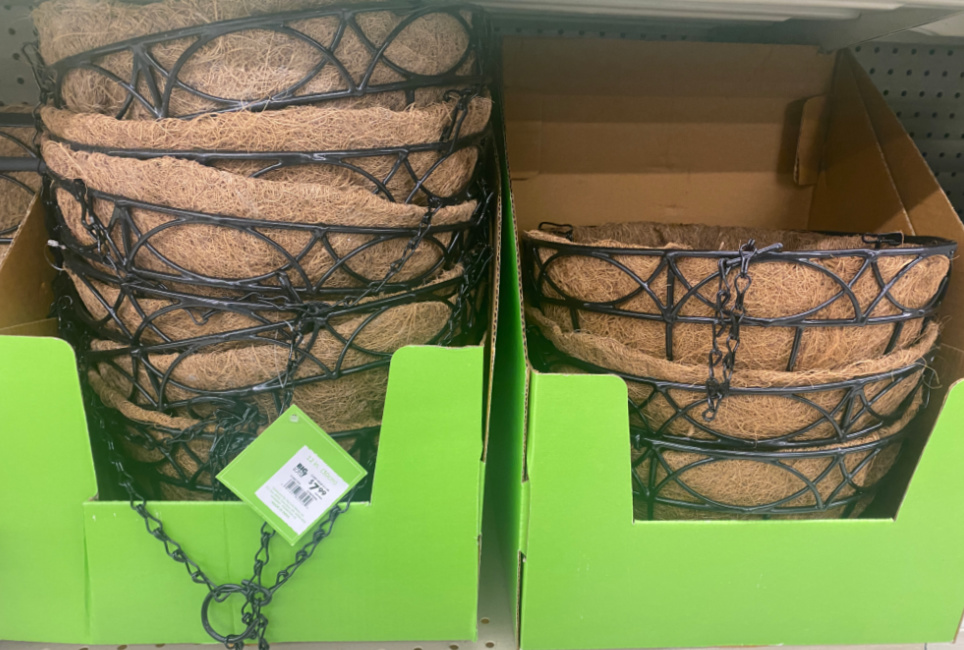
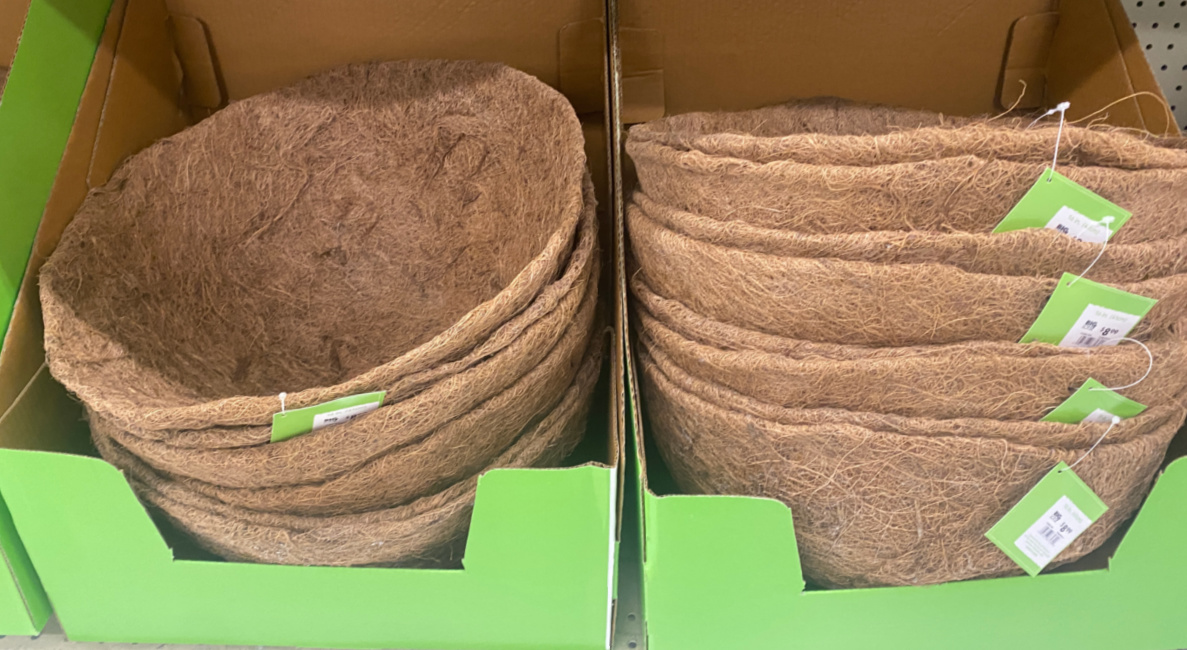
You can buy just the coco liner replacement or the hanger with the liner.
Why buy new and spend money on planters when you can upcycle the planters that you have? I mean, that means you can use the funds you’ve saved to buy more plants? Right? Perfect logic.
I ordered some coconut liners from Amazon. Did you know, the sell it in rolls? I’ve seen the rounded liners and rectangular liners in various sizes. But what if you have a weird shaped planter, like these:
I actually have 4 of these beauties. When I had my second store, The Yellow Building, I bought them from a woman who worked for an interior designer. She said they were from Paris. They’ve been sitting and waiting for their chance to shine. I bought the rolls of coco liners for these planters. Stay tuned as this will be the next project up after my practice run today.
Make a Custom Coco Liner
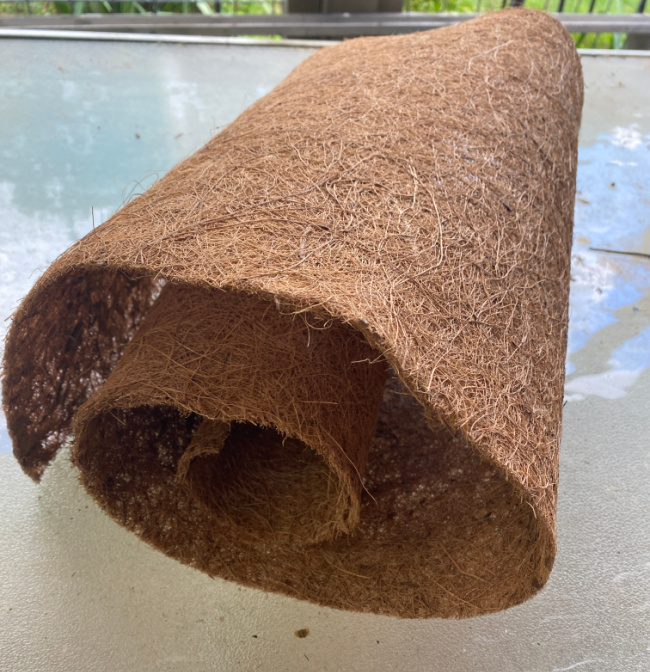
Unroll the coco liner and spread it out flat. You can trace the form onto the liner with a sharpie and then cut the pieces, like a pattern. Or, if you are a combination of lazy and impatient, lay it over the wire form.
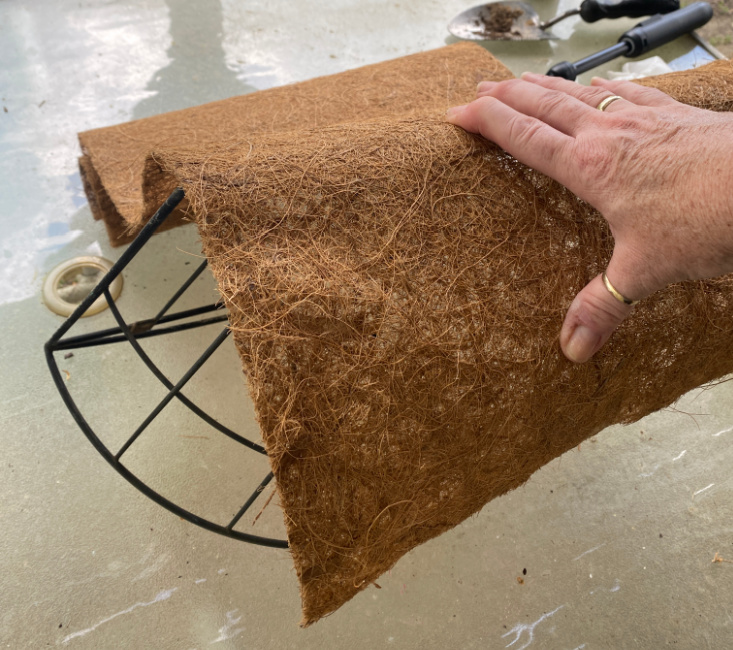
Use the form as a guide to cut the liner to size.
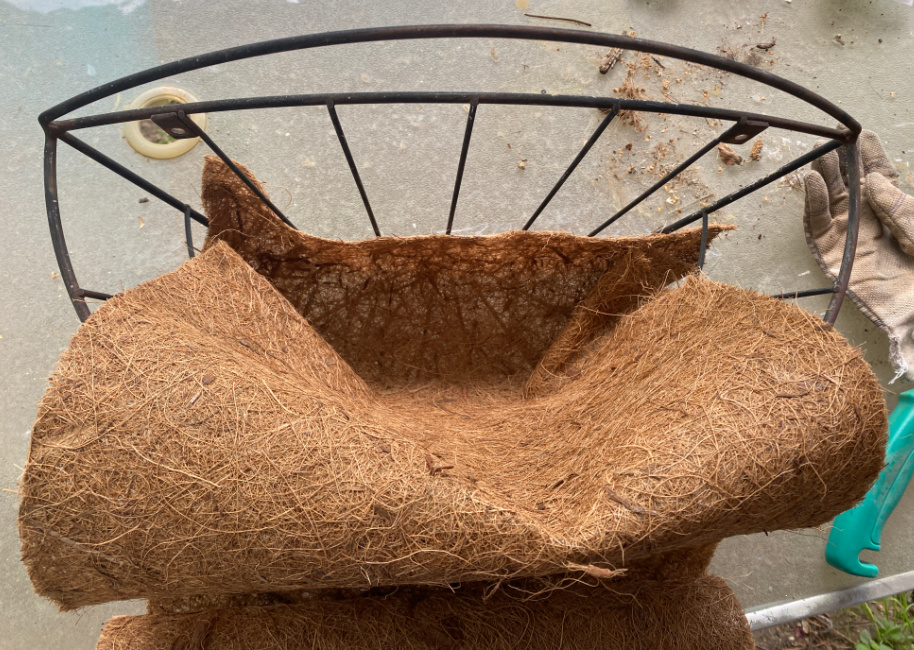
Then lay the liner along the planter and set the pieces into place.
You can use some twine to tack the liner into place. But I wouldn’t get to caught up in making the liner lay flat against the form. When you add the soil, the liner will fall into place.
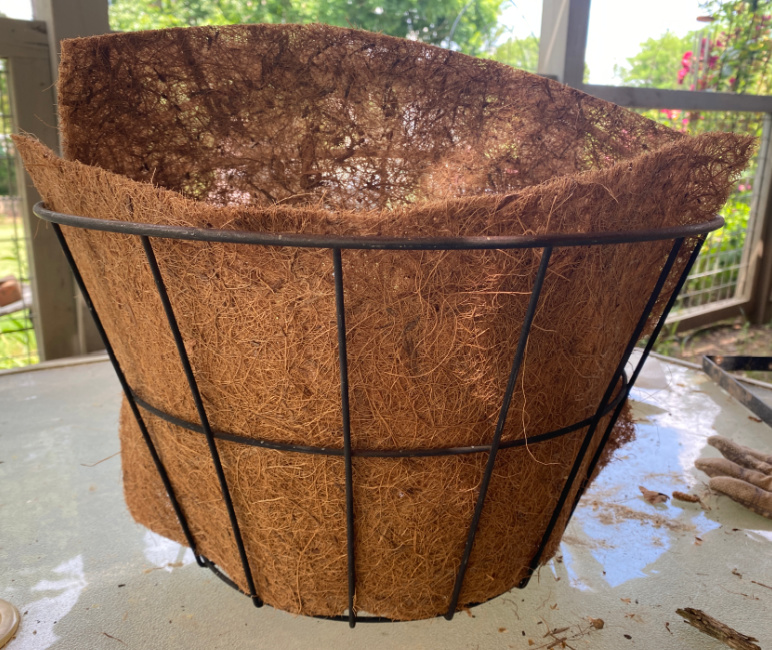
Trim the tops to be even with the edges of the form but don’t worry too much about it being perfectly straight as your plants will spill over the edges and cover the liner thus hiding any imperfections. I’m all about smoke and mirrors.
Good quality potting soil can be expensive. It also can be very heavy, especially after you water the plants. Can you imagine how heavy this would be if filled with wet potting soil?
So I used some old pots as fillers. Then I simply plopped a round planter into the top. Voila!
Filling your Garden Hanging Planters
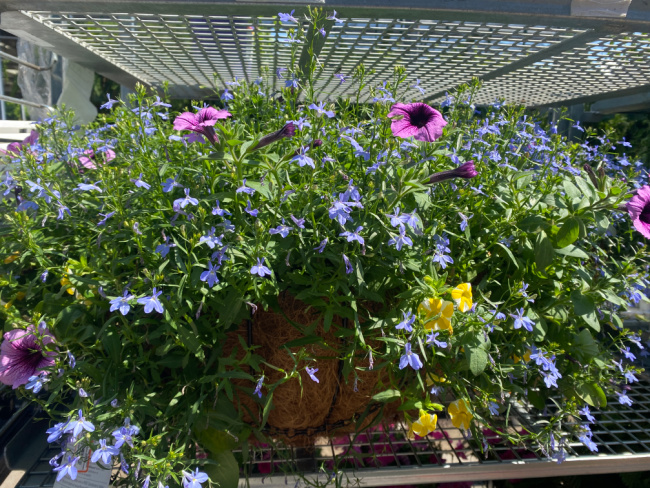
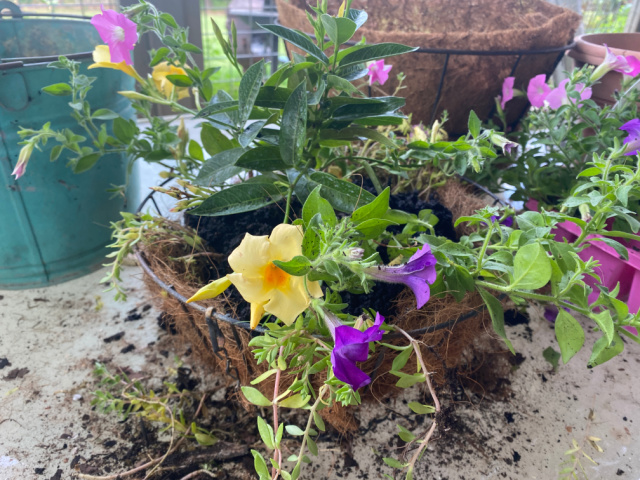
Have you heard the phrase spillers, thrillers and fillers? There are several variations of this phrase. But they all basically mean that you need 3 types of plants in your planters. You need a Thriller, or an anchor plant that has some height and will be your focal point. Then you need spillers that will fall over the edges. Lastly, you should add fillers which take up the space between the thrillers and fillers. I grabbed few from Home Depot. But don’t be alarmed, they were all on sale.
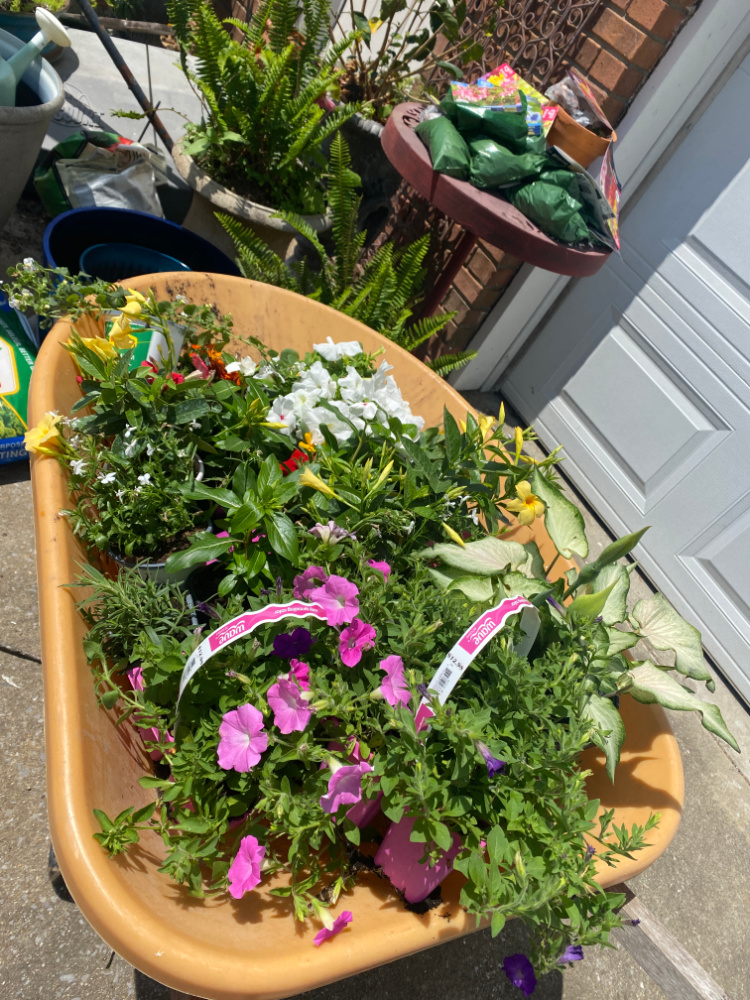
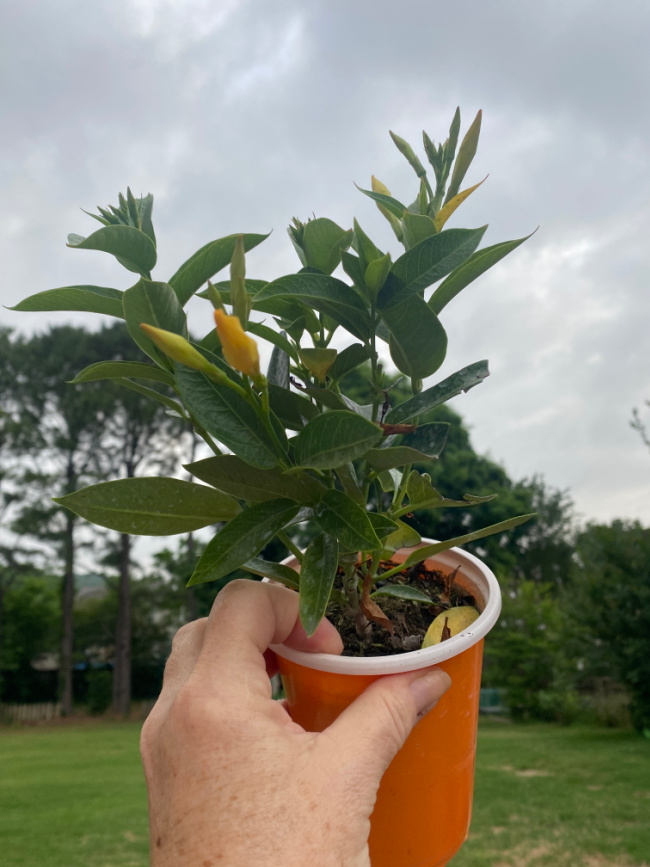
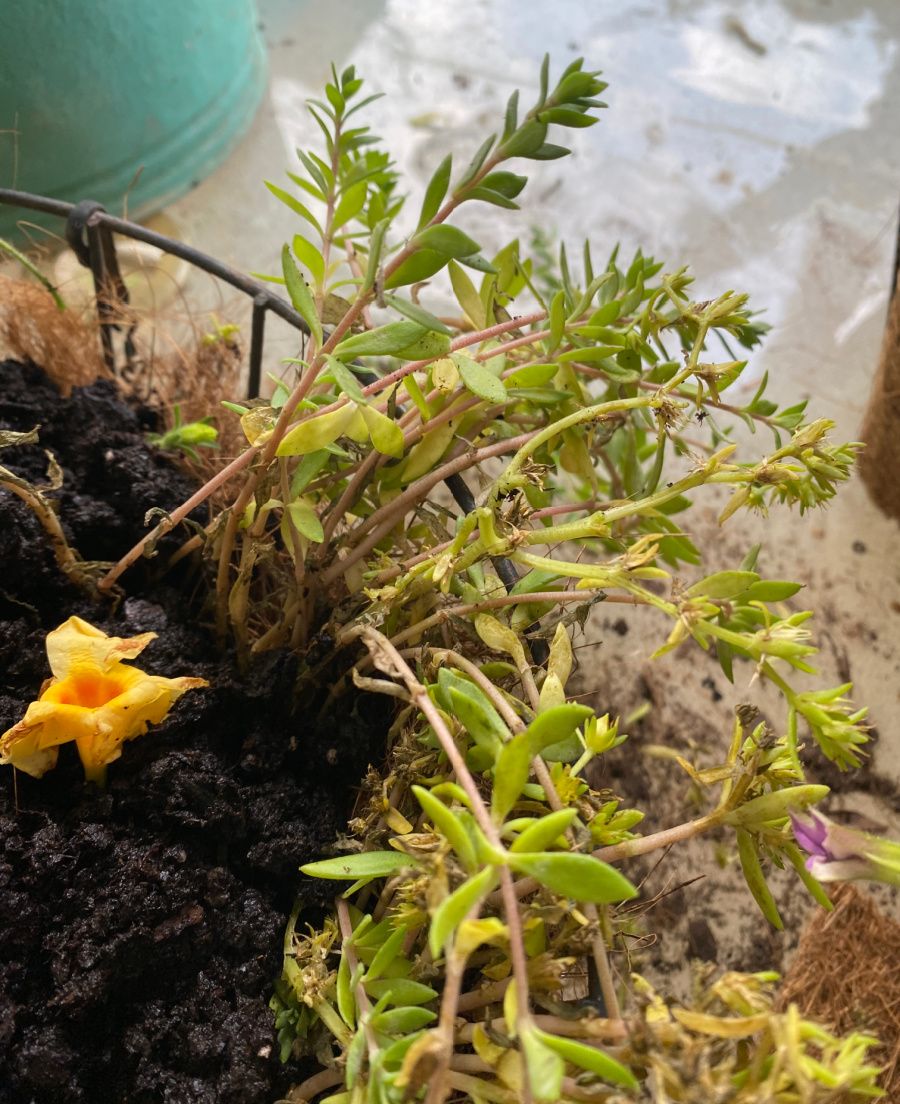
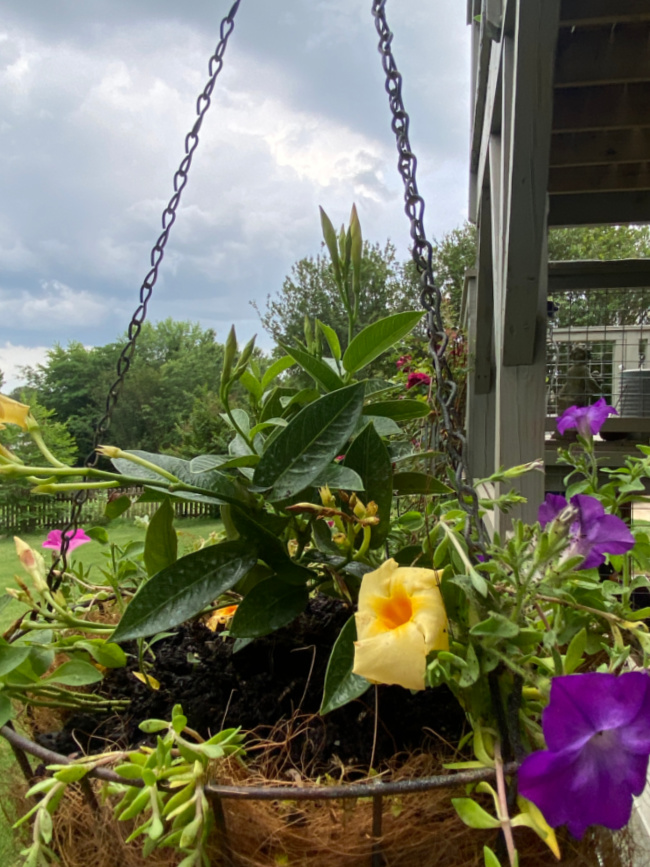
I found this Lemon Calypso which resembles a Mandeville. So this will definitely grow upward an can have some runners that will hang over the sides of the planter.
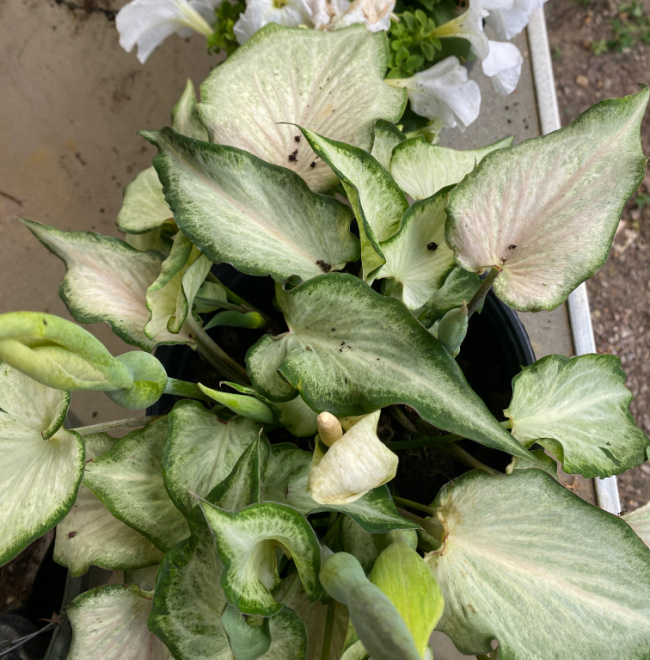
I also grabbed some Caladiums. This is not my normal planter plant so I decided to give it a try. I expect this to bush up a bit. So I can separate it and scatter around my garden.
Like I said, they make coco liner replacements to fit your standard shaped wired hangers. Standard sizes are round, half round and rectangle. They are definitely easier to work with as you simply drop them into the frame and you are ready to plant.
I had some coco grass leftover from a previous project to I just recycled this for my round planter instead of buying a new replacement.
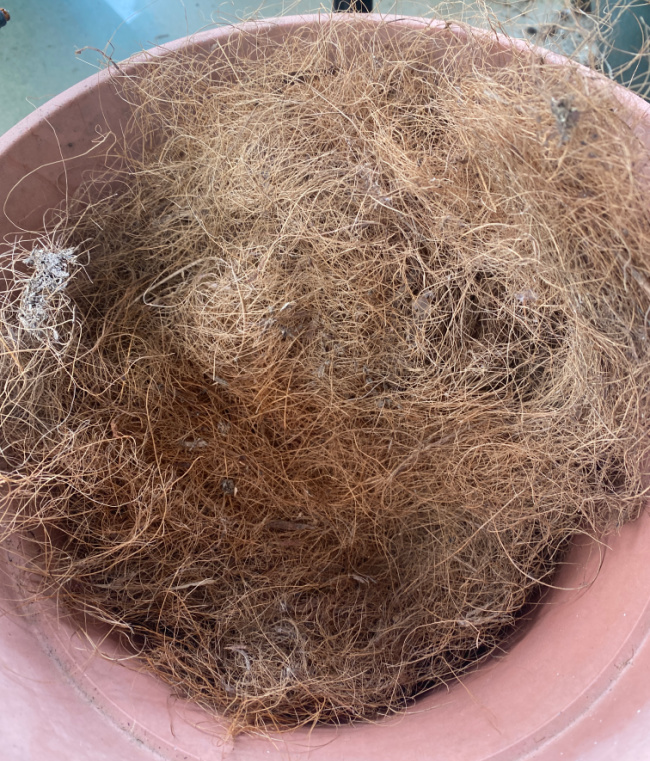
I just set it in the bottom of the round wire hanger and spread it out until it fit all around the form. I did add a small plastic bag to the bottom to help hold extra water for the plants. Then I added the soil. After I added soil, I moved the liner around to cover any bare spots.
Use the following tips to fill any garden hanging planter.
Fill your liner about 3/4 full with soil. Don’t fill to the top because you will be adding your plants and it’s silly to fill it up and then remove soil. Work smarter, not harder.
Add your thriller or anchor plant.
Set your spillers into place.
Fill in the spaces.

Add one plant at a time and before you know it, your liner will be full.
Remember that it will take a week or two for the plants to acclimate and begin to thrive. They will grow bigger and continue to fill the planter.

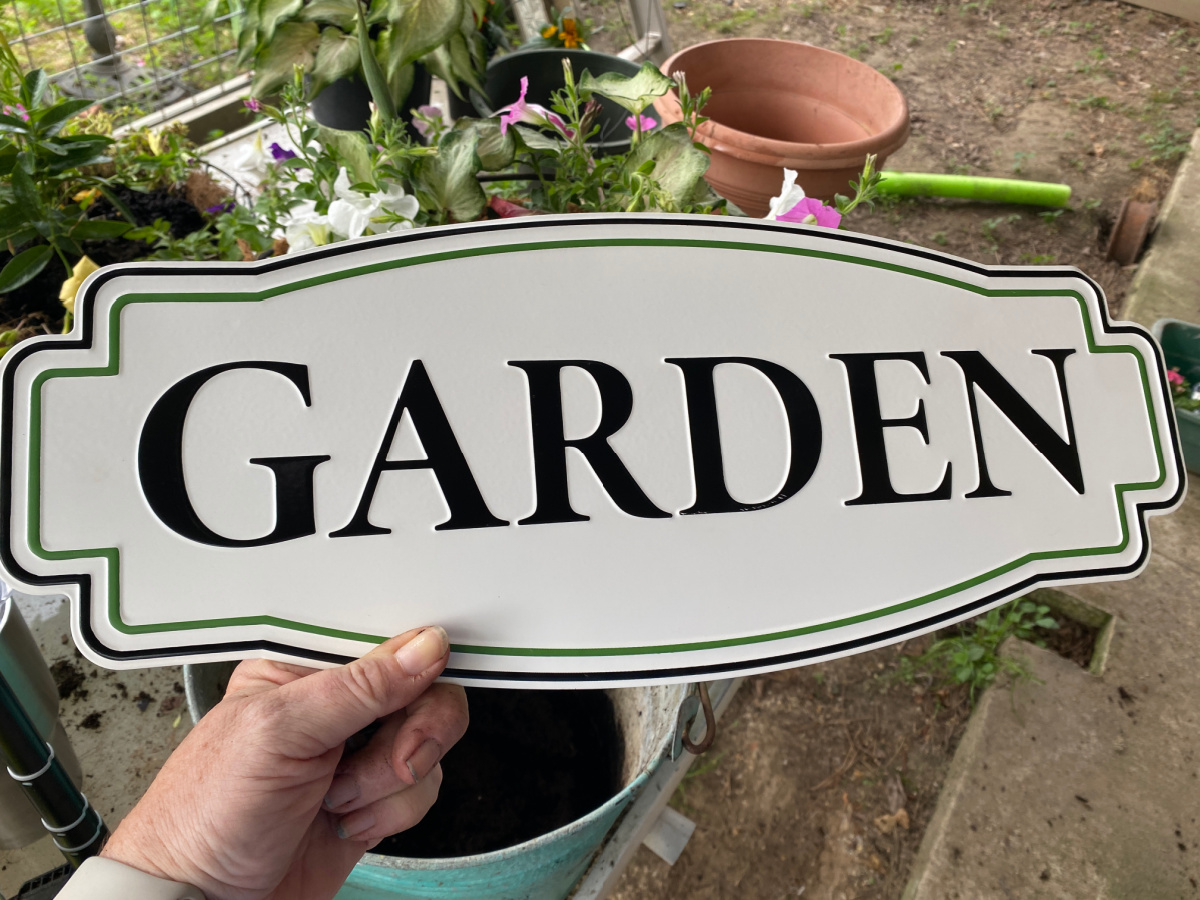
Adding Little Details
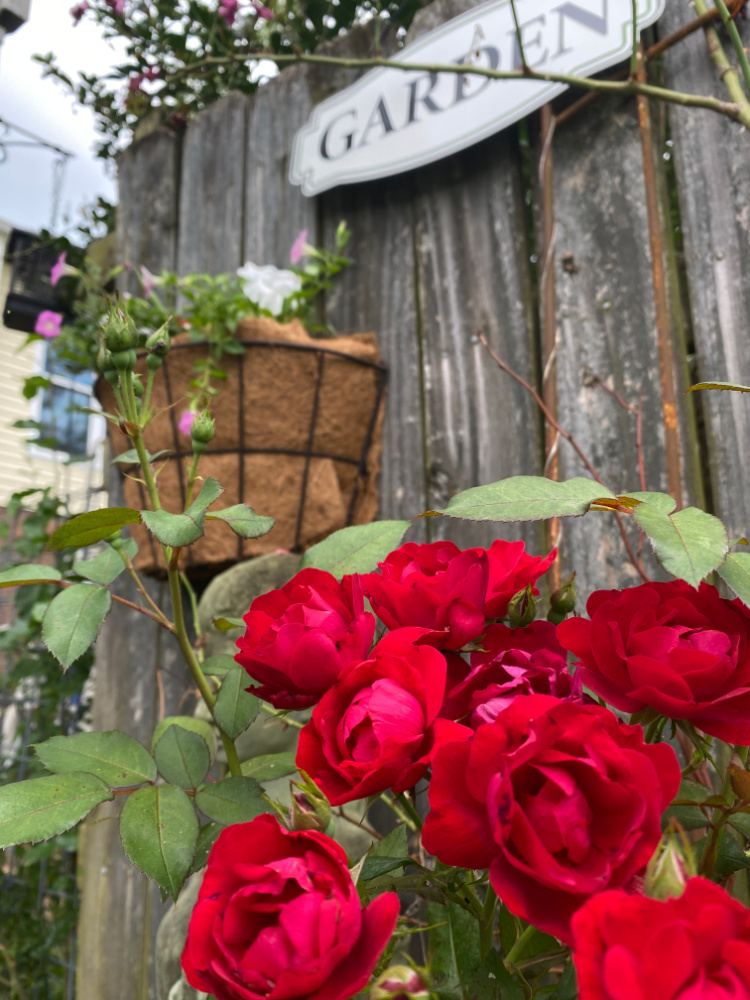
While scouting out the coco liner availability at my local stores (Dollar General, Dollar Tree, Walmart, Home Depot and Lowes), I found this great little sign at Dollar General for only $5! So she came home with me.
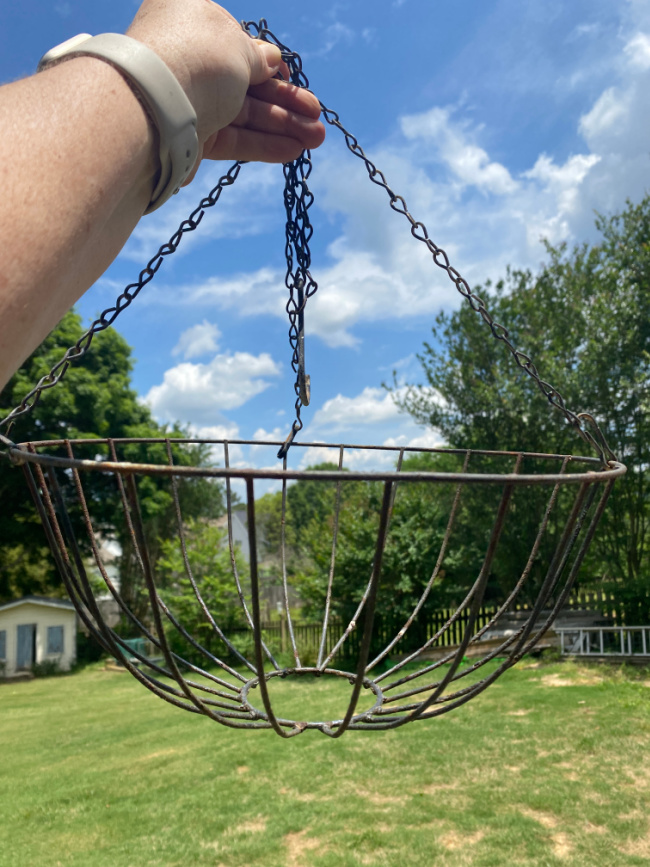
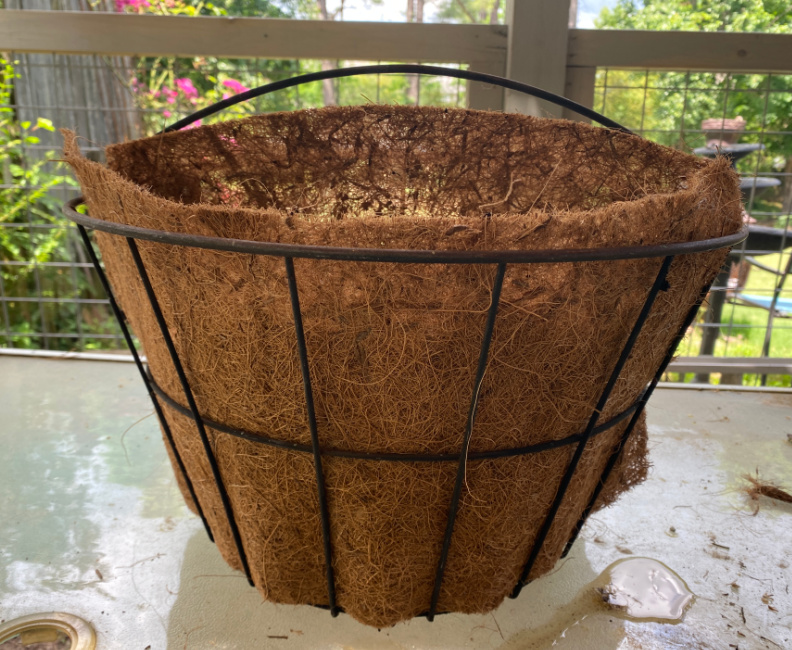
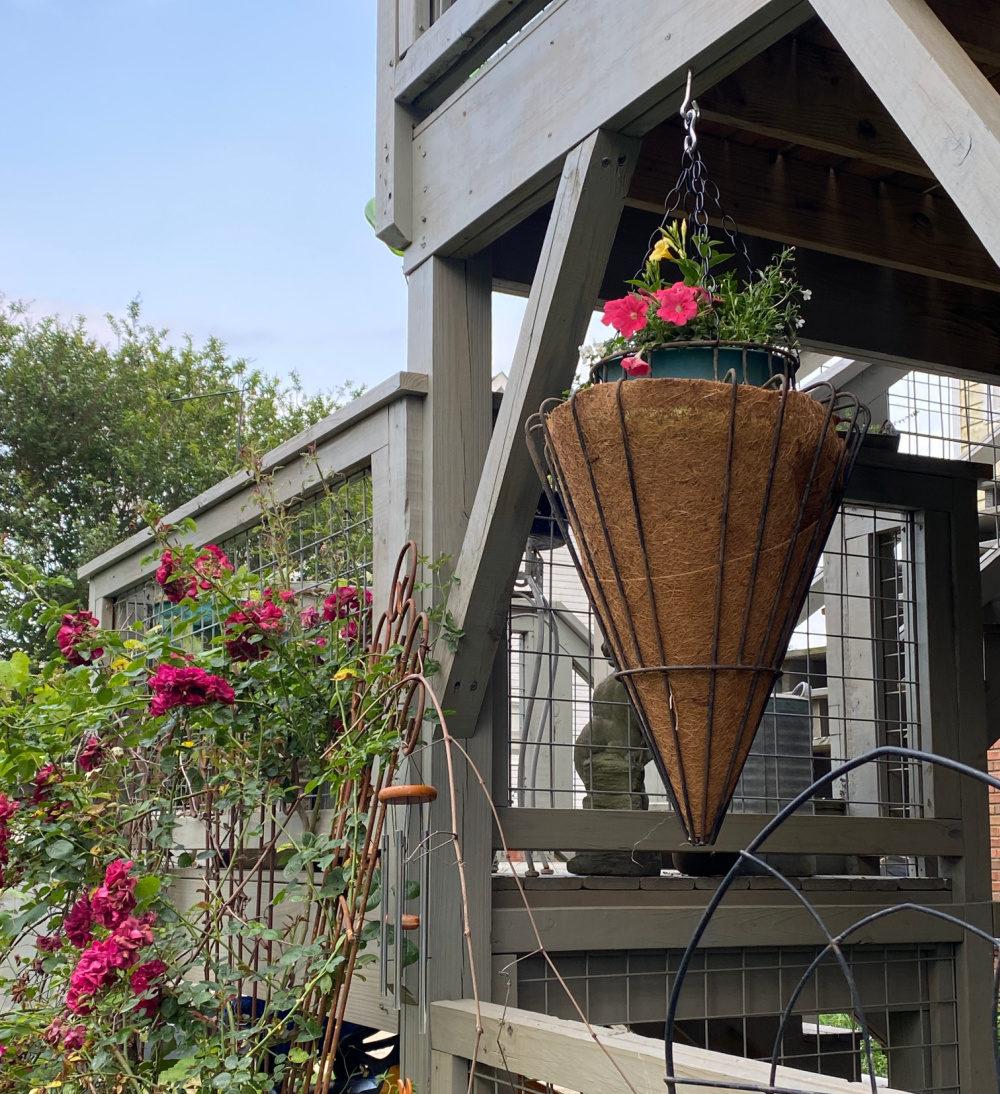
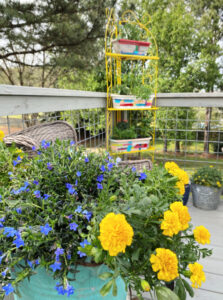
I hung the round planter with the chair from a bracket that I attached to the side of the deck.
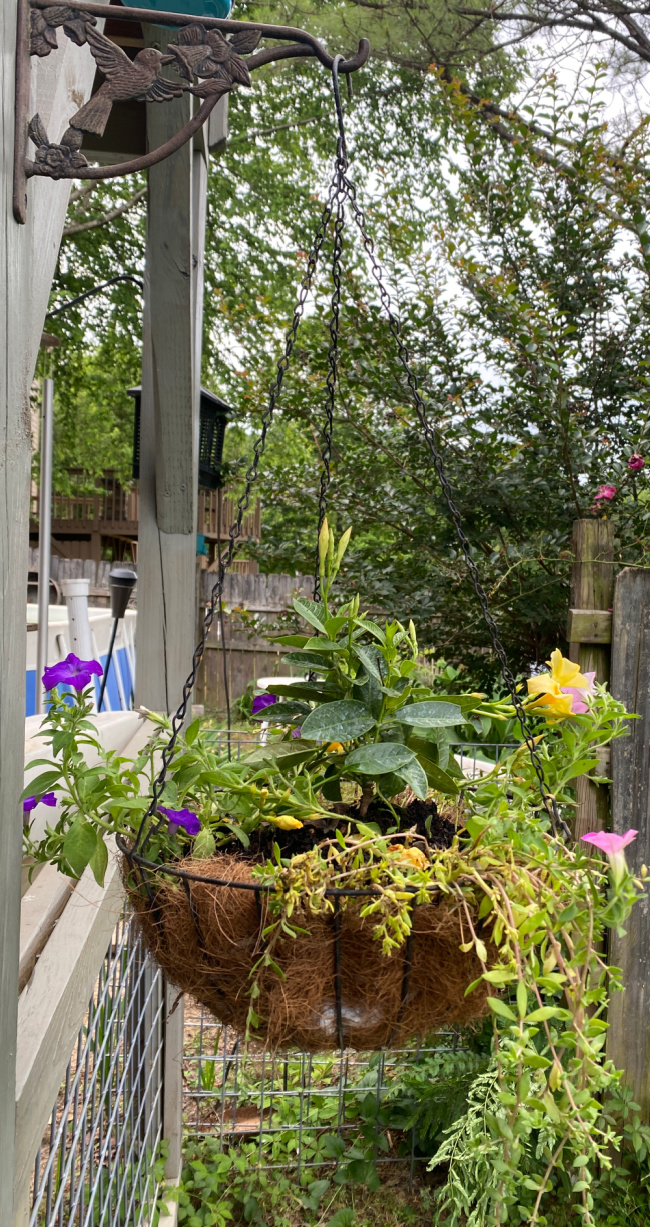
I will probably be checking it everyday waiting for the plants to plump up and spread out…a literal watched pot! The waiting!!!
And here is the half round garden hanging planter with the custom coco liner.
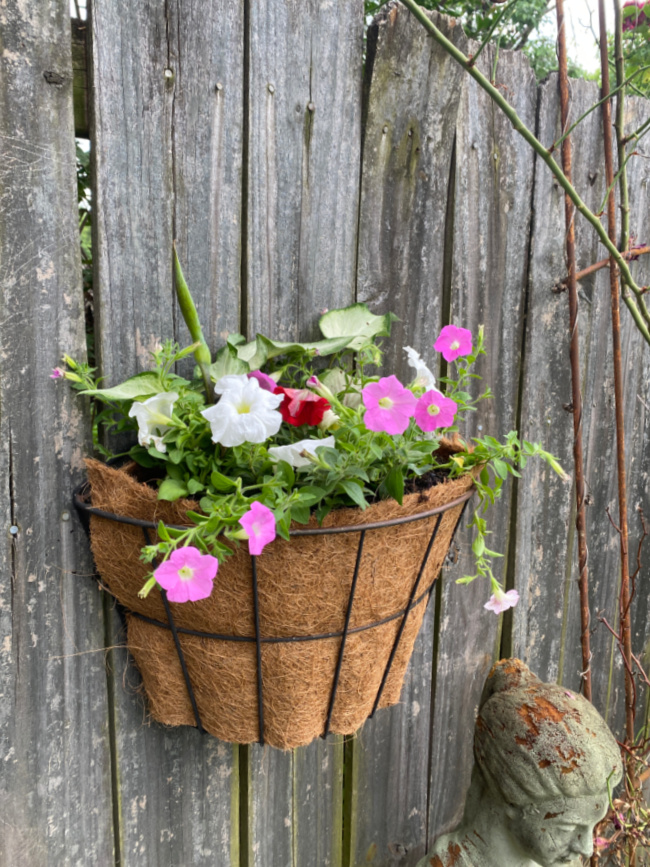
It really brightens the area.
And my $5 sign…
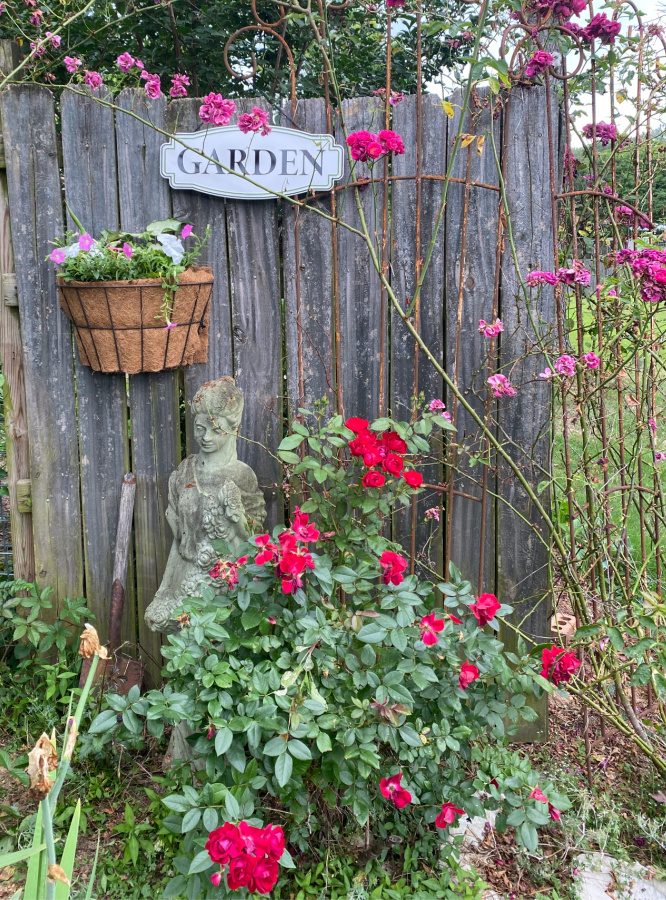
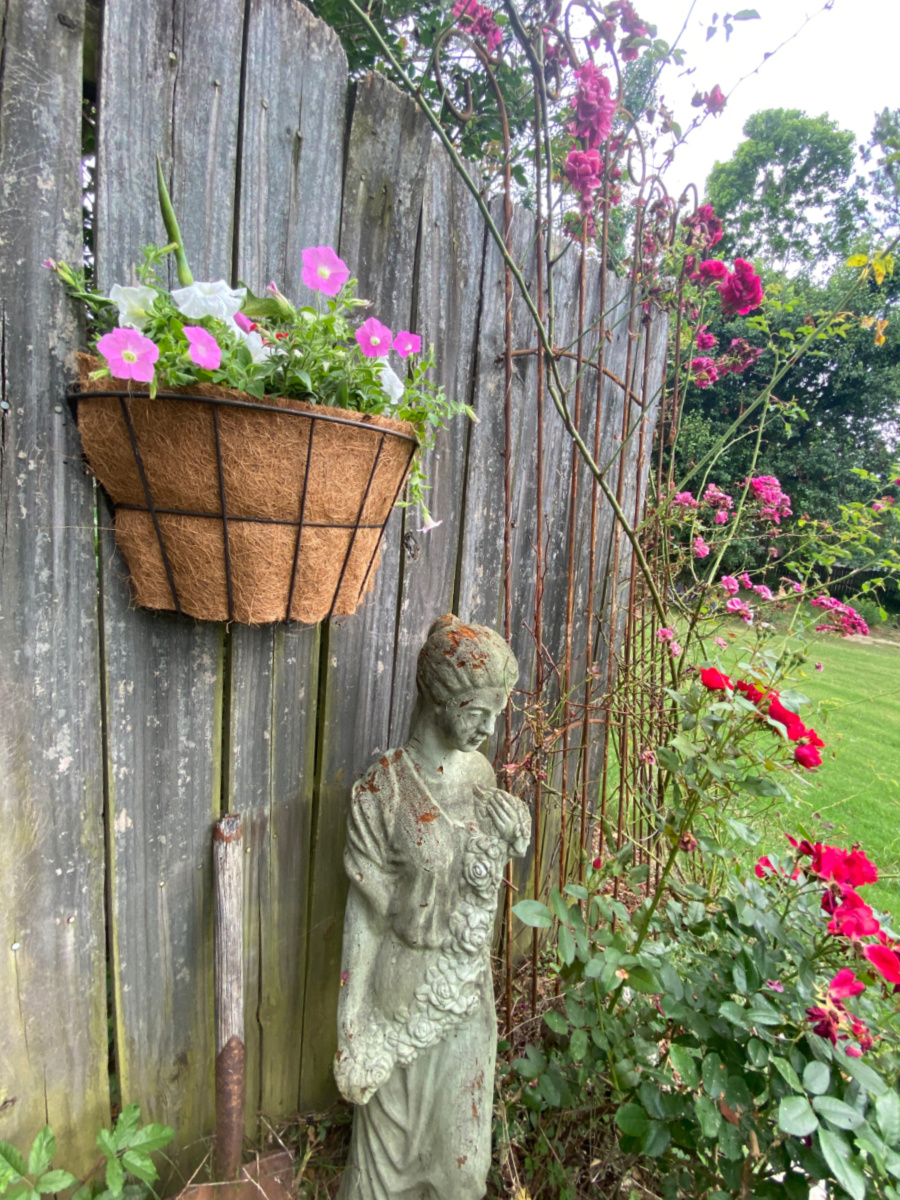
The area is coming along nicely. Can’t wait to add more garden hanging planters!
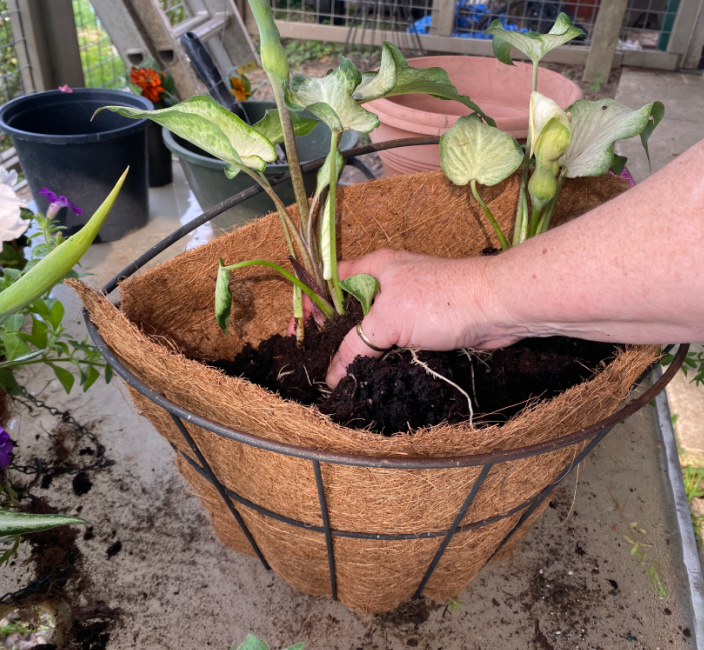
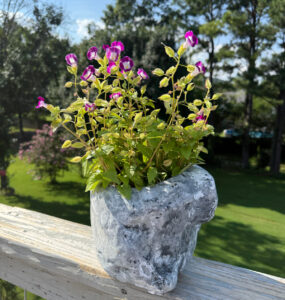
Here is a sneak peek of one of the Paris planters in progress…
Is it wrong to want to spend all day in the garden?

Thrift Store Candle Holder Makeover
Turn A File Cabinet Into a Planter


Your garden area is just oozing with cottage charm. Love the idea of cutting your own liner. I never thought of that. I have several that i should do this to. Such a great idea. I can’t wait to see your plats soon spilling over in color!
Thanks Christy! Exhibiting the patience is the hardest part.
Your refreshed planters are so pretty Sue! It’s crazy how much they charge for them at the stores. I have some old hanging wire ones sitting in our shed that need a little refresh, great idea!
So much more affordable! Now if I can only limit to buying what I actually NEED!
Sue–what awesome new planters you have made! I don’t generally do a lot of gardening with flowers, but I’m trying to spruce up the Hideaway. Terry just filled me in last week on the Thriller, Spiller, Filler method. I had no idea!
Pinned your great ideas!
gail
Thanks, Gail! Beware, it’s addicting!