DIY A Mannequin Head With Decoupage
As an Amazon Associate and member of other affiliate programs, I earn from qualifying purchases.
I am always intrigued when I see a Styrofoam mannequin head on the thrift store shelves. There are so many possibilities for these items. So when I saw this one for just 50 cents, she came home with me.
Scattered Memories
Along with the creative repurpose ideas, these little mannequin heads remind me of my mom. One particular memory comes to mind. Here is a story of my mom and a wig as told by Pop (my dad) . . .
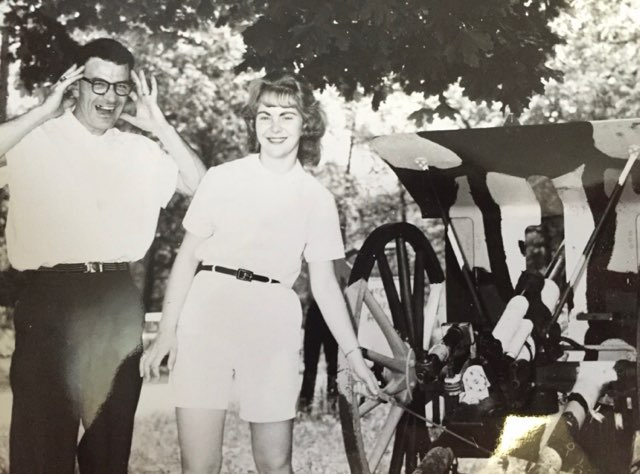
It was a weekend night at the bowling alley somewhere in Philadelphia circa 1960. Pop loved all sports and would often take my mom to the bowling alley on double dates with other couples. One night, back in the 60’s and I assume before they were married, Mom got all dolled up, donned a cute bobbed wig, grabbed her gear, and went bowling with Pop,

They went quite frequently, so, they each had their own bowling balls, bags, and shoes. I remember seeing those supplies in our spare bedroom closet when I was a kid. Even back then, I loved to rummage through closets. I was amazed with the discovery of new things and always had lots of questions.
Anyway, on this night, there was some beer involved mostly on Pop’s end as Mom wasn’t much of a drinker. As Pop told the story, Mom was more of a beginner bowler but she did well. On this night, she had her ball and was preparing to release it down the lane when she slipped and fell. The ball bounced loudly but not as remarkably as her wig did when it fell off of her head as she landed on the slick wooden floor.
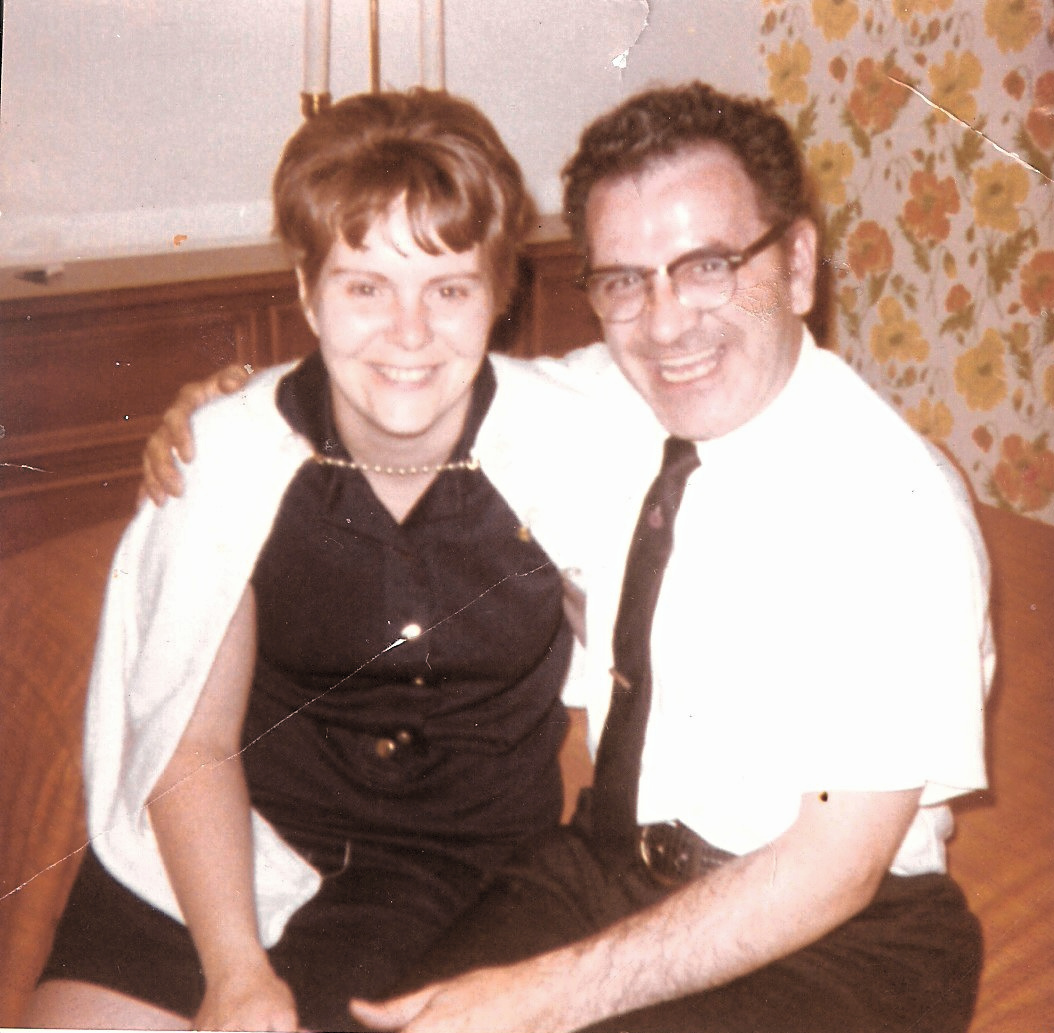
Now, they say opposites attract. And that is true for my mom and dad.
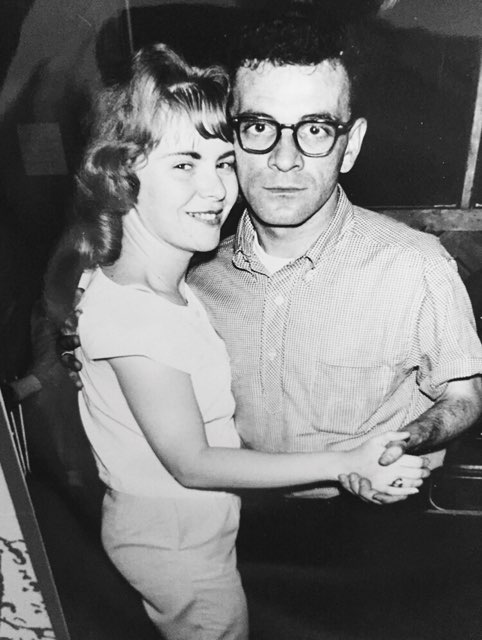
Pop was always the life of the party. He was at his best in the center of the room. He would say hello to everyone, everywhere, every time. Mom, not so much. She was friendly but very shy and she was very nervous around new people. So, imagine her horror as her feet come out from under her. The horror was only magnified as that wig left her head. And then, I am certain, Pop could not control his laughter. And if you knew Pop, you know how contagious his laugh was, Poor Mom.
Though her embarrassment would return every time she told the story, it always ended with a smirk, a smile, and a laugh. “I was mortified,” she would say with a pained look. “I could have killed your father,” was always the next sentence. And then she would roll her eyes as she did. Then a shake of her head and she would laugh. “That man!” Always with a laugh.
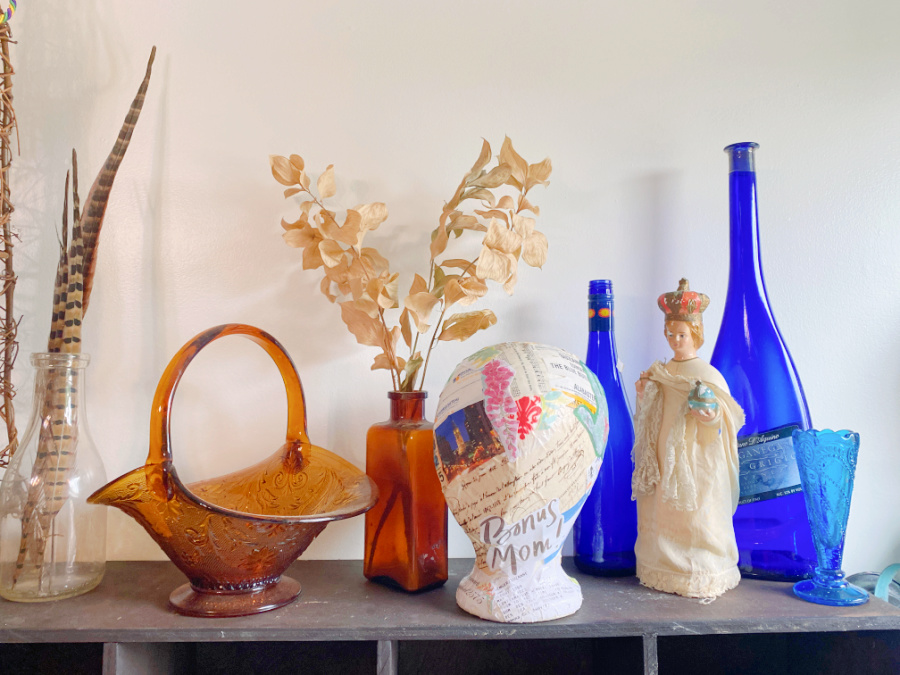
So, I decided to decoupage this mannequin head with some sweet nostalgic memoirs. My home is filled with memories of family and friends. There is nothing like catching a glimpse of an item that brings back fond memories. This project will sit on a shelf above my work area in my office.

This project is part of this month’s Thrift Store Decor Team projects. Yes! It is the second Wednesday of the month. You know what that means! At the end of this post, you will find a fabulous selection of thrifty, repurposed, and creative projects from our talented team.
Now, on with the project!
How to Decoupage a Mannequin Head
Mannequin heads come in all types of shapes, sizes, and materials. The most economically prices are the styrofoam heads. These were designed to display wigs and can be found used in thrift stores or purchased new from manufacturers and beauty supply stores.
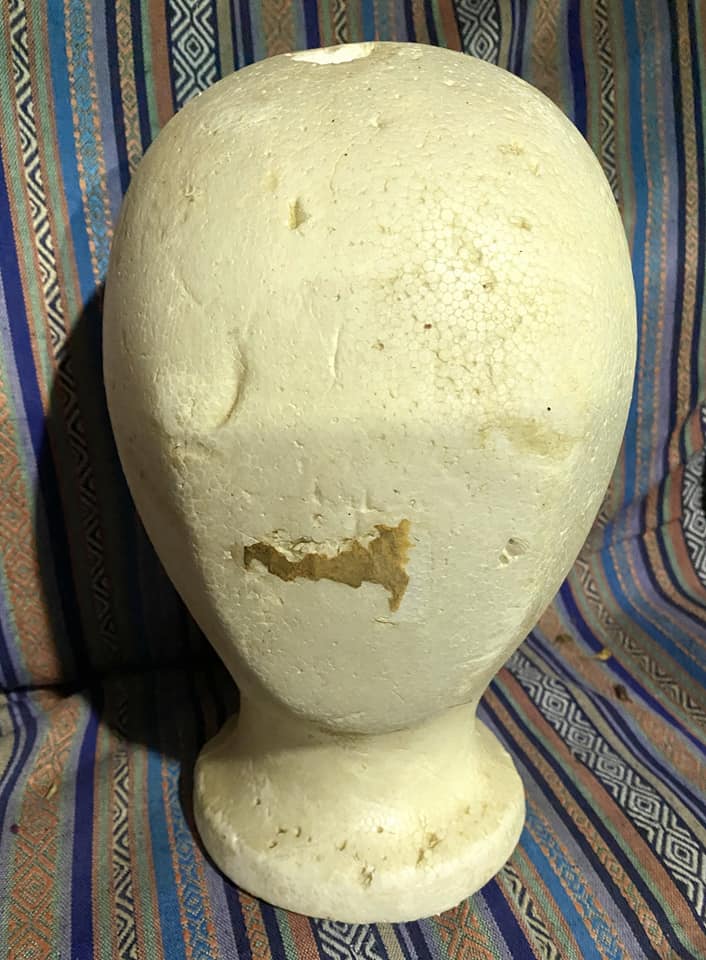
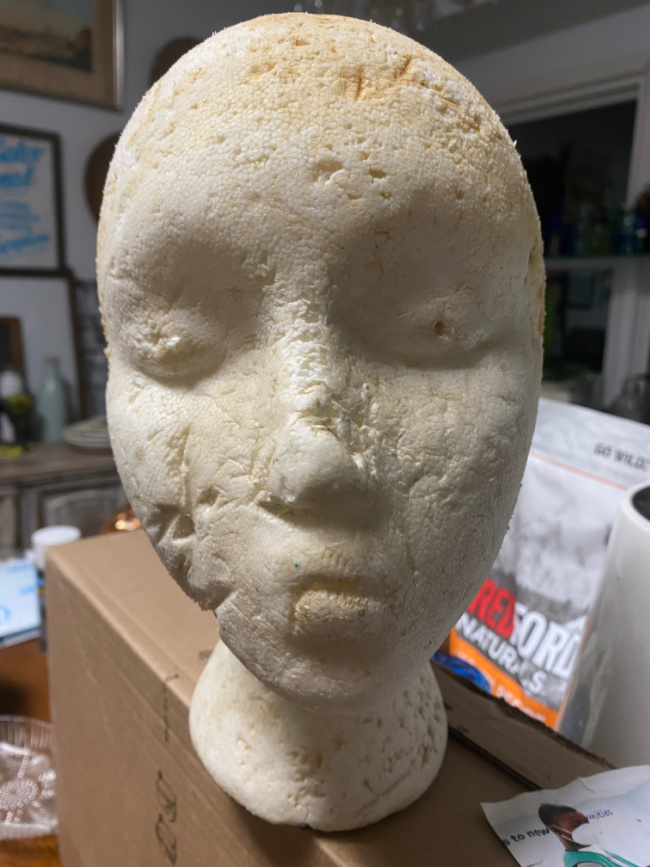
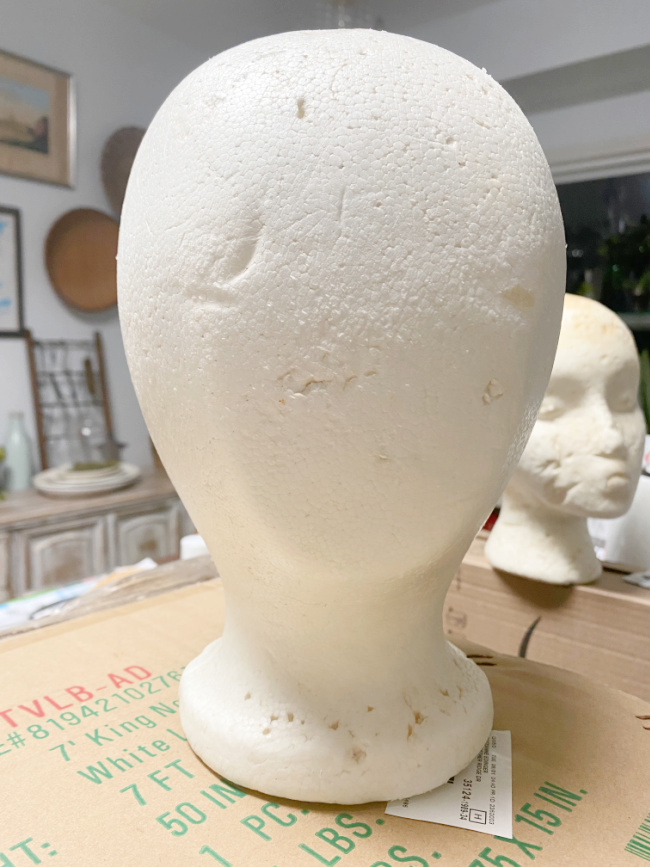
The mannequin head that I am using in this project is styrofoam and does not have any facial features. I found this other one with facial features that I will save for another project. For this project though, I don’t think the facial features will be as noticeable because of the variety of textures and colors I will use to decoupage the surface. I will save this more detailed mannequin head to decoupage or paint in monochrome. She’s pretty cool though, right?
I gave the mannequin head a gentle cleaning with warm soapy water to make sure she was clean. She had some dust and dirt on the surface. It is important to have a clean surface when you decoupage an item. Be sure to use just warm water as hot water could affect the integrity of the styrofoam. When purchasing from a thrift store, you really don’t know the age or history of an item and older styrofoam can be very delicate. So be gentle when you clean your mannequin head. Here she is all cleaned up and ready for her makeover.
Decoupage Medium
My preferred decoupage medium is a product called Mod Podge which is made by Plaid Paints.
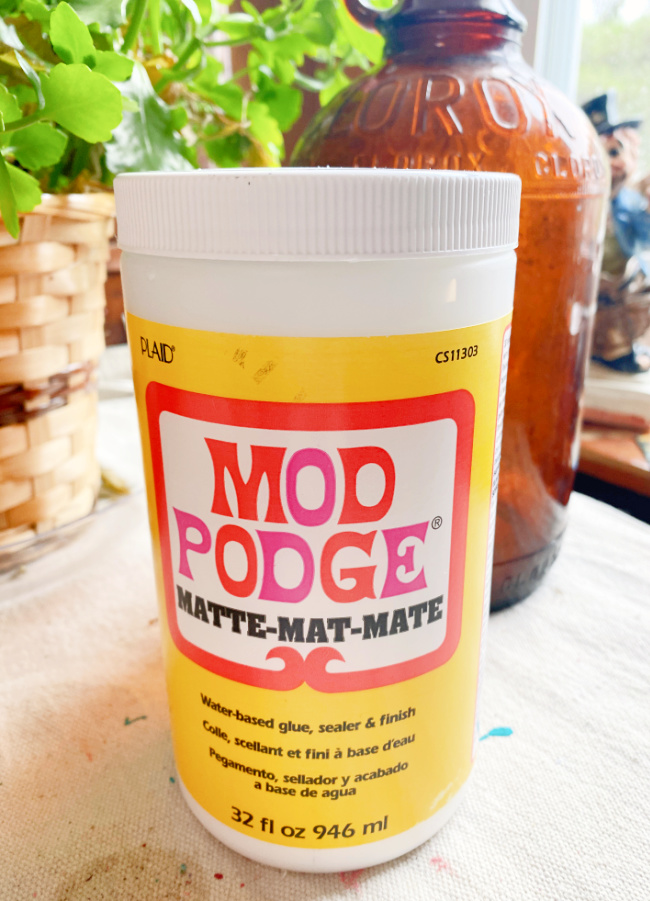
You can buy Mod Podge at Walmart, local craft stores and online. It’s a safe product and super easy to use. It is essentially a self sealing glue used to apply and seal fabrics, paper, and many other mediums.
Here are a few past projects using Mod Podge:

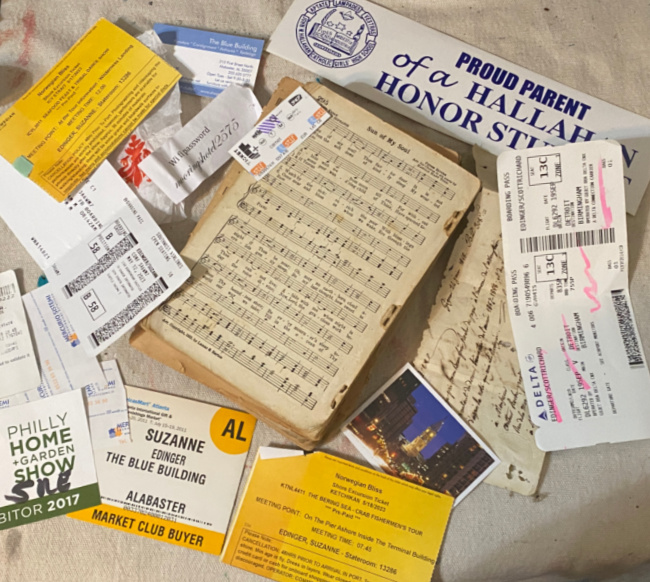
I gathered a variety of memorabilia to decoupage onto my mannequin head with Mod Podge. I grabbed items that I brought home from travel, greeting cards and notes from special friends, artwork from my grandson, and a handprint from one of my sons just to name a few.
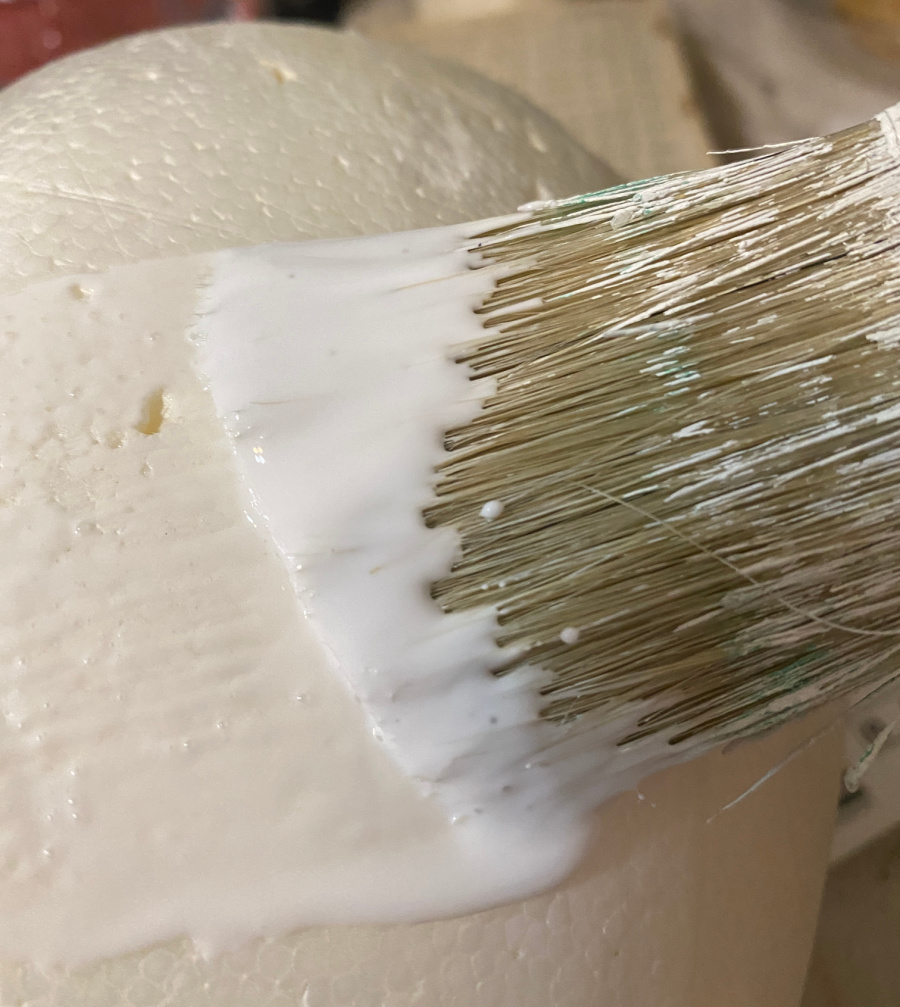
Using a paintbrush, brush a liberal amount of Mod Podge onto the mannequin head. Work in one small area (about a 2-3 inches square).
Lay your item onto the mod podge and gently smooth it onto the Mod Podge with your fingers or the brush.
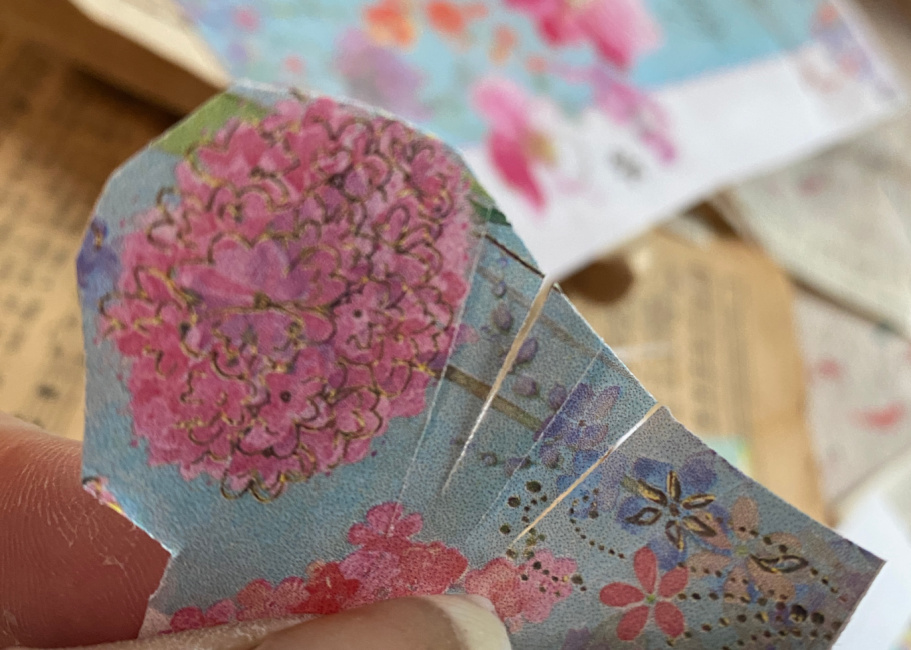
Be careful on curved surfaces, like this mannequin head, that you cut small slices in your paper to help the paper fit the curved surface.
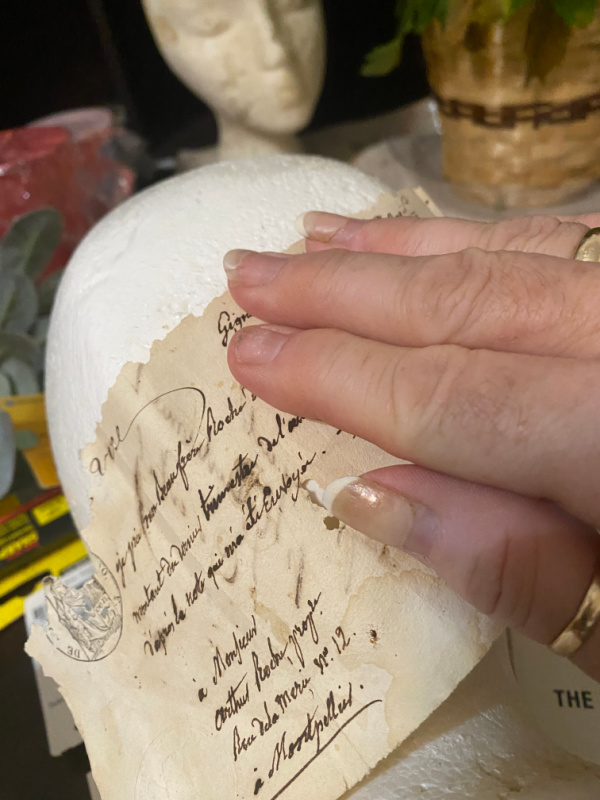
Lay your paper onto the Mod Podge.
Smooth with your fingers or the brush.
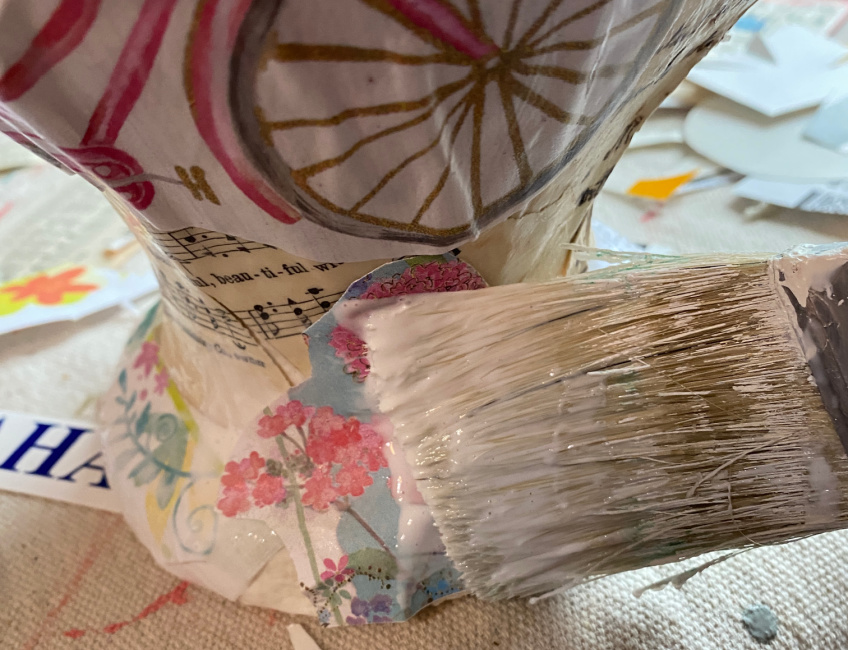
Apply a liberal coat of Mod Podge over your paper to seal. Use your brush to smooth or tap the paper into place and to remove any wrinkles. Be careful. As your paper gets wetter, it will tear more easily. I usually tap with the brush to avoid ripping the paper.
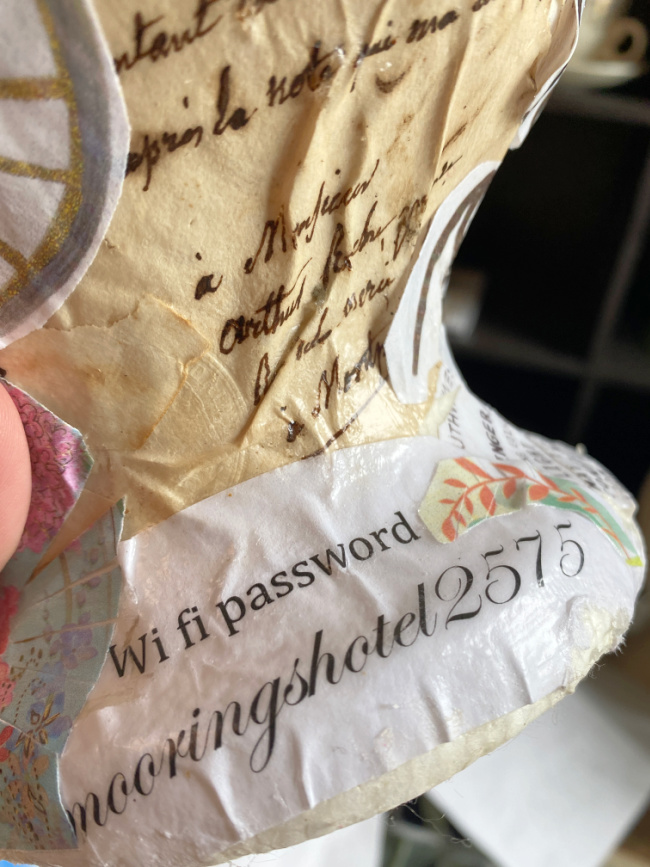
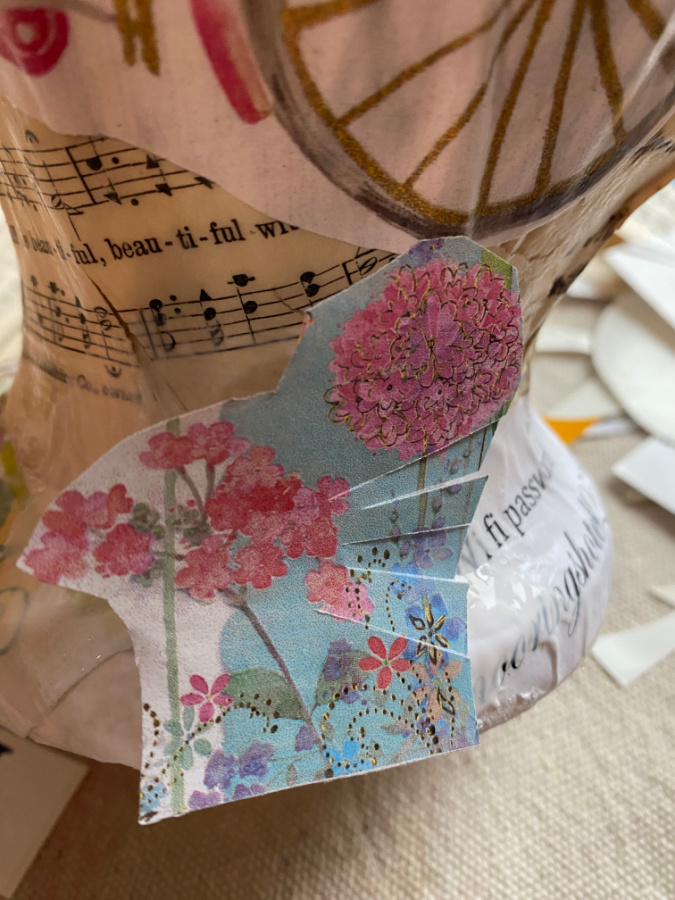
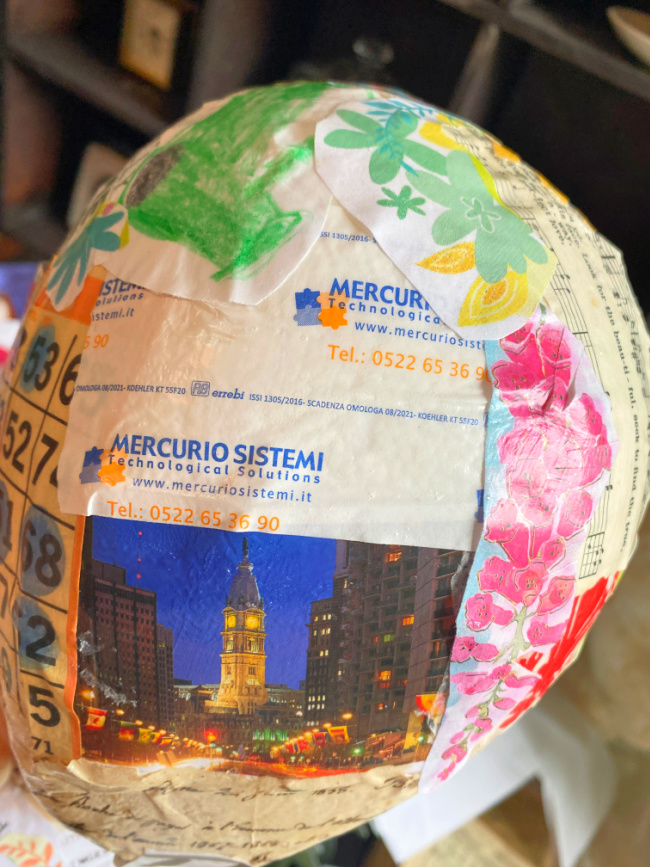
Add paper/items overlapping edges. Add one piece at a time. Like this wifi password note from a lovely villa where we stayed in Tuscany.
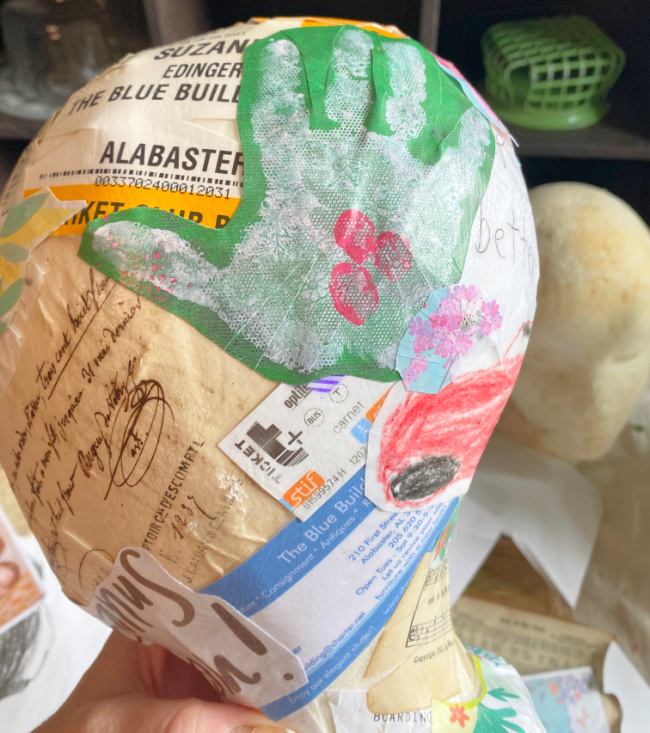
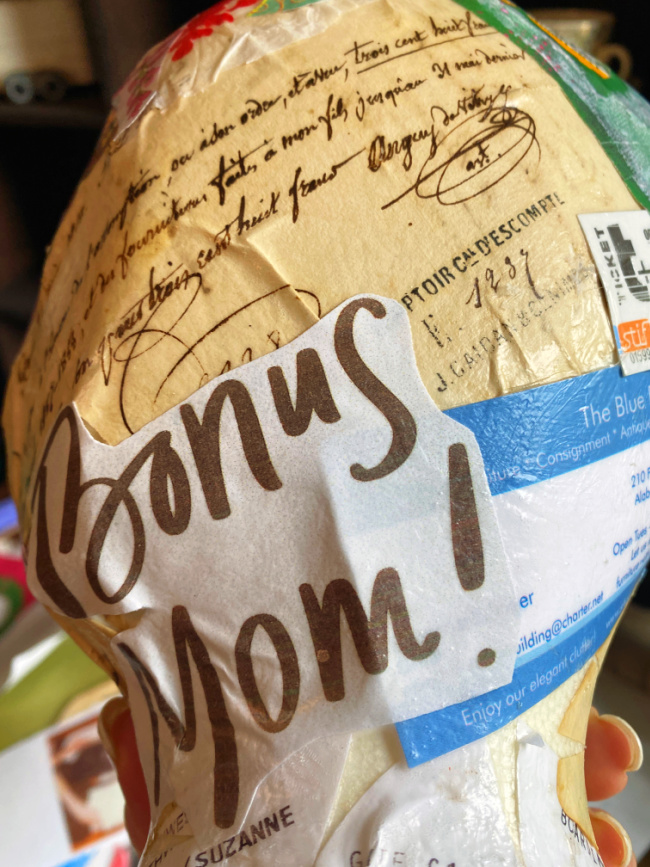
I added a French letter from a trip to Paris, a business card from my antiques store, several tickets from the Italian railway and subway lines, old sheet music, one of my son’s handprints from when he was a toddler, and my badge from the Atlanta’s Buyers Market.
How about birthday cards from special friends, a race car drawn by my grandson, a winning bingo card, and the seal from my Alma Mater.
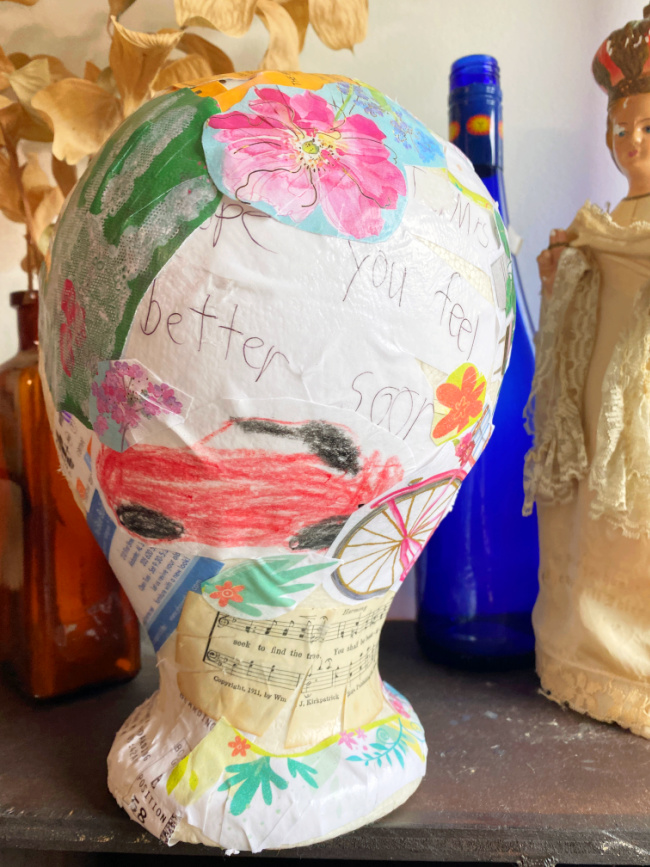
Last year, when I broke my ankle, my neighbor’s grandson made me a sweet card. I had to add that to my collection. It always makes me smile big…just like Grayson make’s me smile big.
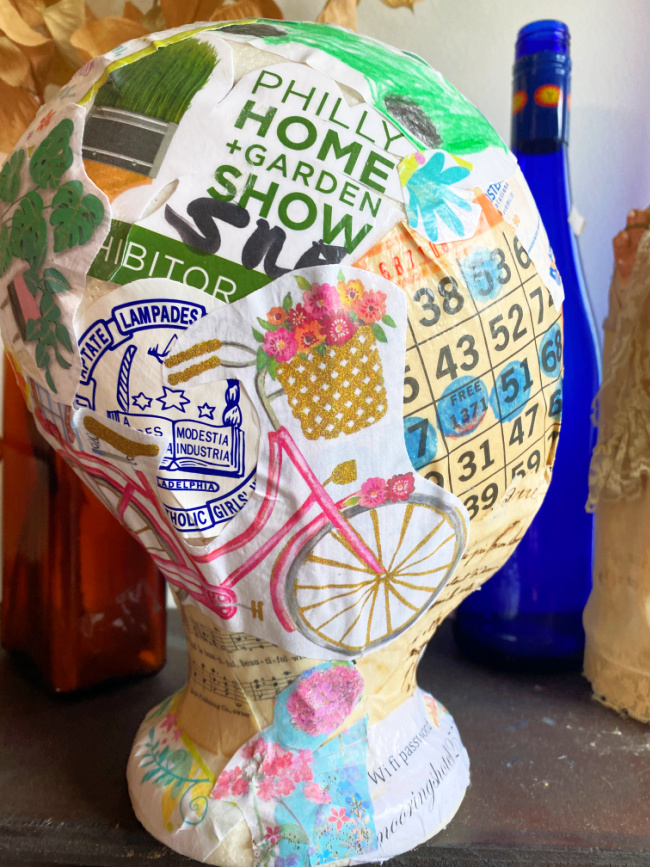
Keep adding until your surface is filled. I added small flowers from cards and sheet music to fill any gaps.
I even added a tiny postcard from my hometown.
So many happy memories gathered in one place!
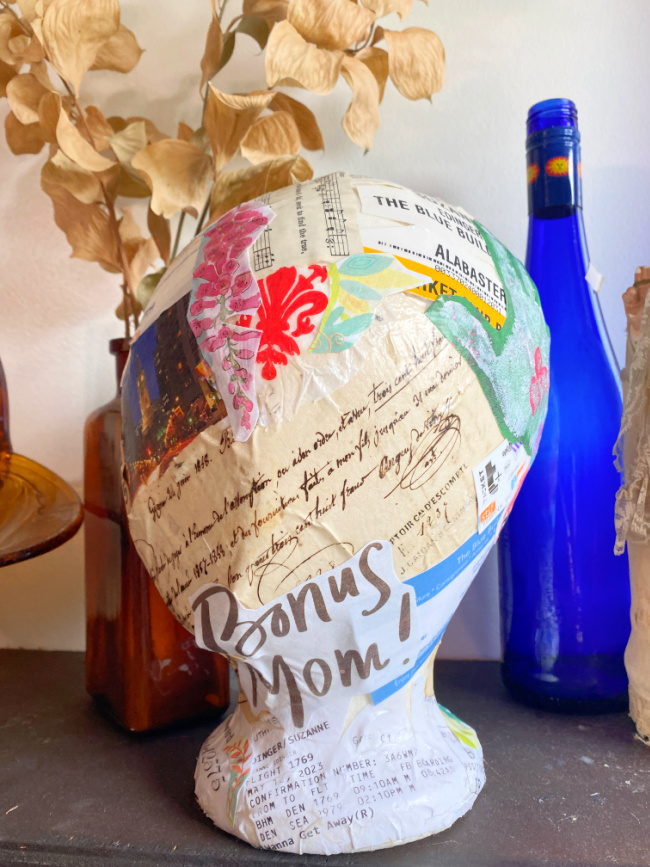
Simply turn her in different directions to see more memories!
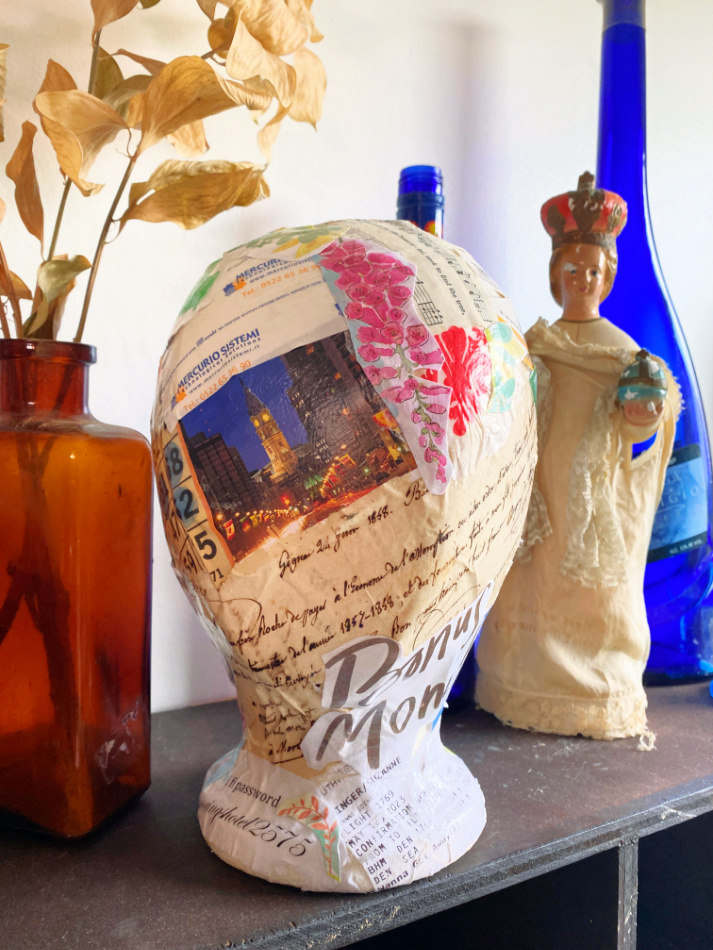
A quarter turn gets you a whole new set of memories.
Isn’t that what life is all about? Collecting and reliving those memories!

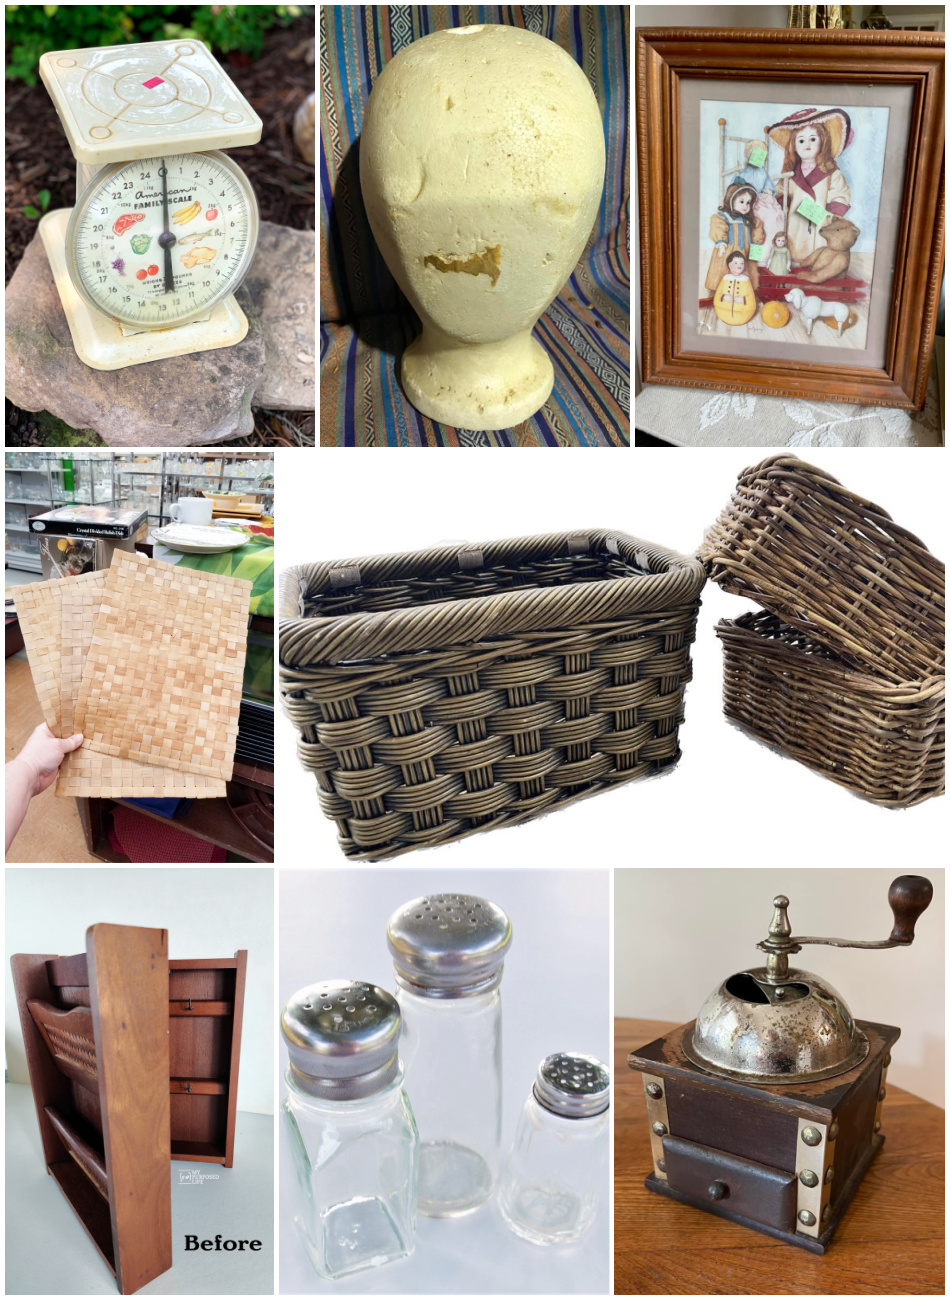
Vintage Scale Repurpose House of Hawthornes
Decoupaged Mannequin Head Shop At Blu
DIY Halloween Art Our Southern Home
Botanical Prints on Woven Mats Sadie Seasongoods
Update wicker baskets with paint to look like natural rattan My Uncommon Slice of Suburbia
Key Cabinet|Easy Makeover My Repurposed Life
DIY Sea Glass Bottles Petticoat Junktion
Thrifted Coffee Grinder Makeover Organized Clutter