Customize your Pumpkins!
As an Amazon Associate and member of other affiliate programs, I earn from qualifying purchases.
Nothing screams October and fall holidays like a bright orange pumpkin. But what if orange isn’t your color? Are you a neutral fan? Or do you like subtle patterns? Here’s my answer to how to customize your pumpkins for your decor…whatever color or pattern you desire!
It’s Thrift Store Decor Team Wednesday!
You know what that means! The team has 8 wonderful new upcycled projects for you this month and you can link to them all at the end of this post.

Gather Your Pumpkins
I found some pumpkins in various sizes at the Dollar Tree.
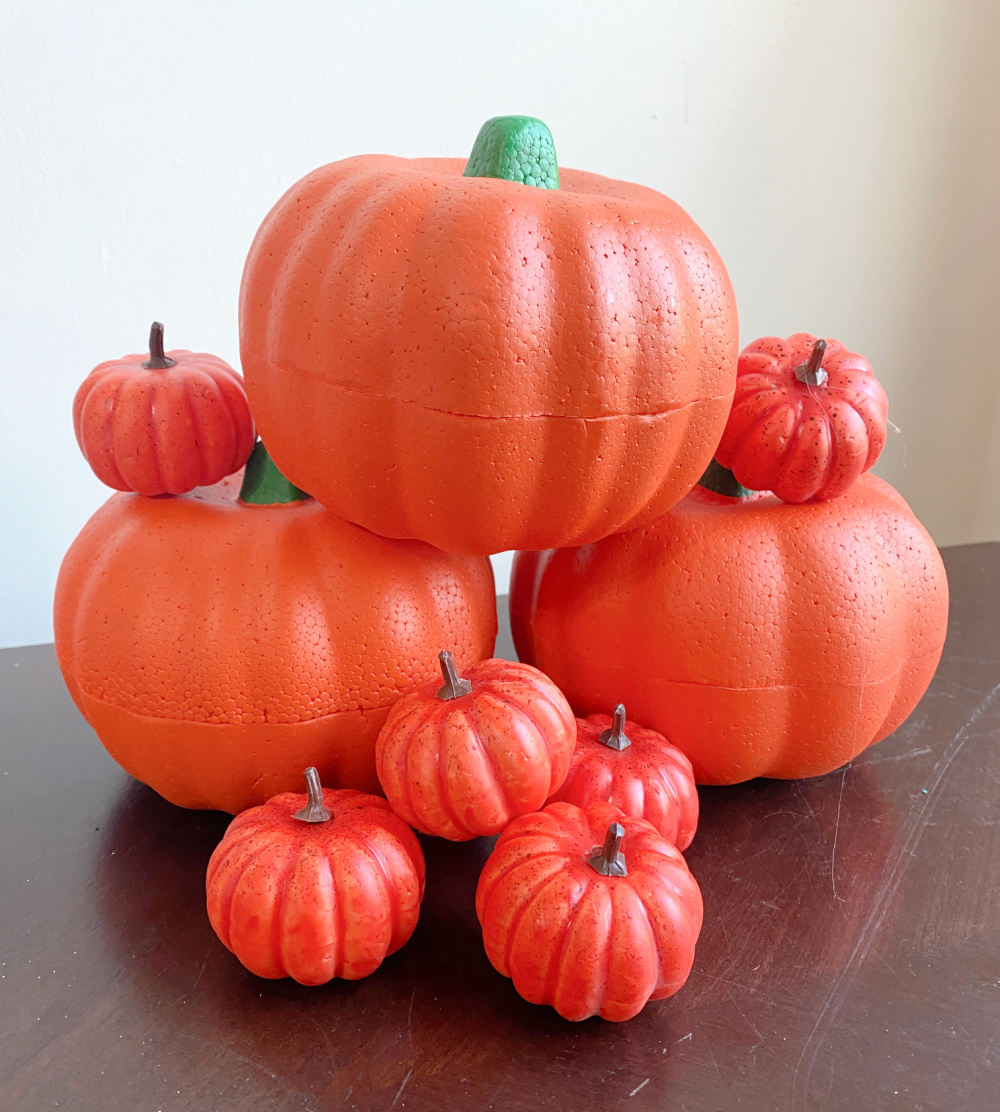
I also had some pumpkins from last year that I added to the collection for this project. Any smooth surfaced pumpkin will work.
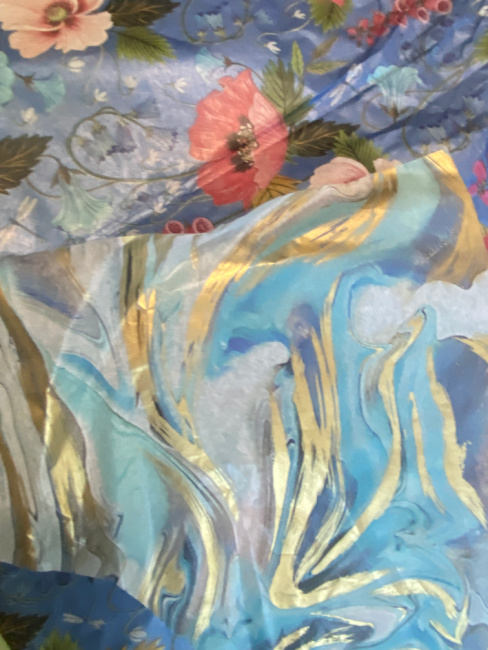
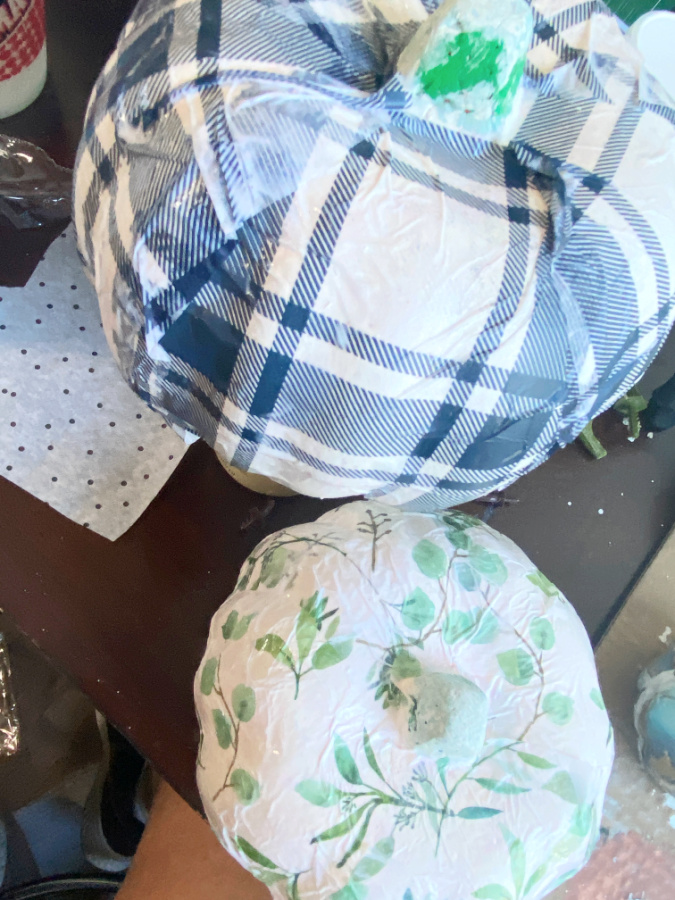
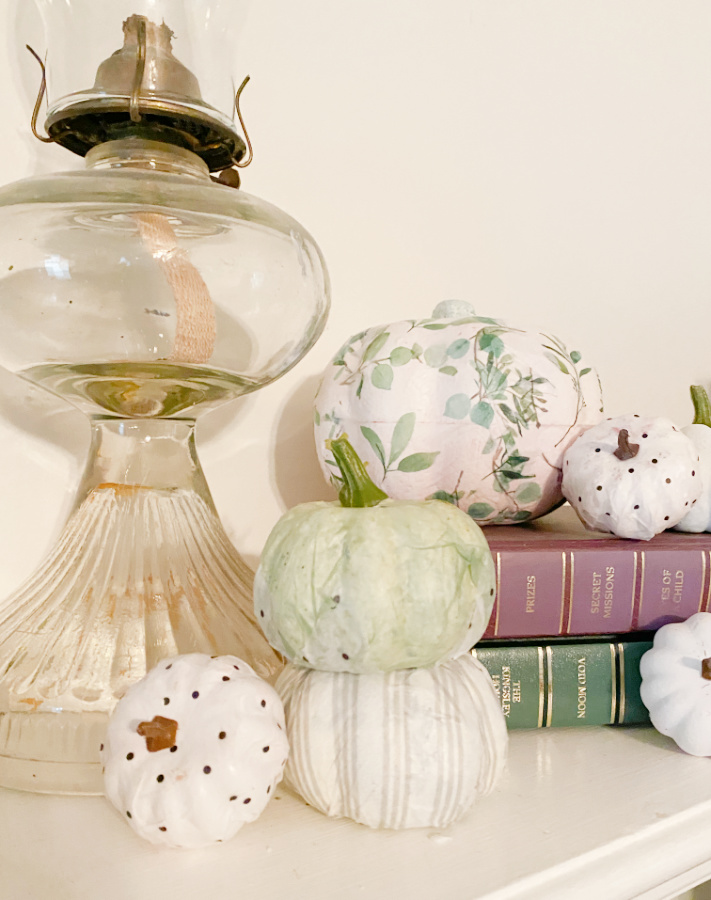
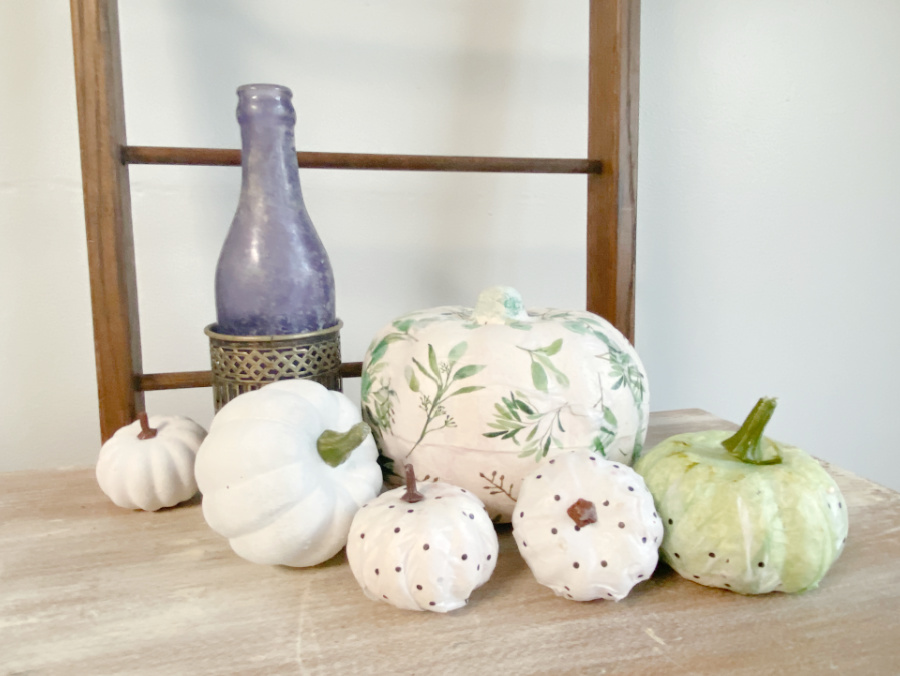
Dollar Tree also has some patterned tissue paper. Of course I needed the blue but I grabbed this sweet green set as well. See the polka dots and the stripes? Perfect!

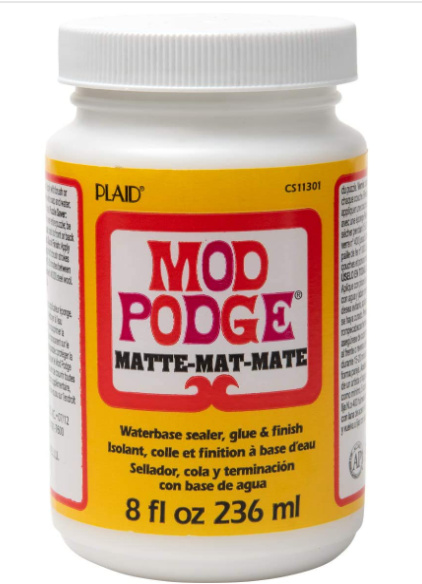
Time to Mod Podge!
Mod Podge, if you aren’t familiar, is a wonderful craft product. It’s a glue, finish, and sealer all in one. It comes in a variety of finishes and can be used on many mediums including paper, wood, and metal. This is definitely one of my favorite crafting supplies.
Here are a few other projects where I used Mod Podge:
Select Your Paper to Customize Your Pumpkins
When using tissue paper, remember that it (especially the cheaper quality dollar store variety) is super thin and will rip and tear very easily. You may want a heavier tissue paper or a thin writing paper or even some gift wrap. Practice first on a rounded surface with your selected paper.
Prep Your Surface
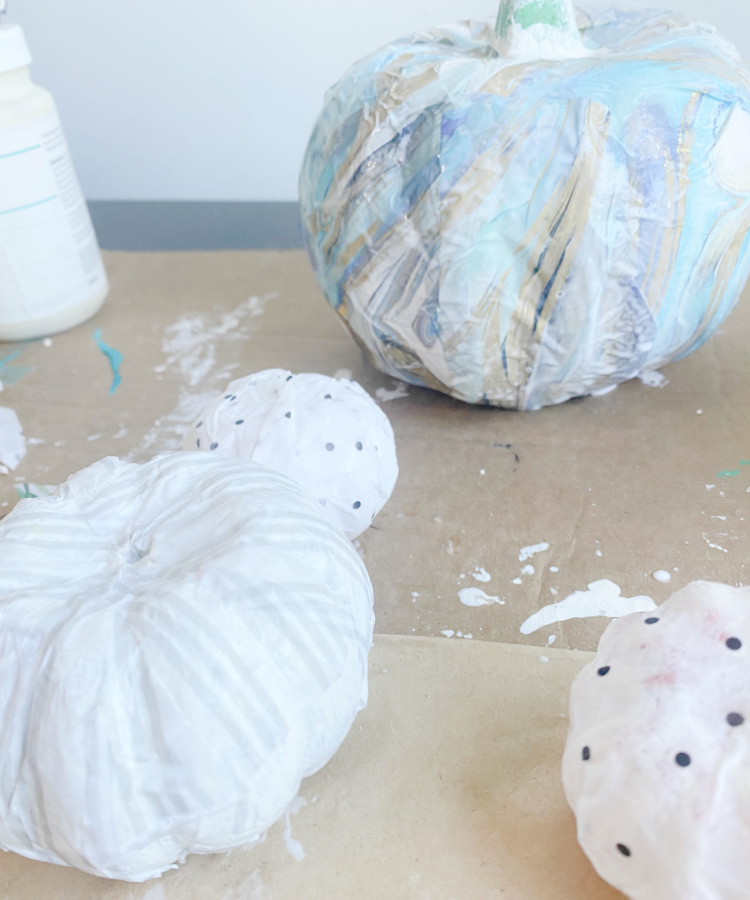
I always start with a fresh coat of white paint on the pumpkins. This provides a light base for the decoupage paper. With a white base, the paper’s true colors will be evident. If you decoupage with thin and light colored tissue paper over the orange color of the pumpkin, there is a good chance that the bold orange will be seen beneath the paper. If you look closely at a few of my white decoupaged pumpkins, you can see some of the orange peeking through the second coat. These could have used an additional base coat.
I brushed on 2 coats of white chalk paint to ensure the orange was adequately covered. Allow the paint to dry completely.
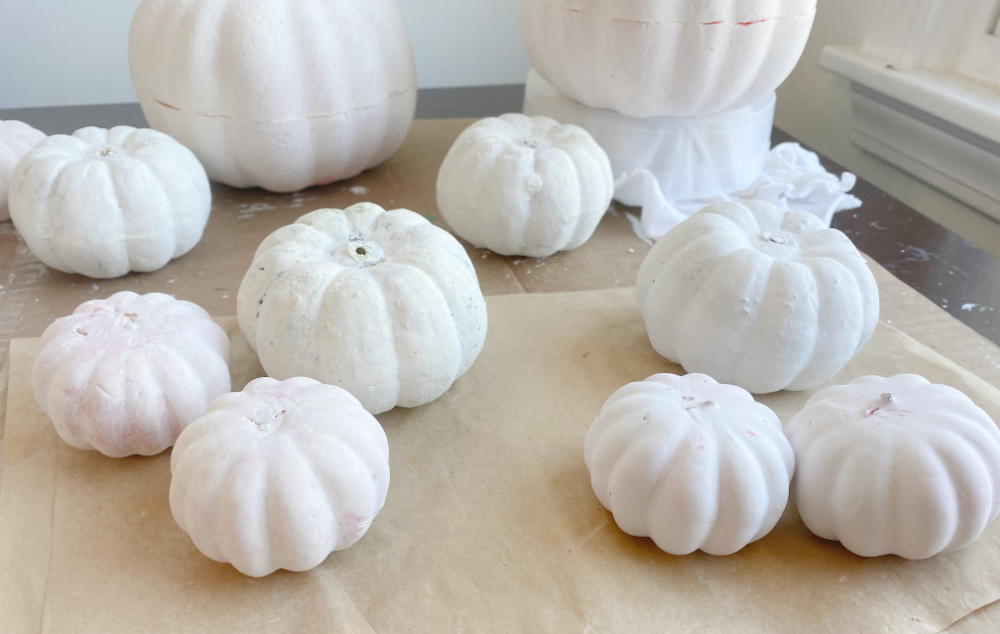
You could also use spray paint on the pumpkins for the white base coat. I did spray paint a few pumpkins using Rustoleum 2X white with primer. These only needed one coat as the 2X has incredible coverage. I allowed these to dry thoroughly as well. These took a little longer to dry than the hand painted pumpkins but since they only needed one coat, the process time was about the same. The spray painted pumpkins are on the right in the above photo.
Since the pumpkins are round, I cut the paper into a rectangular shape with rounded edges. They are really sort of petal shaped. This keeps excess paper from bunching up on the pumpkin. If you have a busy pattern, the bunching is not as noticeable. But for the plaid pattern, I wanted the pattern to be relatively true.
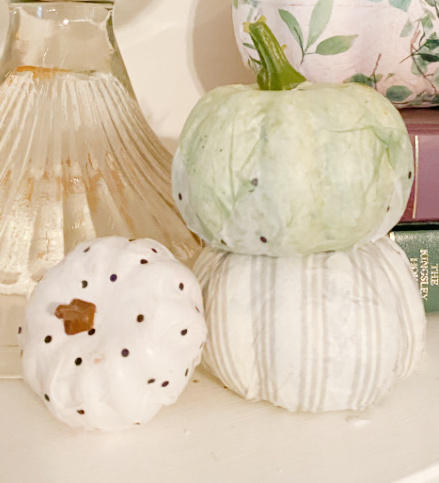
Here is a pumpkin with petal shaped paper.
You really should practice a few times just to see what works for you. The smaller the paper you use to decoupage, the less wrinkles you will see. You can see a few decent wrinkles and buckles in the paper on the larger pumpkins. I used large pieces of tissue paper on these and wrapped them around the pumpkins. Thus, the paper was more difficult to smooth out.
Next time I’d use smaller pieces of paper maybe 2 inches by 2 inches square. Practice makes perfect. But, realistically, no one will notice the imperfections from a distance. I mean, these pumpkins will be sitting on a shelf or table as decor. So they will be enjoyed from afar. Nonetheless, smaller pieces of paper are easier to work with.
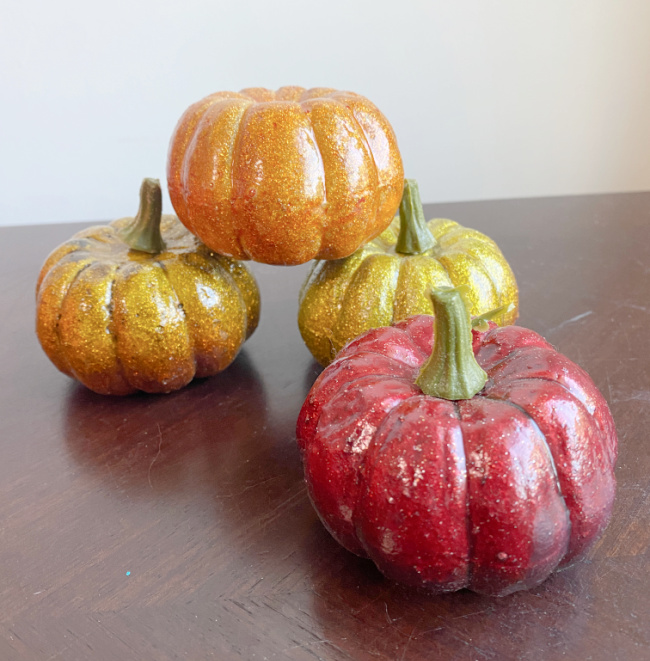
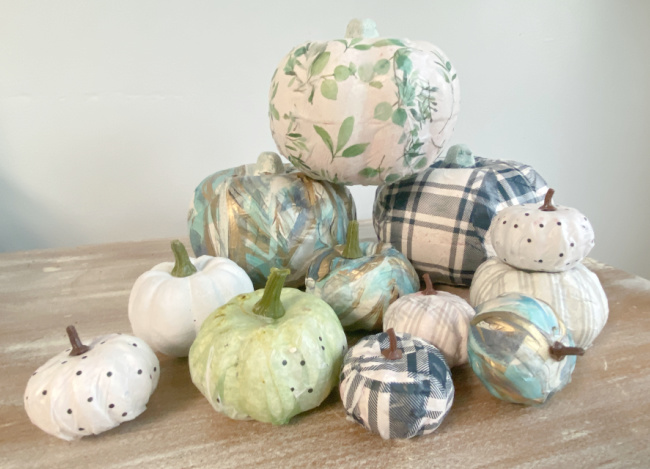
I used a variety of paper and colors that were pretty much complimentary. I planned to scatter these pumpkins throughout the house so these colors and patterns all worked for my decor.
Technique
Basically, you paint the Mod Podge onto your pumpkin with a brush. Then lay your paper over the Mod Podge. Load your brush with more Mod Podge and coat the paper. Use the brush, not your fingers, to smooth the paper and remove bumps, air bubbles and wrinkles. Be mindful that thinner paper tears easily, as I stated earlier.
Once you have covered your pumpkin with paper and have the desired effect, set it aside to dry.
Tip: Line your work surface with wax paper or allow your pumpkins to dry on a slick surface. Maybe even spray a cookie sheet with cooking oil. A few of my pumpkins were stuck to the cardboard that I used as my work space to protect my desk. When I pulled them up, some of the paper ripped and I had to touch up these spots. Be smart…don’t put set paper covered pumpkins on cardboard to dry.
And here they are!
I used a matte Mod Podge because that’s what I had on hand. I would suggest using a glossy finish. It will give the finished pumpkins a little more substance.
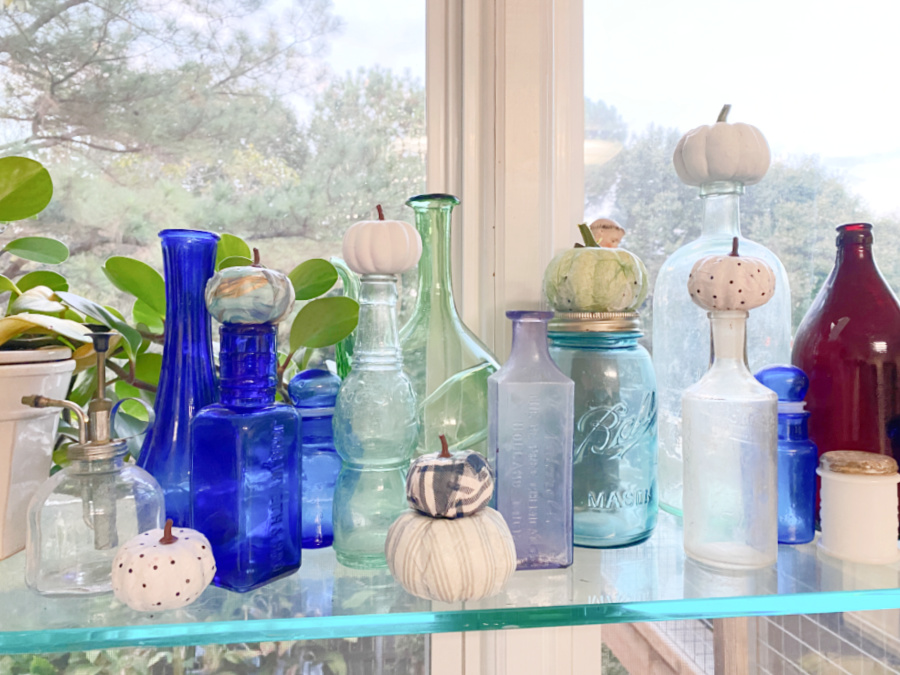
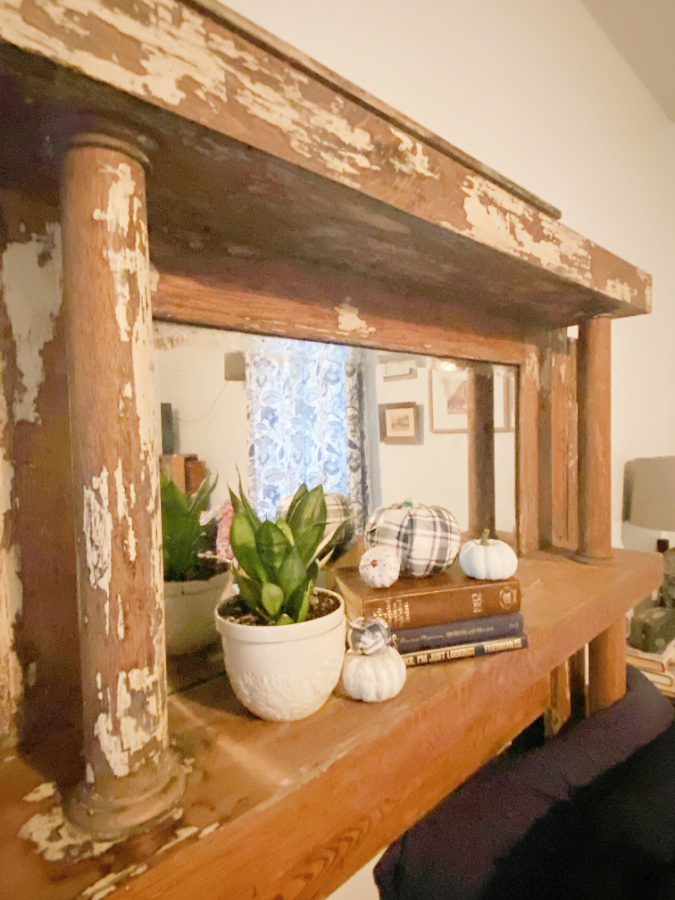
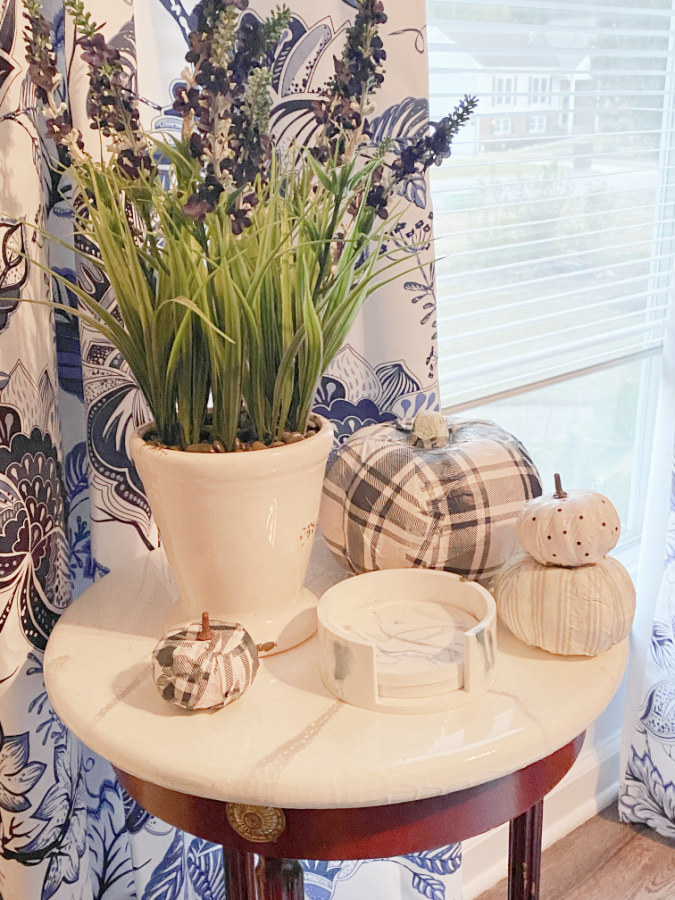
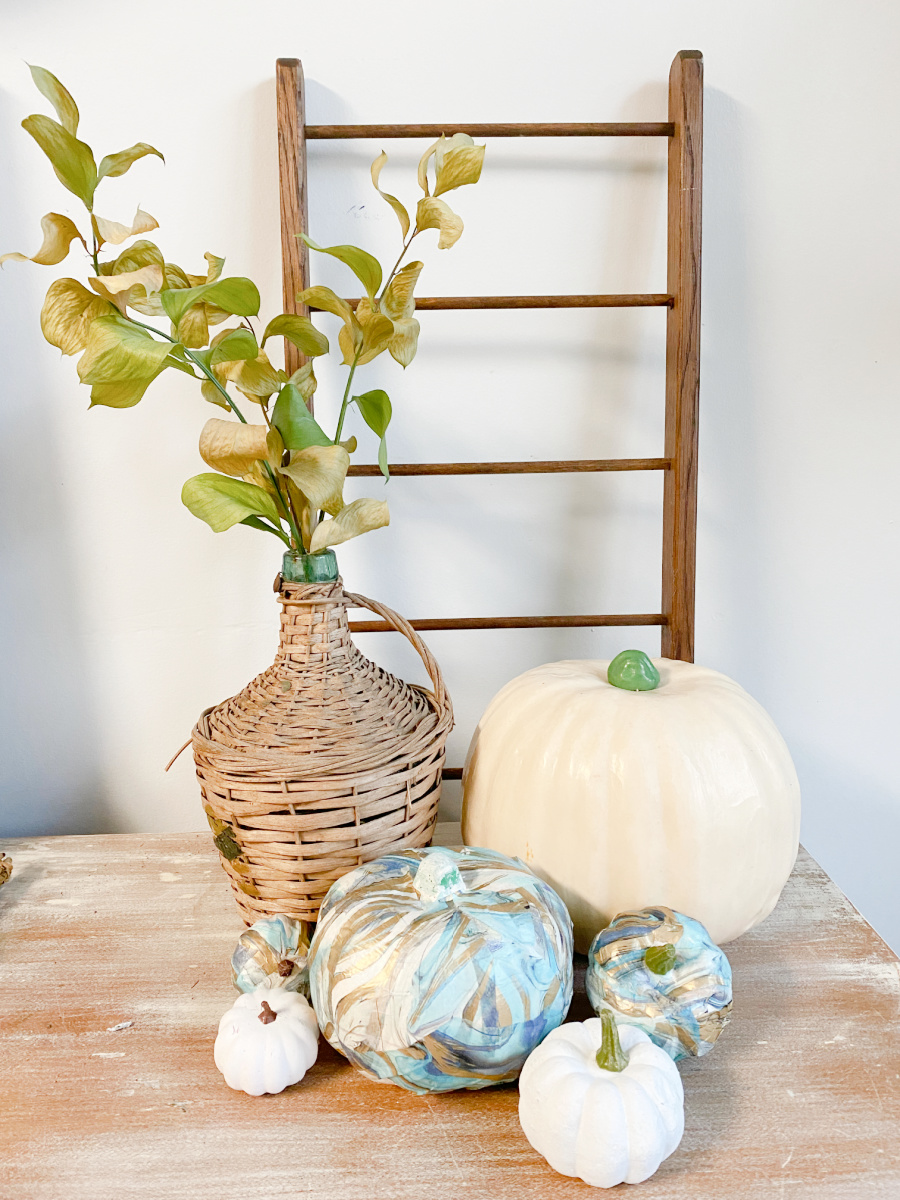
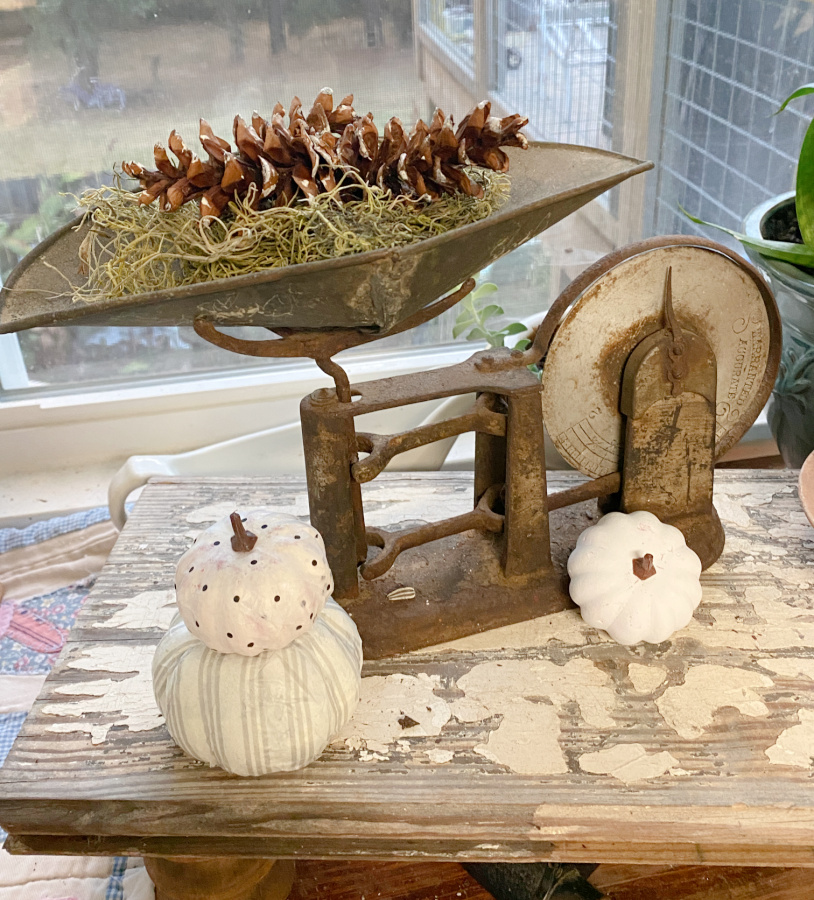
Where will you scatter your pumpkins?
As promised, here are the projects from my dear friends on the Thrift Store Decor Team! Enjoy!
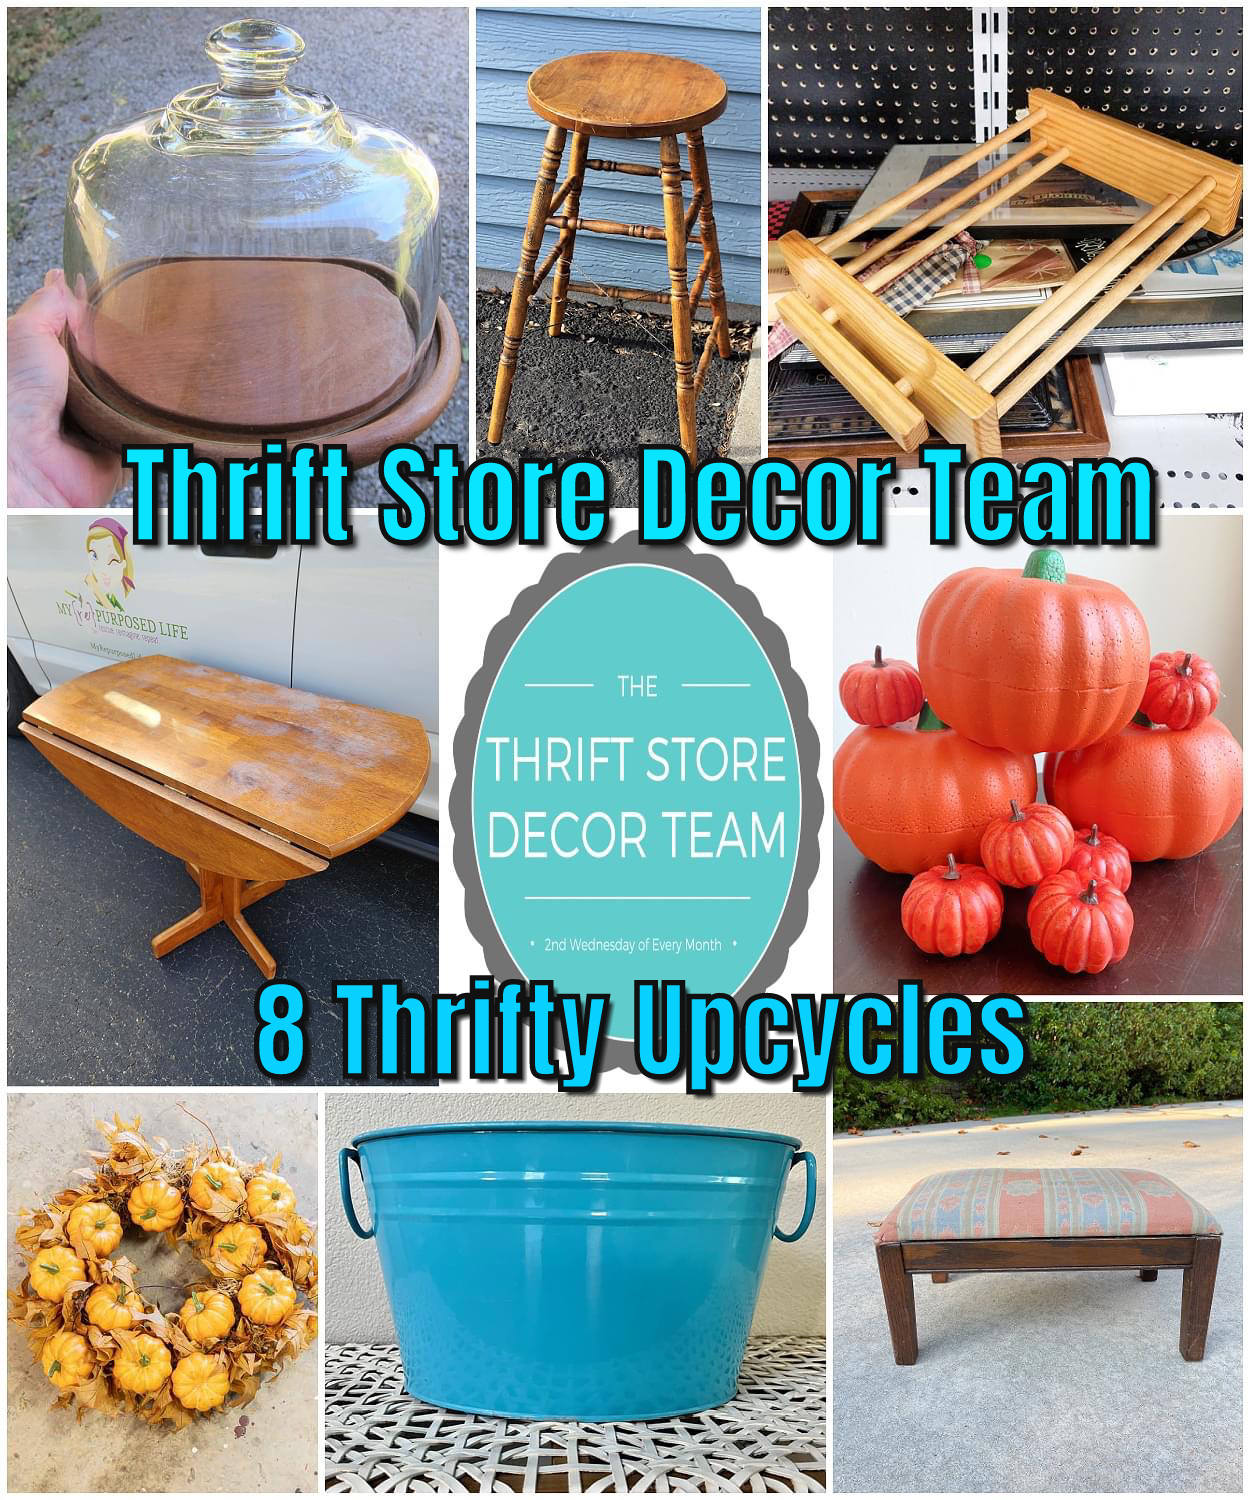
Drop Leaf Table Makeover – My Repurposed Life
DIY Multi-Colored Mercury Glass – Petticoat Junktion
Wooden Stool Makeover With Oven Cleaner – Our Southern Home
Hello Fall Sign on a Casserole Dish Holder as a DIY Loom – Sadie Seasongoods
Personalized Beverage Tub – My Uncommon Slice of Suburbia
Broken Vintage Stool Makeover – Organized Clutter
The Easiest Thrift Store Wreath Makeover For Fall – Reinvented Delaware
Customize Your Pumpkins – Shop At Blu


these are adorable, I love how they turned out! The colors are just perfect for fall, awesome makeover
Thanks Kristin!!! Fall has finally arrived in Alabama!
These are adorable Sue! I especially love the one with the green leaves! Pinned😊
That’s my fav too! Shhh! I’m supposed to be a blue girl1
cute, cute, cute pumpkins!!! pinned!
gail
Thanks Gail! I’m finally feeling fall!
Oh gee Suzanne, they all turned out so cute! Pinned.
You are so kind! I need to make some more!