DIY Galvanized Metal Tub Shelves for the Garden
As an Amazon Associate and member of other affiliate programs, I earn from qualifying purchases.
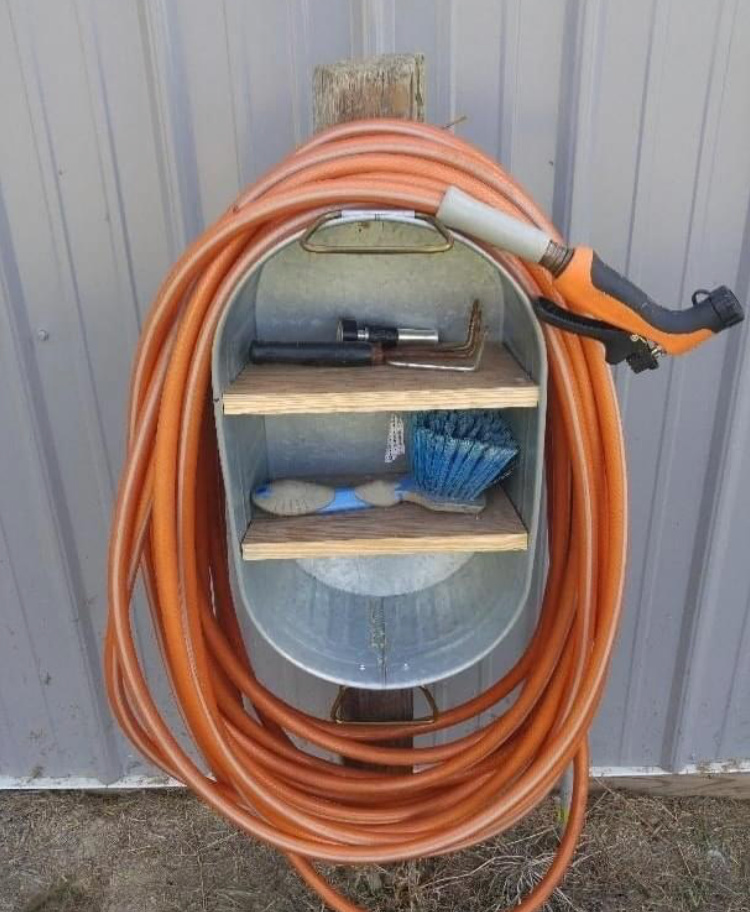
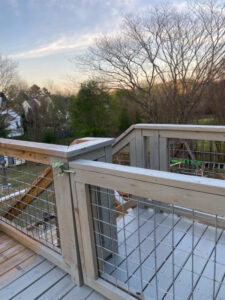
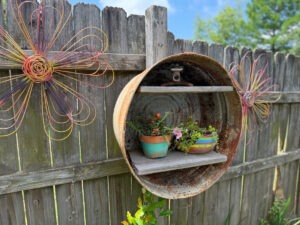
Last summer we replaced our deck so I’m on a mission to keep this lovely space organized. Under the deck, there are hose nozzles, garden tools, gloves, and gadgets all over the place. It’s time to organize the area and make things easier to find. I’m making a set of DIY galvanized metal tub shelves to keep my under deck patio and ensure that my garden area is clutter free! Here is my inspiration photo:

A few weeks ago, I broke my ankle. I wish I could say it was during a fabulous adventure like zip lining in Costa Rico or hiking the Appalachian Trail. But reality is that I missed the bottom step on our deck steps…in the dark…while barefooted. So my mobility has been limited which has resulted in a temporary stay of all deck and garden projects. I’m in a walking boot so maneuvering uneven grass and garden soil is simply not an option.
As a mom and entrepreneur, I am nothing if not versatile. So, I am focusing on projects that I can do in a more stationary manner. Now that I only have a few days left in this walking boot, my mobility is better so I’m venturing outside for this project but staying on level ground!
Guess what day it is??! It’s Thrift Store Decor Team Wednesday! You know what that means!!! At the end of this post are links to the team’s fabulous thrifty makeovers for this month! Remember to click through to see the wonderful projects! Now, let’s get to making those galvanized metal tub shelves for the garden!
Supplies
Here are the supplies you will need for this project.
- Galvanized tub
- Scrap wood for shelving
- Drill bits, screws, and cordless drill
- Measuring tape and sharpie
- Rubber mallet or hammer
- jigsaw
- cardboard
- sandpaper or electric sander
- poster board or cardboard in estimated length and depth of shelves
- paint and sealer
- paint brush
- MinWax Special Walnut stain
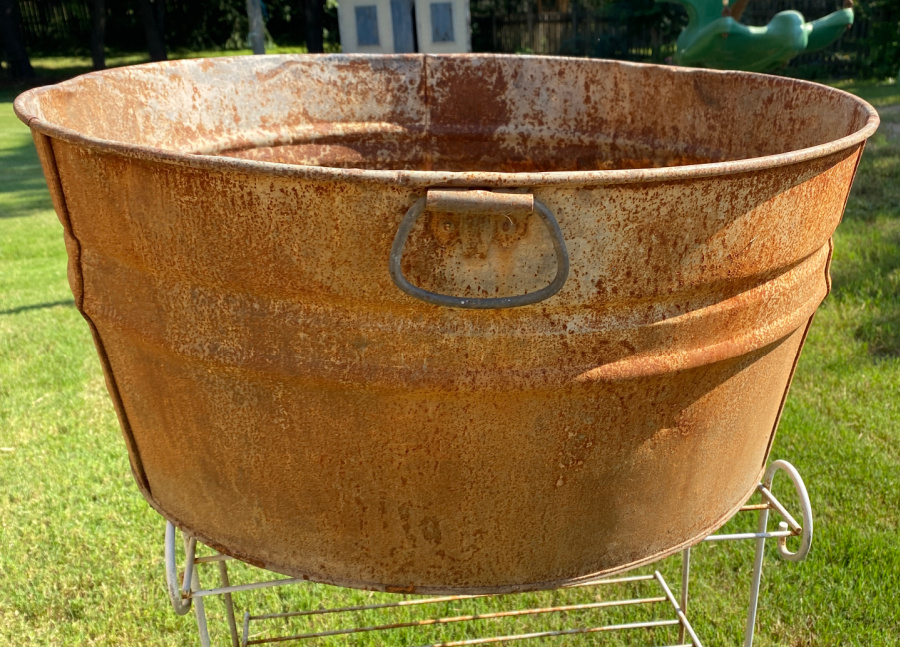
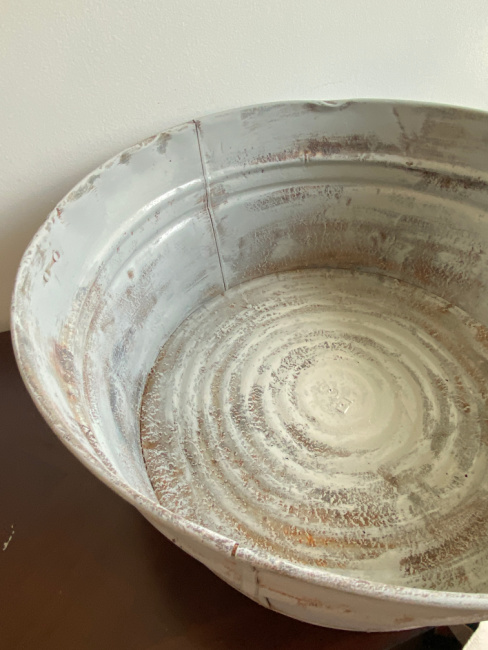
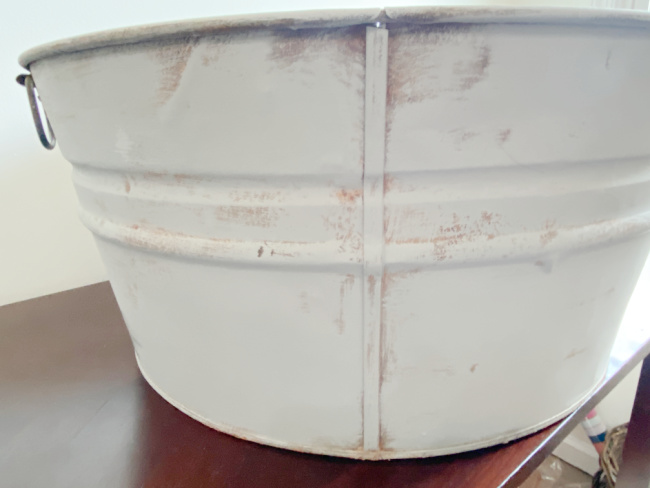
My Tub
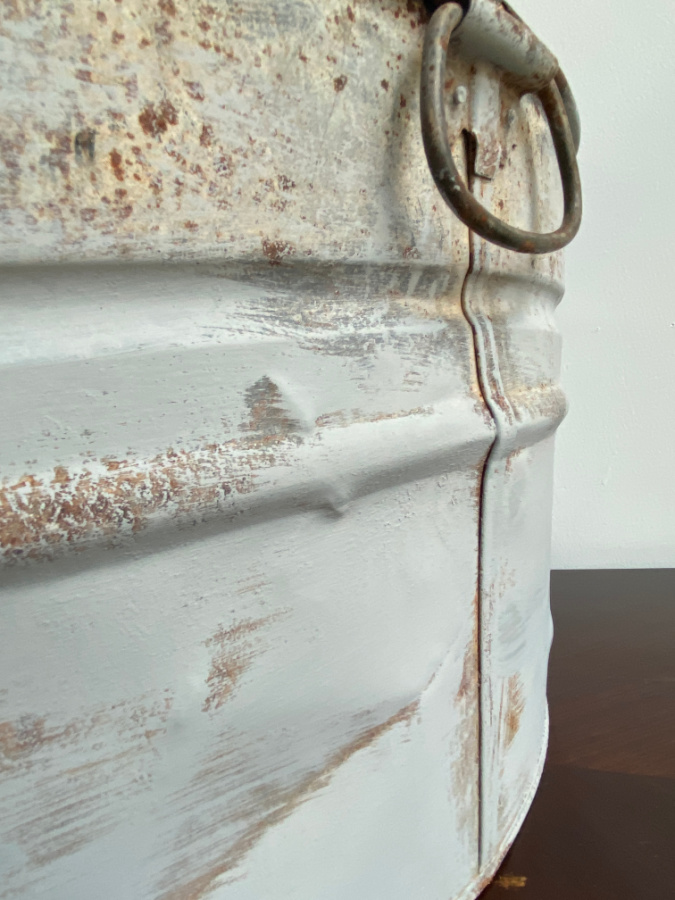
This tub is quite rusty! We used it to burn some wood a while back and the galvanized surface was compromised. It’s still a great tub. She just needs a good bath to get rid of the rust! As with most things, a little paint will make a big difference.
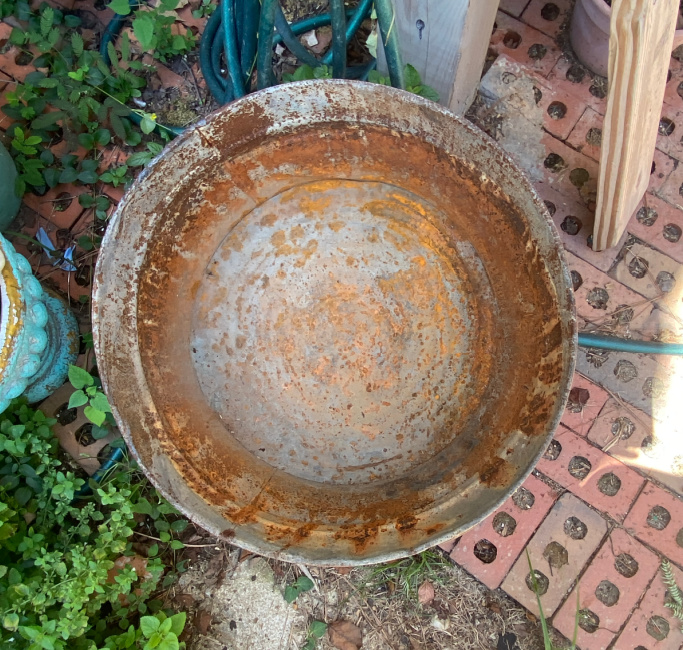
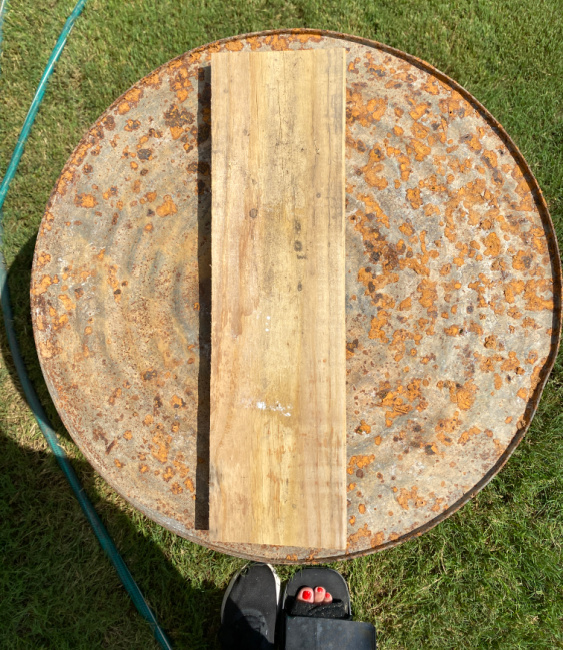
Step One: Clean Up the Galvanized Garden Tub
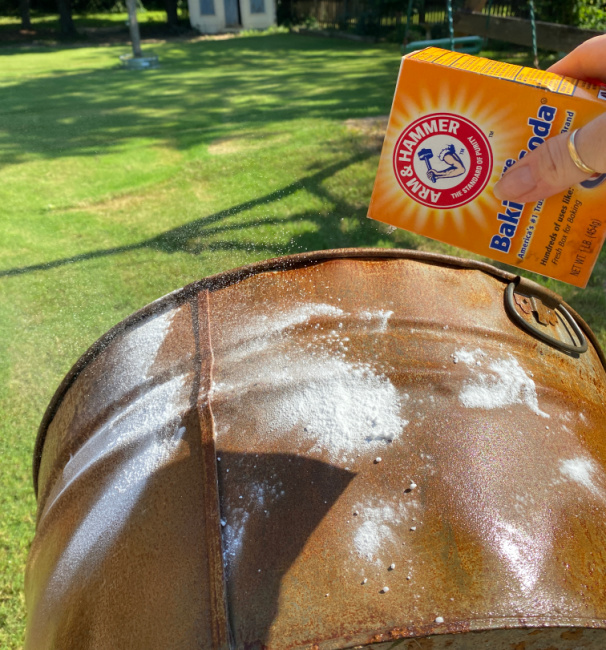
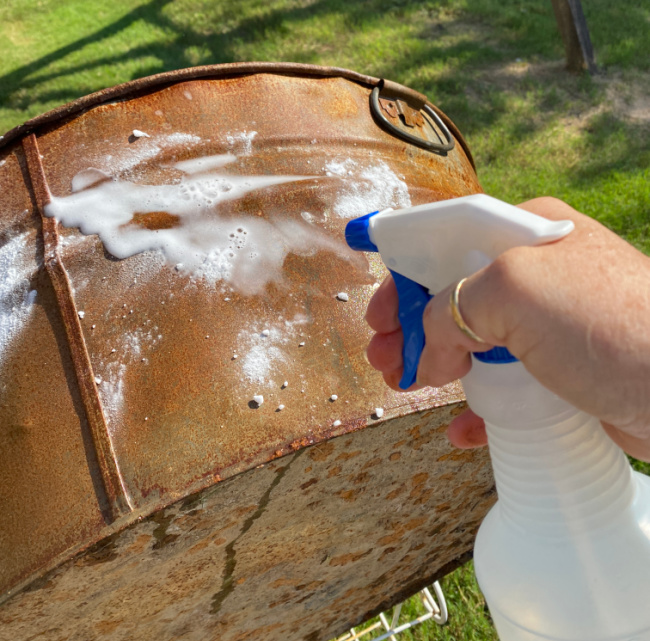
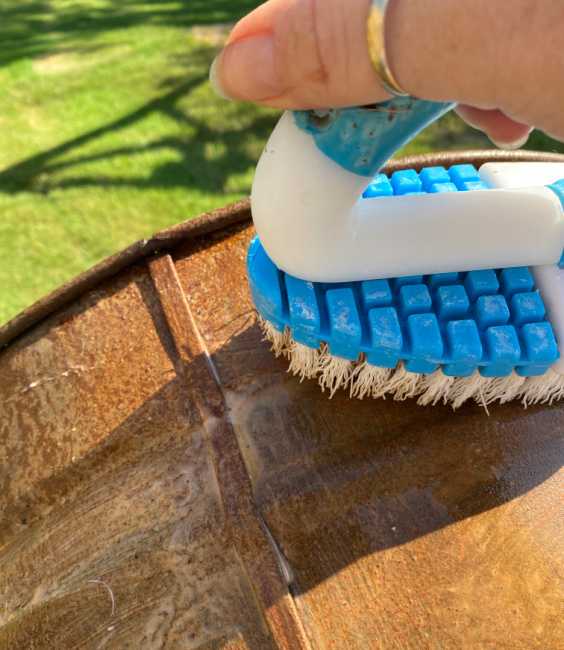
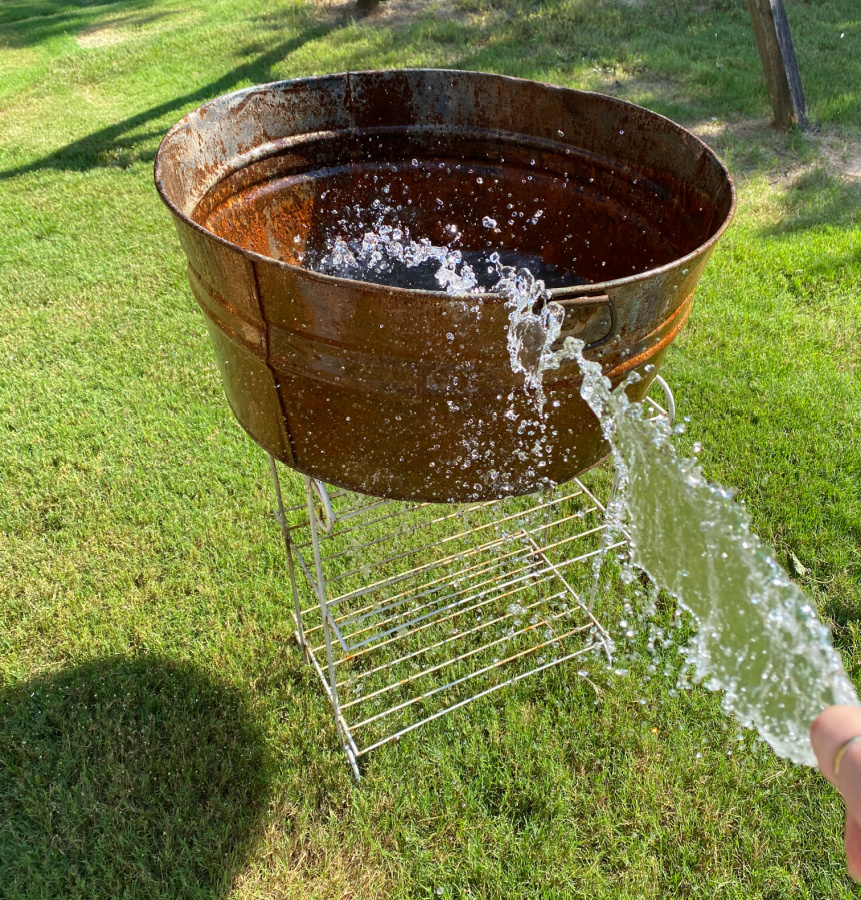
Then I rinsed her with the hose and allowed her to completely dry in the August Alabama sun. With the surface rust removed, she is ready for paint.
Black Dog Salvage Furniture Paint
Last week I attended the Haven Conference, an annual DIY and blogging conference in its 11th year usually held in Atlanta. This year, we were lucky to learn about Black Dog Salvage Furniture Paint. I was able to bring home a lovely brush and a half pint sample of their paint in “Galvanized”. How perfect is that for this project??? Here is my affiliate link for the Black Dog Salvage Furniture Paint. You will love the colors! Check out their website using the link above and see the recipes for lovely colors. Use this code SHOPATBLU20 for 20% off!
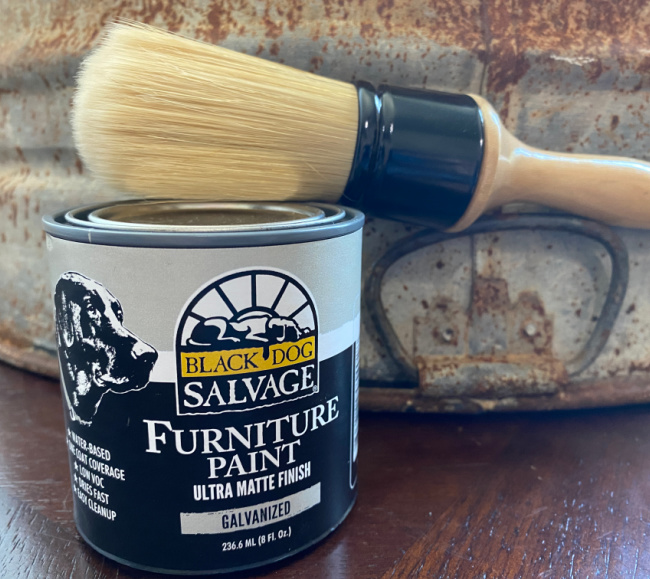
I used the Black Dog Salvage Paint liberally to cover most of the rusted areas on the galvanized garden tub. The coverage of this paint is excellent and the application is very smooth. But, you know me! I simply had to leave some of this beautiful patina exposed. The tub, like all things in my home, has a history. Leaving some of that patina exposed brings beauty and unique character to the tub. And y’all know…I certainly am unique!
Black Dog Salvage paint carries a unique sealer designed specifically for outdoor furniture. It’s called Crab Coat and is designed to protect your furniture from the harsh elements. At the time of writing this post, my Crab Coat had not yet arrived. So I will update this post with that process once I have it in my creative little hands. You can also use a good outdoor sealer with UV protection such as MinWax or Varathane.
Designing Shelves for a Galvanized Garden Tub
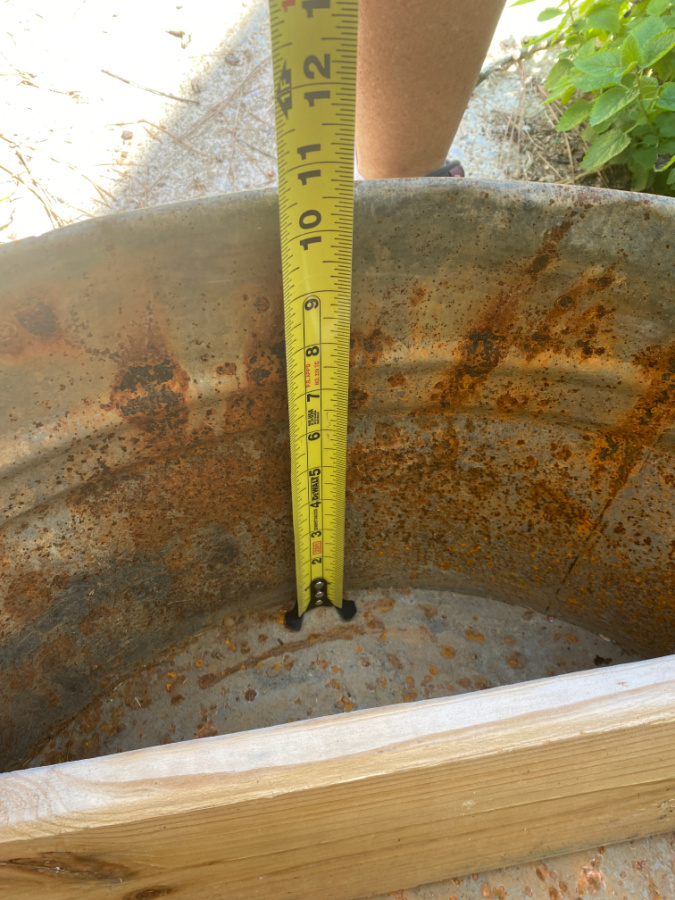
The first step is to measure your tub’s height and width. My tub is 24 inches wide and 10 inches deep. While I would prefer to use an oblong tub, the one that I have is over 42 inches long so it is way too big.
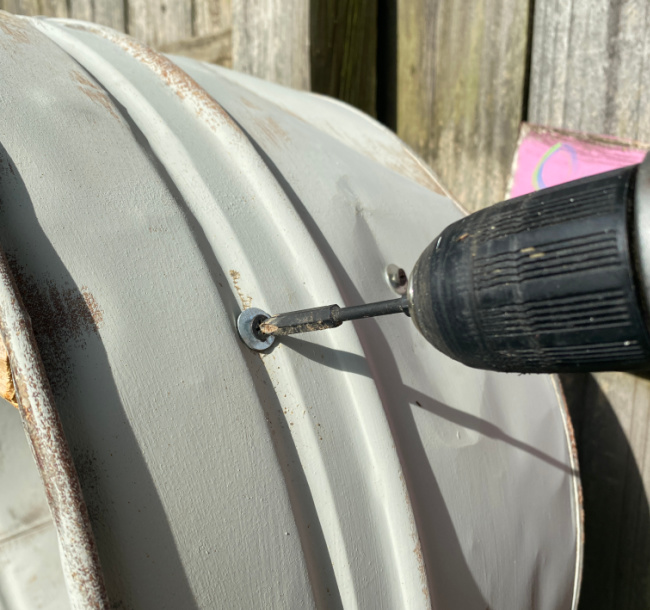
Find a piece of scrap wood to attach vertically to the center of the back of your tub to provide support and stabilize your tub. This will make installation on a wall easier since the tub will be reinforced.
Your reinforcement wood should fit comfortably on the back of your tub. Center it vertically. Leave about 3-4 inches from both the top and bottom edge of the tub. Use lath screws to attach the wood to the tub from the inside. Lath screws are screws with a washer attached. These keep the metal tub secured in place and also prevents the screw from falling through the hole. I did not have any lath screws. So I simply used a screw and a washer. This provides a more secure attachment of the wood to the metal.
I tried to attach the wood on the back of the tub in spots where the shelves, once installed, will cover the metal screws. This way there will not be a crazy number of screws visible on the inside wall of the shelf unit. I mean, it is just a garden shelf but hey…this girl has some standards.
Designing Your Shelves
Find scrap wood to fashion shelves for inside of the tub. Determine the desired height of each shelf. Decide how many shelves you want to add horizontally inside of your tub.
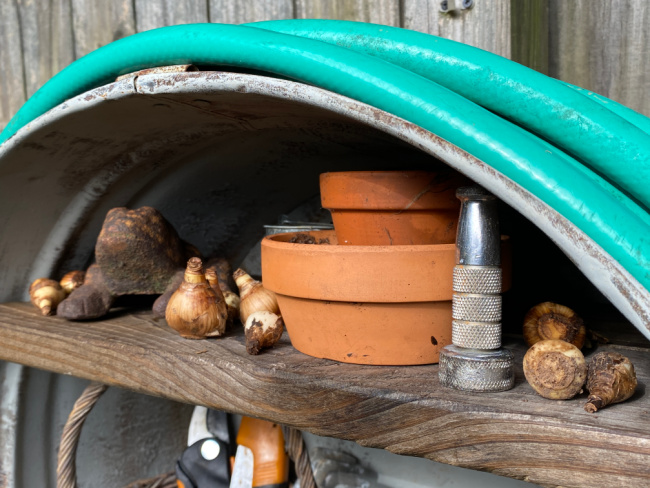
I am spacing the shelves so that I can set small plants on them and other taller objects. I would also like to be able to set a small basket (for project supplies) on one of the shelves.
This part can get a little complicated due to the slope of the sides of the tub. Some tubs are angled quite dramatically and some have less of a slope. My tub is a vintage tub so it has more of a slope. Today’s tubs are made more cheaply so they tend to be straighter. If possible, use a tub with less of a slope. Your shelves will fit more snuggly.
I took several measurements in order to cut the shelves to fit the tub. I measured the width inside of the bottom of the tub and the width at the top rim of the tub.
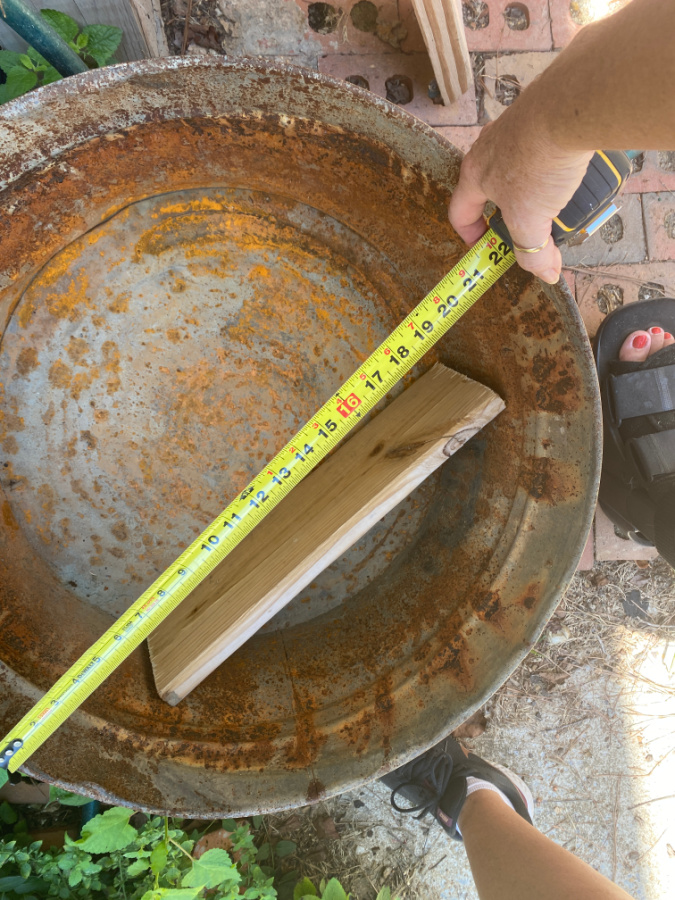
My wood needs to angle out from the shorter measurement to the longer measurement. So, essentially, my shelves will be shaped like a trapezoid.
Another way to design your shelves is to make a template for your shelves. You can use a piece of cardboard. Cut it to match the width and depth of the tub. Then force it inside of the tub into the position where you wanted to secure it. Fold the cardboard to mirror the shape of the spot where it will be secured. Use this very scientific method to make a template for each shelf.
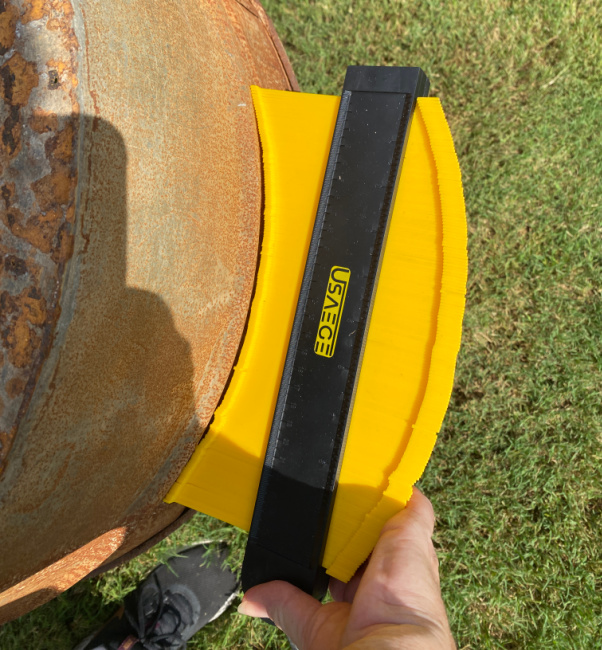
You could also use this template tool. It is commonly used to copy cuts for molding, etc. But is perfect for the rounded sides of this tub. It copies weird edges so that you can easily trace them onto wood or other surfaces for a custom fit.
Trace the pattern from the template onto the scrap wood. Cut with a jigsaw. Always use your PPE (personal protective equipment aka Mask, gloves, and safety glasses). I cut out notches for the bumpy rings (for lack of a technical term) around the tub so that the shelves will fit flush inside of the curved tub.
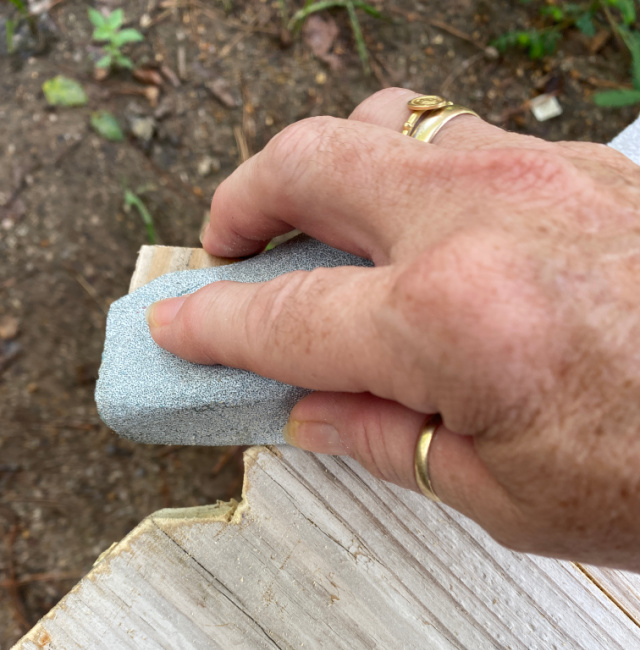
Sand the edges of your shelves.
Repeat steps above for additional shelves.
You know that I am a firm believer in using what you have on hand. So I used scrap wood that was only 5 inches deep since I didn’t have any pressure treated wood that was wider. Consequently, I used 2 pieces for each shelf. Which meant a little more work in that I had to join the two pieces to make one shelf. Fortunately, I have a Kreg Jig, also compliments of the Haven Conference.
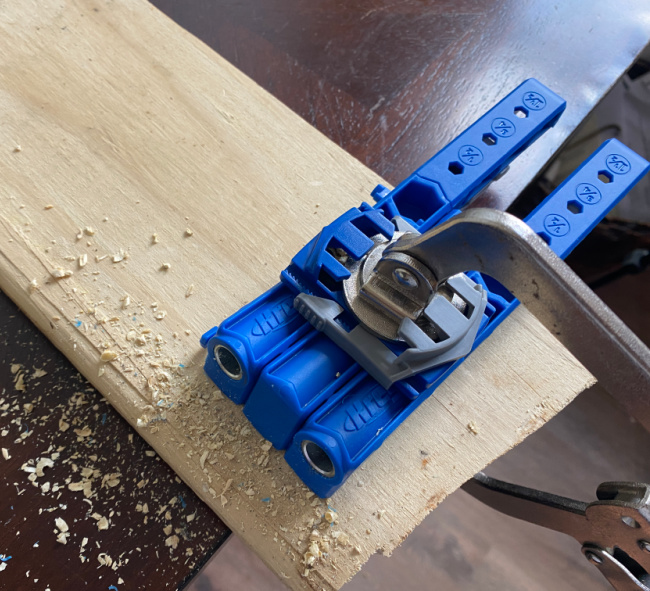
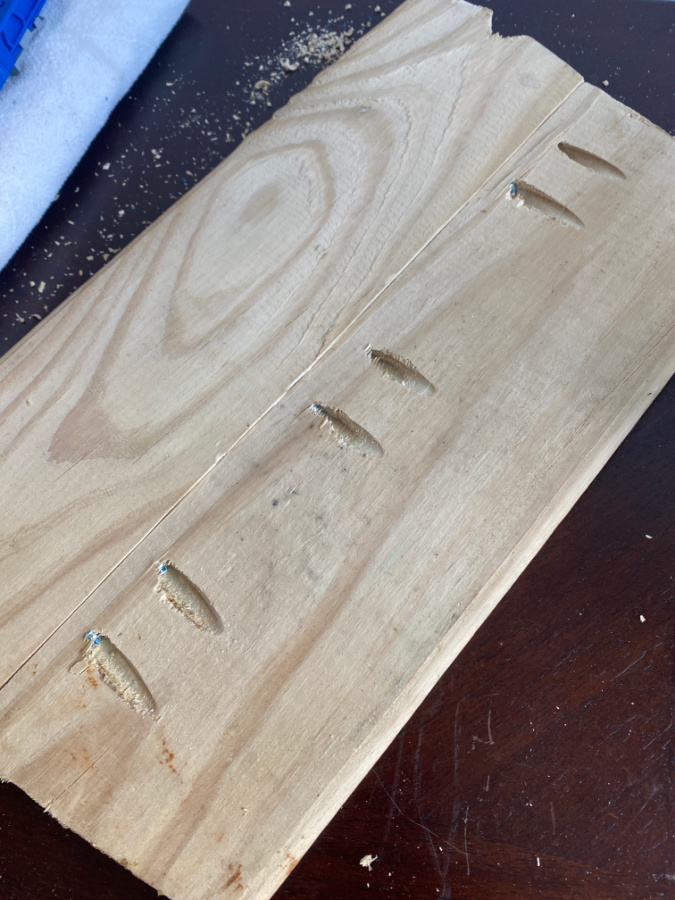
I haven’t used my Kreg Jig in a while so my pocket holes aren’t the prettiest. But they are functional. As with any skill, the more you use it, the better you get.
Finish Your Shelves
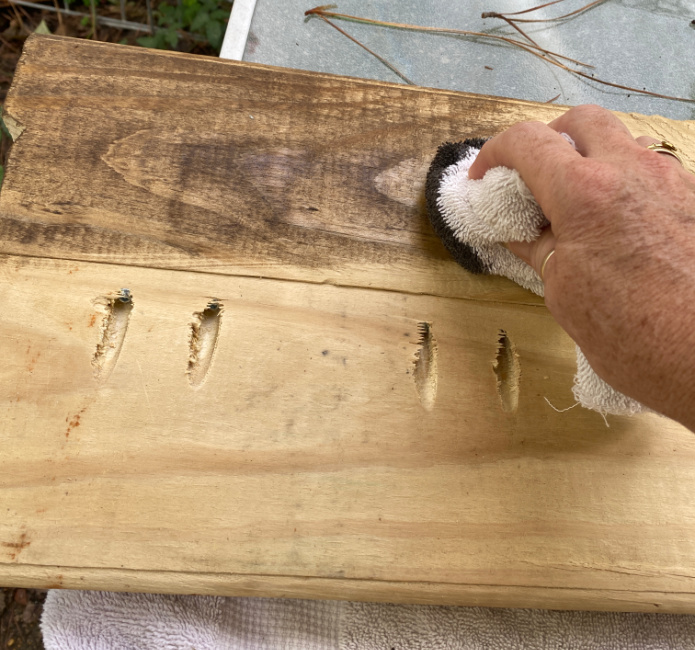
You can leave your shelves natural or stain them. Since my shelves are made of scrap wood, I decided to stain them to refresh the wood. I used MinWax in Special Walnut. Apply the stain with a brush or a rag. I always use a rag to apply the stain, let it sit a minute and wipe off the excess. You can reapply the stain until you have the desired depth of color. Allow the stain to dry and your wooden shelves are ready to install into your galvanized tub.
Secure Shelves into the Galvanized Tub
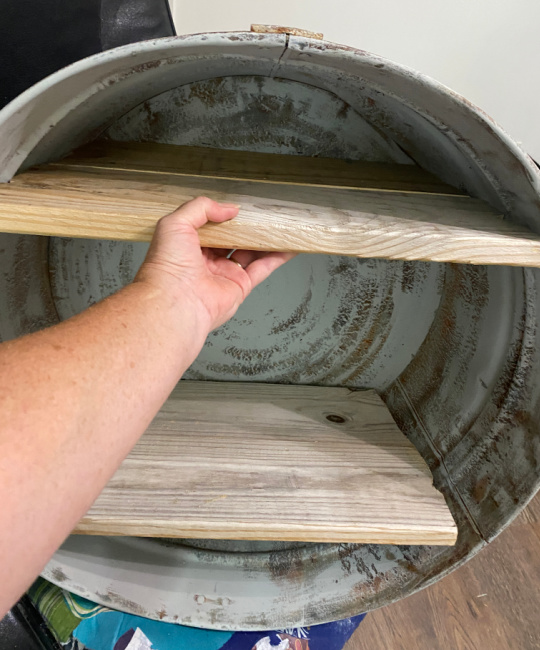
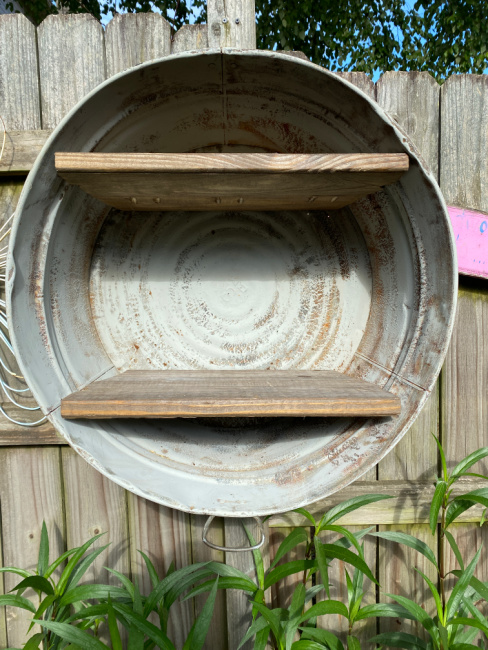
Once my shelves were ready, I set them inside of the tub where they needed to be secured.
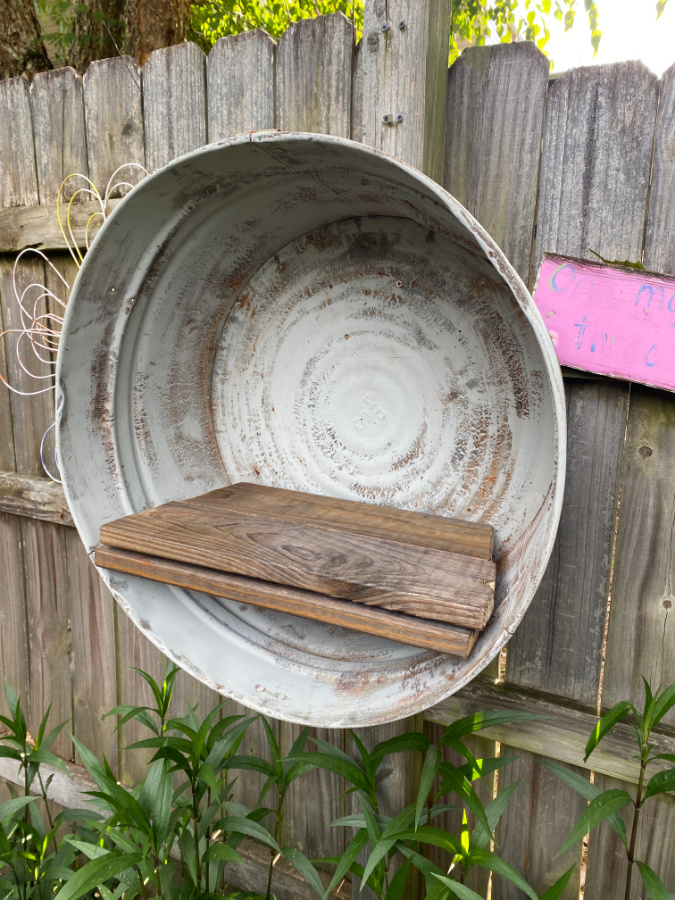
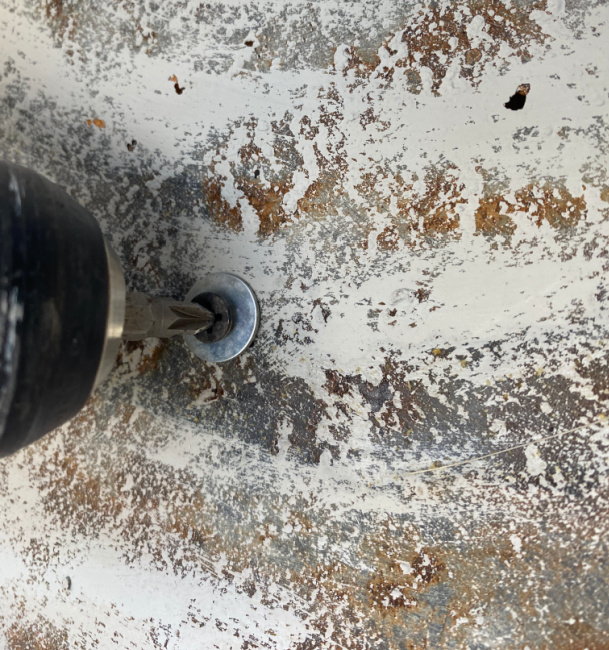
I drilled a pilot hole through the outside of the tub into each side of the shelf and inserted a screw to secure each shelf in two places.
Hang your shelves
Select a spot to hang your shelves. If your shelves will be used to house heavy objects, you will want to use lag bolts (if mounted on a fence) or wall anchors (for a wall). Just follow the recommended manufacturer’s suggest for weight.
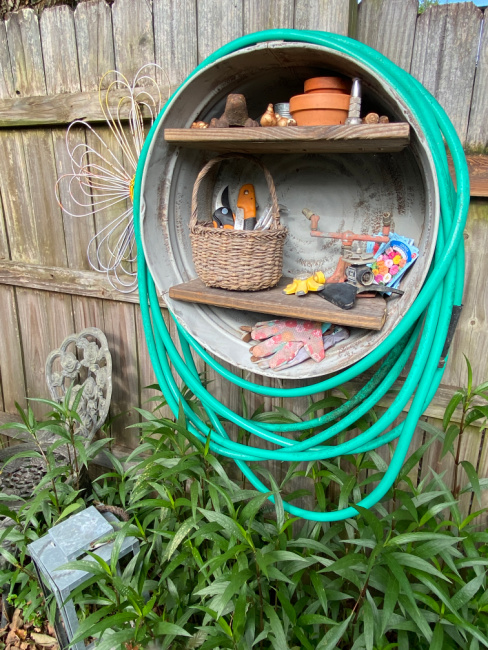
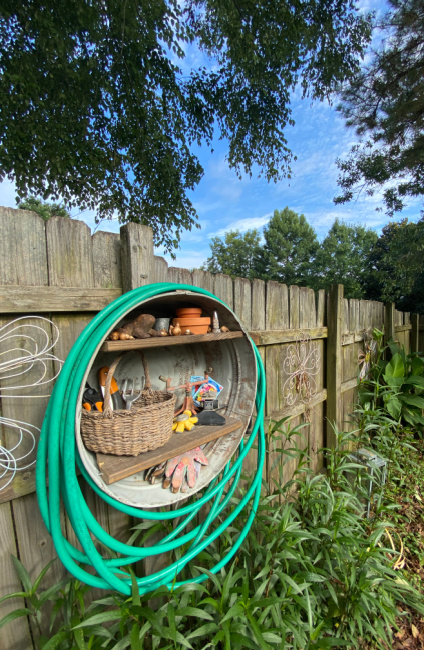
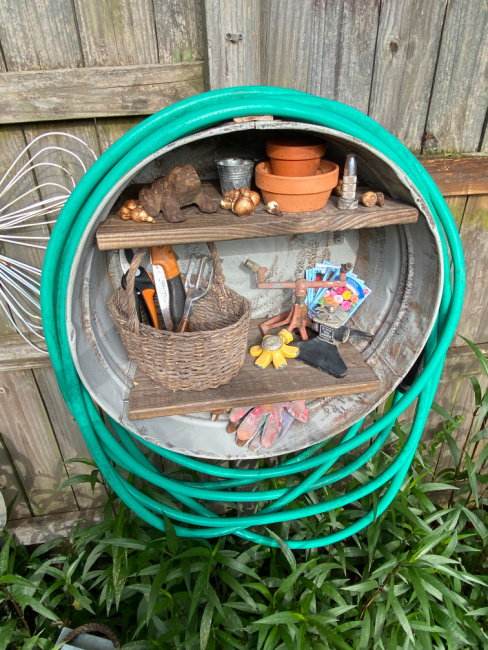
My shelves will not hold any heavy object so I simply drilled a pilot hole through the inside back of the tub directly into the fence post. I secured the shelf with long screws. And she is finished!
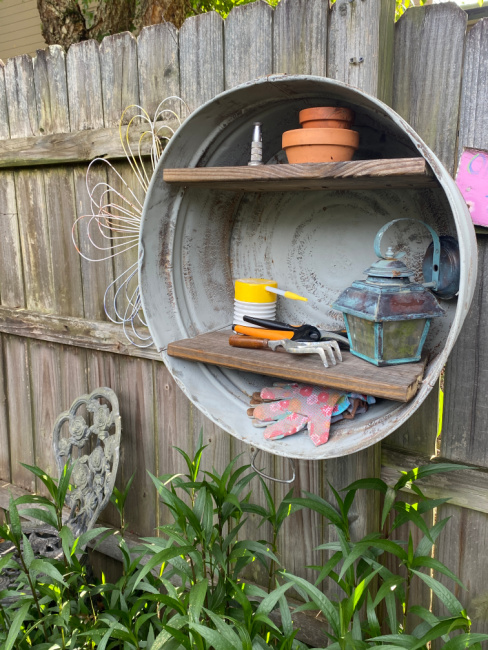
I had fun filling the shelves. Every time I thought I was finished I found more to put on the shelves.
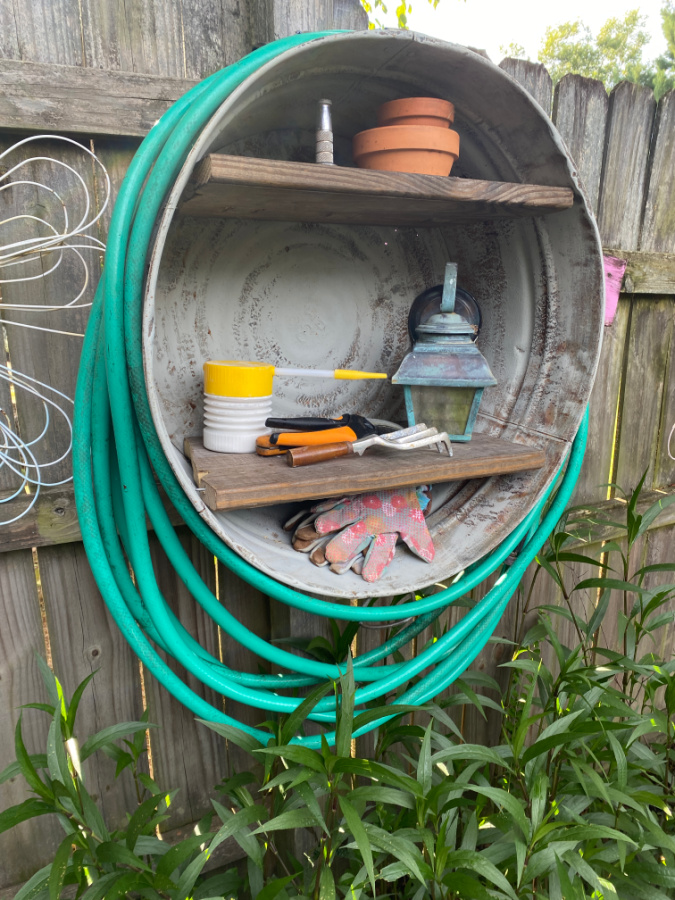
I almost forgot the hose!
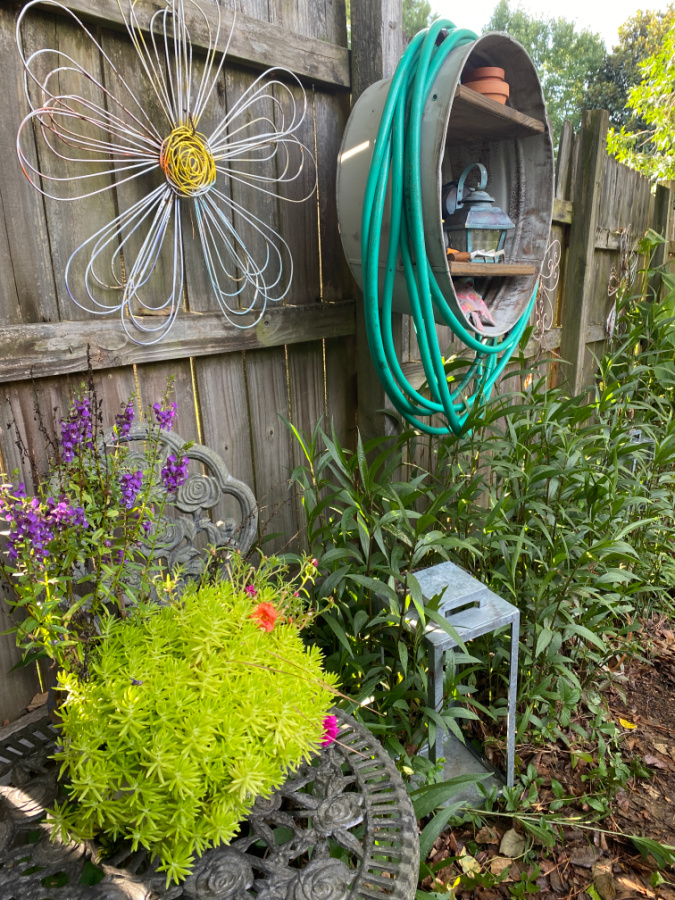
I’m a little disappointed that my Mexican Petunias haven’t bloomed yet. I guess that just means I will have to post again when that happens.

And how about the glorious Alabama sky?
You know I can’t add a feature to my garden without adding some vintage loveliness. Apparently, I have a collection of vintage lawn sprinklers. They are irresistible.
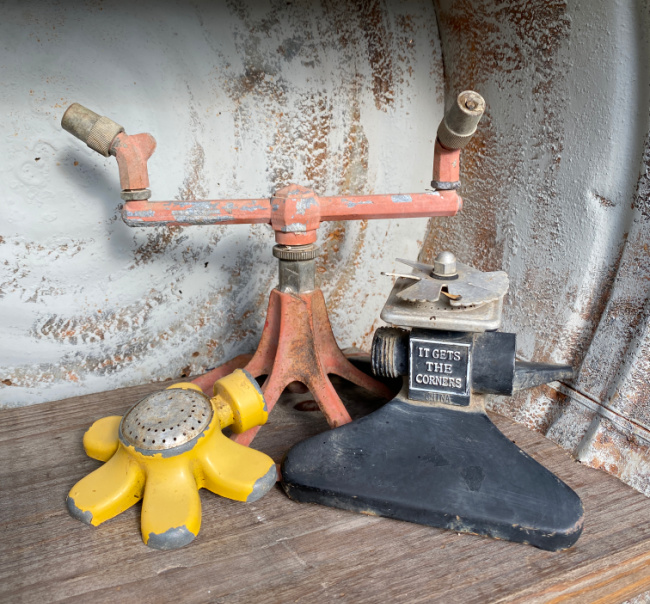
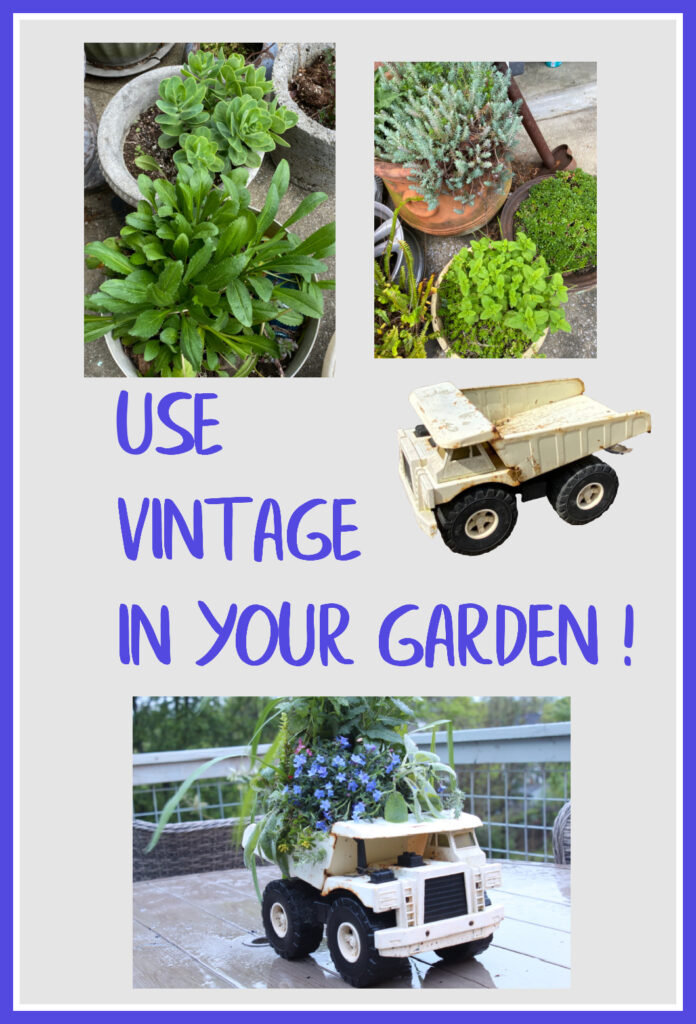
If you love vintage things in your garden like I do, click the photo below for more vintage garden love.
Here are a few more photos of the patina along with the Black Dog Salvage Galvanized Furniture Paint.


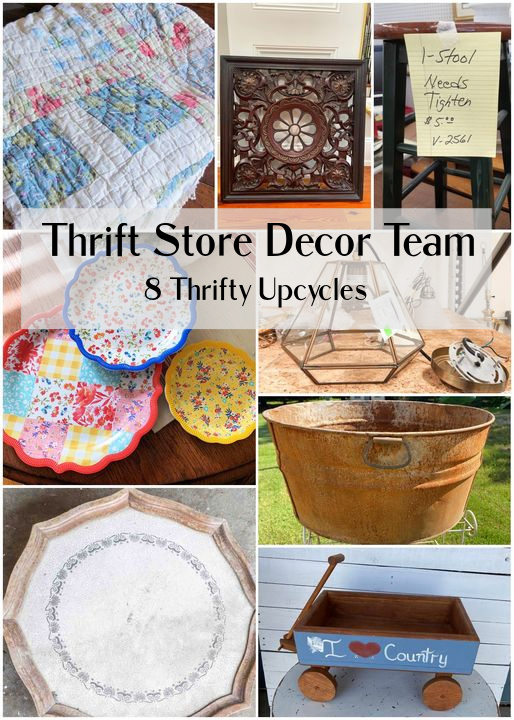
As promised, below are the other projects for this month’s Thrift Store Decor Team Wednesday! There are some fun and inspirational projects for you to browse. Visit each of my friends, drop a comment, and tell them I sent you!
Shop At Blu Galvanized Tub Shelves
Reinvented Delaware 16 Creative Thrift Store Makeover Ideas
Organized Clutter Goodwill Wooden Wagon Makeover
House Of Hawthornes DIY Tiered Tray From Dinner Plates
Sadie Seasongoods Plant Cloche from a Geometric Pendant Light
Our Southern Home Medallion Wall Art Makeover
Petticoat Junktion Quilt and Pom Pom Fringe DIY Pumpkin
My Repurposed Life Navy Blue Bar Stools with Rub-on Transfer

Sue, I love this idea so much! The hose situation at our house could use a little help and this is the perfect solution!
This would fit right into your garden!
Great idea Suzanne! I love the rustic outdoor shelves!
I have a few to fill with mums this fall too! Can’t wait to get creative with them as planters…a page from your book!
Such a creative and useful makeover! I love your take on this month’s project.
Thanks Christy! I need a few more of these around the yard.
This is so great, Suzanne! When I saw the before and then the after, I thought you had worked some sort of rust-removal-miracle! But that paint was PERFECT because it looks so natural with some of the OG patina showing through. Garden Perfection, my friend!
Thanks so much Sarah! The paint really was perfect!
OK, the shelves are pretty cool. Love how you hang the hose around them! But those vintage sprinklers!!! Love them!
Right?? Lol.
LOVE this post and that you like the paint!!!
Thanks my friend! Great paint makes a project that much easier!
A awsome idea love it sue what did you to your right foot see you have a boot on nice red toenail polish
Hi David. I broke my ankle. A temporary setback. Healed nicely and I’m all back to normal.