Vintage Jewelry Projects
As an Amazon Associate and member of other affiliate programs, I earn from qualifying purchases.
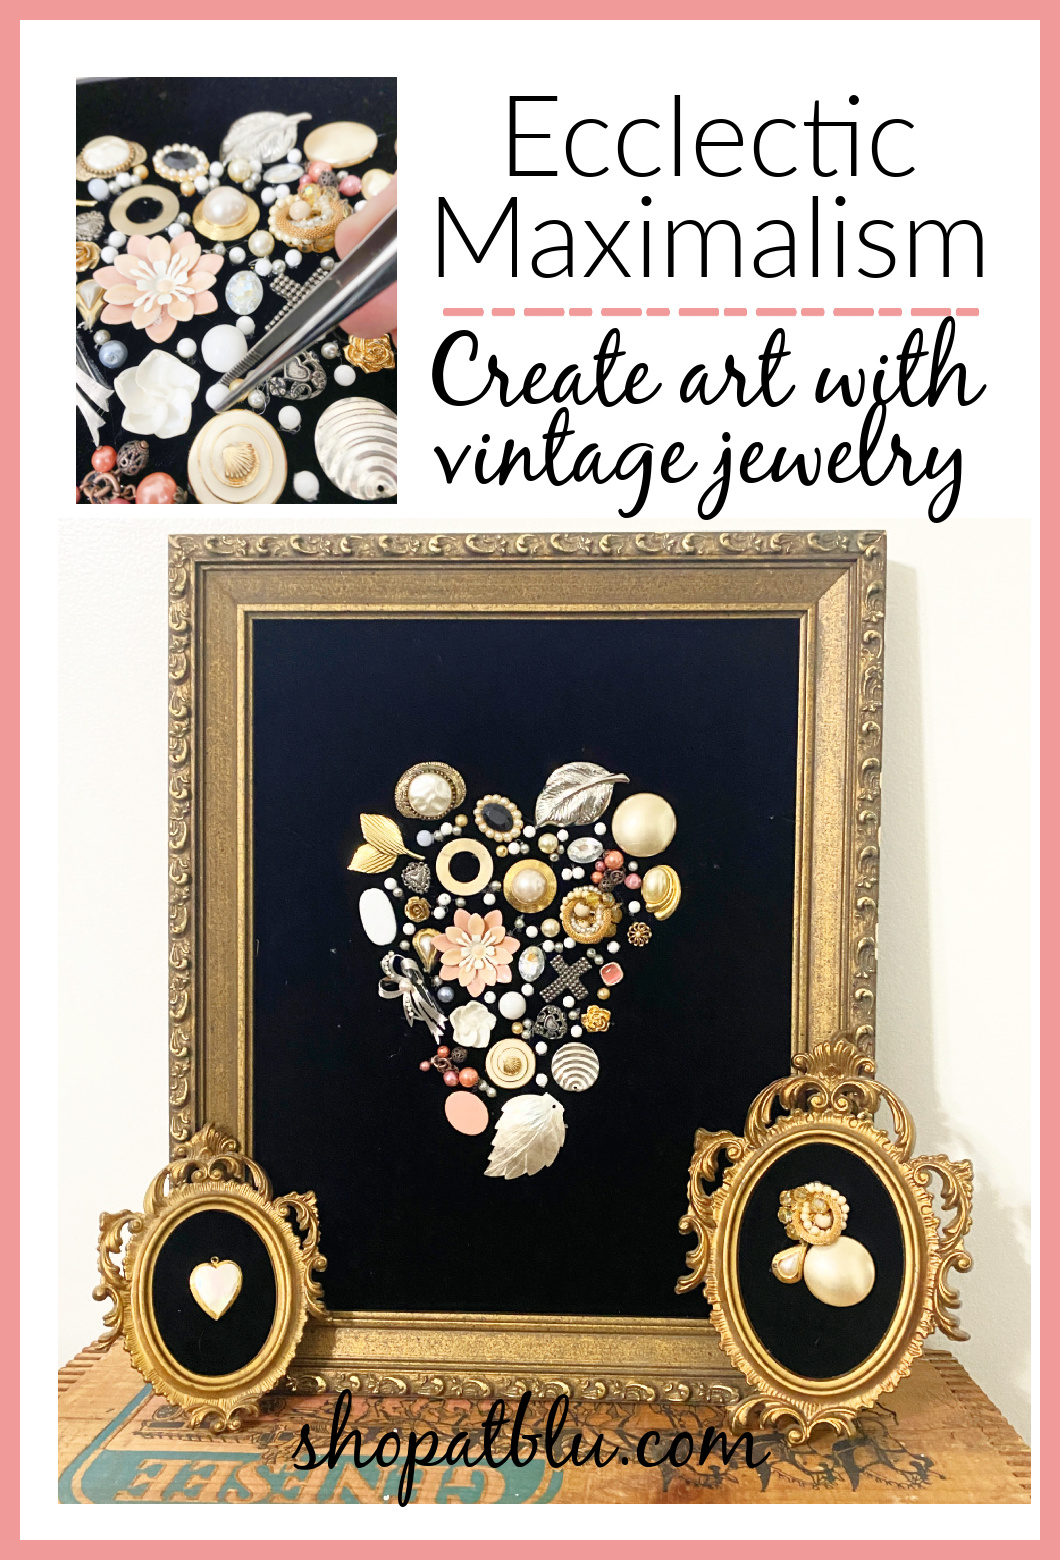
This is the perfect project for the vintage lover who enjoys puzzles. And if you love mementos and reminders of past, this project is for you. Grab your old jewelry, buttons and glue. Let’s create some artwork with with vintage jewelry!
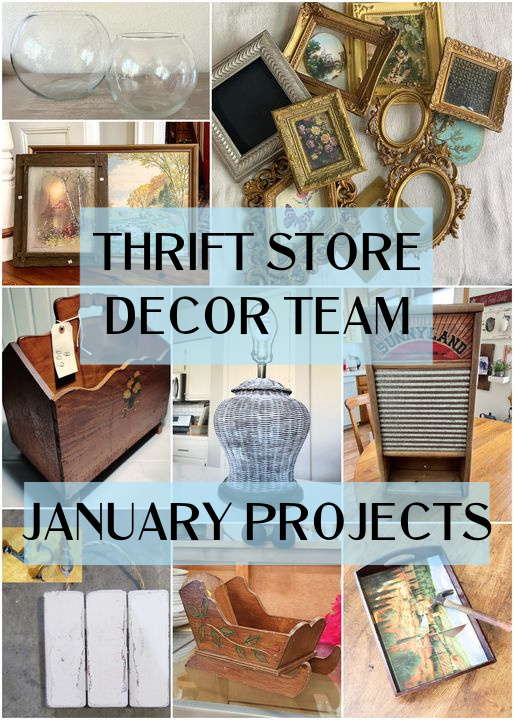
It is Thrift Store Decor Team Wednesday! What better time to share a fabulous creative project! As is the case every second Wednesday of the month, at the end of this post you will find links to all of the team’s creative upcycled projects for this month.
I had seen this type of project maybe 15 years ago around Christmas time. Here are a few samples I have seen on Pinterest and Instagram.
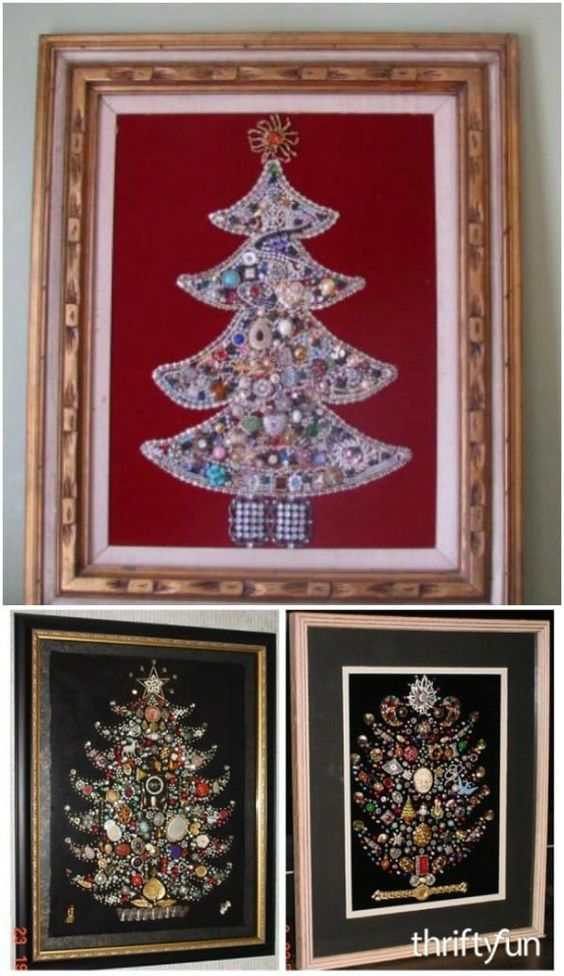
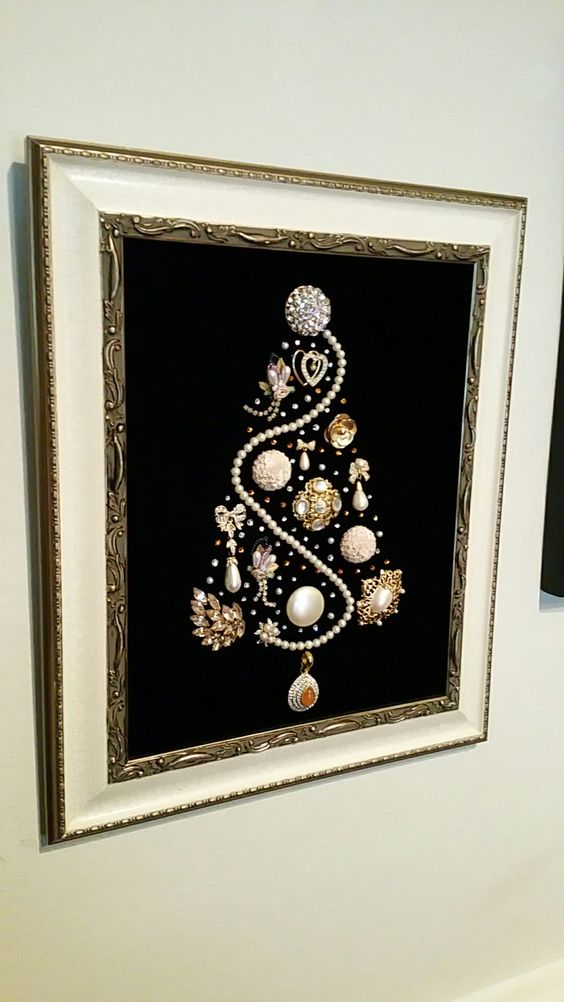
Someone had created glorious artwork by arranging vintage brooches and jewelry in the shape of Christmas. It was mounted on velvet and I remember my awe in the regality and festive aura of the creation. While I still would like to make a Christmas tree, with Valentine’s Day approaching, why not focus on a heart theme? Part of the joy of creating is taking older projects ideas and reinventing them. So that is my goal for this month’s Thrift Store Decor Team project.

Select a Vintage Picture Frame or Twelve
You can start small with a tiny frame or go big with a larger frame. Of course, I will be making all of the sizes. Smaller frames can be a little more challenging because you need to keep your jewelry on a smaller scale. With the larger frame, you have a broader canvas to work with so sometimes this is easier.
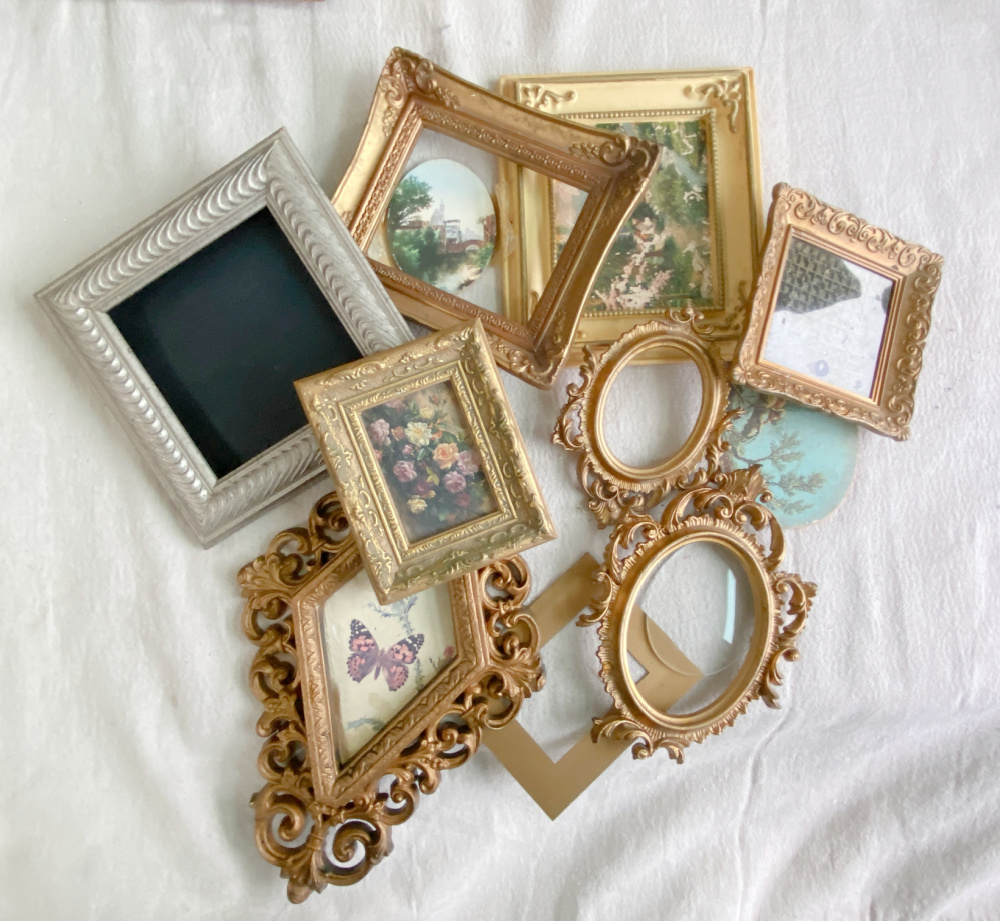
I gathered a nice collection of smaller frames from my garage. Being a former antique store owner, I’ve still got a huge supply of items that are totally useless for daily life but perfect for a brainstorm of a project, just like this. I also grabbed a few larger frames. The smaller frames range in size from 3″ X 5″ to 7″ X 8″ and in a variety of shapes from square to oval to rectangular to diamond. I covered all of the proverbial geometric selections! Sister Pauline would be proud. The larger frames are 14″ x 17″ and 16″ X 19″. So I have a good variety. .
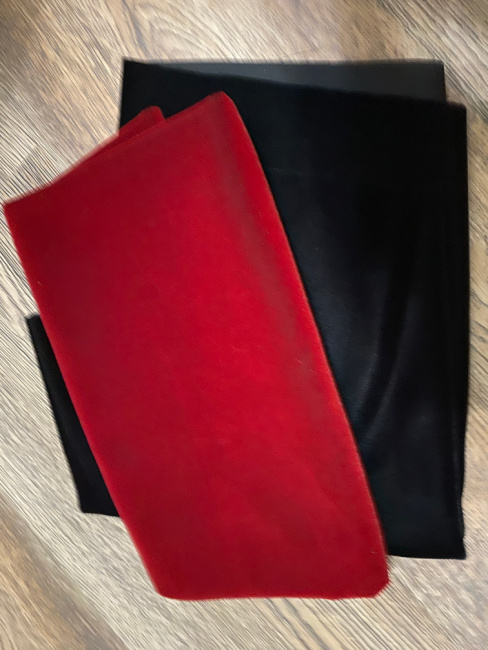
The most striking examples of brooch artwork creations had a rich background. So I went to Hobby Lobby and bought some velvet. At $17.99 a yard, I selected just 2 colors, black and red, and bought just 1/2 a yard of each.
I also gathered some other materials to use for the back of the frames including some fuschia crepe paper, assorted flannel fabrics, and even cardstock. Use whichever speaks to you. It is your creation.
Here are some other items you can use instead of brooches:
- Earrings
- Buttons
- Gemstones
- Coins
- Necklaces
Prep Your Frame
Most of my frames come from thrift stores, yard sales and garage sales. Sometimes the frame assembly is in great shape. Often the backs or glass fronts are missing. You can find replacement glass at the thrift store! Simply take your measurements and head to the local store with a tape measure in hand. You are sure to find replacement glass and or backs at a great price.
You can also make your own backs for your frame. The side of the back facing front will be the base upon which you glue your jewelry. I use spare cardboard.
In a pinch even cereal boxes will work. Simply measure your frame and cut out a replacement back so that it fits snugly inside of your frame opening. Select a piece of cardboard that is sturdy and has a flat even surface. Bumpy or flimsy cardboard will make for a sloppy and disheveled backdrop for your art.
Add Your Fabric or Paper Backing
Once you have your back ready, apply some spray adhesive to the front of the cardboard (let’s call it the cardboard mat). Since I am using a heavier fabric, I gave the mat a liberal spray and allowed it to set for a minute.
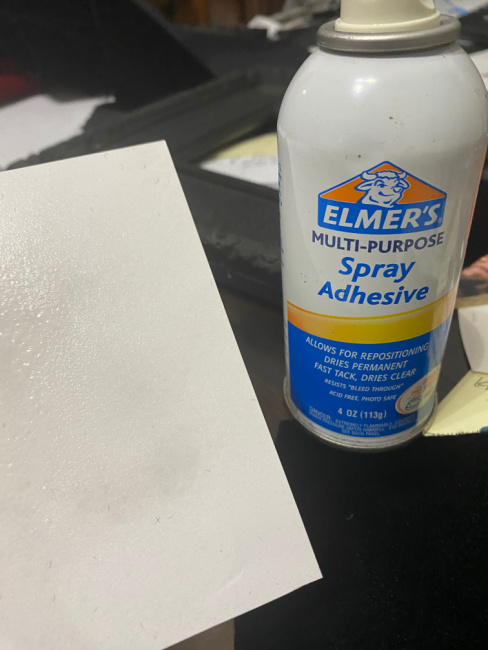
Then I simply laid it on top of the back of the velvet, flipped it over, and smoothed the surface. Instant background!
I repeated this process for each of the frames using my desired material to cover the mat. Time to piece together a design!
Create Your Design
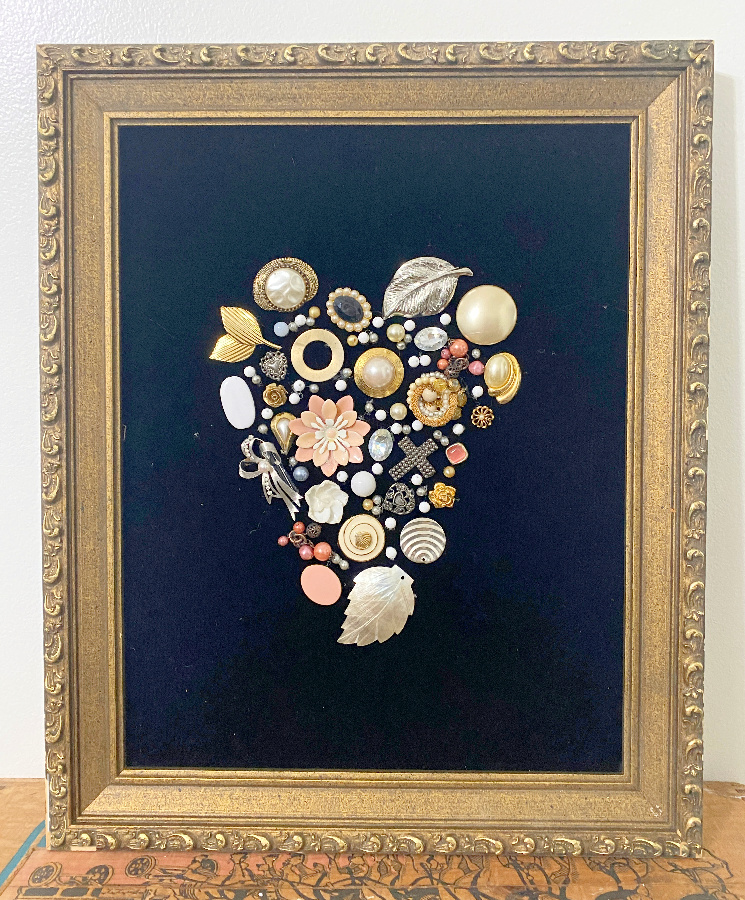
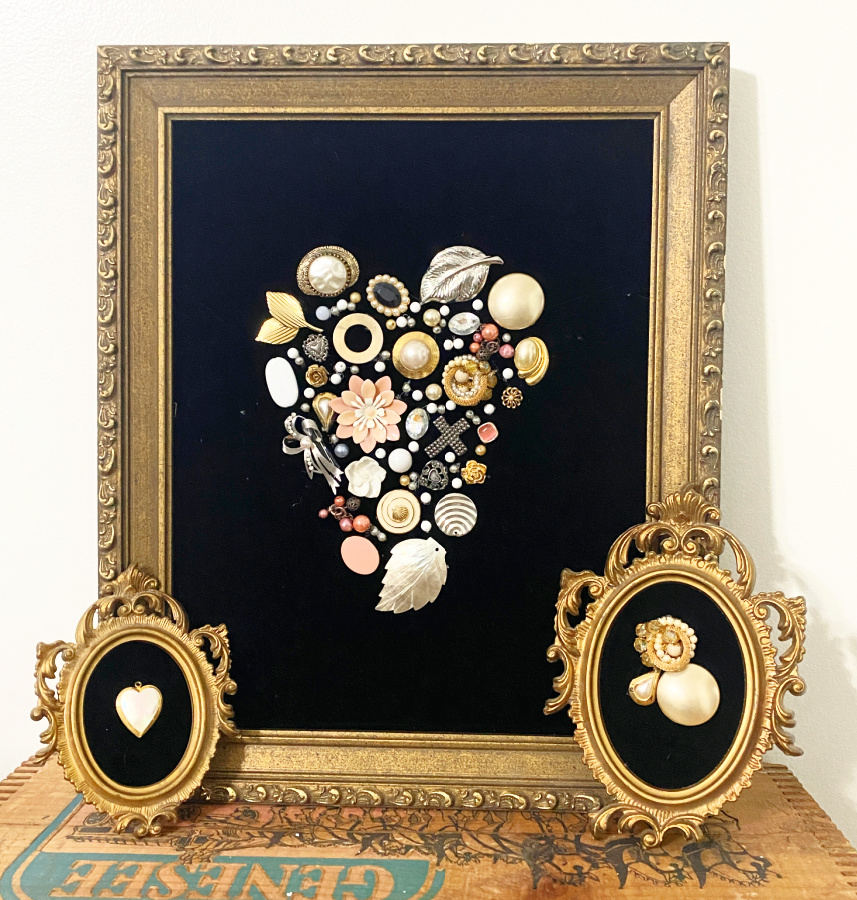
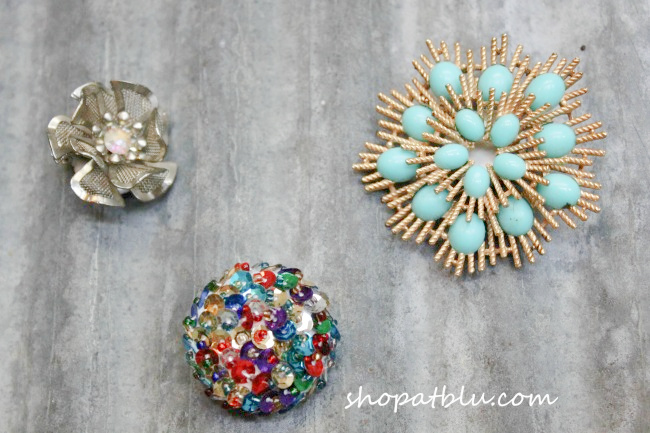
This is the fun part! I laid the first mat on my desktop so it was completely flat. Then I just started adding jewelry to created a heart. Play with your designs!
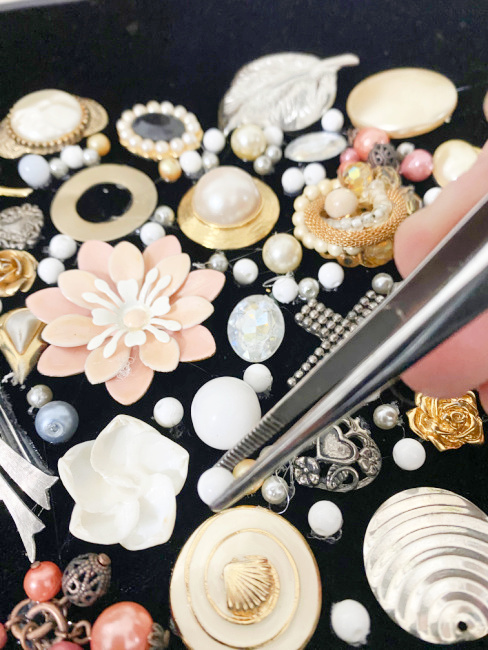
I usually start with the larger pieces of jewelry and then fill in with the smaller pieces. I use different sized beads as fillers. Just keep playing until you get the look that you love.
Once you have achieved your desired shape, secure your jewelry and beads with glue. I use E 6000 which is a crafters’ glue and can be used on all types of materials. You can find it at craft stores, hardware stores and even Walmart.
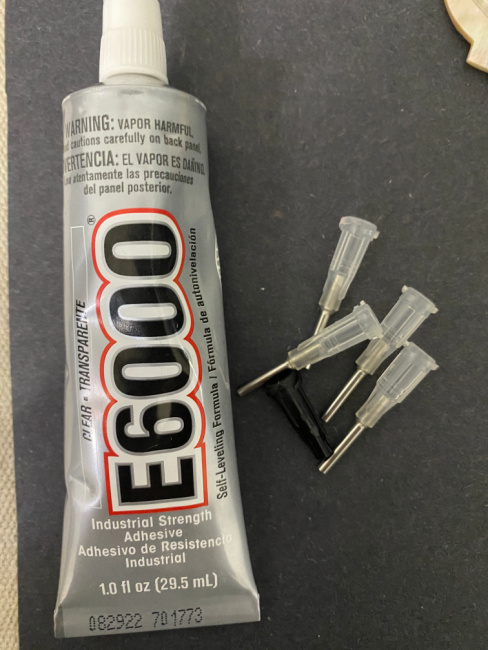
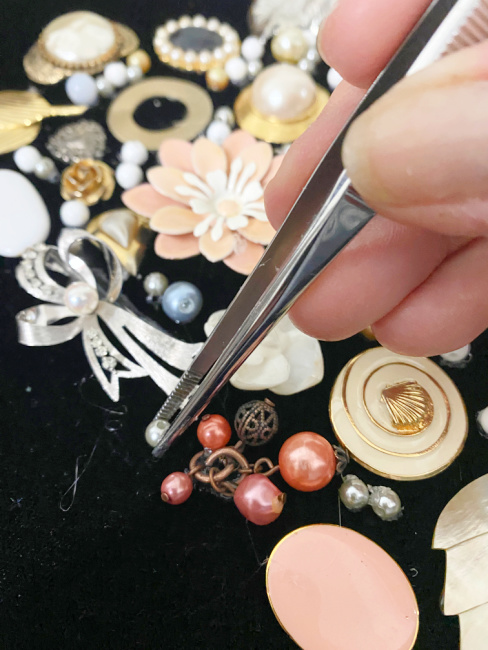
Because the dark velvet is rather unforgiving, I squeeze a small blob onto a paper plate and either dip the larger pieces into the glue or use a toothpick to apply. Just lift the jewelry piece from it’s staged point, apply the glue and set it back into place. Move to the next piece until you have glued all of the pieces onto the background fabric. I also used my Ryobi hot glue gun but mainly on the larger jewelry pieces.
I allowed the creation to dry overnight. Then simply pop the entire piece into your frame. Secure with a bead of hot glue or a few staples or nails inserted into the back.
Here is a link to another similar project where I created some artwork in the same manner as the vintage jewelry hearts but with buttons.
You know I couldn’t stop at one! So here are a few more but a little simpler.
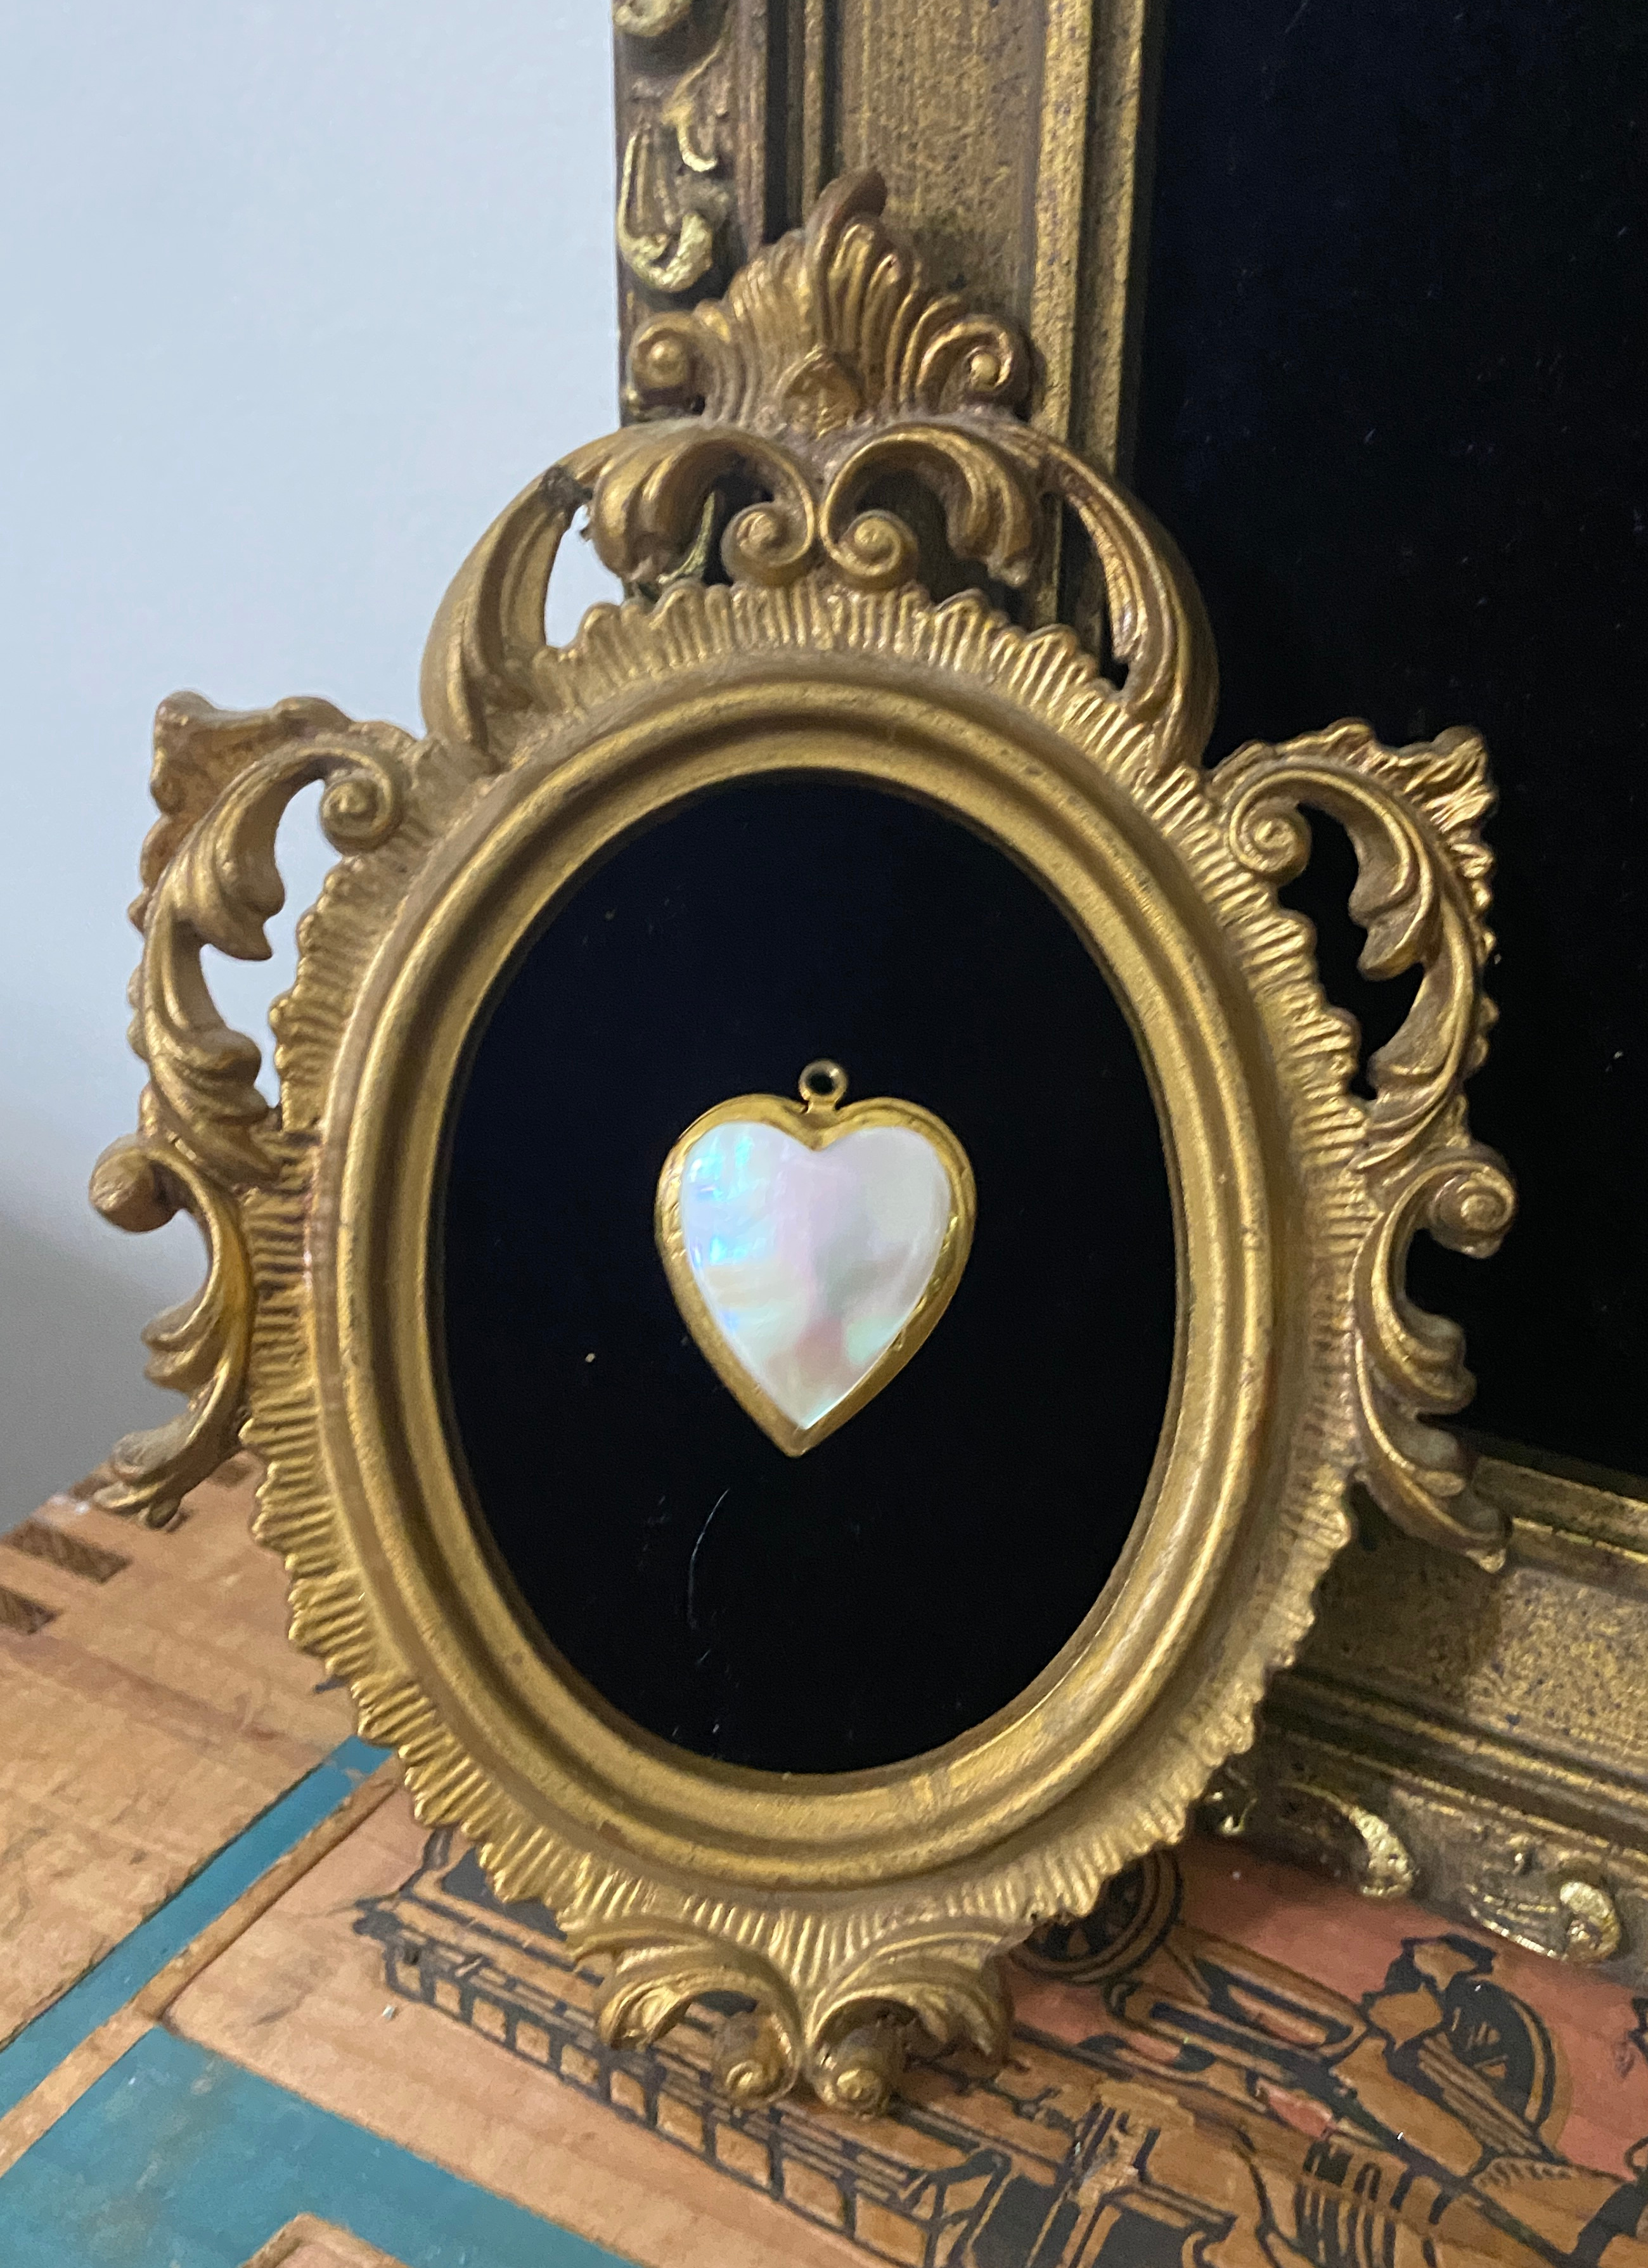
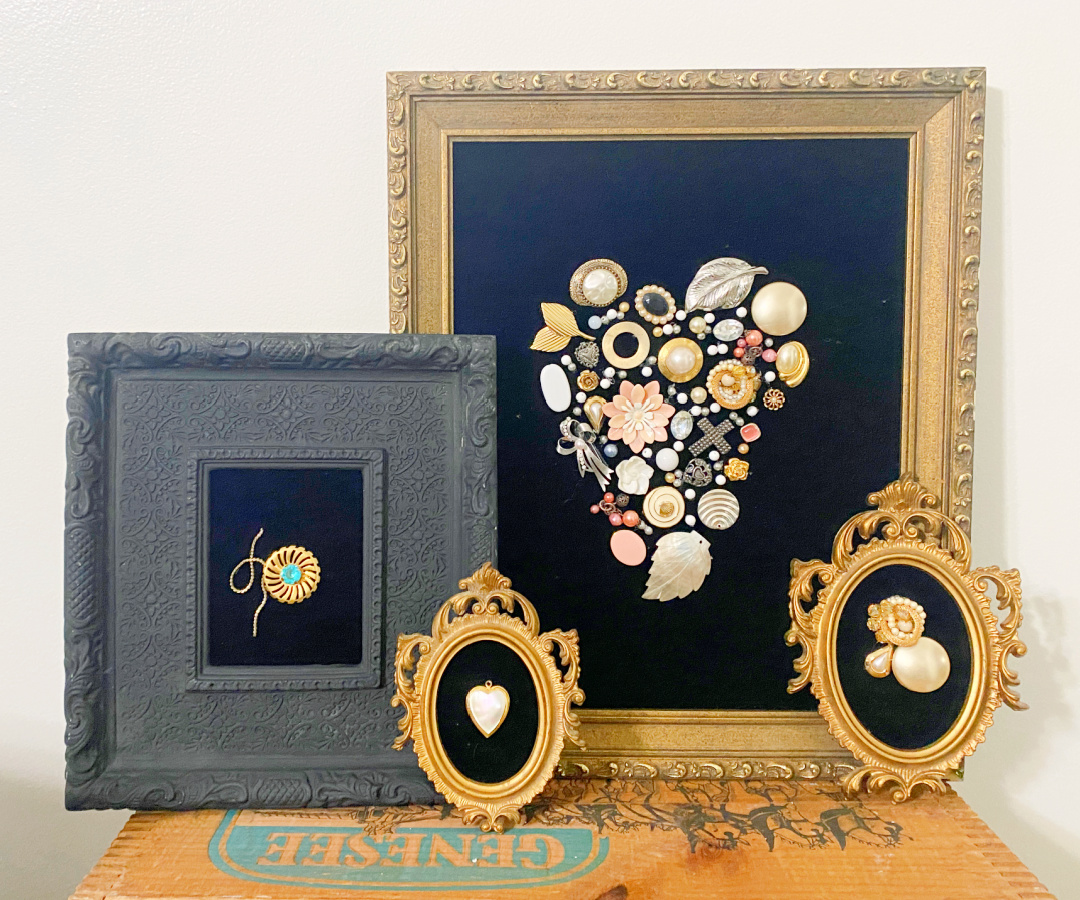
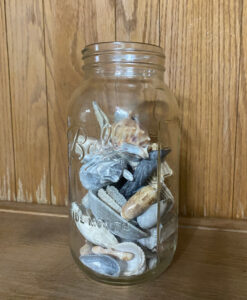
I even have a few frames left over. I know there is an entire vintage suitcase filled with more jewelry somewhere in my garage. Gotta save a project for a rainy day!
Here is another vintage jewelry project:
I can’t wait to decorate for Valentine’s Day with these beauties!
Thrift Store Decor Team Projects
As promised, here are all of the projects from my talented friends on the Thrift Store Decor Team! We are so very excited about another year of bringing you monthly upcycled thrifty projects! Enjoy!
How To Hydro Dip Using Spray Paint My Uncommon Slice of Suburbia
Vintage Jewelry Projects Shop At Blu
Updating and Decorating with Thrift Store Art Our Southern Home
Get Organized With an Updated Magazine Rack My Repurposed Life
Updated Rattan Wicker Lamp Domestically Speaking
Washboard Cabinet Makeover Organized Clutter
Hanging Necklace Holder Petticoat Junktion
Wooden Sleigh for Winter Decor Sadie Seasongoods
Upcycling Junk – 3 Easy DIY Ideas Reinvented Delaware


I love this idea! I’ve seen it done where they took a bunch of jewelry and made a Christmas tree, it was so pretty.
Yes! This has been on my list since I first saw one of those trees about 15 years ago!
So beautiful! I have some cheaper jewelry that was my Grandma’s – this would be a beautiful and fun way to remember her.
Do it!!
Wow! This is so very pretty and vintage. This would be so cool with collected jewelry, beads and buttons from old family jewelry!
Yes! My grandmom was an Avon lady and I have all of her costume jewelry. That will be a great project!
First, WHAT? A whole suitcase of jewelry? That’s awesome!
I love how your jewelry projects turned out, because I too am a hoarder of picture frames. So many uses.
Pinning!
gail
Haha Gail. I agree…so many possibilites!
These are fantastic, Suzanne! As a vintage jewelry lover, these just speak to my soul.
Thank you Sarah! I have my grandmom’s vintage costume jewelry. I’d like to make one with those!
I’ve seen this jewelry art used in holiday decor but never with a heart! I love it Sue! Pinned 🙂
Thanks Cindy. I want to make a special one with my grandmother’s brooches!
BRILLIANT upcycle!
I’d love for you to join us over at the Creative Crafts Linky Party every Wednesday through Sunday
https://creativelybeth.com/creative-crafts-linky-party/
Followed and Pinned!
Creatively, Beth
I love your linky party! You’ve featured me before and I’m so grateful. I got out of my routine for a while…I will definitely check back in with your wonderful group! Thanks my friend!
A brilliant way to showcase vintage jewelry! We will be featuring you starting Wednesday at the Creative Crafts Linky Party! Pinned and shared!
Creatively, Beth
How wonderful! Thanks Beth!
Your jewelry art is absolutely gorgeous! Love the Heart motif in the large piece. I’m sharing this post this evening at All About Home. Thanks so much for coming by and linking up!
Thanks Debra! I love your inspirational shares.
Do you keep the backings on your jewelry ot do you cut it or take it off? If so, what tools do you use?
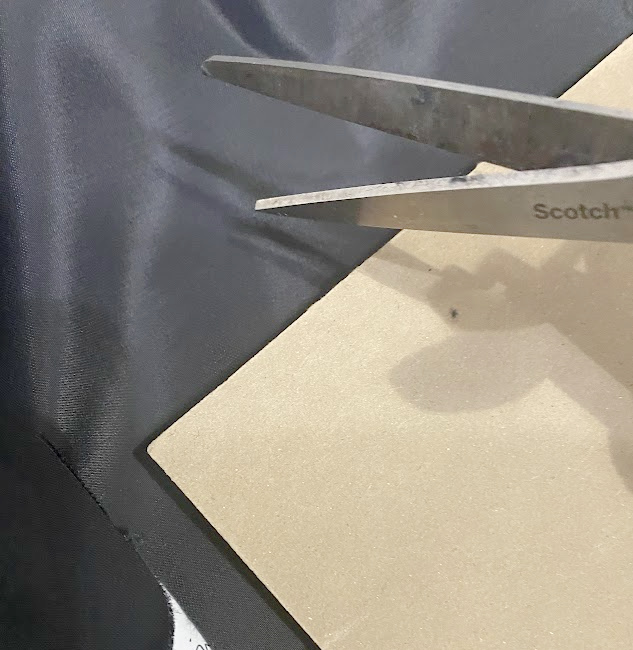
For this project, I wanted the heart to be relatively flat so I used the wire cutters to clip the backs off. You can leave them on if you like. You would have to use more adhesive and dry time would be longer. You would have to be careful that the adhesive doesn’t show. So I would move the jewelry pieces closer together and not leave space between items.
What did you do with the glass?
Hi again, Lynn. I’m enjoying your questions. I save the glass for future projects. I have a small collection.
What tools do you use when making jewelry art? Other supplies?
Hi Lynn. I used a pair of normal wire cutters to clip off the excess metal. I also keep a pair of tweezers on hand for handling the tiny pieces and for precision placement. E6000 is my go too adhesive. I don’t really have specific jewelry making tools. But I do have a vast array of DIY tools that I use for a variety of projects.