Creating Artwork with Vintage Buttons
As an Amazon Associate and member of other affiliate programs, I earn from qualifying purchases.
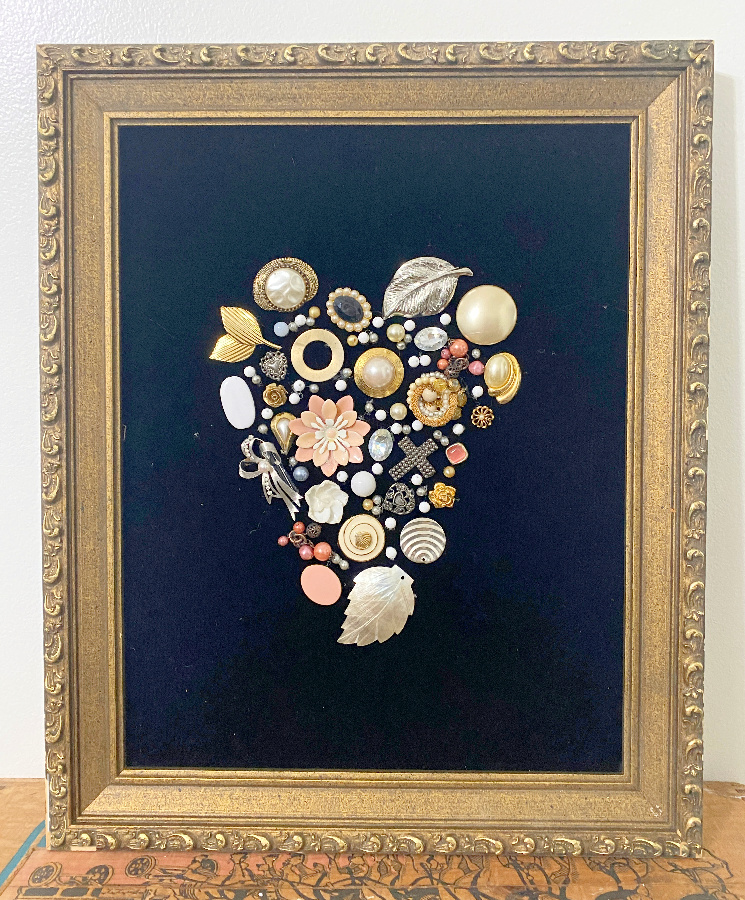
I wanted to created some artwork with vintage jewelry but I needed a practice run to test out the glue and technique for securing the jewelry. So I decided to start with a simpler project creating artwork with vintage buttons and picture frames.
Since it’s January and our home is quite bare having just retired our elaborate Christmas decor to the dark corners of the attic, I decided to make a few festive and colorful pieces of art to scatter around the house. Snowmen and hearts are seasonally appropriate so here we go!
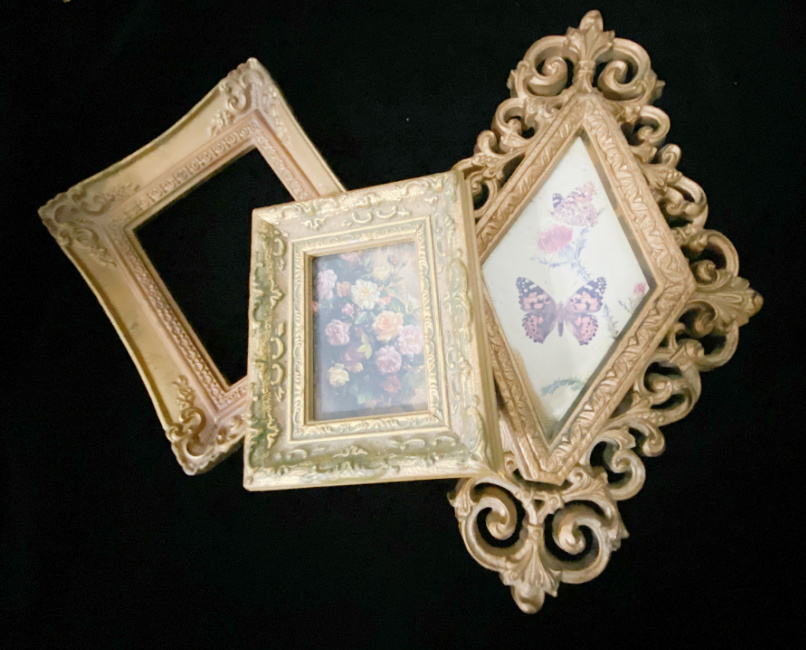
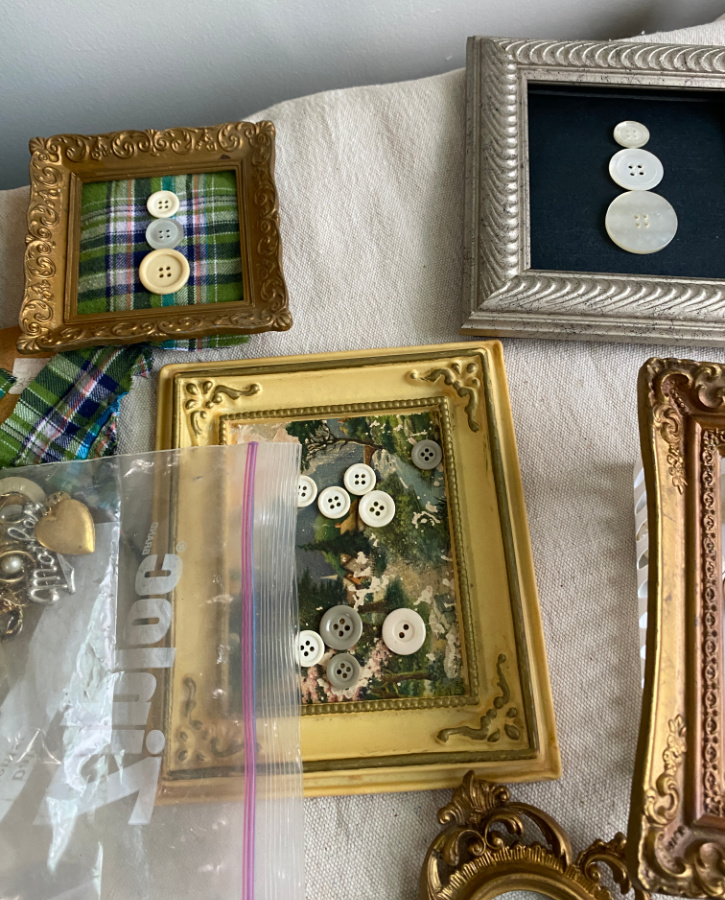
First up, I decided to use some vintage buttons to create a focal point inside of my vintage picture frames. I selected a few small frames from my vast supply in my garage.

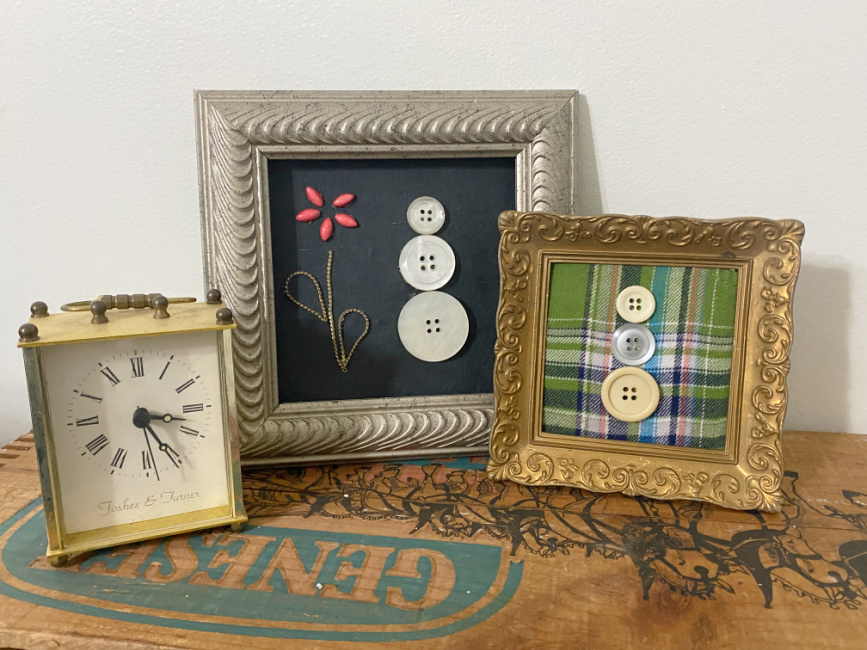
First Frame
The first frame was 5″ X 5″ and didn’t need any attention other than a nice bath. I removed the glass, measured the opening, and cut a piece of fabric the size of the cardboard backing behind the glass. I wouldn’t be using the glass for this project so I set it aside.
Next, I sprayed the cardboard mat liberally with spray adhesive and placed the fabric, back side down, onto the mat. I smoothed the fabric so that there weren’t any bumps or wrinkles which was easy since I had selected a flannel for this frame. Once dried, I placed the mat into to opening of the frame securing it with hot glue.
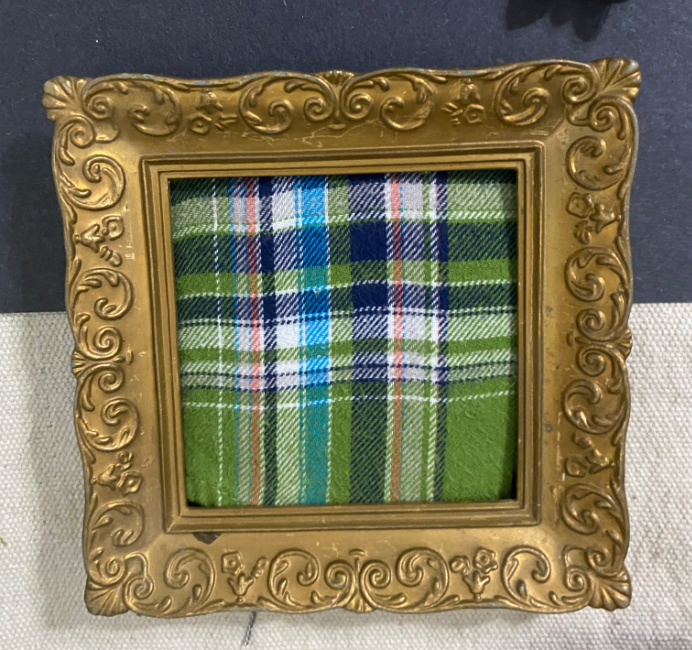
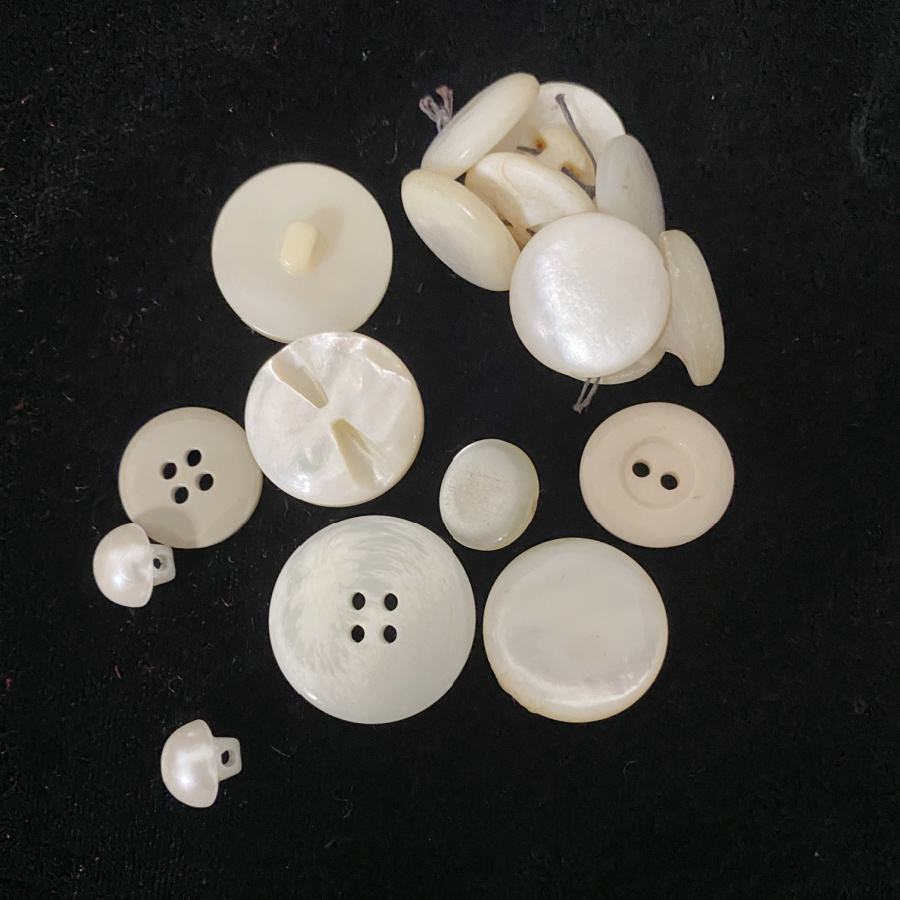
I selected 3 vintage buttons and arranged them in the shape of a snowman onto the fabric. I used my hot glue gun to secure them into place. Easy peasy!
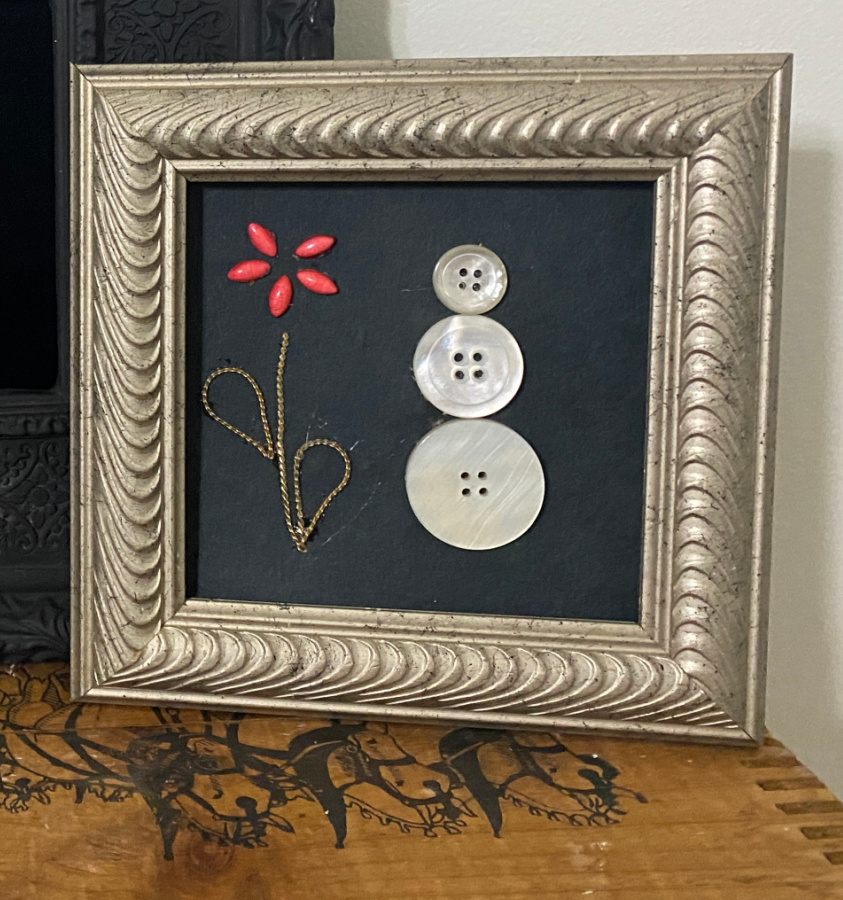
Second Frame
For the second frame, the mat was a piece of black cardboard that was quite sturdy so I simply used that without adding any fabric.
I glued another 3 vintage buttons onto the mat and added some beads and a piece of gold chain to form a flower. I used the E 6000, applied with a toothpick to secure the flower parts. Another easy creation!
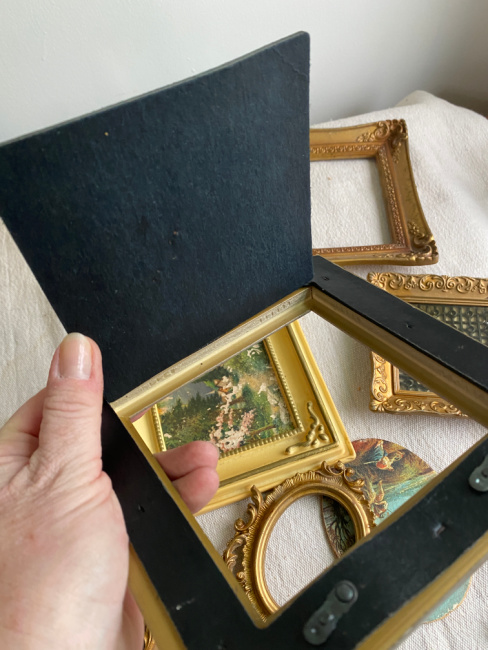
Third Frame
For the last little frame, I cleaned the frame and pray painted it with a fresh white coat of Rustoleum 2X spray paint with primer, my go to spray paint.
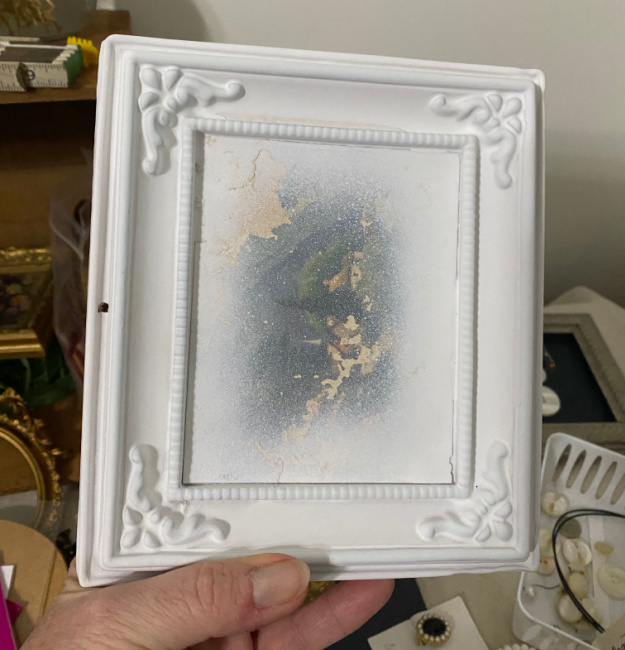
After it was dry, I measured the opening on the frame and cut a piece of sturdy cardstock and a piece of fuschia crepe paper left over from my daughter’s bridal shower from a few years back.
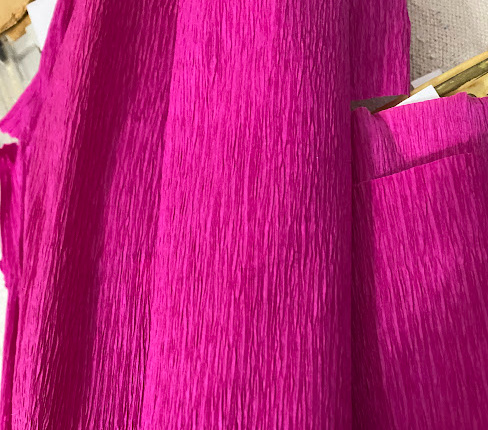
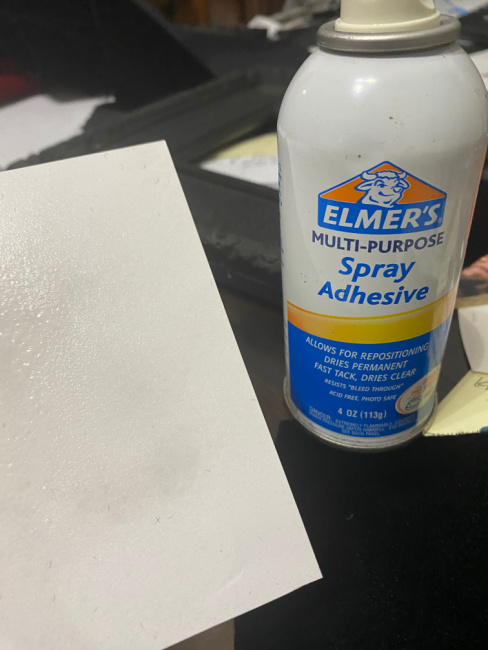
After ensuring that the cardstock, which would serve as at mat onto which the buttons would be glued, and the crepe paper fit nicely into the opening, I sprayed the cardstock with spray adhesive and secured the crepe paper on top of it to complete the colorful mat. I allowed this to dry for about 30 minutes.
I played with the placement of the buttons until I was happy with the heart shape I created.
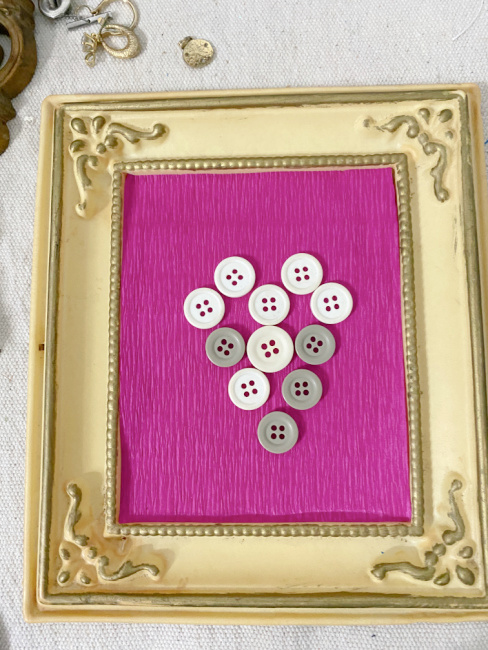
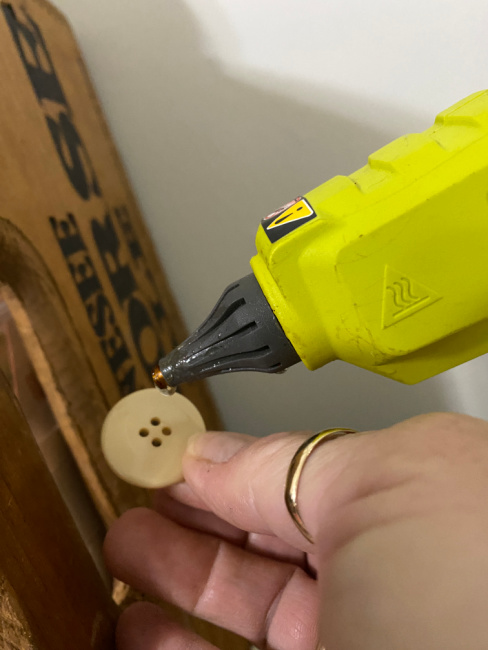
Again, I used my Ryobi cordless glue gun to secure the buttons onto the mat. I added some smaller beads to fill in the spaces between the button.
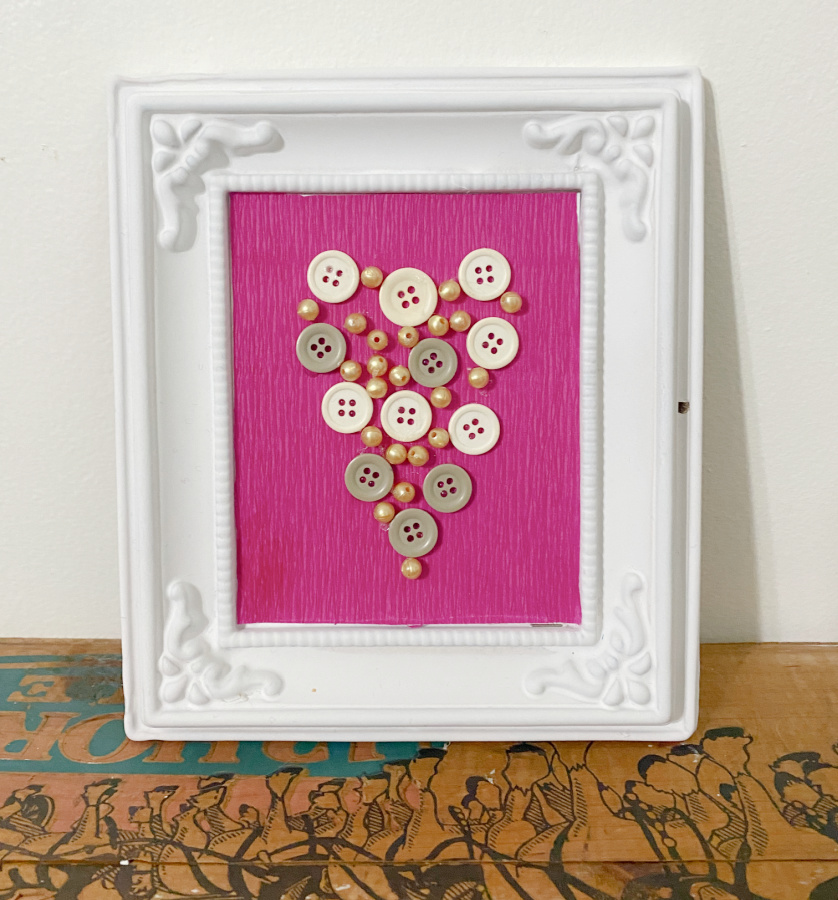
Such a quick and easy project. I’m happy with my little pops of color and festive January decor that I have created.
Check out my similar post where I used vintage jewelry to create another selection of artwork!
Very cute frame projects! Perfect with old jewelry parts and buttons.
Thanks Carlene. I need some frame art in the garden this year.
What kind of Wire Cutters did you use? Did you get them on Amazon? Thanks!
Hi Lynn. I just use my normal wire clippers. Let me find a link for you. Mine are similar to these…https://amzn.to/3F8iUPn. This is an affiliate link.