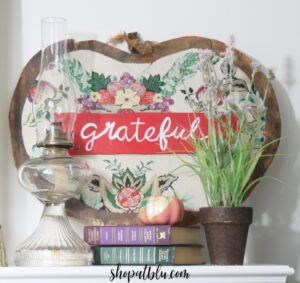
Repurposed Vintage Glass Water Jug
As an Amazon Associate and member of other affiliate programs, I earn from qualifying purchases.
I have been looking for a vintage glass water jug for quite some time. I am a lover of glass and all things primitive/rustic. My antique loving heart wishes acquire a beautiful European carboy encased in a wooden crate. When I saw this beauty in an antique store in Appalachia for just $30, I knew I had found the perfect placeholder.
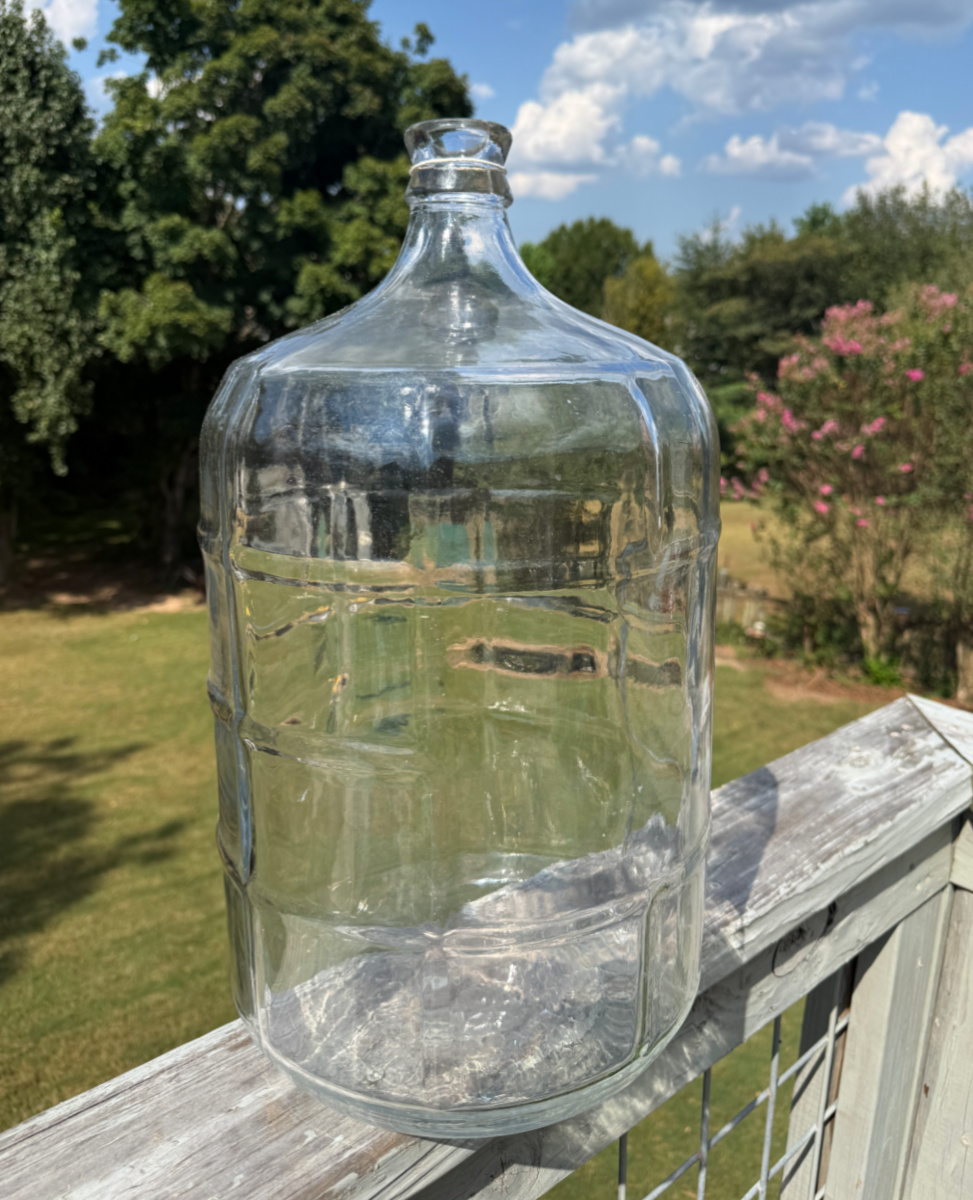
I got her home and was trying to come up with a practical use for her. I wanted to keep her shiny and beautiful so outdoor use would be questionable. I have a plastic 5 gallon water cooler jug that Pop used to corral his collection his loose change. So, of course, we still have that. No need for another. And I also want to keep the inside of the vintage glass water jug shiny and clean. Here’s a photo with my hand in the photo to more accurately show the side of the glass water jug.

It’s the perfect height for a side table. Yes! Let’s fashion a side table from this gorgeous vintage glass water jug.

It’s Thrift Store Decor Team Wednesday! Be sure to check the end of this post for all of the team projects. I can’t wait to see what skills my creative team members are sharing this month!
Creating a Tabletop for a Glass water jug
I remembered that I had this wooden round in the garage.
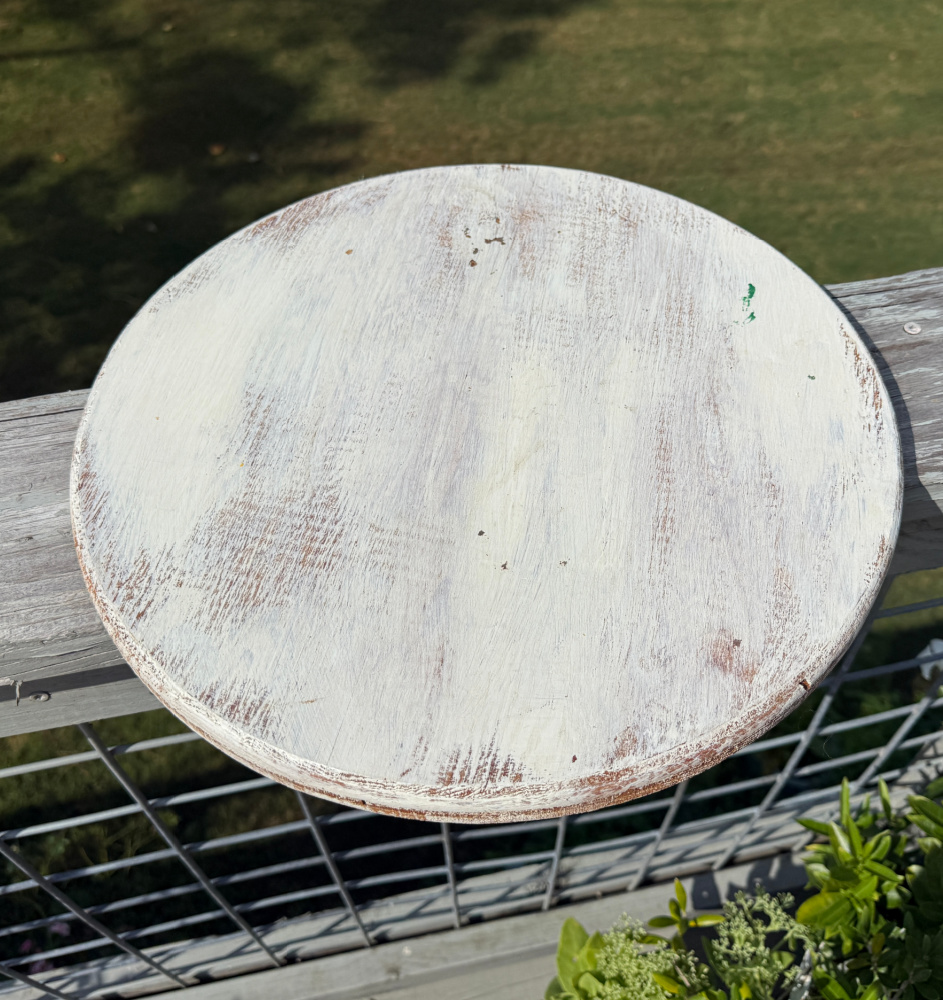
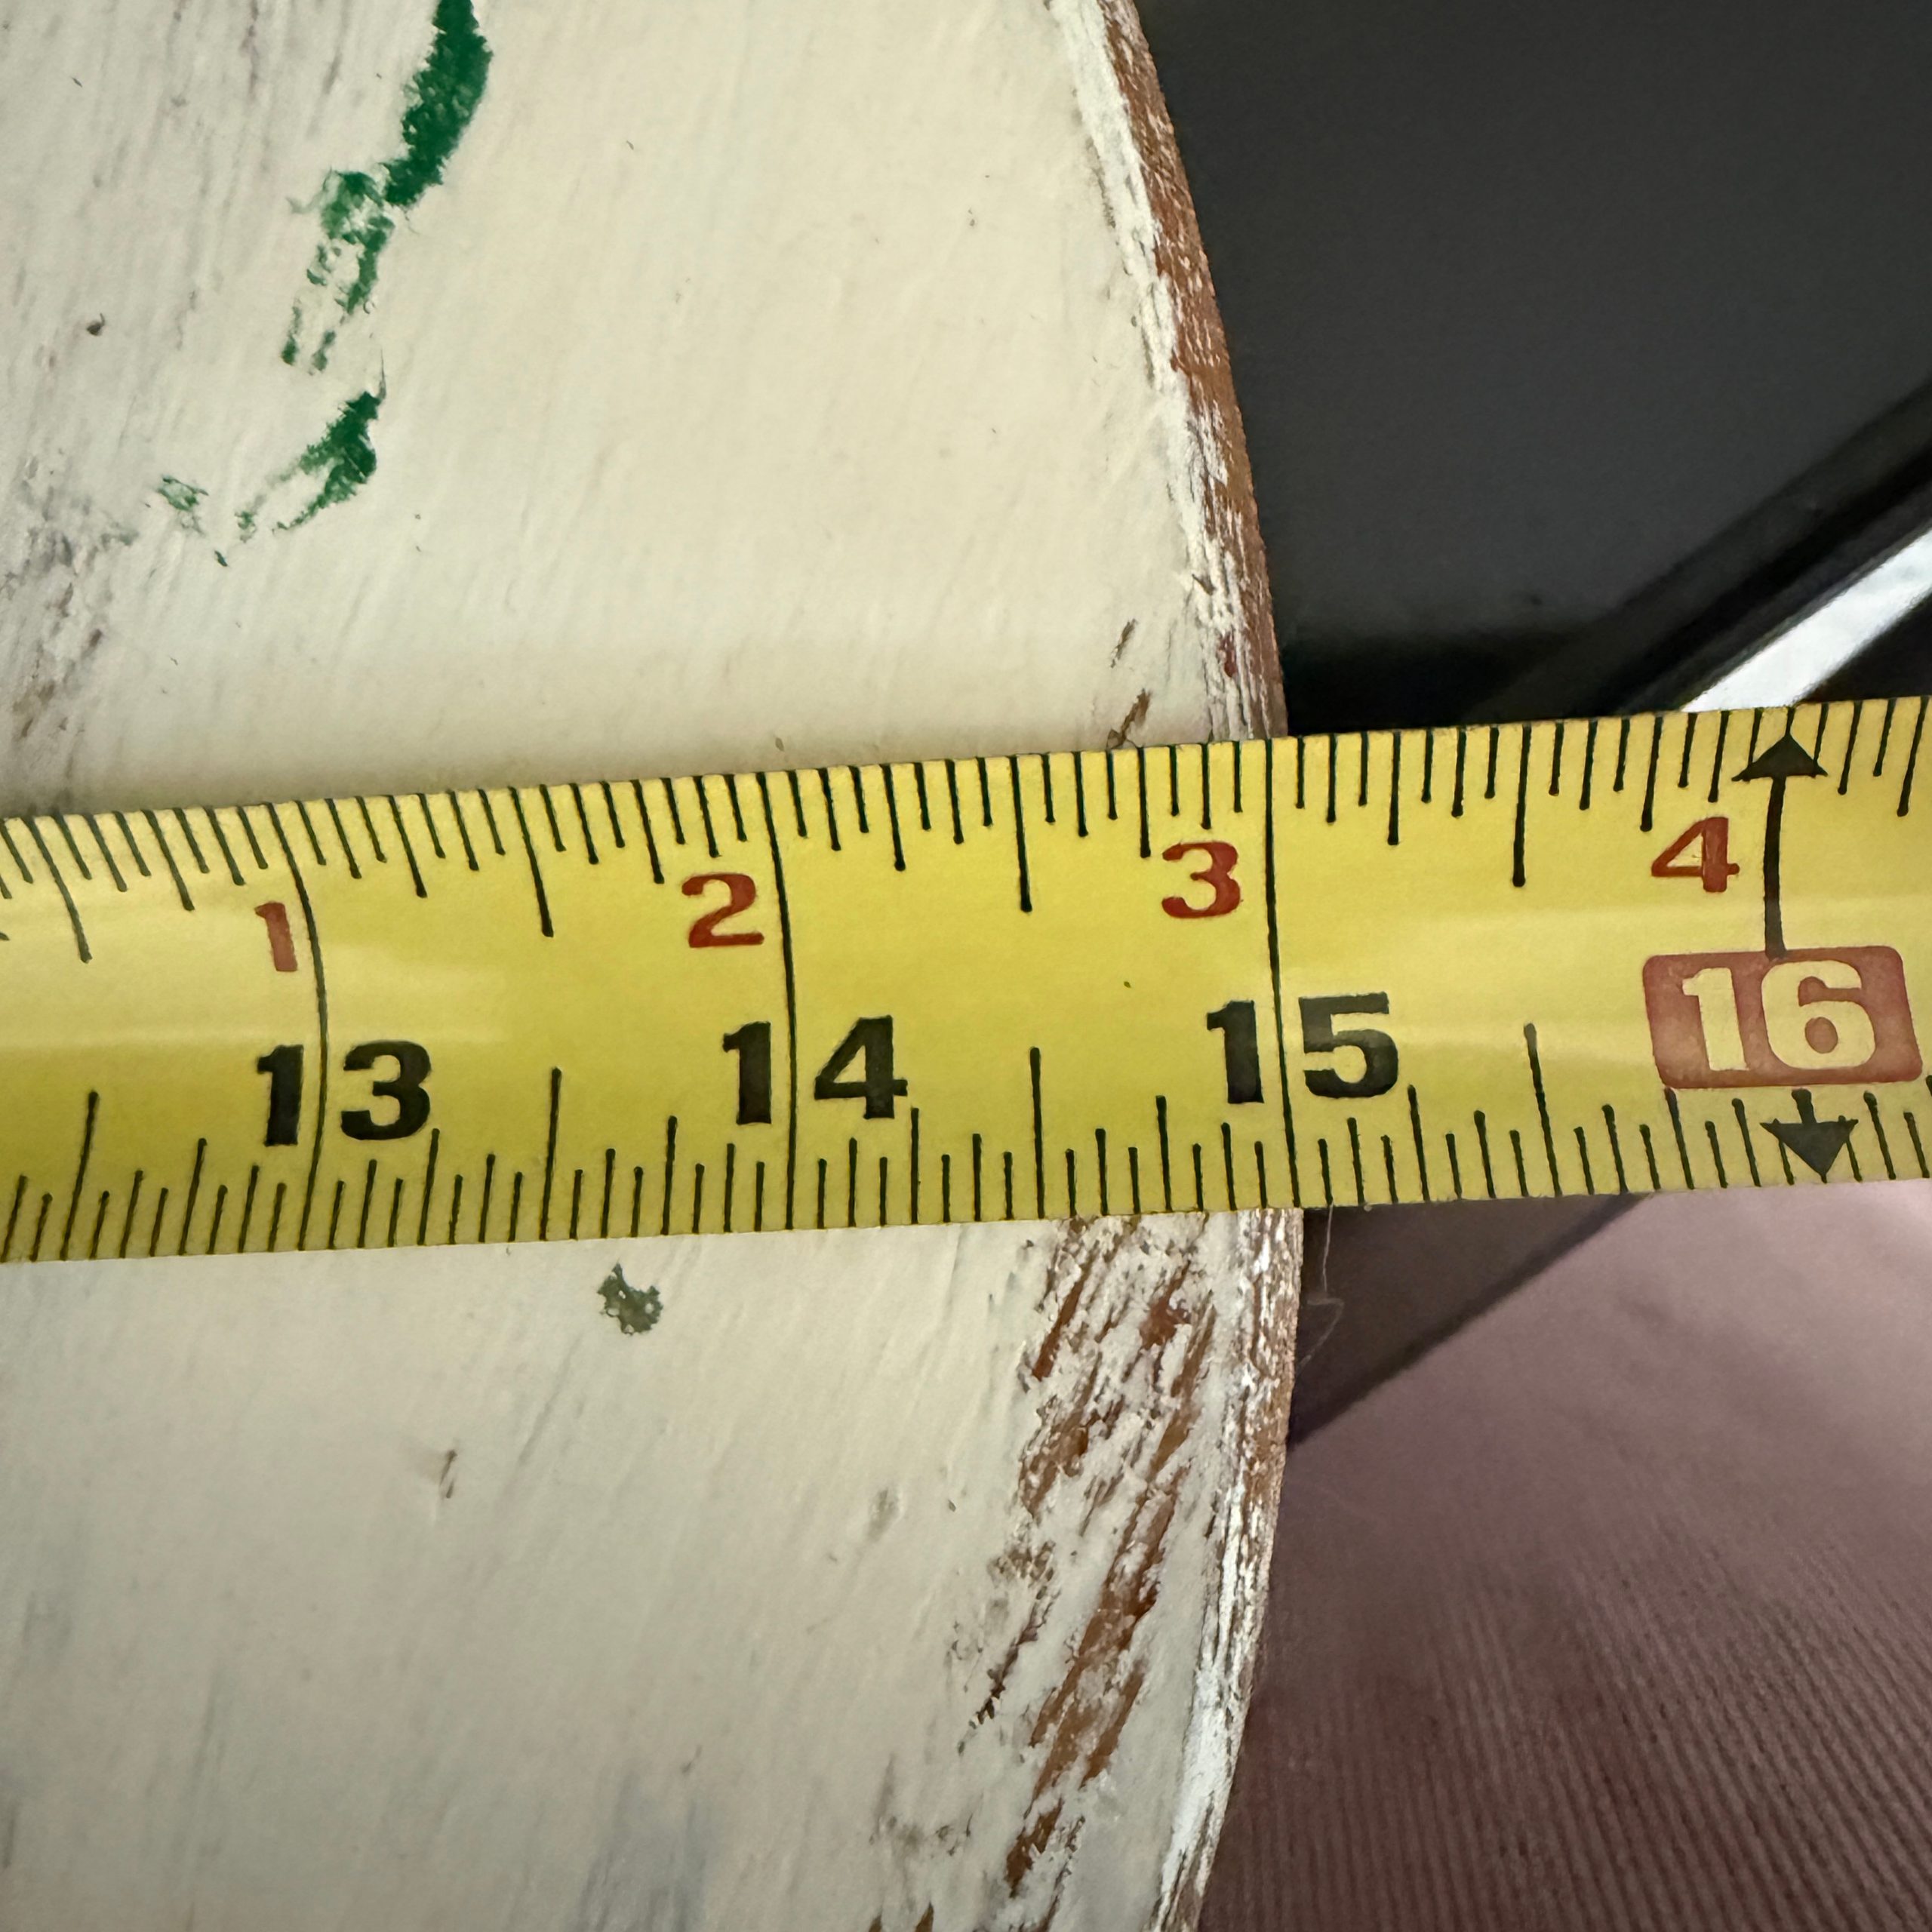
It was about 15 inches in diameter.
One side was painted white and the other was raw wood. I’ll probably use the white side and distress it a bit.
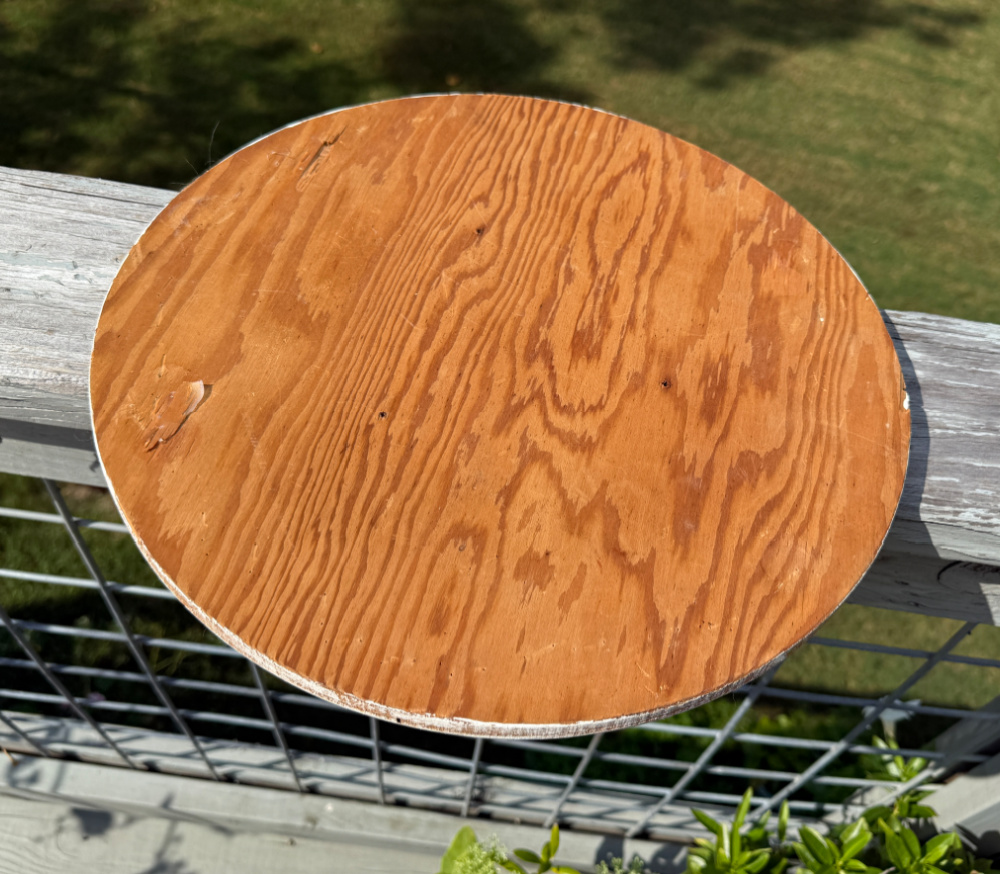
Creating a Tabletop
The plan is quite simple – drill a hole in the center of the wooden round large enough to slip the round over the neck of the jug creating the tabletop. I measured the diameter of the jug neck.
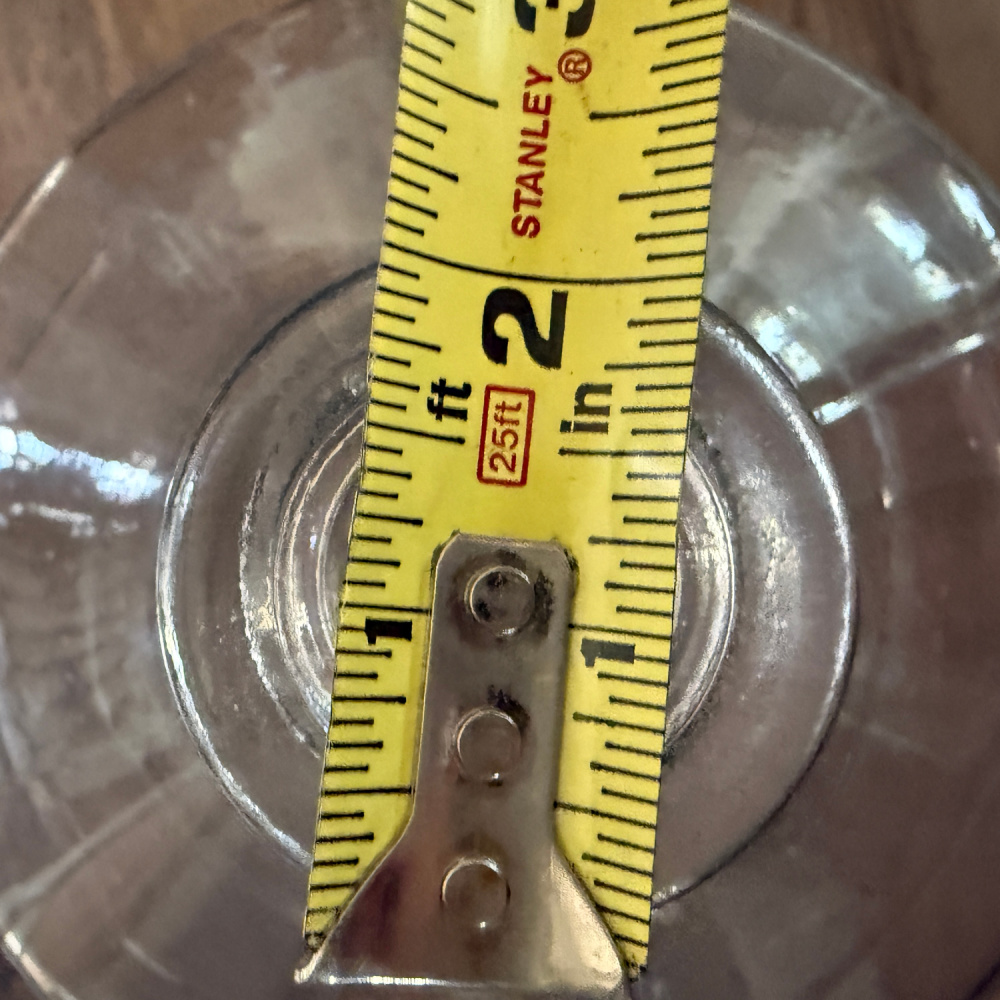
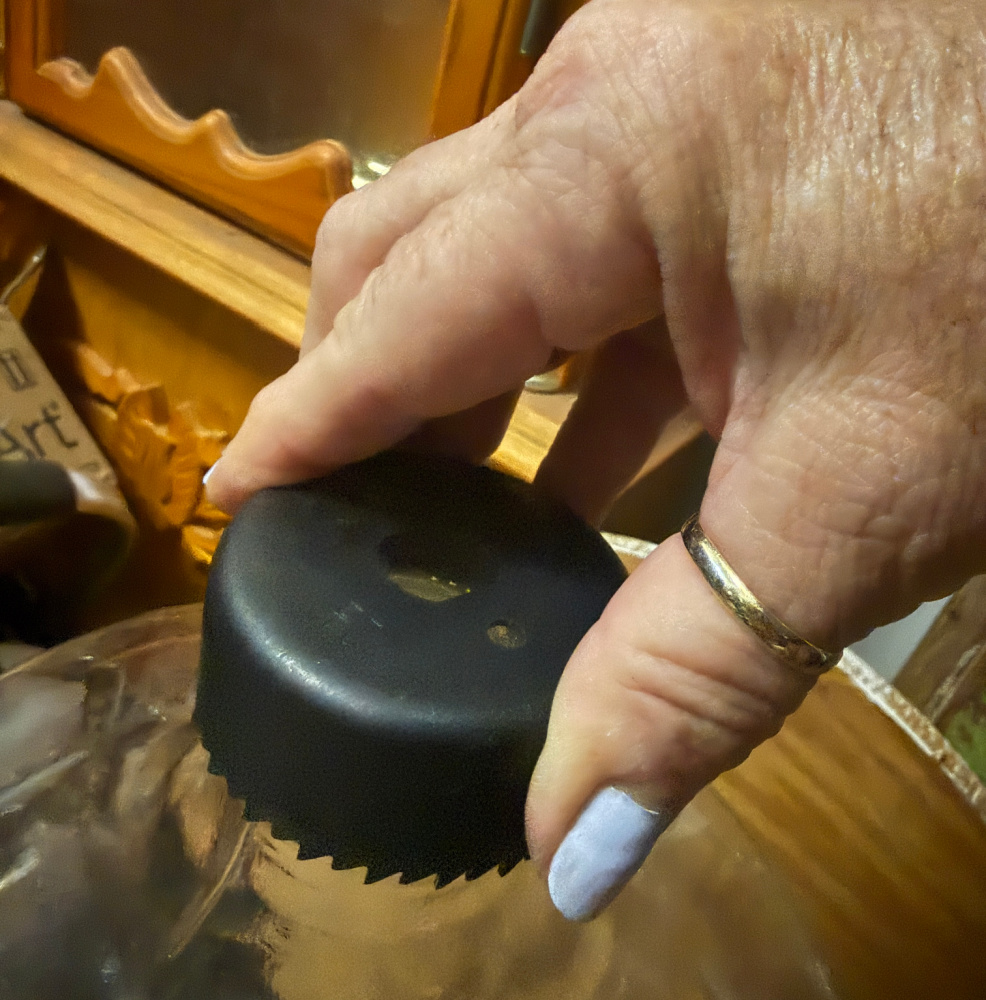
I found a hole saw attachment for my drill that was the right size.
To cut the hole, I had to find the center of the wooden round. So, I traced the round onto paper and cut out the circle. I folded the circle in half and fold it in half again. I found the center and placed the template on the wooden round.
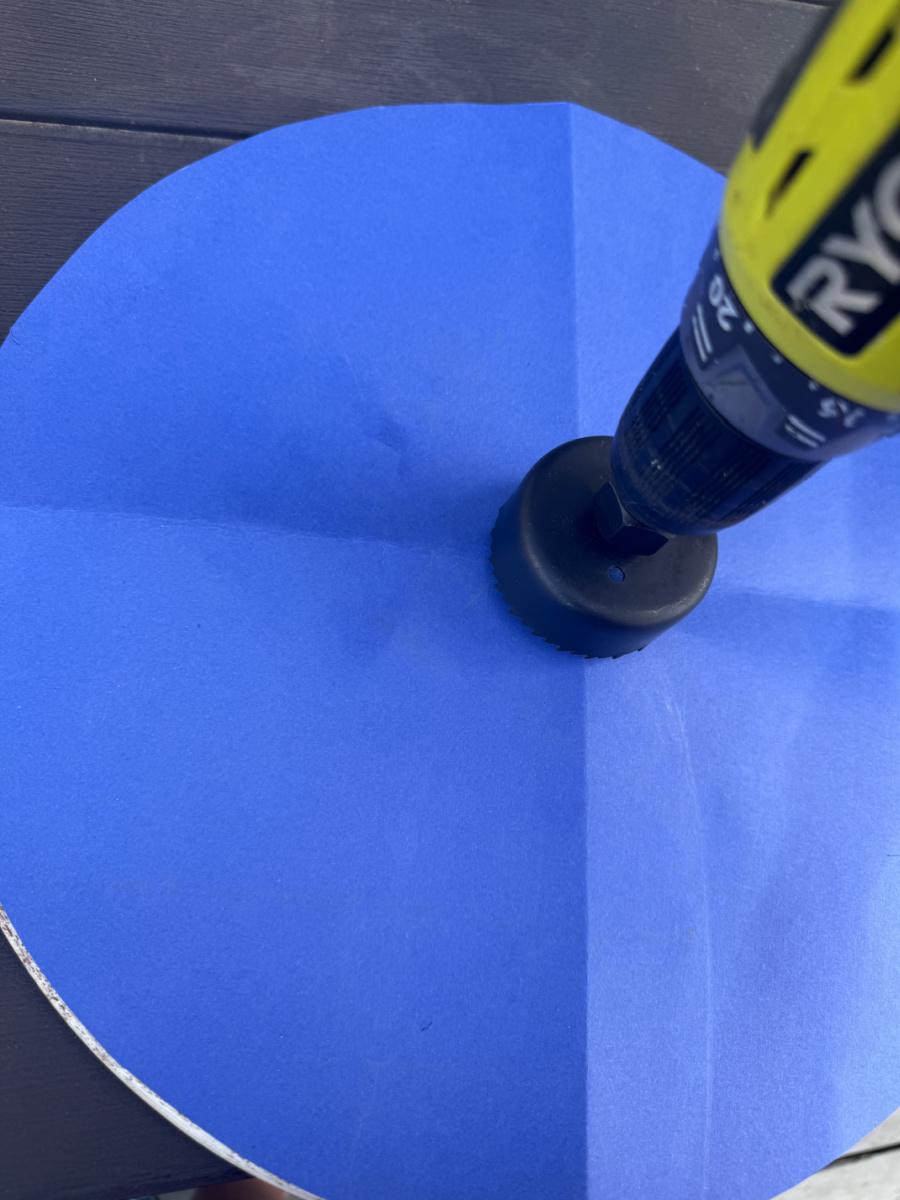
I started the hole with my drill and then removed the blue template.
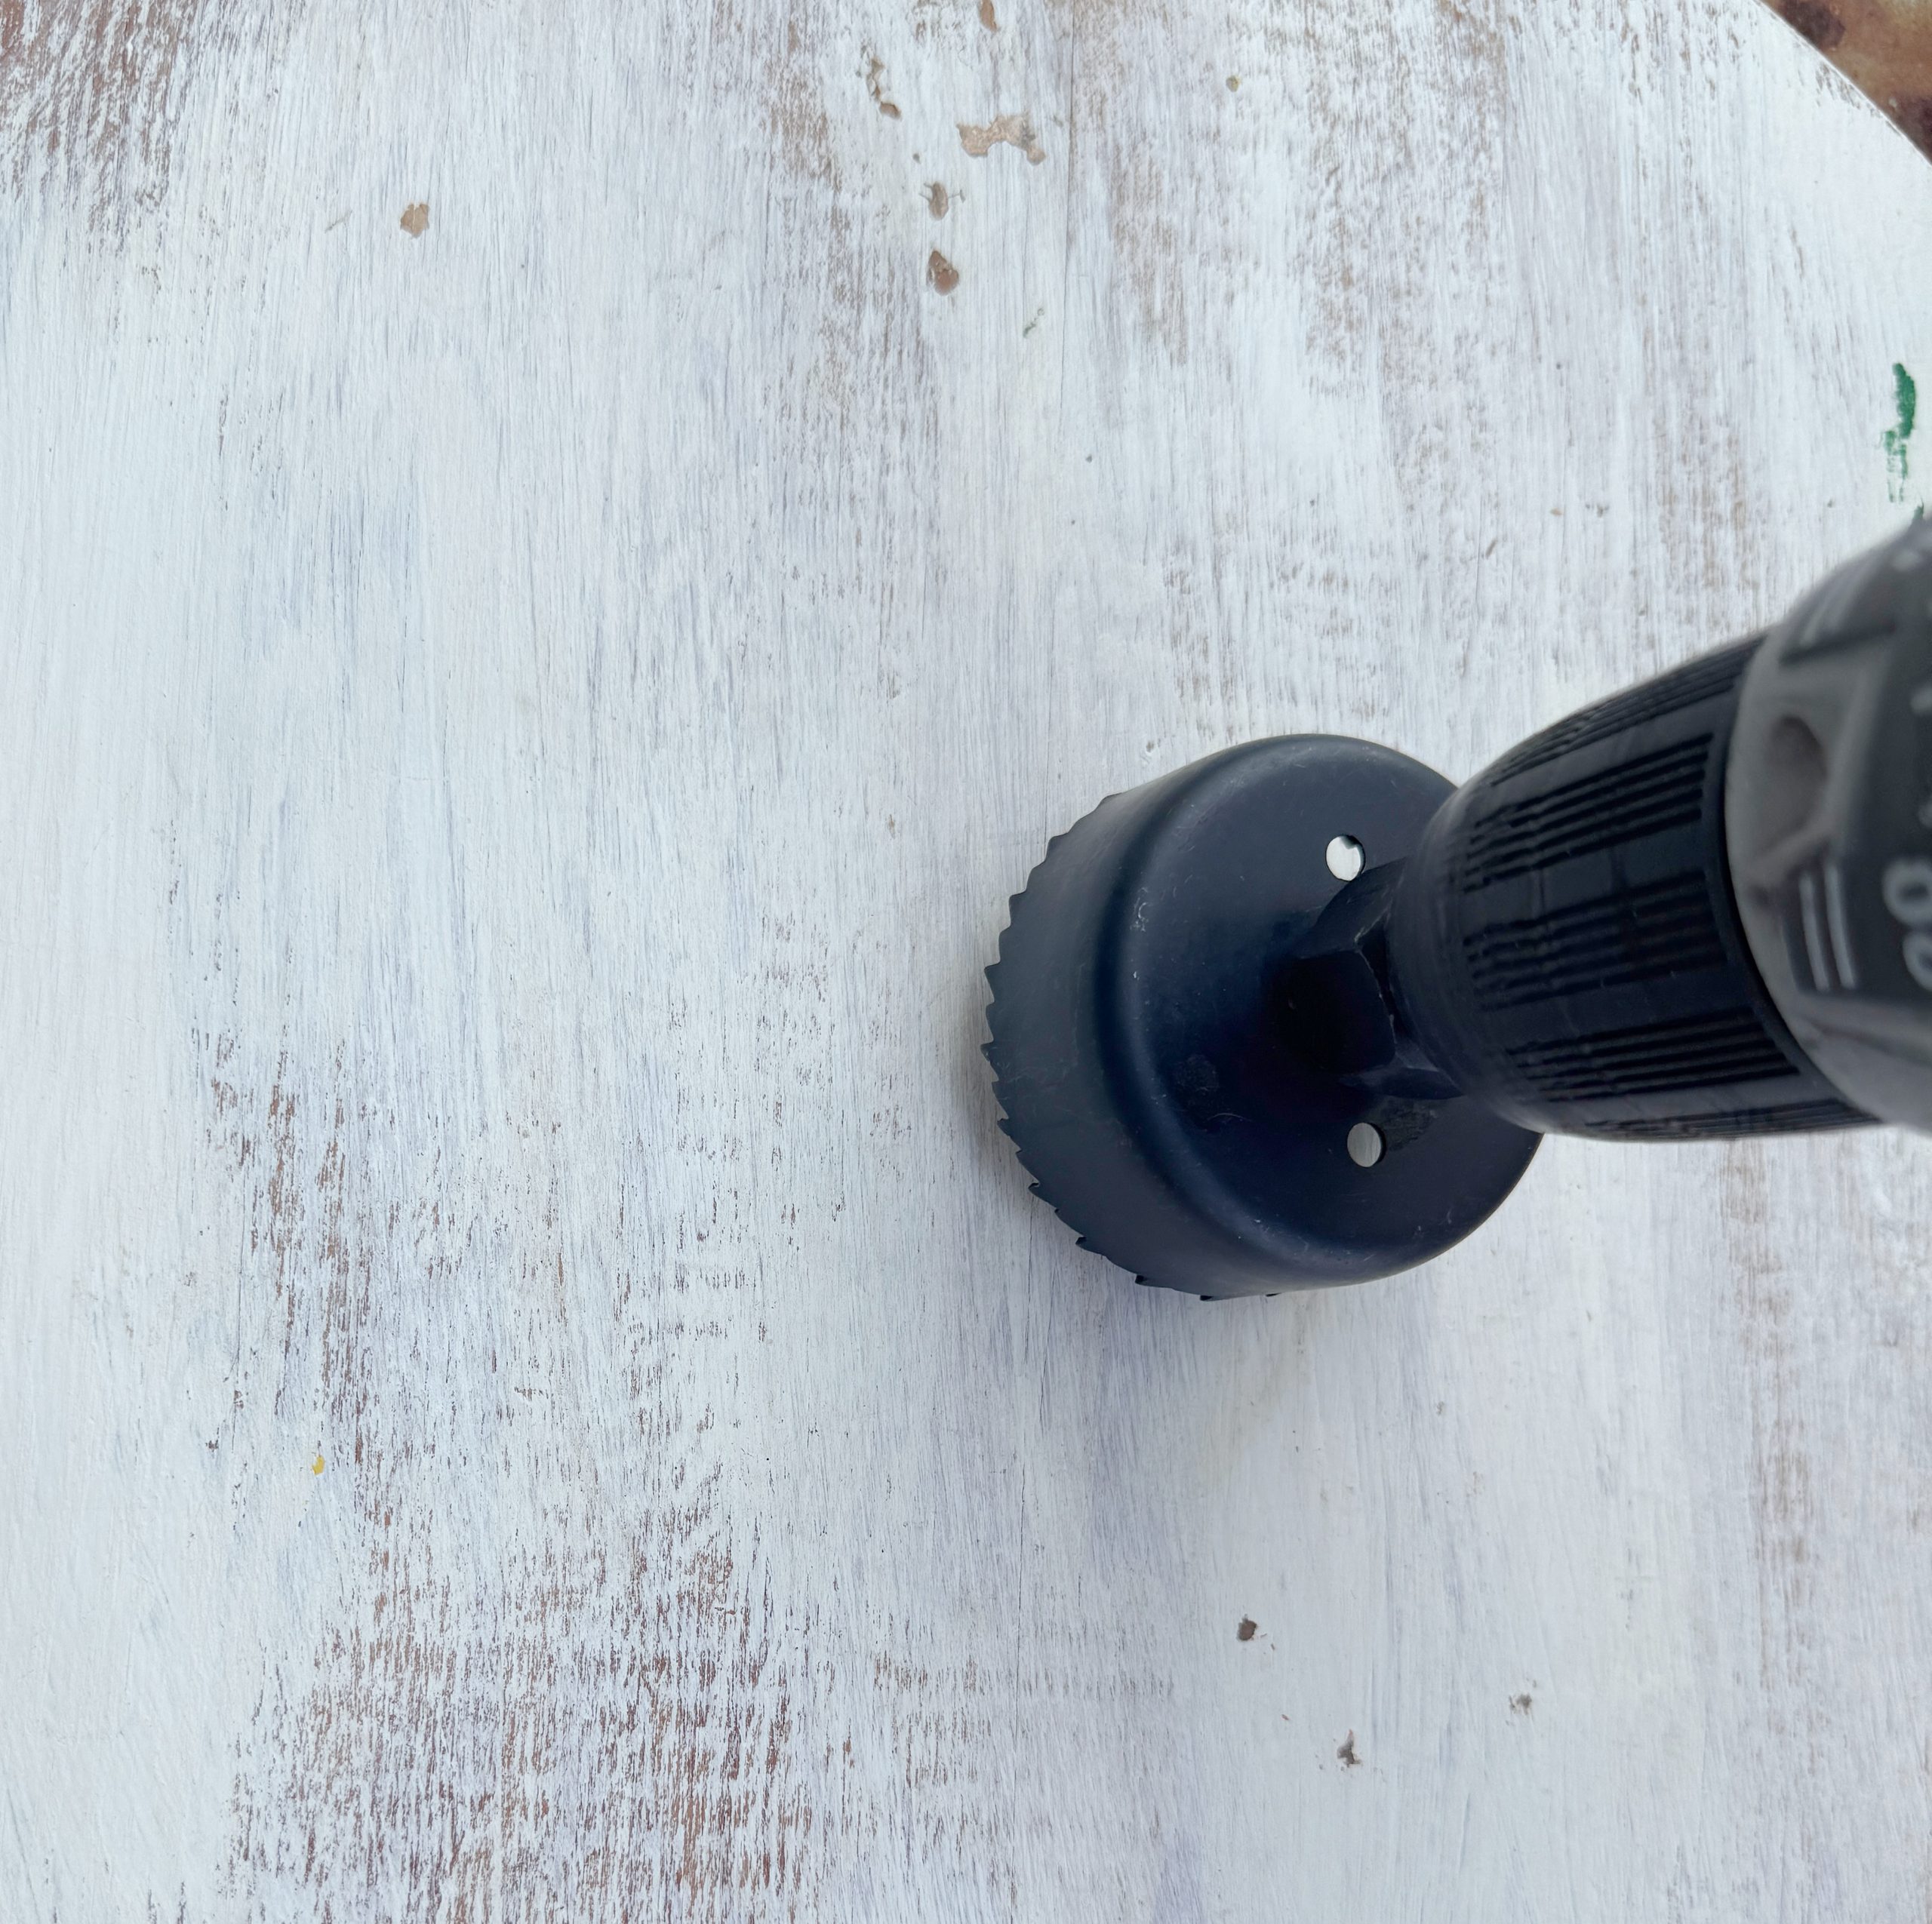
With the hole saw bit in place, I started slowly to score the wood and slowly picked up speed.
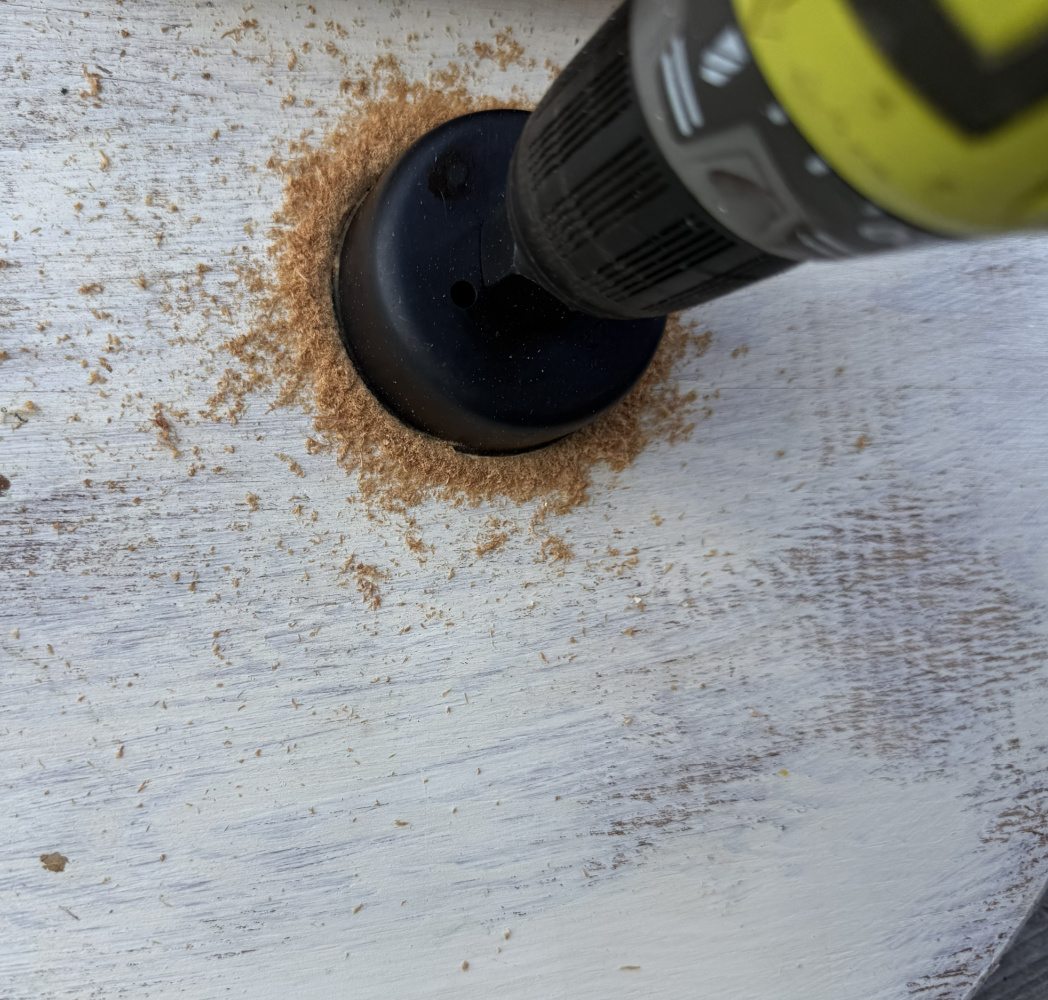
Voila…a hole!
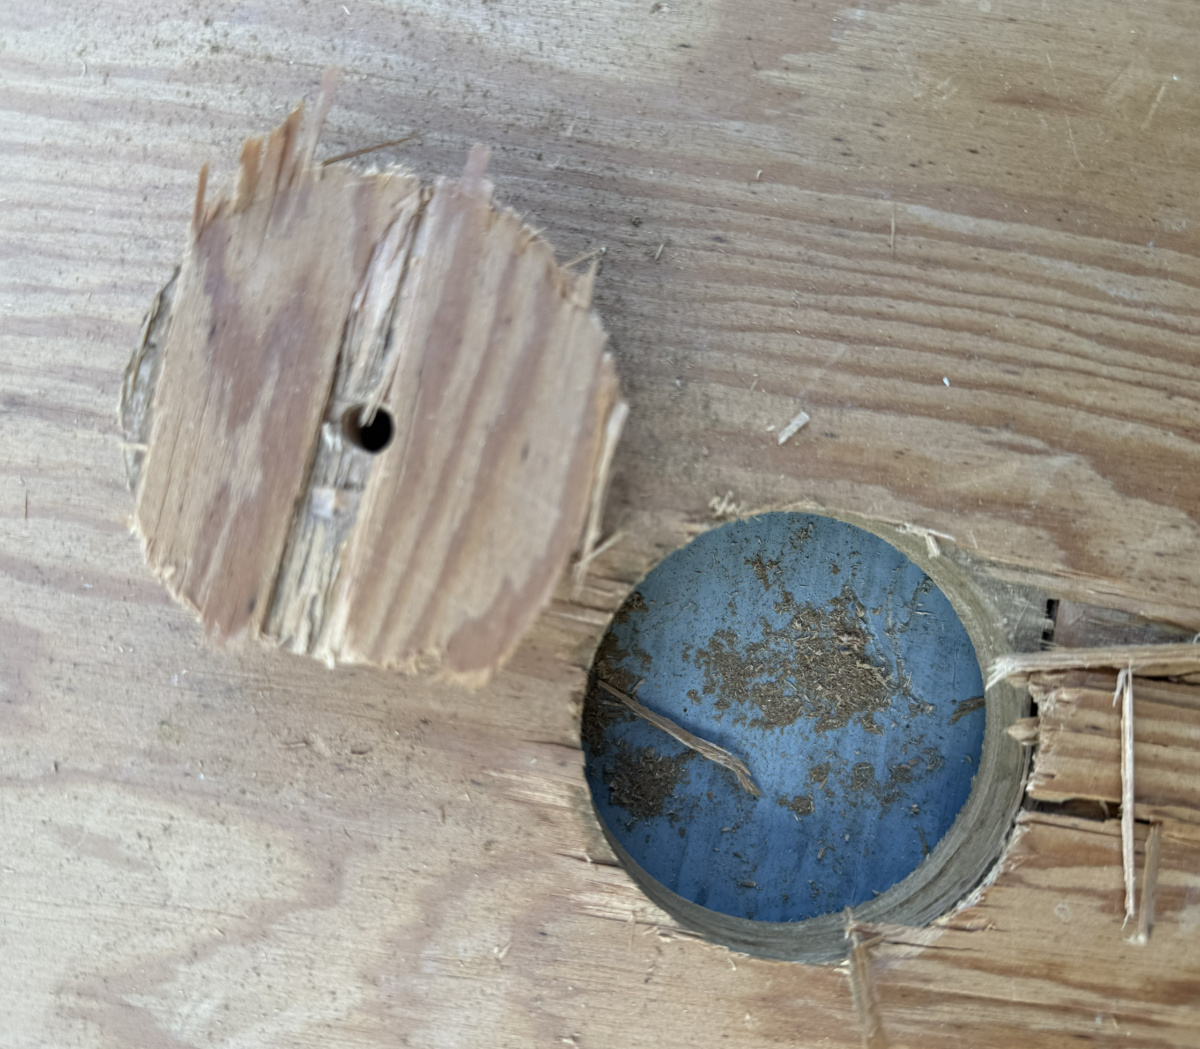
I set the tabletop in place. Because of the curve of the glass, it did not sit flush. I wanted the top to be relatively secure so that it would be a functional tabletop. What good is a tabletop if items roll or fall off when set on the tabletop? I needed a level stable surface.
Stabilizing the table top
I had a project earlier this year when I needed to custom mold an insert. Great Stuff foam worked well for this project where I created a wall planter from a wall pocket. So I grabbed the Great Stuff.
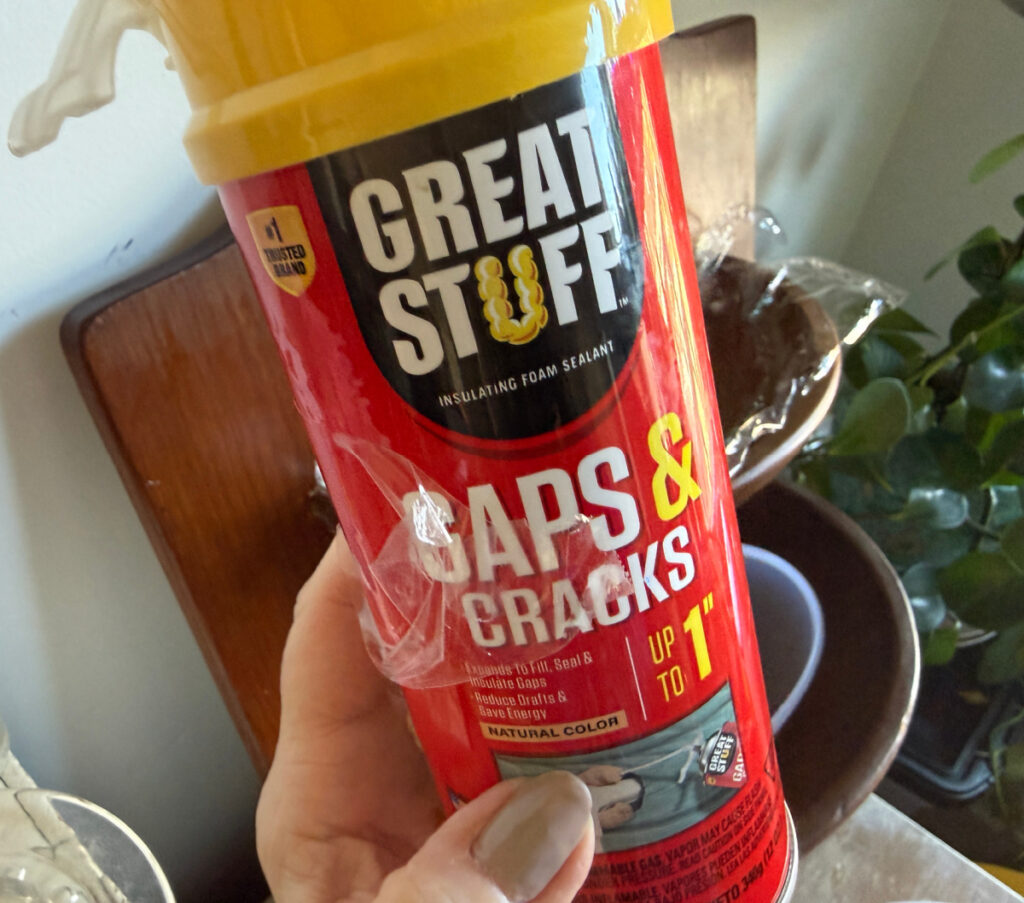
To eliminate the need to clean up the glass from excess foam, I used a gallon Ziplock bag to cover the neck of the glass water jug.
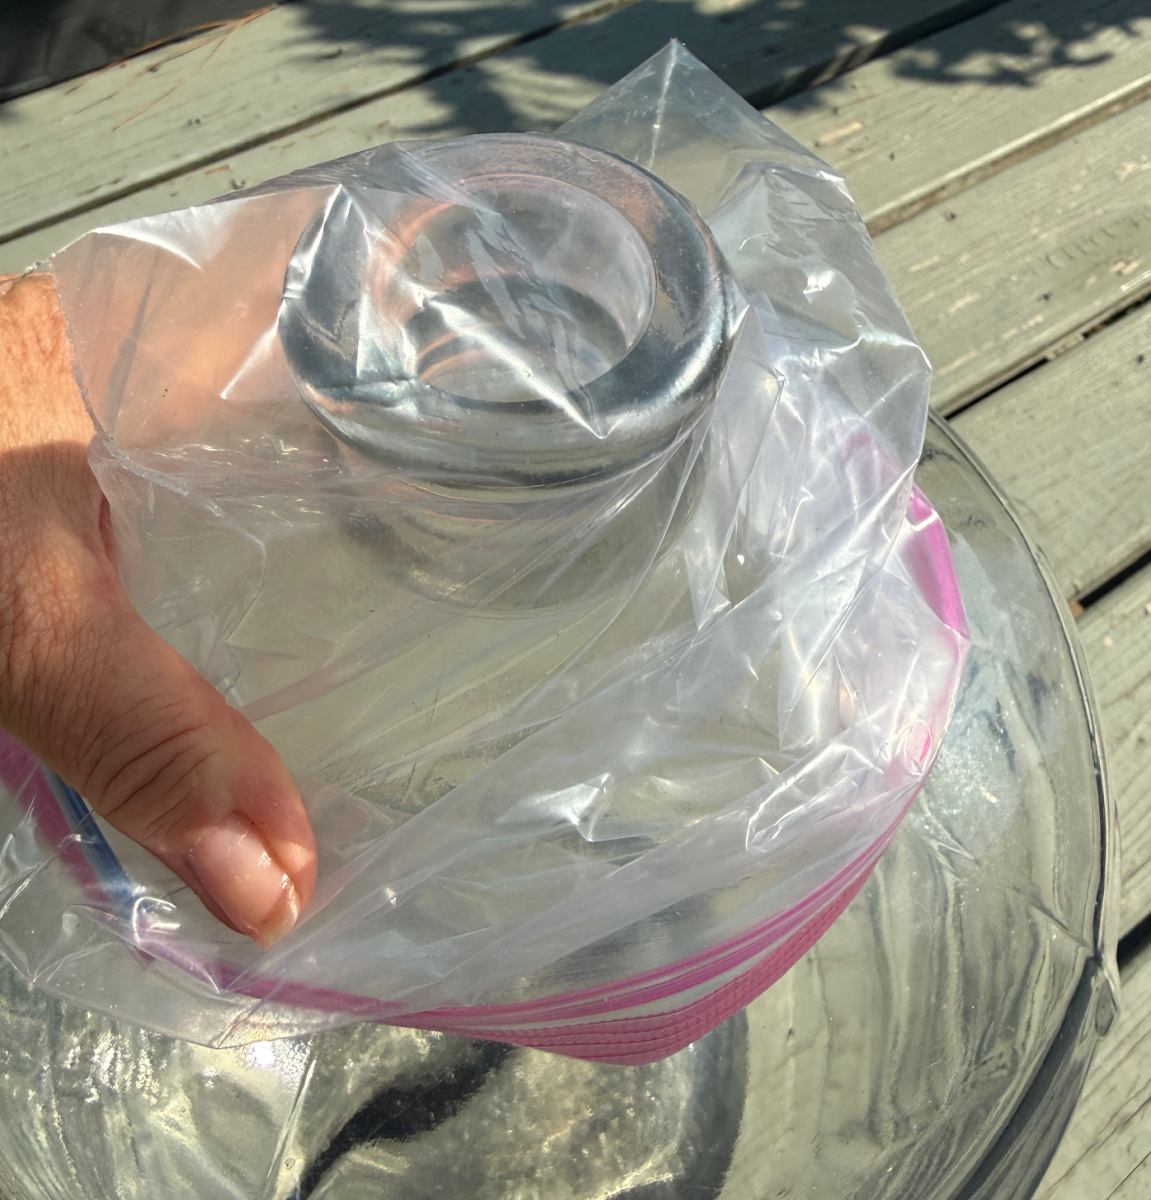
I sprayed the Great Foam around the glass water jug neck.
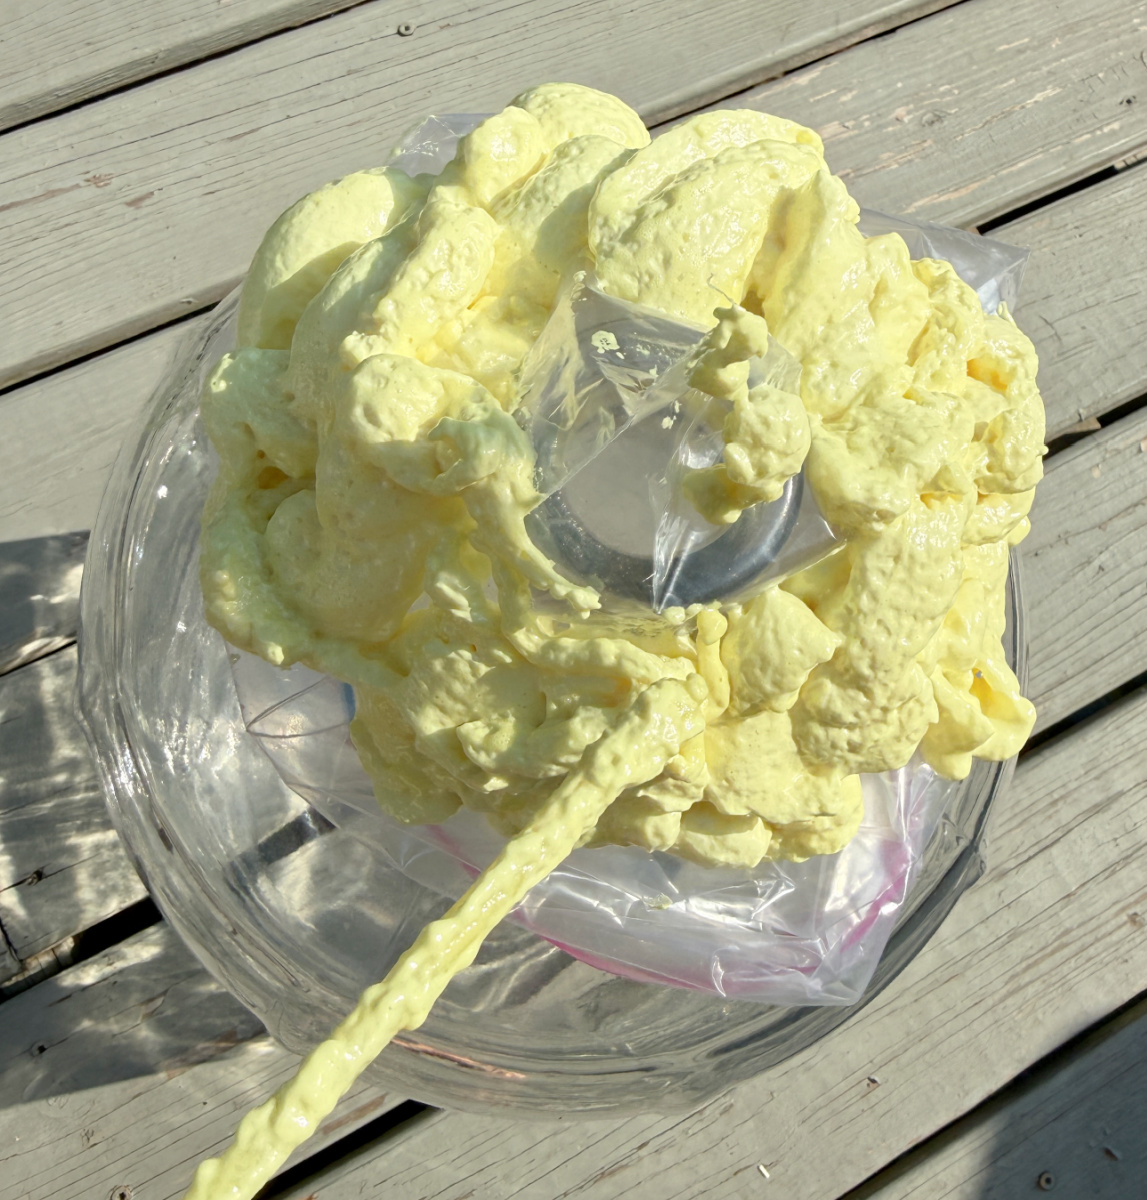
Then I slid the tabletop over the neck of the glass water jug and pressed down creating a snug fit.
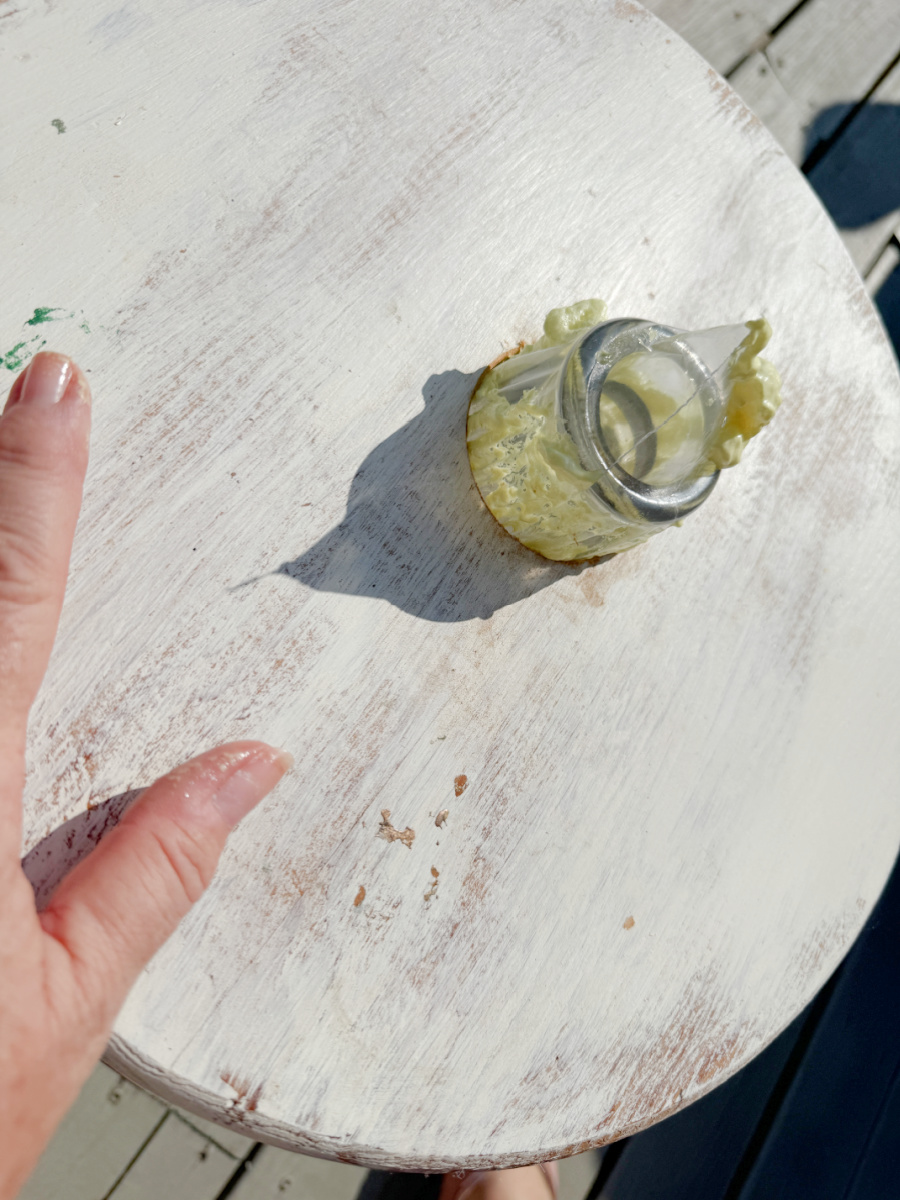
I allowed the foam to dry for a few hours and gently pulled off the excess foam from around the hole.
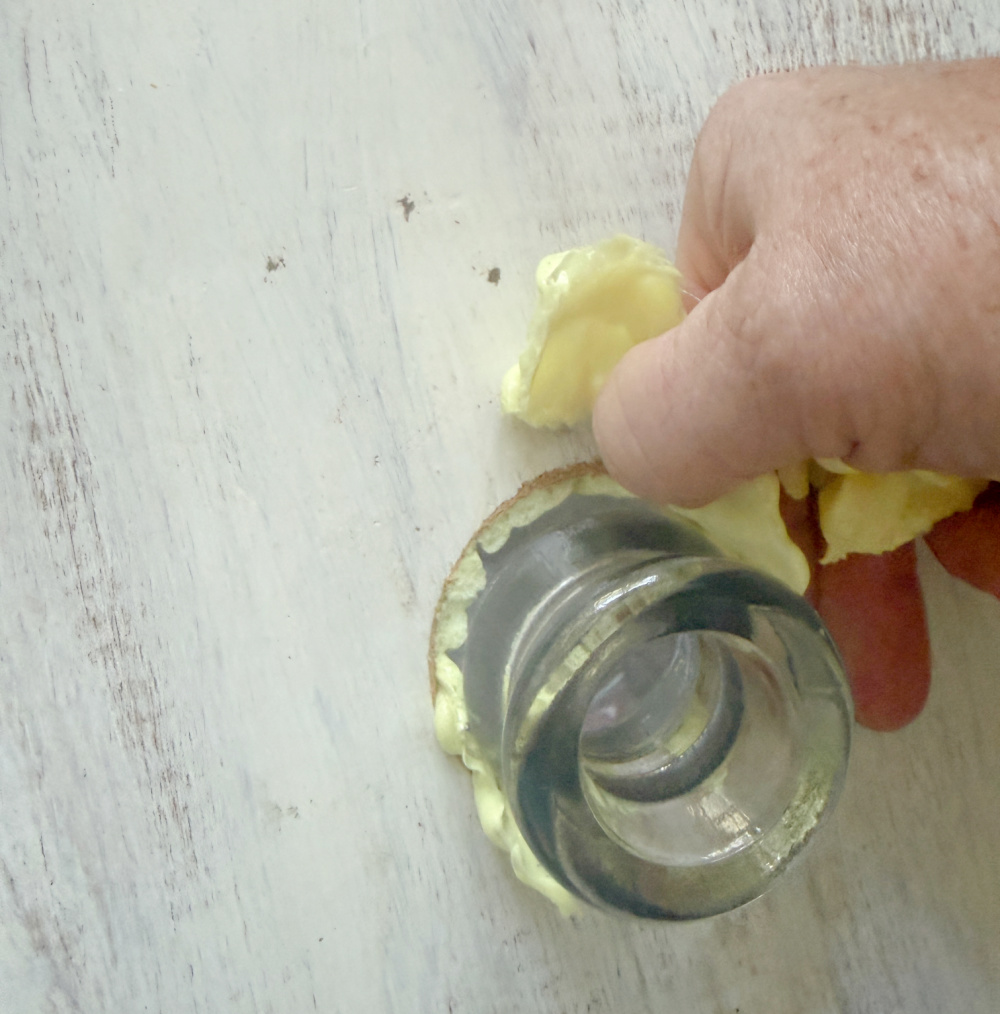
Next, I lifted the table top off of the jug and peeled off the plastic.
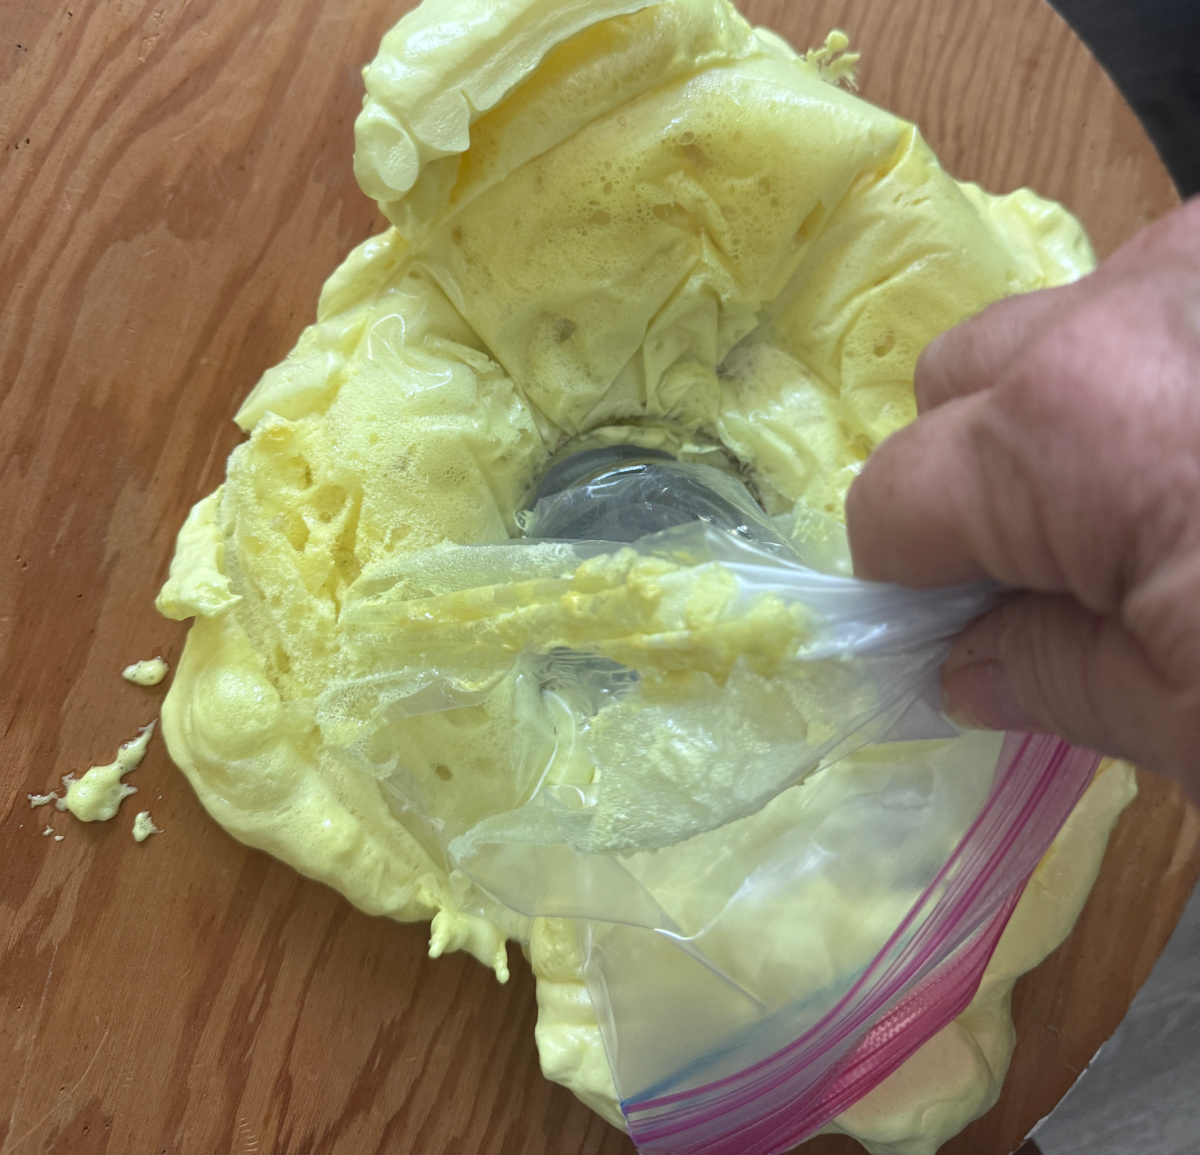
The foam had created a nice base on which the tabletop could rest creating a stable surface.
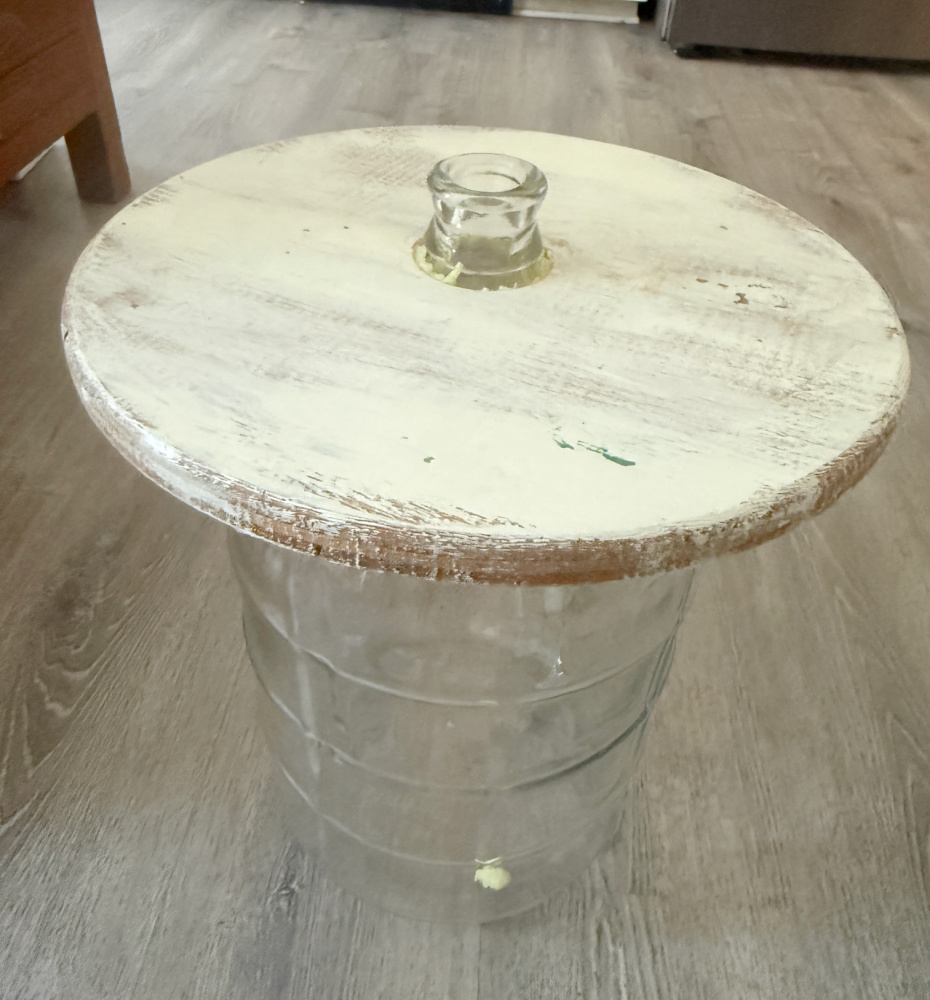
I lightly sanded the white side of the tabletop creating a distressed finish. I wiped off the dust and applied a some Black Dog Salvage Furniture Paint Show Dog Top Coat.
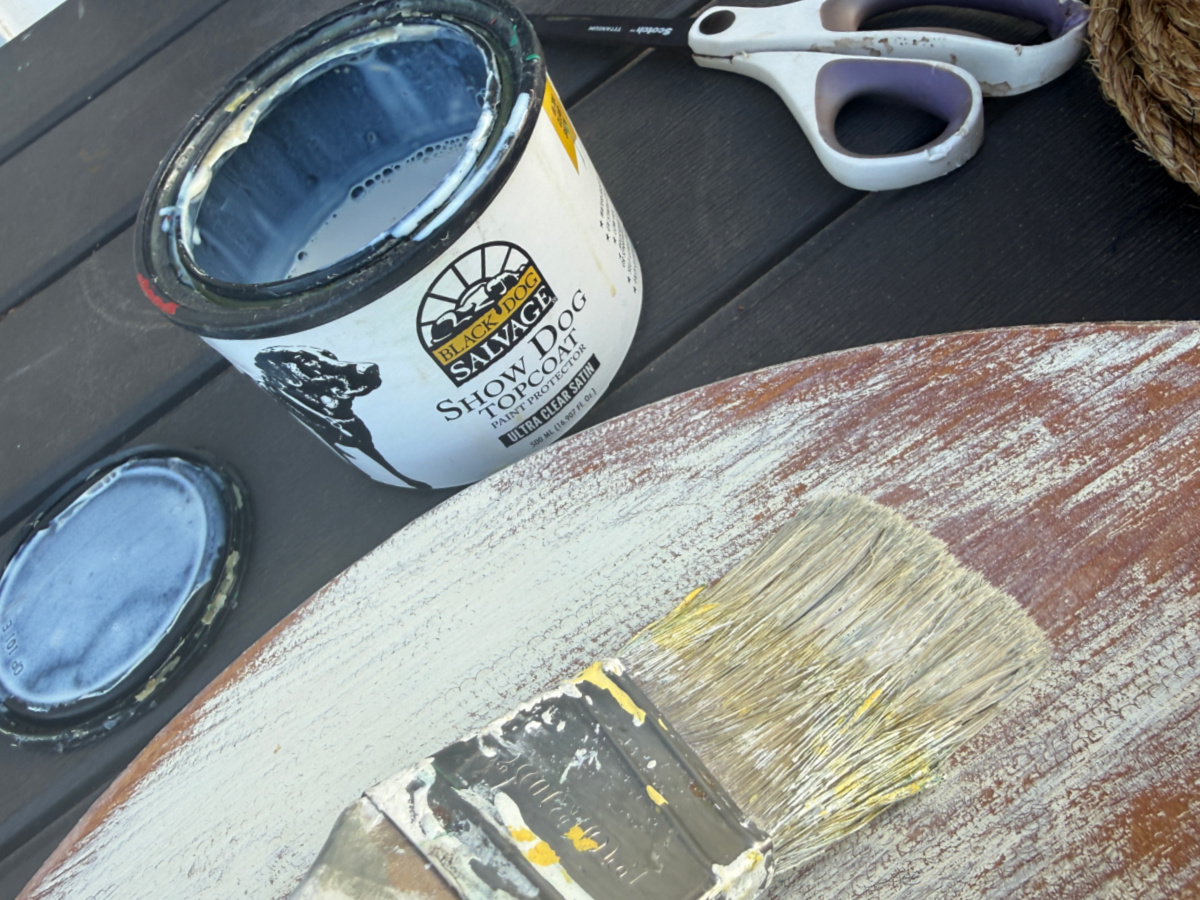
You know I love a great distressed piece of wood!
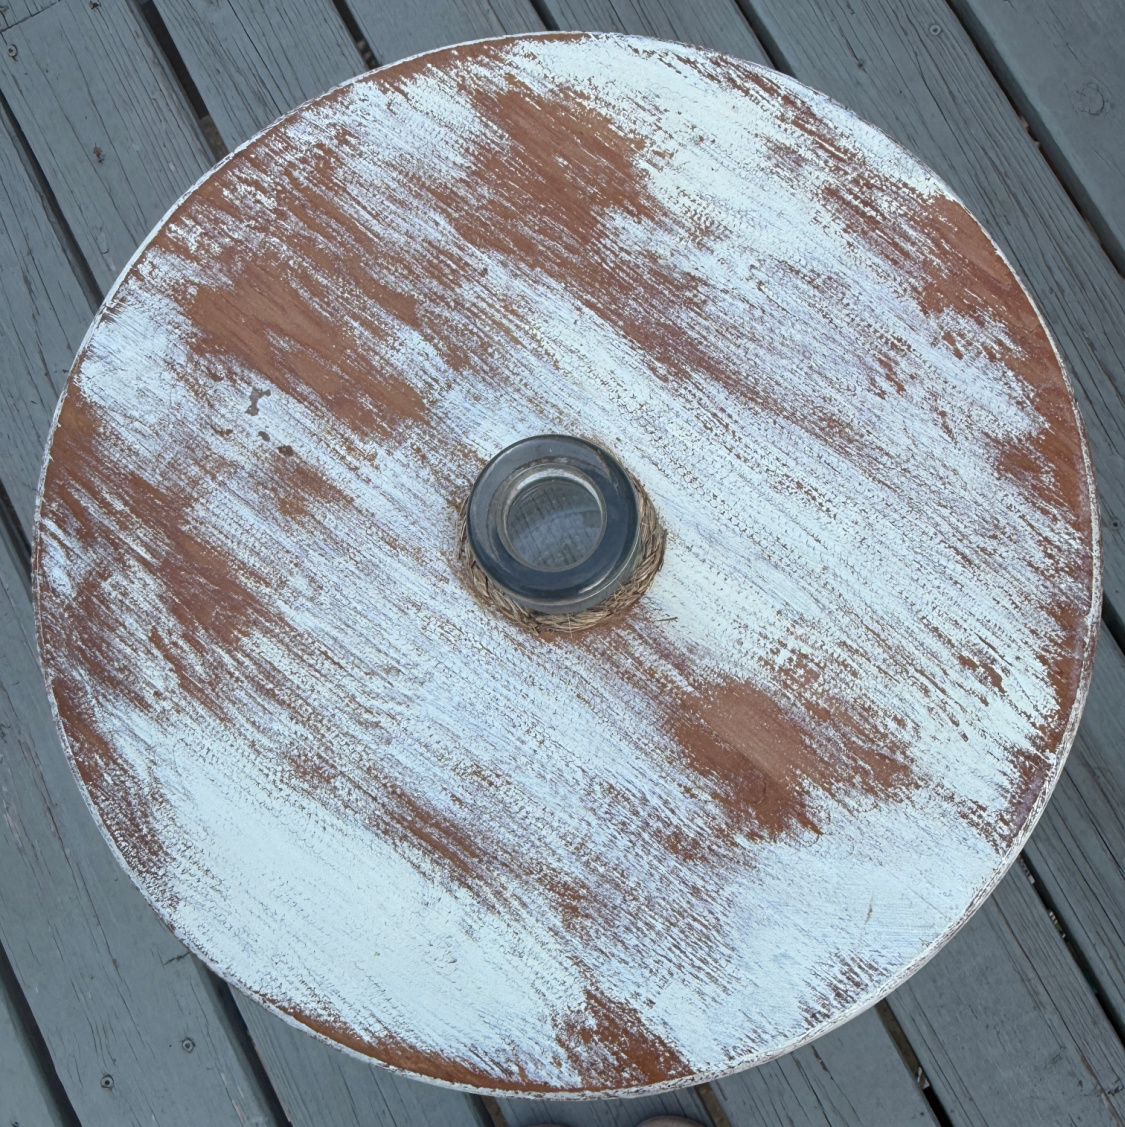
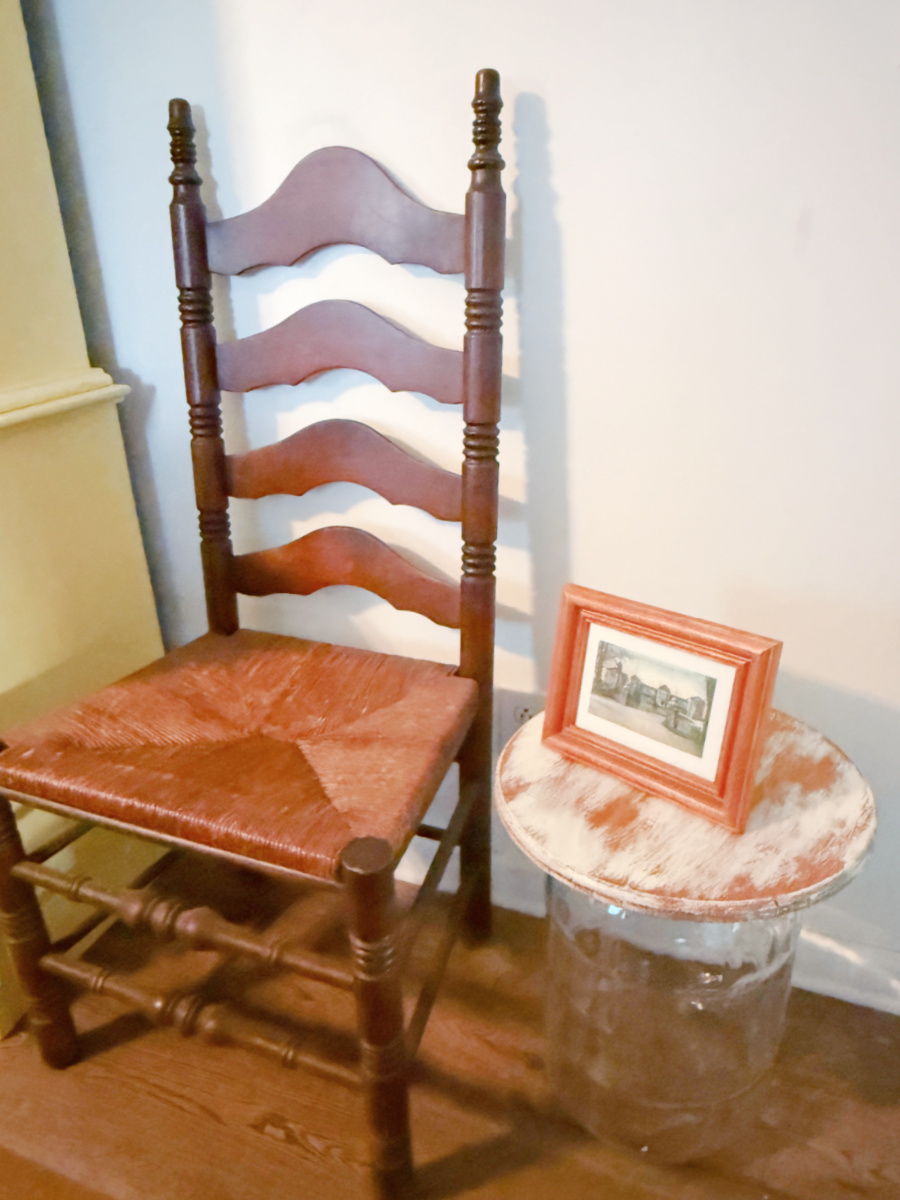
And here she is!
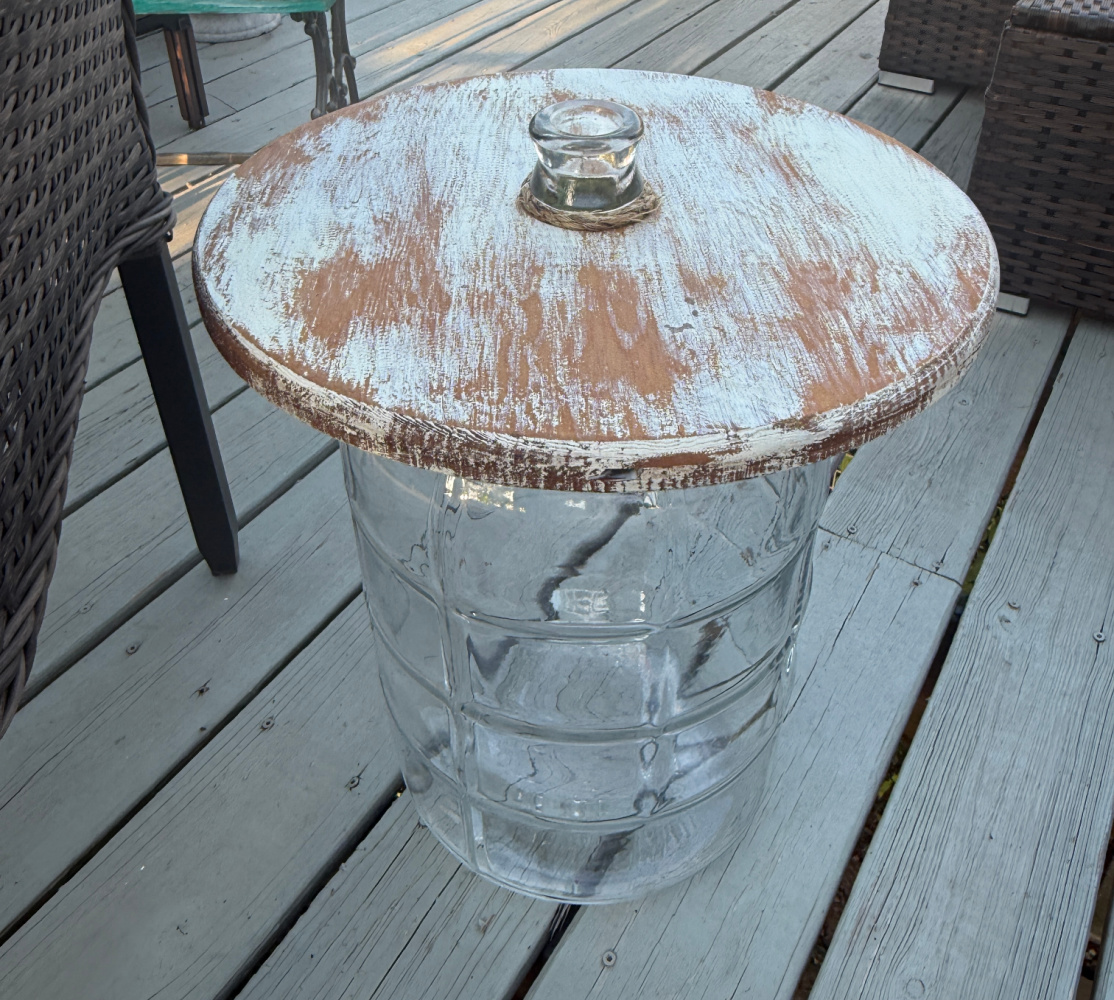
She’s perfect for a drink, book, phone, etc.
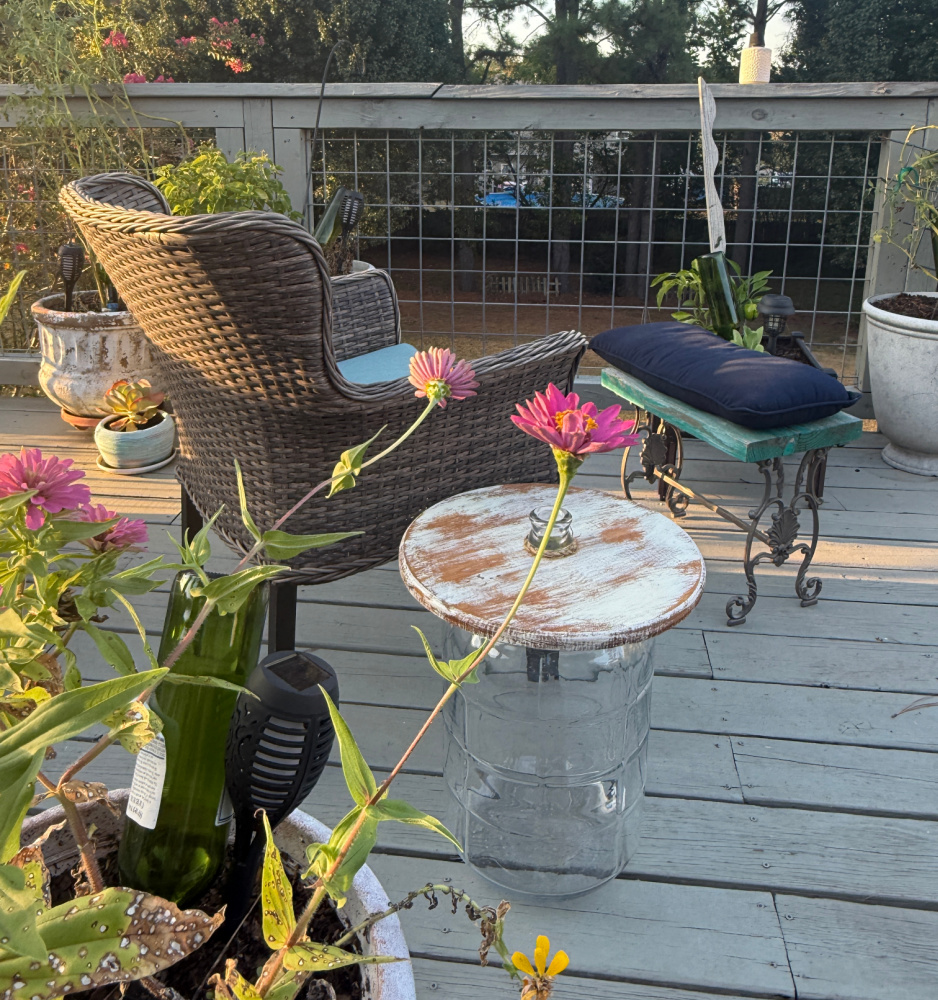
Or just hanging around the room. I gave her a little boost for an added primitive look.
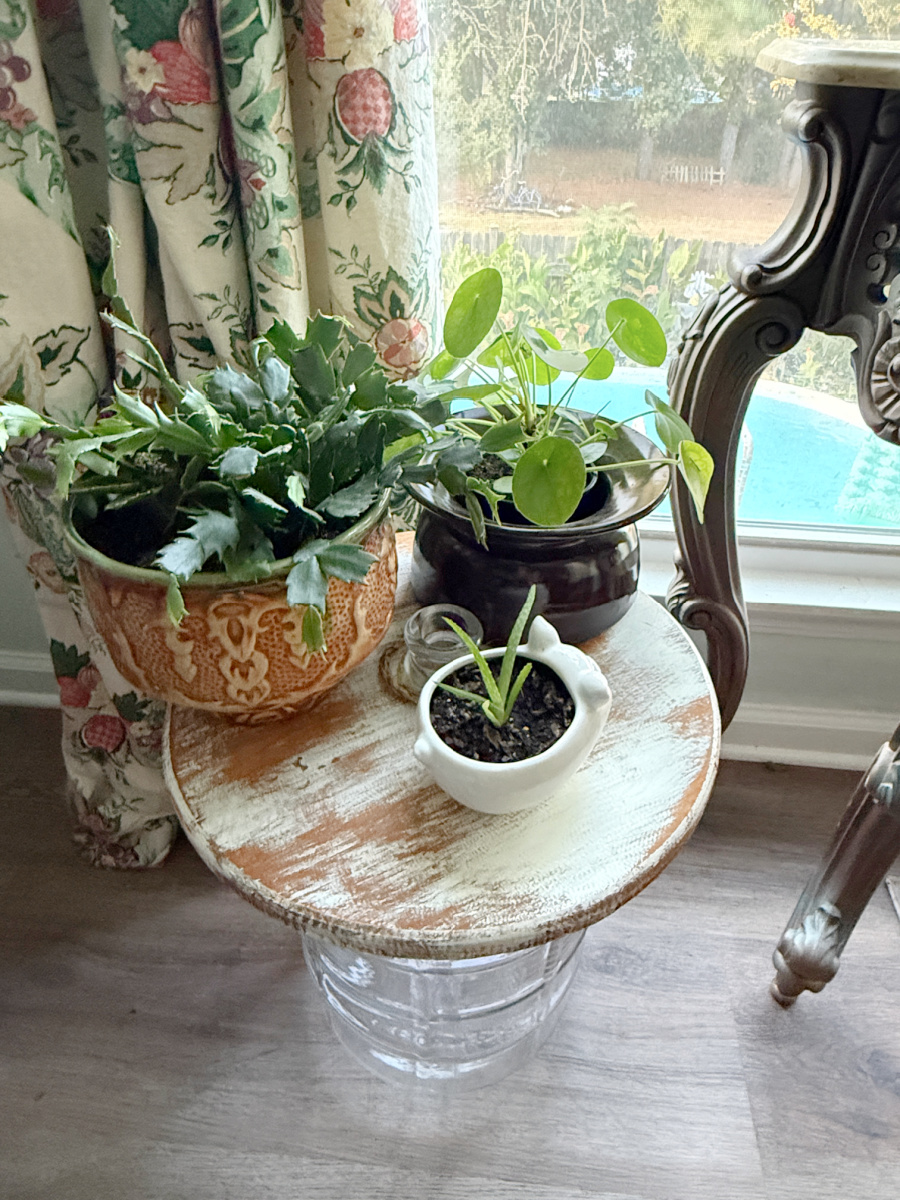
Maybe by my plant window in my dining room.
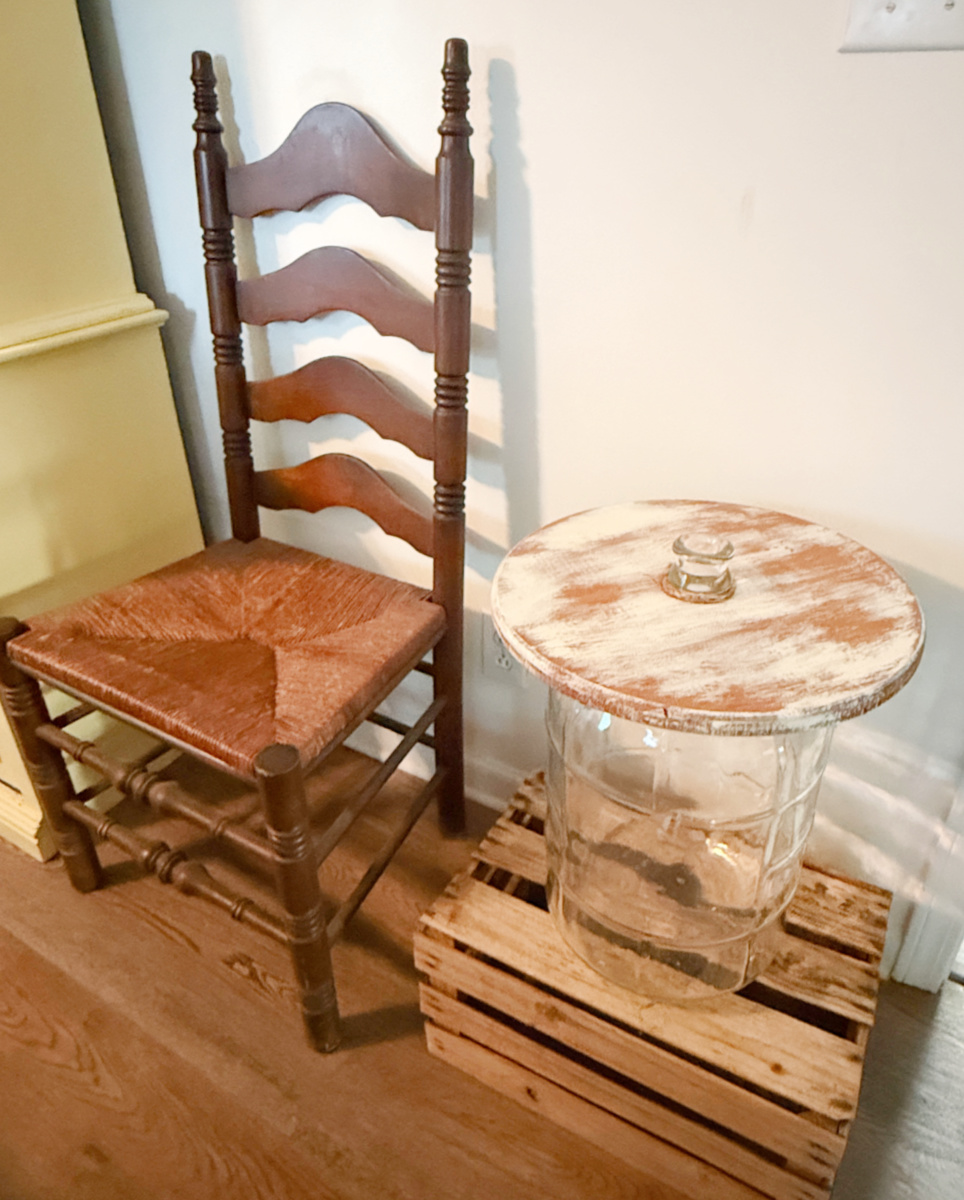
Or maybe next to the yellow cupboard unit that I upcycled last month.
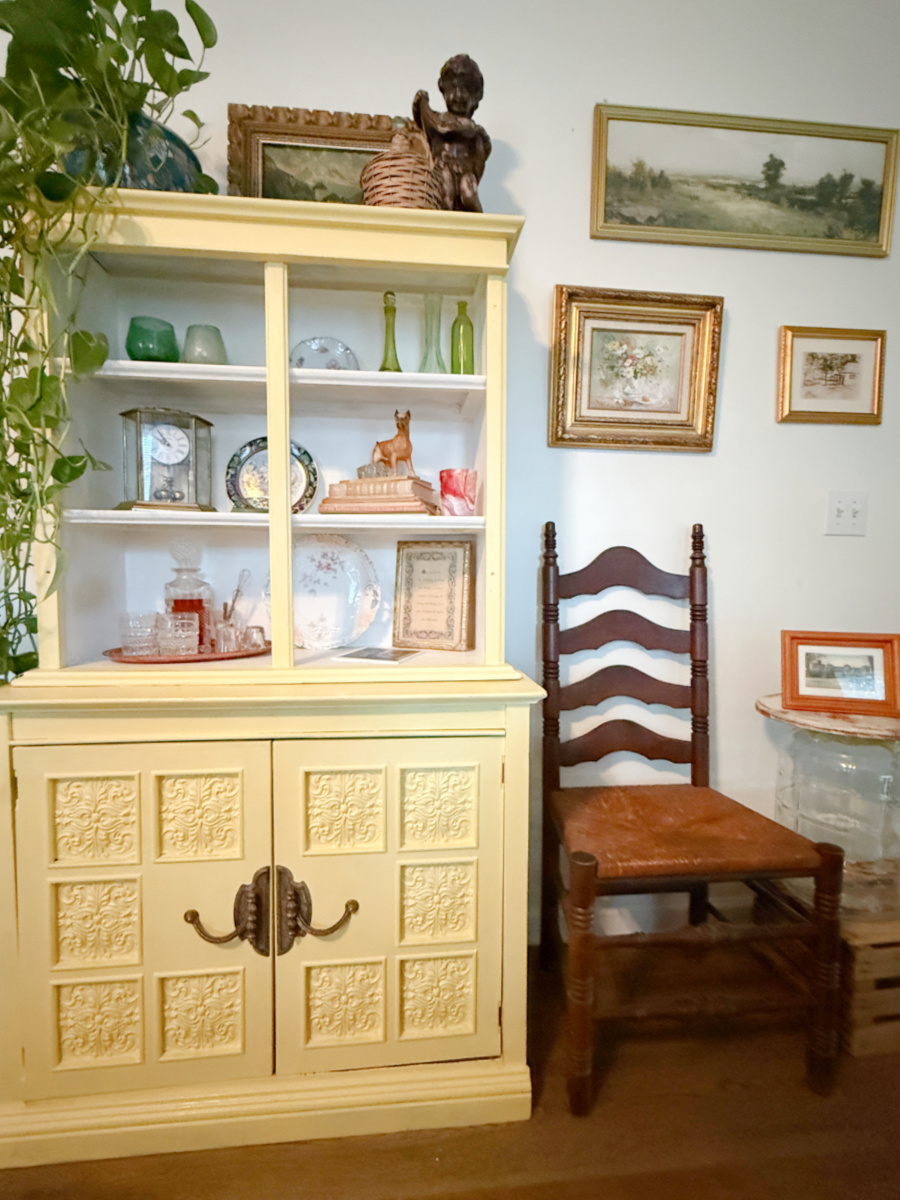
She is easy to reposition so I might just move her around a bit. She’s a great addition just about anywhere!

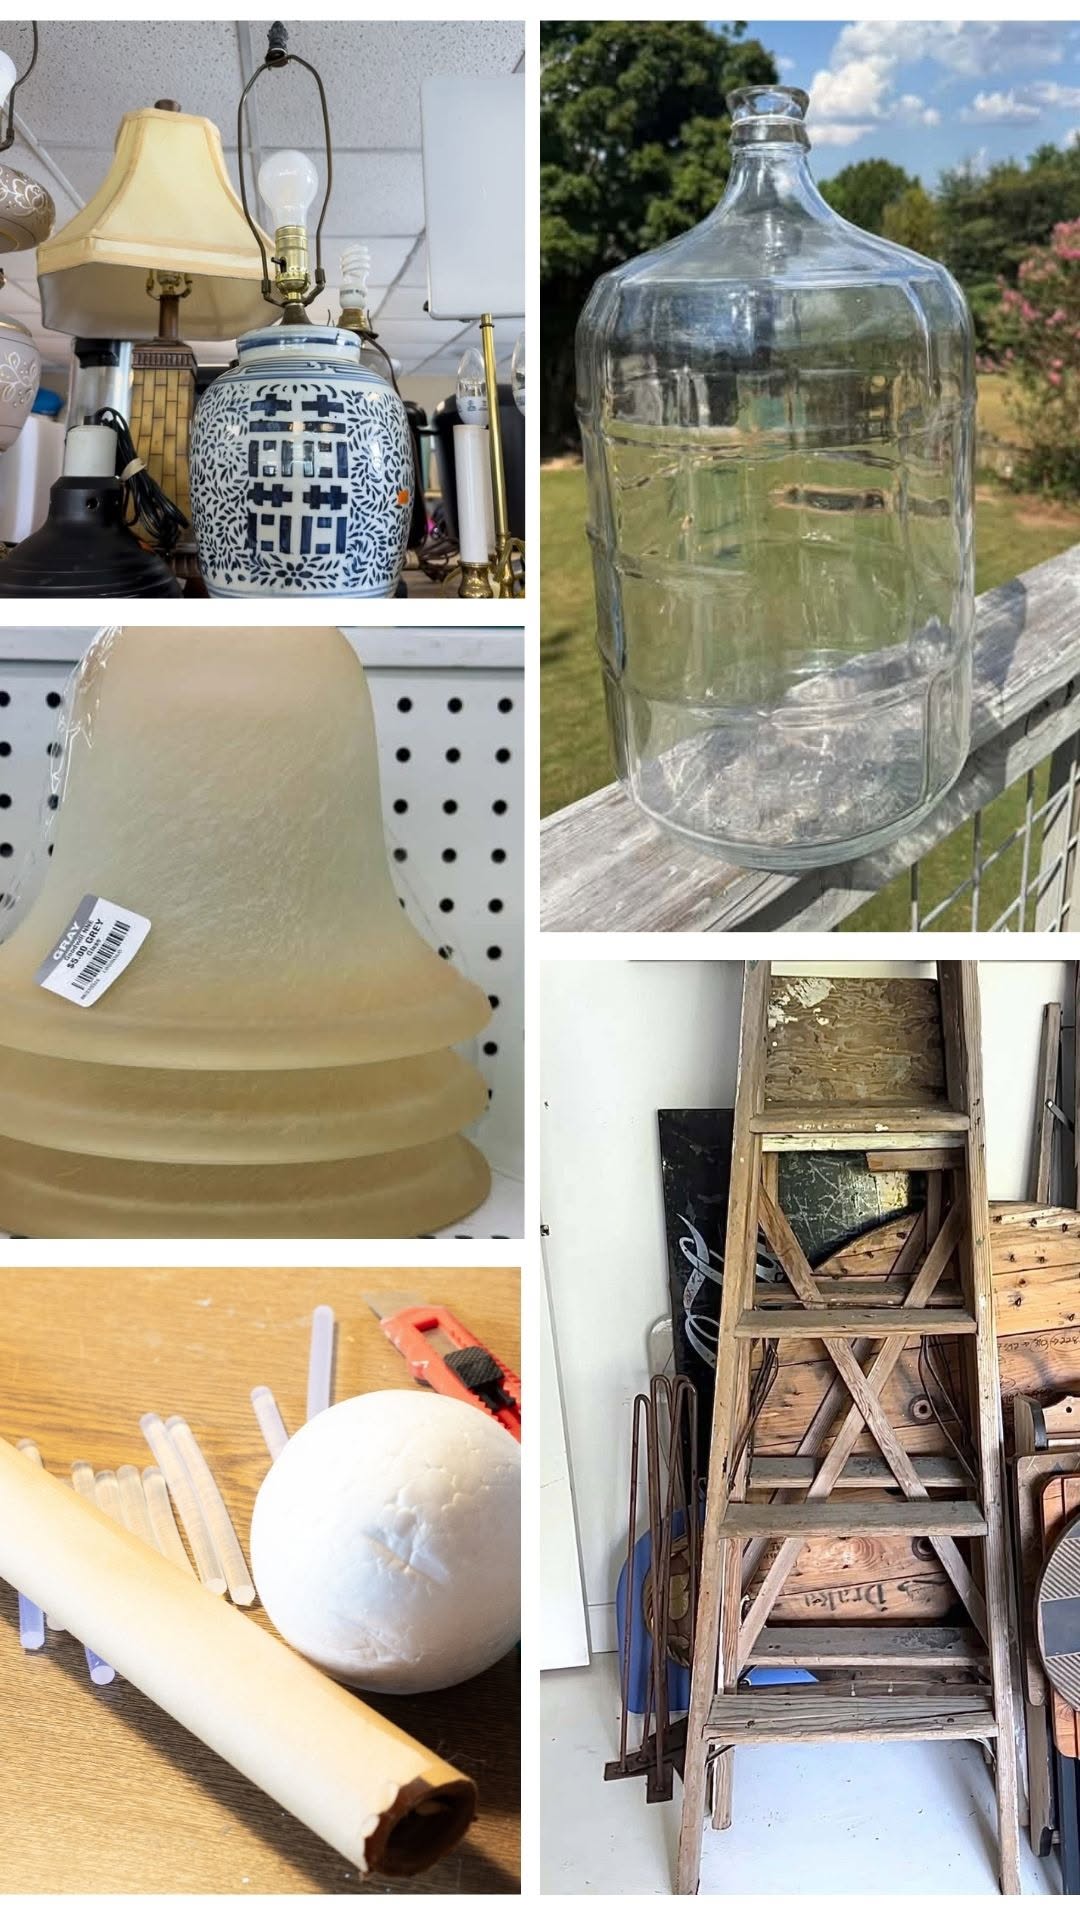

See how to refresh a thrifted classic ginger jar lamp by Our Southern Home.
Repurpose a vintage glass water jug into something practical for any room with Shop at Blu.
Turn thrifted light shades into the cutest Halloween ghost lights with Our Crafty Mom.
Create a lovely brown paper pumpkin from a leftover roll of brown craft paper with this DIY tutorial by Marianne Songbird.
Transform an outdoor space with a charming DIY arbor crafted from ladders by Funky Junk Interiors.