
Vintage Hutch Makeover
As an Amazon Associate and member of other affiliate programs, I earn from qualifying purchases.
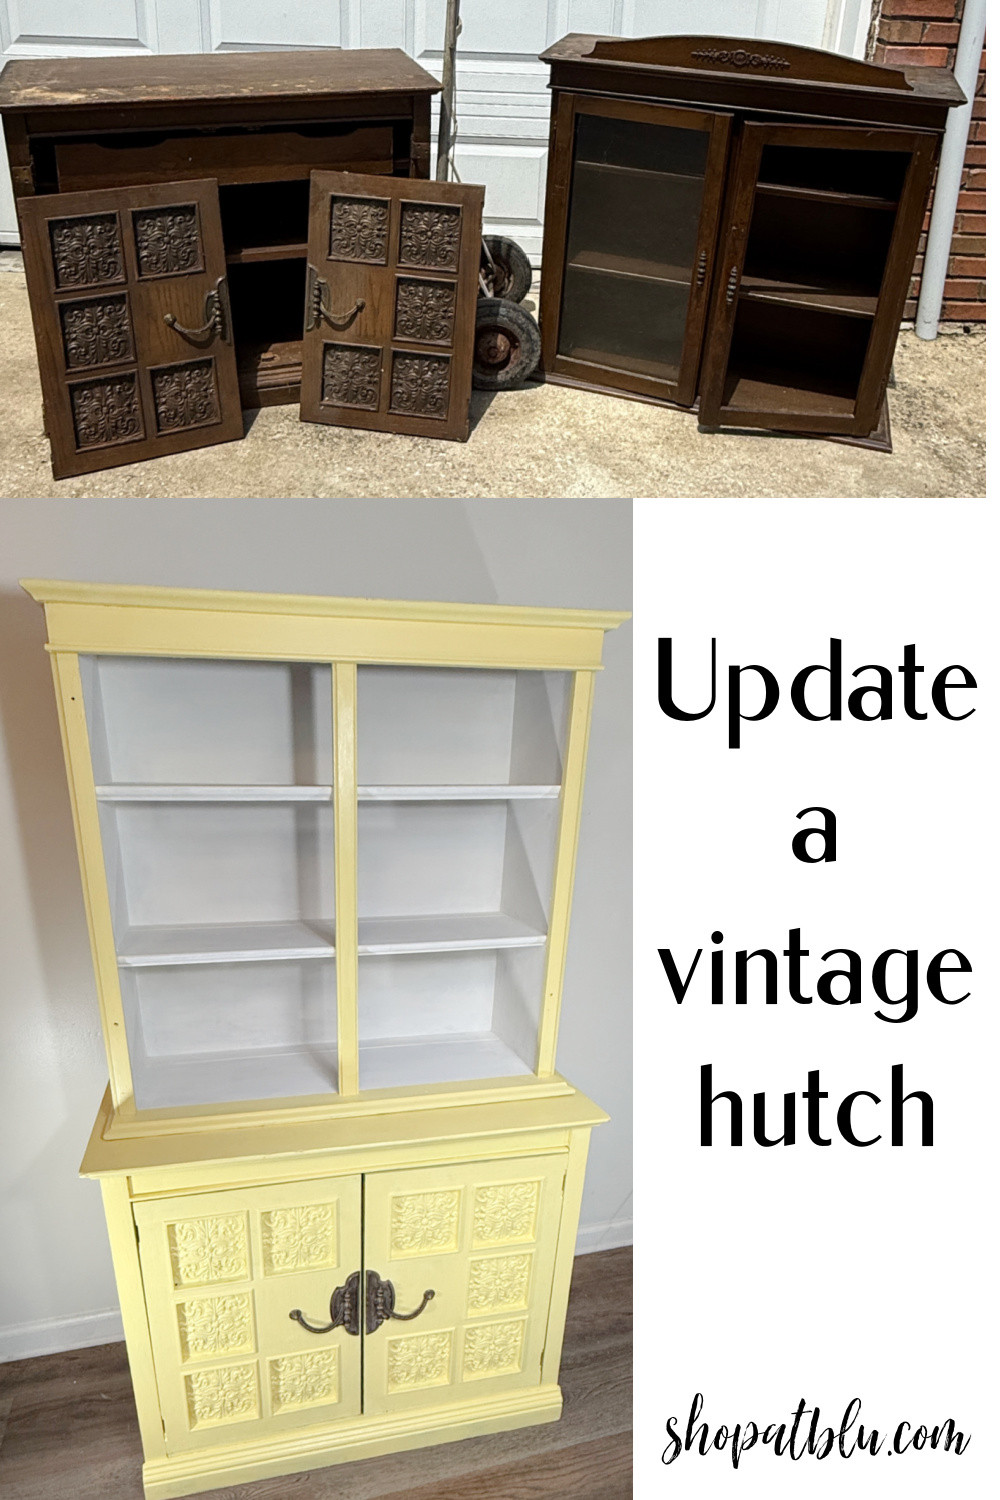
Who doesn’t love a good old fashioned hutch for extra storage or added charm in any room? This vintage hutch has been sitting in my garage waiting for it’s turn on the makeover stage. Today is the day she gets her updated look. Let’s makeover this vintage hutch!
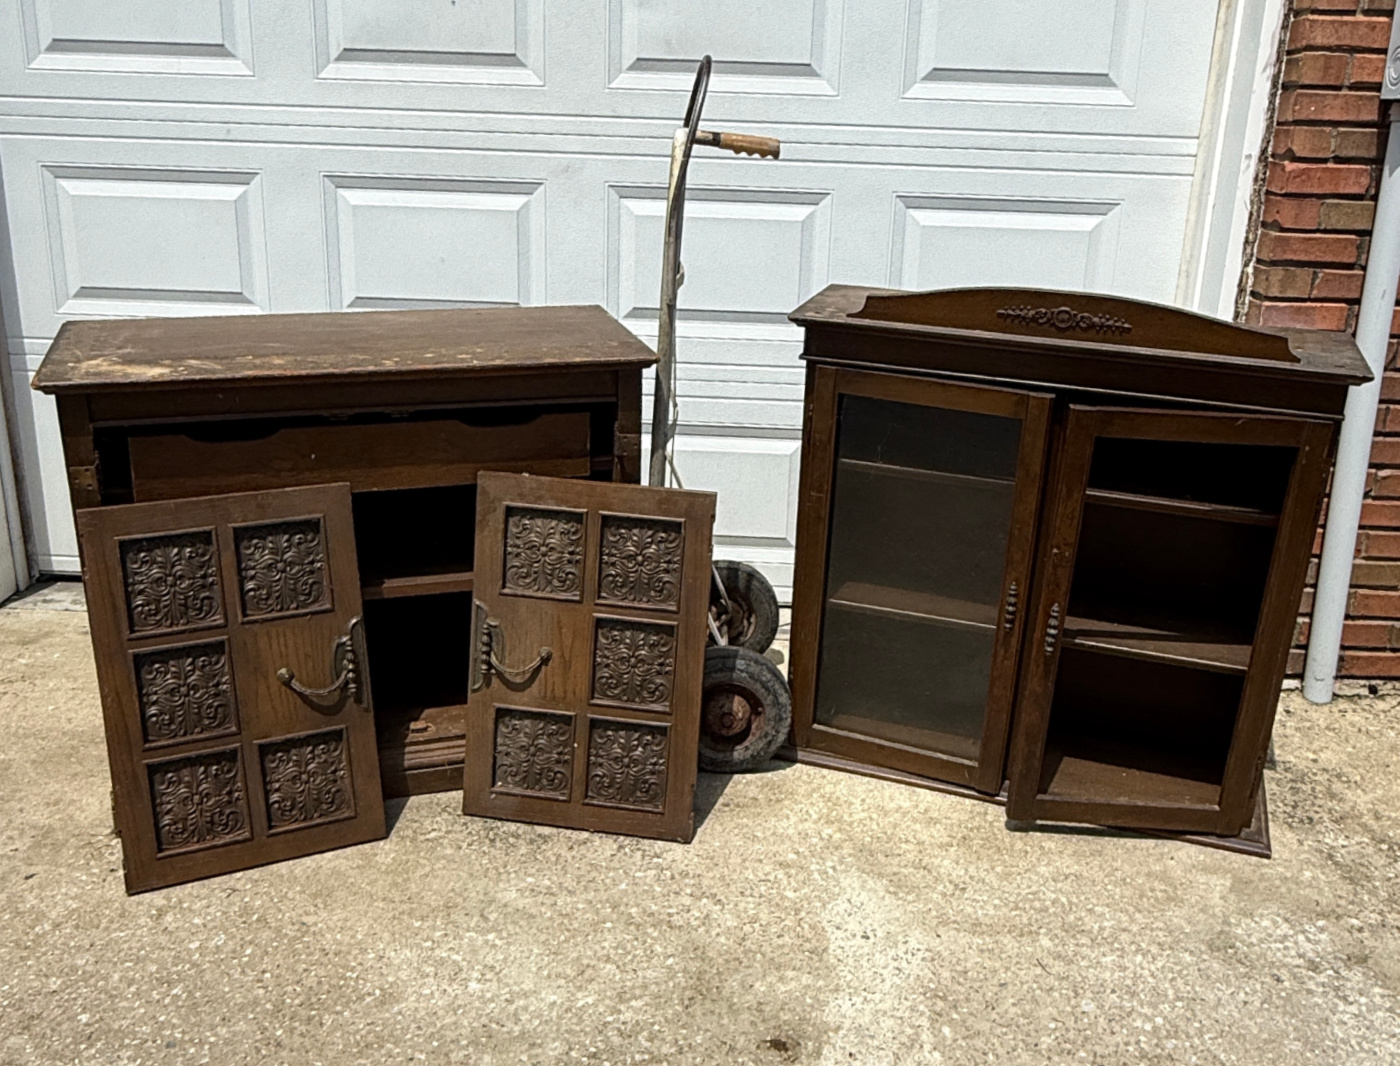
Hutches come in a variety of shapes and sizes. Some are huge and some are compact. Some have doors that hide shelves. Sometimes there are shelves on the top or bottom or both. Some have no doors and have exposed shelves.
Hutches are commonly used as a pantry or storage area. I plan to use this one for some collectibles or maybe for some paint supplies. I’m not sure yet. But I know I can easily fill her up.
I dug this hutch out of the garage and she was not in as good of shape as I remembered. A closer inspection reveal that much of the base of this piece was actually constructed of pressed particleboard – the arch enemy of the DIYer. I groaned at this discovery.

We’ve got some fabulous thrift store upcycles for you this month! As always, see all the new projects at the end of this post!
Where to Begin this vintage hutch makeover
As with any makeover, I start with an initial cleaning to get a clearer vision of the condition of the project piece. In this case, there was some surface damage as well as grime and paint overspray that needed to be removed. Sometimes such can be removed in the cleaning process but usually, a light sanding will do the job. I used some warm soapy water to clean the surface.
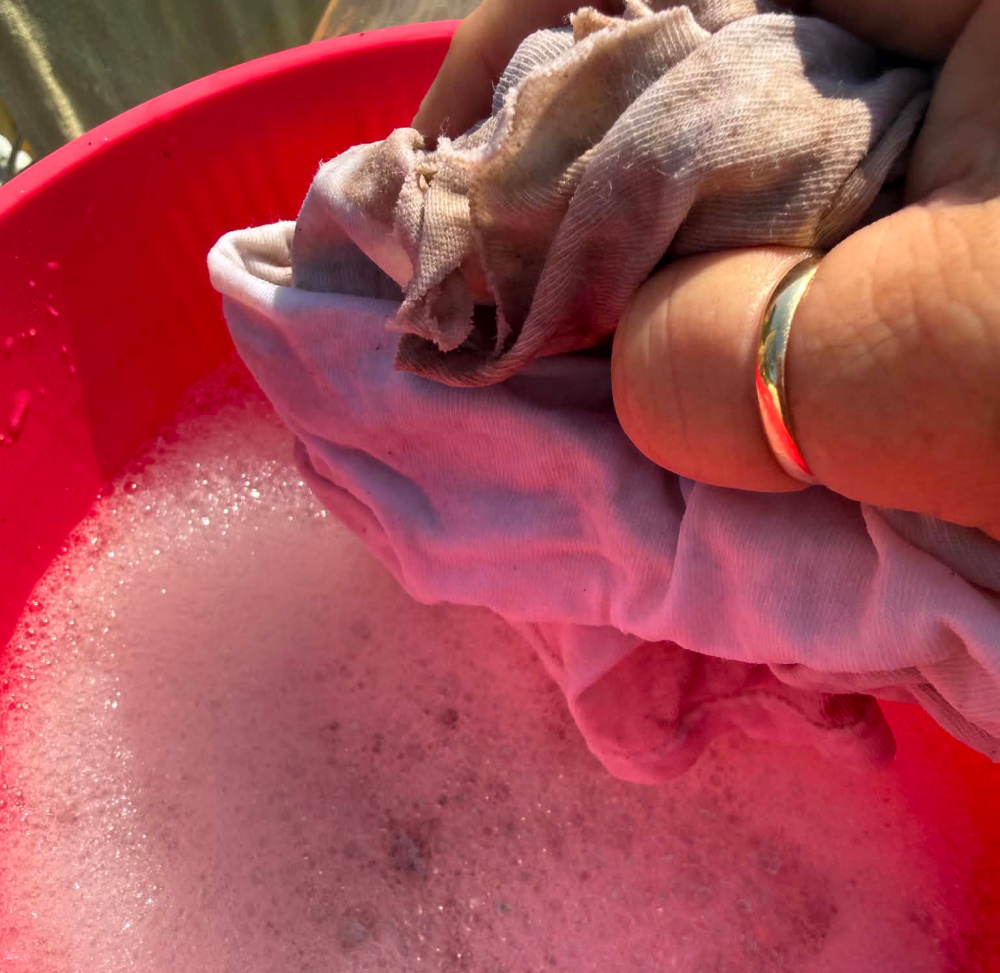
This piece has been sitting in my garage for years. I used a brush to get into the curves to remove the layers of dust. I was glad to see that the trim was real wood!
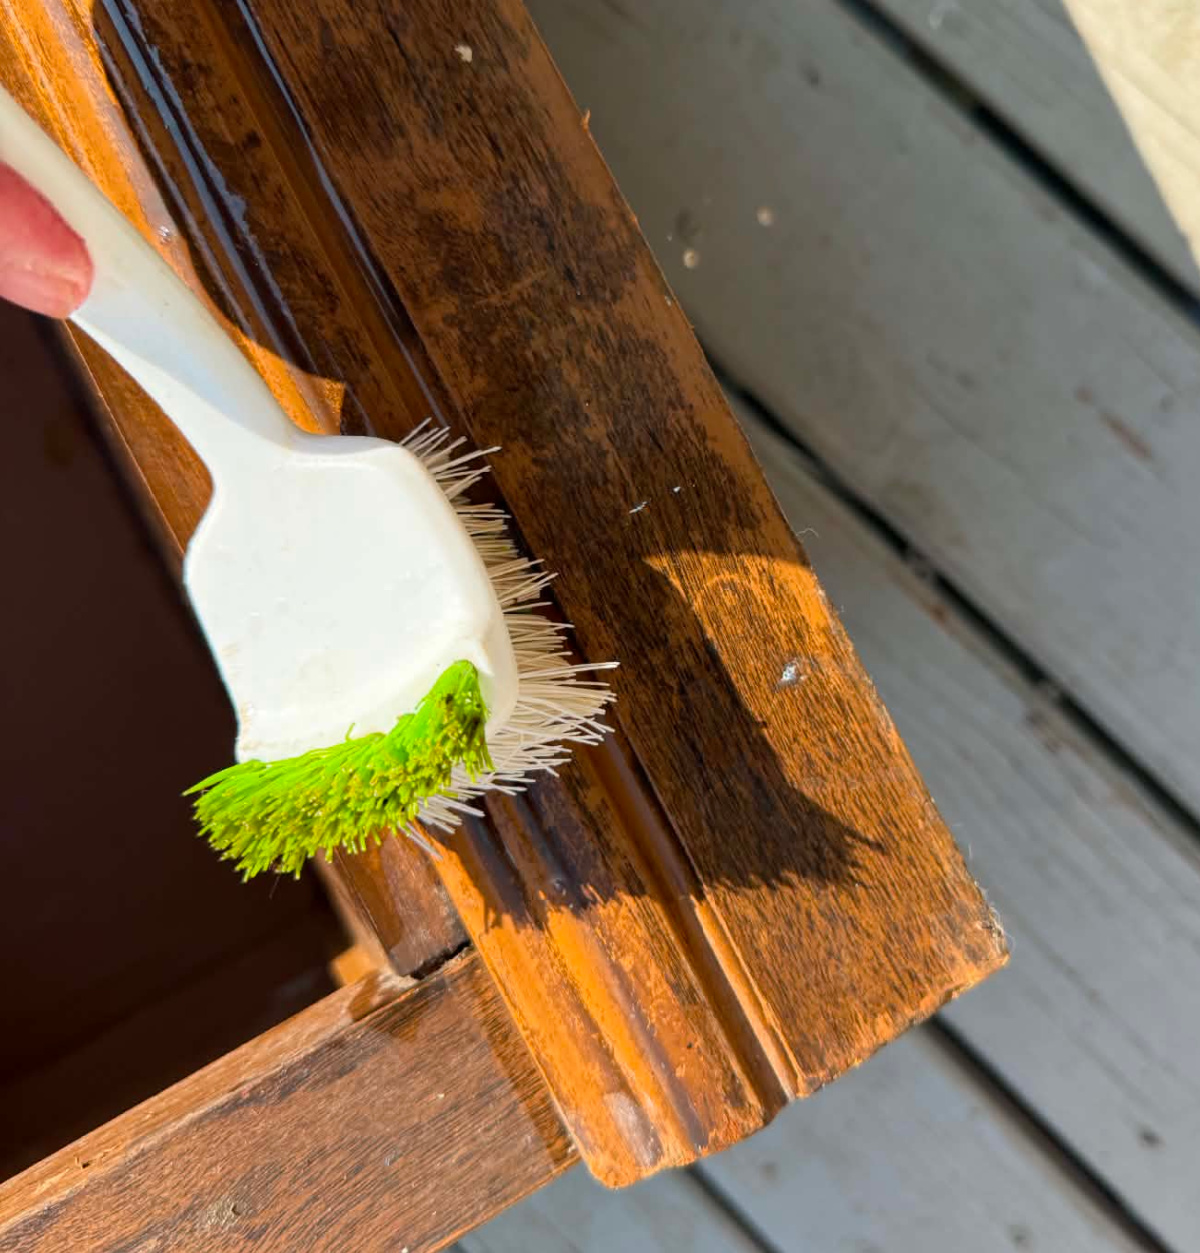
I was careful not to wet any exposed particle board. In addition to removing any accumulated dust from the surface, the cleaning process ensures a thorough inspection of the piece. I was able to identify all spots that would need special attention before the paint process could begin. And there were several, much to my dismay.
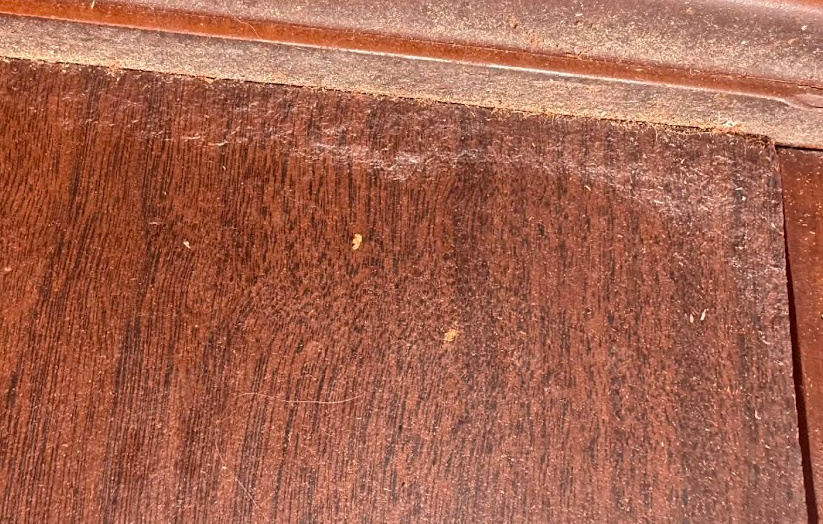
You know those mattresses that are delivered to your home in vacuum sealed packaging? Well, put some water on some particleboard and that exposed particleboard will absorb that water and plump up into a disfigured mess. More on this later but just remember not to wet these exposed areas.
Gameplan
After a closer inspection, the following would be my plan:
- Remove doors and hardware
- Identify areas with surface particle board damage
- Identify areas with deeper damage needing filler
- Seal exposed particle board
- Re-install trim
- Paint
- Seal
Prep work
I removed the glass doors from the top hutch. One door was missing the glass.
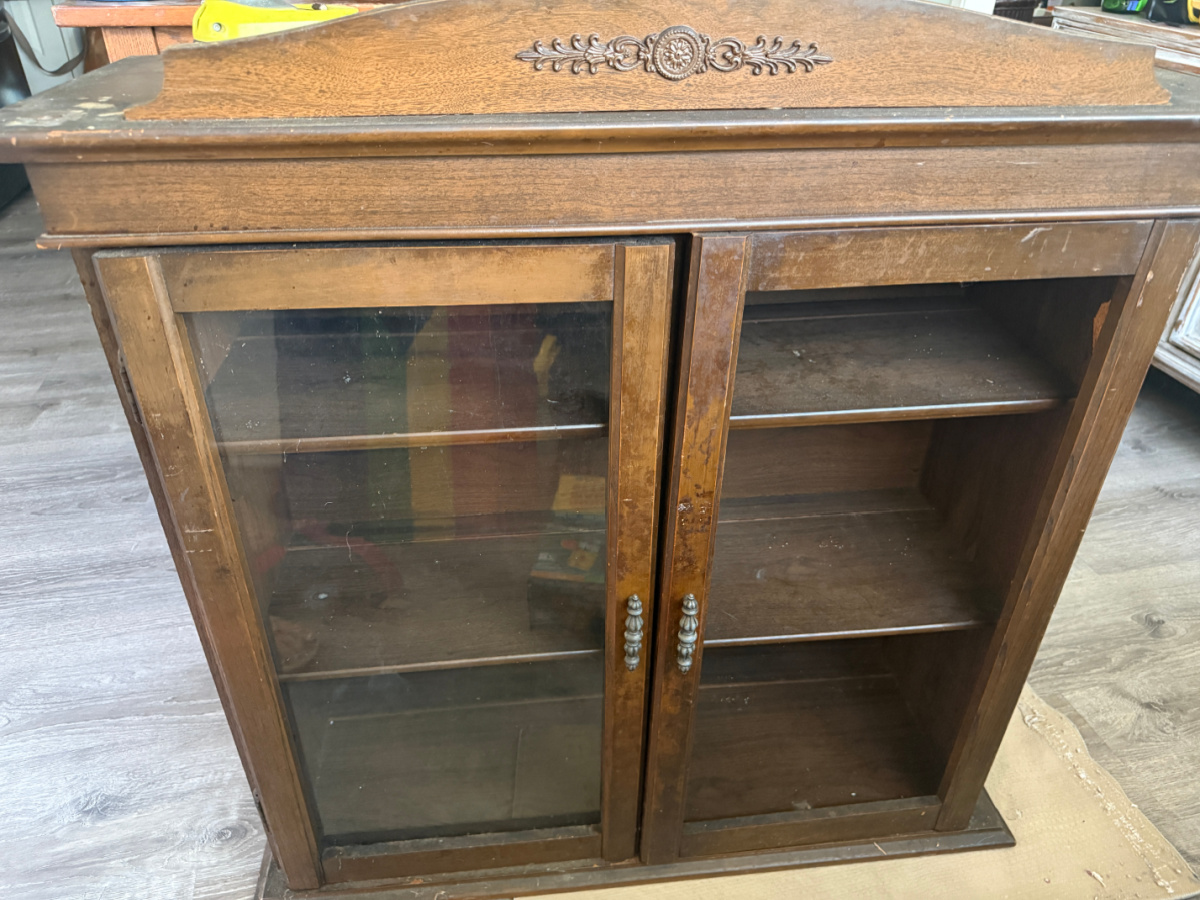
I didn’t have a piece of glass to fit the door so I decided not to re-install the top doors a this time. Rather, I will use the top area as open shelving. I will, however, paint the doors so that when I have secured a piece of replacement glass I can re-install them. I like to maintain the integrity of vintage furniture whenever possible.
Next, I removed the trim along the front sides of the top hutch. They were loose and ready to fall off. The damaged spots around the screw holes needed to be filled.
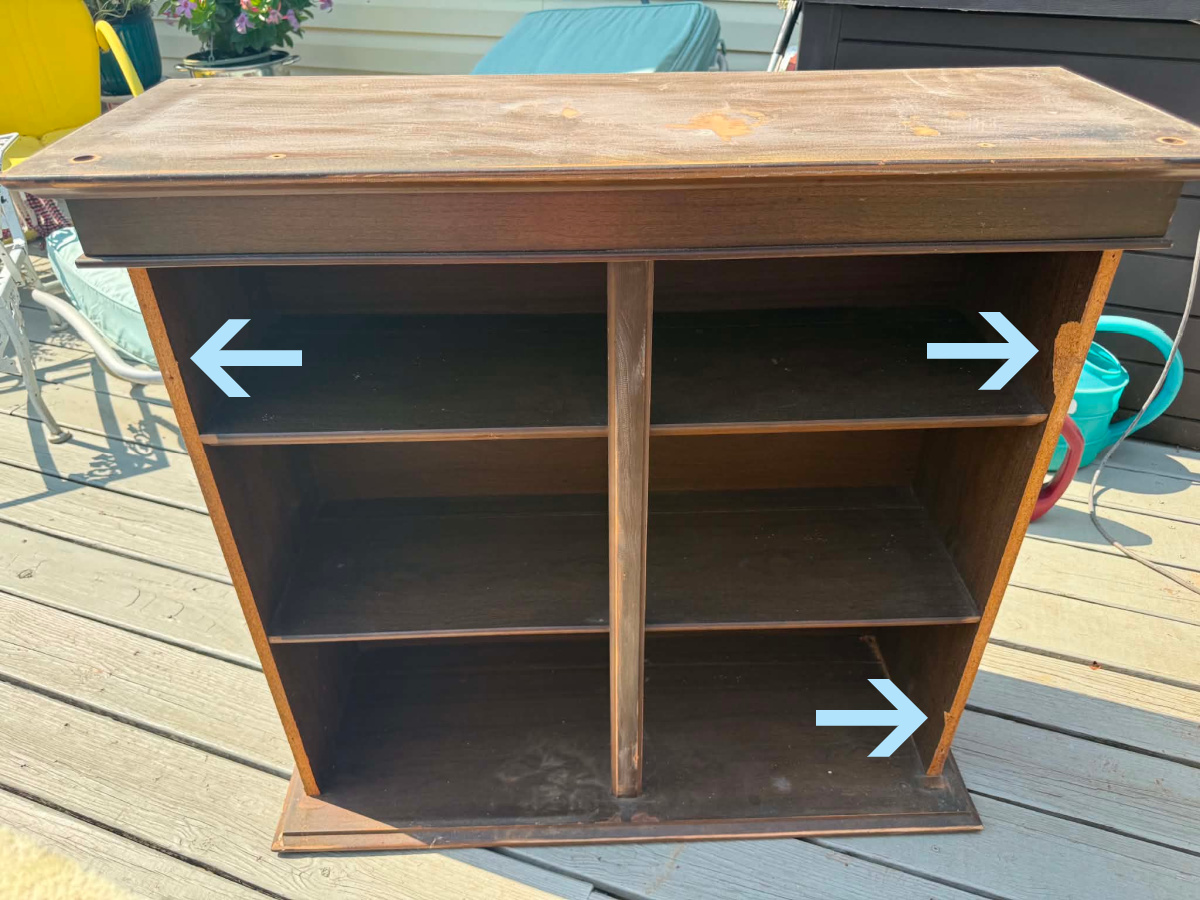
Someone had attempted to reattach some trim by nailing into the dreaded particleboard. Of course this resulted in more damage. The particle board had cracked and fallen out creating holes. These would need to be repaired before the trim could be replaced.
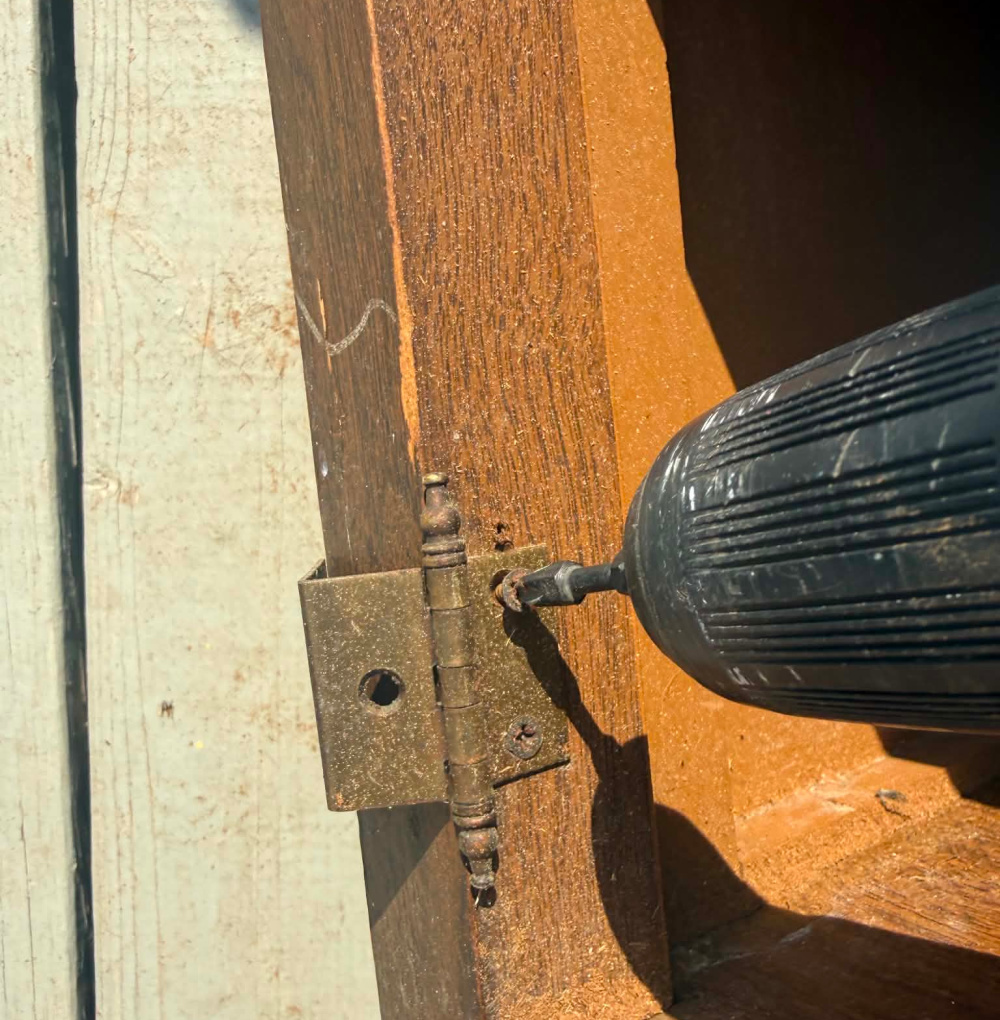
I also removed all of the hardware including the hinges and handles. I set them aside for cleaning.
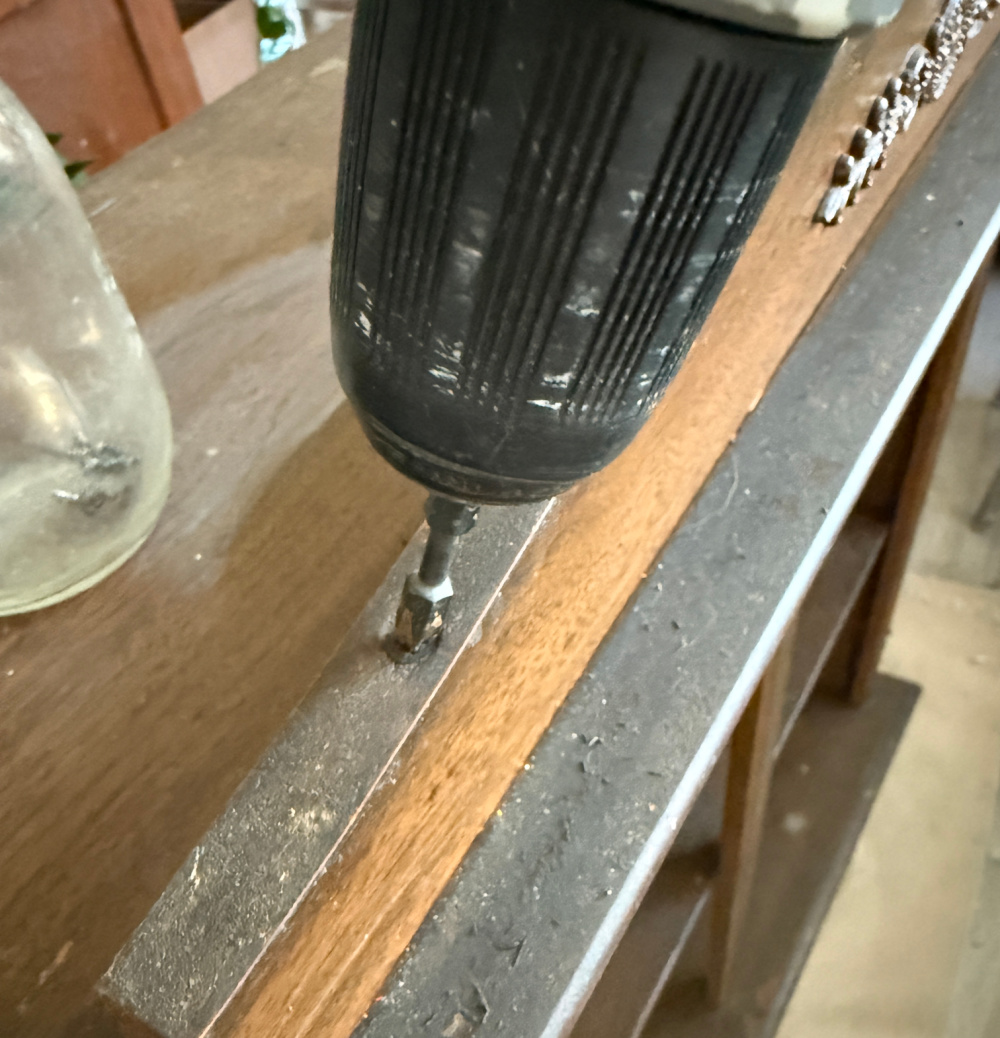
I’m going for a more primitive look so I decided to remove the decorative piece on the the top of the hutch. It was only secured with two screws so I was able to remove it very easily. With this piece removed, there will be more room on the top of the hutch for displaying lovely treasures.
Repairing Particleboard
There were several spots where the particle board was bubbled, probably from excess humidity or water damage.
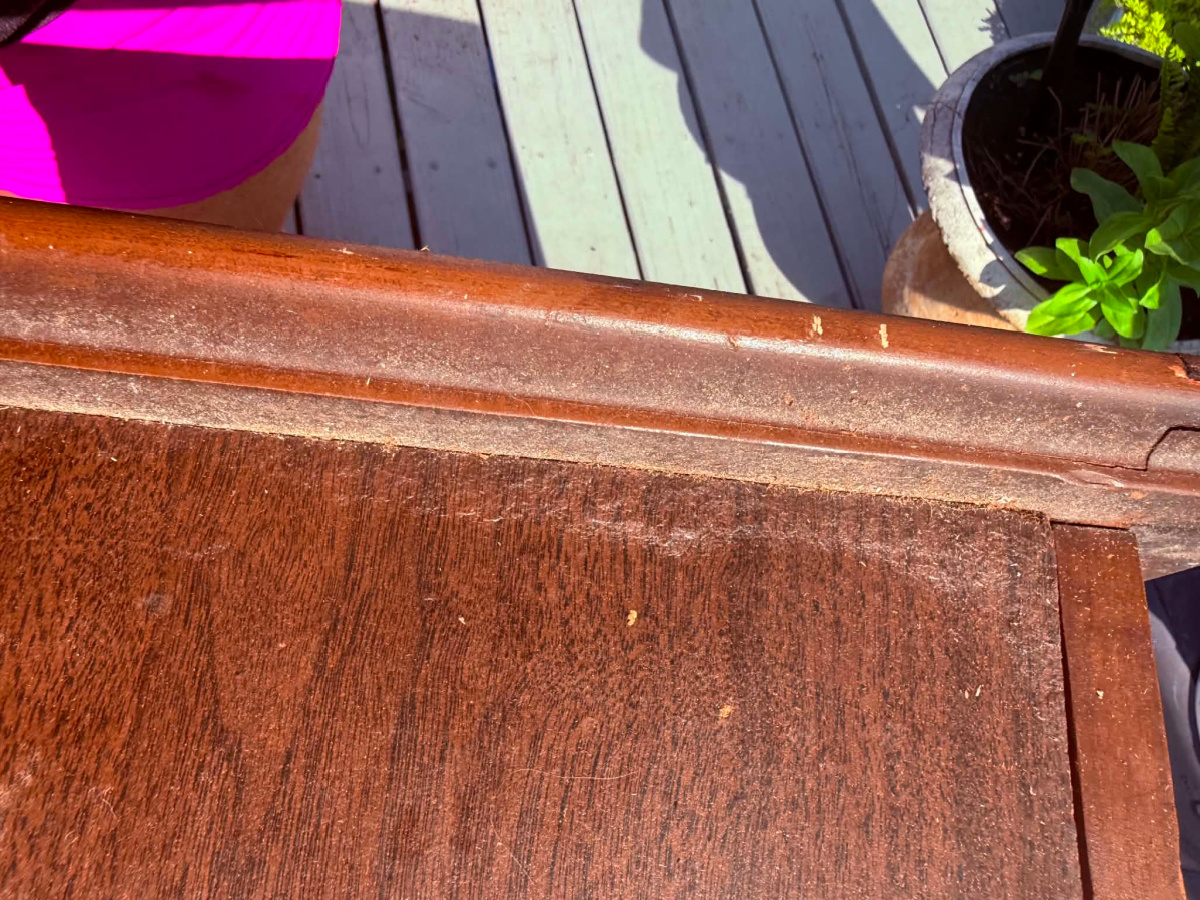
These areas need to be sanded to flatten these spots. Then, the spots need to be sealed so that they will not continue to absorb moisture and plump up again. I have used several products in the past depending on the severity of the damage. Usually, I either seal with a clear spray paint or I brush on a polyclrylic sealer.
To prepare for the paint, I gave the entire piece a very light sanding.
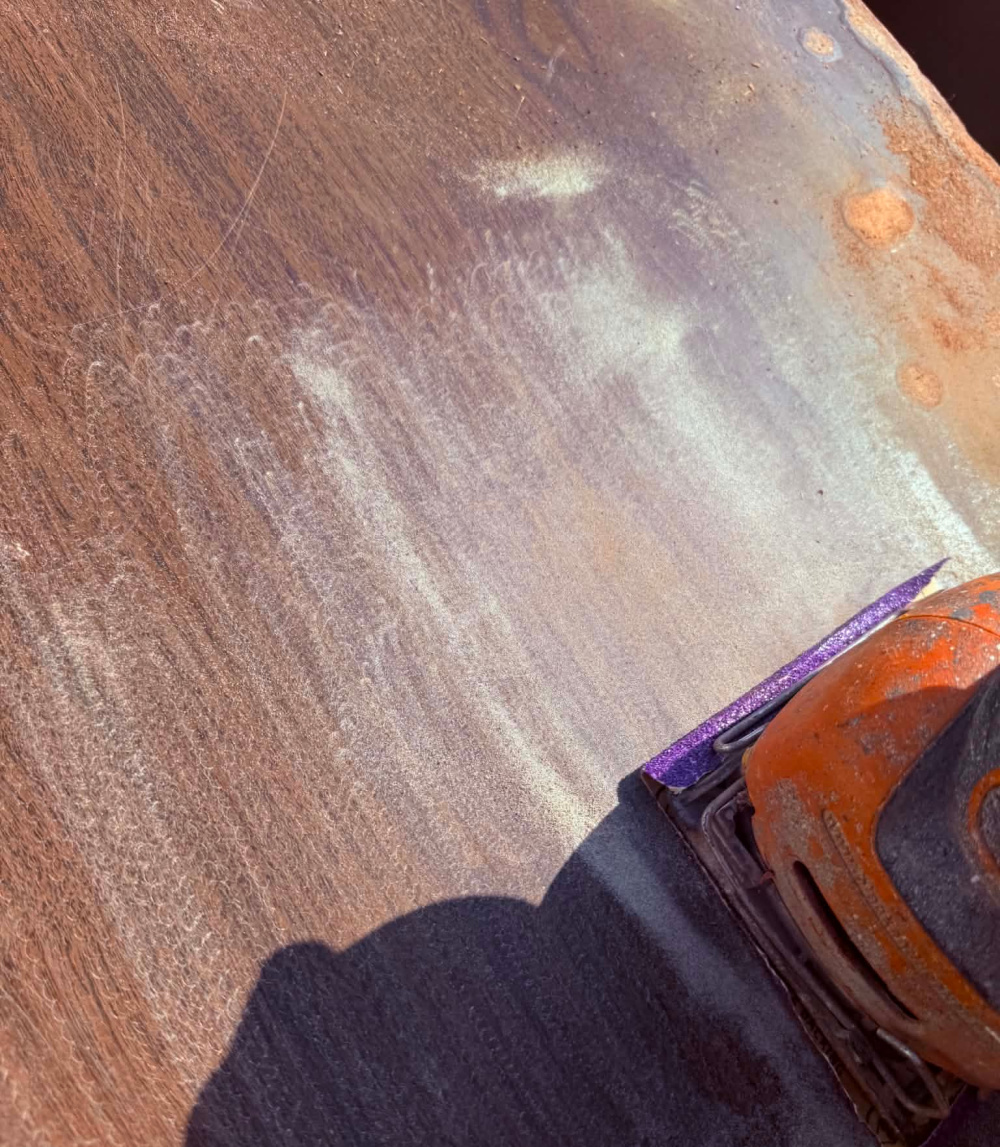
And I do mean very light! I did not want anymore of the particle board exposed because it would then need to be treated and sealed before any paint can be applied. So the less exposed particleboard means less prep work. You know I am anxious to get to the painting part!
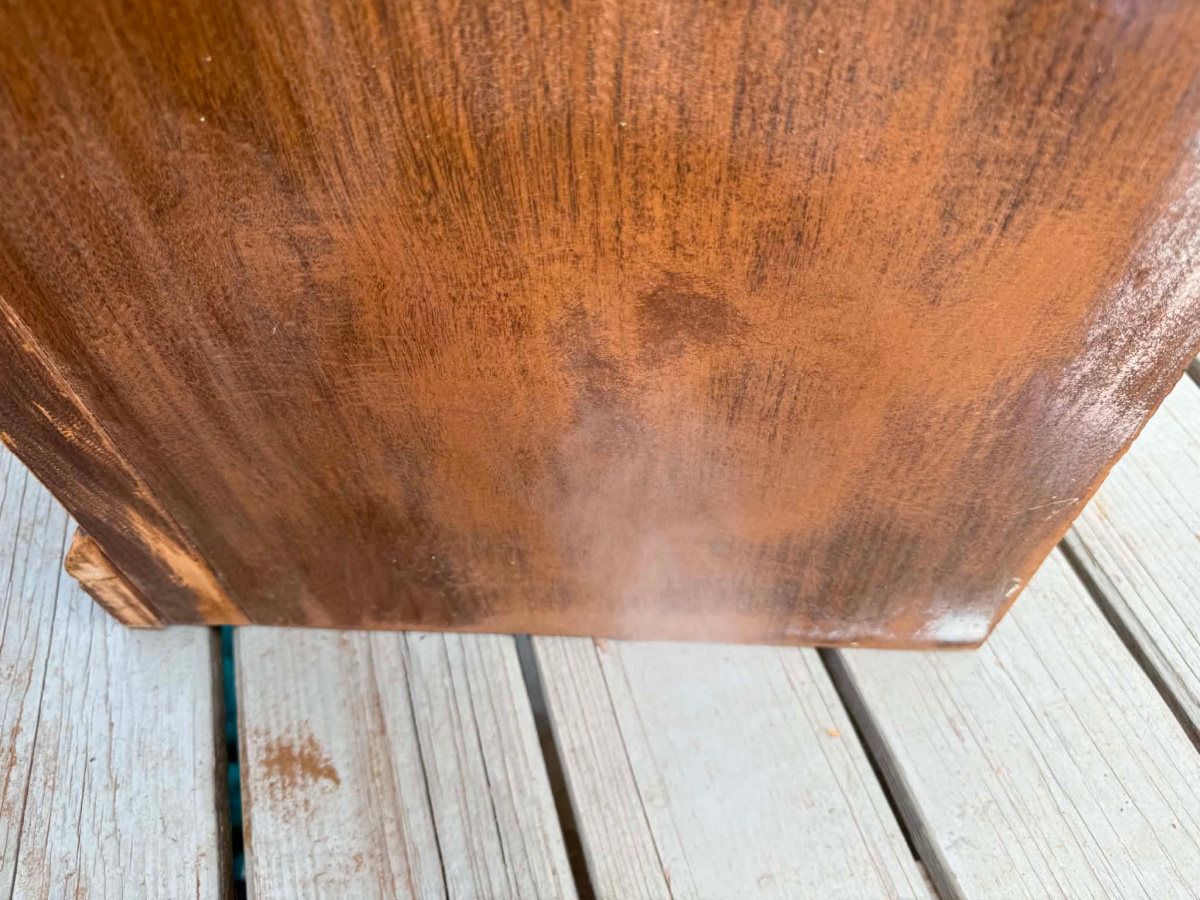
I started on the sides of both the top and bottom units. I used my electric sander to smooth the damaged particleboard.
I wiped the dust away and applied a light coat of Rustoleum clear coat to all areas where the particleboard was exposed.
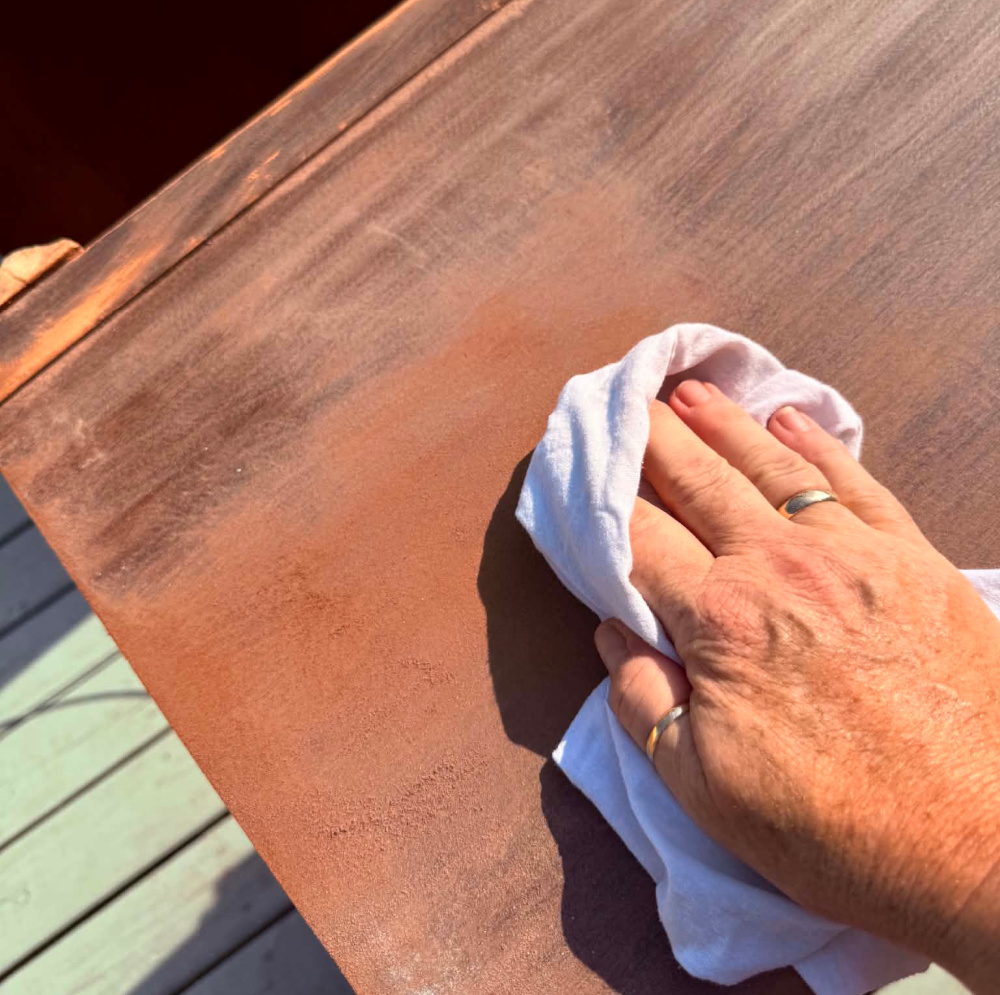
And I applied a light coat of Rustoleum clear coat.
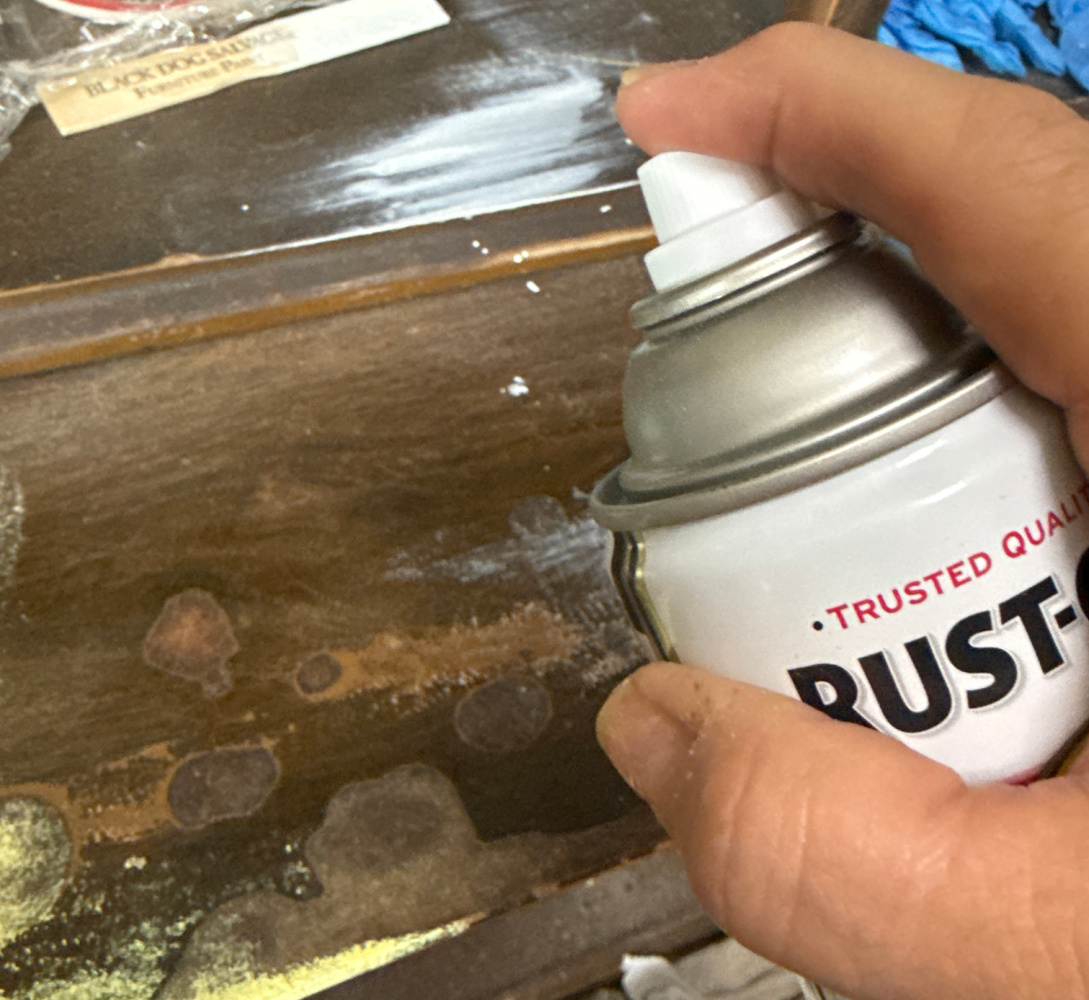
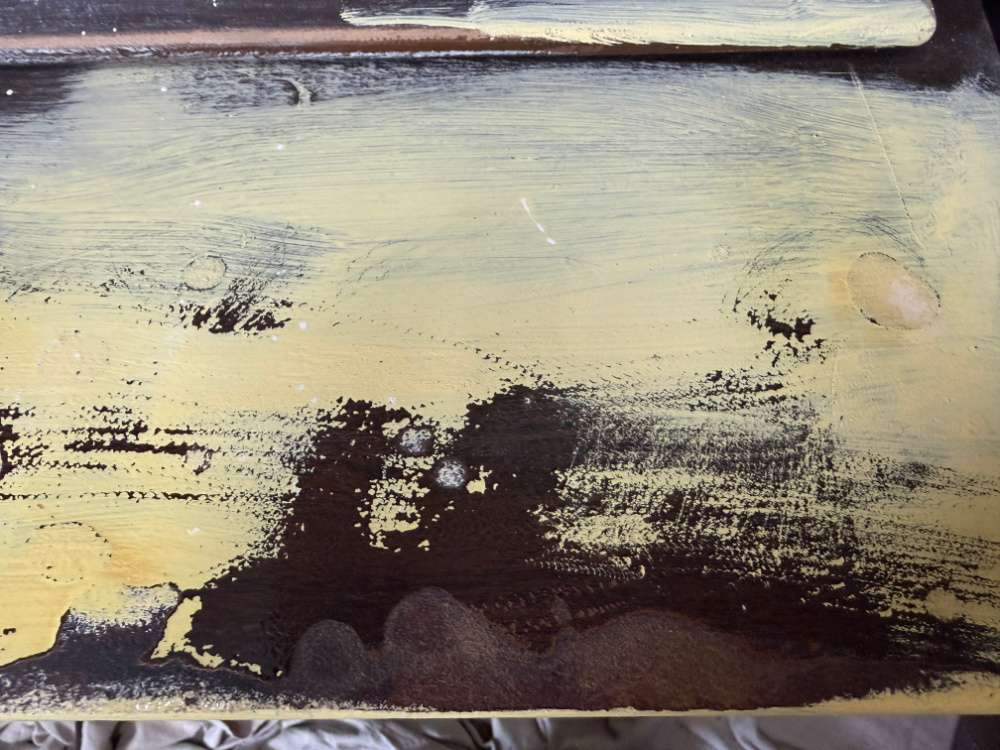
As always, I was anxious for paint so I failed to sand a few of the spots completely smooth. It’s easier to see if the surface is smooth if the surface is all one color. I wanted to make sure everything was smooth so I did apply a light coat of the Lemon Chiffon to see if the surface was flat. I had to re-sand until the surface was completely flat. Then I resealed these spots with the Rustoleum. I brushed on some yellow and if the surface was not smooth, I repeated the process until the surface was smooth and the bubbles were gone. Do as I say, not as I do…slow down and do it right the first time!!!! Eliminate that second time!!! And even a third time!
Repairs to Reinstall Trim
Time for the wood putty to fill the damaged area.
Wood fillers come in several forms. You can use a pre-mixed wood filler that comes ready to use in a tub. But for larger repairs, sometime this cracks. I prefer the powdered form.

You mix 2 parts powder to one part water.
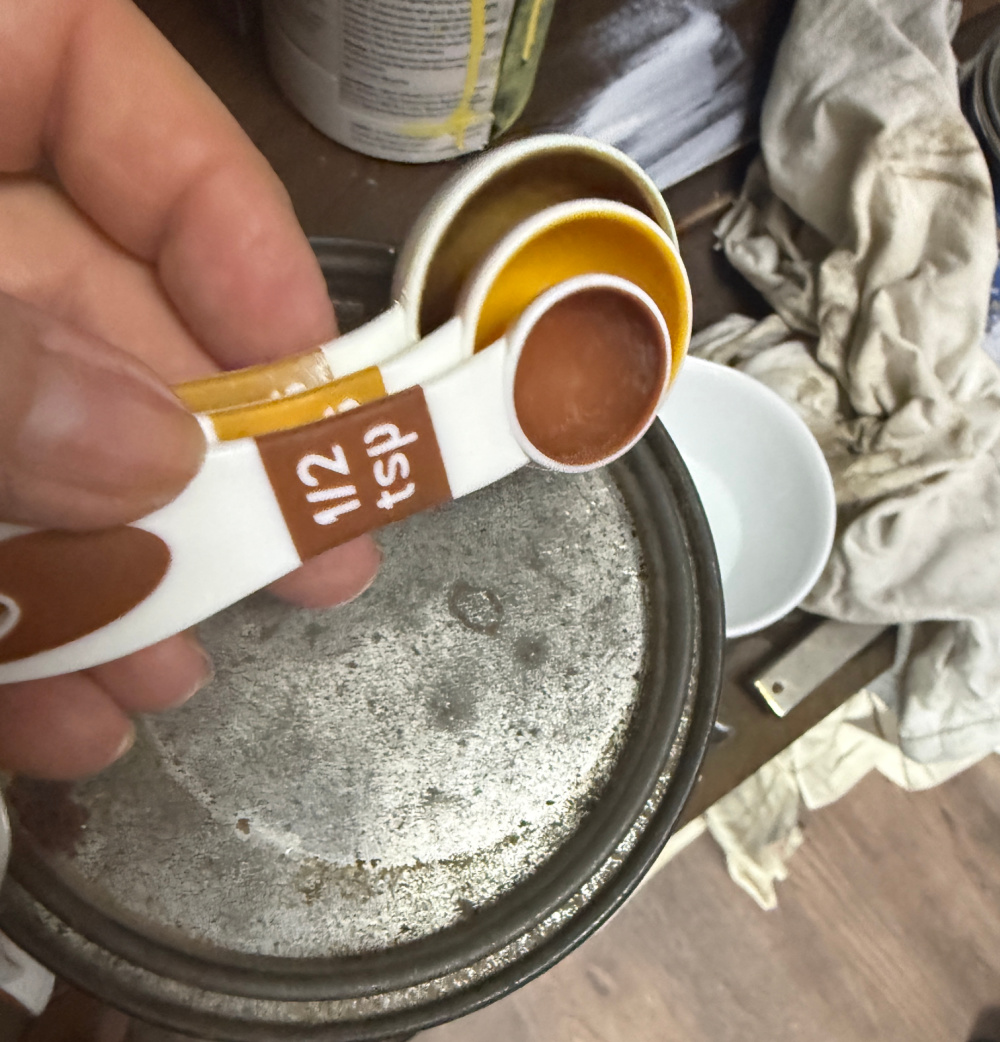
Add more or less water for the consistency you desire. Less water makes a paste that is easier to apply. I often use an old Cool Whip tub to mix up the putty.
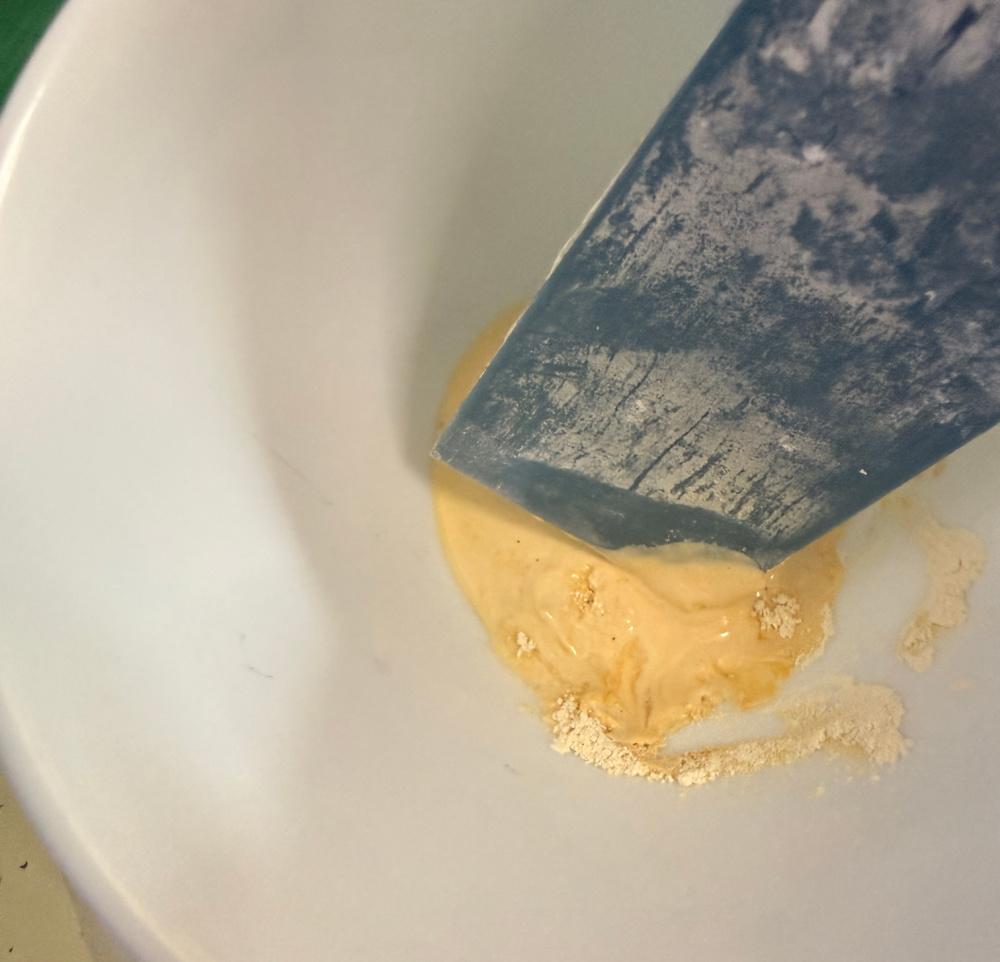
But you can use any bowl or similar item. Start with a larger batch for bigger areas. Mix a smaller batch if needed.
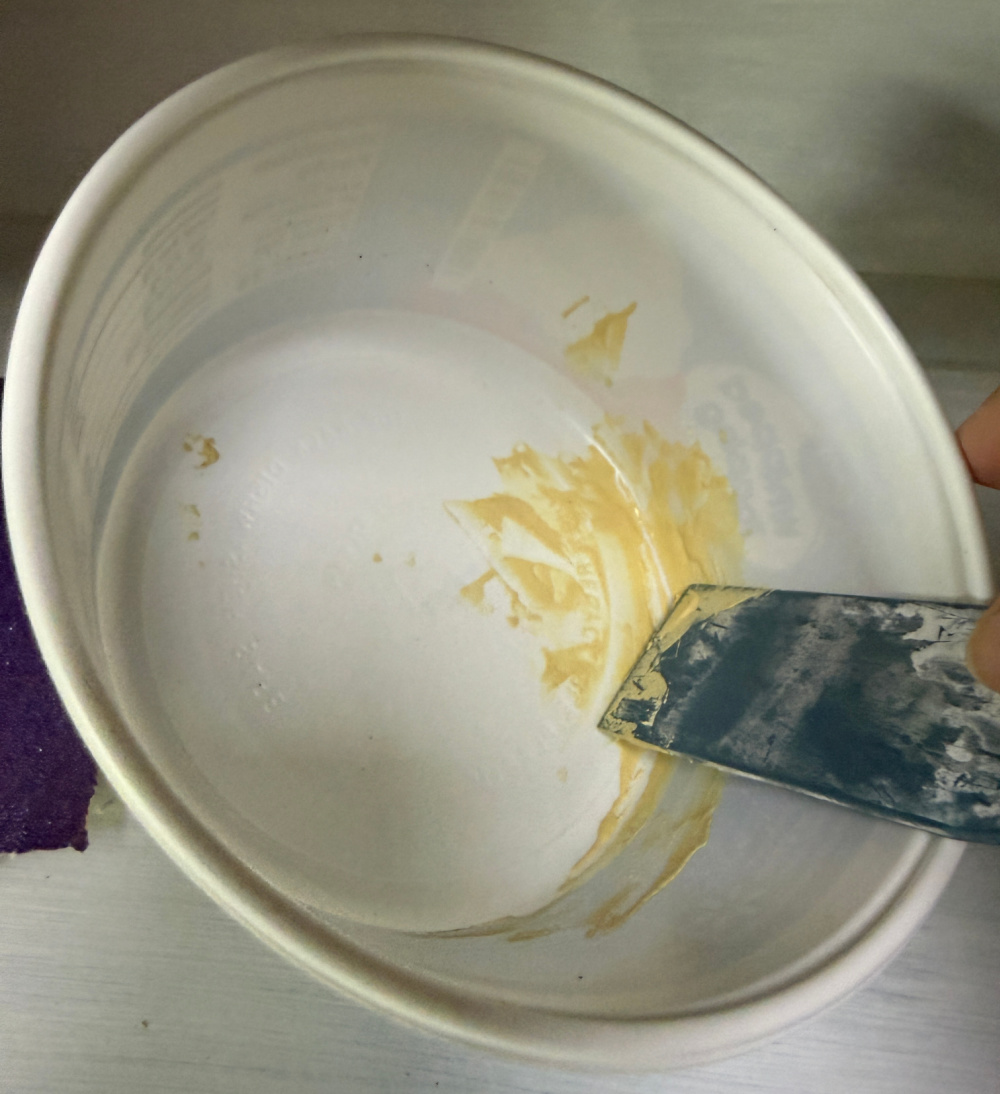
Once the desired consistency was created, I applied the putty to the damaged areas with a putty knife (aka a scraper). I let the areas dry.
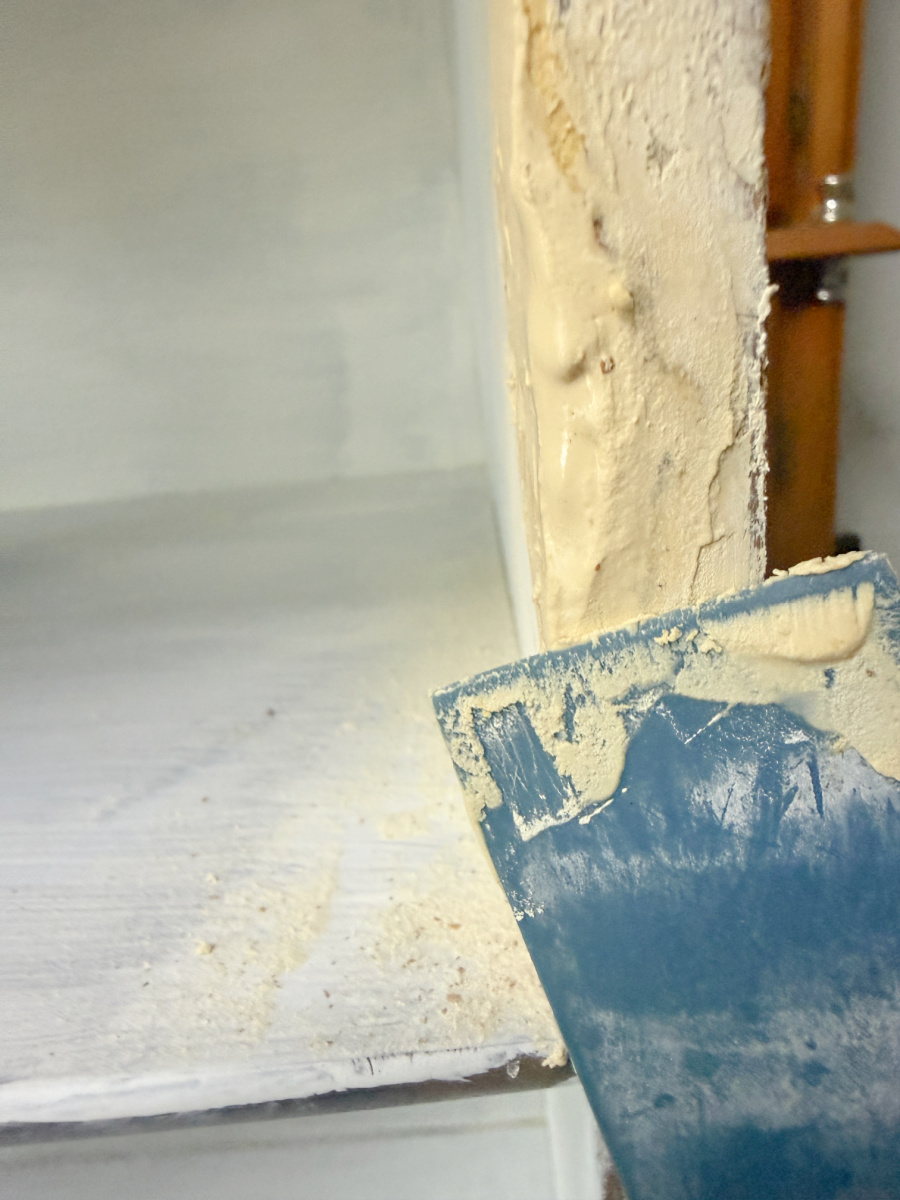
After it completely dried, I sanded the area.
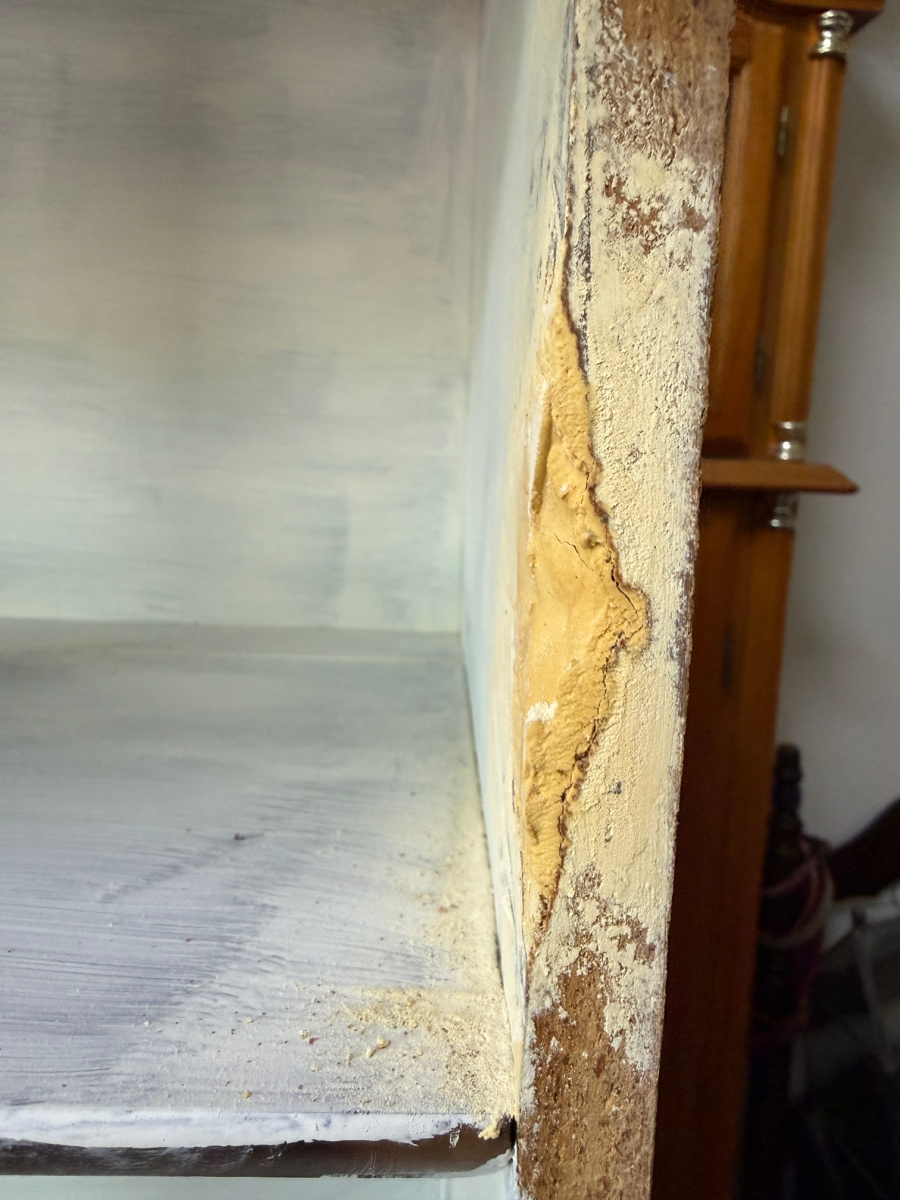
The larger areas required a second application.
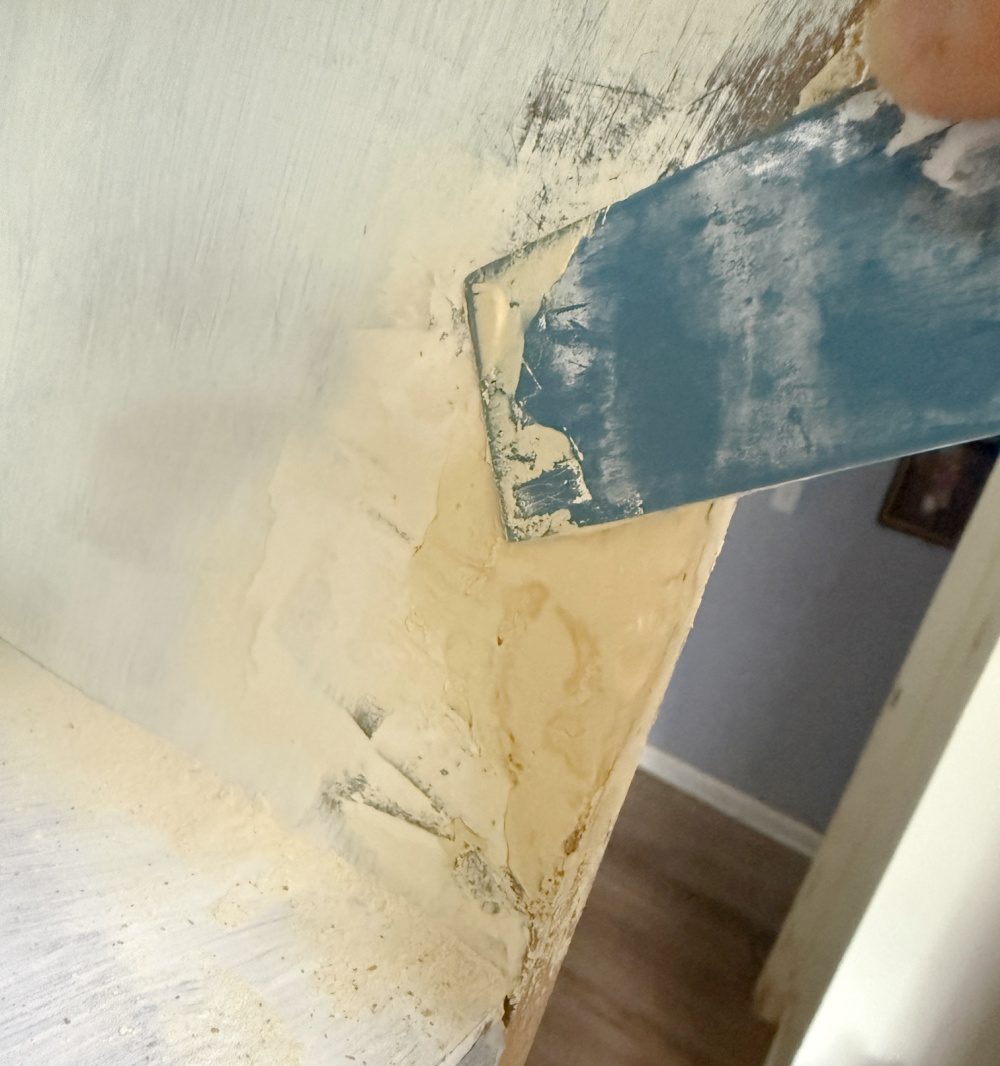
I let those dry and sanded again.

Once painted, you won’t be able to tell that there was ever any damage.
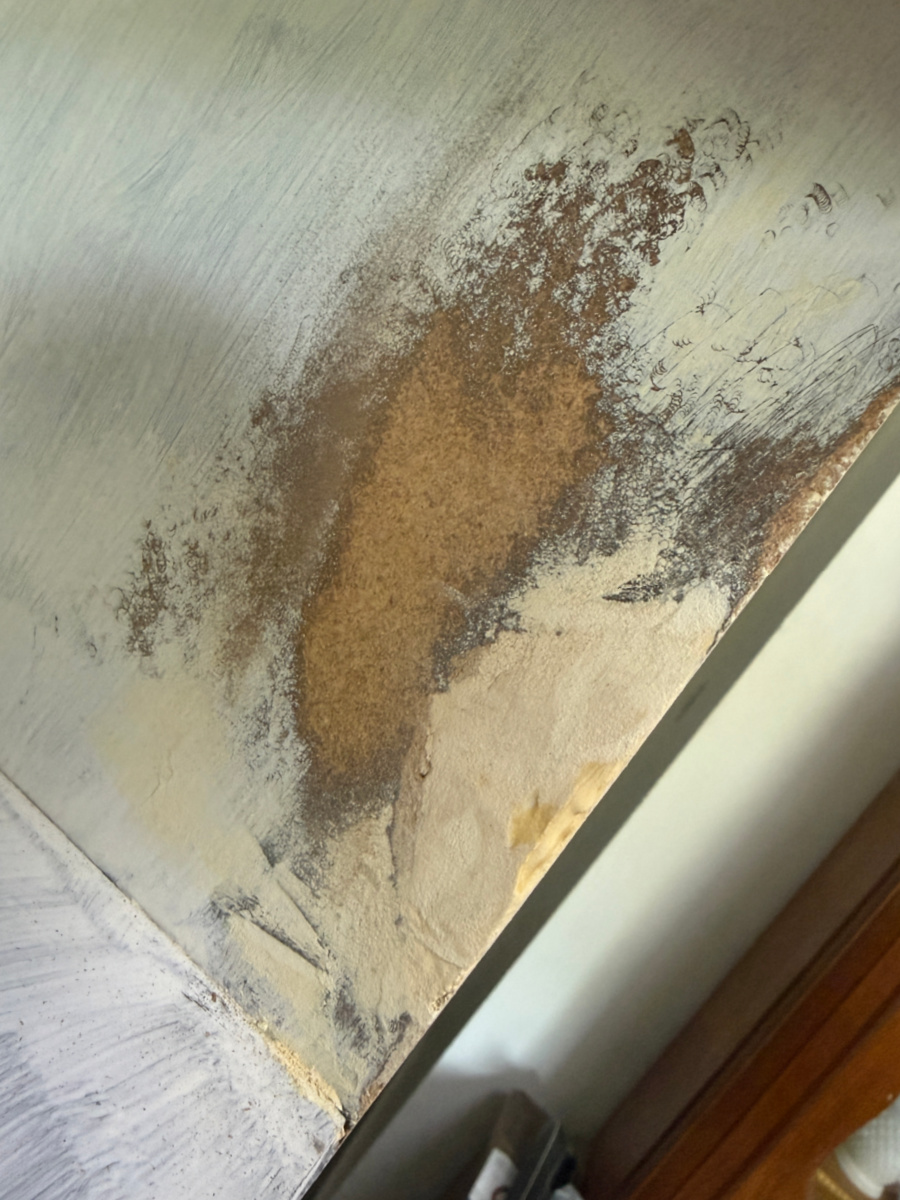
TIP: Instead of Rustoleum to seal the particleboard, you could also use a thin coat of wood putty on the flat surfaces where the particle board is exposed. This would seal the surface well. For this project, the Rustoleum method was fine.
Once the miscellaneous repaired were completed, I was ready to paint.
Paint Selection
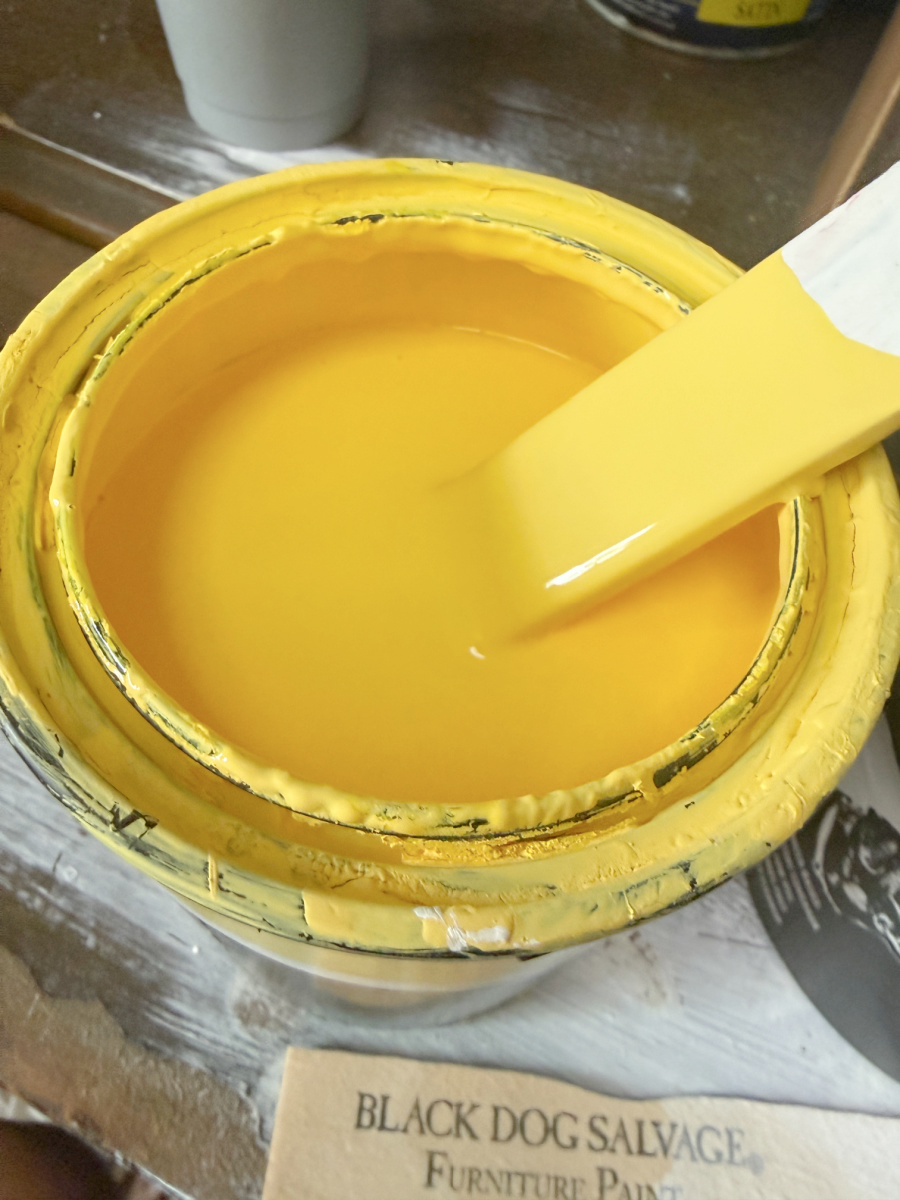
I am using Black Dog Salvage Furniture Paint on this hutch. The interior will be a white, Clean Canvas. The outside of the unit will be Lemon Chiffon which is a custom mix of one part Clean Canvas to two parts Star City Sunshine.
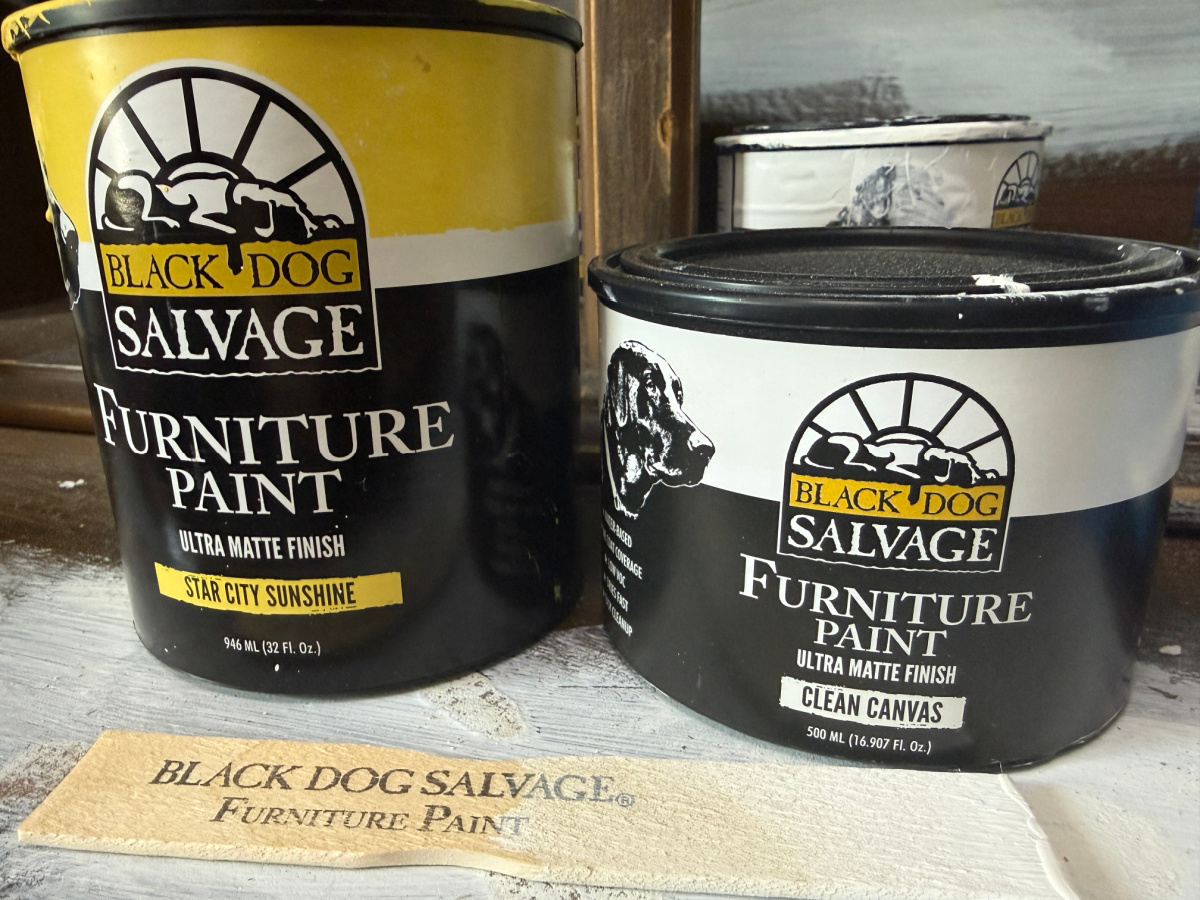
Black Dog Salvage Furniture paint was created for use on salvaged and vintage things. Their colors are incredible and you can mix them to create custom vivid colors. Coverage is excellent and the paint can be used on all surfaced. You can see all of their primary colors here. Use these base paints to create any color your heart desires!
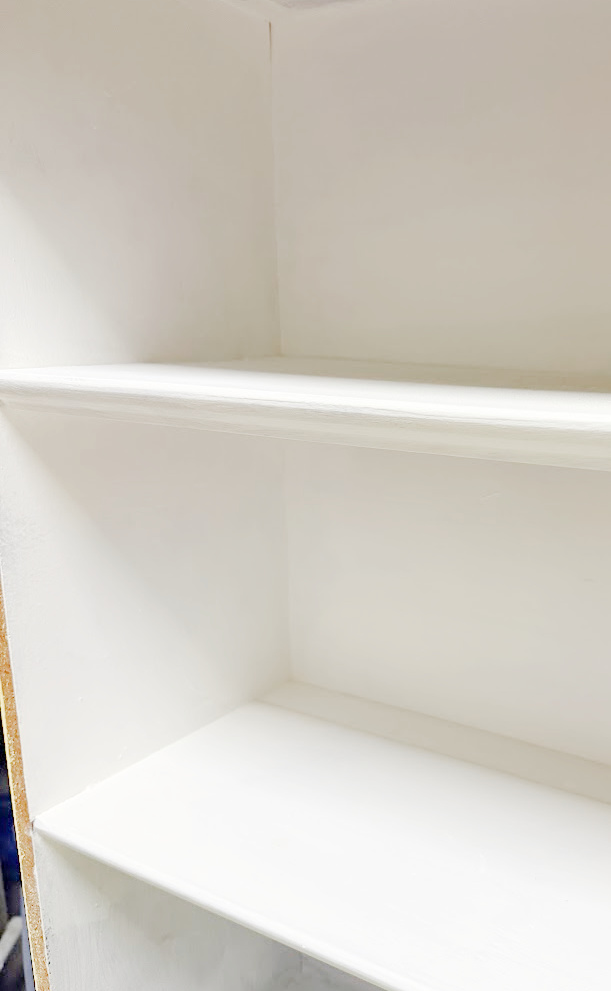
I started with the interior of the top of the hutch. Since the white is covering a dark pecan, several coats were necessary and I did expect this. Here is one coat.
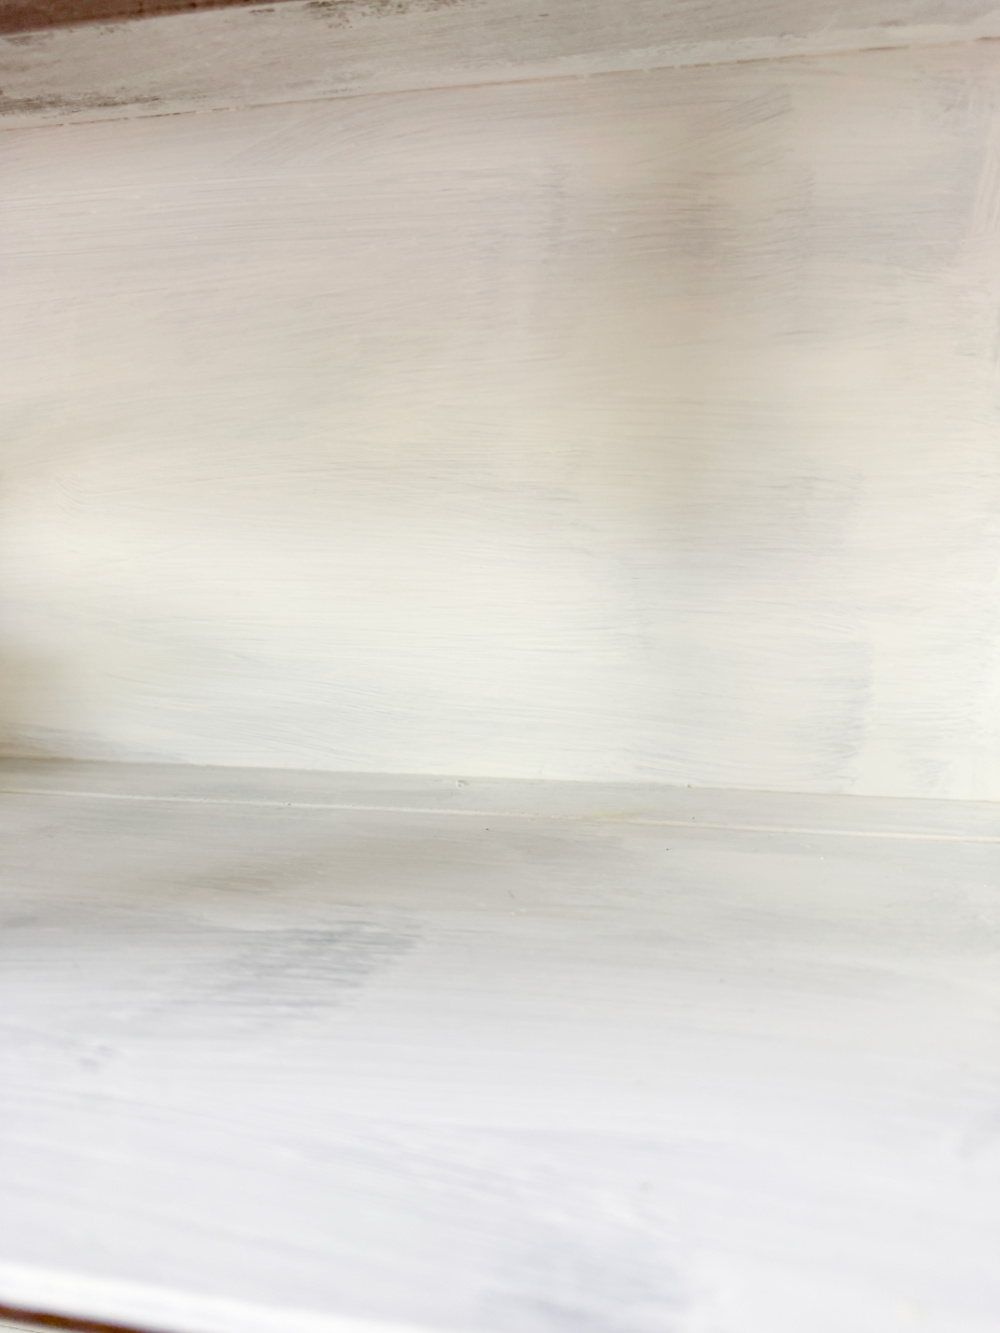
And here is the third and final coat.
Time to Paint!
Next, I mixed up the Lemon Chiffon. I love the fresh bright yellow. It screams summer! And it’s been 90+ degrees here in Alabama for a month now so summer color it is!
My favorite part of digging into a painted furniture project is that first swoop of fresh paint onto the existing surface. And this Lemon Chiffon was super fresh!
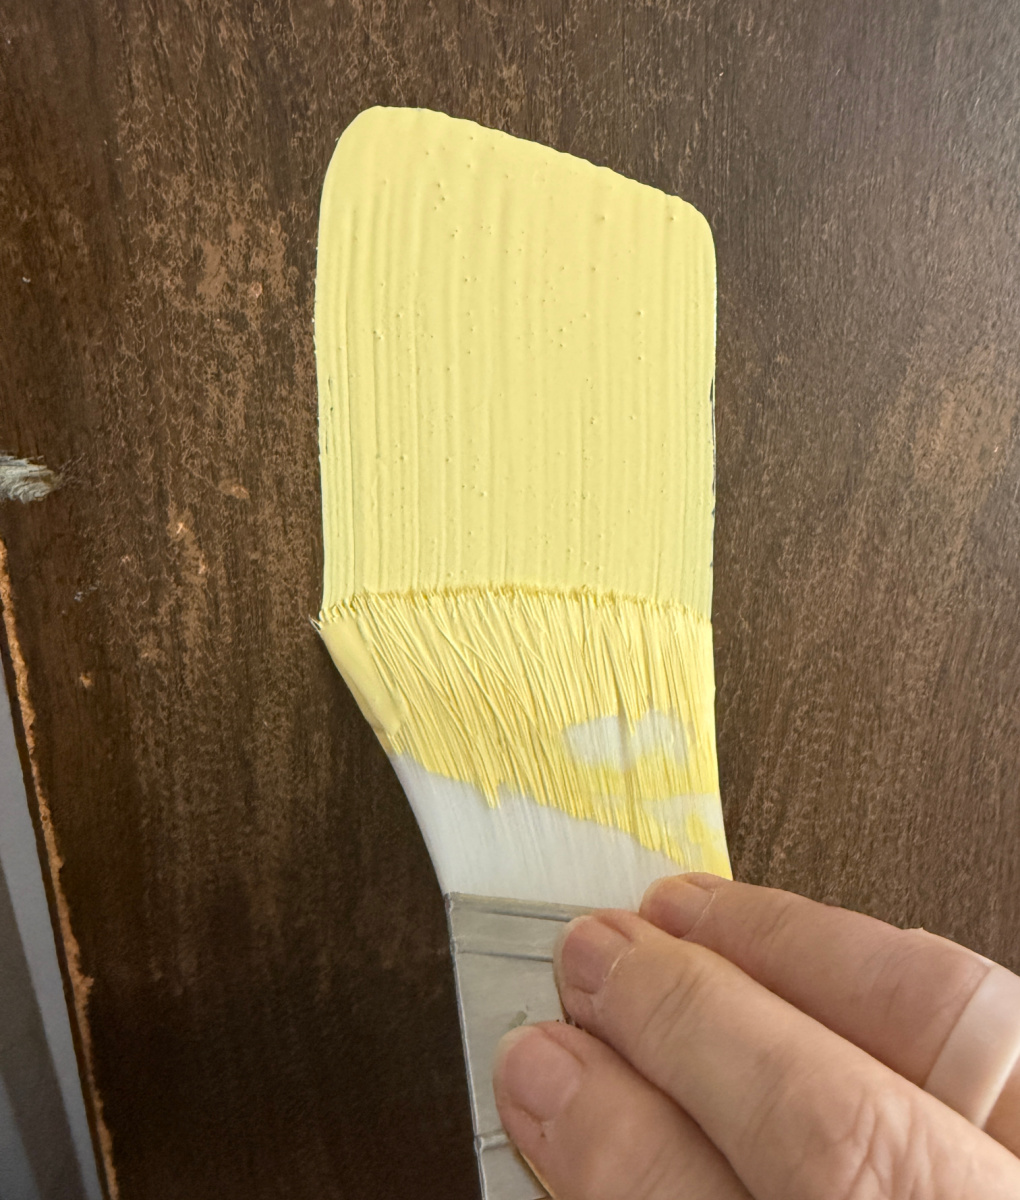
Since I was covering a dark base, three coats were necessary on the exterior as well.
Miscellaneous Tips
Tools make a difference. I started painting the interior of the top of this hutch with my BDSFP brush. This is one of my favorite brushes. But the handle was so long that it kept hitting the wood above the shelf as I was trying to paint the bottom of the shelf.
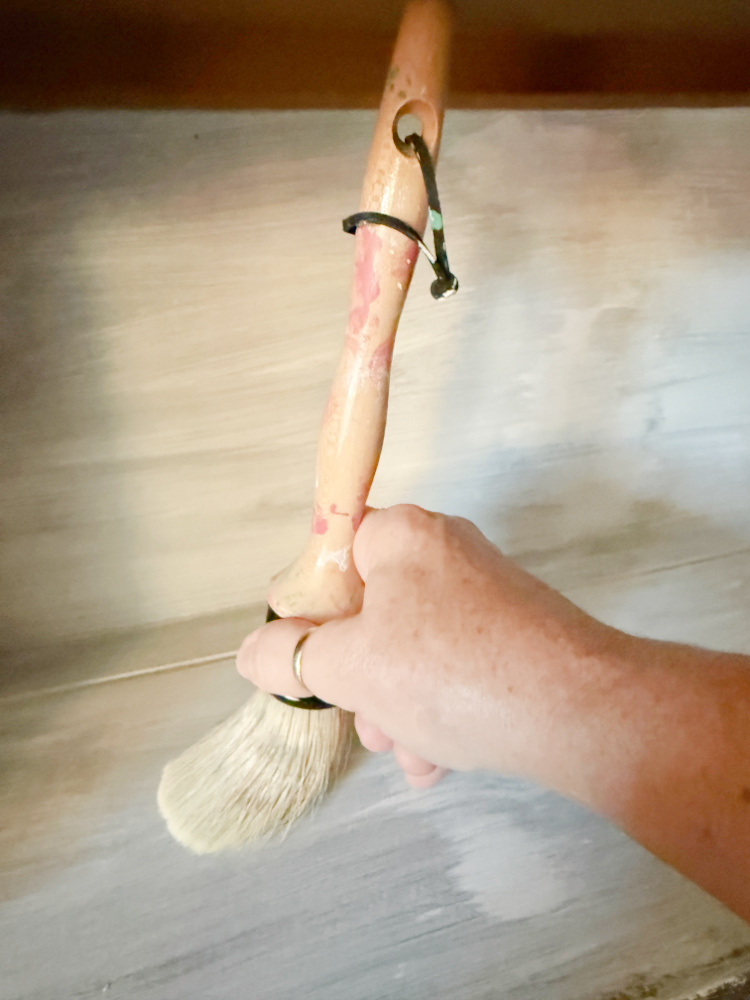
So I switched to a smaller handled brush.
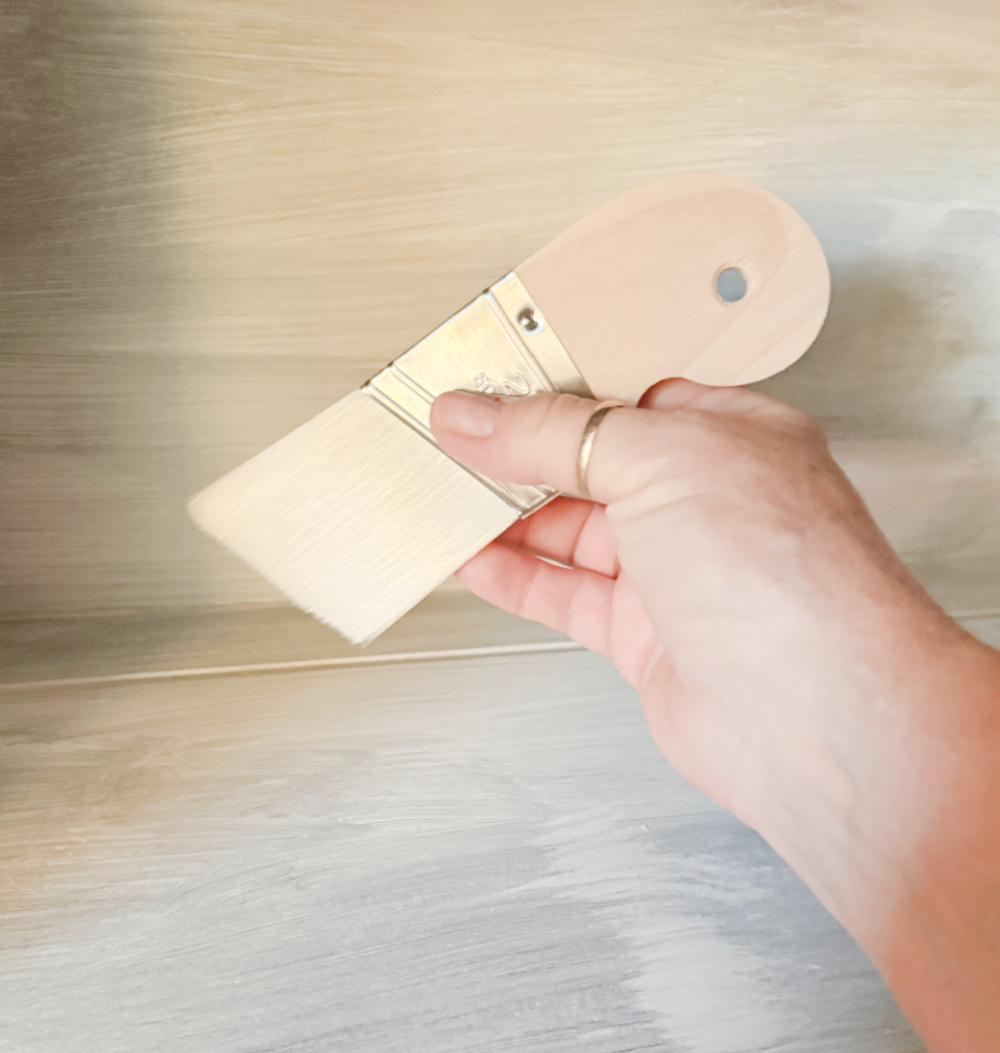
Once the hutch and base were painted, I painted the doors and reinstalled them onto the bottom of the hutch.
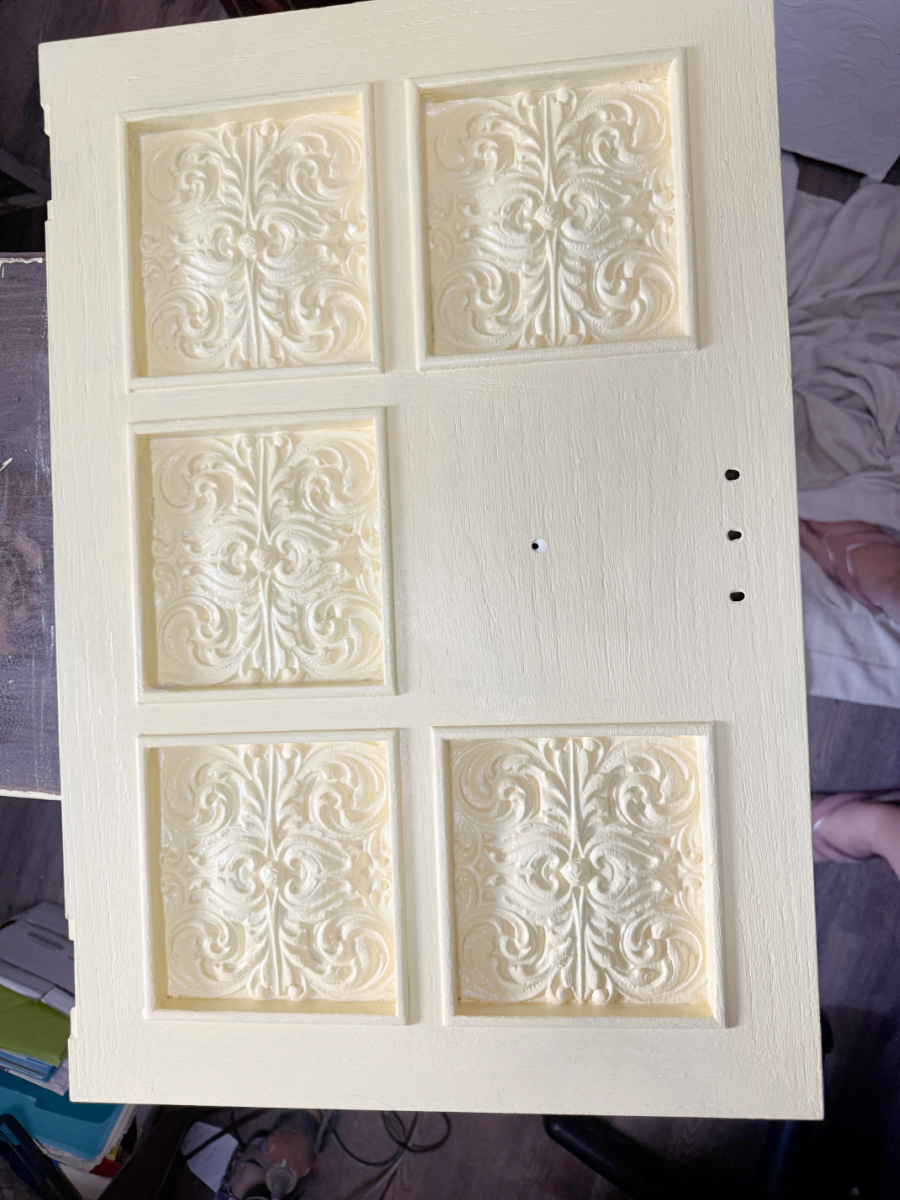
Then the entire piece was sealed with Black Dog Salvage Furniture Paint’s Show Dog Top Coat.
Hardware Refresh
I just love original hardware and will leave it intact whenever possible. I simply cleaned this hardware.
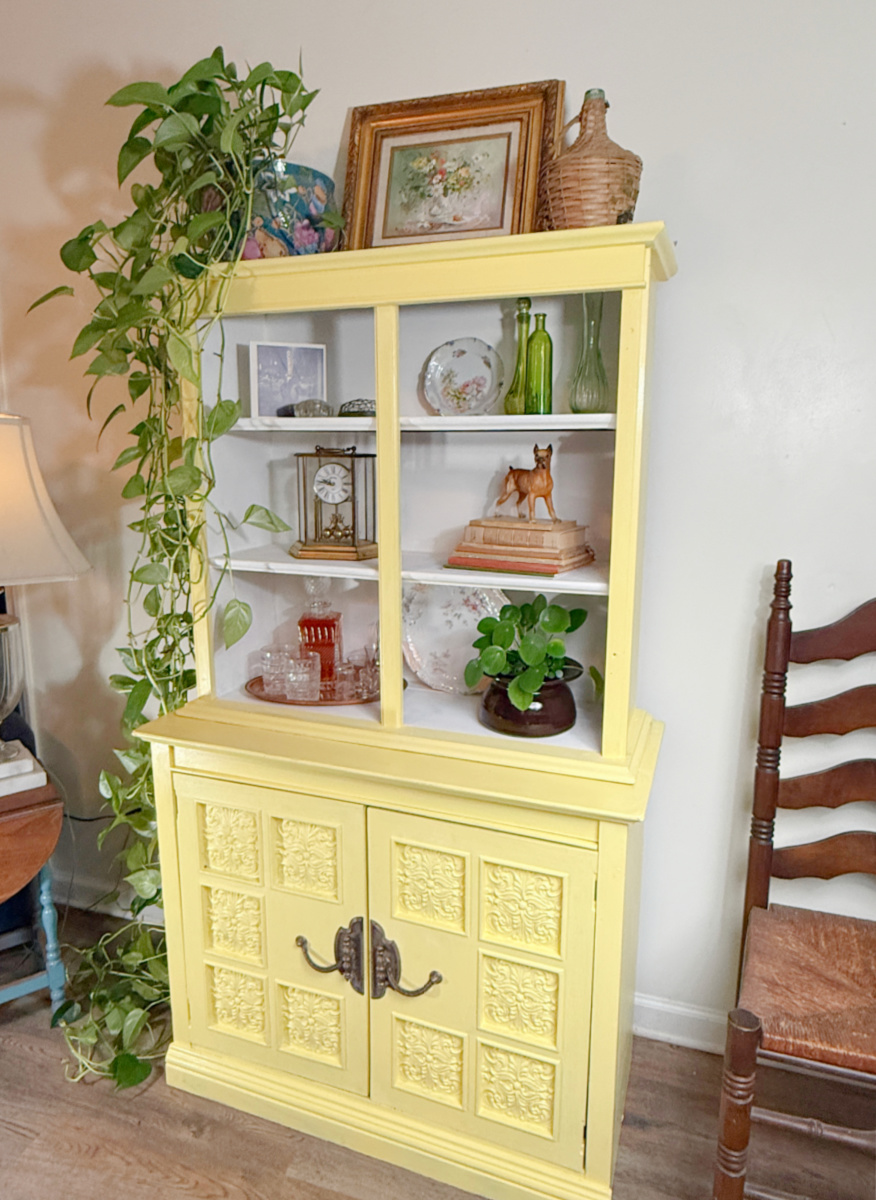
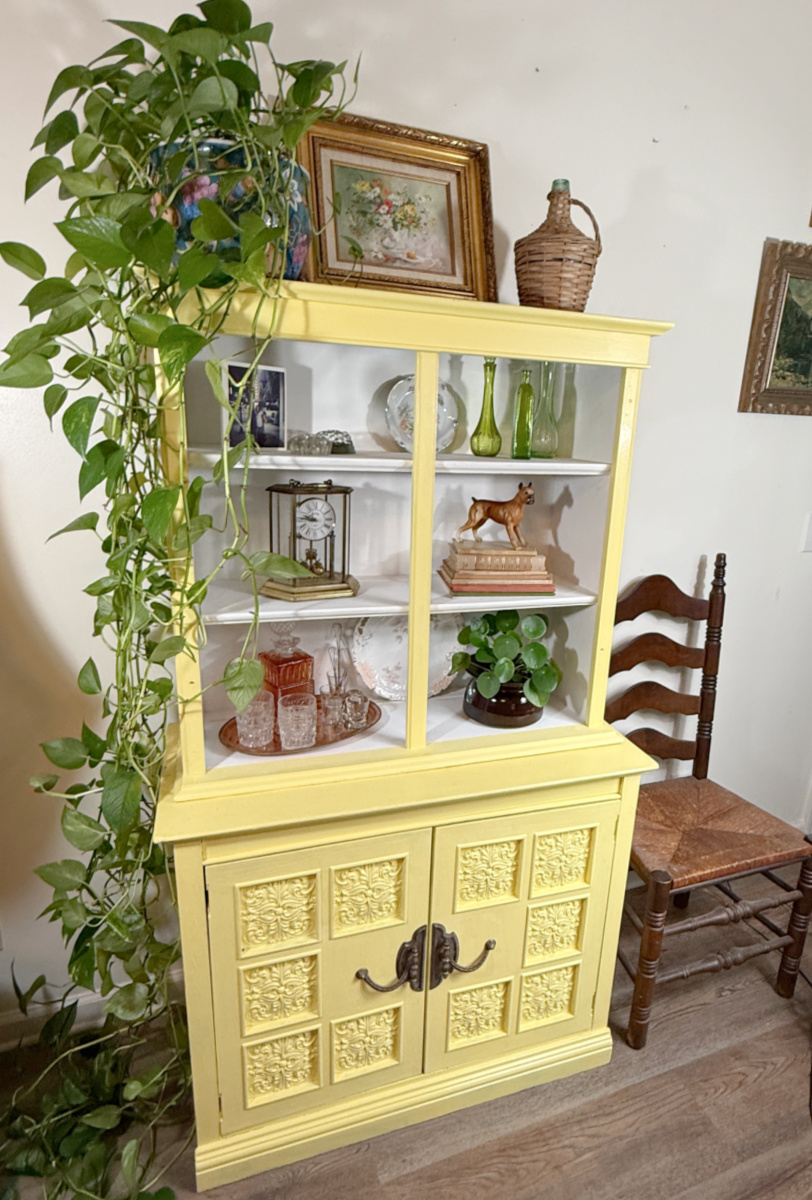
And here she is!
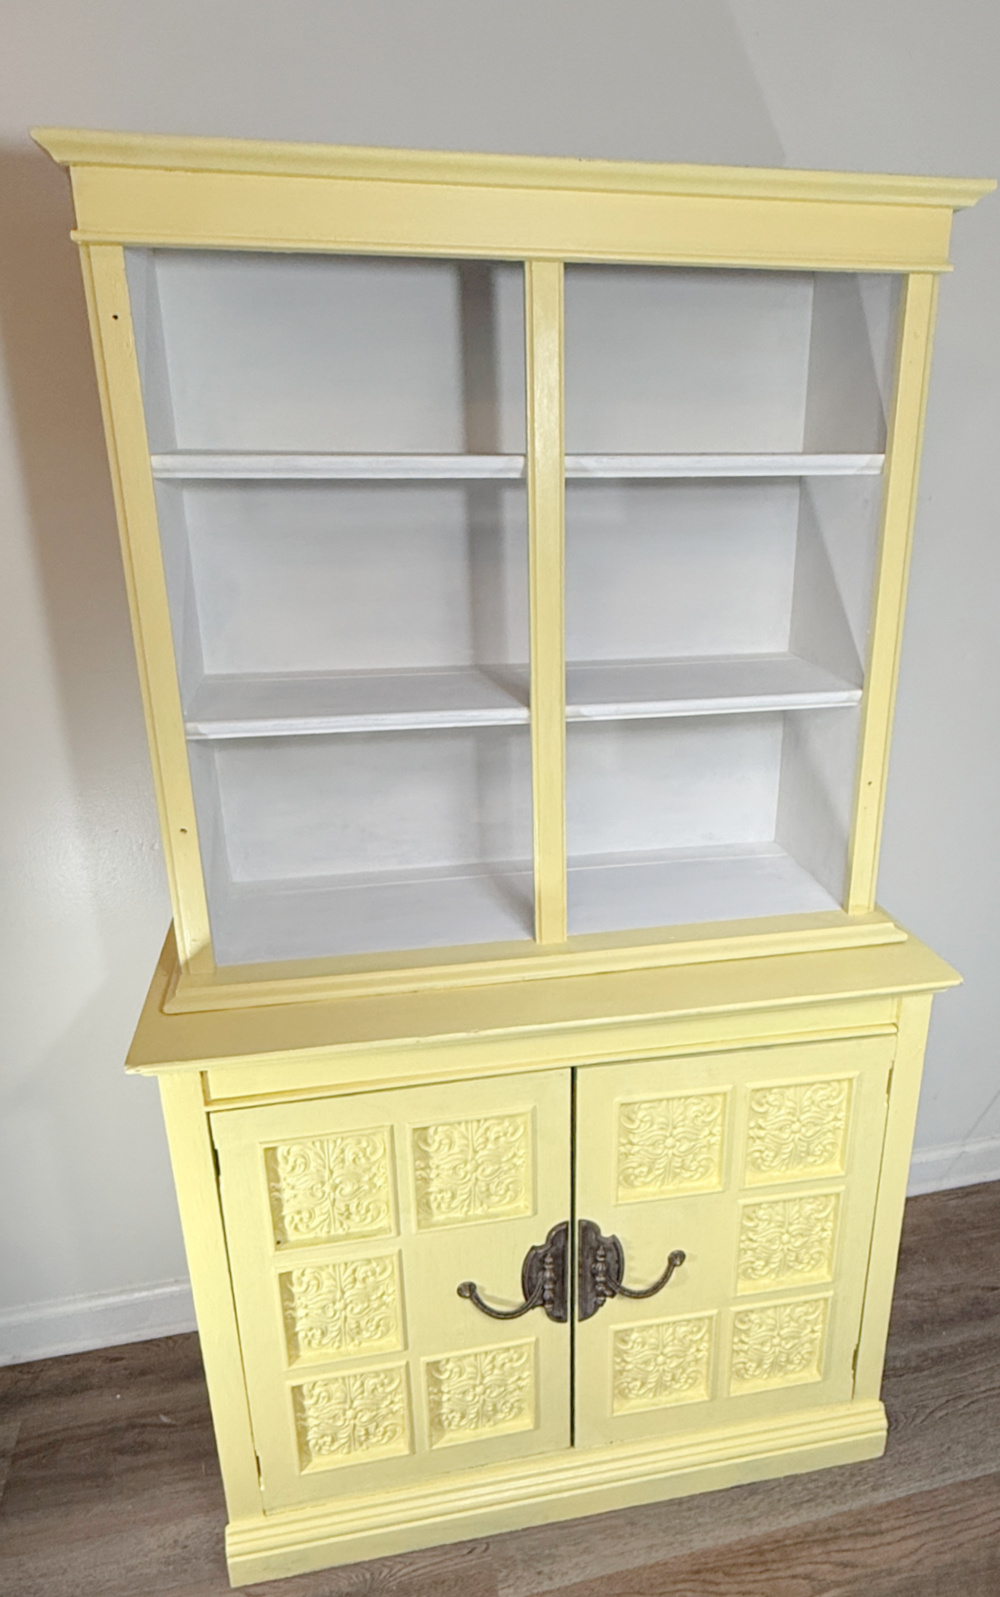
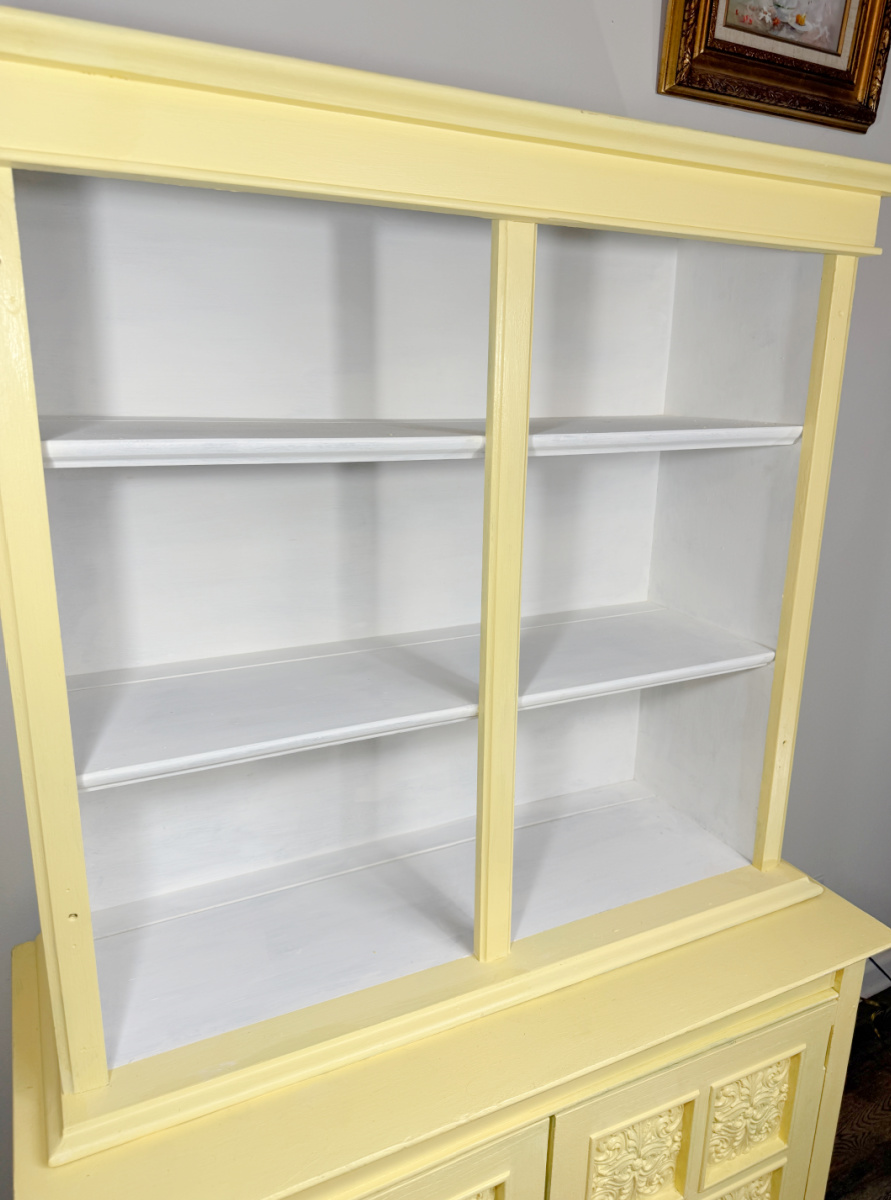
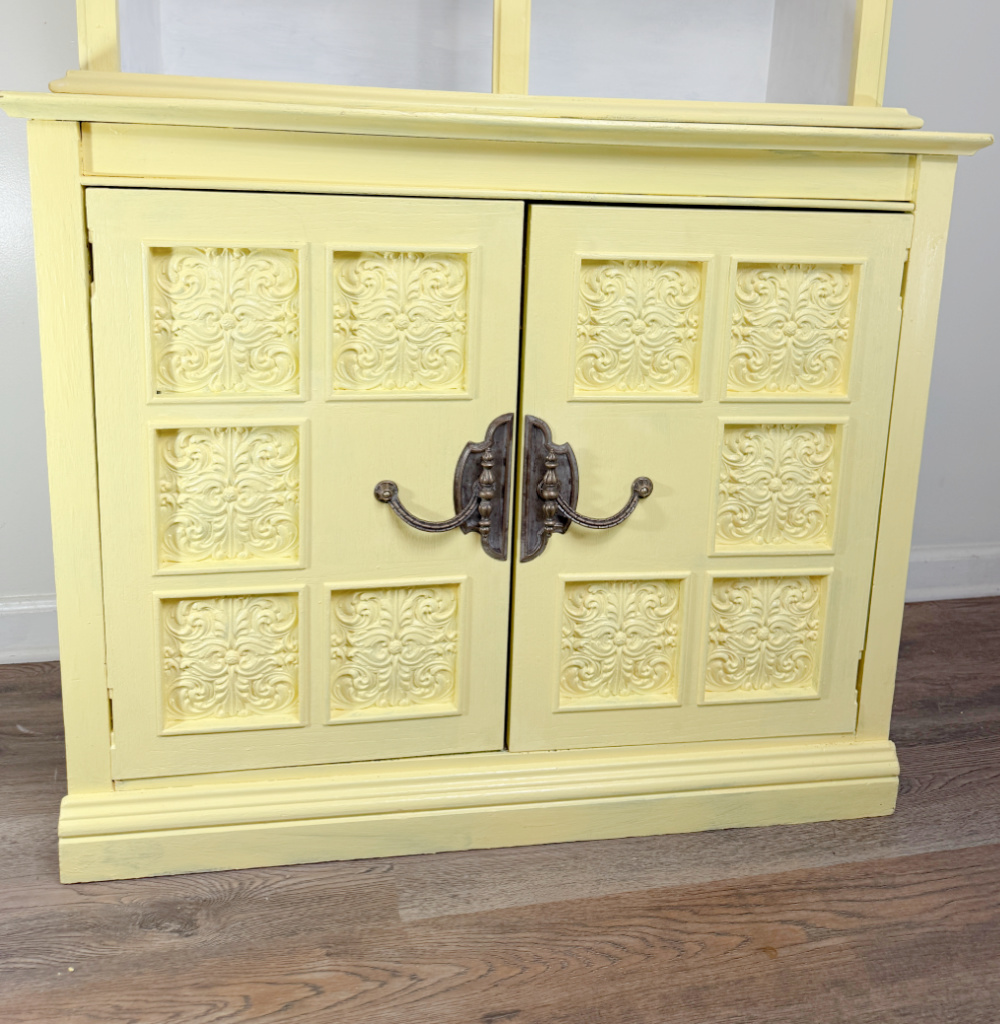
All that is left now is to fill her up! What’s your style? Country? Rustic? Antiques?
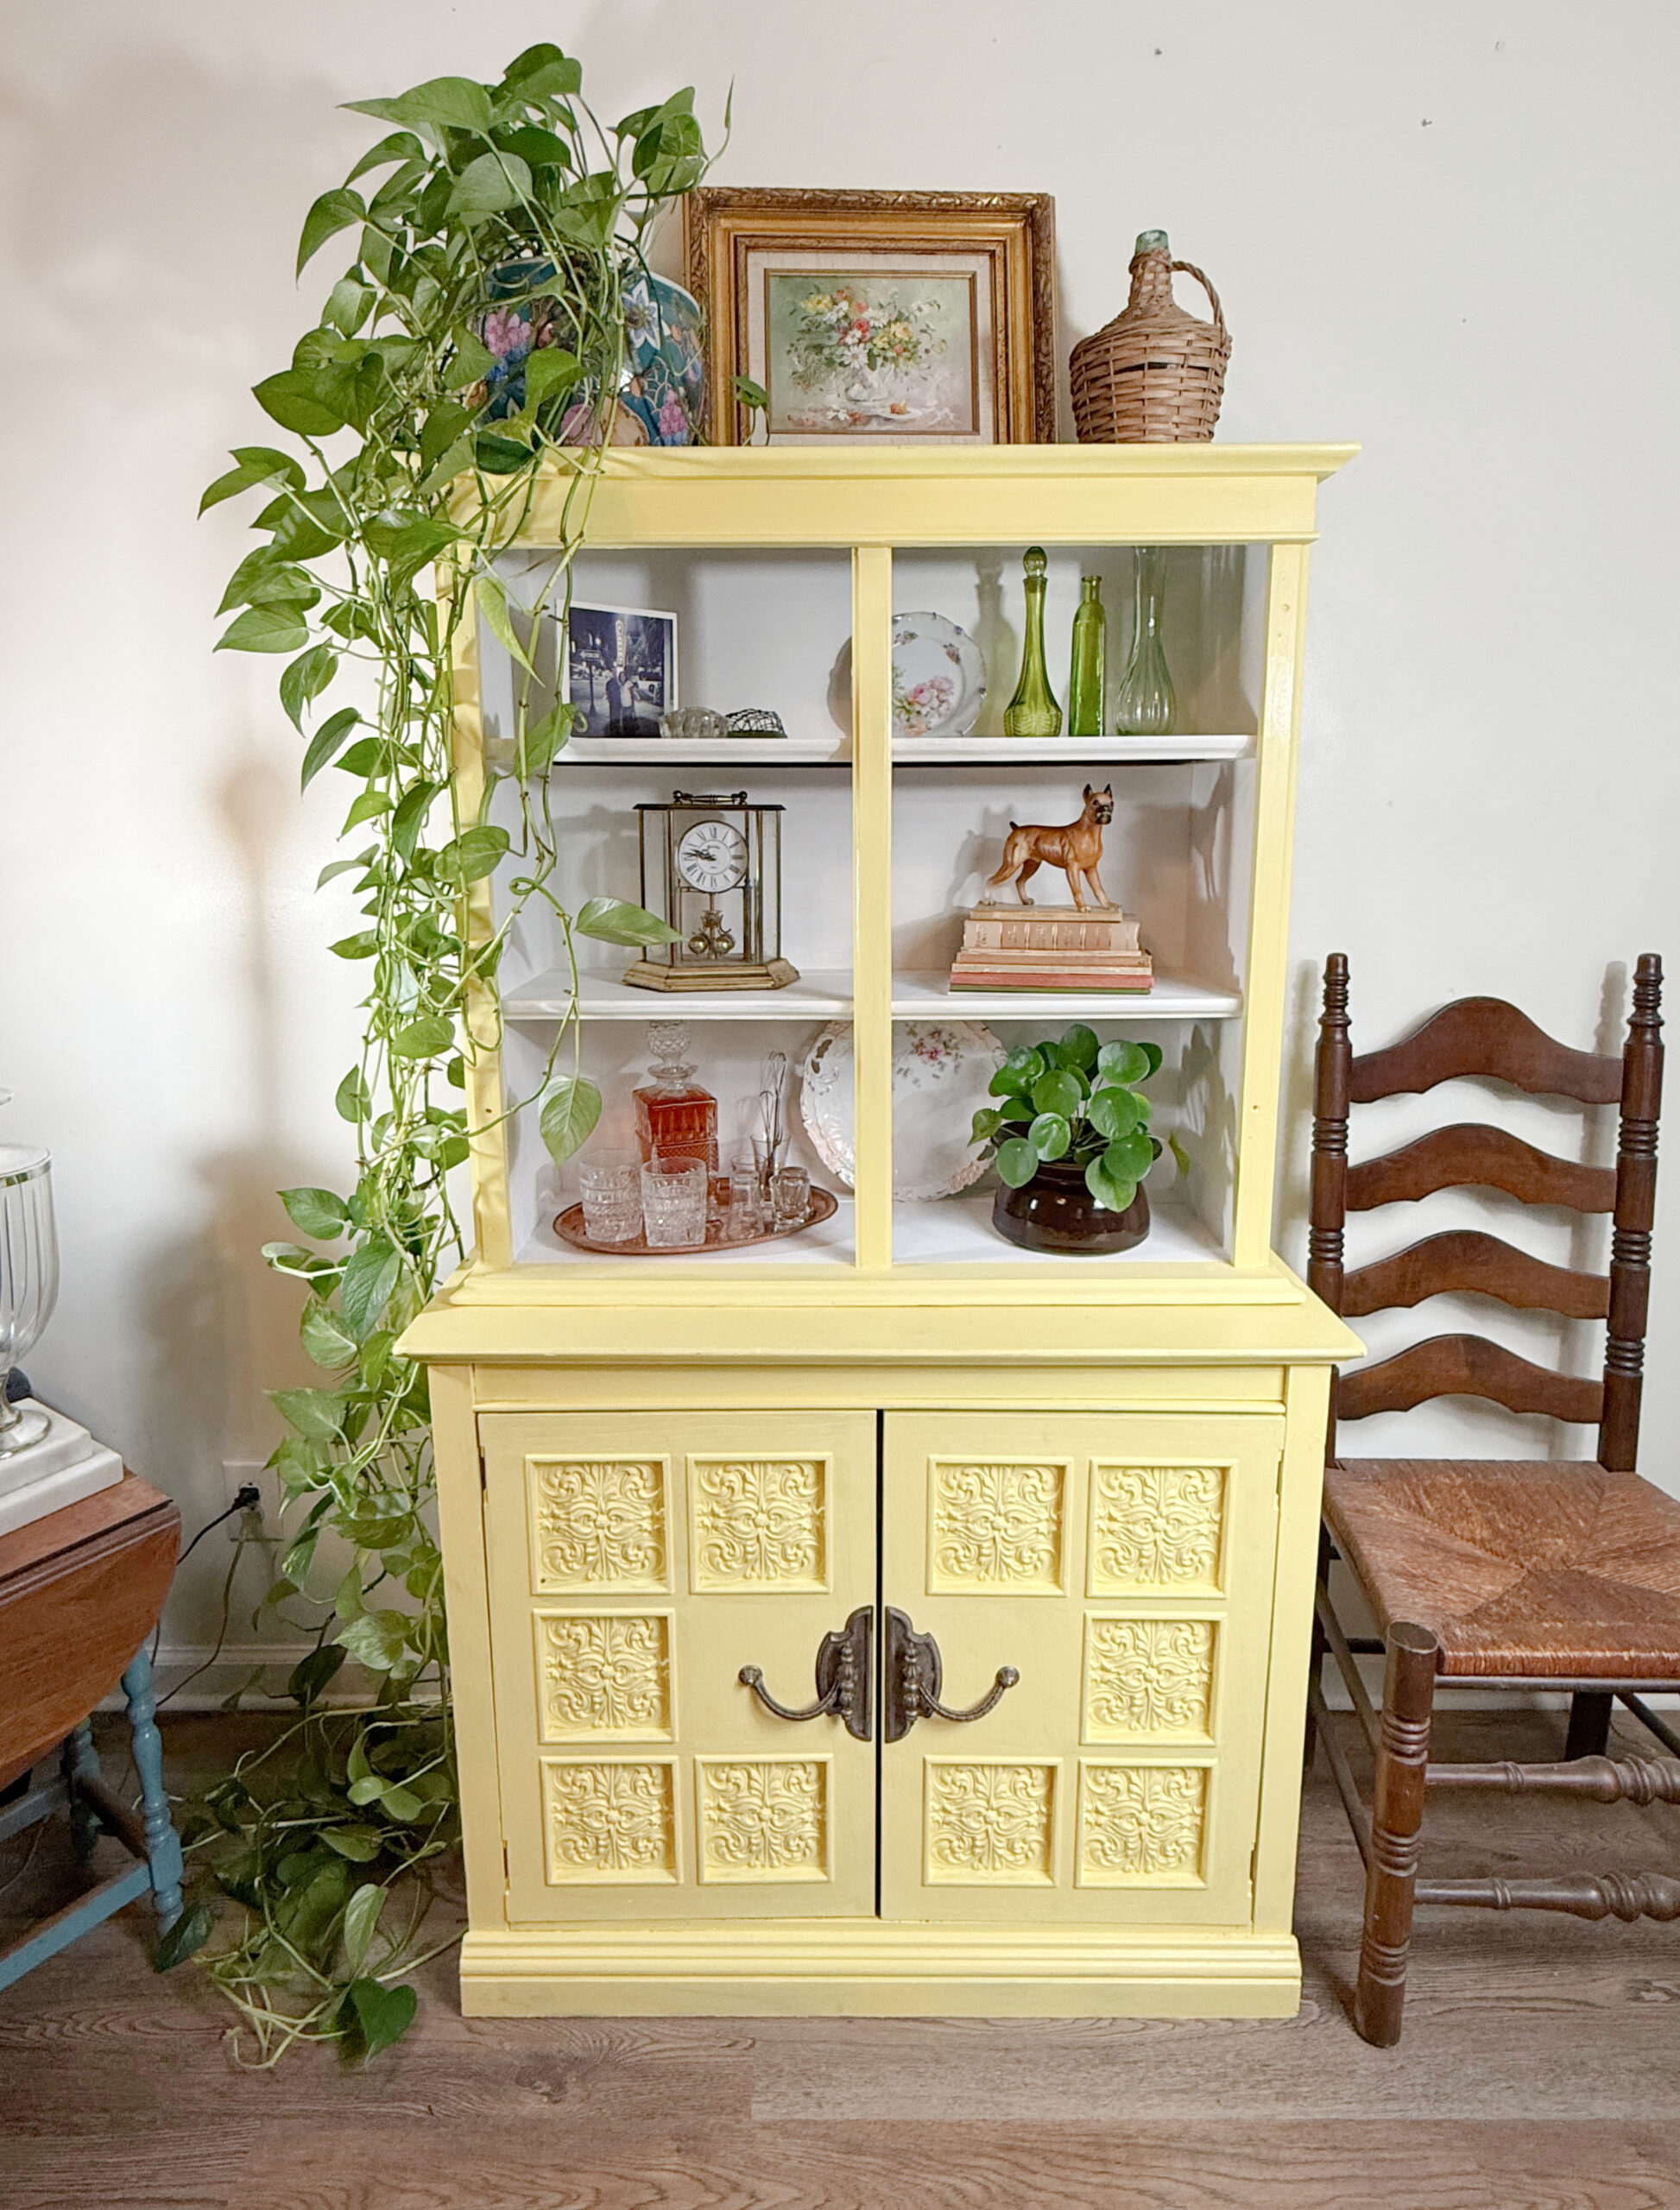
I’m starting with what is nearby but can’t wait to really fill her up!



8 Amazing Thrift Store Projects to Try
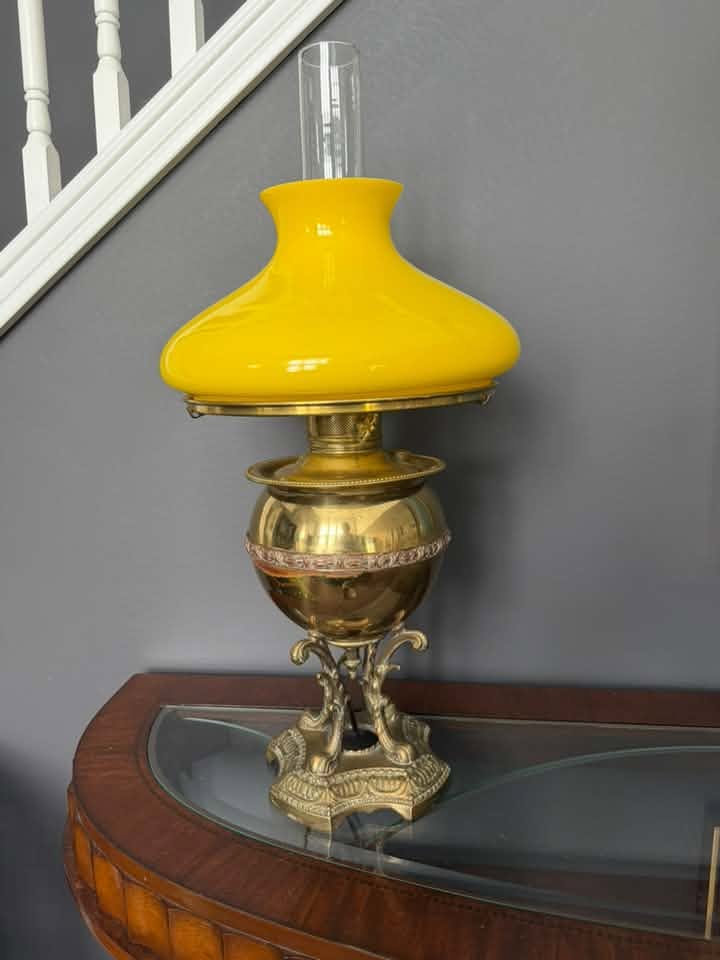
1. Restored Antique Oil Lamp Redhead Can Decorate takes her Grandfather’s antique oil lamp and restores & styles it to perfectly fit her home today and it’s beautiful~ |

2. Vintage Rattan Refresh Christy from Our Southern Home gave a vintage rattan furniture set a fresh new look with a simple seat fabric update. |
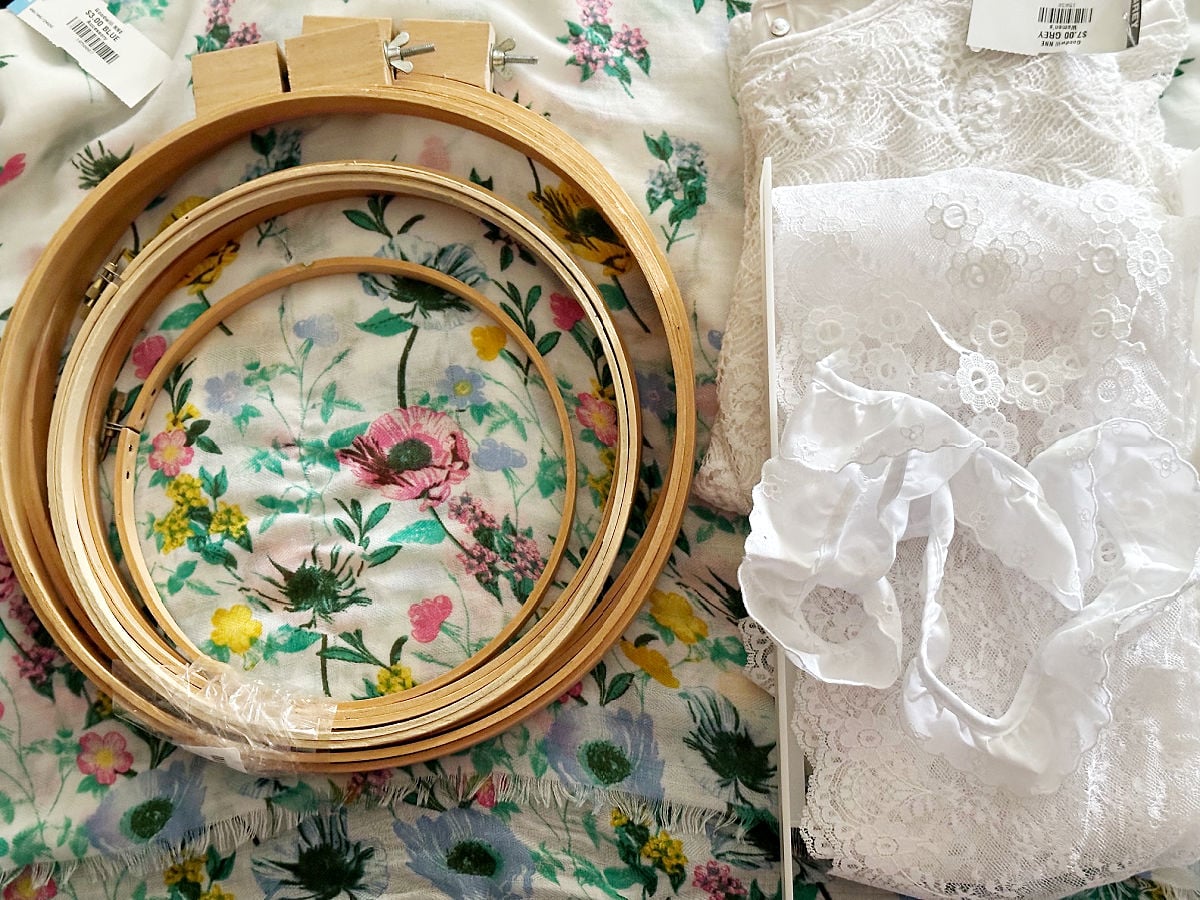
3. Thrifted Embroidery Hoop Wall Art Michelle from Our Crafty Mom turned thrift store finds into beautiful embroidery hoop wall art with a simple, creative DIY makeover. |
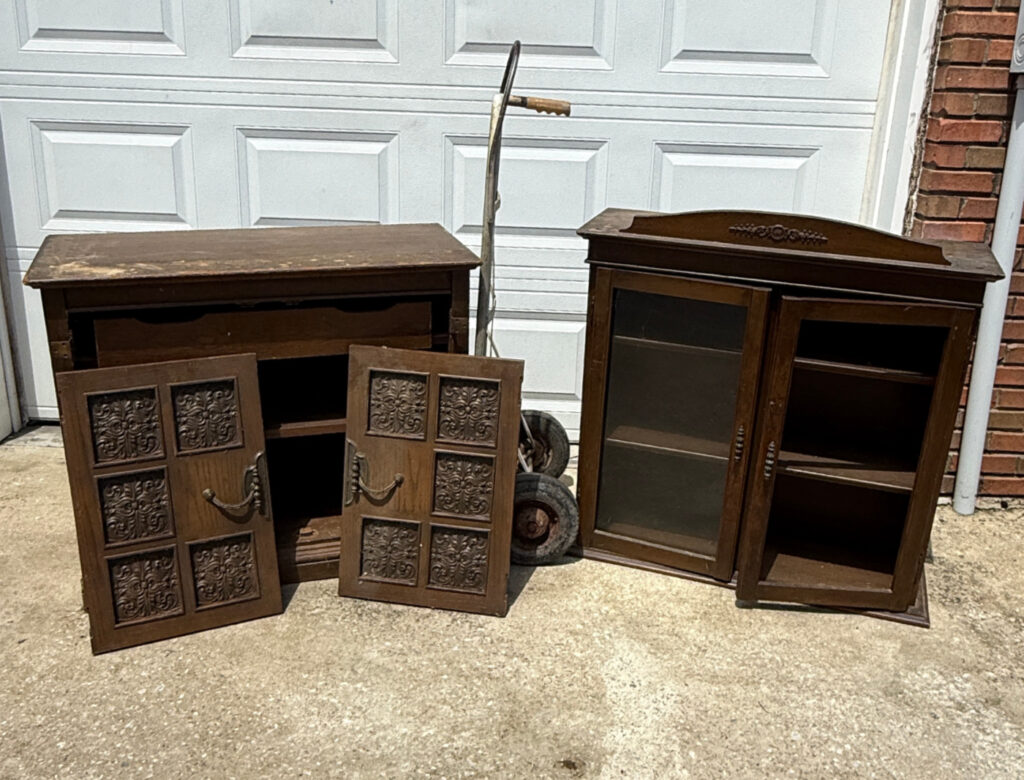
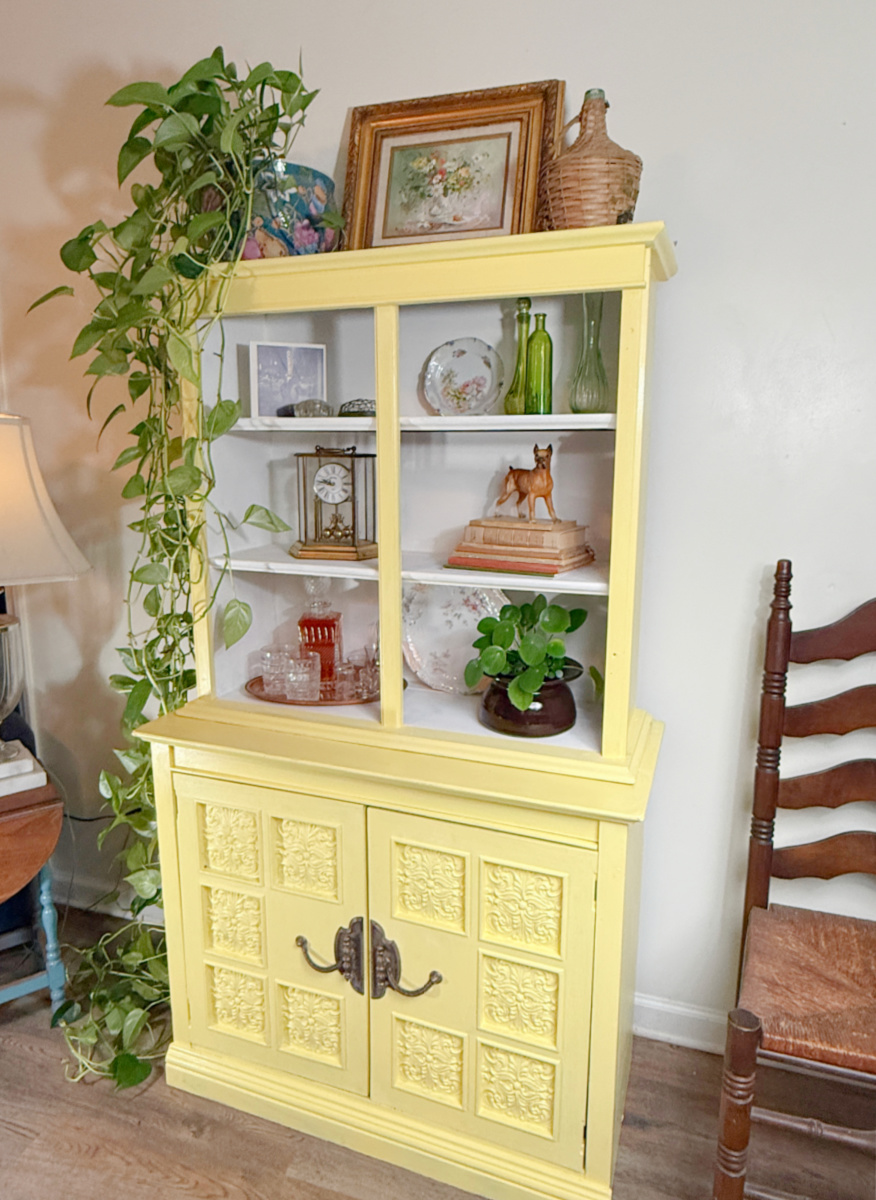
4. Dated Hutch Makeover Sue from Shop At Blu gives you some tips on how to make minor repairs and transform a dated hutch into a contemporary beauty! |

5. MacKenzie-Childs Inspired DIY Pumpkin Get that whimsical, checkerboard MacKenzie-Childs look for a fraction of the price with this easy tutorial by Uncommon Slice of Suburbia! |
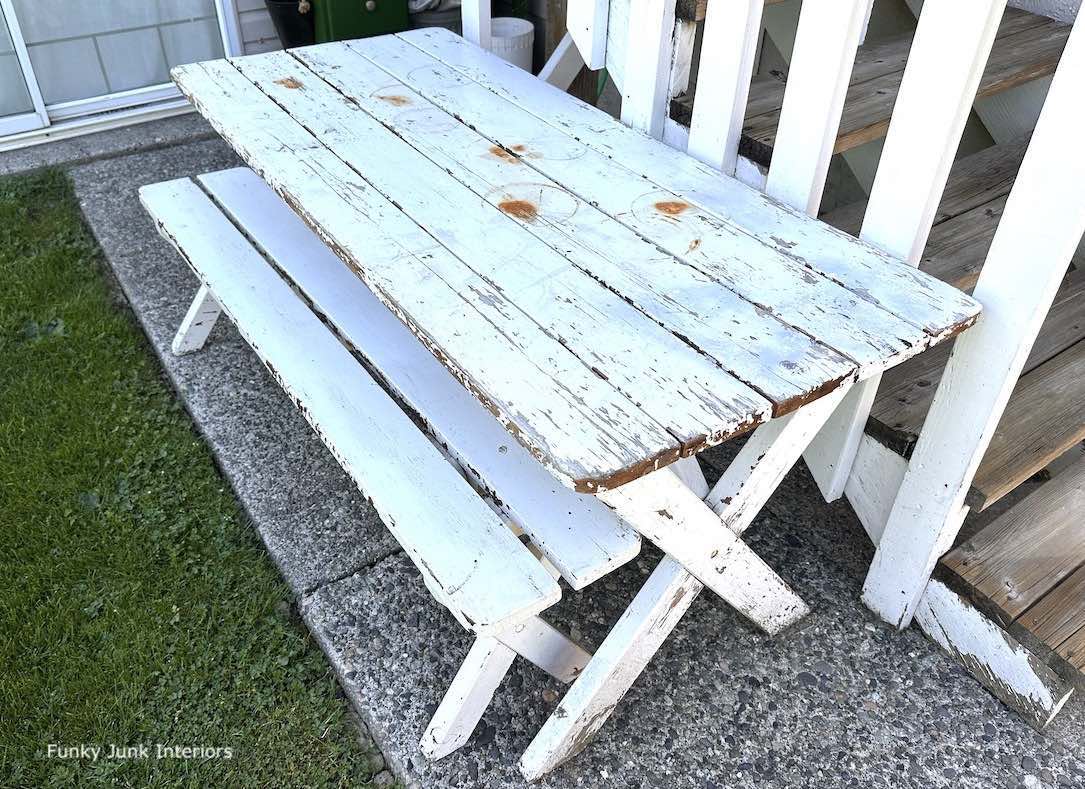
6. Picnic Table to Farmhouse Dining Table See how to flip an old picnic table into a decadent DIY budget-friendly farmhouse dining table by Donna from Funky Junk Interiors! |

7. Farmhouse Vase Painting Idea See how easy it is to update a boring vase into a stunning farmhouse beauty with this vase painting idea by Marianne Songbird! |

8. Floor Lamp to Table Lamp Transformation This towering floor lamp was hiding a charming table lamp in its base. See how Gail from My Repurposed Life gave it a whole new purpose. |
Wow! What a huge improvement Suzanne! It makes me tired just reading all the details. But it was definitely worth all of the work.
Pinned!
gail
Yeah, I tend to be a little wordy. It was much more than I had expected. LOL. But, love to share the process.
Thanks, Gail!
Oh my goshhhhh…. you had that beauty waiting for this grand reveal for years?! Nice work, Thrift Store Decor Team I say! haha! What a great piece! Love how you styled it, I’d have so much fun switching things up constantly with a display piece like this! The white and soft yellow are just SO much happier than the original tone! Nicely executed!
You’re so sweet! My husband likes it so much, he wants to leave it in our living room where I took the photos. I was not prepared for that but I think I do like it there. For now. LOL
Wow! How beautiful. A bright happy spot in your home.
Thank you for sharing.
Pam/FL
Thanks, Pamela. It sure is a happy color.
Oh my goodness that is absolutely beautiful!!! I love how you styled everything, too!!
Thanks, Julie. It landed in the living room and I unexpectedly approve!
I am so happy that you rescued this and gave it a chance. I love the particle board tips. I have never tried the powder filler, but I need to! This piece is so lovely with the yellow and perfect for fall.
Thanks, Christy. It was a much more complicated process than I had expected. I think I’m done with particle board for a while.