How to make concrete garden decor – Quikcrete One Bag Wonder Challenge
As an Amazon Associate and member of other affiliate programs, I earn from qualifying purchases.
Quikrete One Bag Wonder Contest
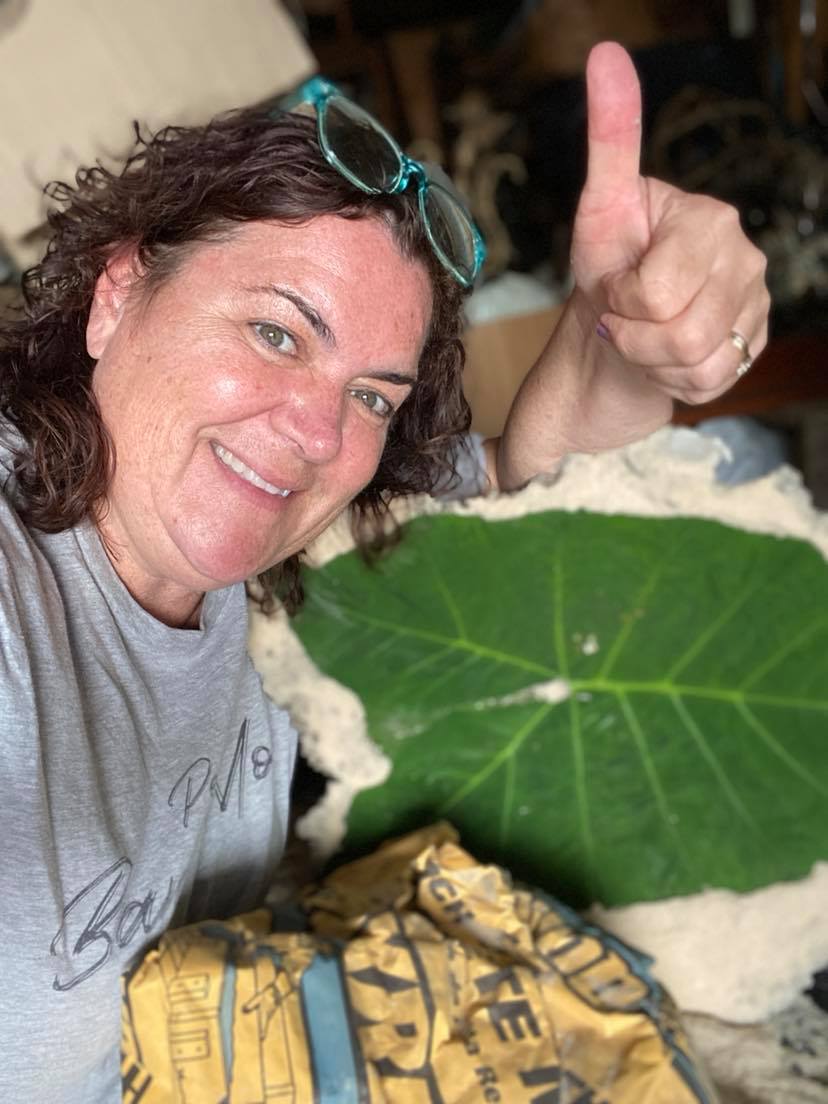
Quikrete has been a sponsor of my favorite DIY Conference, the Haven Conference, for as long as I can remember. This year I finally decided to grab a bag of concrete and enter One Bag Wonder Contest. Basically, you create something with just one bag of Quikcrete concrete mix. There are several categories including Novice, Intermediate, or Expert. I am definitely a novice. This is my first concrete project ever.
The Plan
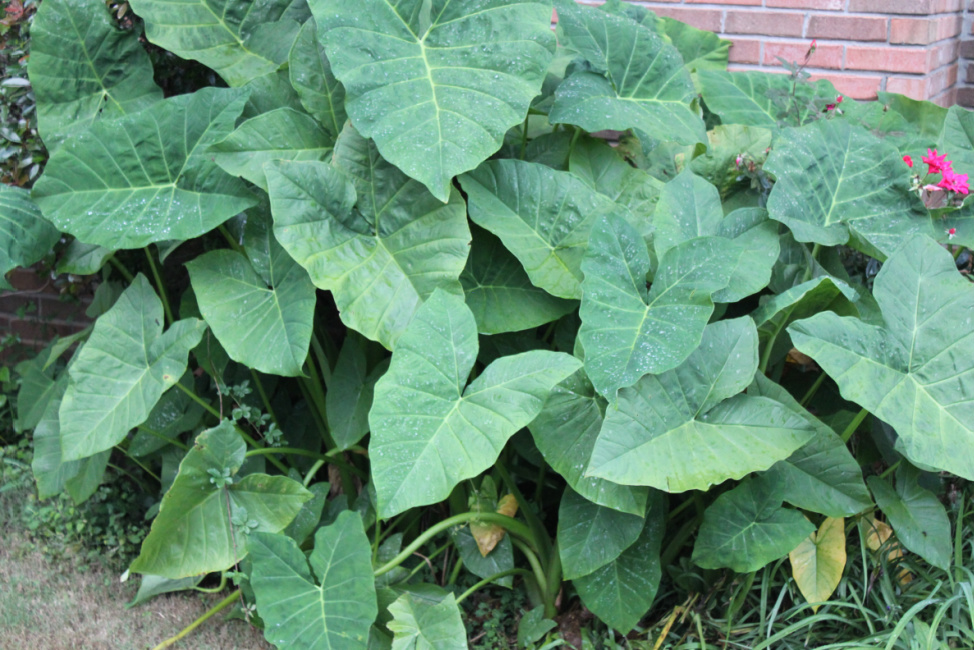
We recently replaced our deck. As we slowly create our perfect outdoor space, we have much potential for garden decor both on the deck and in the new under deck patio area which is surrounded by a garden (in process). I’ve seen many pictures and videos of avid gardeners using concrete to mold leaf bird baths and other creations. My main inspiration came when I saw this photo of a childhood friend’s leaf project. Thanks to Karen Stankovics in Philly!
So I decided to give it a try.
Though I would love to create a huge leaf from one of my giant elephant ears, I thought smaller leaves would be more suitable as this is my first concrete project. I can always tackle bigger projects should this one go smoothly.
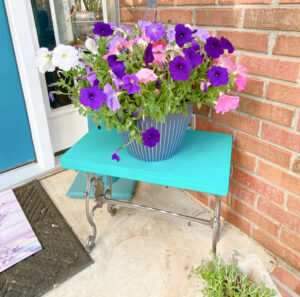
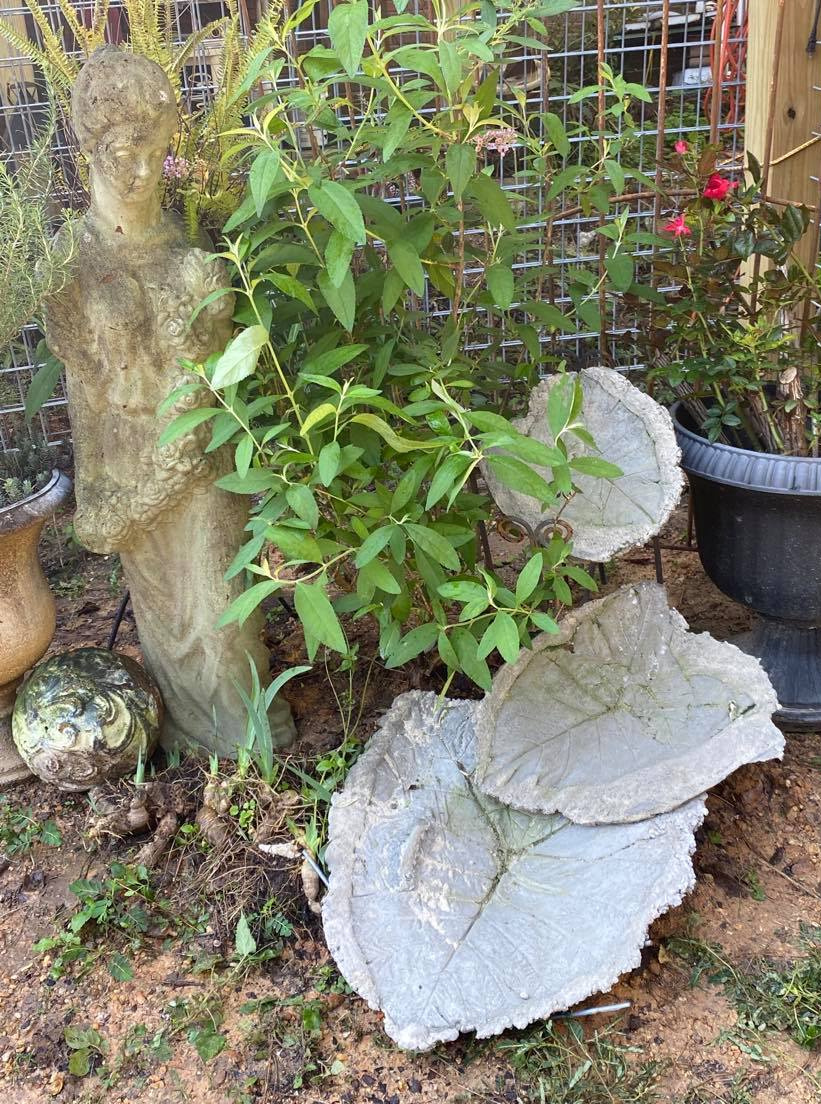
So the plan was to make 4-6 casts of small to mid sized elephant ears. While I would love to create a water fountain, with my novice skills I decided to use the smaller vessels as watering stations throughout the garden. We have many birds and several hummingbirds who live in our yard. These small leaf vessels could be scattered around the garden as a water source.
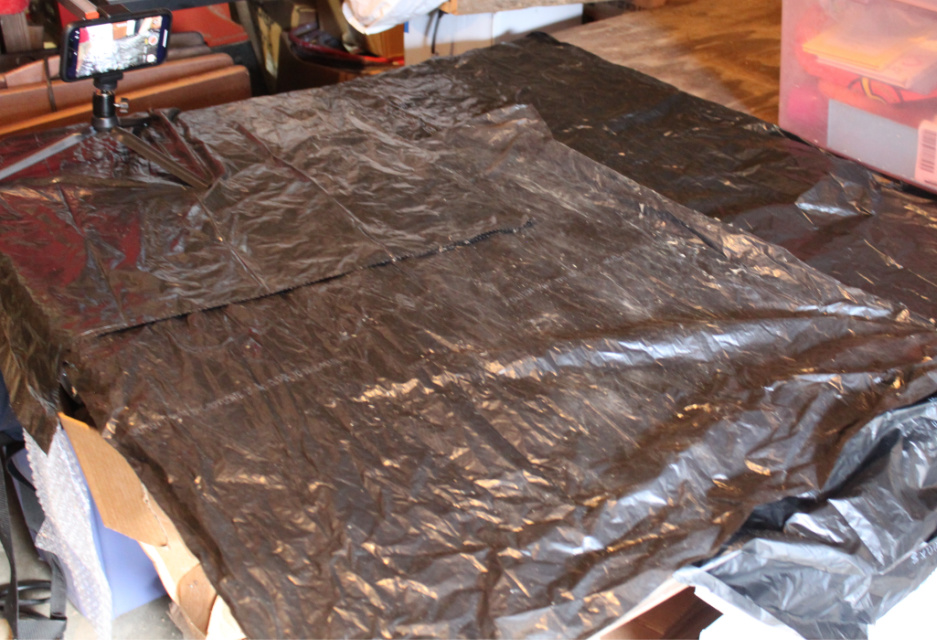
First I covered a work surface with plastic. I used a space in the garage so that the leaves could dry without the threat of rain.
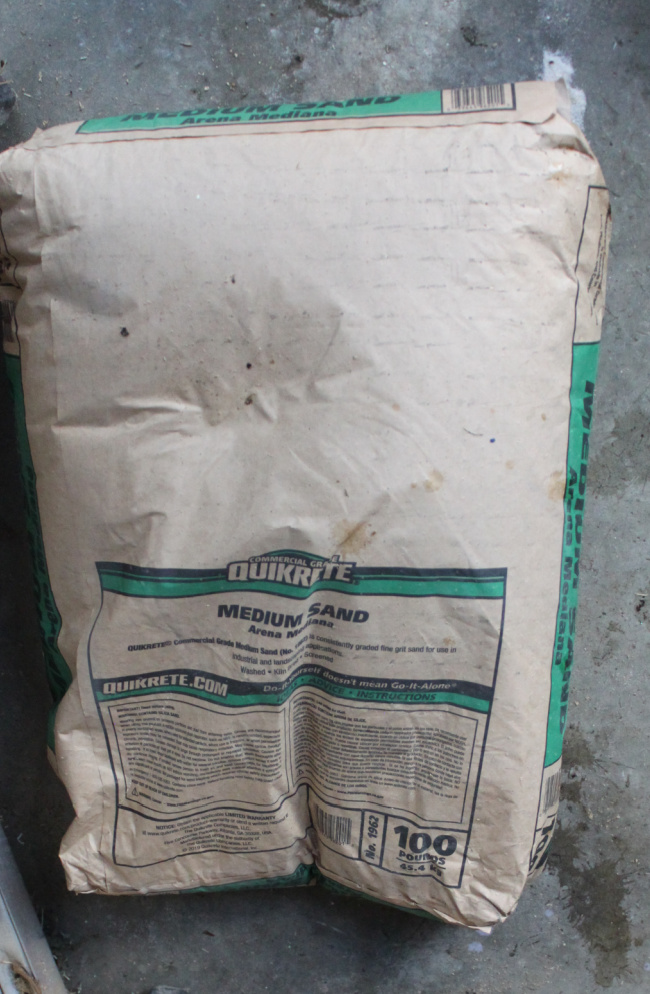
Per the videos I watched, I used sand to build a mound on which to place the leaf. The mound serves to hold the bowl shape of the leave when the concrete is poured on top. The mound of sand basically ensures that the leaf does not dry flat or get crushed by the heavy concrete.
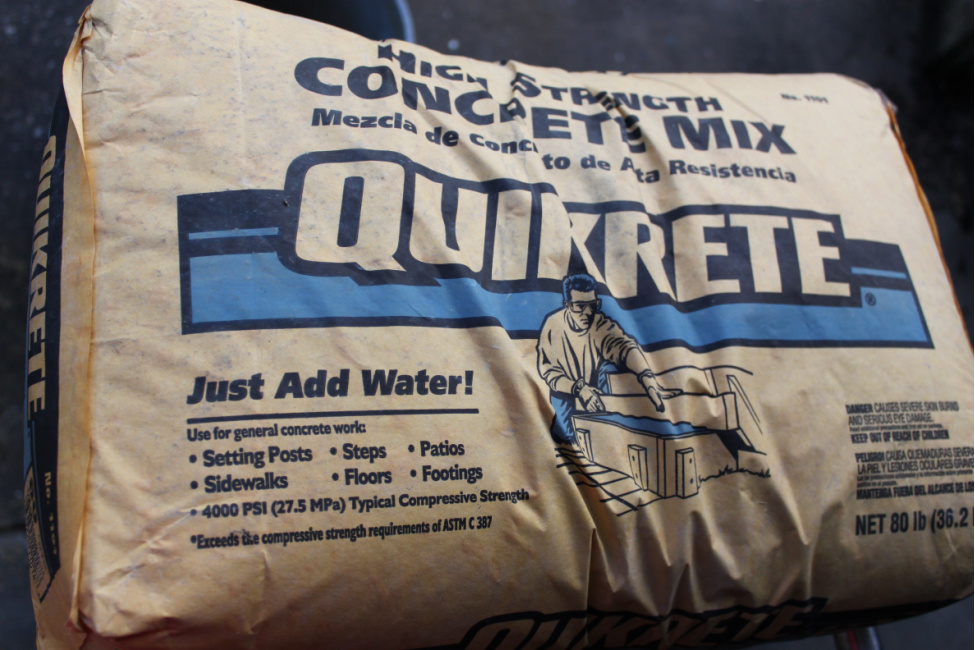
My husband has used concrete before, so he helped me mix the concrete. We used about 1/4 of the bag of concrete mix and simply dumped it into a bucket. We added water and mixed slowly adding more water in small increments. You want a consistency that is firm but not watery.

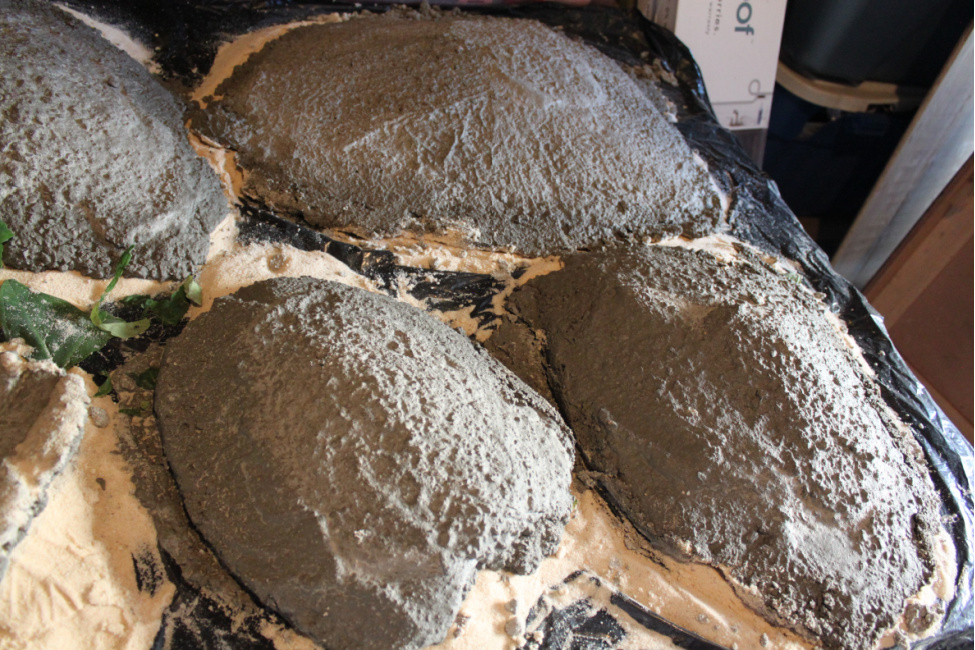
I built a mound for each leaf, placed the leaf “up” side down on the sand. Make sure there is sand under every side edge of your leaf. Repeat for each leaf.
Slowly add your concrete onto the leaf. We started by pouring concrete onto the leaf and ended by using a small shovel or trough to smooth the concrete over the leaf.
This being my first time using concrete, I was worried that the edges would be too thin and would crack or break off. So I made sure there was about a 3/4 to 1′ inch layer around the edges.
This is the second batch of concrete we mixed and it was a little on the thin side. It still worked but the first batch was not as loose.
I also saw videos where people added hardware into the concrete on the back of the leaf to secure a hanger or stand for the leaf. Again, I decided to stay simple with this project until I build my skill level and confidence.
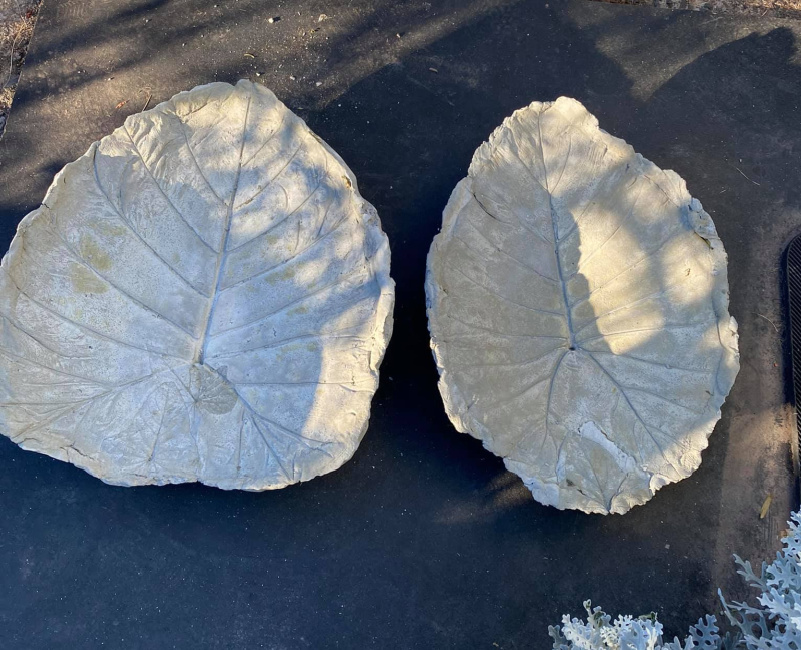
After smoothing the concrete over the leaves, I allowed the forms to dry for 24 hours.
Then, I carefully flipped each leaf over and began peeling the leaf off of the actual concrete.
I was amazed at the veining detail!
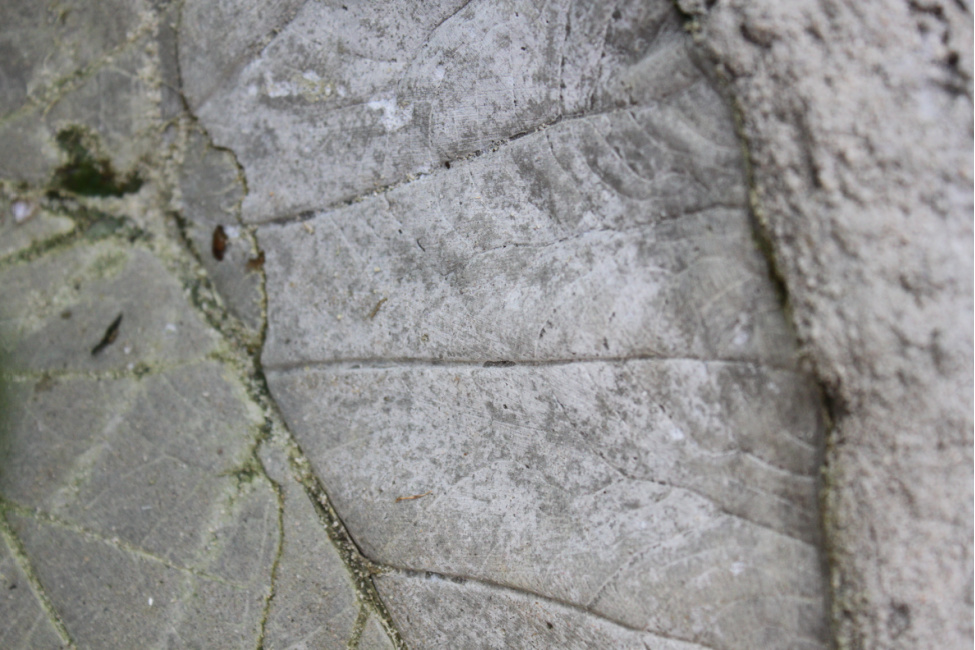
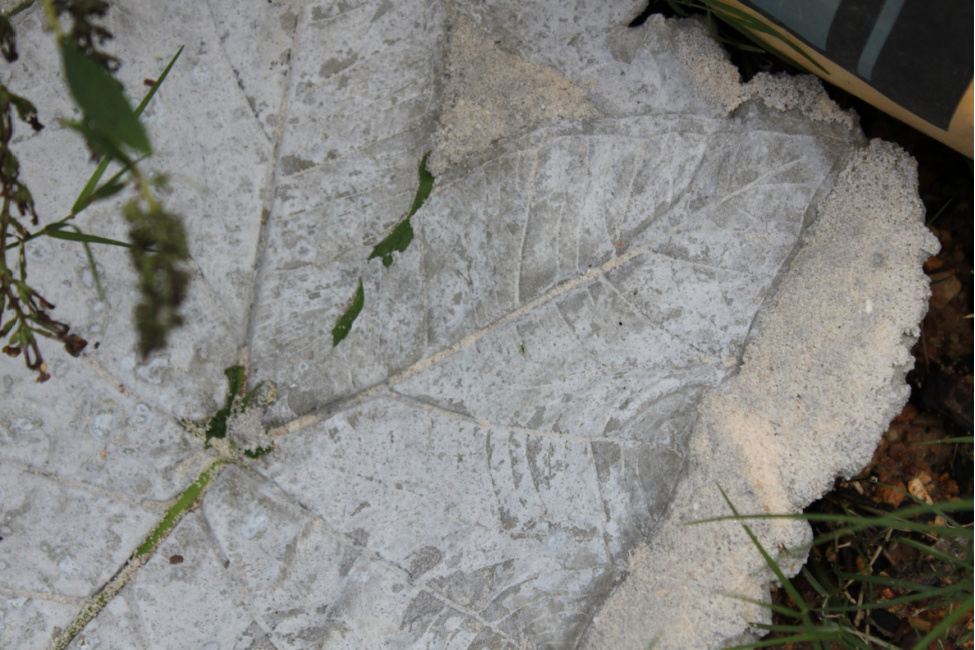
I used a stiff wire brush to remove the leaf remnants and excess sand.
I will have to research pouring techniques a little bit more in order to ensure very smooth edges. All of my leaves have a bit of a concrete rim around the edges. This is acceptable as they will hold some water.
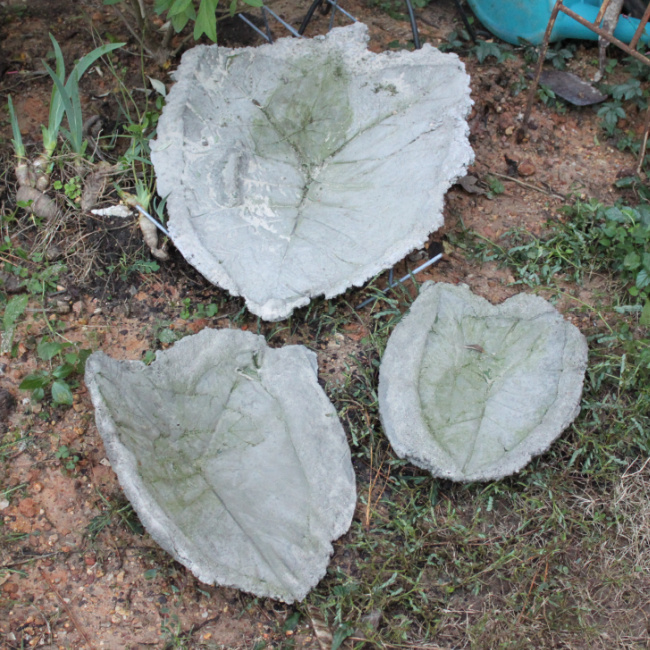
The final step is to seal the concrete. You can paint or add stain if you like. For now I am leaving them as is. Once we get some color under the deck I will probably paint these.
I’m pleasantly surprised at how well these turned out. I will be planning other similar projects for the spring. Who knows, maybe that fountain will become a reality!
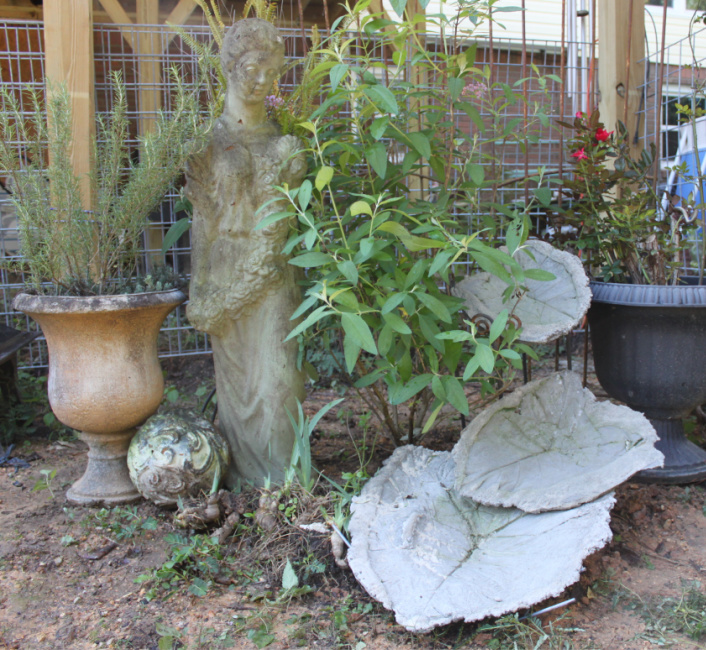
I made enough of these that they can be scattered around the garden in the spring.

As with any new skill, I will need to practice a bit more to get the edges just right. I don’t mind the thicker rim but I would like it to be consistent around the entire piece. I get to do this again! And I need a grinder to finish those edges. Let me know any tips you might have!