Replacing the Carpet with Painted Stairs
As an Amazon Associate and member of other affiliate programs, I earn from qualifying purchases.
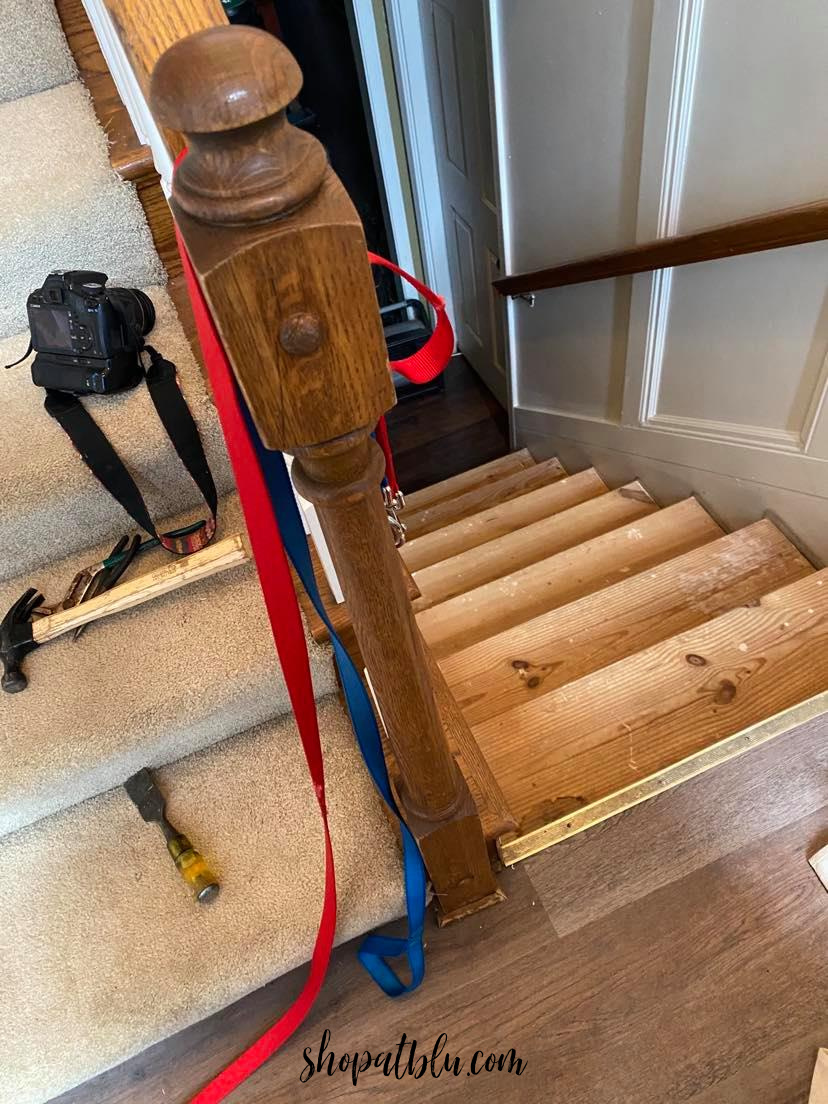
We’ve been in our house for over 18 years. Our carpets have well served four adults, five children, 6 dogs, 5 cats, a ferret, a turtle, a guinea pig, 20 fish, and 45 hamsters. Not to mention birthday parties, sleepovers, weather, spills, and more spills. We are having new luxury vinyl plank flooring installed later this year throughout the entire house. Eventually, we will have the stairs planked to match the floors. But in the meantime, I am fixing to have some painted stairs. I simply cannot stand to look at these carpeted stairs another single day.
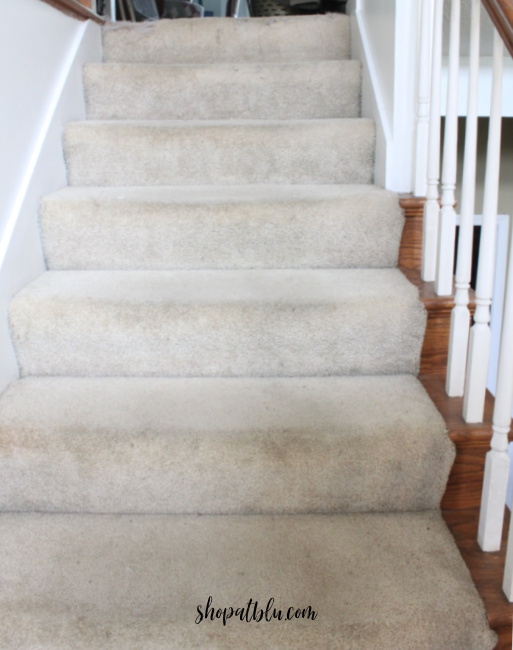
So, I ripped them up. I will stain/paint the treads, paint the risers, and possible stencil a little something on the treads to spruce up the stairs. This is my first run at painting the stairs and since it will be a temporary situation, I’m not too worried about them not being perfect. However, it is the main entry to my home, so there is still that pressure.
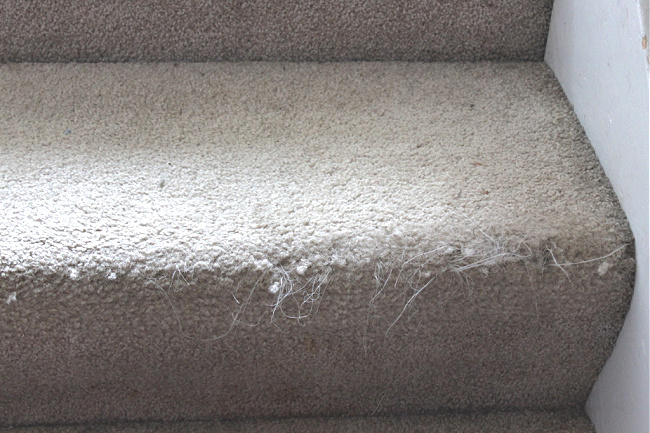
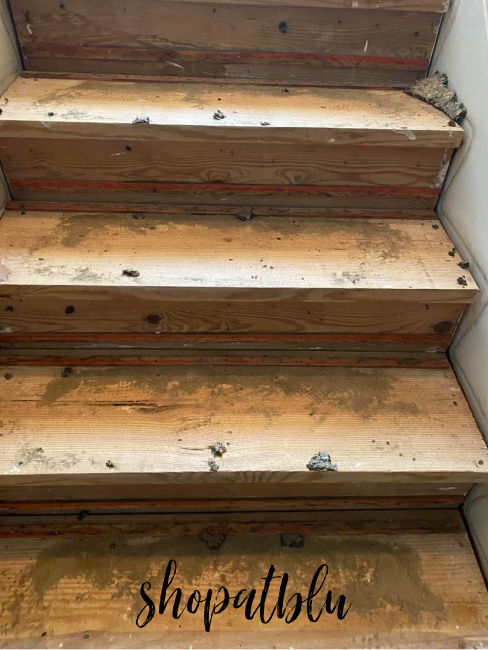
Pulling up the carpets was actually the easiest part of this process. Our cat had already helped by using the top step as a scratch pad for the last year or so. Tinkerbell was our second cat ever. She is 9 years old. And she doesn’t like me. Sometimes, when she is really lonely, she will let me hold her. But that comes at a price. After I put her down, she won’t come near me for about 2 weeks.
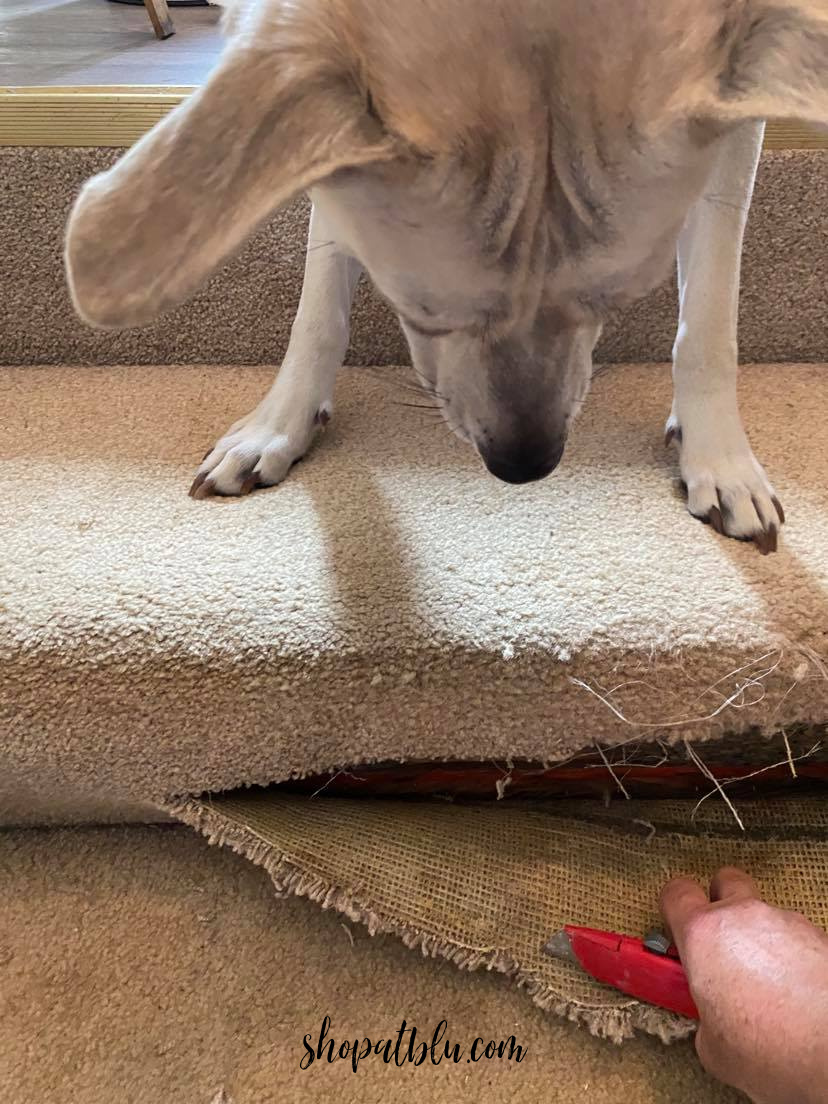
So, thanks to Tinkerbell for providing a place to start. I simply pulled on the carpet on the riser above the first step and the carpet came off easily. The padding was also very easy to remove. I pulled the carpet off of the remaining stairs, lifted the padding, and carried it out to the trash can in the driveway.
If you’ve ever removed carpet, you know that you should wear a mask! There is so much dust and dirt that is trapped in a carpet over time.
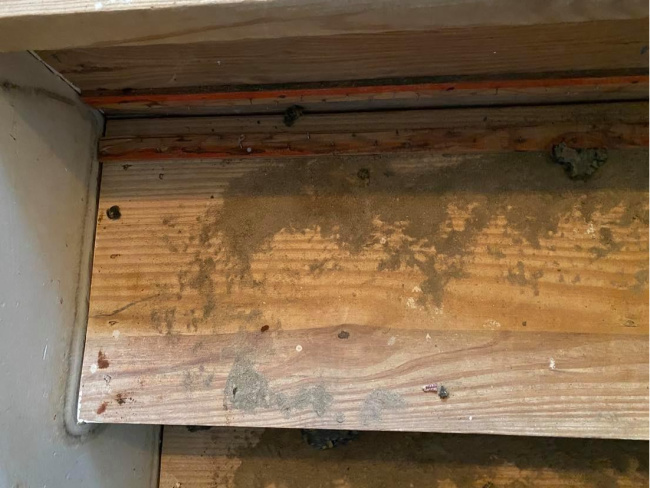
That debris falls to the bottom of the pile and is excessively dusty. I used a small wisk broom and dust pan to keep the dust down. Then I wiped each step by hand with a bucked of soapy water and a rag.
Next step was to remove the tack strip. I used a chisel and a hammer to loosen the strips. 90% of the tack strip came up easily.
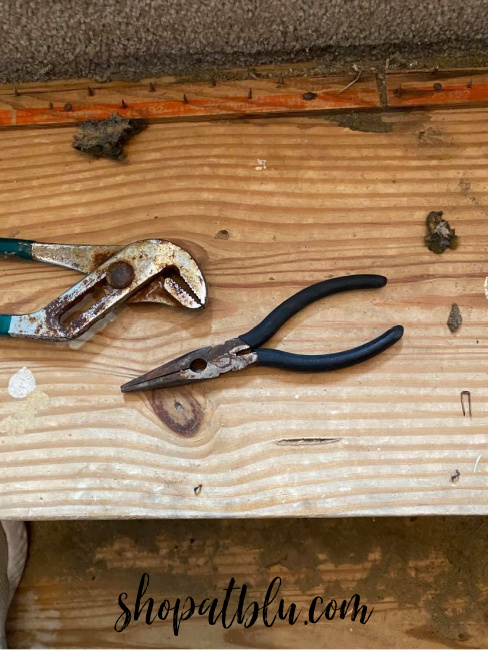
That other 10% though…yikes! Our entry is a split level so as you enter the house, there are 7 steps to the right that take you to the bottom level, and 7 steps to the left that take you up to the main level. Let me just say that the guy who carpeted those 7 up steps didn’t intend on allowing those tack strips to be removed without a battle. While the tack strip on the lower 7 steps and most of the upper 7 steps pried up easily, there were a few 7 inch nails and 3 inch staples spread across the upper 7 steps. This was the most sweat producing and physically difficult part of this project.
After removing the tack strip, you get to remove approximately 20 staples per step that held the carpet in place. That was fun too. It was not difficult, just time consuming. The staples came up easily with needle nosed pliers and a pair of regular pliers.
I sanded the steps next and filled any large holes and knots.
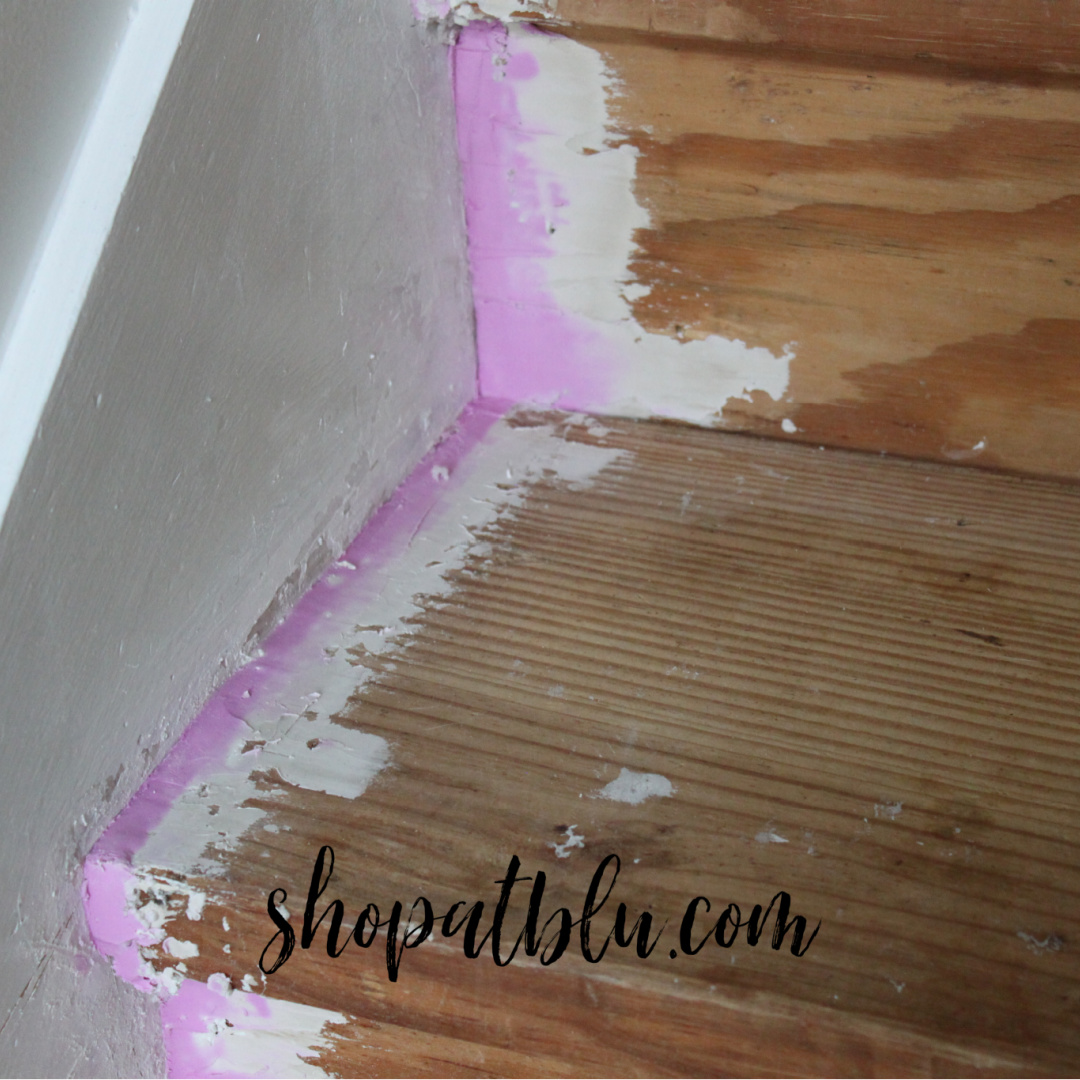
Then I used Great Stuff to fill the gaps between the steps and the wall. With new construction going up quickly in housing developments, contractors just simply are not precise in their measurements. If a new house is sold with carpeting, steps are slapped together quickly as opposed to precisely. Consequently, there were large gaps between the steps and the wall on each side of each step. Since the gaps were greater than 1/4 inch, I could not use a simple wood putty or spackle. I bought some Great Stuff and it worked well. Note that it really does expand as it dries. I used a razor knife to cut off the excess.
After removing the excess Great Stuff foam, I filled the top of each gap with caulk. I smoothed the caulk.I did use some Dap spackle to smooth out some of the surfaces. Once sanded, the steps were finally ready for some color!
I selected General Finishes Gel Stain in gray for the treads. I had a can from a previous project in the garage. GF is my favorite gel stain. Grey is a medium colored gray that can be sparsely applied for a coastal look or liberally applied to obtain a more rich and solid gray. You can read about the dresser I transformed with GF gray here.
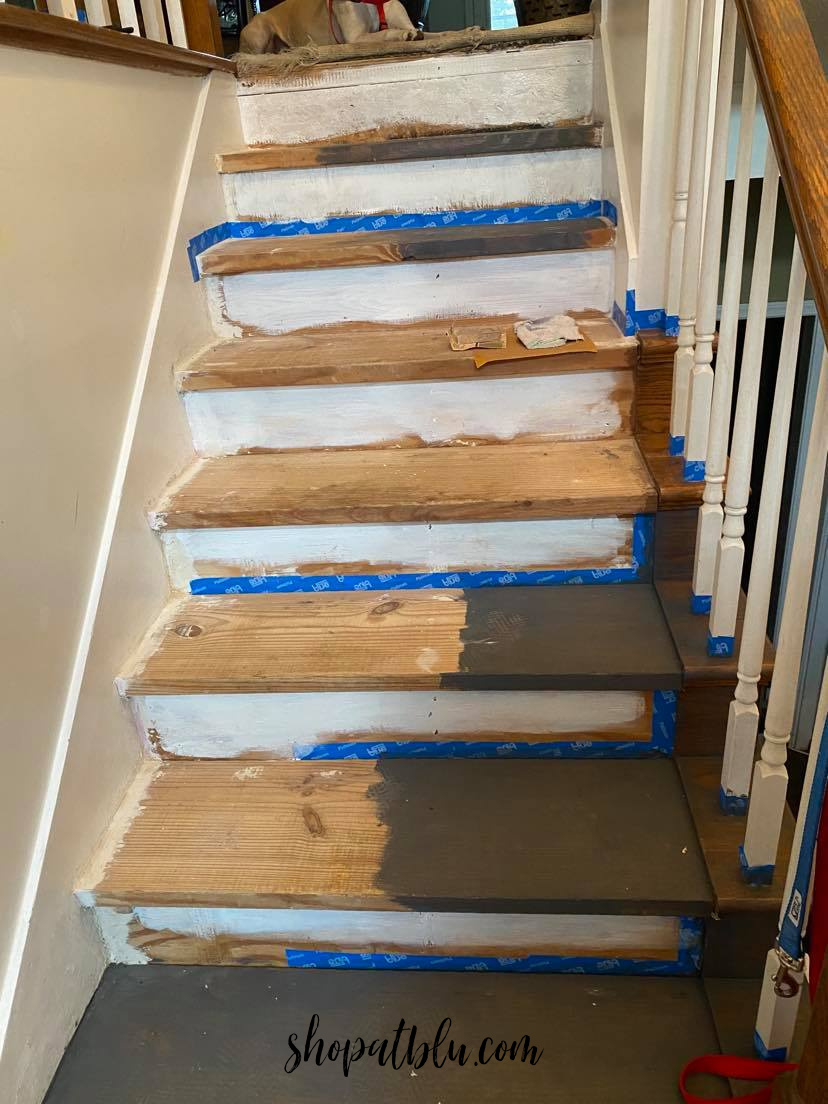
I painted the risers white. I had to mask off the wall and risers when staining the treads. This ensured a crisp line along the wall edge of each step. I used Behr Pure White semigloss with primer. Even with the primer included, the risers needed 3 coats. This is because I was painting raw wood. In retrospect, I should have used a primer and then the white paint. But the final finish is still lovely.
I did make another mistake by using blue tape. The only tape, from my experience, that does not rip paint off of the surface upon removal is Frog Tape. I quickly switched to my trusty Frog Tape, but not until I had already created more work for myself.
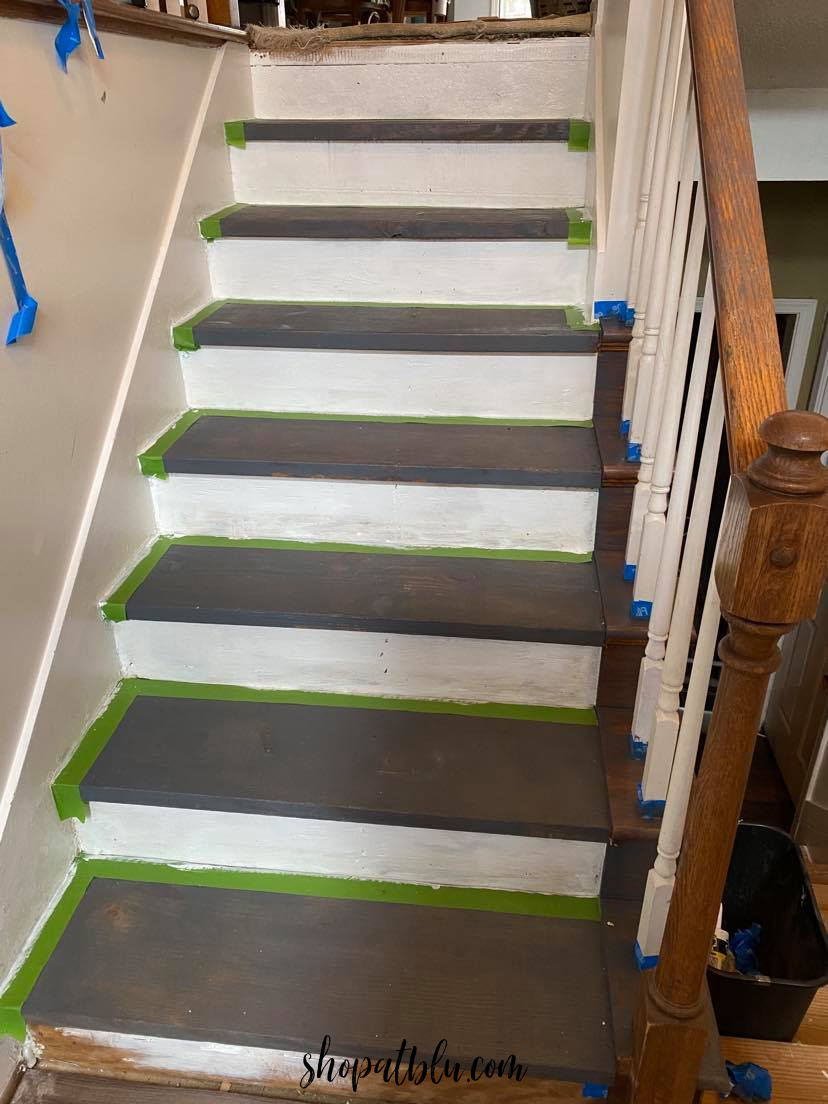
I used a brush to apply the gel stain and a rag to remove the excess. Upon observing the first coat, I realized that my steps were probably a little too gray. If this were to be the final finish on my stairs, I would gladly grab some browns and whites and create a finish that more closely matched the entry floor, which is Tupelo Oak. However, since the stained/painted stairs are temporary, I will probably just leave them as is. We will see.
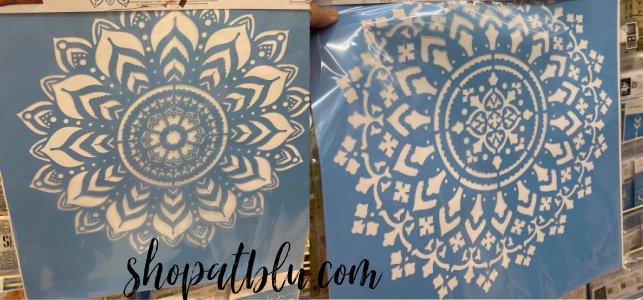
My original intention was to stencil a cute little pattern onto the center of each stair tread. I even scouted the craft stores for potential stencils.
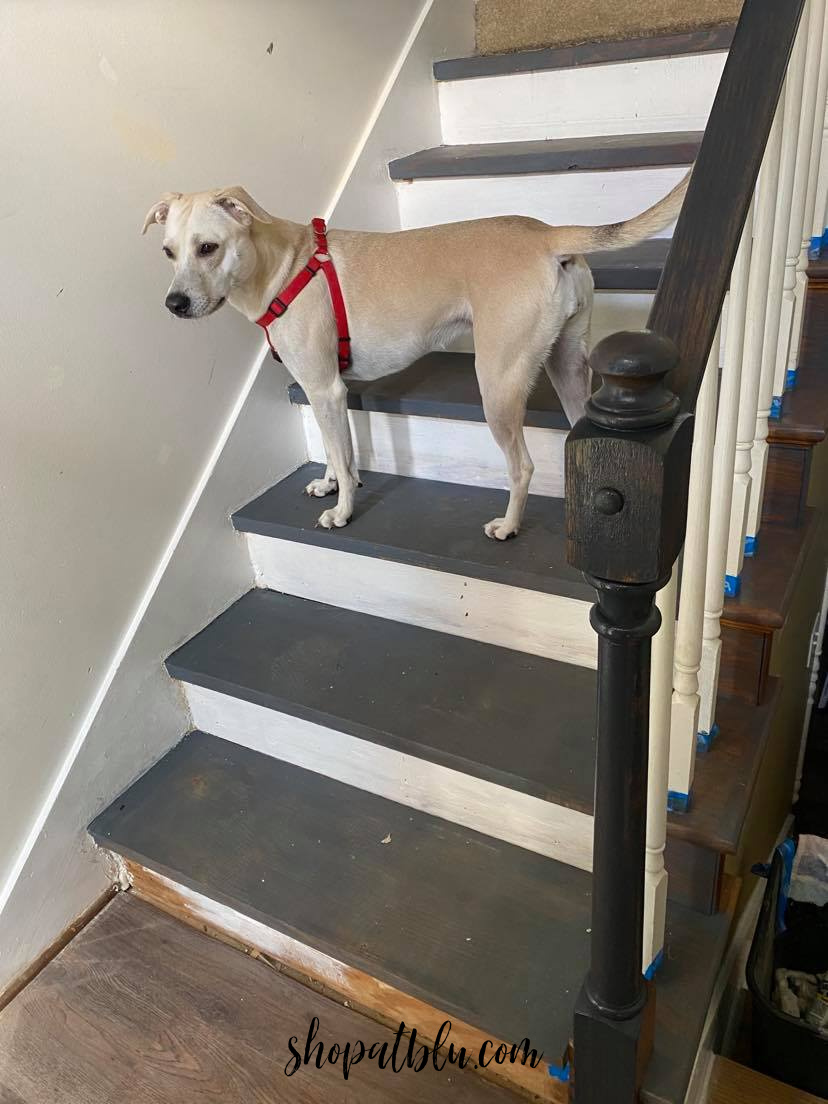
My end goal with this temporary paint job would be to place a runner down the center of the stairs. This will make the steps softer to descend, especially for Mr. Blu who had double knee replacement surgery last year. My knees are showing wear and tear as well so any buffer is greatly appreciated. I kind of like the stark contrast between the grey treads and white risers. So, while my plan was to stencil on the gray, I think I will wait a few days and see how I like the plain design.
The next stage of this project is changing the stain color of the oak railings to gray. I will also paint the spindles with a fresh coat of white. This is a long overdue refresh and I am very excited about freshly painted spindles. It really is the little things, my friends! Here is a sneak peek:
Sometime over the next few days, I will be shopping my garage to find a tall secretary-ish looking piece of furniture for the entryway as well. That should be the final project for this makeover. I will save that for last!
This project is part of the $100 Room Challenge. Below are links to all of the bloggers who are participating. Check out these great designs and grab some inspiration! Read about the $100 Room Challenge here.