How to Make Personalized Ornaments
As an Amazon Associate and member of other affiliate programs, I earn from qualifying purchases.
Childhood Christmas Memories
When I was a little girl growing up in Philadelphia in the 70’s, my church, St. John the Baptist, had an annual Christmas bazaar. Our little family made so many memories there! From Pop winning baskets upon baskets of food from the grocery wheel, to whiskey at the liquor wheel, to Lucky 7 tear off lottery tickets, to the White Elephant table, to Mom and Pop running the kitchen and Pop making the pizzas all weekend…just to name a few. The committee always did a great job of providing a wide range of fundraisers that would appeal to all age of parishoners.
I specifically remember a table where you could purchase an ornament with your name on it. Mom was certain to have our names scripted on a shiny bright every Christmas.
If one was broken, she was first in line the next November to purchase a replacement. Mom was deeply rooted in tradition. So when Mr. Blu and I got married, we were gifted shiny brights embellished with our names. She continued the tradition for all of the children. And eventually each of our pets had an ornament as well.
Over the years, our ornaments have broken. I know we have two left. It’s time to continue this tradition. So this year, I will make similar ornaments for each of my children and their families and all of our pets!
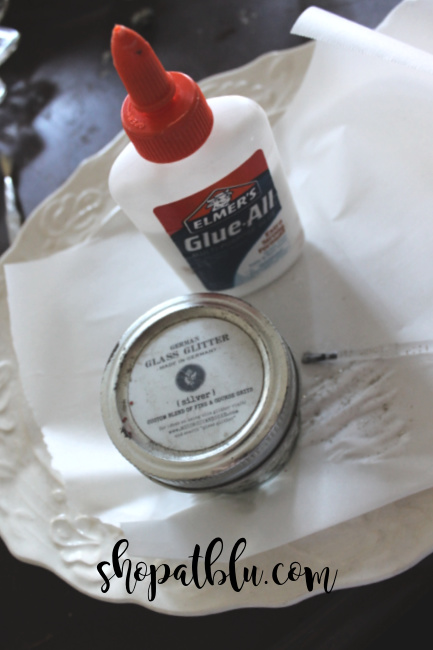
All you need is a box of ornaments, some Elmer’s glue, some glitter, somewhere for the ornaments to dry, and a steady hand!
Just Use Glue
It helps if you have a really short name. Then the glue doesn’t puddle when you make a second pass while writing the name. Remember penmanship? With the arrows telling you when to press and when to lift your pencil or pen? Well, in ornament writing with Elmer’s Glue (make sure it’s glue that will dry clear), you don’t want to go over a bead of glue. So you should stop and restart at the point where the overlay would end. Hope this makes sense. We did have a few ornaments with big globs at the connection spots to joined letters. But those St. John’s ladies really honed their craft!
This is my first try at personalized ornaments. Sometimes I get ahead of myself in planning these designs. My sentimental whims takeover and I end up redoing the project once my visual and logical mind takes over. This project was no different.
Vintage Family Ornaments
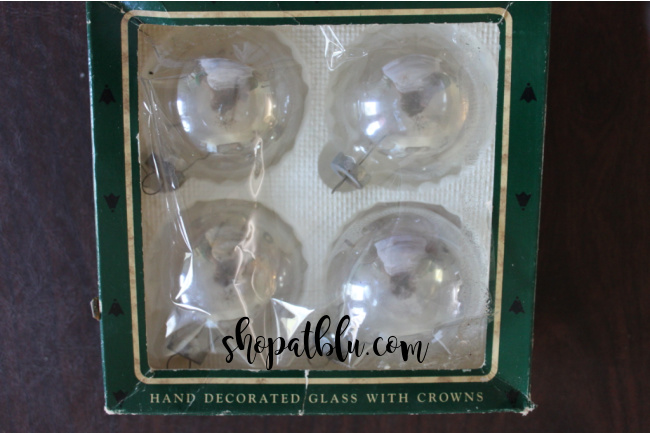
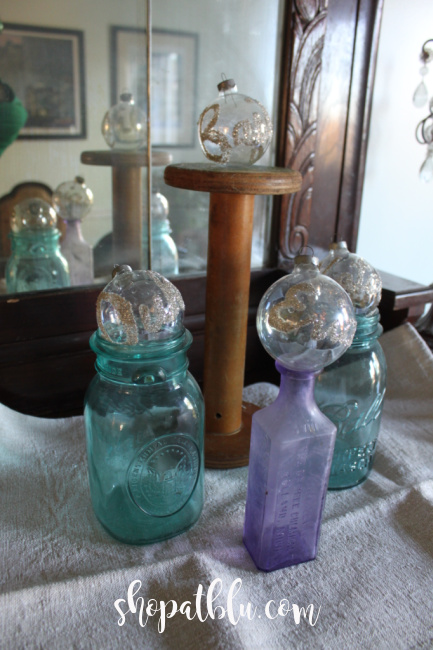
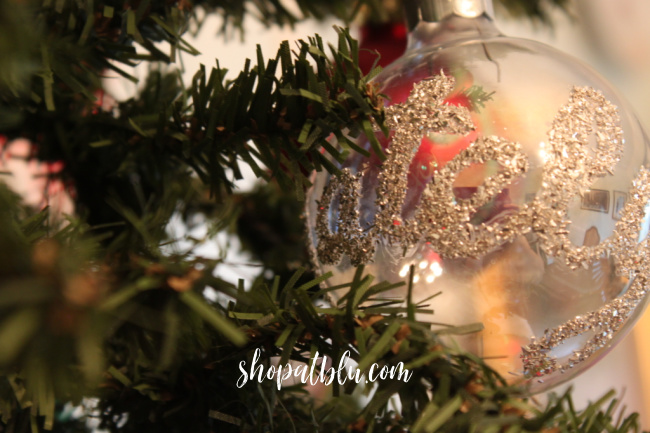
I decided to practice with #2’s family. I dug out some of our ornaments from our family Christmas box. When we got married in 1991, Mr. Blu and I bought a bunch of ornaments. Over the years as we’ve added new ornaments, we stopped using some of those purchased early on. I found 4 matching clear balls and decided to start with them.
#2 and her wife’s decor is rather neutral. So instead of traditional green or red glitter, I used Miss Mustardseed’s German Glass Glitter. I received this at my very first Haven Conference in 2013. But, running a retail store for 10 years and then sorting and cleaning after closing that store means you don’t have alot of time for crafts etc. Now, however, I have some time so I am digging out all of those old supplies and projects that were waiting for a better day.
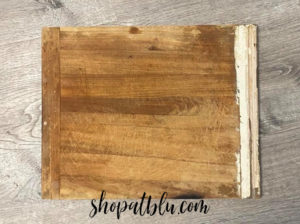
I practiced name writing on some cardboard that was in the kitchen.

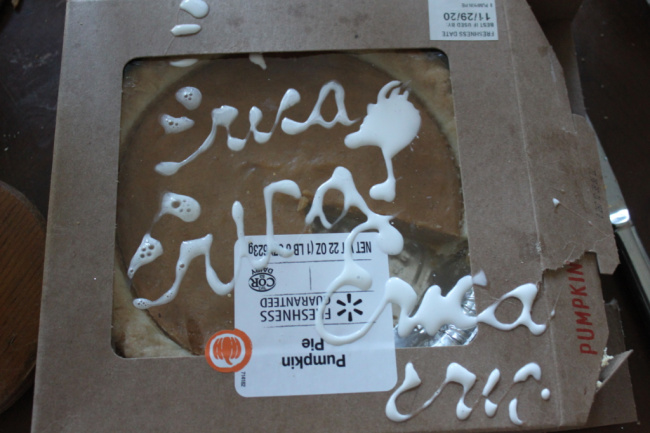
Yes, they are pie boxes which might still have pumpkin pie in them from Thanksgiving. Remember my DIY motto…use what you have! And realistically, these boxes will be gone as the pie will be eaten today. No sweets are safe for long in Chez Edinger!
Practice is important to ensure no globs, like I stated earlier. Also, if your Elmer’s has been sitting for a while like mine was, be sure to shake the bottle really well. But, I was still globbing so I decided to use a small paintbrush and paint on the Elmer’s. This helped to control the size of the glue script and worked well.
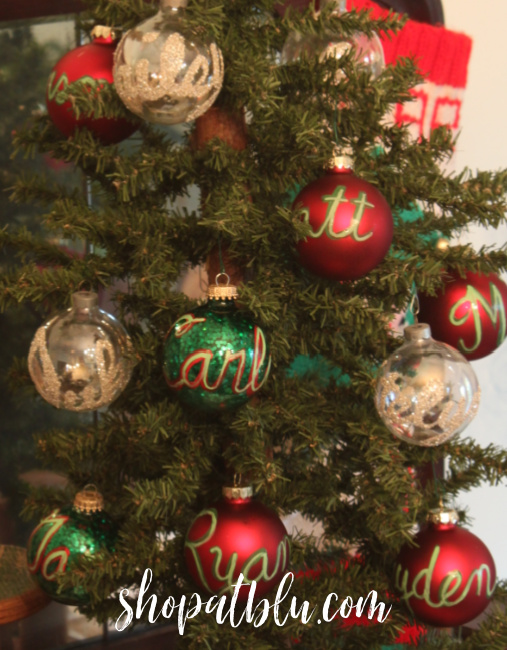
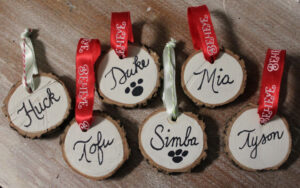
Here are the ornaments:
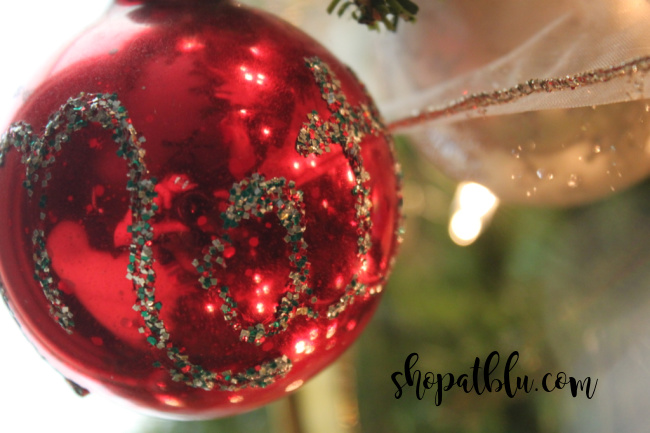
I know they are rather hard to read and I should have used a darker ornament. But I still think they will like the neutral palette. And I love how the light catches the German glass glitter!
Don’t Reinvent the Wheel
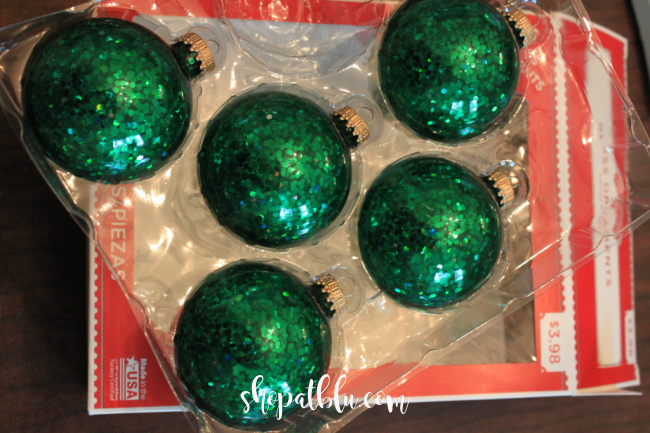
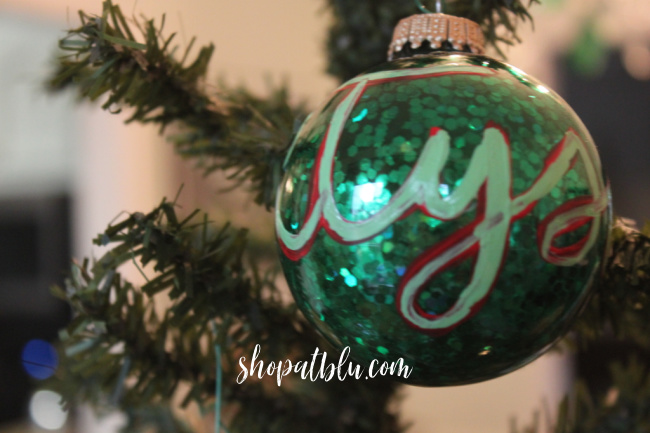
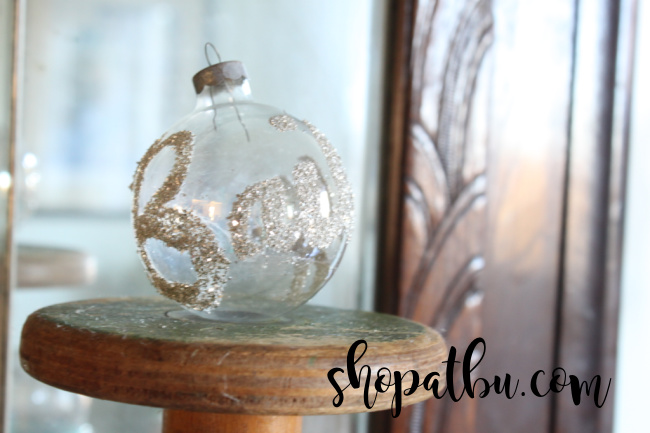
Part of being obsessed with DIY is realizing after the fact, how you could save time and improve the process. So, I watched a few videos on using glitter inside of glass ornaments. This is something I will try with the grandkids. For now though, why buy the supplies and spend the time making these when you can buy them at Walmart ready to personalize? These were $3.98.
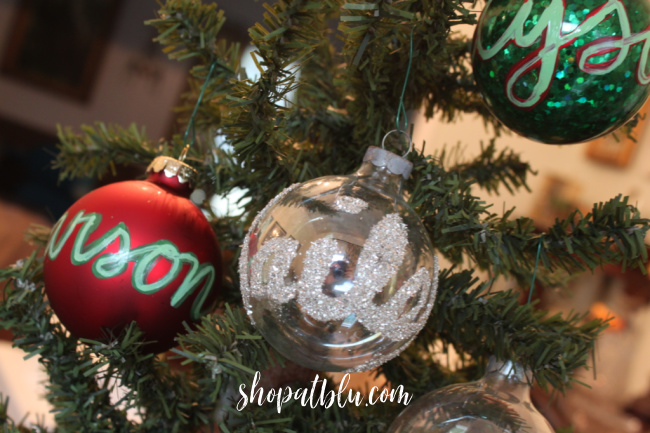
I added some German glass glitter to these.
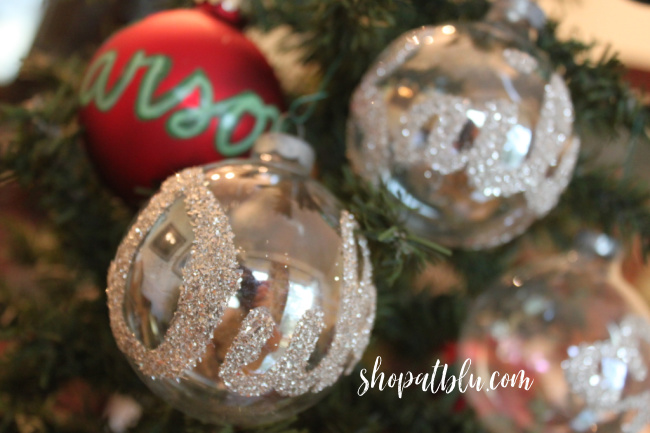
Also, have a drying spot in mind for your ornaments. I used some old ball jars, candle sticks, vases, and even used Keurig cups! You want a surface that will cradle the ornament so it stays still and doesn’t roll around causing damage to your script. Allow the ornaments to dry for about one hour.
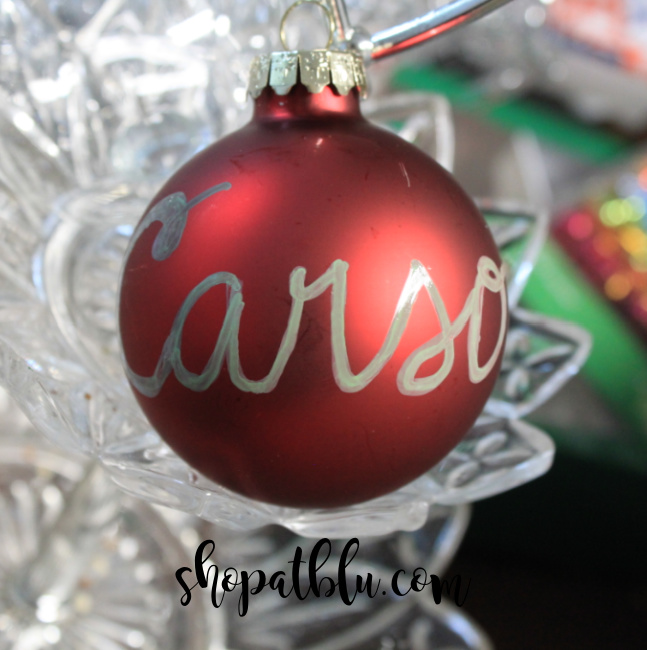
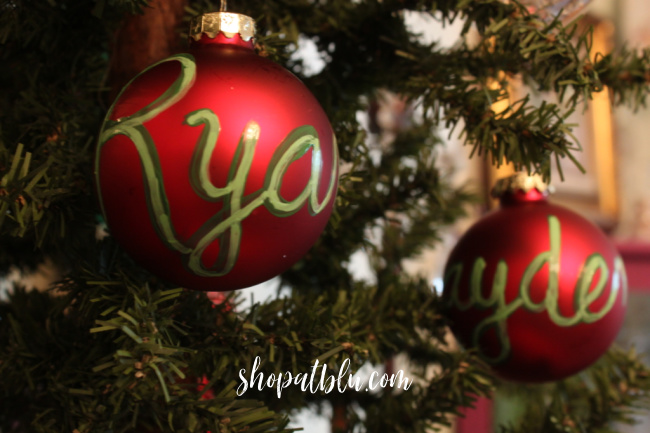
Next I grabbed some solid colored red balls from Hobby Lobby.
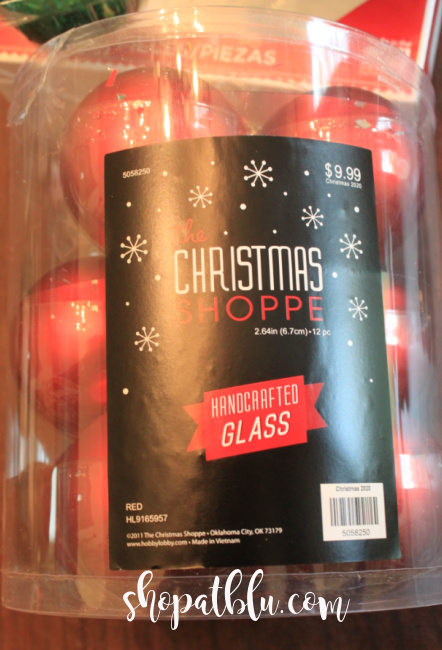
With their 50% off Christmas sale, this collection of 12 balls was only $4.98. I used a paint marker for this one.
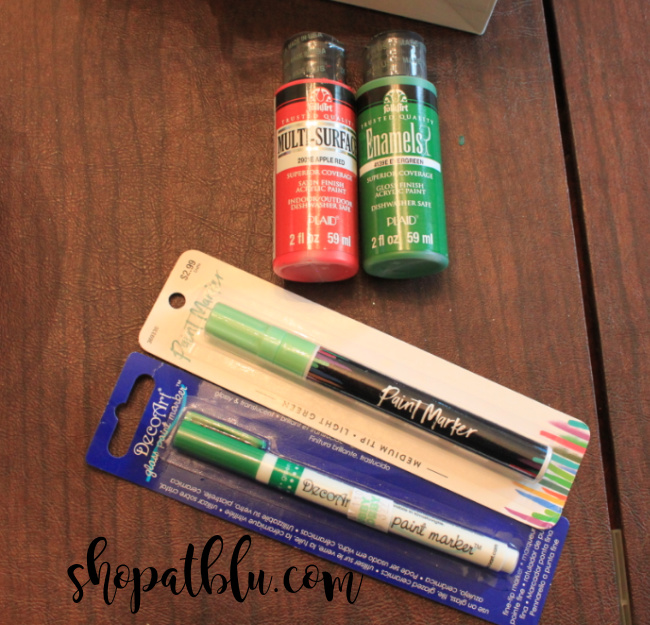
I used a paint brush and enamel paint for this one.
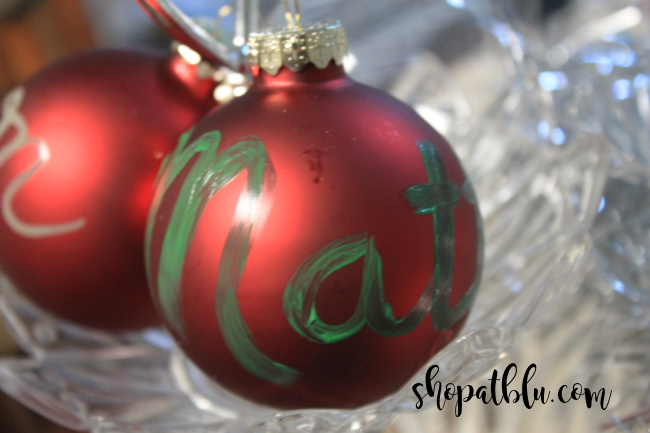
The tricky part is using the paint brush on the curved surface. I practiced a bit more to perfect this skill. For a more solid stroke, wait for the paint to dry and apply a second coat. If you like the streaky look, leave it as is.
Choose Your Favorite
I tried a few different color combinations.
Again, practice makes perfect. If you don’t like your cursive writing, then print the names. You can even use some chalk to write the name and go over the chalk with your paint pen or your brush and paint. I’m more of a “wing it” gal so I usually just go with the moment. Judging from that first try and the horrible M, a guideline would have been wise!
Have fun with color combinations! My goal is to make a set for each of my children and their families, and one entire set for my own tree. That is a total of 36 ornaments. I’d better get busy!
I am joining my talented blogger friends in this Homemade Ornament blog hop. Here are all of the wonderful ideas! Let me know which one’s you try!

Very informative article dear…
Loving your content