Depression Era Cedar Hope Chest Upcycle
As an Amazon Associate and member of other affiliate programs, I earn from qualifying purchases.
You know I am passionate about antiques. But that passion doesn’t hold a candle to my passion for cherished family heirlooms. It’s no secret that I like stuff. Couple antiques with family mementos and my heart explodes! So, when my work pal, Andrea, told me that her sister wanted to restore their mother’s cedar hope chest, my heart skipped a beat.
While I made a nice living out of furniture painting, furniture refinishing is a whole other beast. It is time consuming and laborious and oh so difficult to recoup any sort of commensurate compensation for your time and labor. It honestly is more of a labor of love. But, Pop passed his love of furniture and the skills for refinishing to me so…here we go. Say hello to Helen and Andrea’s mother’s cedar hope chest…my star for this month’s Thrift Store Decor Team project.
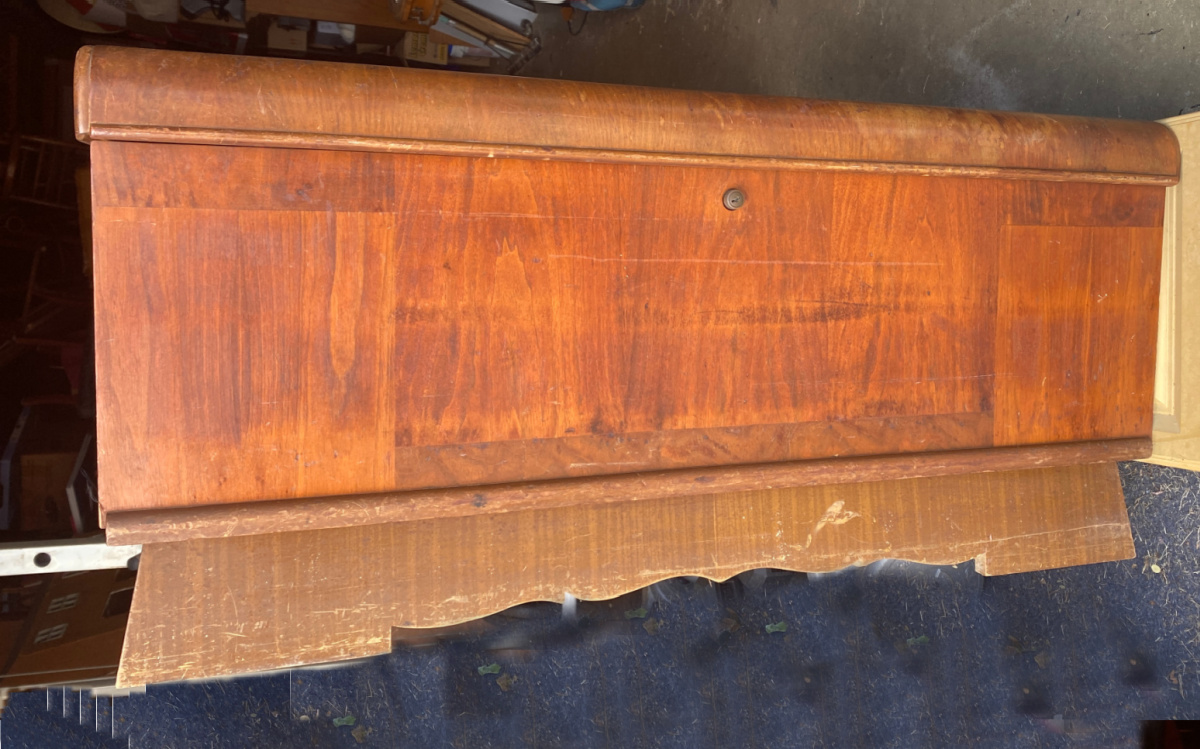

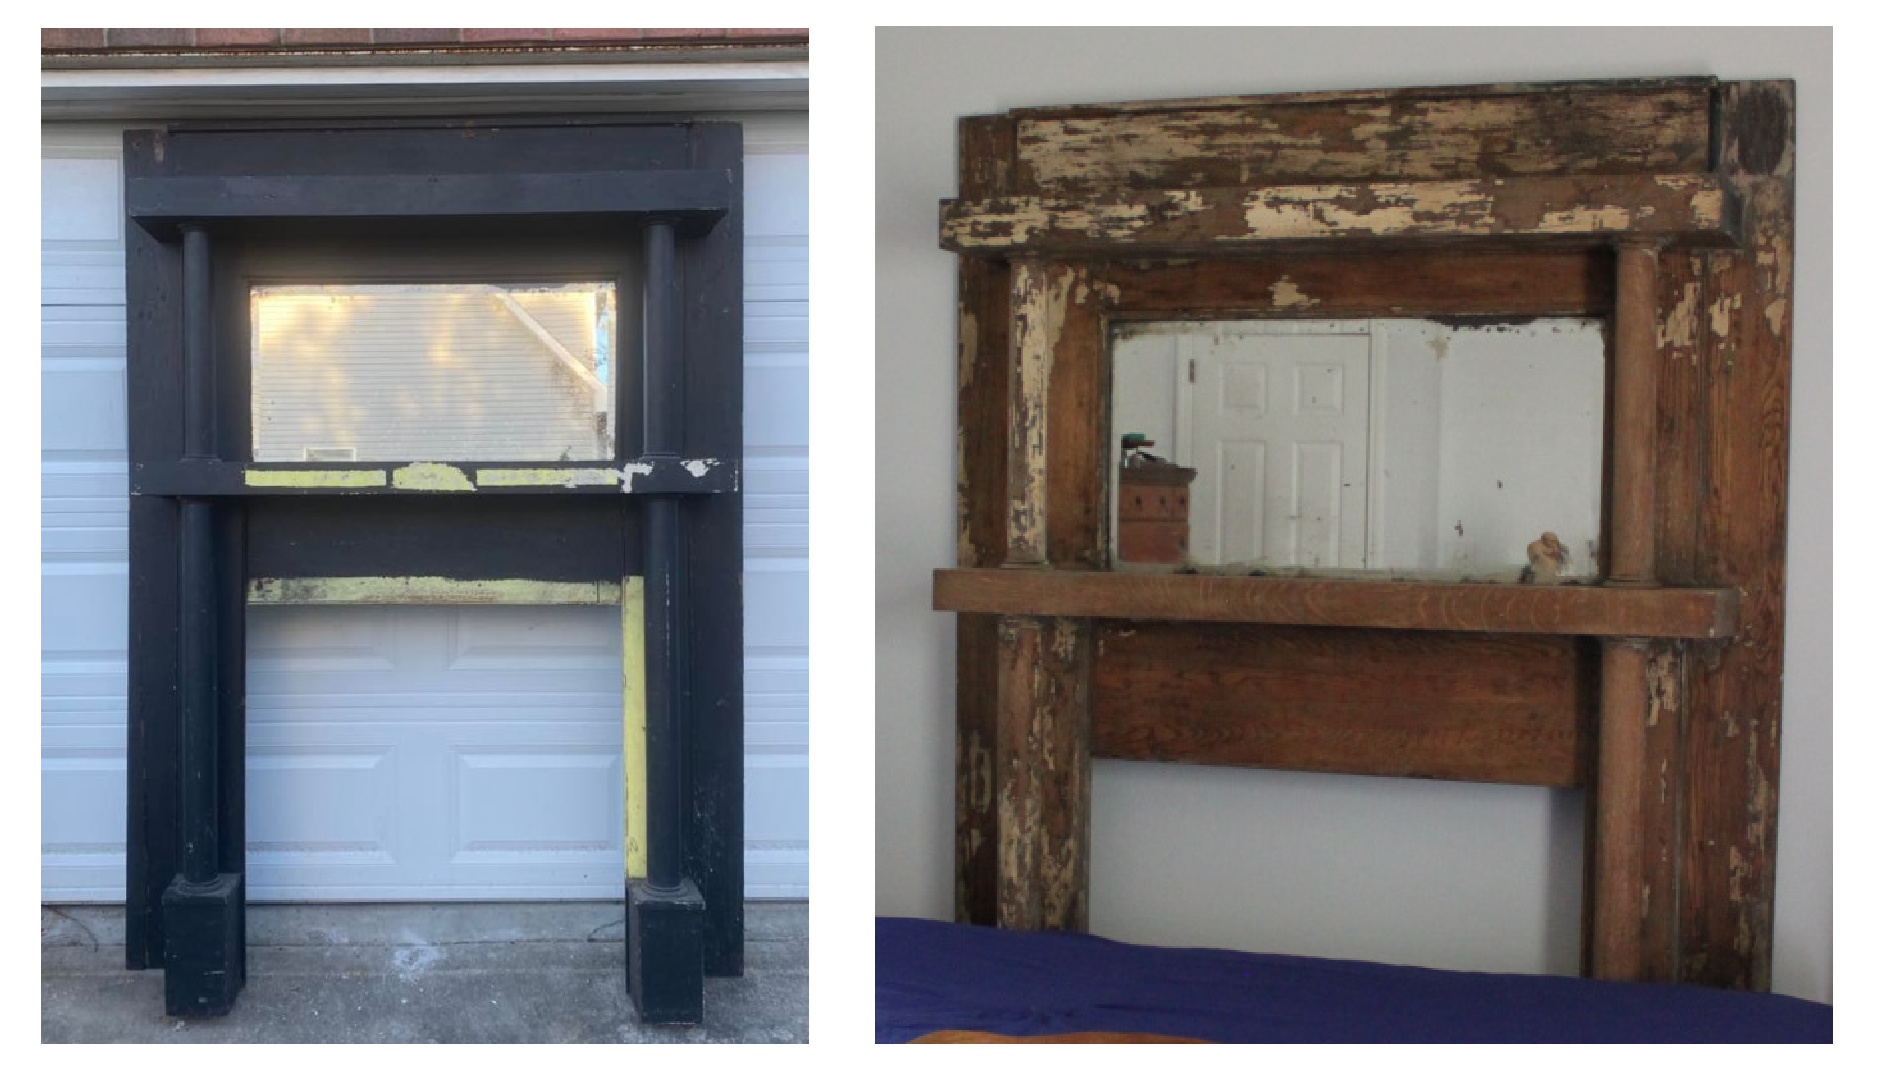
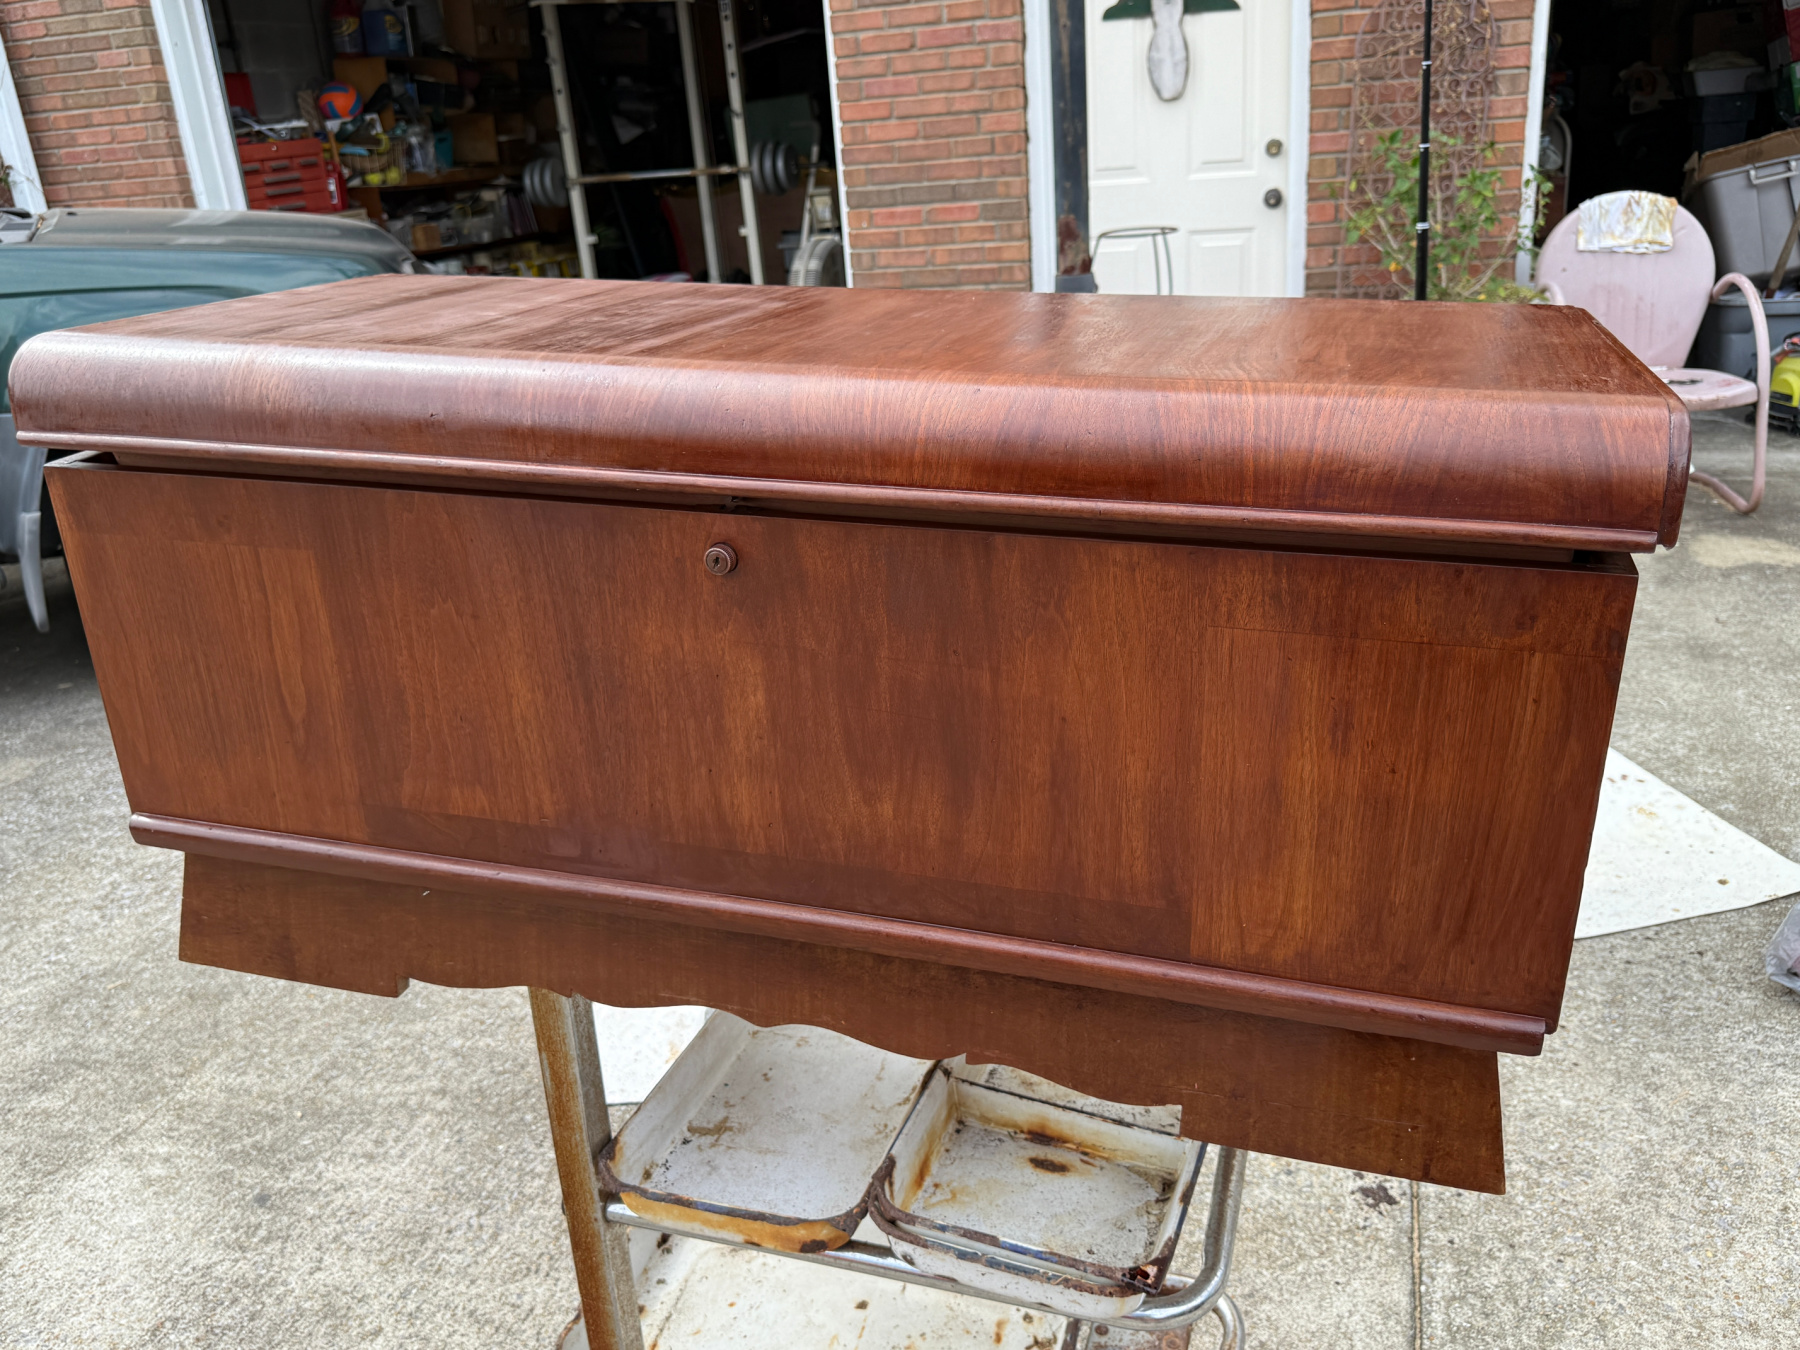
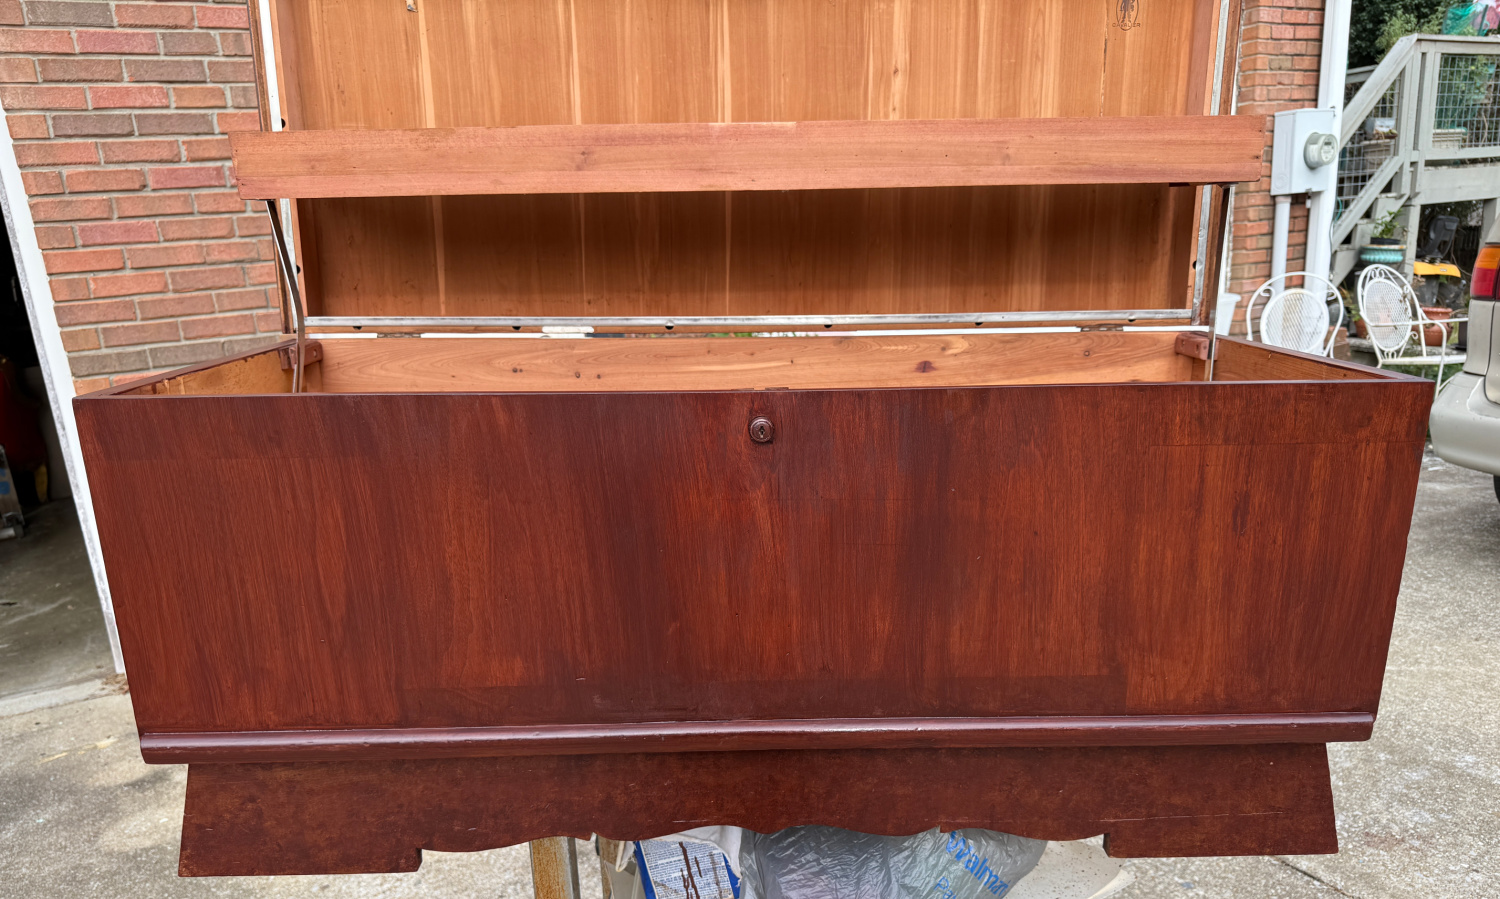
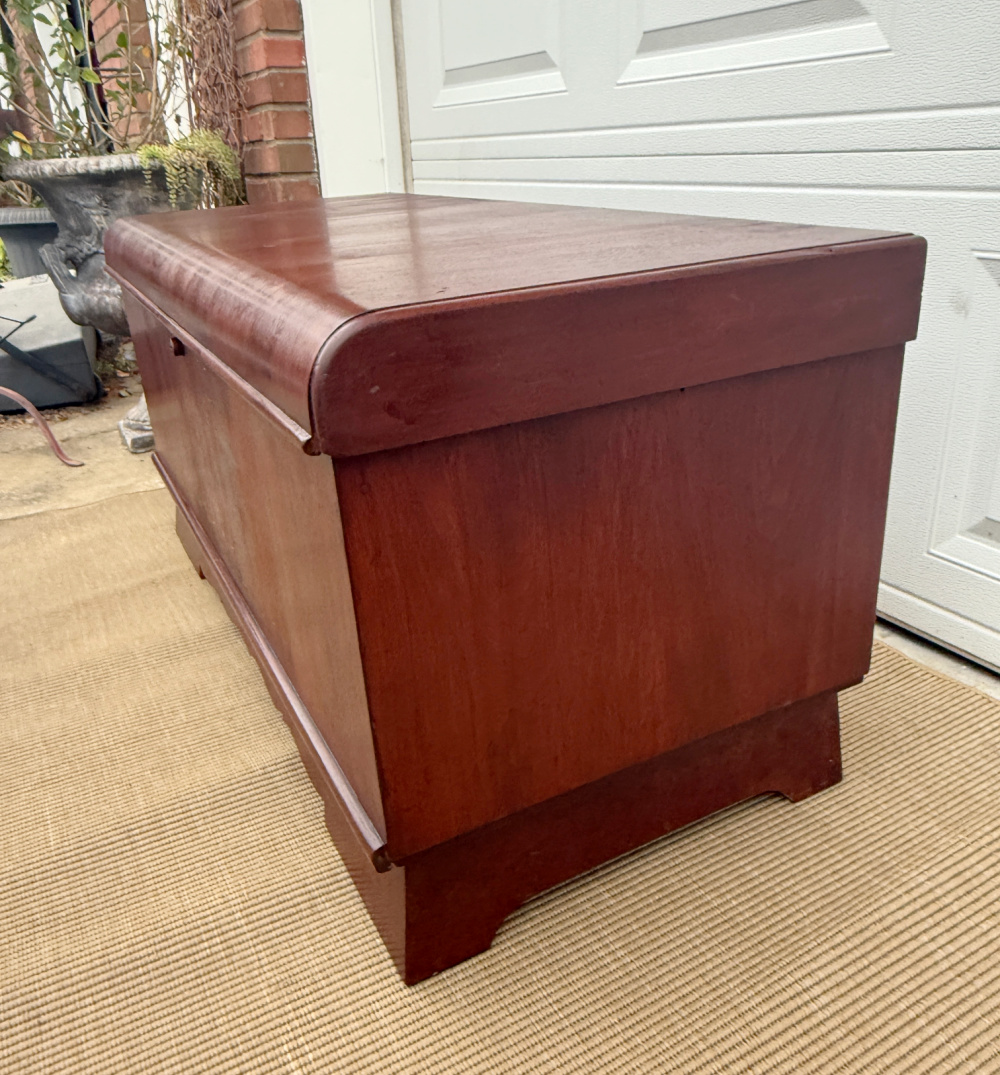
Helen wanted to restore this beauty for functional use in her home. Helen’s bedroom furniture is a cherry or red mahogany so she wanted this hope chest refinished to fit into her bedroom. She doesn’t look so bad, right? So, Mr. Blu and I hopped in his new truck and drove out to the country to pick up Mama’s cedar chest. And a new project began!
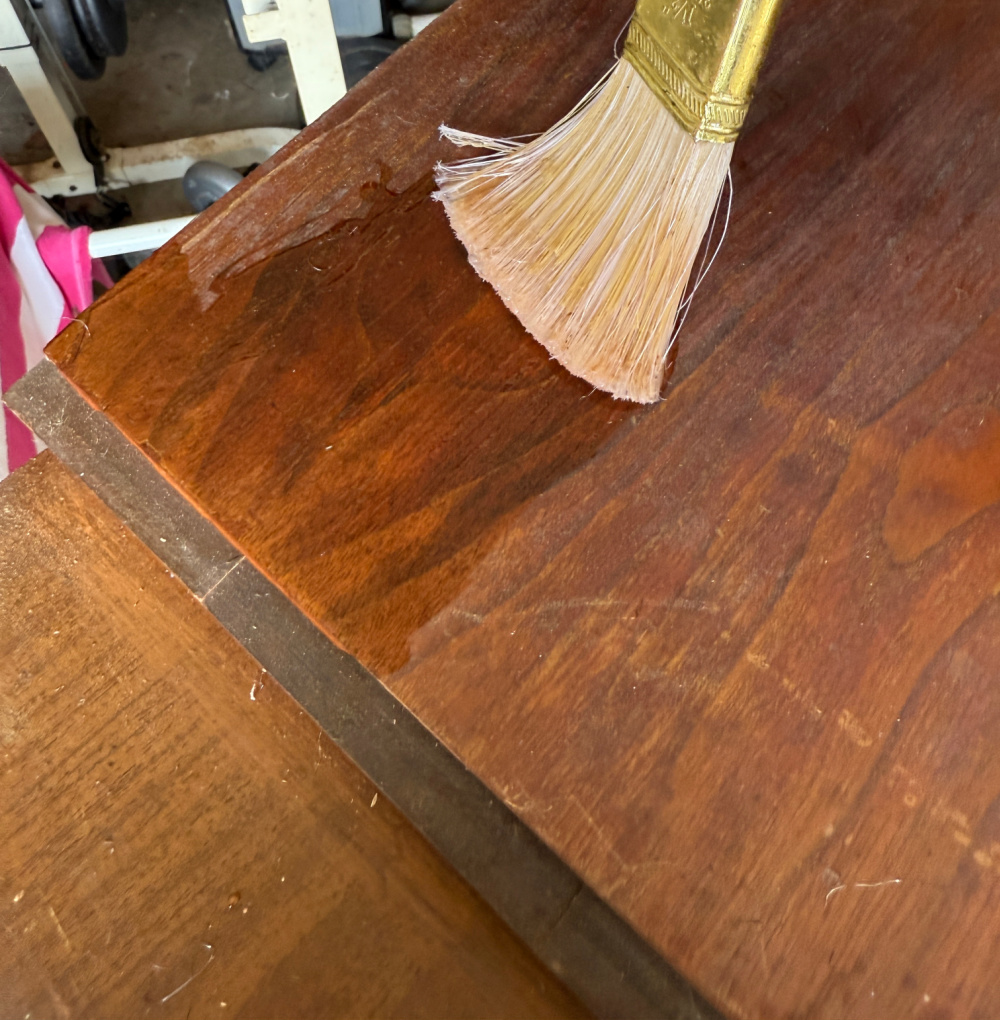
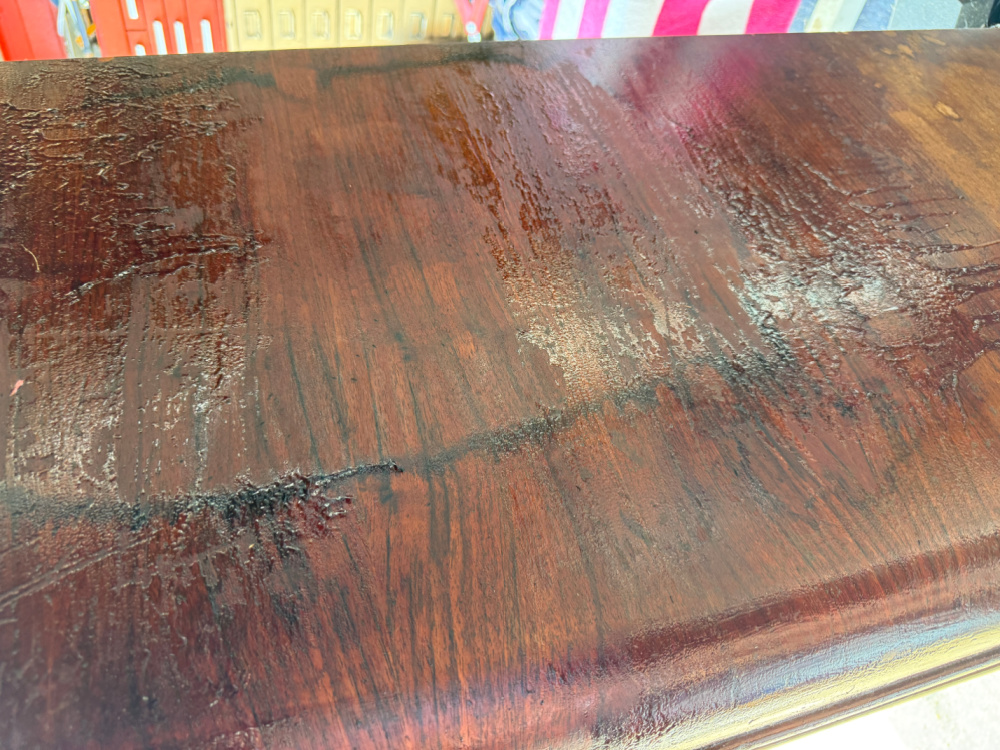
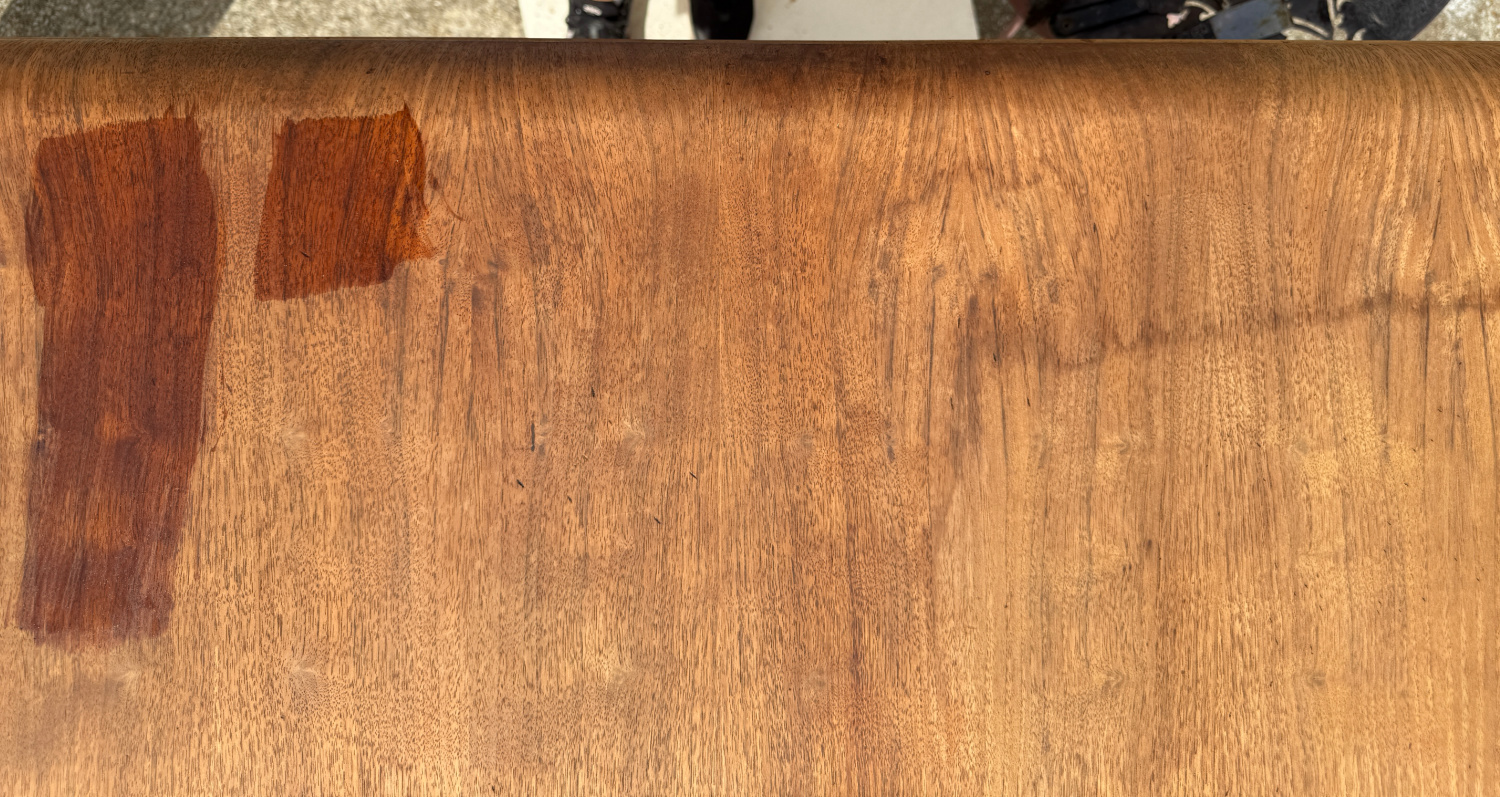
She actually looks pretty good considering that she was probably manufactured during the Depression Era. She’s a waterfall chest. But, she does have some wear from what appears to be a water stain.
We won’t really know if this is a problem until we try to remove the stain. We don’t know how long the stain has been there and it only follows that the older the stain, the more difficult the removal. Let’s hope we can remove this stain. At the very least, I hope to be able to minimize or mask it. I’m hopeful since Helen has picked a darker stain which just might cover the water mark.
SUPPLIES
- Kleen Strip
- paint brushes
- rags
- sandpaper
- steel wool, both coarse and fine
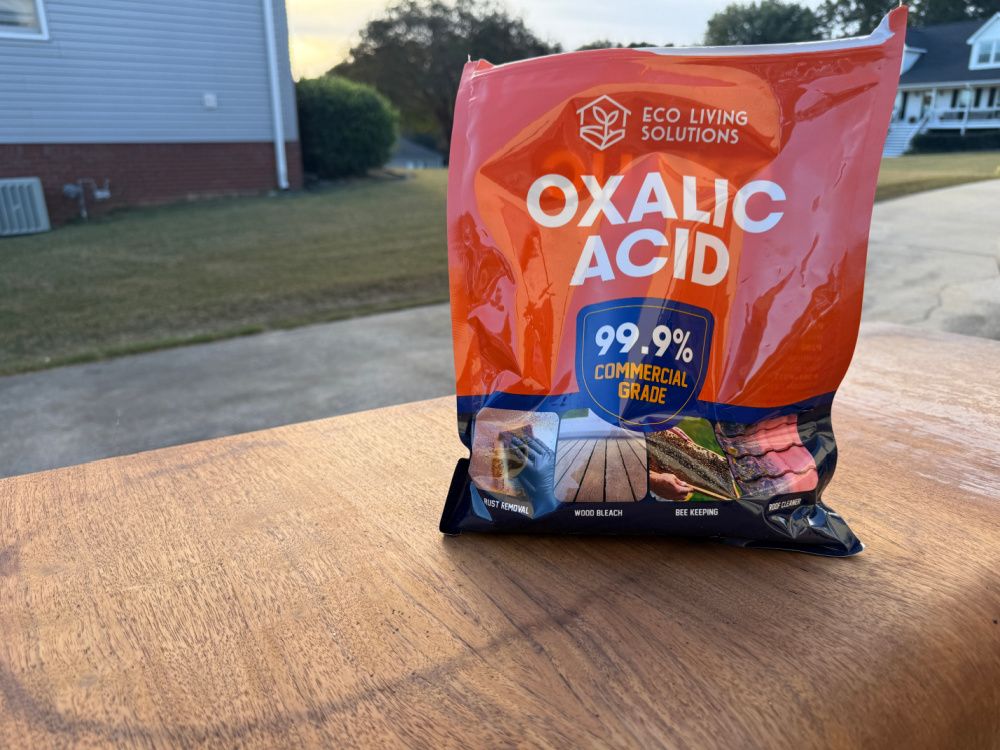
- Oxalic Acid, for stain removal
- rubber gloves
- safety glasses, always protect your eyes.
- trash can
- newspaper to cover the floor of your work area
My Safety Speech
Always wear safety glasses to protect your eyes. Splashes occur when you lease expect them
Always wear thick rubber gloves to protect your skin when handling chemicals. Chemical burns are not fun.
Always work in a well ventilated area. I strip my furniture in my driveway.
Place newspaper on the floor under and around your furniture piece. Floors and work spaces need protection too.
The Process
As always when working on furniture, the first step in prepping a furniture piece is cleaning. So I used some warm soapy water to five this girl a bath. My go to is Murphy’s Oil Soap because it feeds the wood.
I follow up with a wipe down with TSP which removes residual dirt and oils.
Once dry, she was ready for stripping the stain. My product of choice has always Strip-Ease. But I could not find it for this project so I grabbed Klean Strip and it worked well.
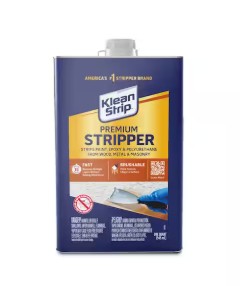
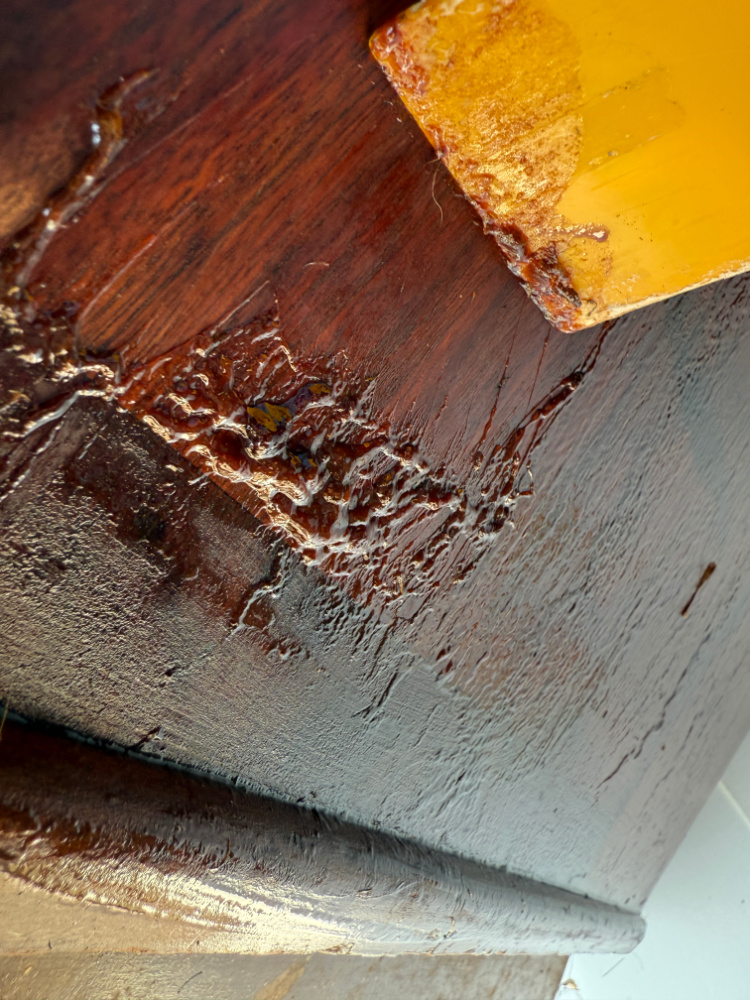
It is a gel stripper that stays where you put it…no run off. I pour some into a metal can for ease of access. I use a good quality paint brush to brush on solution onto the wood.
So, over the course of a weekend, I applied some stripper and waited.
I used a scraper and some steel wool to remove the probably pre-1930’s stain. Then I applied some more stripper. And I waited. And I used the steel wool to wipe off the stain. Here is a great post on how to strip furniture. I included many great tips and a tutorial so I won’t repeat my self here. And here is part two of that project.
The golden rule of stripping…be generous when applying the stripper. When you strip furniture, you wait…alot! You have to let the chemicals be absorbed into the thick top coat and then the stain beneath the top coat. So apply the stripper and wait. Keep the surface wet by continually applying stripper. And wait.
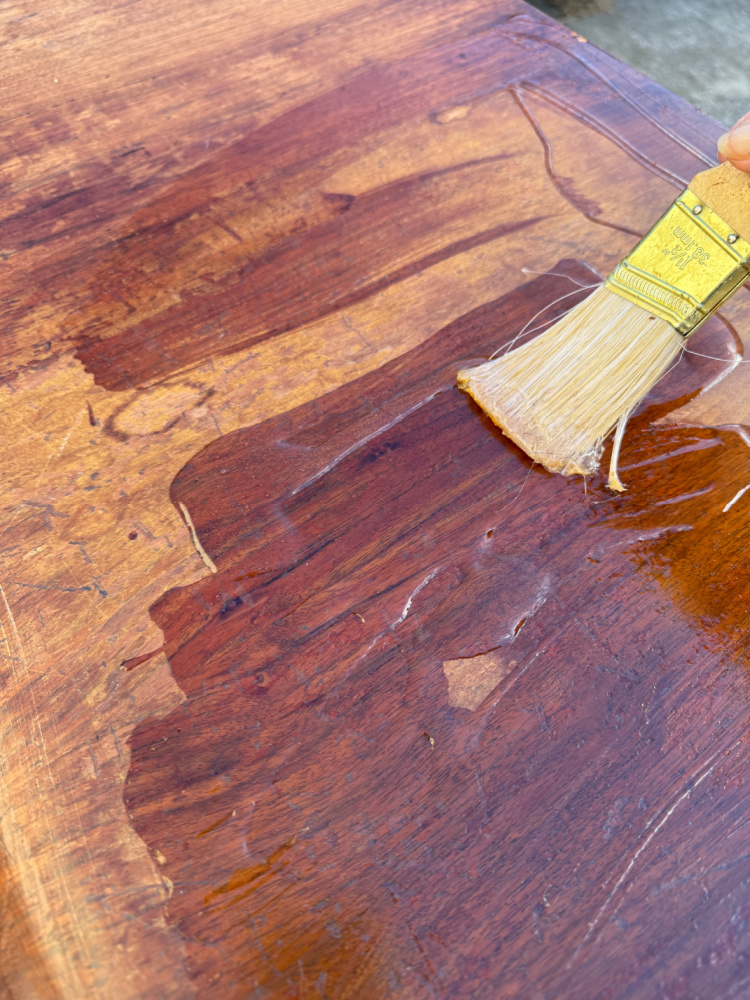
Apply some more stripper. And wait. Make sure you keep the surface loaded with stripper. Don’t let it dry out.
You will see signs that the chemicals are working. But wait some more.
Once you can see the bubbling continue to advance, then you can use a scraper to scrape off the topcoat and the stain. The older the furniture piece, the longer it will take to remove the stain.
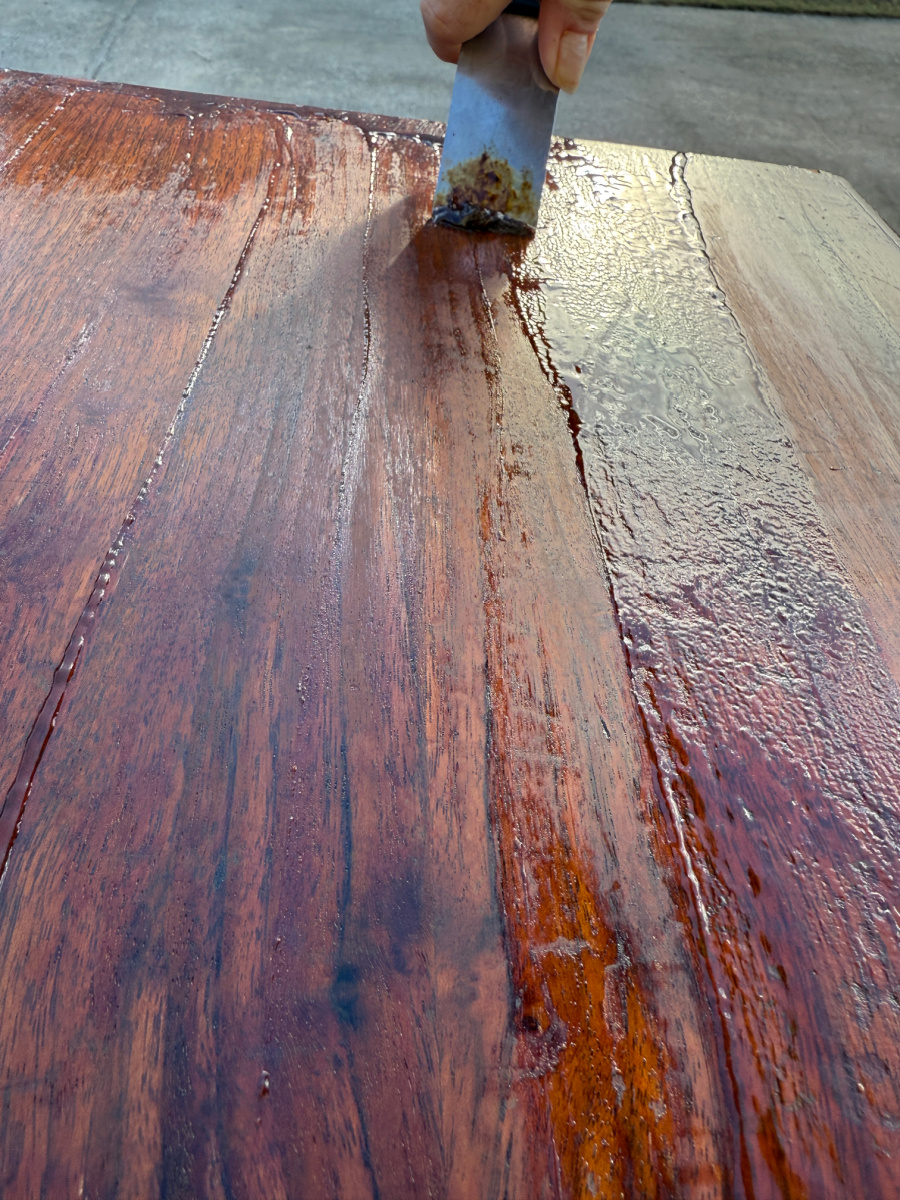
Add some more stripper, wait and scrape some more. Eventually, the stain will stop bubbling up an you will not be able to scrape off any more stain. Grab your steel wool. Brush on some more stripper and wipe it down with the steel wool. You will be amazed at how much stain is till left in the wood. You will see it on your steel wool.

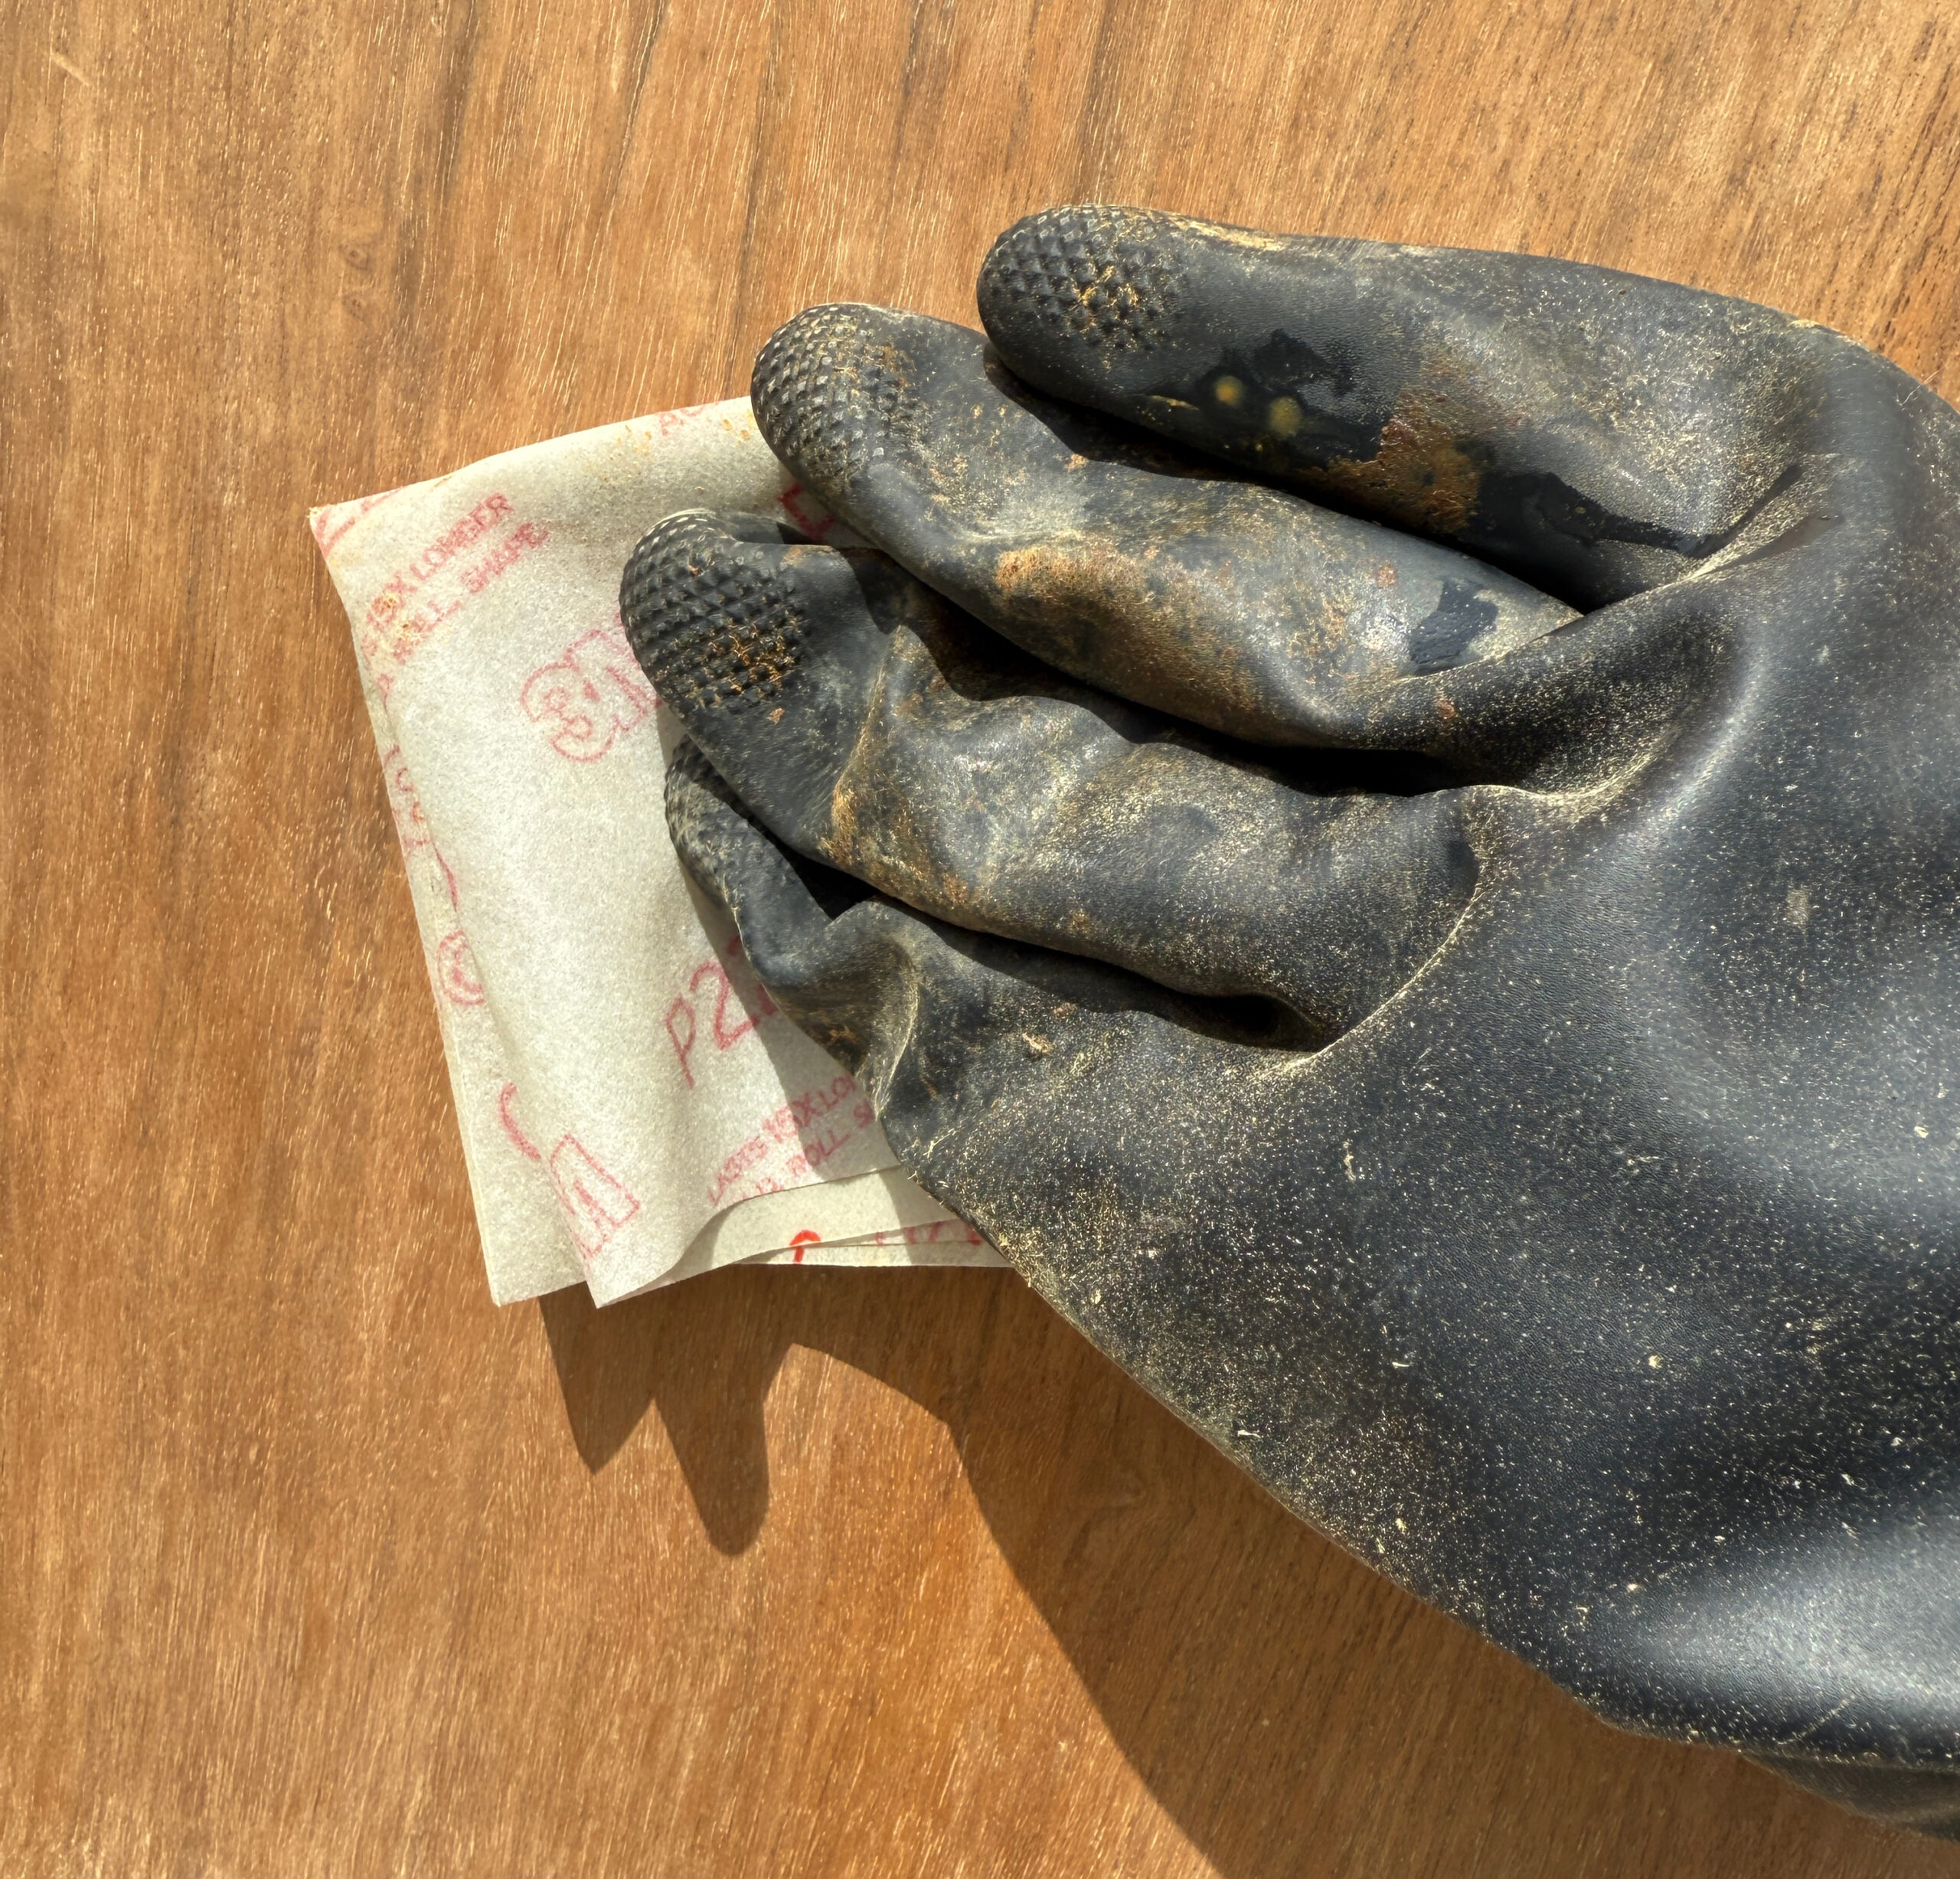
I start with a coarse steel wool and progress to a fine steel wool. In steel wool lingo, a bigger number means a coarser steel wool. So 200 is finer than 60.
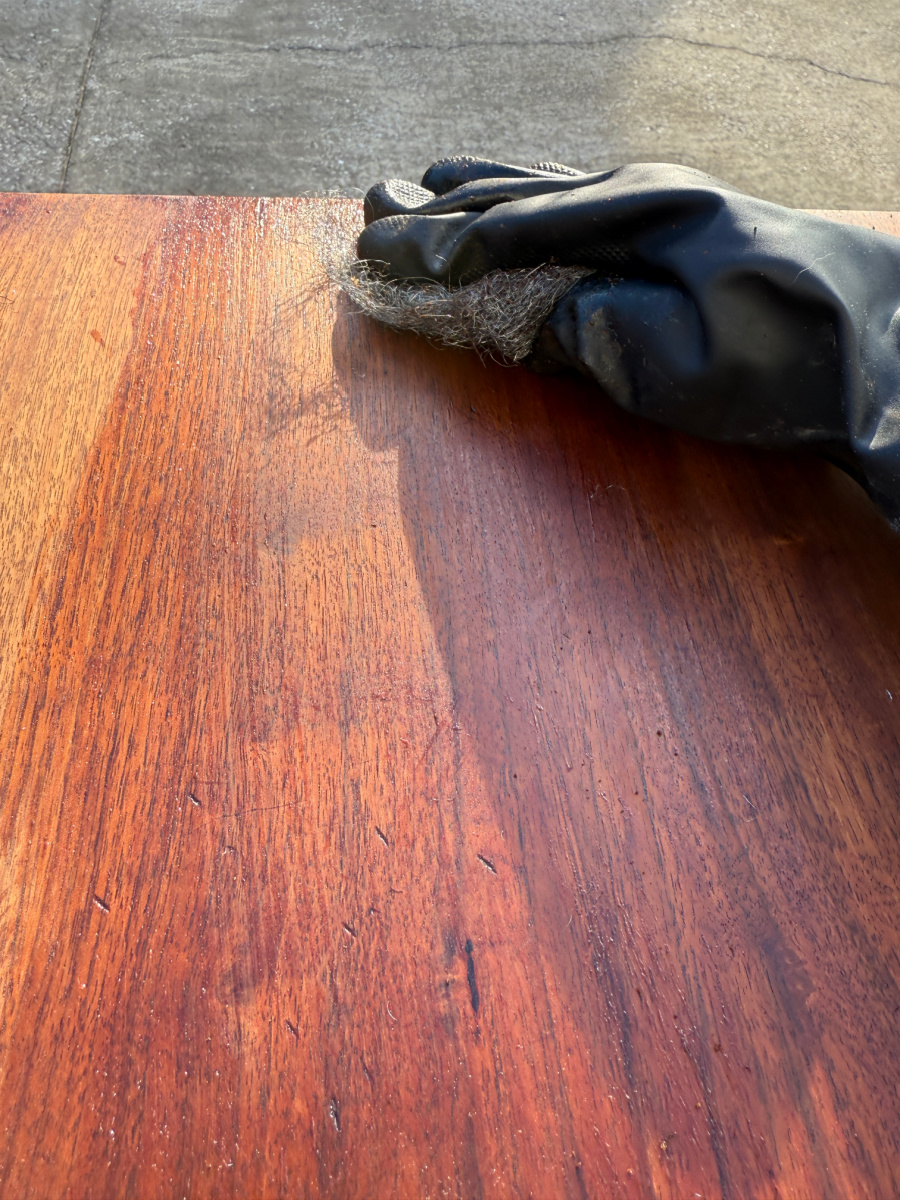
At this point, brush on some more stripper and use some steel wool to gently rub the wood ALWAYS IN THE DIRECTION OF THE GRAIN. This labor of love is very very repetitious.

The steel wool will gently remove more of the stain. Keep applying the stripper and rubbing with the steel wool. Eventually, you will get down to the raw or bare wood.
If you are enjoying this restoration, here is another cedar chest transformation.

Be very careful as many older pieces are made of veneer, which are very thinly applied sheets of wood grain. If you damage the veneer, you’re in trouble. There may be some stubborn spots where you can still see more stain. Treat these areas again with stripper and steel wool.
Once the stripping is completed, give the piece a wipe down with warm soapy water and repeat with tsp to prep the wood to receive the new stain.
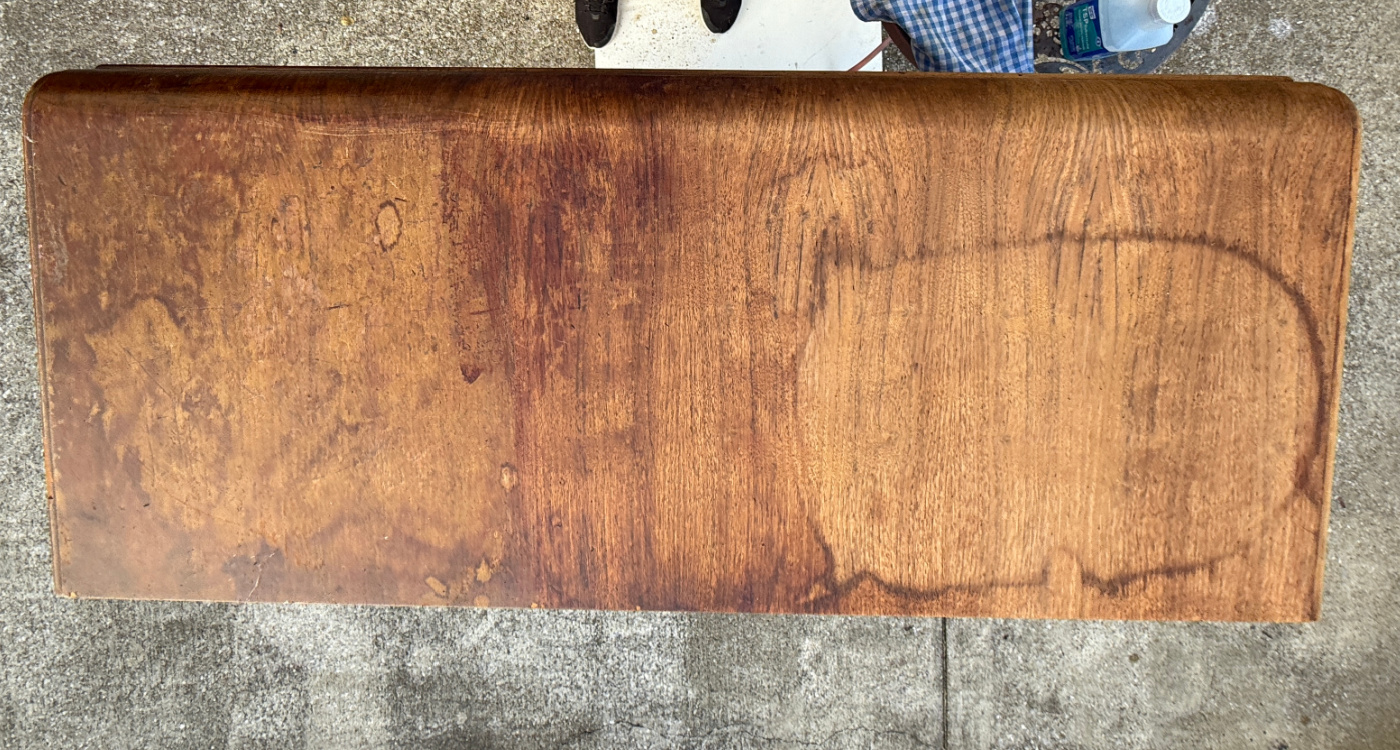
Removing a Stubborn Water Mark
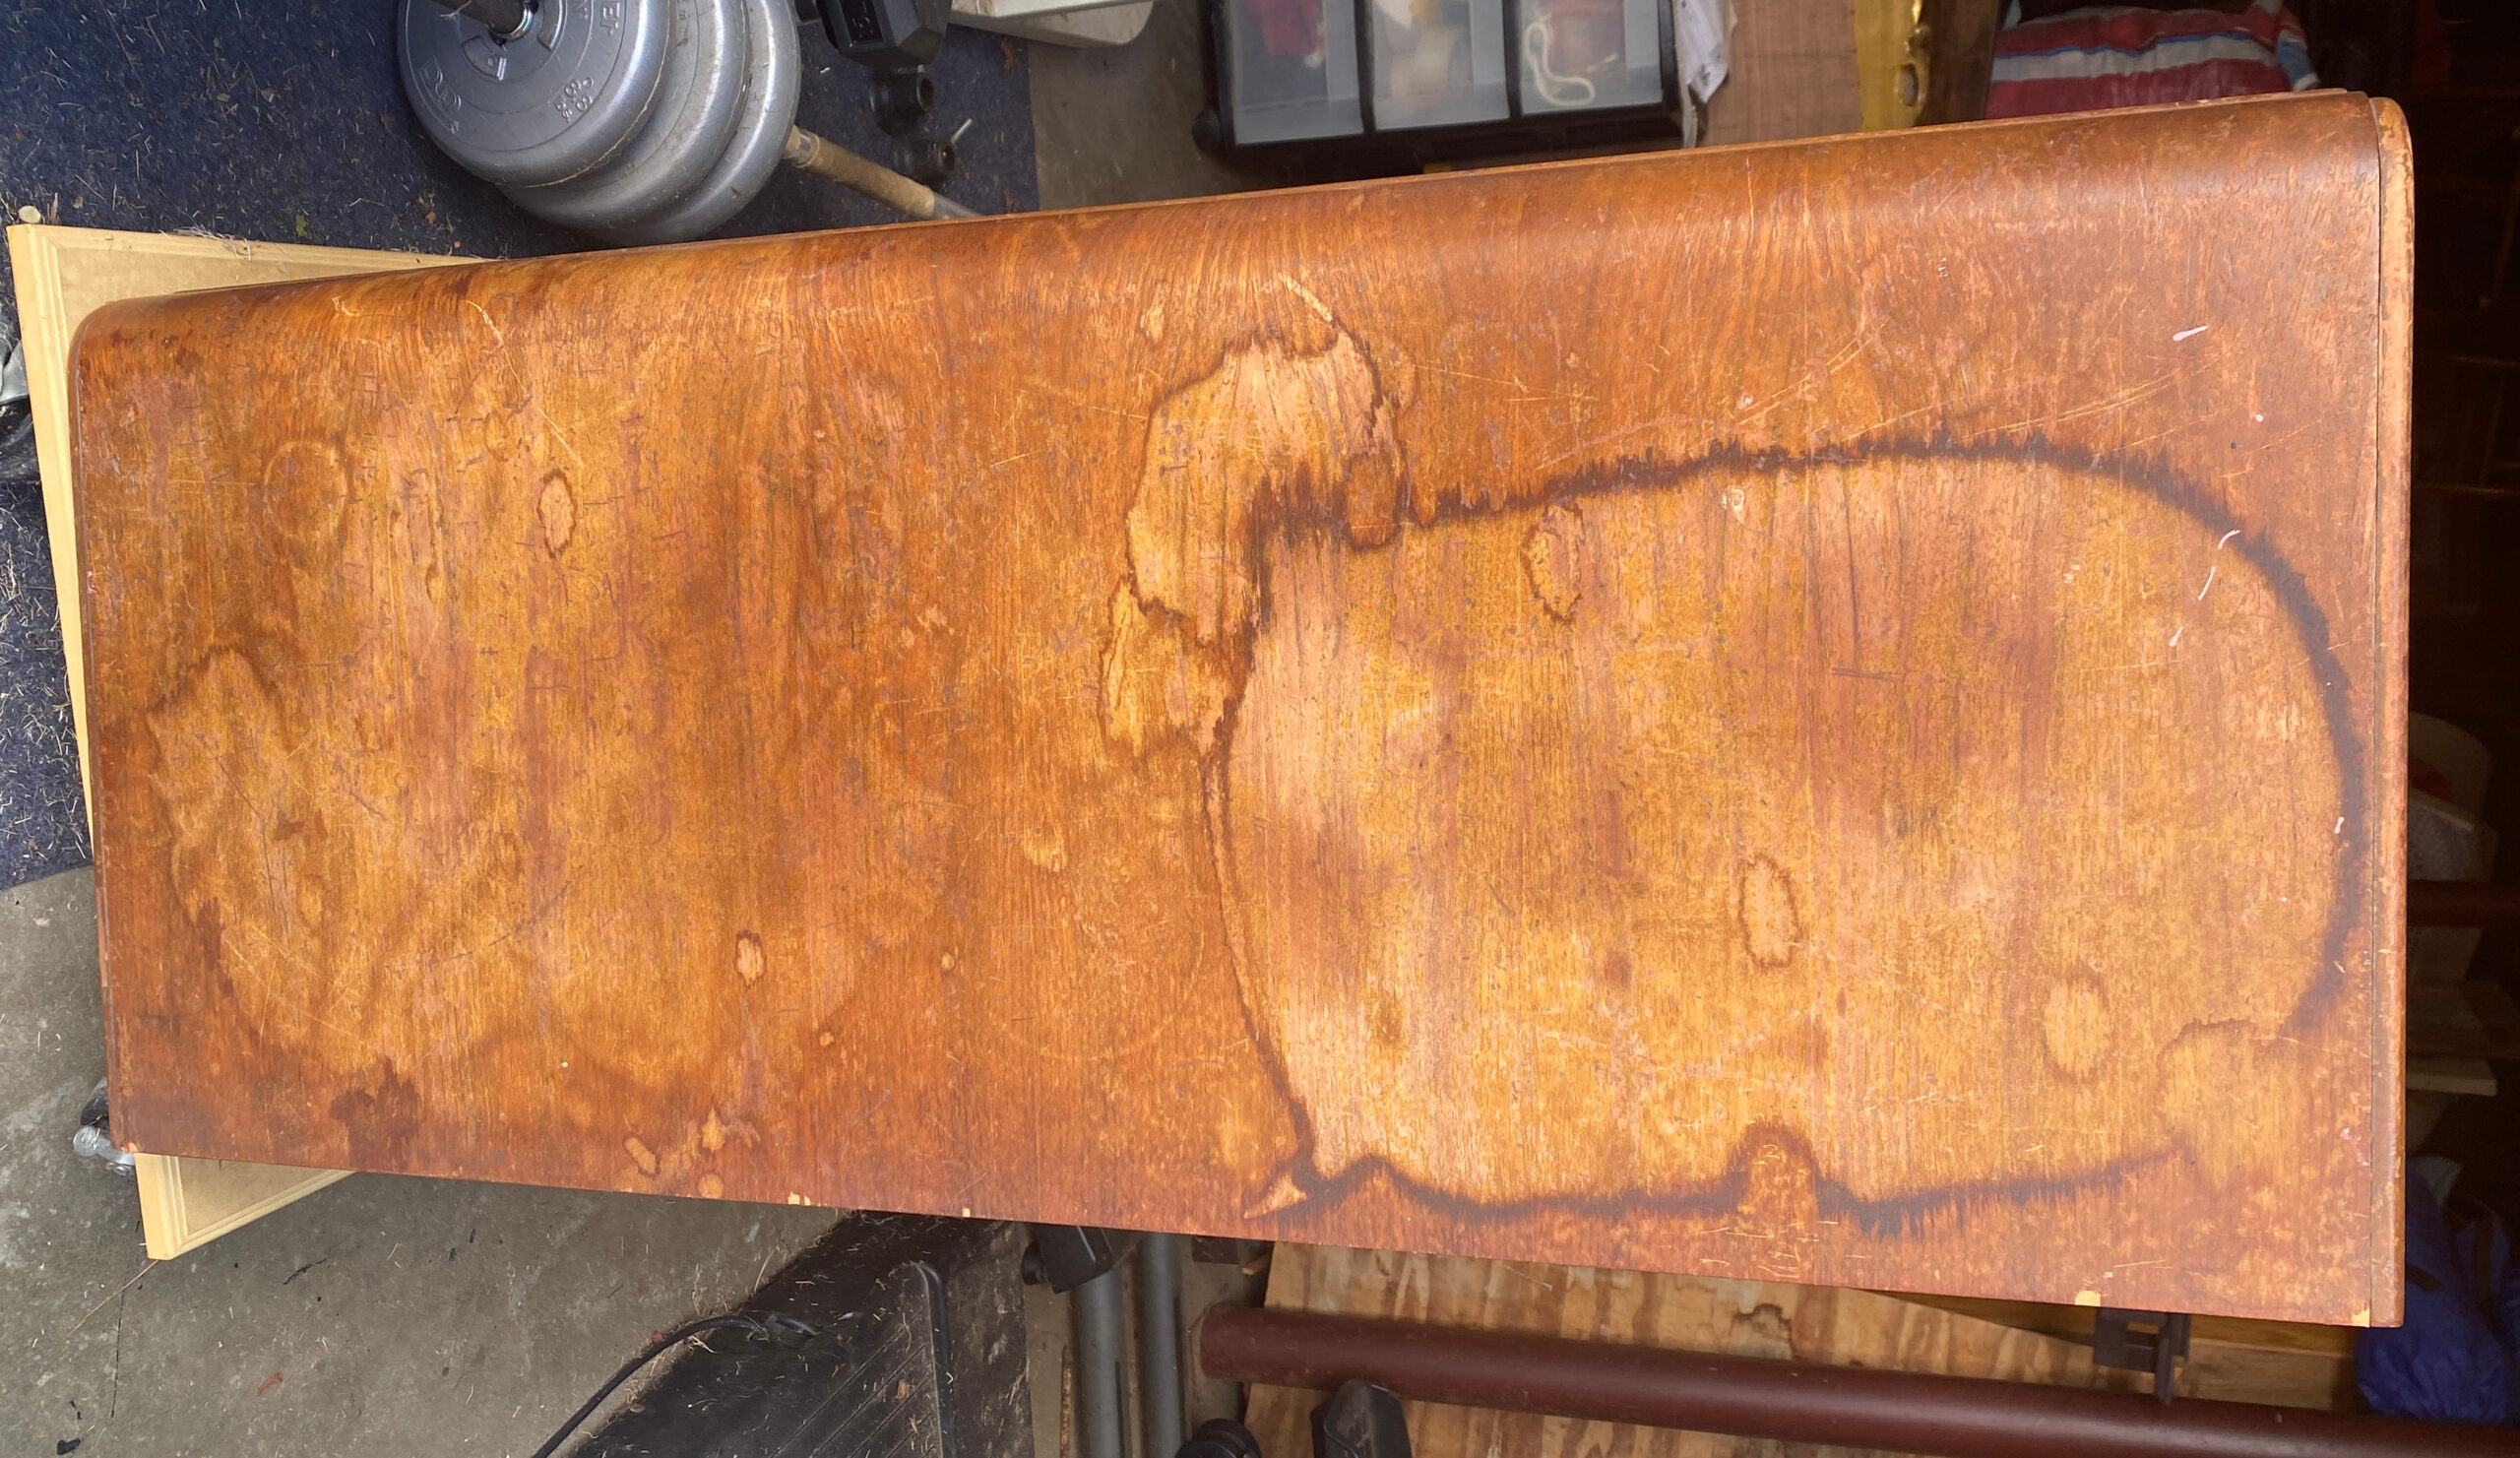
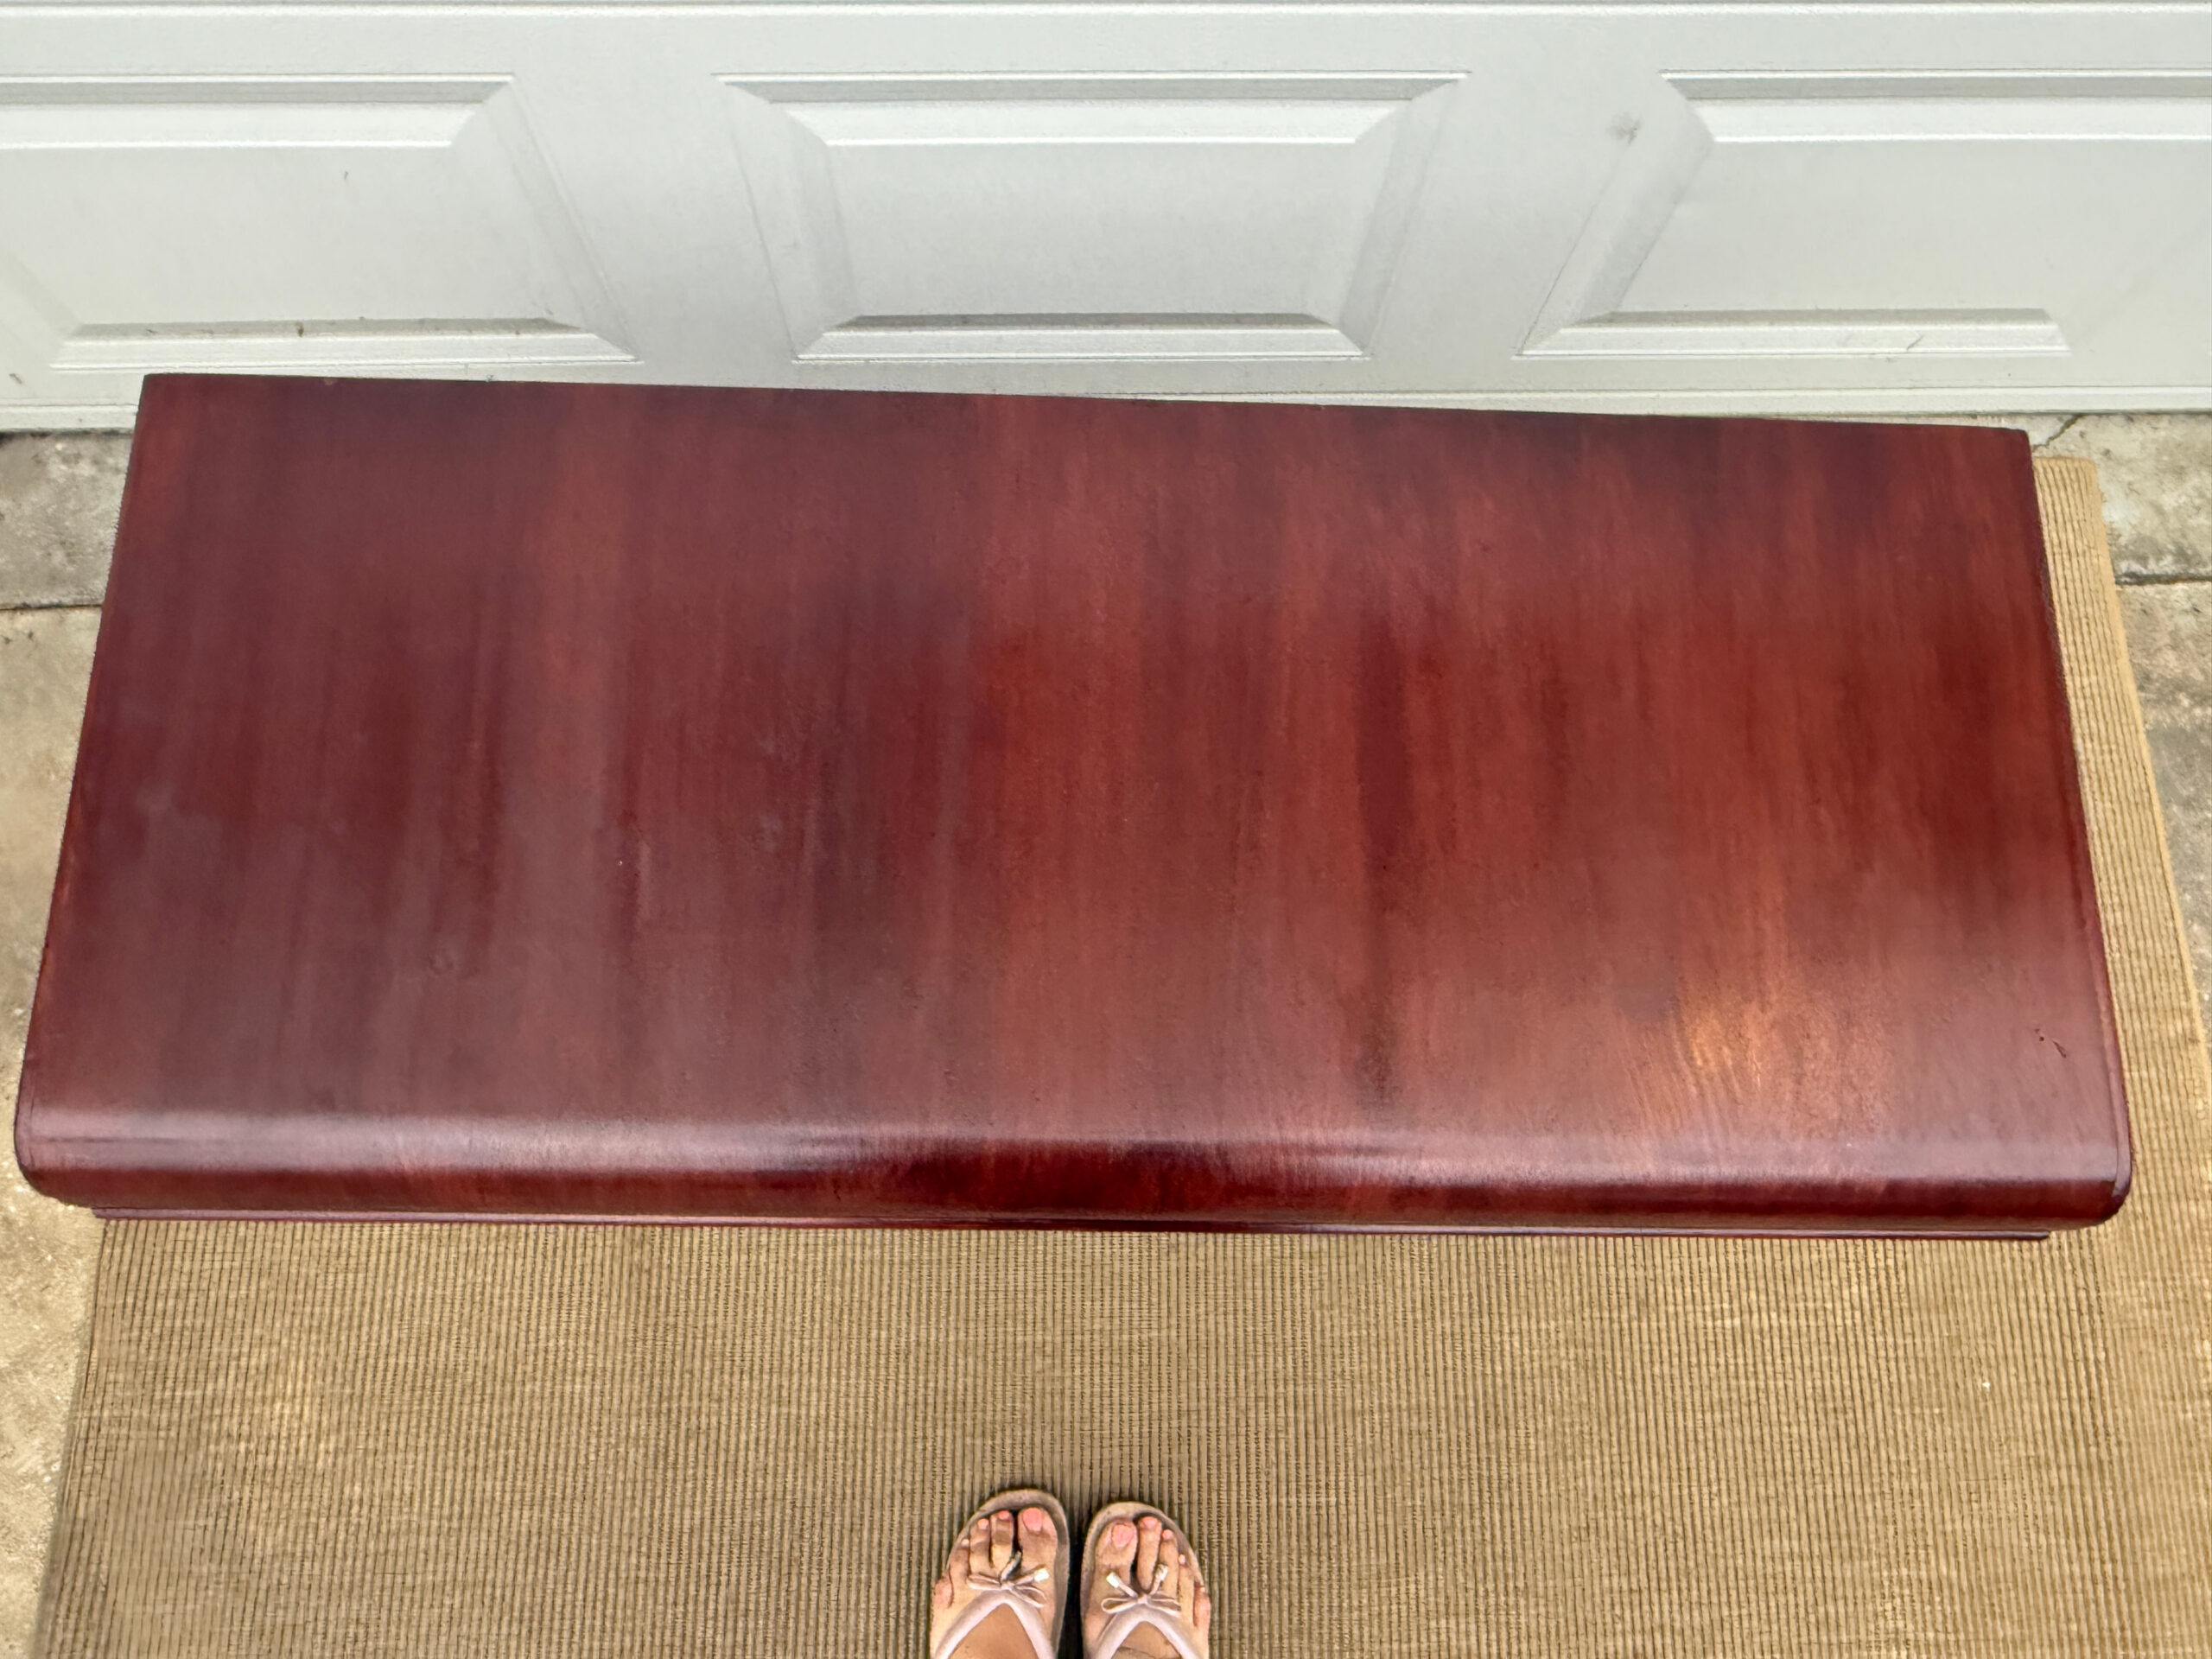
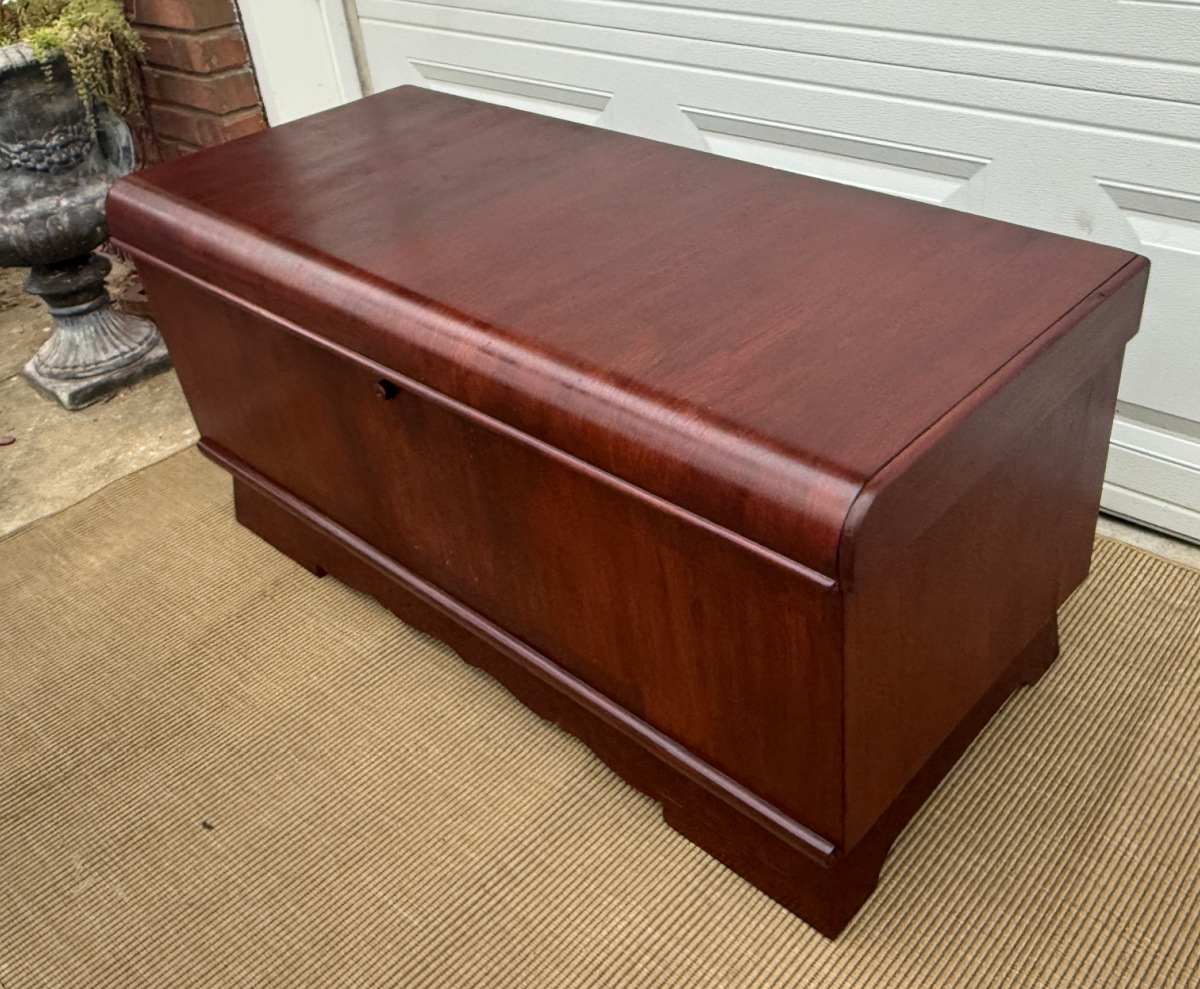
This piece had a very pronounced stain on the top of the cedar chest. There isn’t really any way to know how long the stain was in the wood. This particular mark was concerning because it was deep into the wood. I researched how to remove a stain. Again, I had to be very careful because the top of this chest is comprised of wood veneer.
Remember what she looked like before I started the restoration?
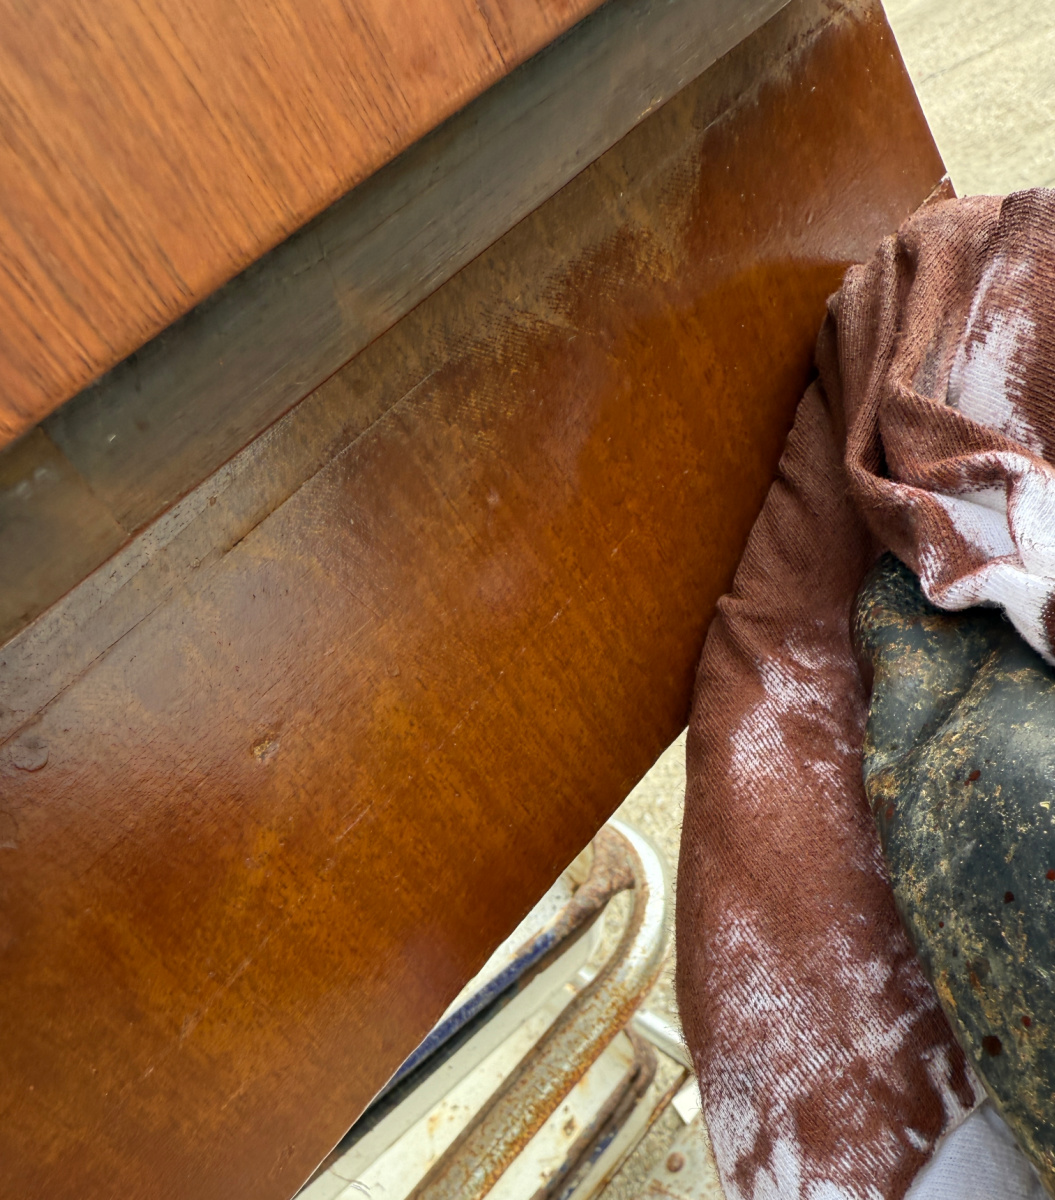
And, yes, this was a problem. The water stain did not seem to be affected by the stripper. It was still stubbornly viewable. I saturated sections of the stain with stripper and gently rubbed with the finest grade steel wool. While it seemed to slightly fade, it was till prominent.
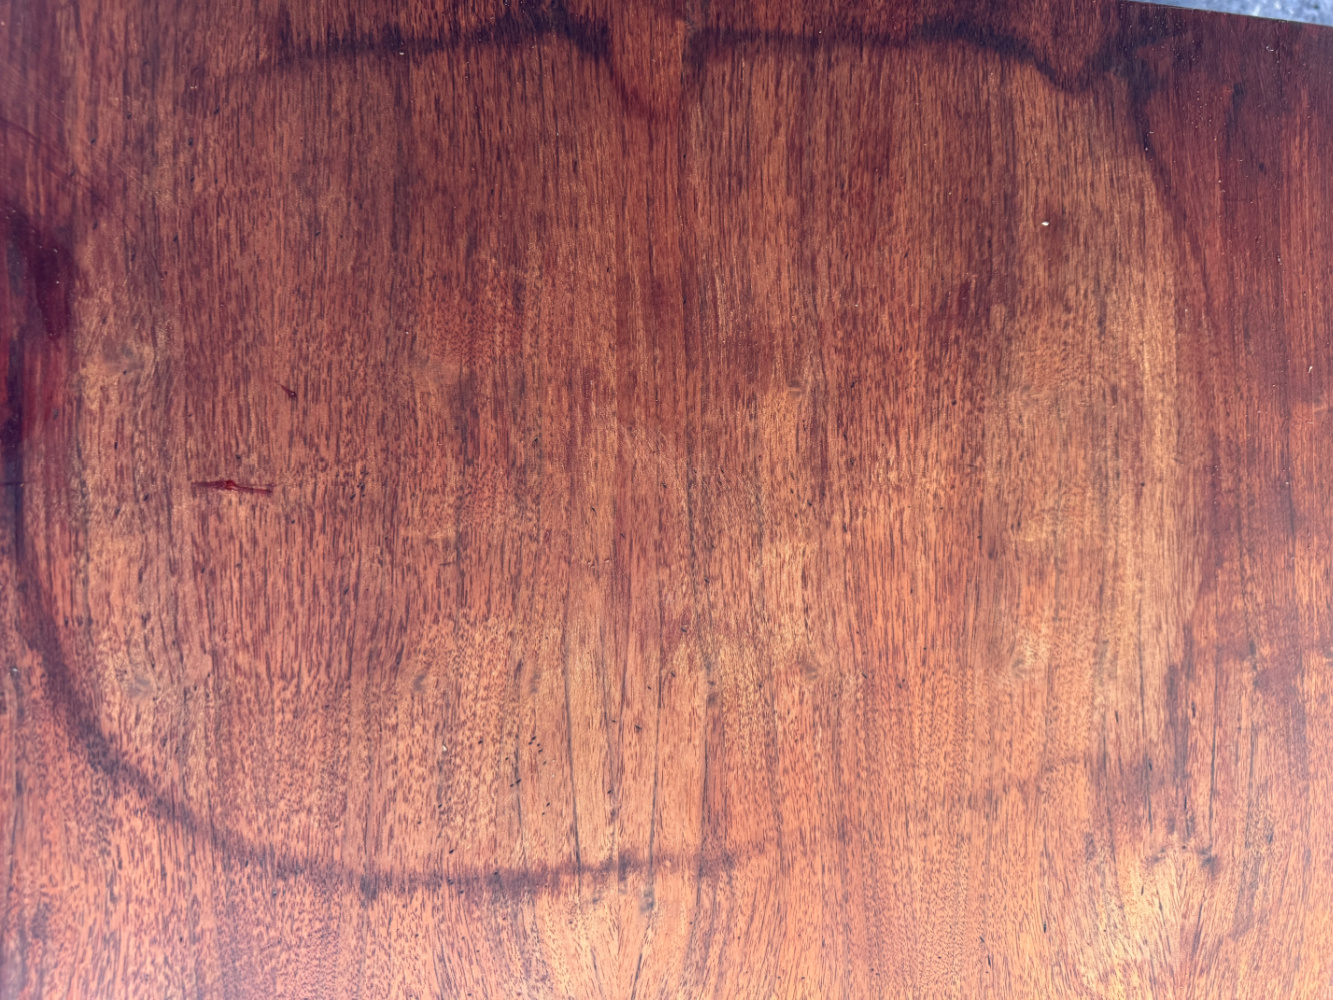
I guess it is not surprising that the stain did not dissipate since it has probably been there for tens of years!
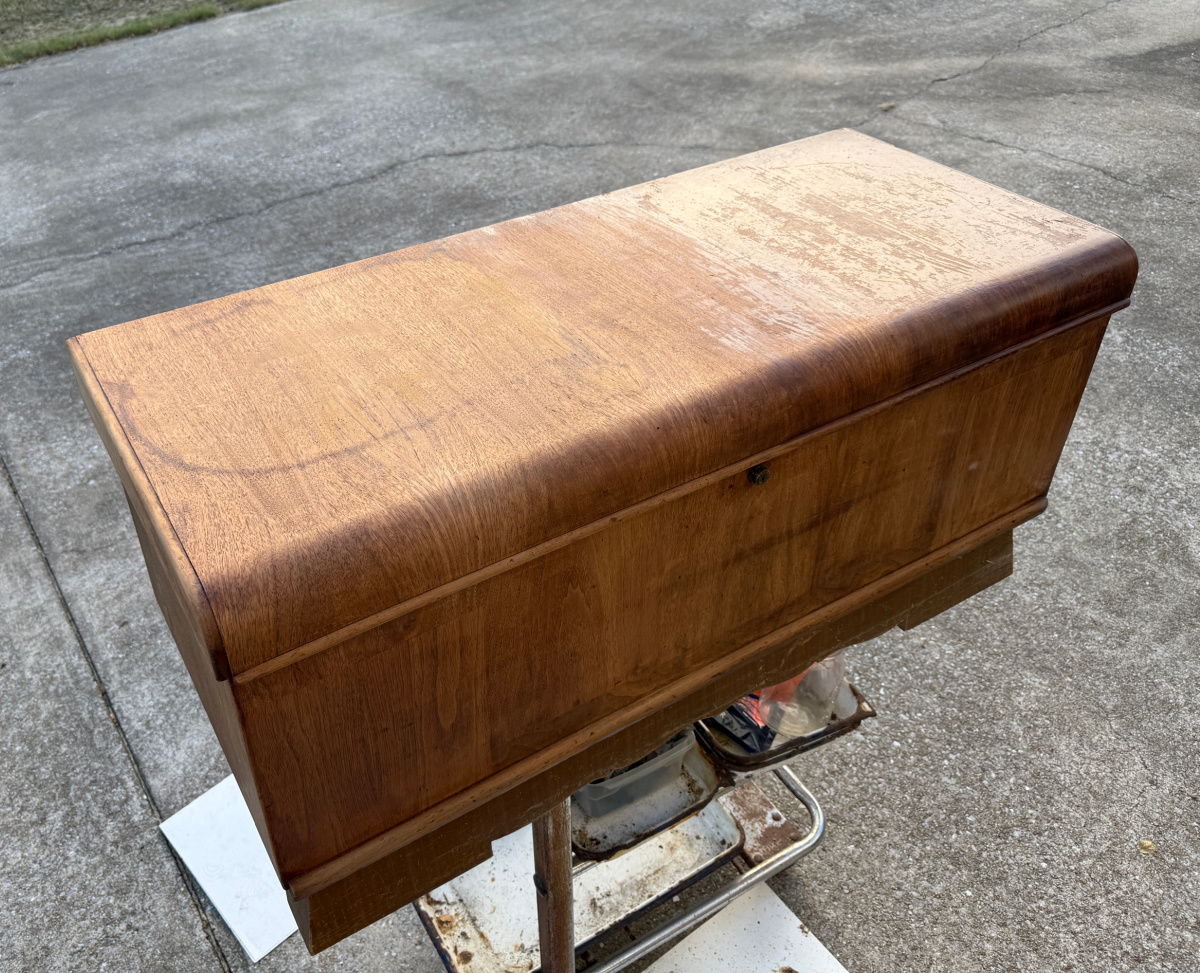
So hopeful but I did some research and decided to try another method. I ordered some oxalic acid, sort of a bleach for wood. I followed the manufacturer’s recommendations and applied to the top of the cedar trunk.
I mixed the oxalic acid into some water and brushed it onto the wood. And I waited. After about 15 minutes, I applied another coat. I waited 15 minutes and applied another coat. I used some fine steel wool to rub the stain. The stain seemed to be slowly fading.
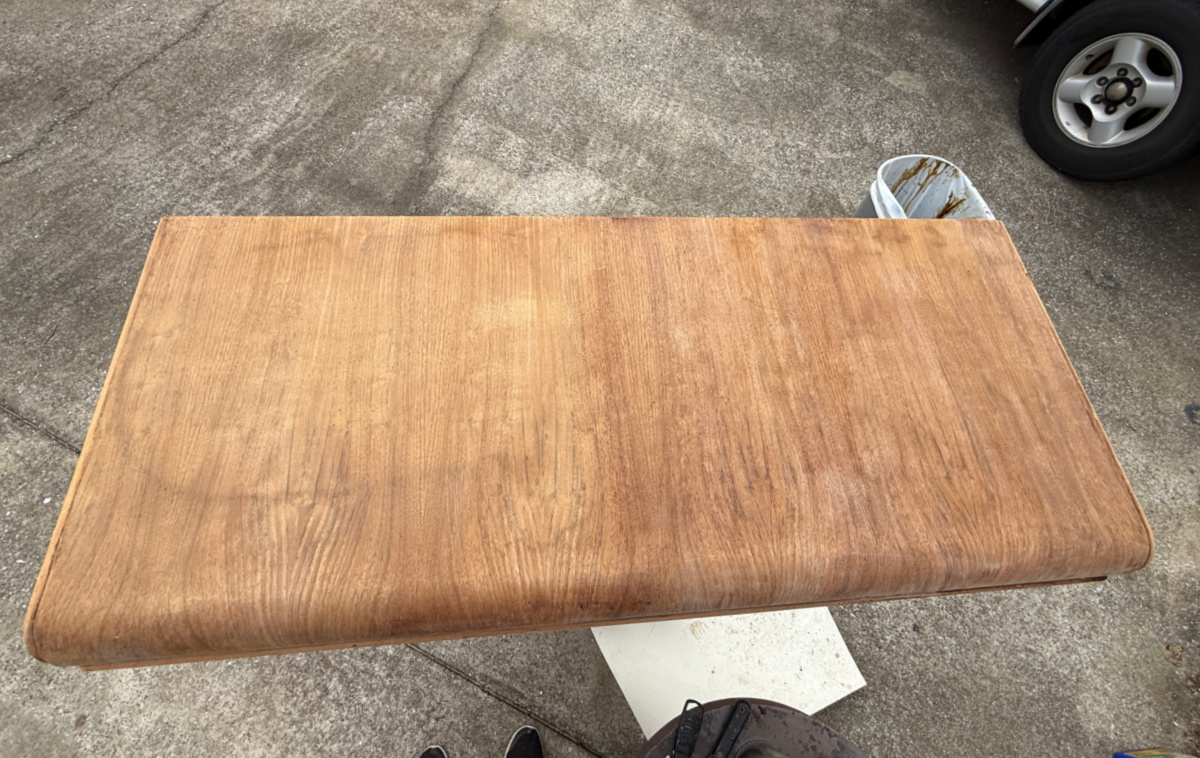
After about an hour, I was concerned with over applying so I stopped the process and allowed the top to dry. Once dry, I gave the entire chest a gentle sanding.
While this process didn’t seem to remove the stain, it did seem to fade the stain.
And I was very hopeful that the darker stain that Helen wanted would mask the stain. As I said, the stain that Helen selected is on the dark side so I hoped it would cover the stain. Here we go.
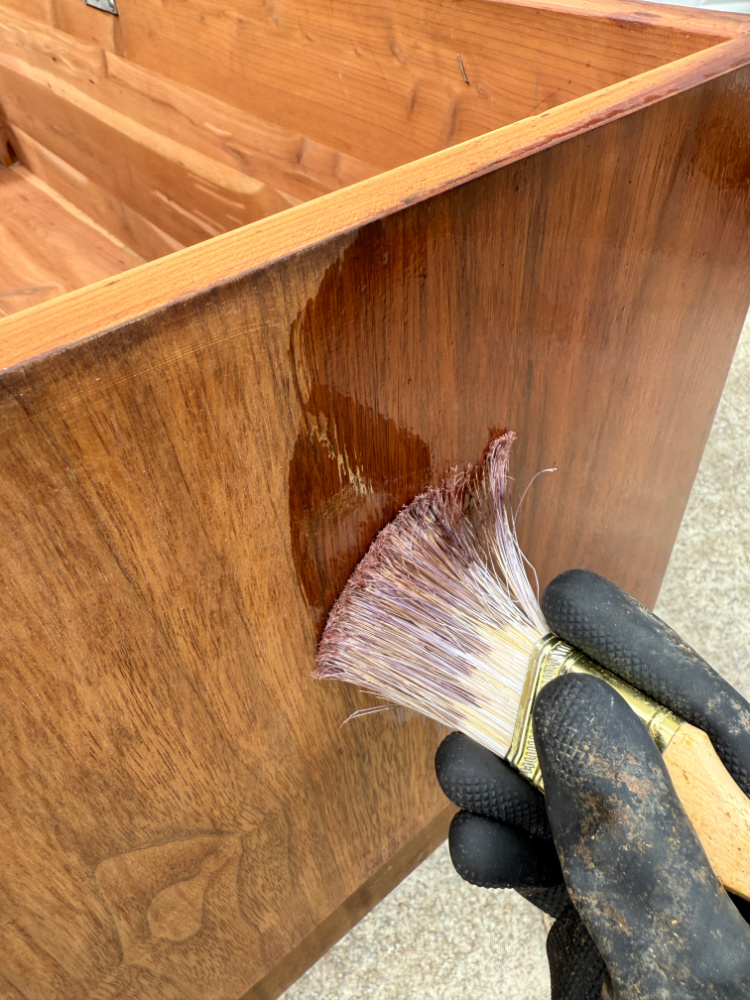
Slowly, each section of the cedar chest came back to life.
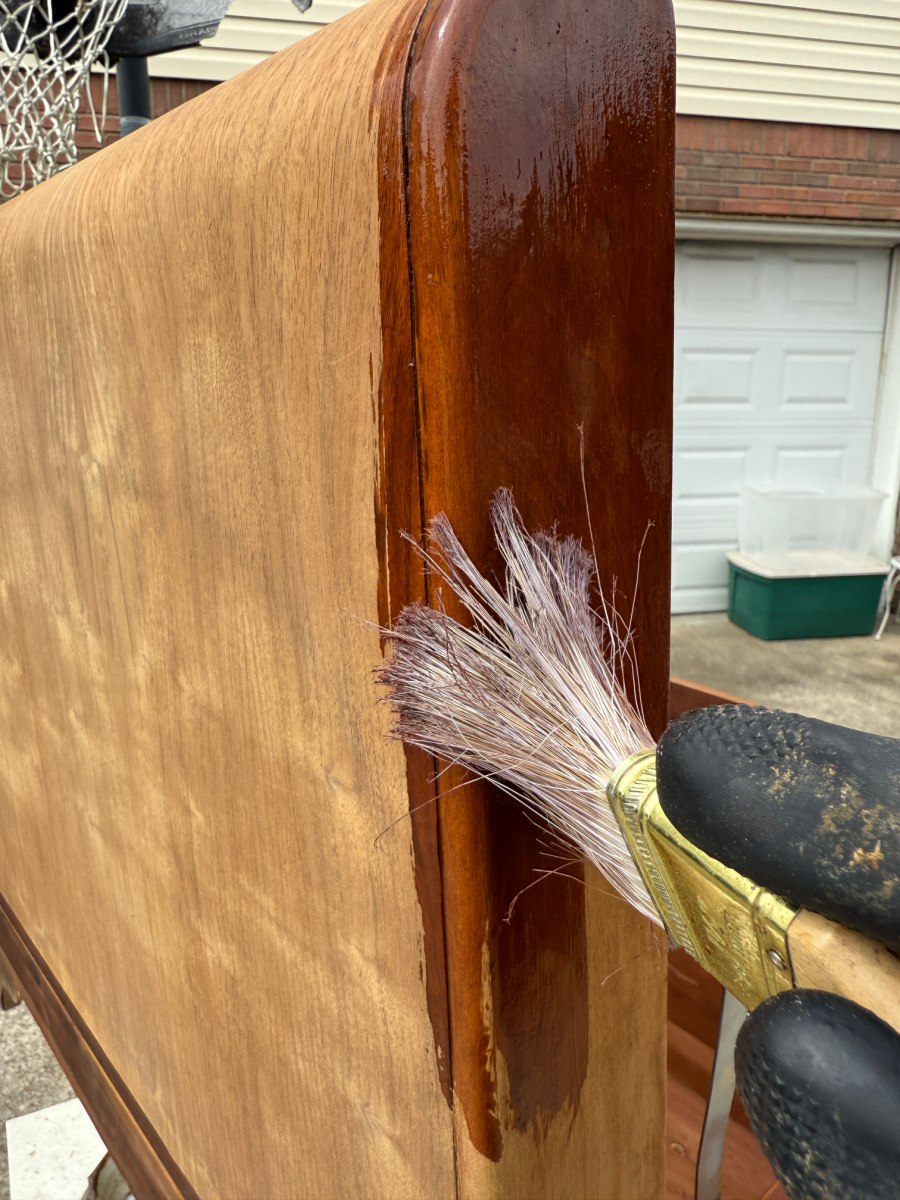
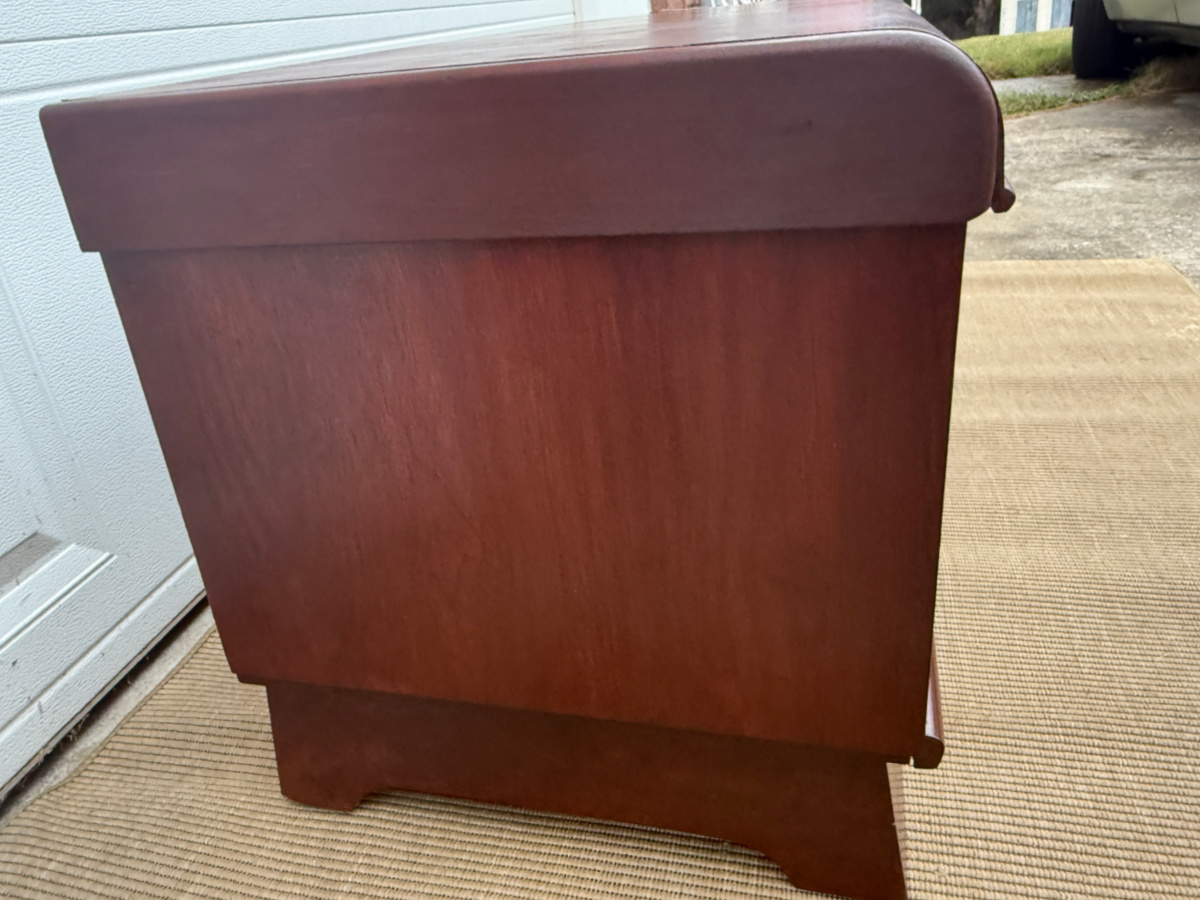
The sides of the cedar hope chest were the most beautiful.
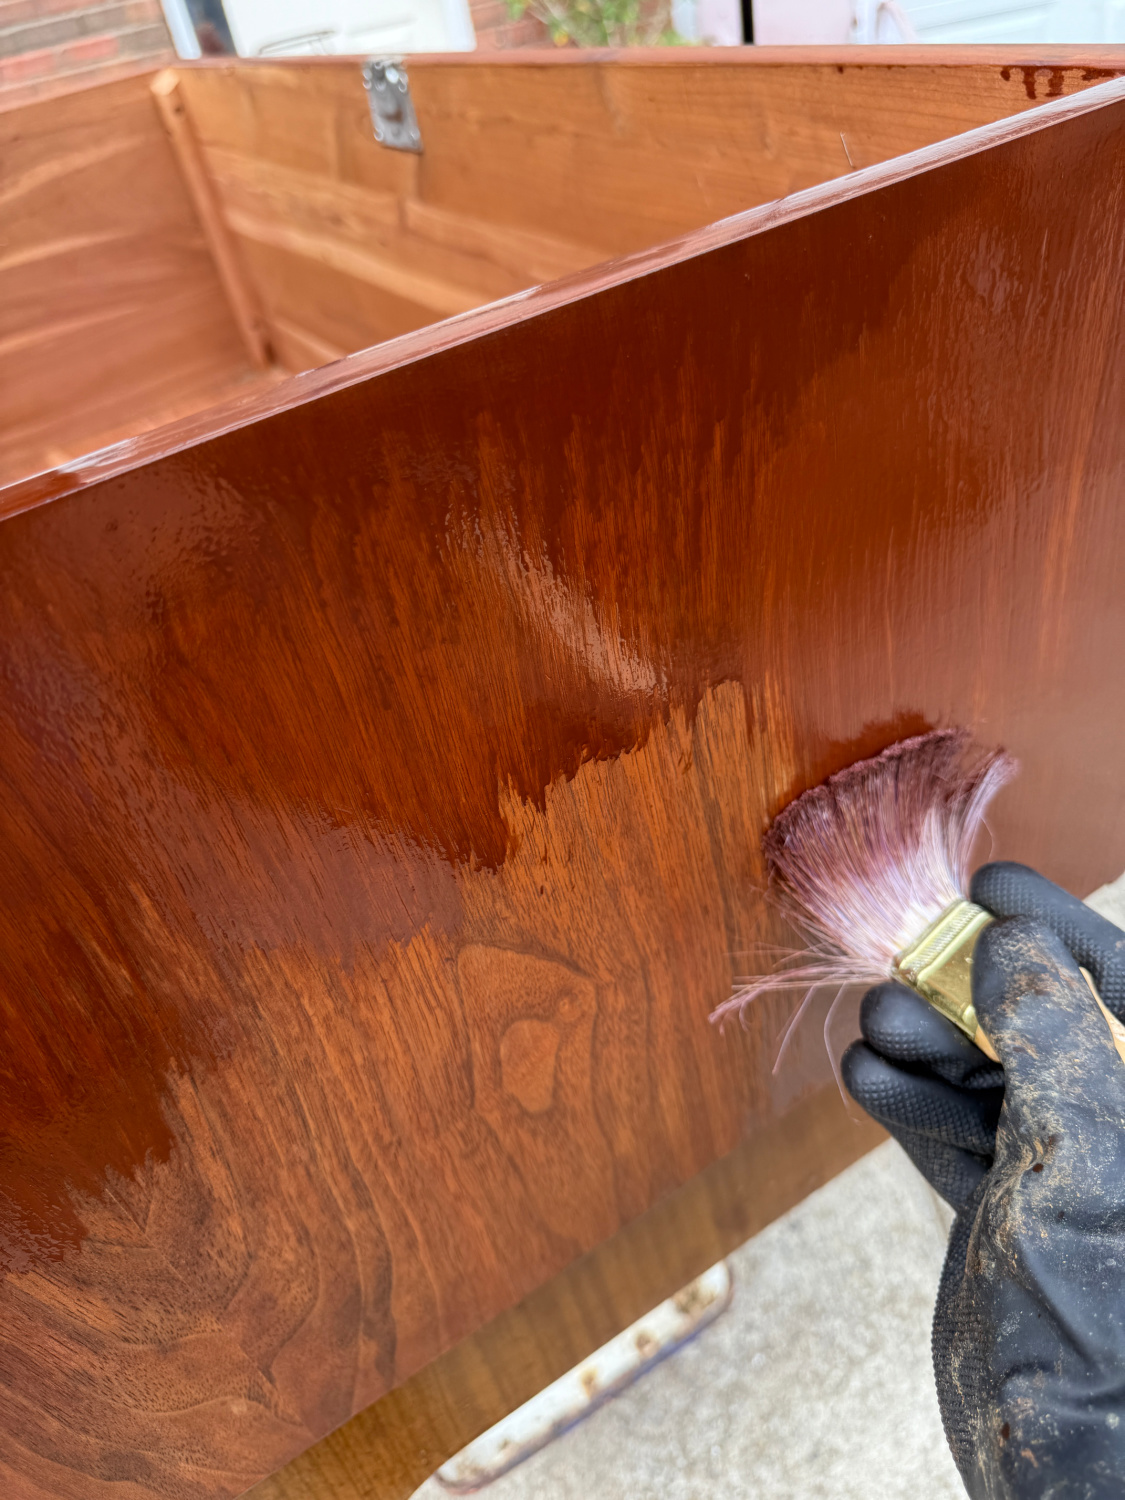
I worked my way around the chest applying the stain with a brush and wiping away the excess.
The kickplate, or the bottom lip, on the cedar chest was another tricky area. Turns out, it was not solid wood. It’s like the manufacturer used cheaper grade of almost wood here since it would not be seen. It was actually more of a laminate. So I used a technique for faux painting and applied the stain in a pouncing motion.
I’m please with this finish!
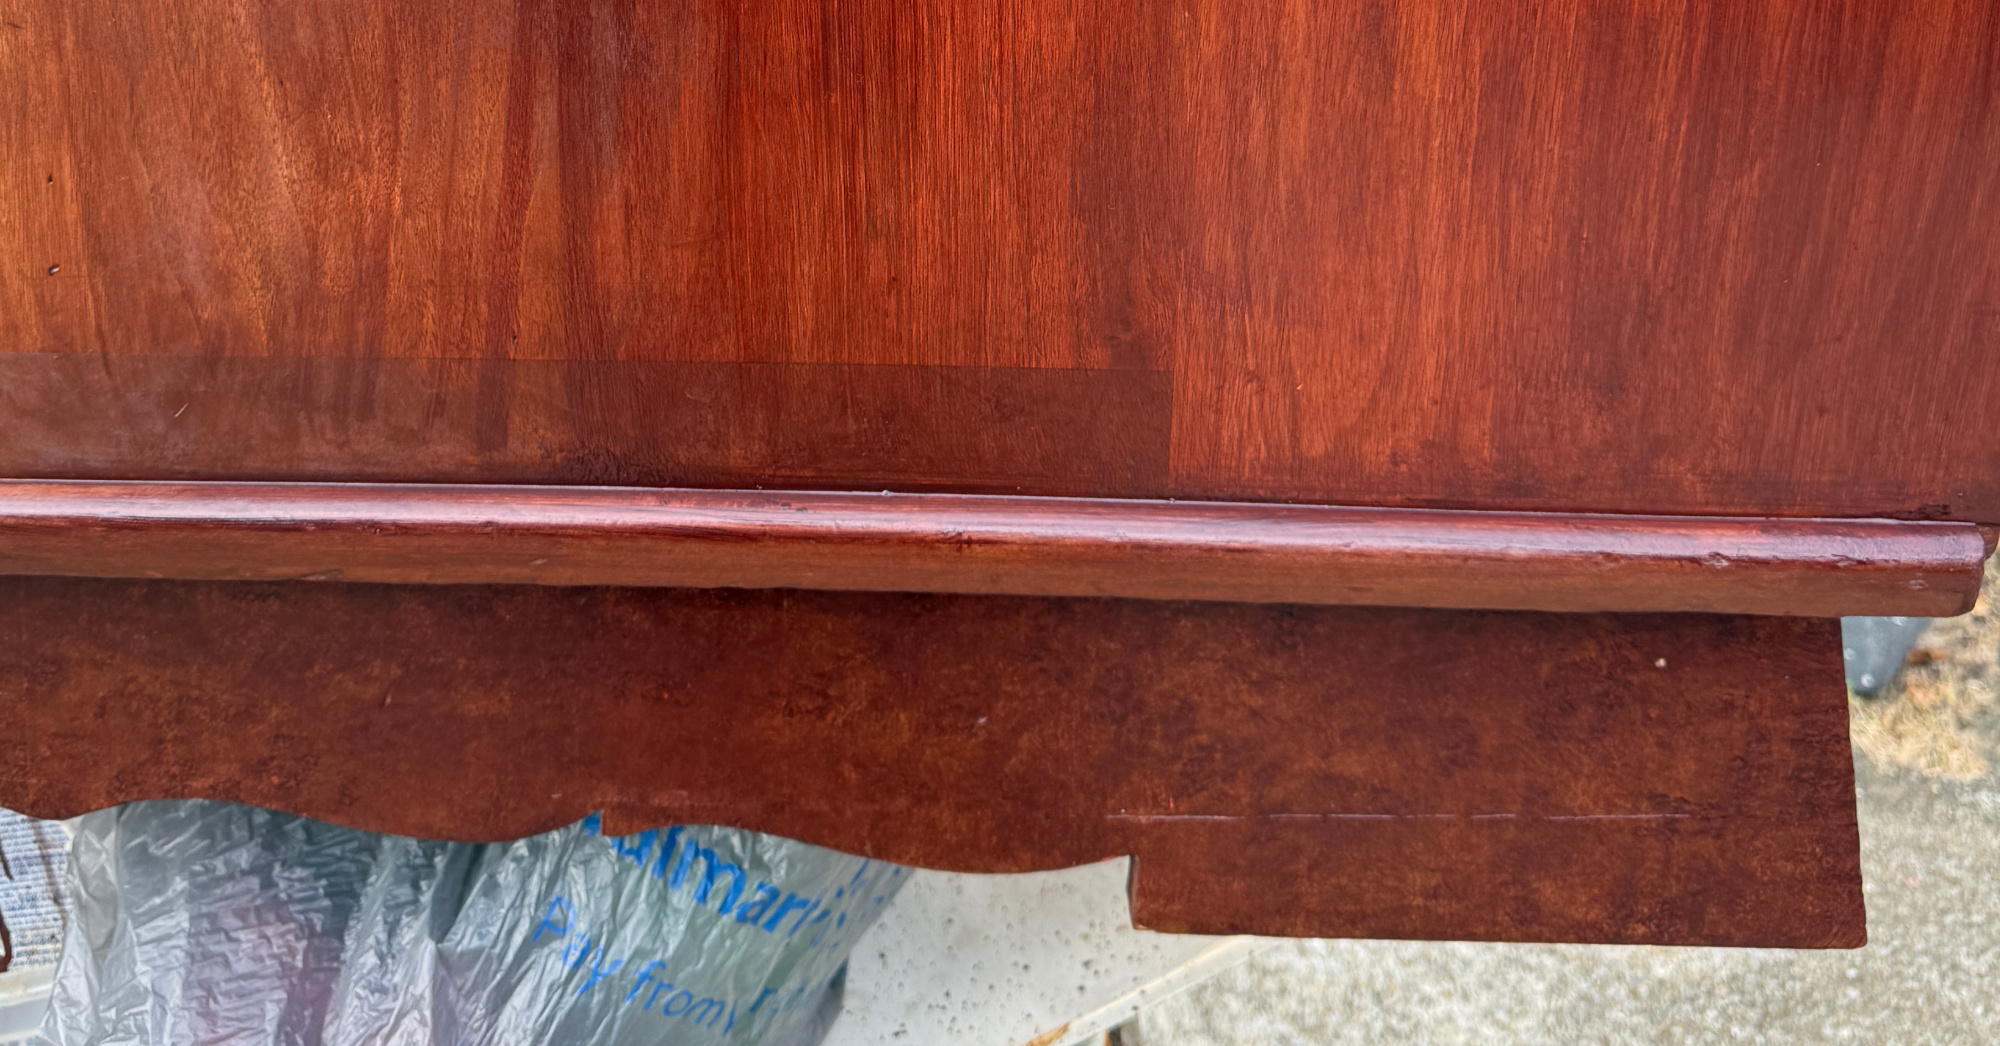
After one coat, I knew it needed to be a bit darker.
And look at that kickplate!! Who would ever know she’s not real wood??!!
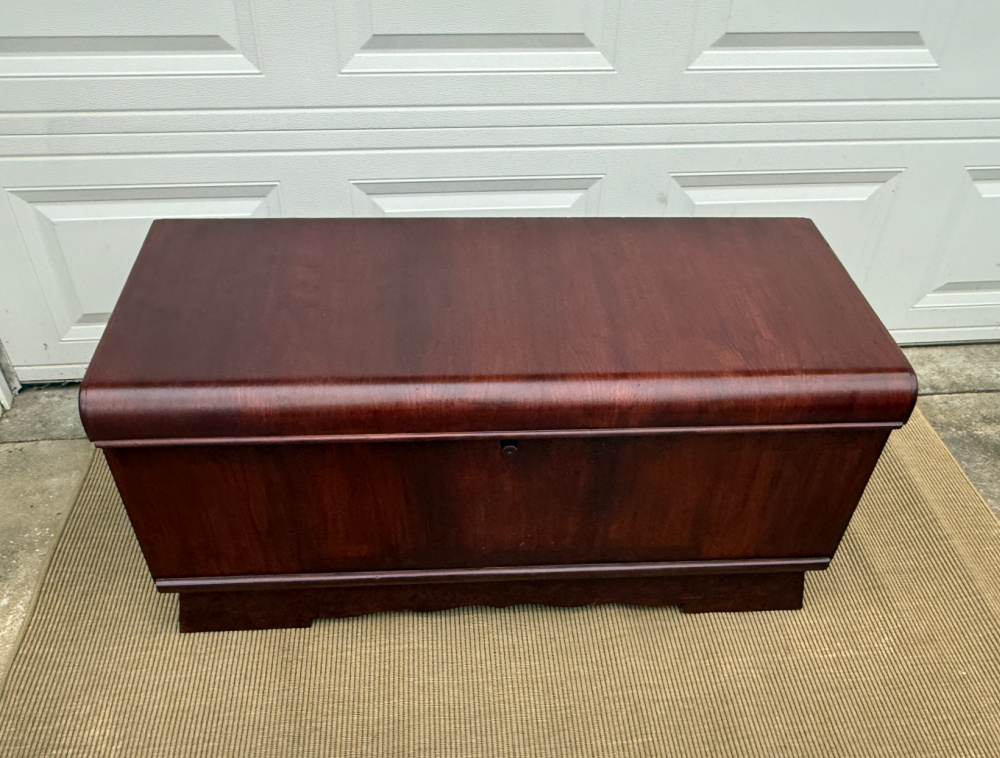
I saved the top for last and as luck would have it, the water stain was undetectable after several coats. I was thrilled.
I let her dry allowed her to dry overnight. I finished her off with two light coats of General Finishes Top Coat.
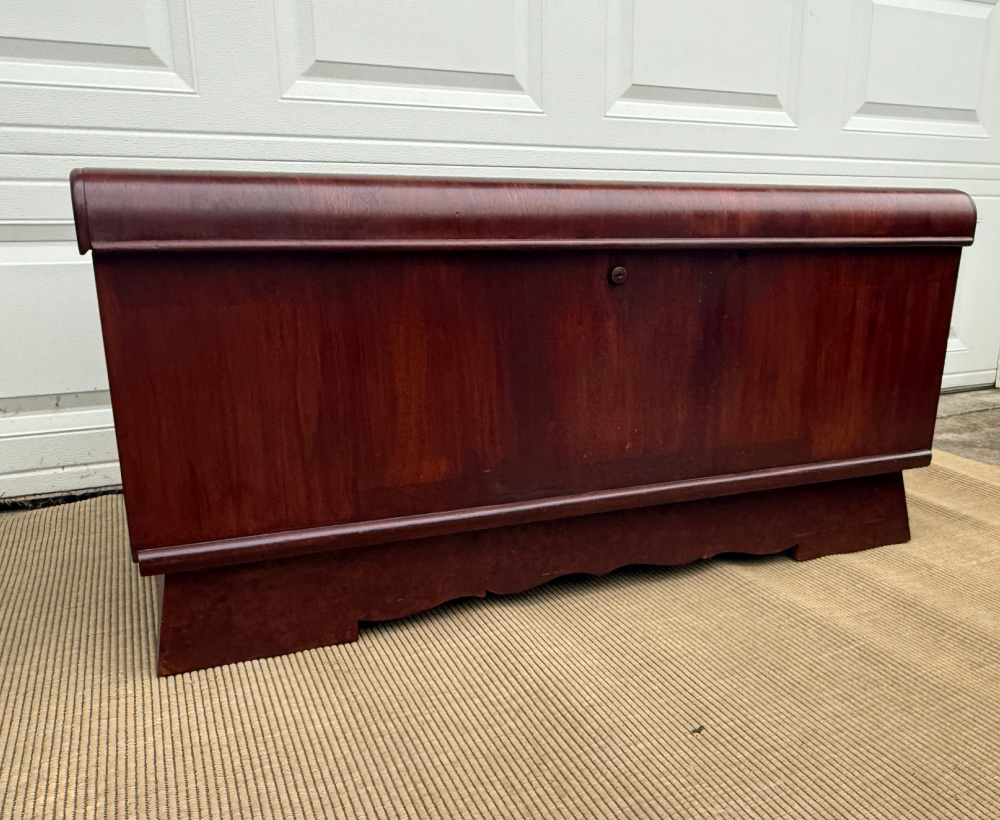
Just look at that top!

I’m always amazed at how beautiful the raw wood is underneath all of the old stain. This is why I love wood so much! With a little TLC, it is so easy to restore.
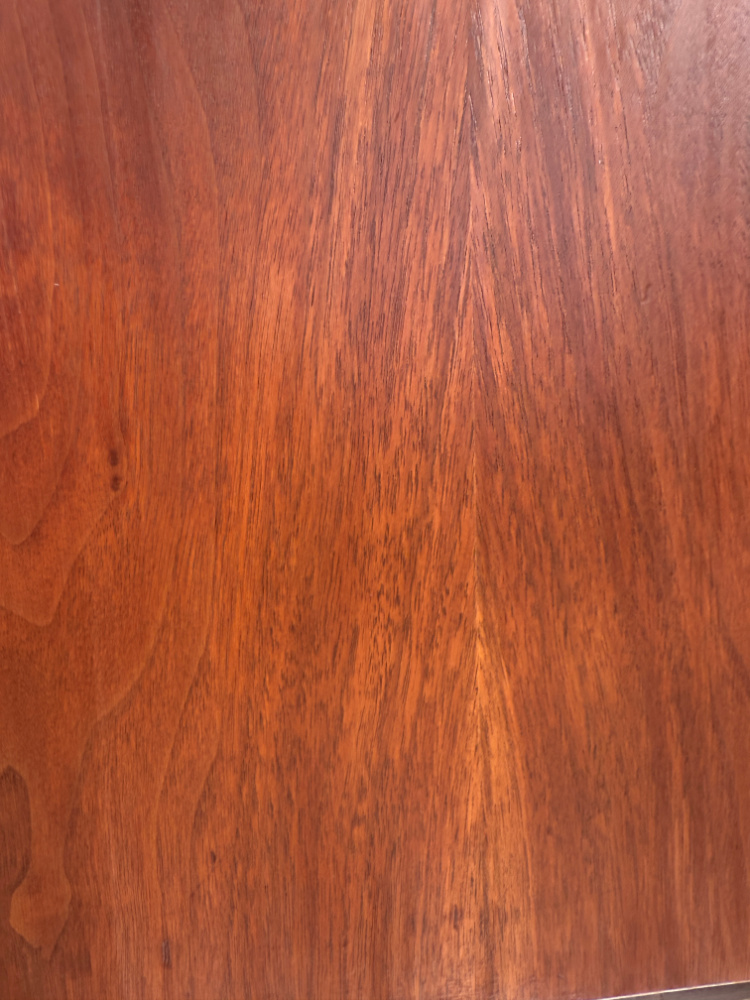
Well, maybe not easy but definitely worth it!

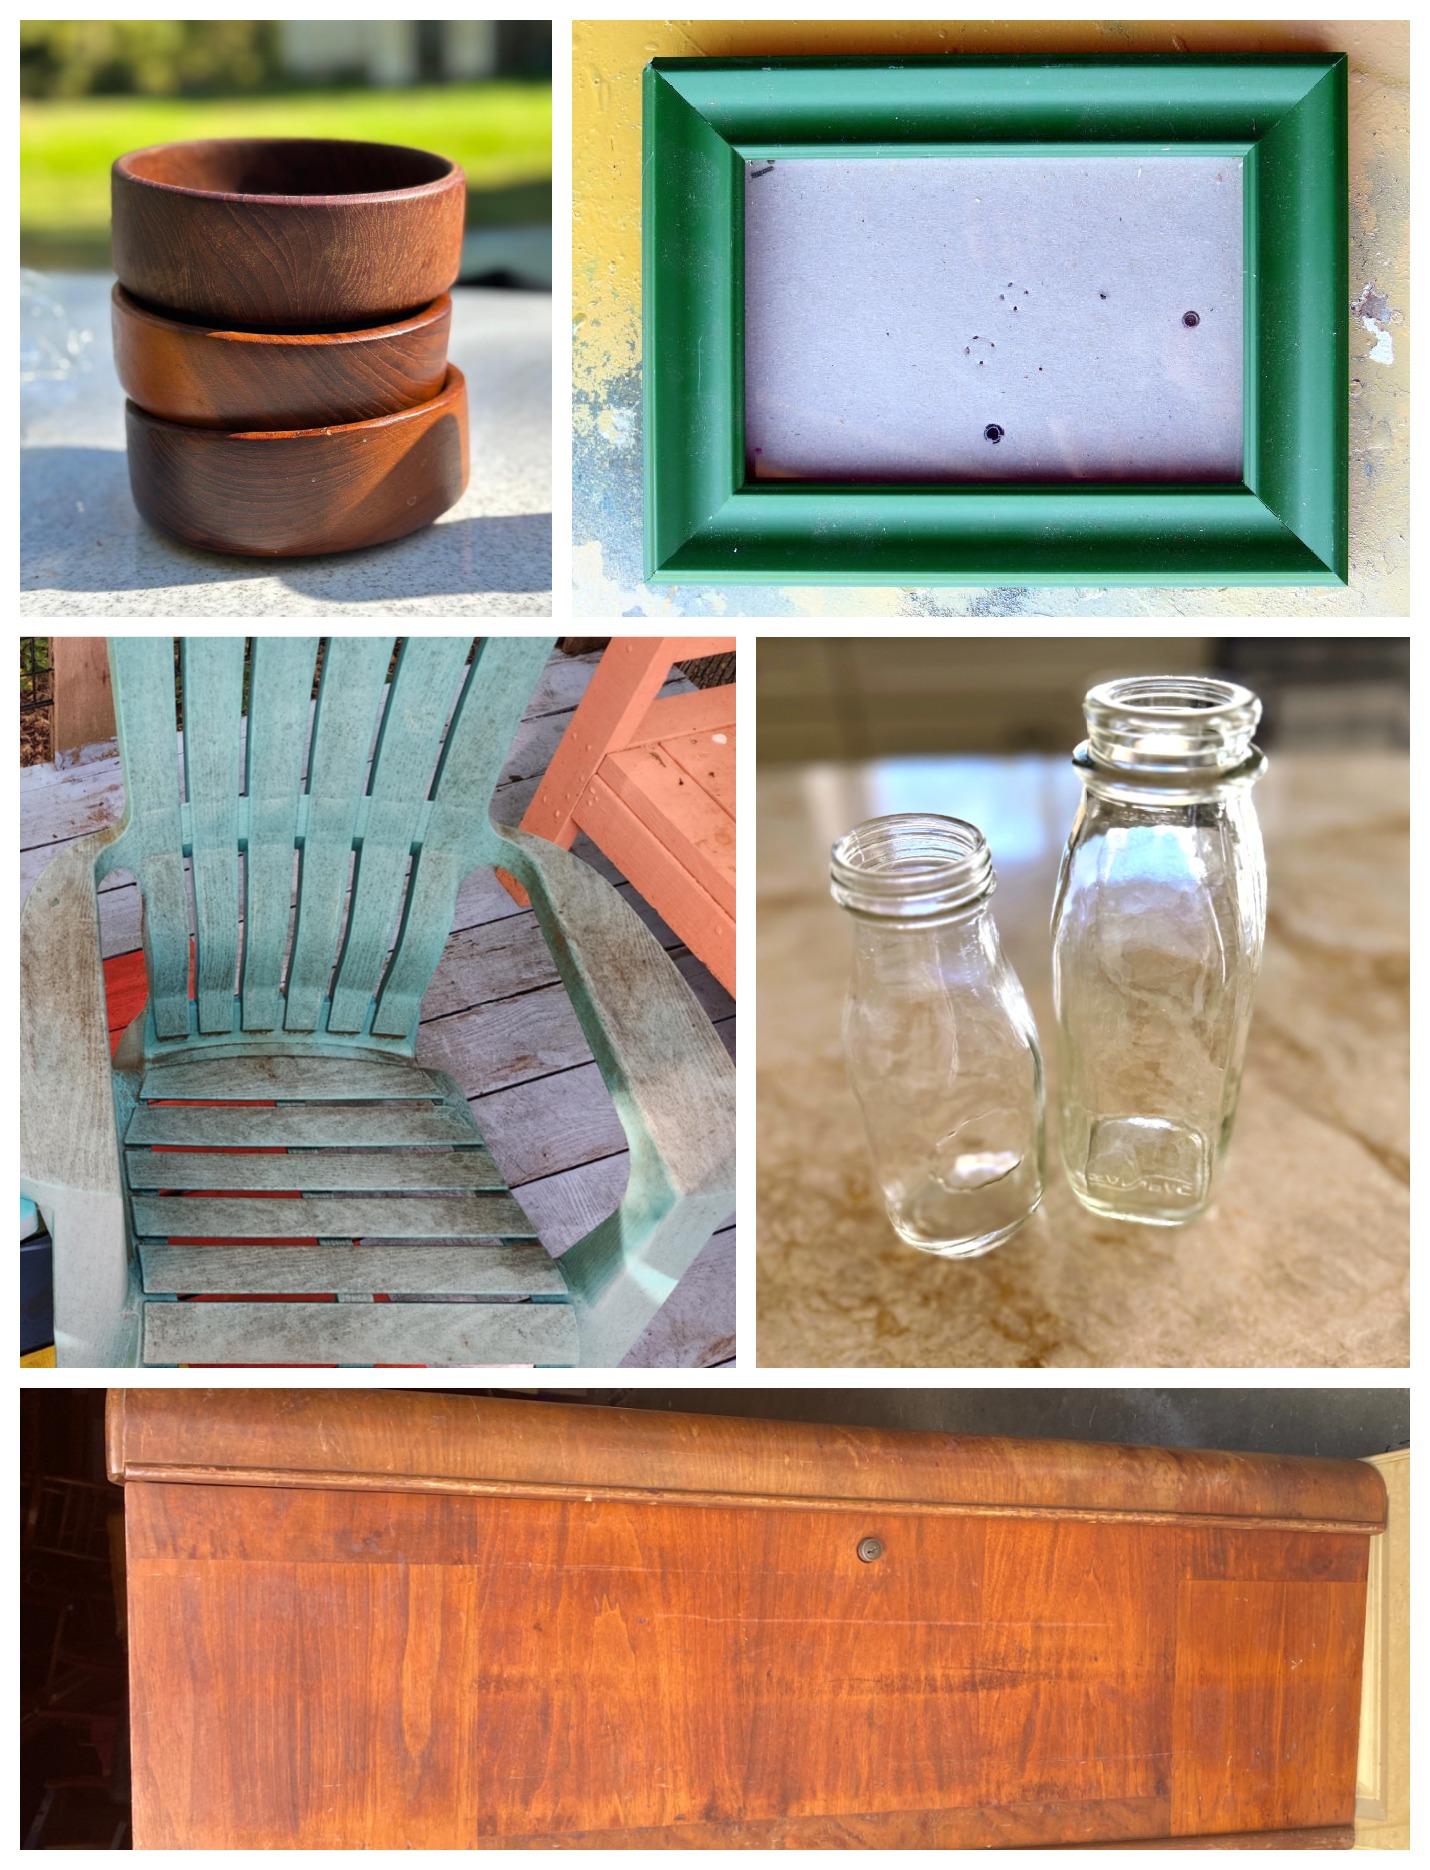
Our Crafty Mom Upcycled Wooden Bowls with Pressed Flowers
Petticoat Junktion DIY Mercury Glass
My Repurposed Life Refresh Plastic Chairs with Colorful Spray Paint
My Uncommon Slice of Suburbia How to get the look of amber glass
Shop At Blu Cedar Chest Hope Chest Upcycle


Sue,
I have a similar cedar chest from my aunt Pollie. She got it in the late 40’s or early 50’s. It’s in good condition-someday I’ll give her a new look.
I love the dark color that Helen was looking for. It’s really pretty! You did a great job with that large water stain.
pinned!
gail
Thanks, Gail. I have a newfound love for red woods.
WOW what a great makeover! I fully understand painting vs refinishing, so much work. This turned out so great, all your hard work paid off!
Thanks, Kristin. About one hour in I remembered why I don’t do this very often. But the end product makes it worth it.
Sue, what a labor of love and totally worth it! It turned out just lovely. Thank you for the great tutorial pinned!
Thanks, Michelle. I have to do some restoration every now and then as it’s good for my soul.