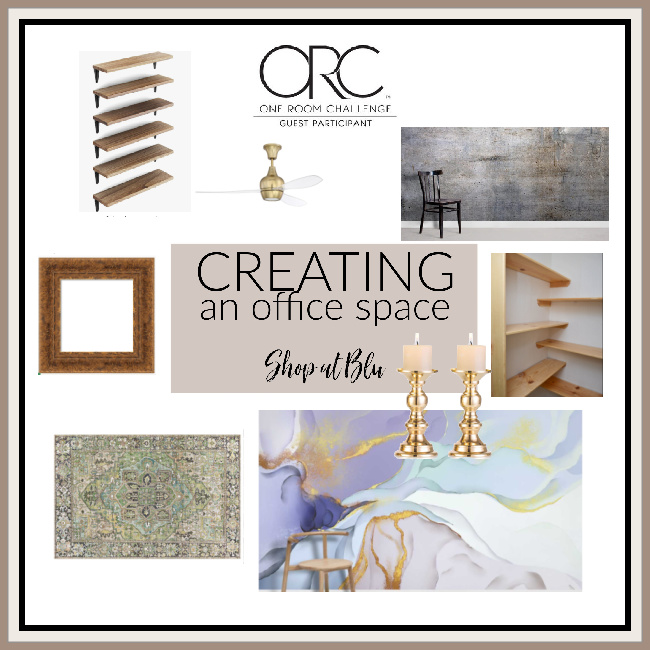
Creating an Office Space with Tons of Storage
As an Amazon Associate and member of other affiliate programs, I earn from qualifying purchases.
It’s Week 2 of the One Room Challenge and my design plan is a little bit clearer.
My first priority was to declutter the room and the closet. This first and most critical task has taken all of this past week and I still have quite a bit of boxing and sorting, rehoming and purging to do. But, I have removed most of the tools, including ladders and most of the items from the closet. I have sorted all of the fabrics, linens, quilts, and supplies from old completed projects. I have removed the previous items along with all supplies and items for my Etsy shop. These are now in another room near the garage.
With that at my first focus, I have begun to gut the closet which will be completely re-shelved. I am knee deep in storage totes and decisions on what to purge. Some things have been set aside for later in the challenge. But I am tackling the shelving in the closet first. Next week I will reveal the design.
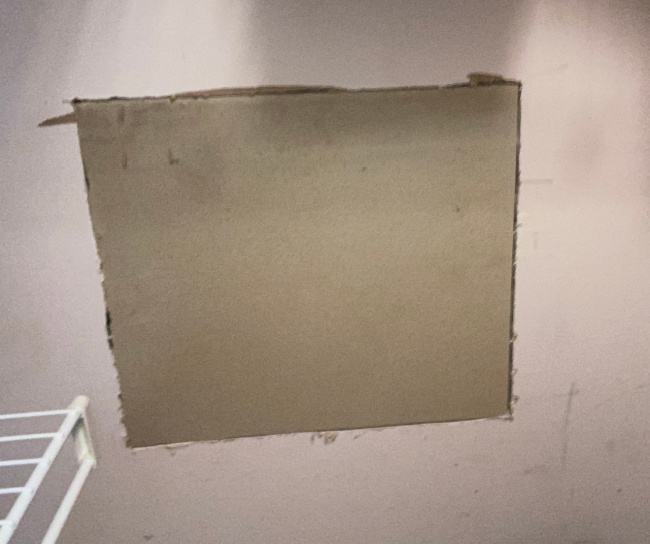
But this week, I’ve removed 75% of the stuff. We had to replace a shower fixture in the Primary Bathroom several years ago. There was not an access panel so the plumber simply cut through this wall. We never repaired the drywall. I just moved a shelf in front of the hole.
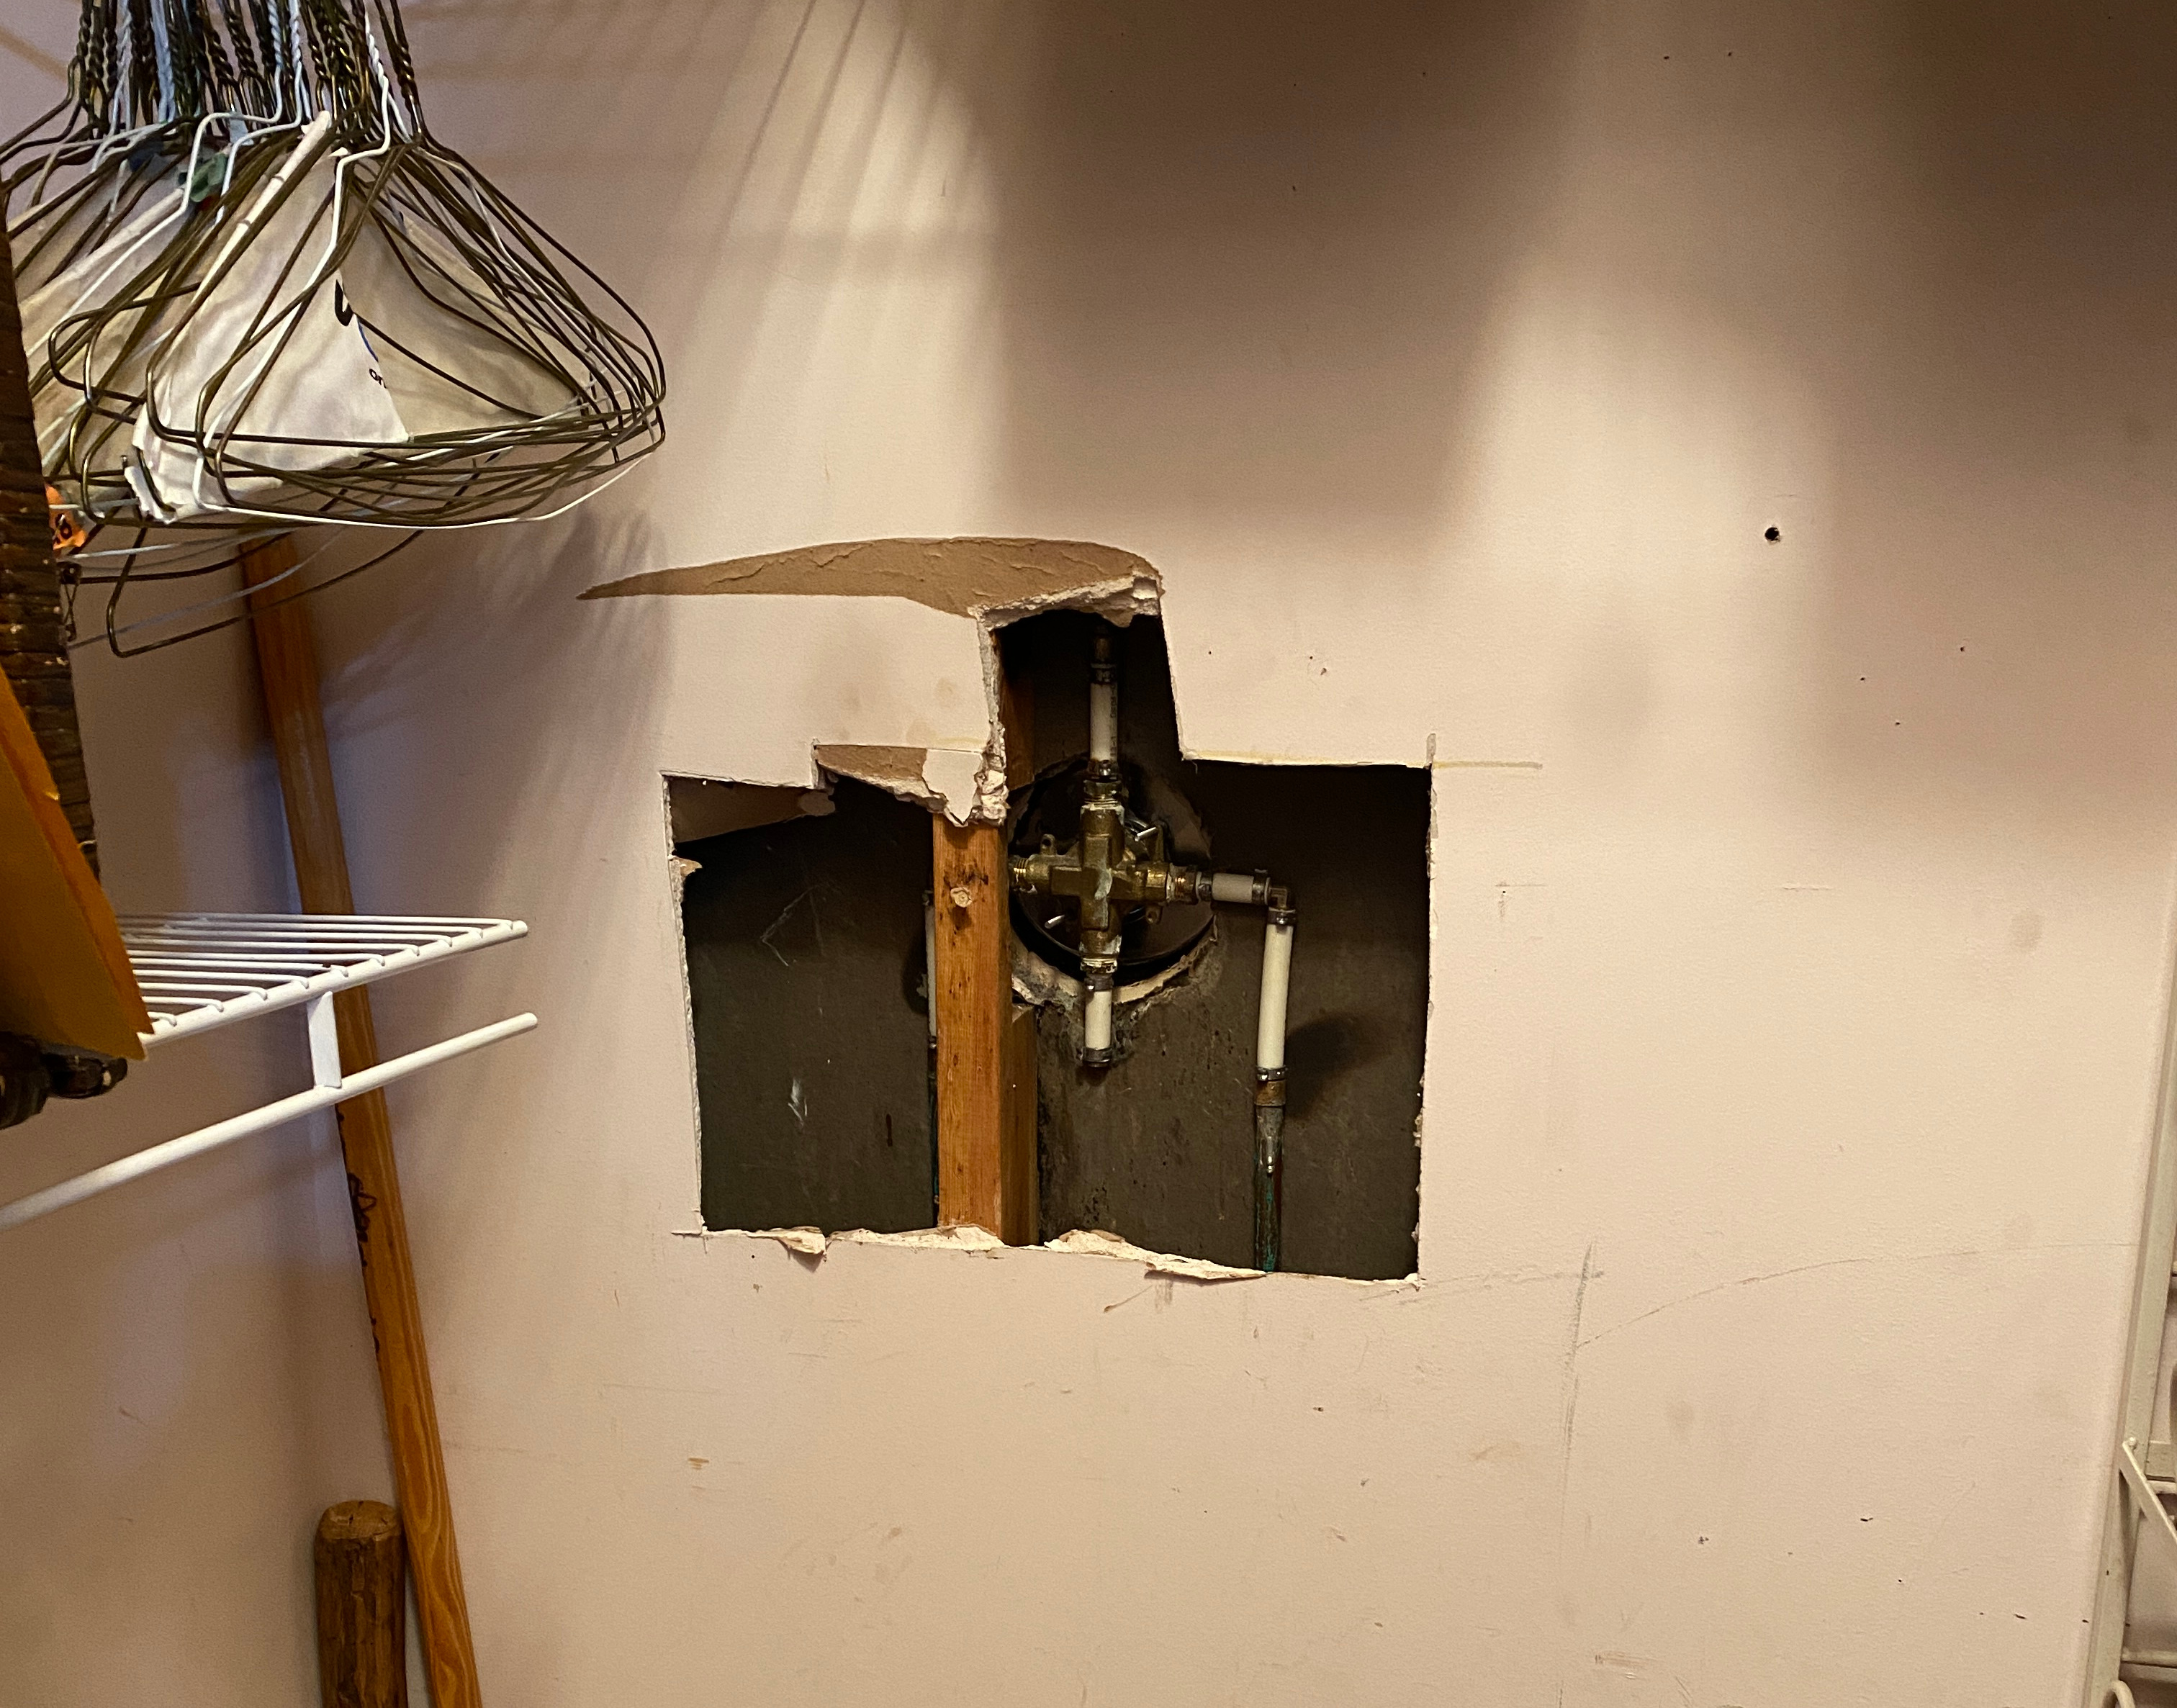
So guess what I did this week? I created an access panel for the pipes. I didn’t think it would be very complicated and after watching a few videos, I was able to complete this task myself! Add this accomplishment to my resume.
Here are the steps to creating an access panel:
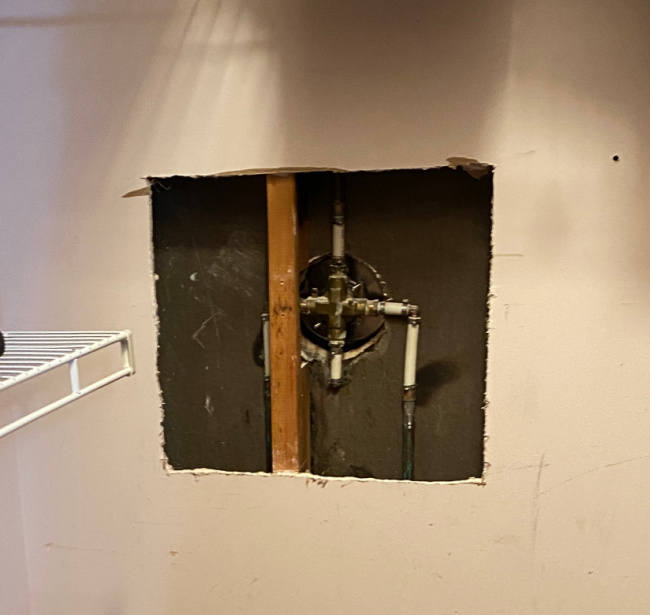
Straighten the edges of the hole in the wall
The hole the plumber created was just under 16″ tall x 18″ wide. Fortunately, it was relatively straight.
- So I cut a replacement drywall section in that size.
- Trace the drywall onto the wall. Use a small saw to remove the excess drywall by cutting along the trace marks. If necessary, sand edges or trim edges with a razor knife to make sure the panel fits into the hole.
- Secure two pieces of scrap 1 x 2’s or similar size wood to the back side of the dry wall replacement (now the access panel) piece with nails.
- Set the access panel into the hole.
- Cut 2 pieces of trim to fit the top and bottom edge of the panel and install by nailing through the trim and into the 1 x 2 on each side. Use a level to ensure the piece is straight.
- Cut 2 more piece of trim to be the vertical sides to the panel.
- Use a screw or 2 to hold the new access panel in place. To remove the panel in the future, simply remove the 2 screws. Replace the panel and resecure the screws as needed.
I watched a few Youtube videos that were quite helpful.
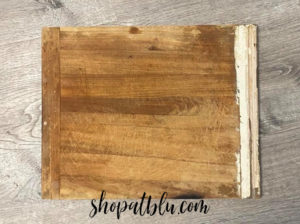
Once I nailed the trim to the new access panel, it was not very secure. I removed the nails and glued the trim into place. Then I secured with nails. Here is the completed new access panel:
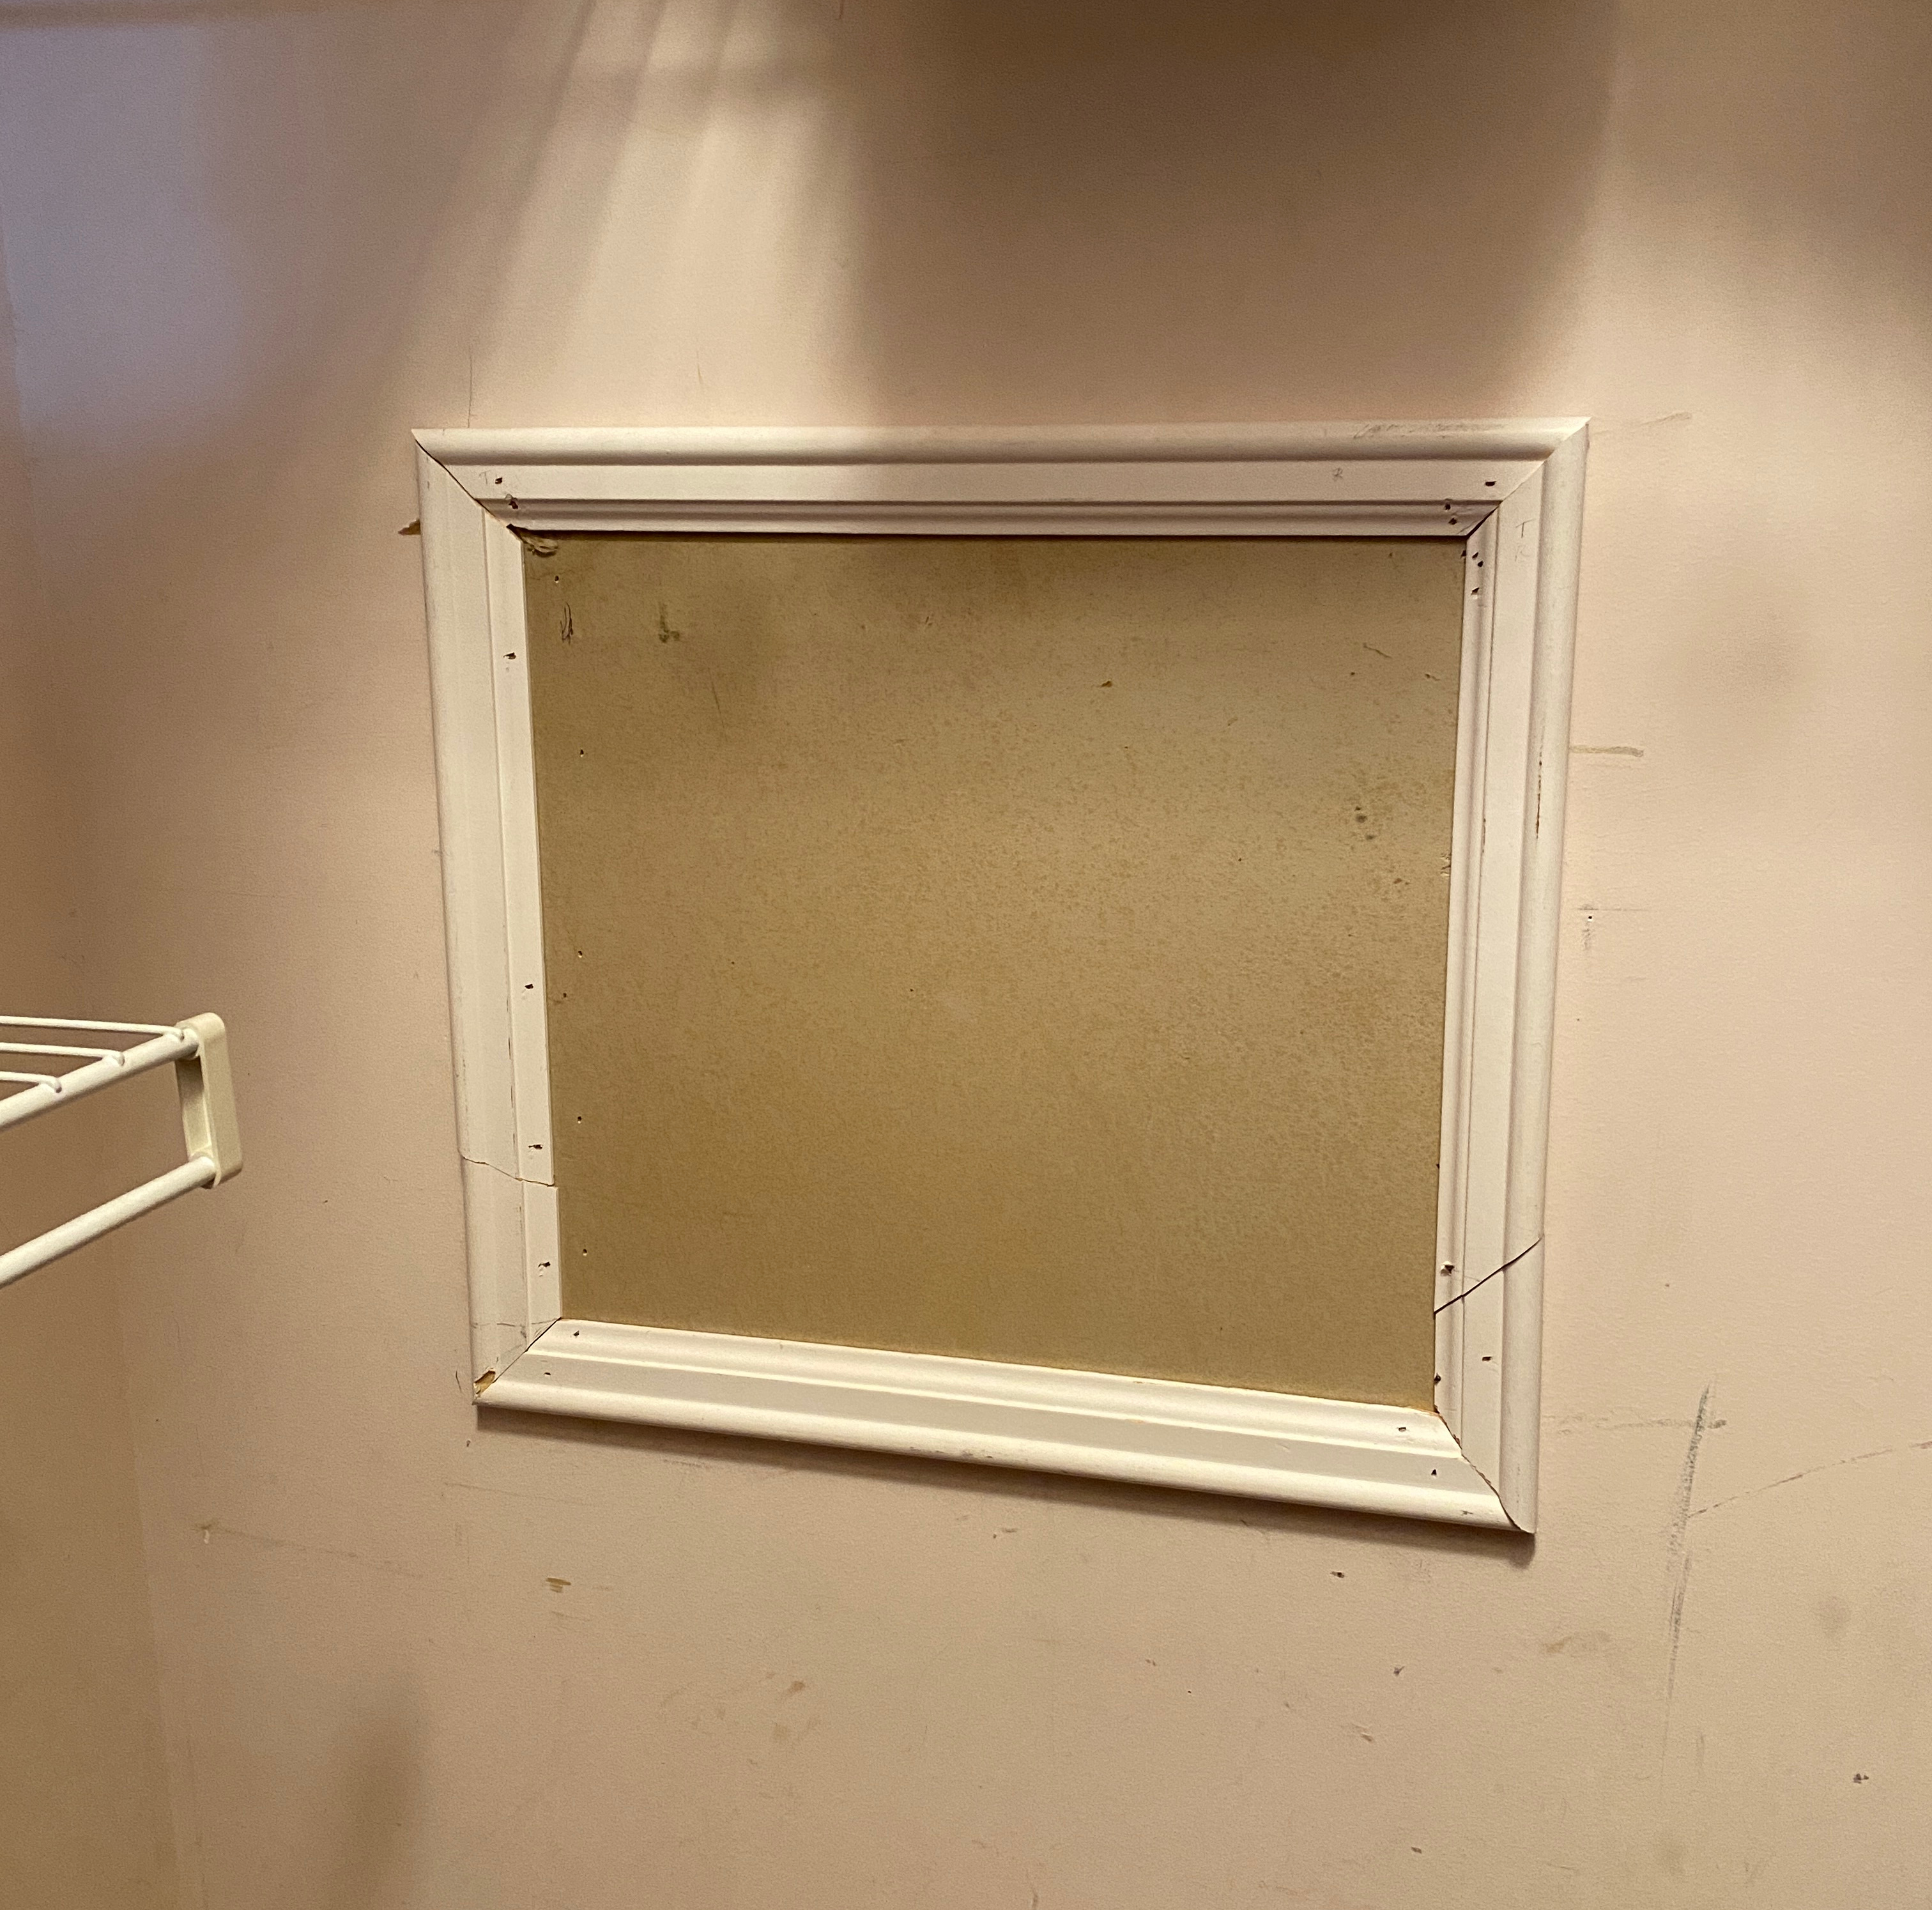
Not bad for a first try. I will caulk the edges and paint once the closet design is installed.
The next week will be used to design the closet and hopefully complete the install of the custom shelving. I am still finalizing the wall design but it is coming along nicely. Just checking on suppliers, still…so that’s a bit frustrating but it happens.
Be sure to check out all of the wonderful projects for Week 2 at the One Room Challenge Guest Participant blog. And browse through the exquisite projects from the Featured Designers.