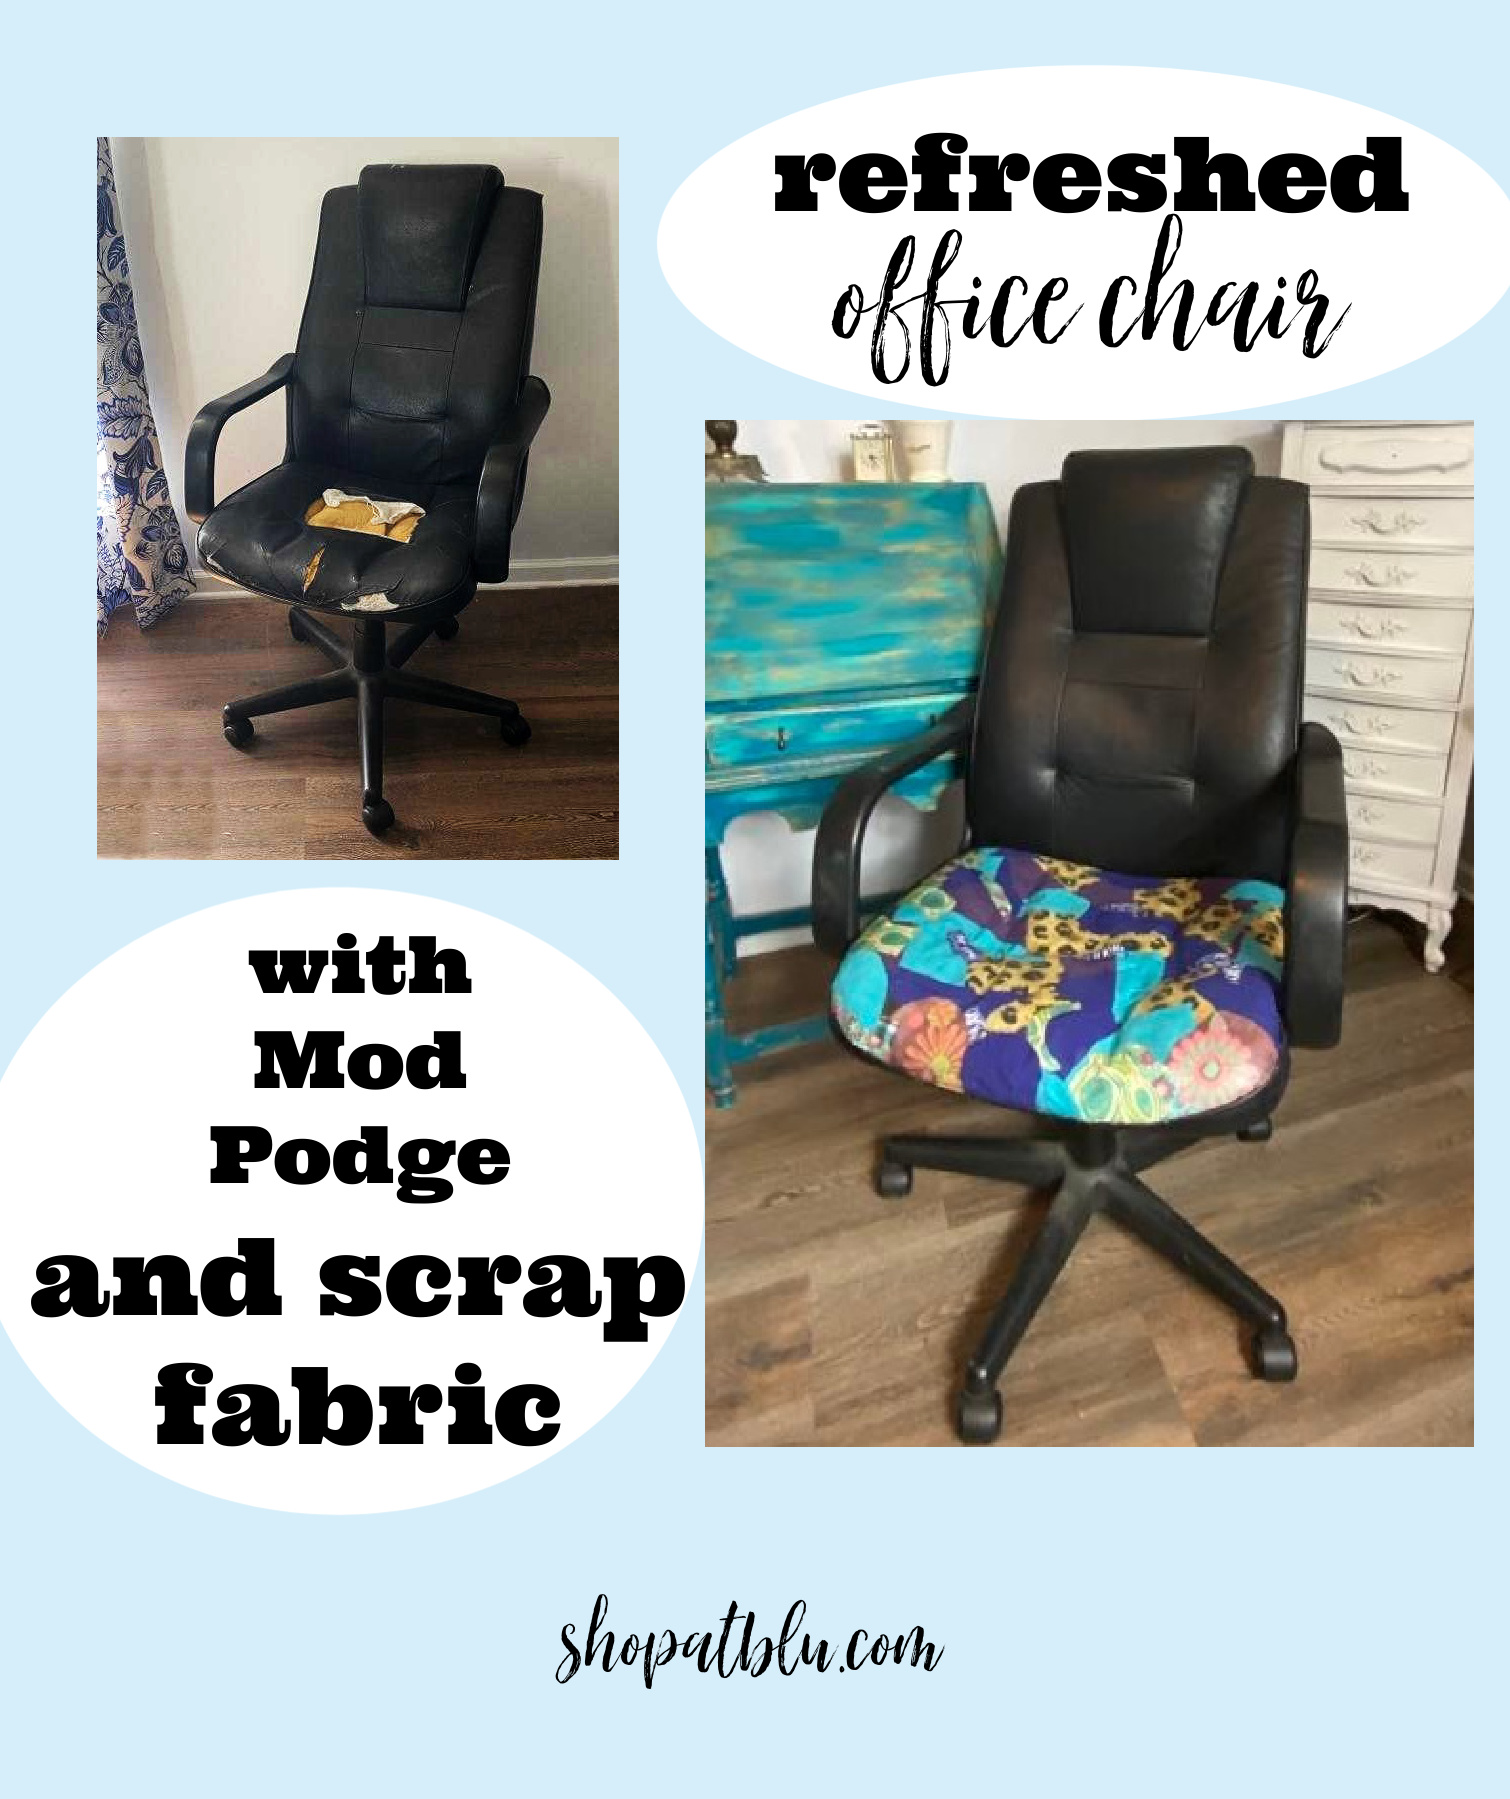
Quick Office Chair Repair and Update
As an Amazon Associate and member of other affiliate programs, I earn from qualifying purchases.
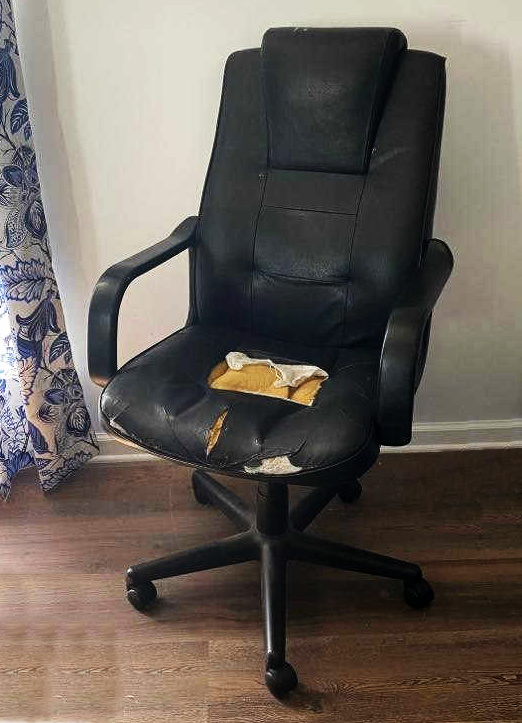
I thought it was leather. Maybe it is. I’m not sure. But, not only is it comfortable, ALL of my kids sat in this chair at the family computer over the years laughing, connecting, and laboring over school projects. Not only does it hold memories, it is super super comfortable and it is now in my office! The next room to be updated in my home will be this office. Until I have a clear vision of the finished room, I don’t want to spend any money updating accessories. Time for a thrifty yet serious office chair update.
And what timing! It is Thrift Store Decor Team Wednesday! Welcome! Join me and my 9 talented blogger friends as we select a fun yet thrifty project to document and share with you. This is the place to spur your creativity and hone your skills. Check out all of the projects at the end of this post. Let’s get started on this office chair update!
Mod Podge to the Rescue
I suppose the easiest way to update this chair would be to pull out the sewing machine and make a slip cover. In fact, Pinterest is filled with some beautiful ideas. But I just don’t feel like sewing this month. I could disassemble the chair and wrap it with fabric, stapling the fabric into place. But, I haven’t Mod Podged in a while and I’d like to create my own design. So Mod Podge it is!
Mod Podge is a crafter’s friend. Produced by Plaid, Inc., Mod Podge is a glue and a sealer all in one. It is primarily used for decoupage which is the process of covering a surface with paper or fabric and then sealing for durability. 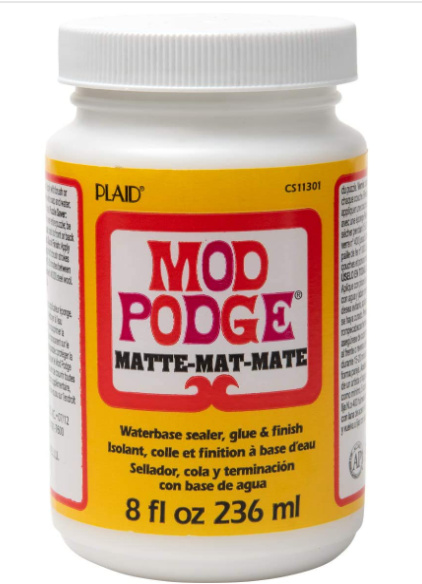
You can transform a surface with beautiful paper or fabric with gorgeous patterns. There really is no limit to what you can Mod Podge. Variations of this decoupage technique are popping up all over Pinterest and Instagram lately as furniture flippers have taken to decoupaging large furniture pieces.
I have used this technique to dress up the inside of a vintage china cabinet and, most recently, to update a vintage library stool. Isn’t it amazing how a pattern can transform a drab item?
Originally, I thought I would Mod Podge this entire seat area. But upon close inspection, only the seat is damaged and worn. So I will only be updating that section. The upper seat area is in great shape. I will simply clean that area.
The first step was to clean the chair completely. As I started to clean the crevice where the seat back meets the seat base, I realized the chair needed to be disassembled to properly clean this area. The still present remnants of after school snacks in hidden crevices of this chair really made it obvious that this chair has been used for years.
Removing the Arms
Most office chairs are assembled with simple screws. Thankfully, that was the case with this chair. I removed each set of 4 screws on both sides that secured the arms to the chair. With screws removed, just a small tap removed each arm.
The chair back was attached to the seat by another 4 screws on the underside of the chair. These removed easily.
With the chair now in 4 sections, I could clean it properly. Once the sections were thoroughly cleaned, I set the back and arms aside until they were ready for reassembly.
Spot Repair
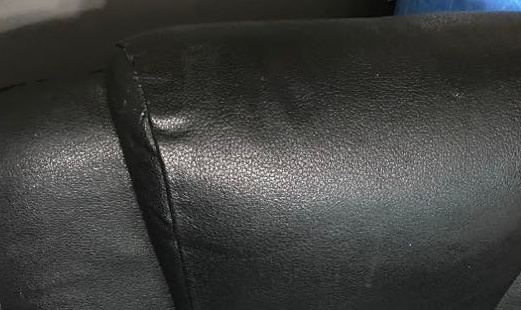
While the chair back was in great shape, it did have a few paint spots where paint had dripped during previous projects.
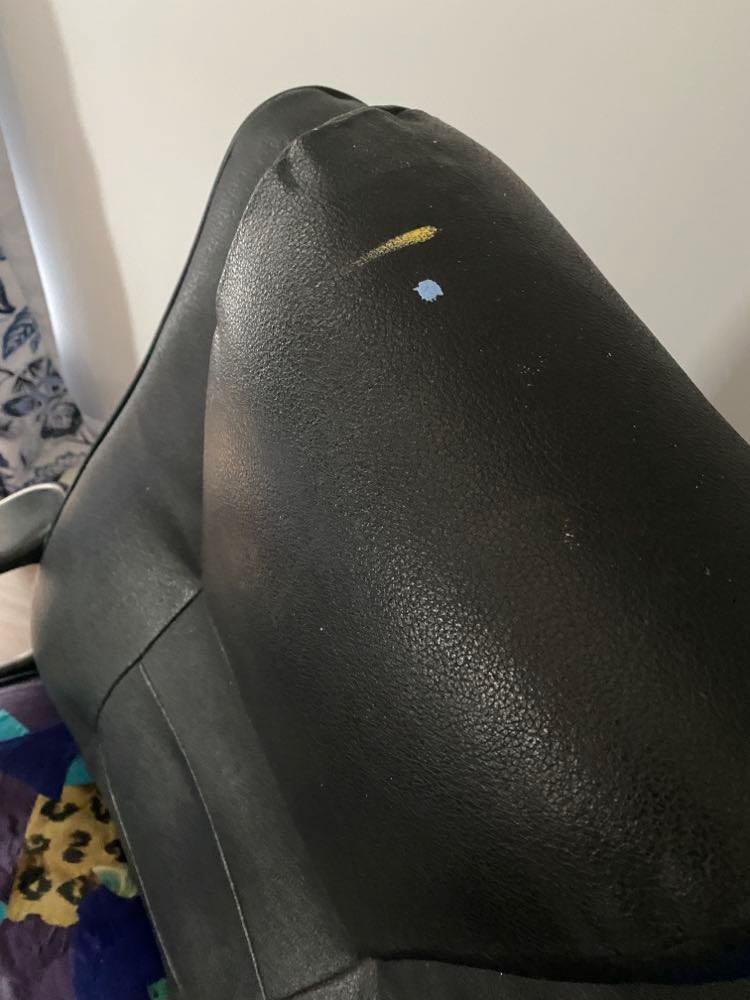
I used a Q-tip and some nail polish remover to get rid of most of this old paint.
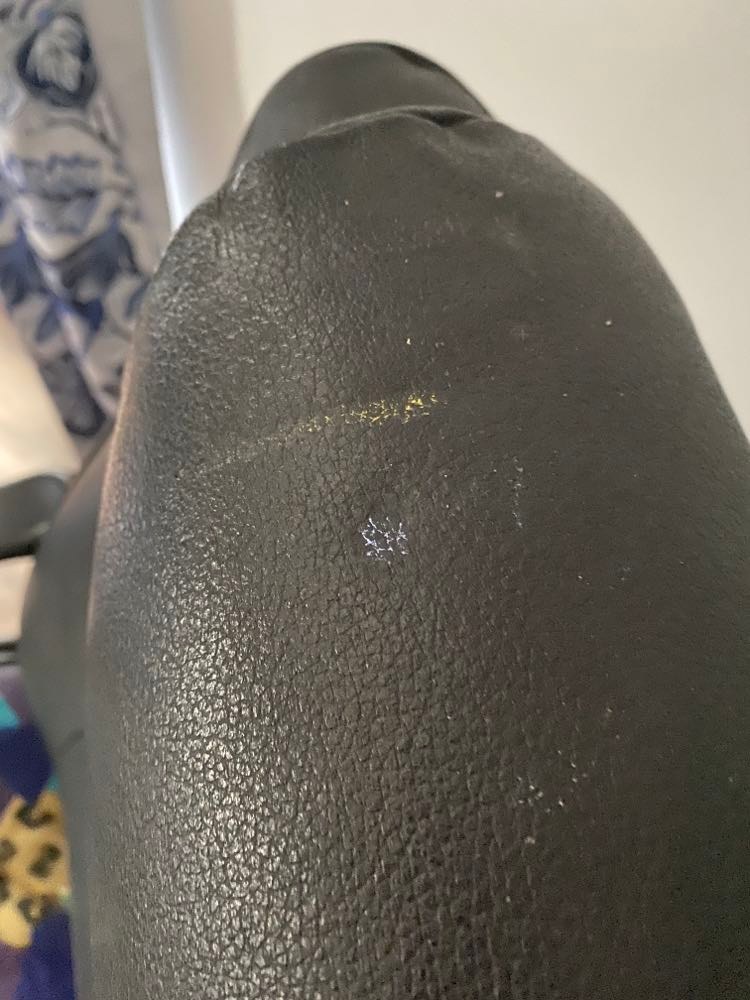
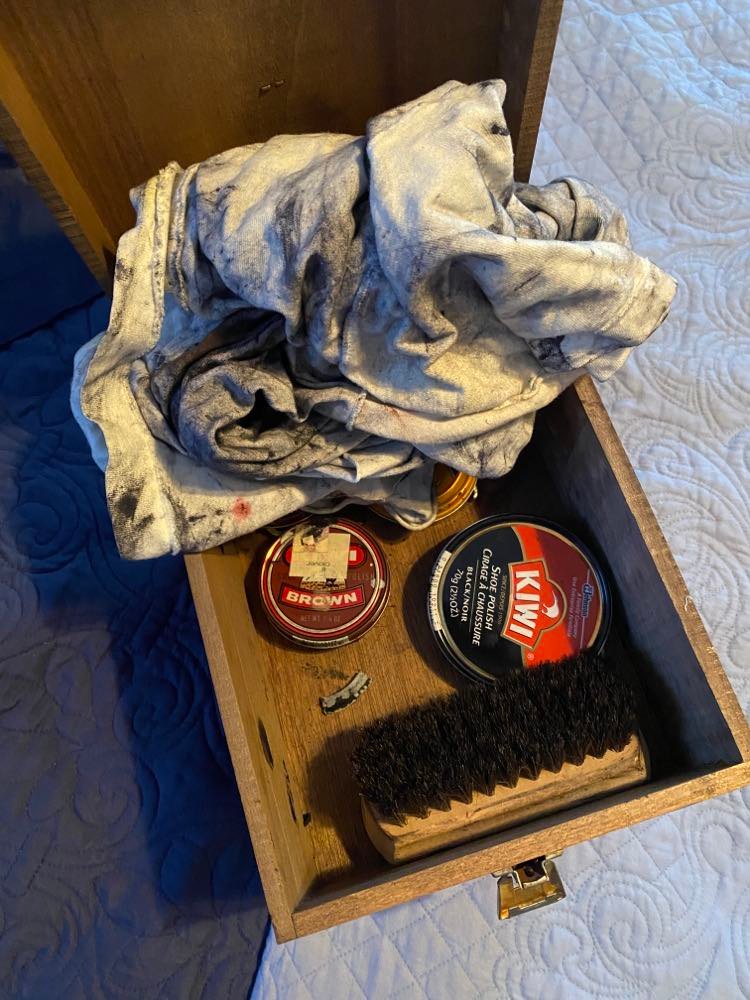
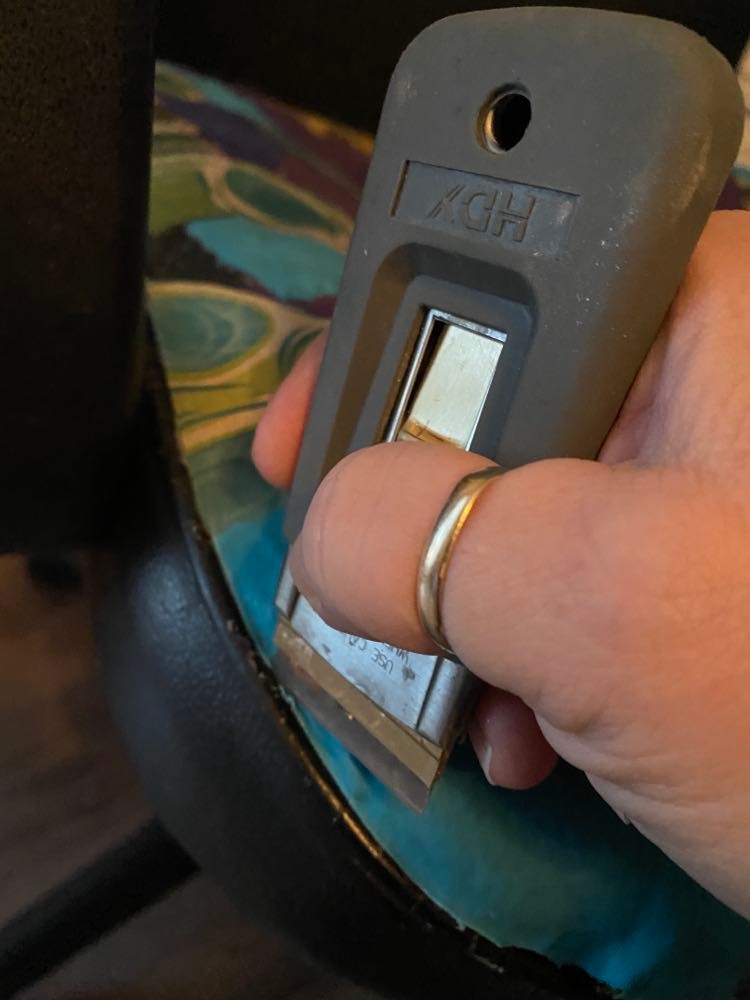
Next, I dipped an old toothbrush into the nail polish remover and used the brush to gently get into the crevices. There was still residual paint so I used my Homeright Steam Machine 53 with the brush attachment to gently brush the remainder from the chair. I do not suggest using the steamer for more than 5 seconds on the leather. Any exposure beyond this could result in damage to your chair. Spot check a non prominent spot before using the steamer. The final step was to polish the chair. I used Pop’s shoe shine kit. The gentle brush and black polish was perfect.
And she looks like new!
Temporary Repair
Once the base was completely dried after its cleaning, it was time to address the tears in the leather. I simply used duct tape to cover the exposed seat cushion foam. The tape serves to smooth the surface in prep for the Mod Podge and it prevents further damage.

Supplies Needed for Mod Podge Project
I gathered my supplies to start the Mod Podge application:
- Various fabric remnants in complimentary colors.
- One jar of Mod Podge.
- One craft brush. I used a 1-1/2 inch brush.
- Sharp fabric scissors
- Razor knife
Ready to Mod Podge
Here is the process:
- Start with a square area of about 8″ X 8″.
- Brush a thick coat of Mod Podge medium onto this area,
- Add a piece of fabric. Smooth out any wrinkles.
- Brush a thin coat of Mod Podge over that fabric.
- Select another piece of fabric overlapping it over the edge of the first fabric.
- Brush a thin coat of Mod Podge over the second piece of fabric.
- Continue until your 8″ square is filled.
- Start another 8″ square and continue until the chair is covered.
- Allow the chair to dry overnight, possible longer depending on how thick the coats.

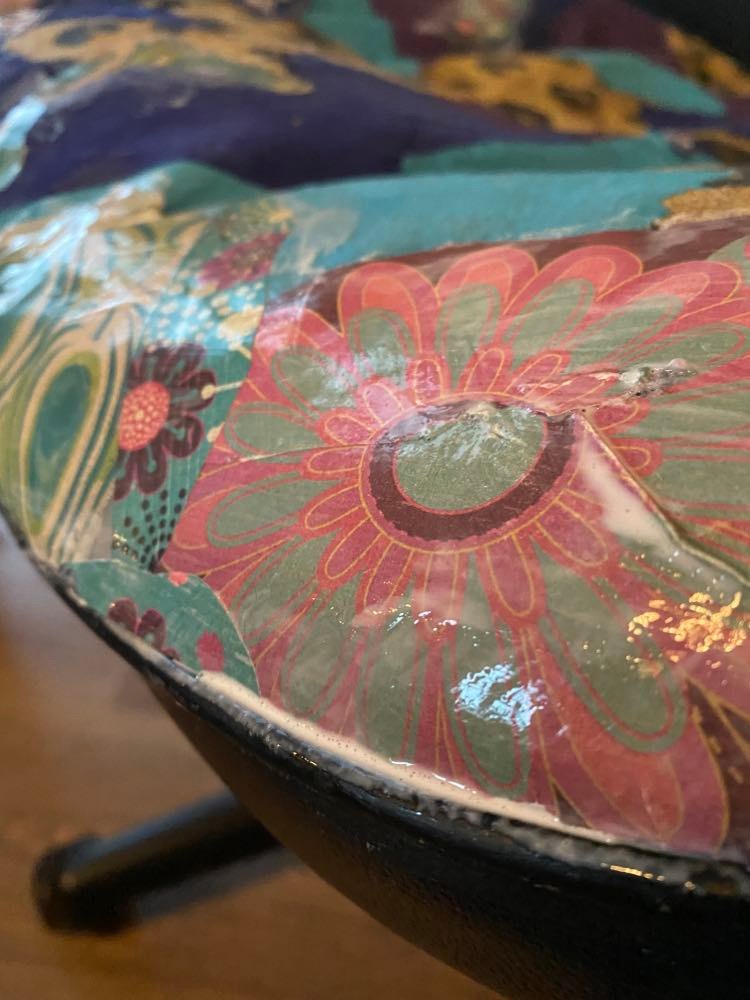
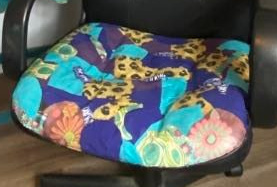
I completely filled the center of the chair seat. Then I worked my way around the edges carefully placing fabric along the curved edges. I allowed the fabric to extend beyond the chair edge and over the piping at the edge of the chair.
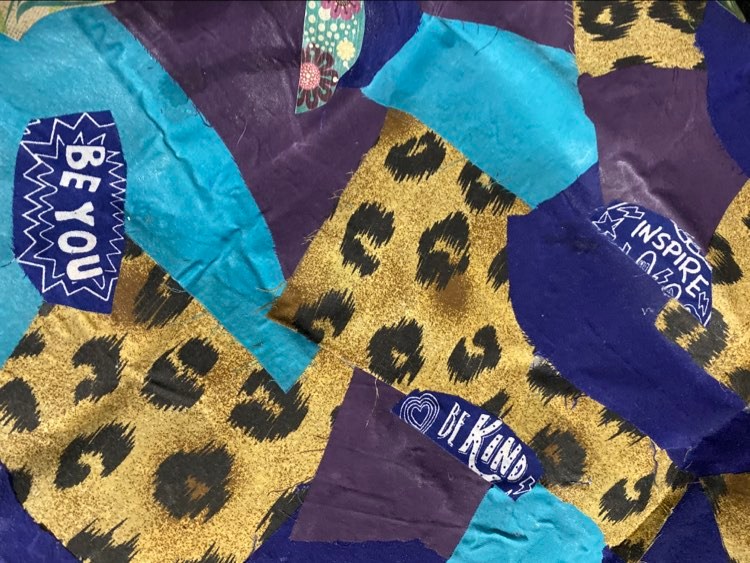
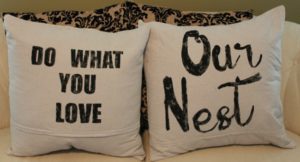
The fabric, though colorful, seemed to be lacking something so I added some decorative paper. That’s the beauty of Mod Podge! You can use it on many surfaces. The pinks added a nice pop of contrasting color. I also added a few inspiring words.
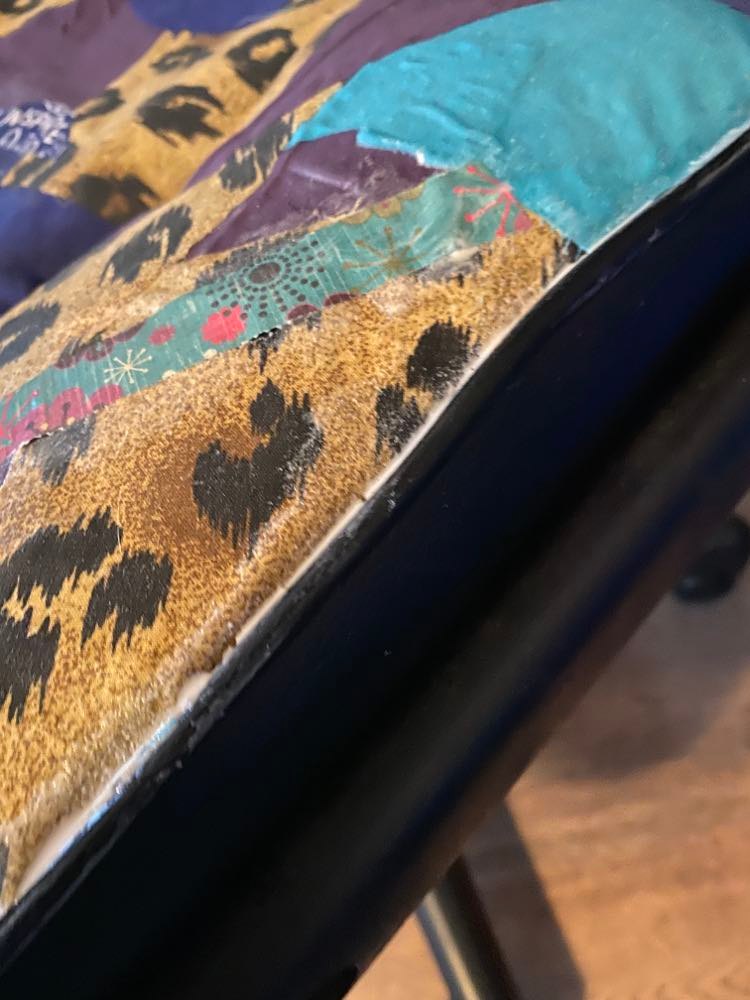
****UPDATE: The paper did not hold up well along the edges of the chair that see the most use. I would not recommend using paper…stick to the fabric as it is so much more durable!*************************
Finishing Touches
Once the chair was completely dry, I used a razor edge and a sharp pair of scissors to trim along the inside groove of the piping.
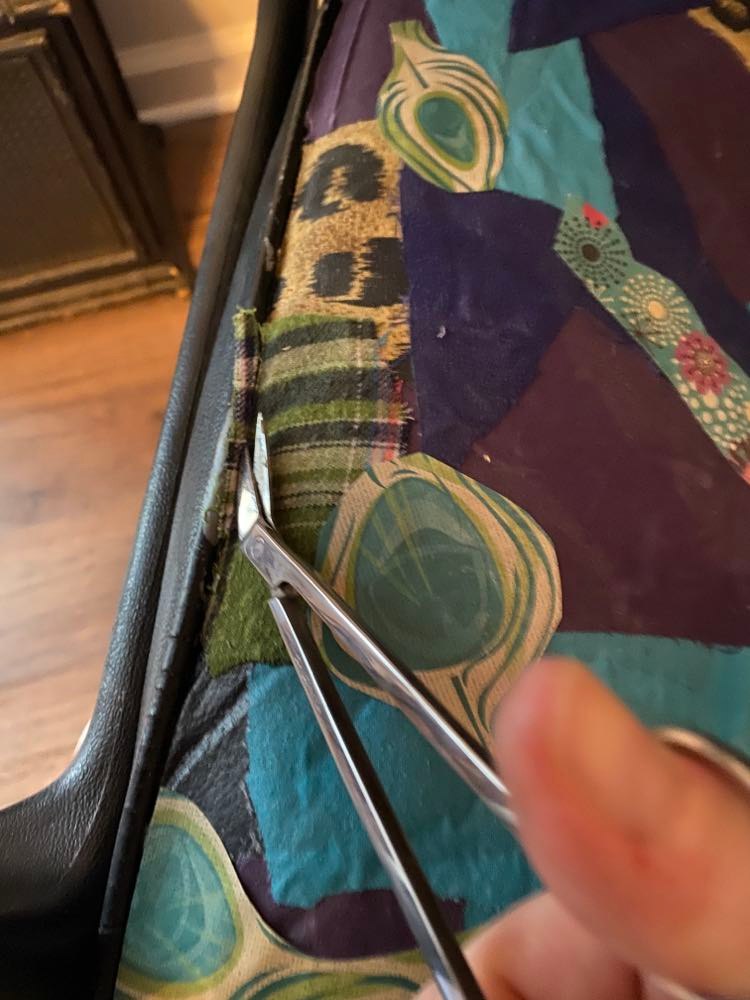
After trimming the overage, I applied some more Mod Podge to make certain that the edges were sealed. I allowed a bit to pool and then completely dry.
Once completely dry, I made sure all of the edges were smooth and sealed. The final step was to reassemble the chair.
And here she is:
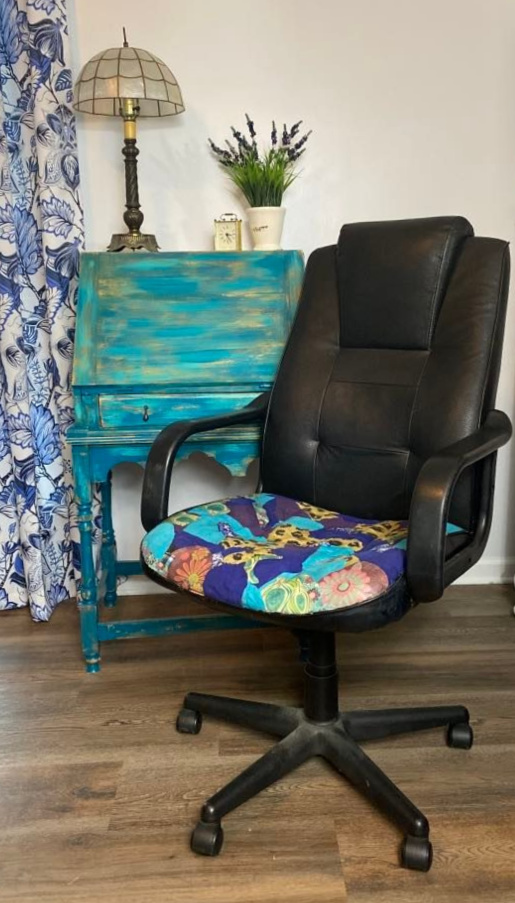
I guess I am revisiting my Blu Boho days!
The final texture of the seat is similar to a rough leather. After a week, the seat is not cracking or splitting and I am quite happy with the addition of bright colors to my work area.
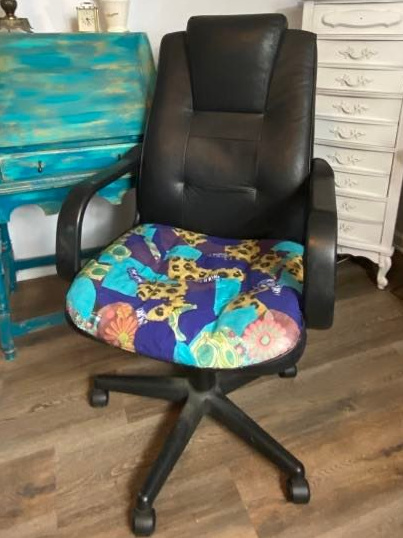
I really think the added pink floral and boho paper gives the chair a little more zing. And after using a hard chair for the two days while the seat was drying, my achy butt is so happy to have my cherished chair back! Y’all…it really is the little things in life that make a difference!
Here are the projects from the rest of the Thrift Store Decor Team. I wonder what other skills we are going to learn this month from this incredible team! Be sure to visit everyone! Feel free to leave a comment or pin a photo! Your feedback is appreciated and we are thrilled when you share our projects!
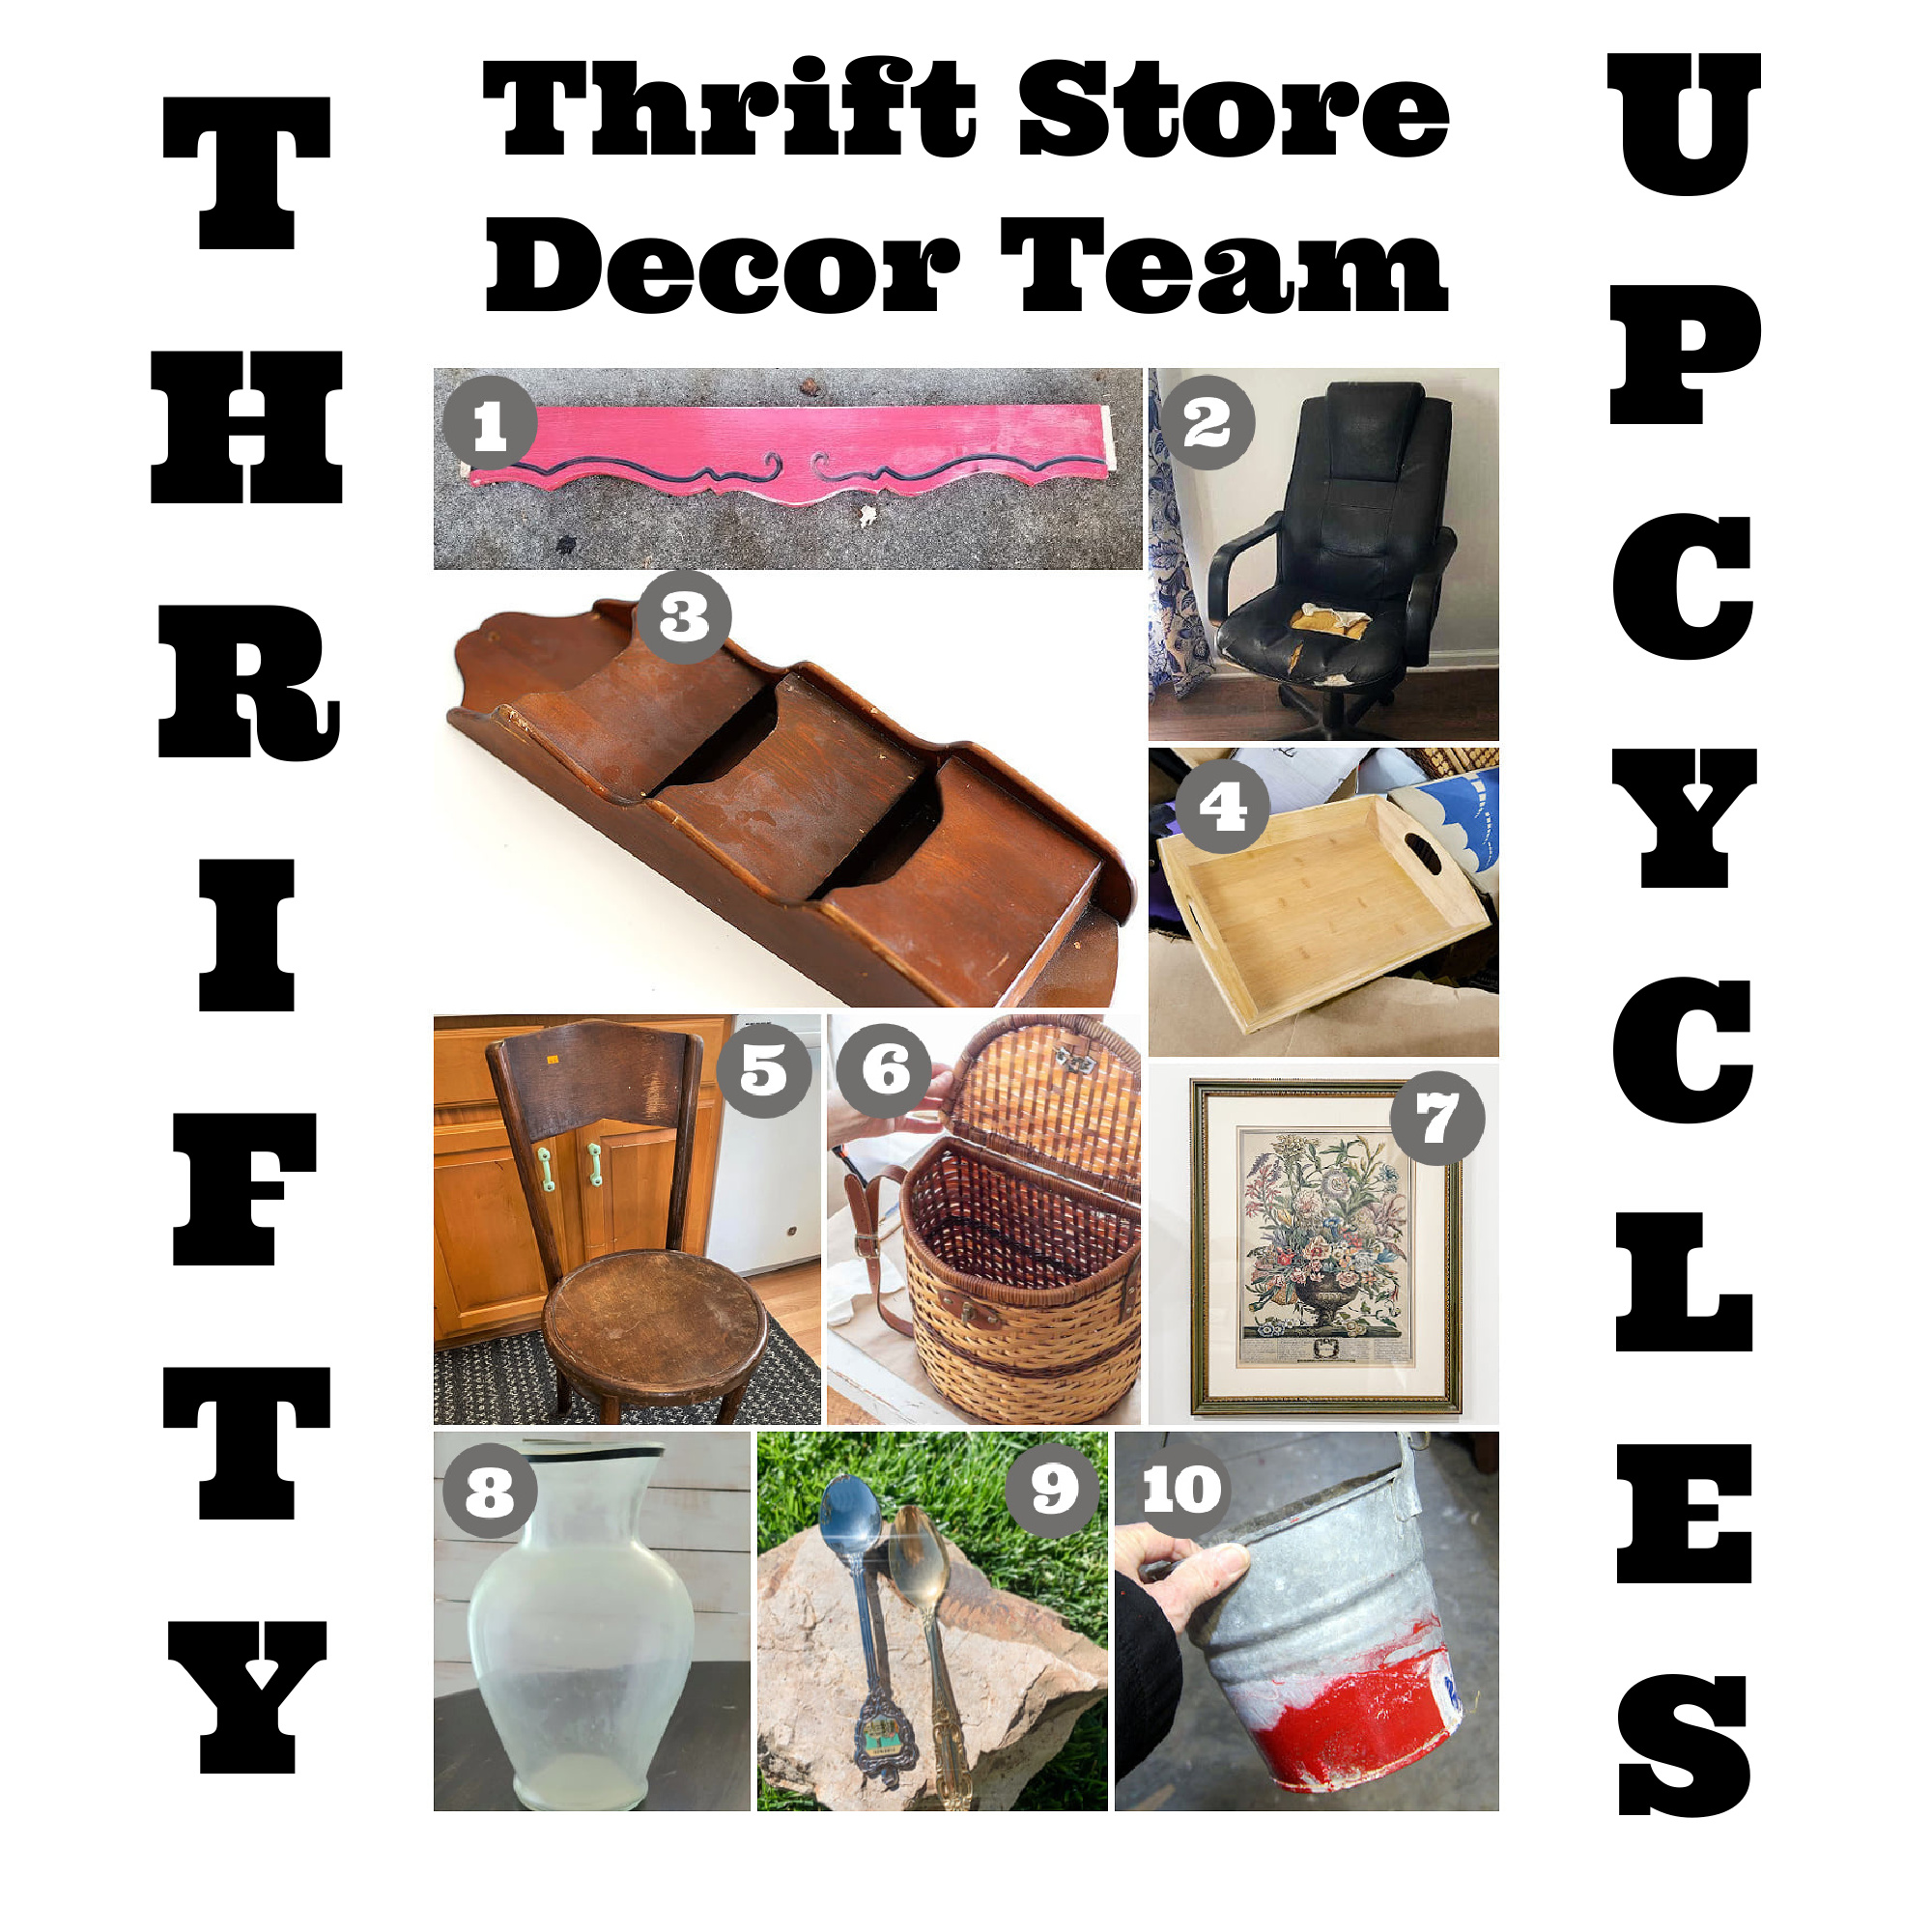
1- Gail at My Repurposed Life
Reclaimed Wood Valance Shelf Redo
2- Suzanne at Shop at Blu
That’s me! You are here!
3-Pam at House of Hawthornes
4-Sarah at Sadie Seasongoods
Upcycling a Bamboo Tray with Blueprint Paper
5- Carlene at Organized Clutter
Vintage Bentwood Chair Makeover
6- Cindy at Reinvented Delaware
Trash to Treasure Picnic Basket
7- Christy at Our Southern Home
DIY European Art with Thrift Store Frame
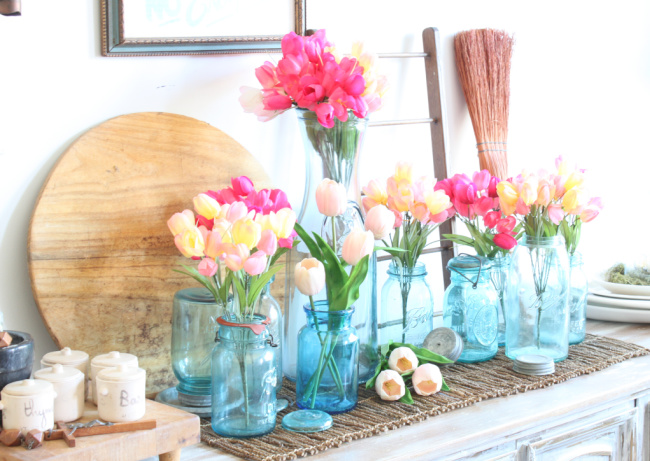
8- Maryann at Domestically Speaking
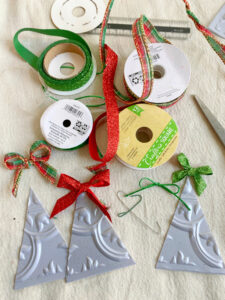
9- Kristin at My Uncommon Slice of Suburbia
10- Kathy at Petticoat Junction
Flower Pot With Metallic Copper Spray Paint
And, guess what? I am now working on that room for the One Room Challenge. Read about the plan for the office here!
MY RECENT POSTS
SHOP THE LOOK


Wow! Great job on a really
Wow
Wow! Great job on a chair in rough condition!
I was almost embarrassed to post the before but it is what it is!
Wow, Suzanne you really improved that chair!! Such a fun pop of color for your work space. Pinned 🙂
Thanks Cindy! Bright and cheery!
I LOVE your dedication to repairing it instead of tossing it to the curb!! I wish more folks took the time to repair items- and what a FAB result!
I’ll take that kudos but it more about the fact that I’m cheap! LOL! My dad was a depression baby with 7 siblings. Haha.
What? Your office chair makeover turned out very cute! I can’t wait to see what you do with your office makeover later too. I’m in the process of planning mine (which is really my dining room right now).
Thanks Pam! I’m hoping to do the One Room Challenge for the office.
I have a chair just like yours. This is a fabulous idea. Thank you for sharing.
I would choose a thicker fabric than the light aqua and deep purple. I used old cotton sheets. Need something thicker in the future.
What a great idea, I never would have thought of that!
Happy colors!
wow! That chair makeover is amazing. I love the colors and patterns. It looks fabulous.
pinned!
gail
Thanks Gail! I’m loving the colors!