How to Remove Carpets and Install LVP Flooring
As an Amazon Associate and member of other affiliate programs, I earn from qualifying purchases.
Week 4 of the ORC is here! And it’s gonna be dirty and ugly because I am going to remove the carpets.
![]()
Time to remove the lovely yet worn pink carpets from the office. Not only were all of the bedrooms filled with this lovely pink when we moved in 20 years ago, but the walls were a lovely pale pink as well!
I do love pink but I’ve not yet been able to entertain the thought of putting pink on my walls. Perhaps, this is the project! We will see how the room speaks to me.
I have some experience removing carpeting. Last year, I removed all of the carpets from the main living area on our main level. Here is the post for that project. I also removed the carpets from our stairs and refreshened our entryway. So many staples! Here is that post.
So, I feel that this project will go rather smoothly. Now that I’ve totally jinxed myself…
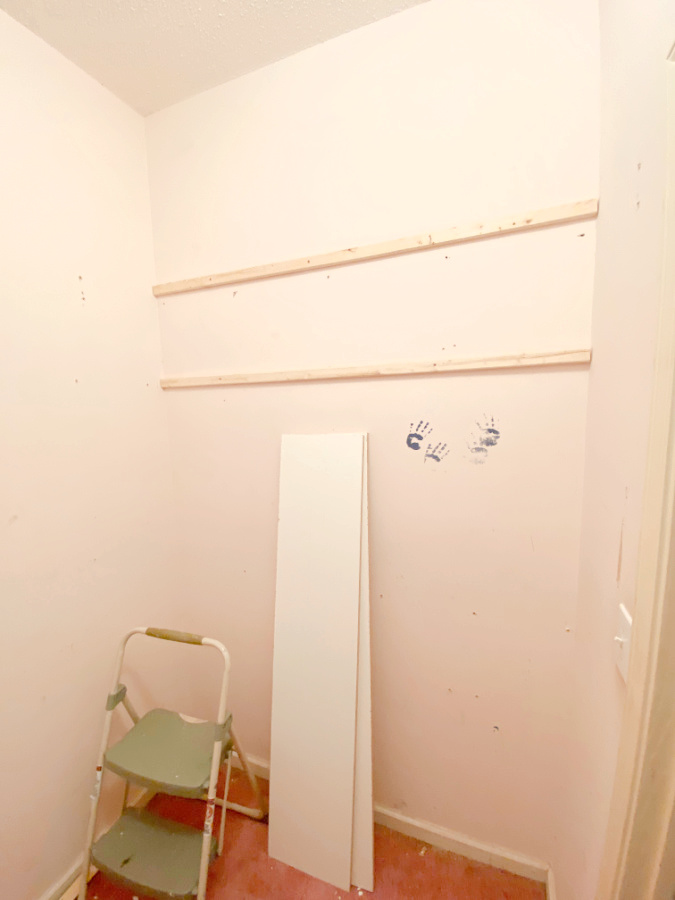
Our dogs had damaged the carpet at the entry to this room several years ago. They are quite anxious and do not like to be alone behind a closed door. I had removed the first 4 feet of carpet as it was super unsightly. This is where I started.
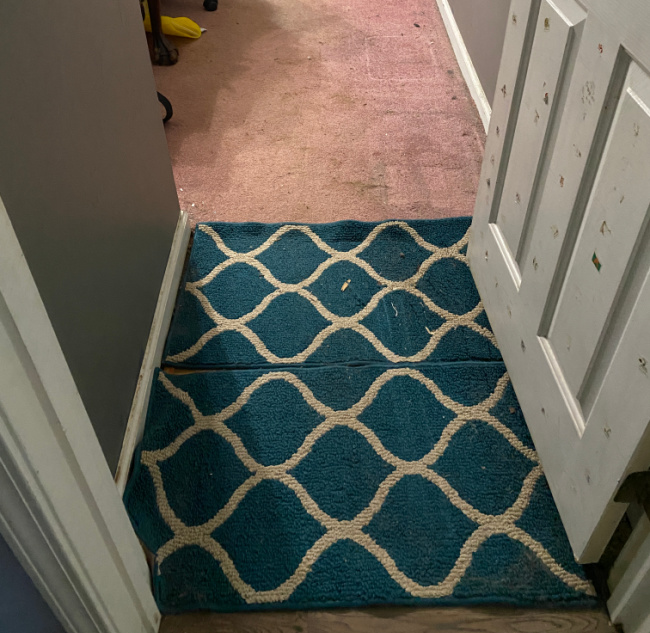
I used a razor knife to score the rug from the door to the wall. Then I rolled up the carpet. The padding was pretty easy to remove. A few spots had to be scraped from the plywood floor. I cut a section, rolled it, and set it aside for removal. I did this 4 times and the carpet was removed.
Tack stripping against the wall came up rather easily. Every tack was removed. I continued this process until all of the carpet, padding, tack strip and nails/tacks were removed.
Because there is still quite a bit of furniture in the room, I opted to clear a section of the room and remove the carpet in that area. This was easier for me than completely emptying the room as I am working alone.
Be sure to sweep and even mop the area after the carpet and padding have been removed. A nice clean and debris free surface is always preferred. Check for stray tacks and nails as well so that the new LVP lays perfectly on your subfloor.
On to installing the LVP! This will be a busy week!
Be sure to check out the updates on the One Room Challenge Blog!