How to Paint a Garden Pot and Outdoor Containers
As an Amazon Associate and member of other affiliate programs, I earn from qualifying purchases.
I’m a bit of a gardening addict so I have garden pots and containers everywhere and in all different shapes and sizes. But as decor and styles change, so do colors. Today I’m going to show you how to paint a garden pot and outdoor containers.
It is also Thrift Store Decor Team Wednesday so be sure to check out the other inspirational and thrifty posts from my talented friends at the end of this post!
![]()
So Many Pots to Paint!
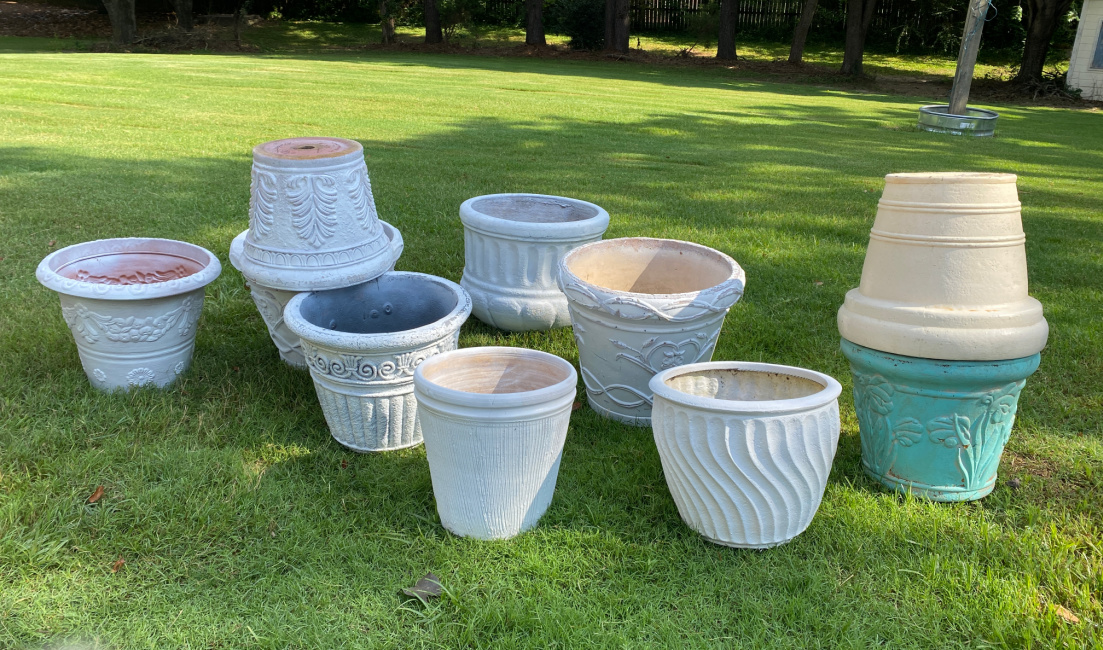
Here are the larger pots that I selected from my extensive inventory to paint for the deck.
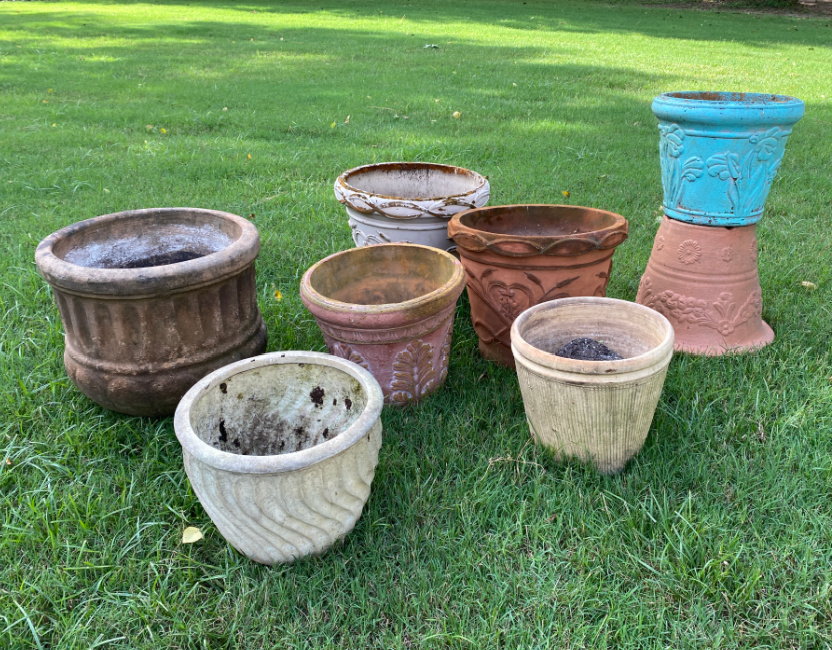
I had 4 cans of Rustoleum 2X Paint with Primer left over from last year when I painted my deck furniture. Here is that post.
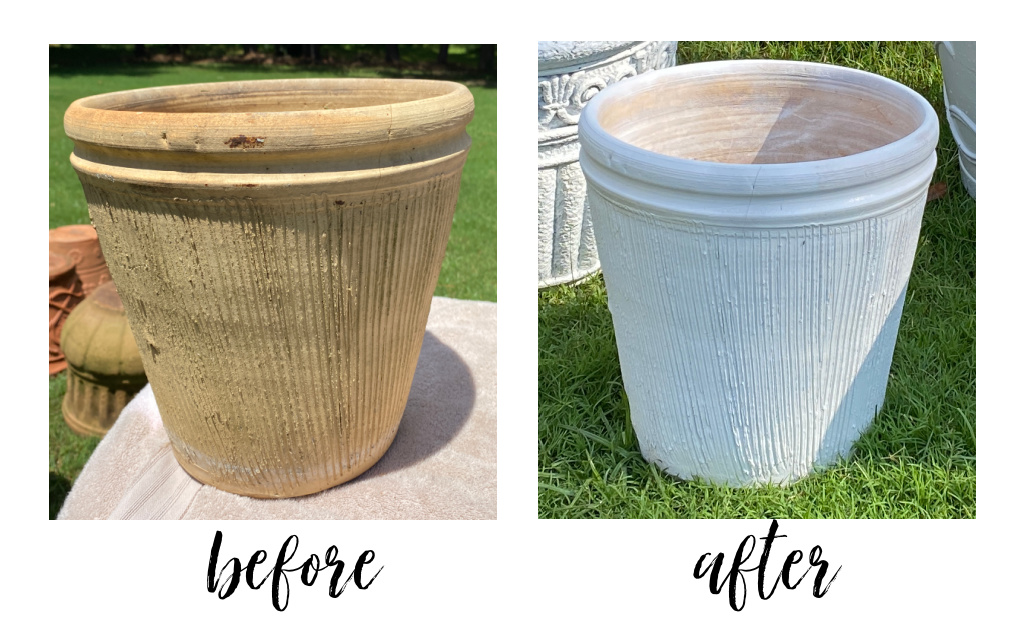
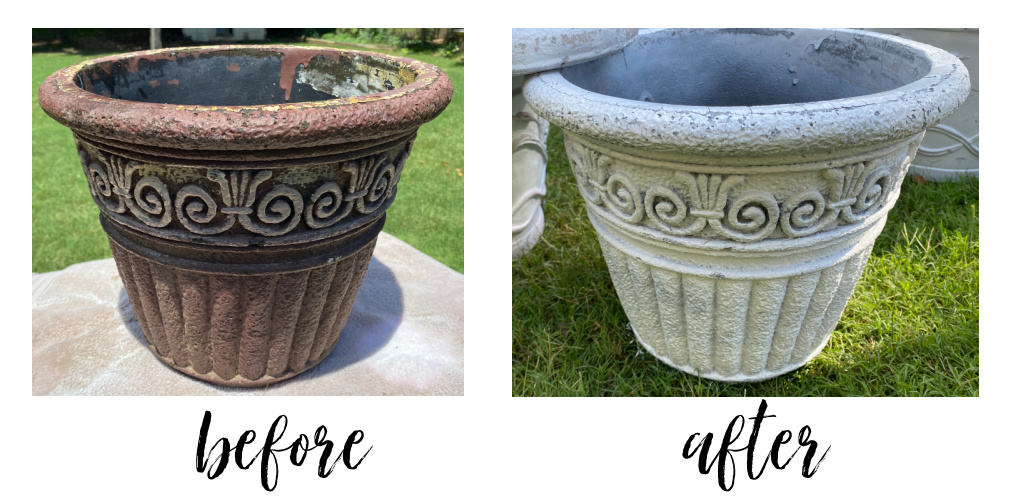
Most of these pots are simple plastic or foam based but the largest pot on the left is terra cotta. I was going to dry brush this one with mineral paint but decided to stick with the rustoleum mainly for ease. The Alabama sun and rain are so extreme that this treatment will probably only last for 2-3 seasons. So easy it is! And it doesn’t get much easier that Rustoleum spray paint!
Always Prep a Pot to Paint
As with any paint project, much of your success lies in prepping your piece. I scrubbed the outside of these pots with Fabuloso and then rinsed with water. I scrubbed the inside of the pots with a solution of 1 cup Clorox bleach added to a gallon of water. This will kill any lingering plant damaging microbes or fungus and ensure my pots are sterile for my newly transplanted plants. I gave the insides a thorough rinsing with the garden hose. As always, I’m using mostly plants that are currently in my garden or potted already in containers around the home. I will be using many succulents as well.
I set up a spray station and grabbed my PPE. My staples are an RZ Mask and 3m safety glasses. Use a light sweeping motion to apply several thin coats of spray paint. The porous and older pots required more paint. The plastic pots covered more easily with less coats. Keep this paint can moving to avoid drips. Allow the pots to dry overnight.
I was anxious to get the plants into the pots so I transplanted into the pots once they were dry. Transplanting can be a messy job and the sun was bright so I opted to plant first. The pots are ready to go! But I decided to embellish them with some vibrant colors.
Adding Color and Interest
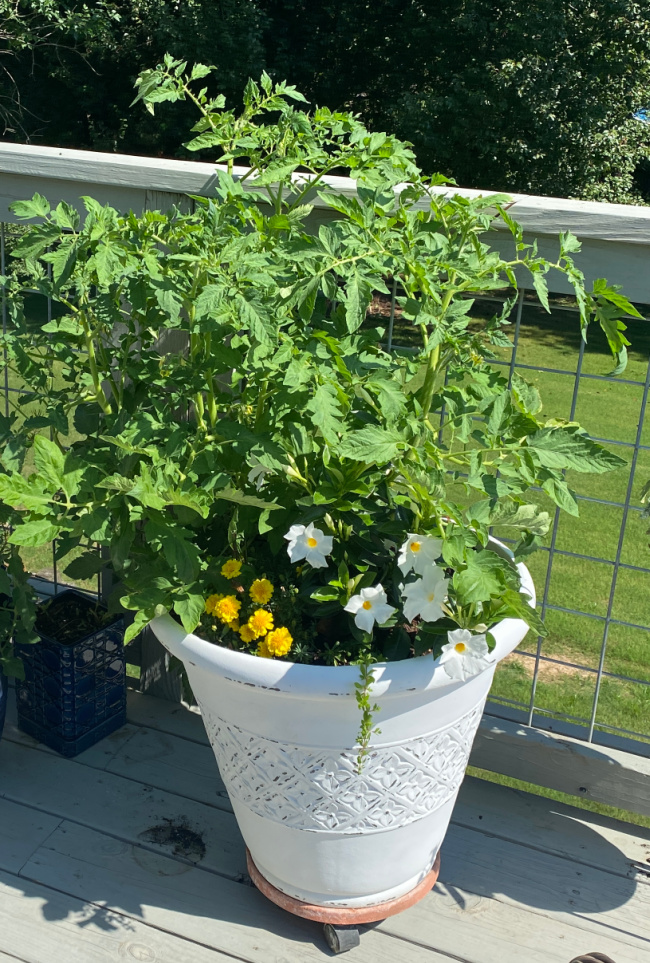
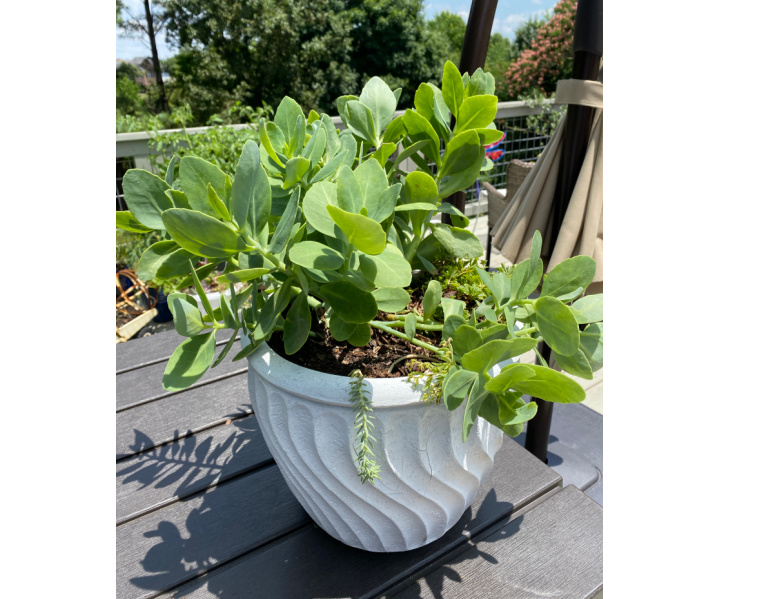
I bought these two giant planters two months ago at Sam’s Club. The giant white planter is hosting tomato plant that is thriving!.
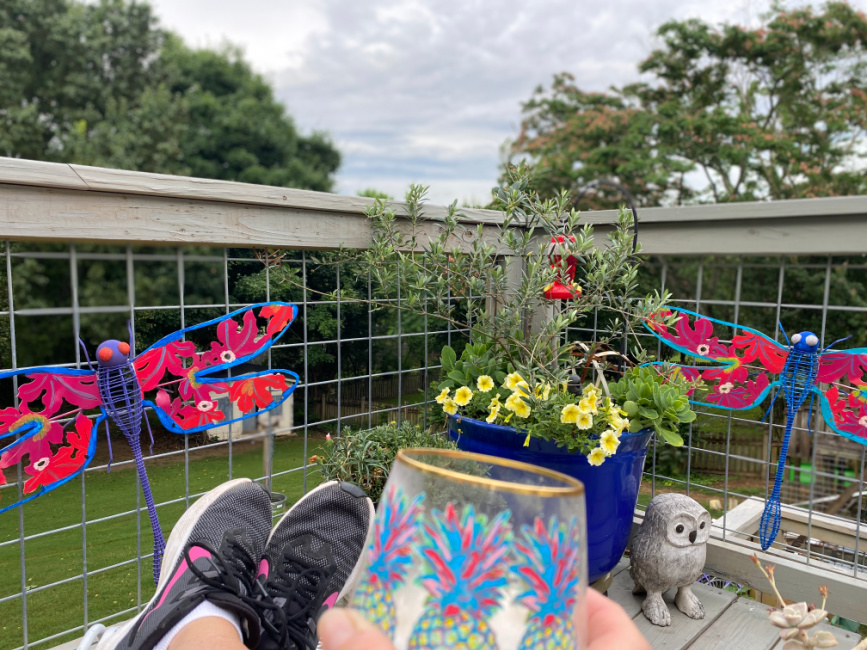
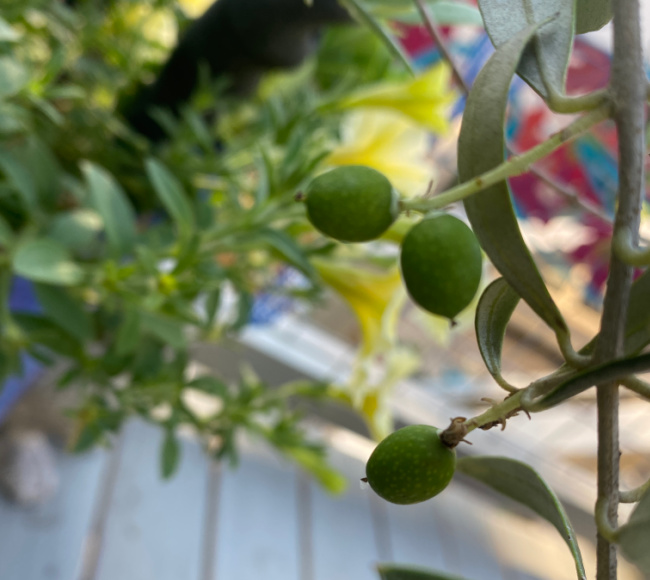
And this glorious blue planter now holds an olive tree. I added some filler plants around the base of the tree.
She seems to be happy because this week I noticed this:
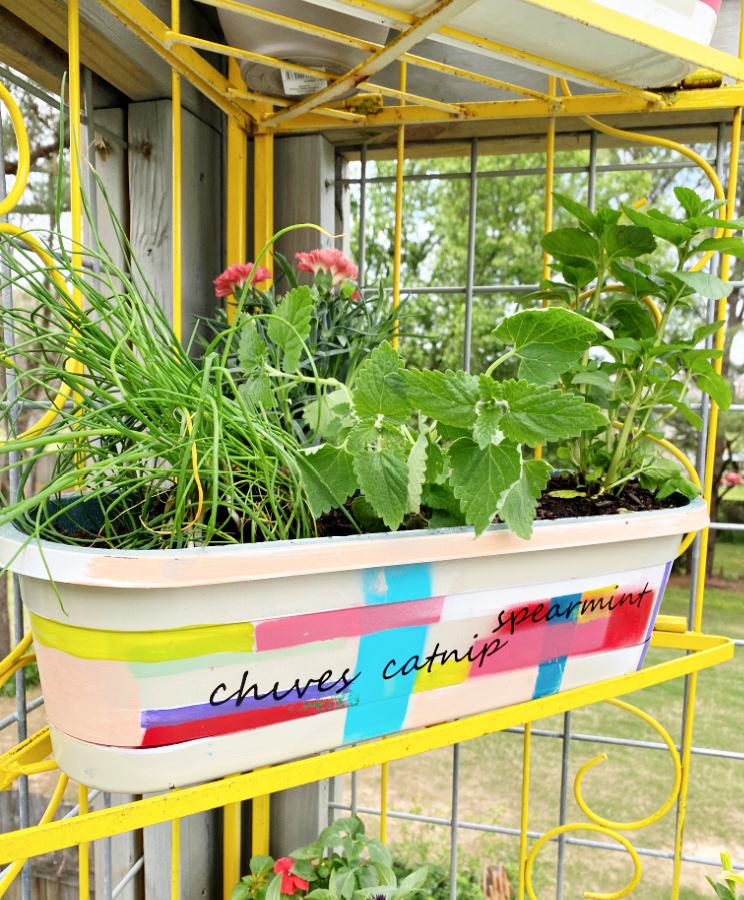
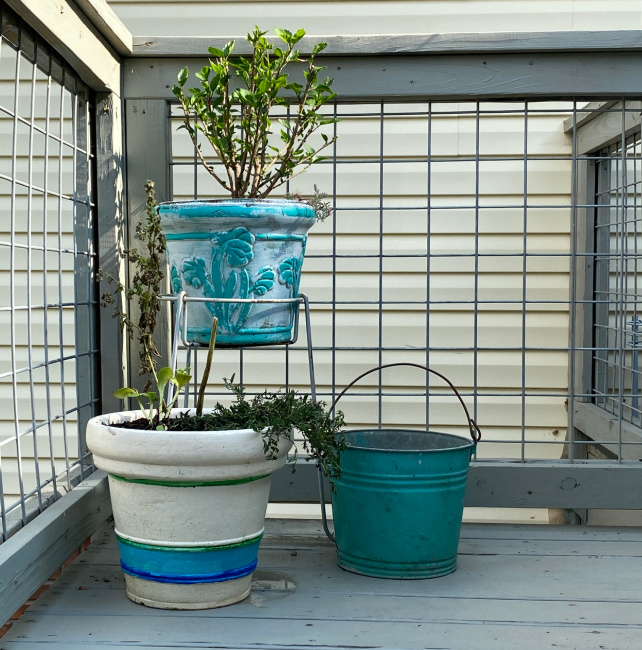
I love the vibrant blue (duh) and the stark bright white with the antiqued accents. I will use these two planters as the basis for details that I add to the painted pots. And of course, I will add some fabulous colors from the pots that I painted for my Vertical Herb Garden.
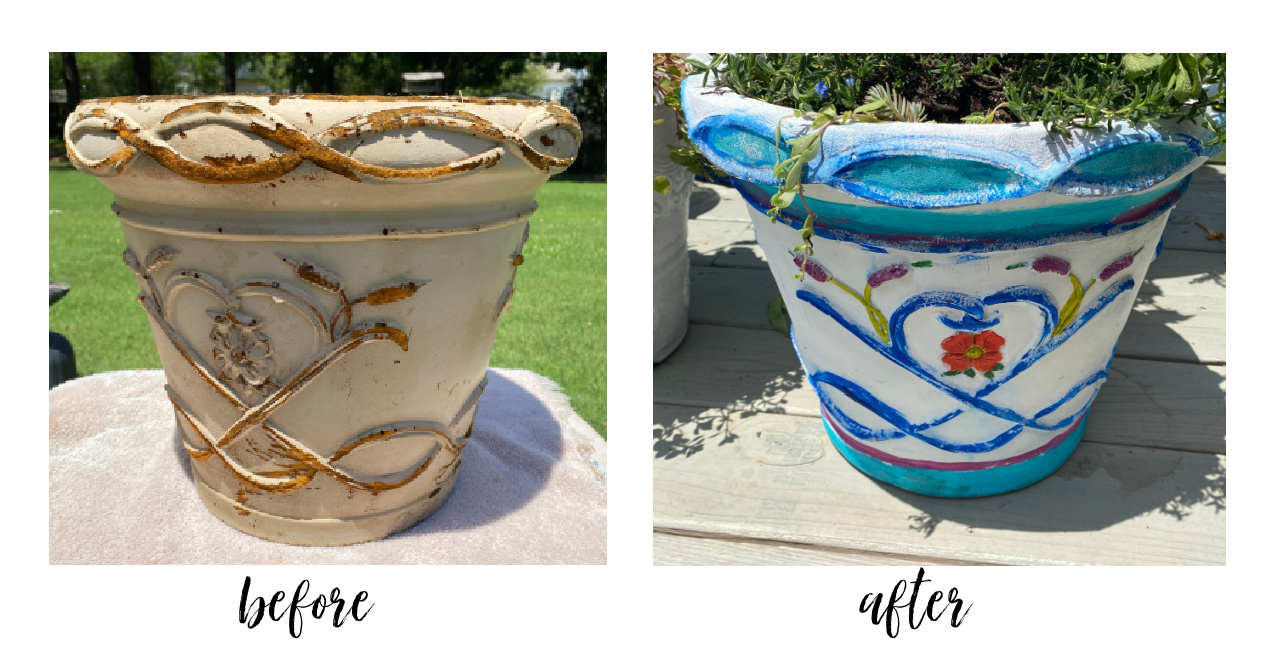
Before and After
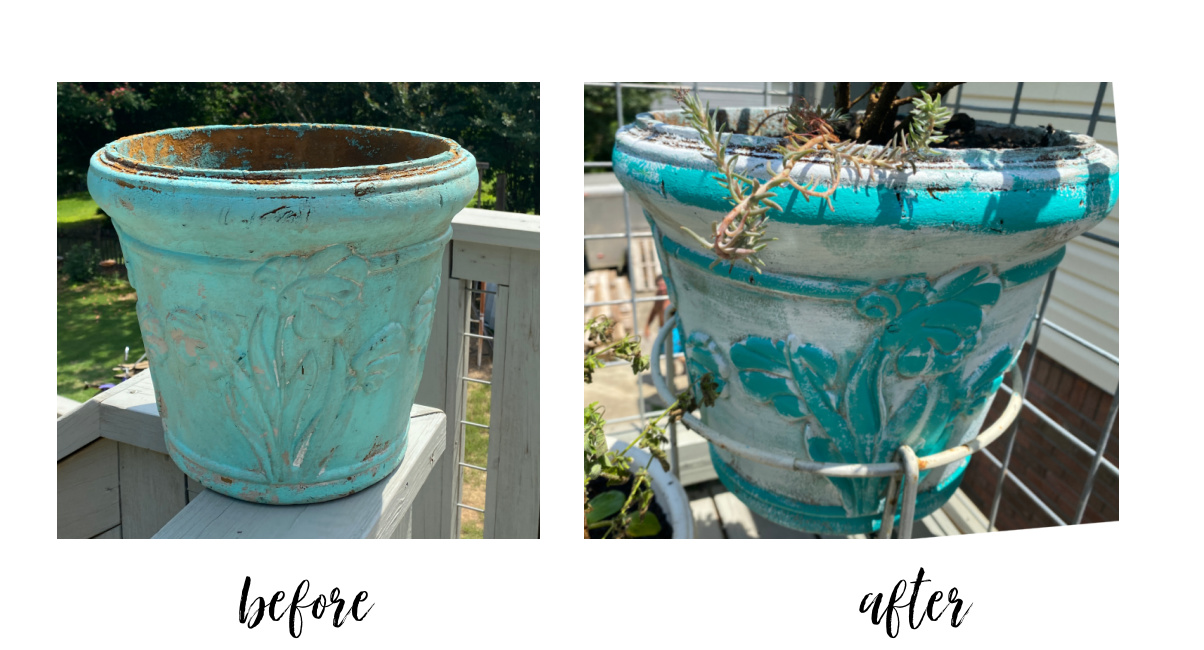
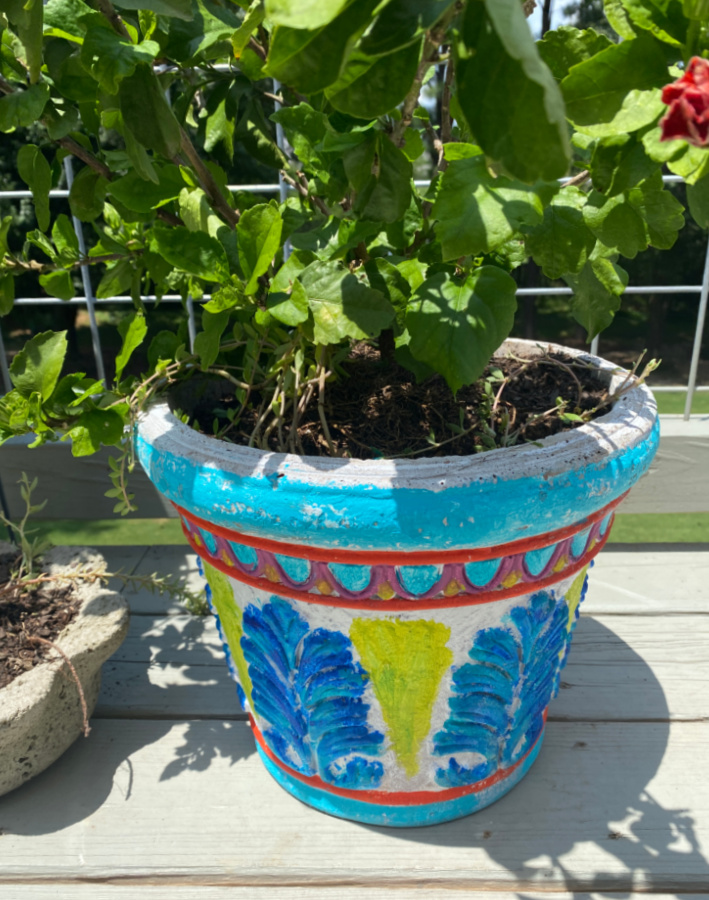
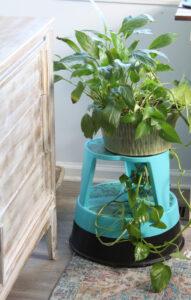
I started by dry brushing some bright blue onto the raised areas of the first planter. I added some orange and red and green. I kept adding color until I was pleased with the look. Here is the Pot #1.
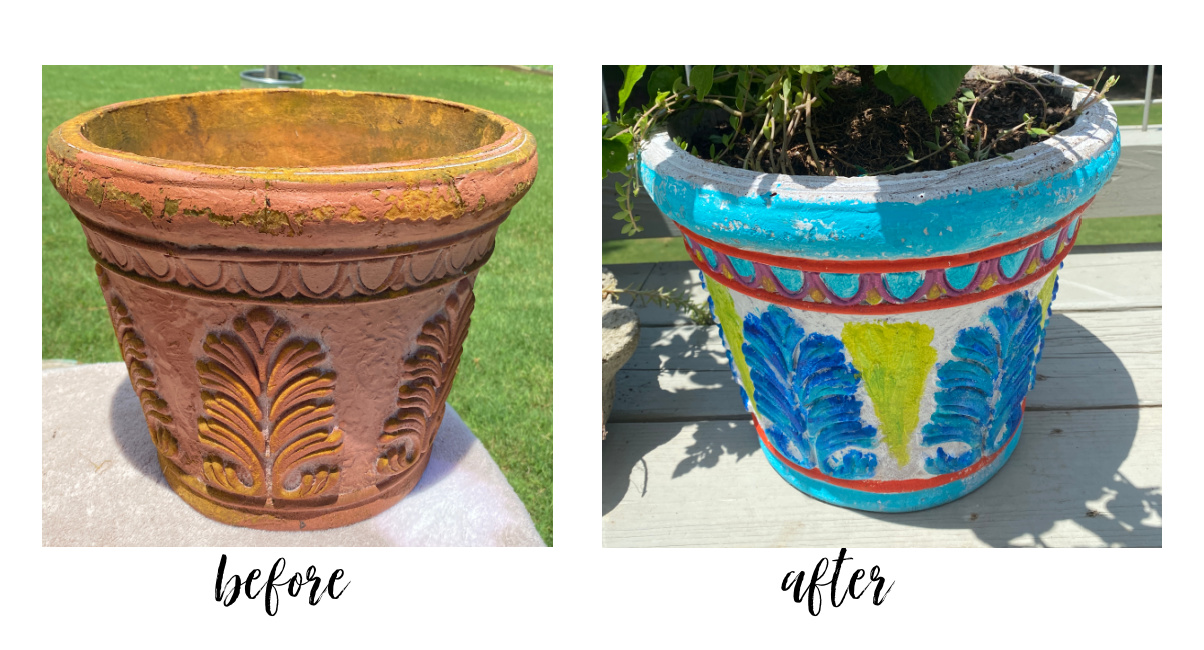
Pot #2 was similar in composition but had a different pattern.
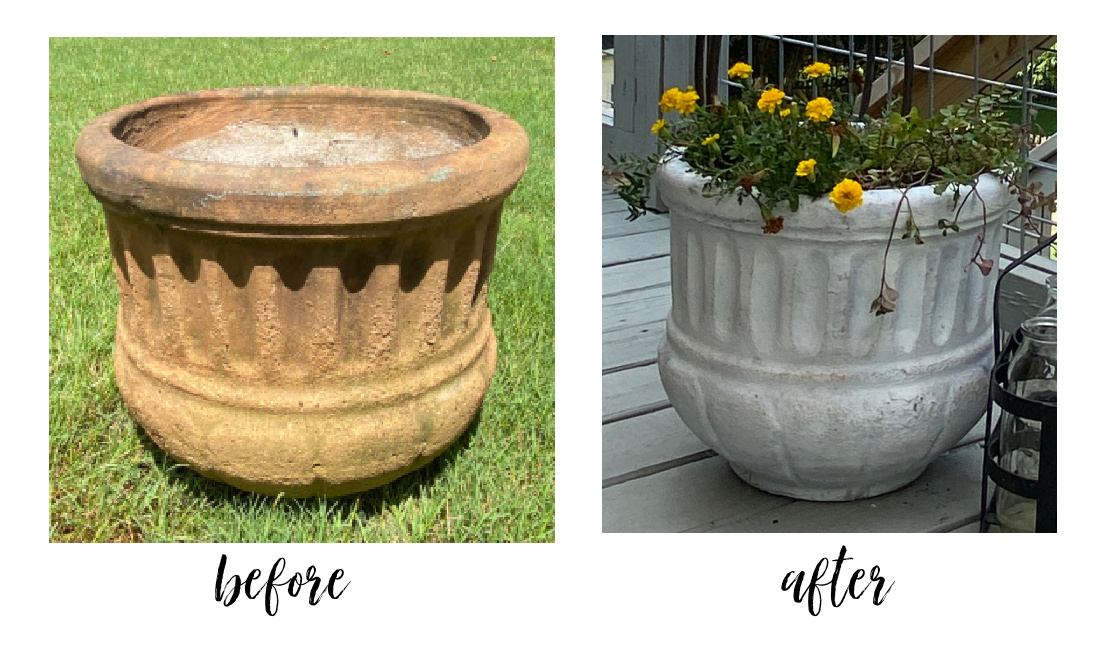
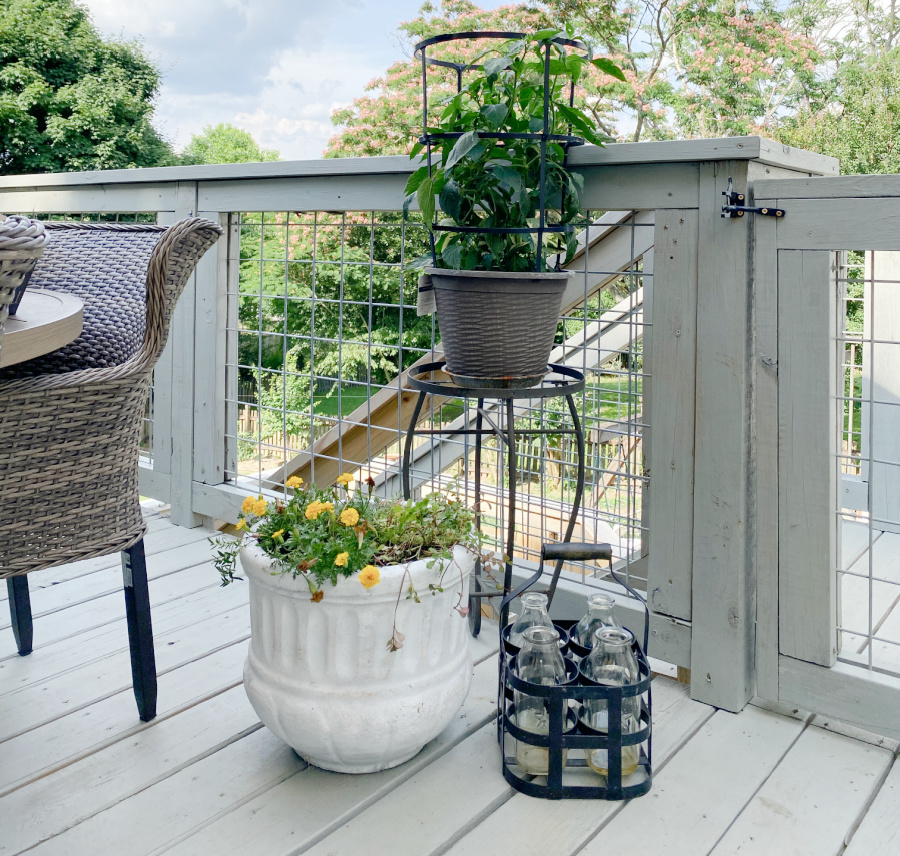
On the largest planter Pot #3, after spraying it white, I used sandpaper to add some distressing. I like the Old World natural look of this big planter.
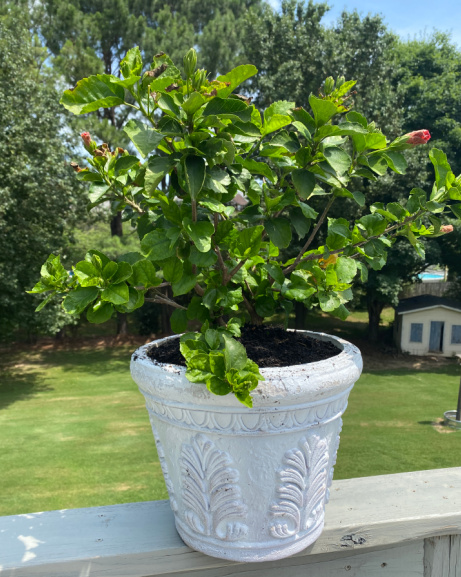
And three pots were left white with no embellishments, for now.

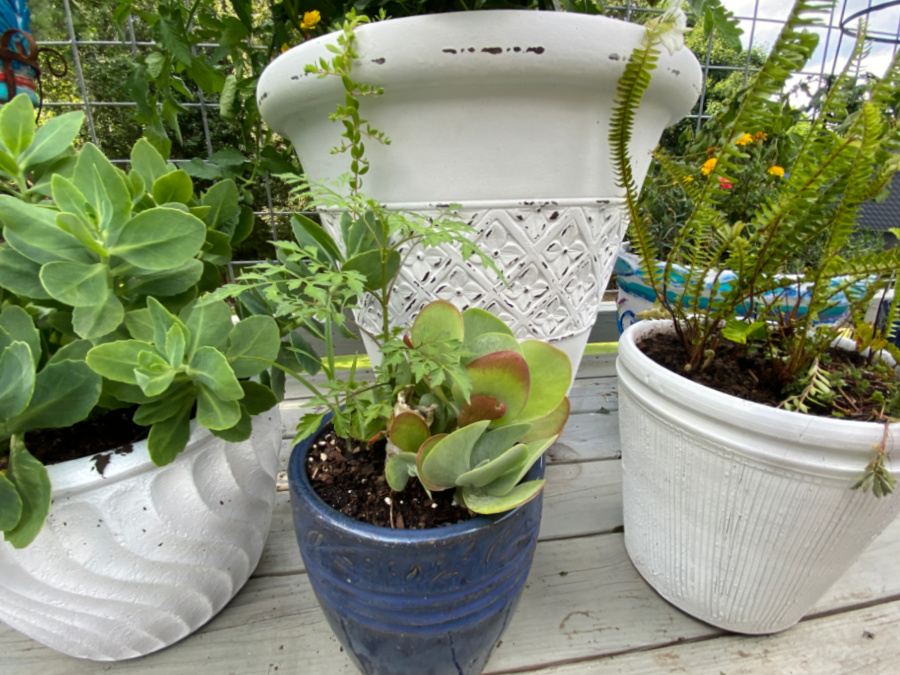
Two planters did not receive any white paint. I dry brushed some white over the teal on this one and then highlighted the raised design.
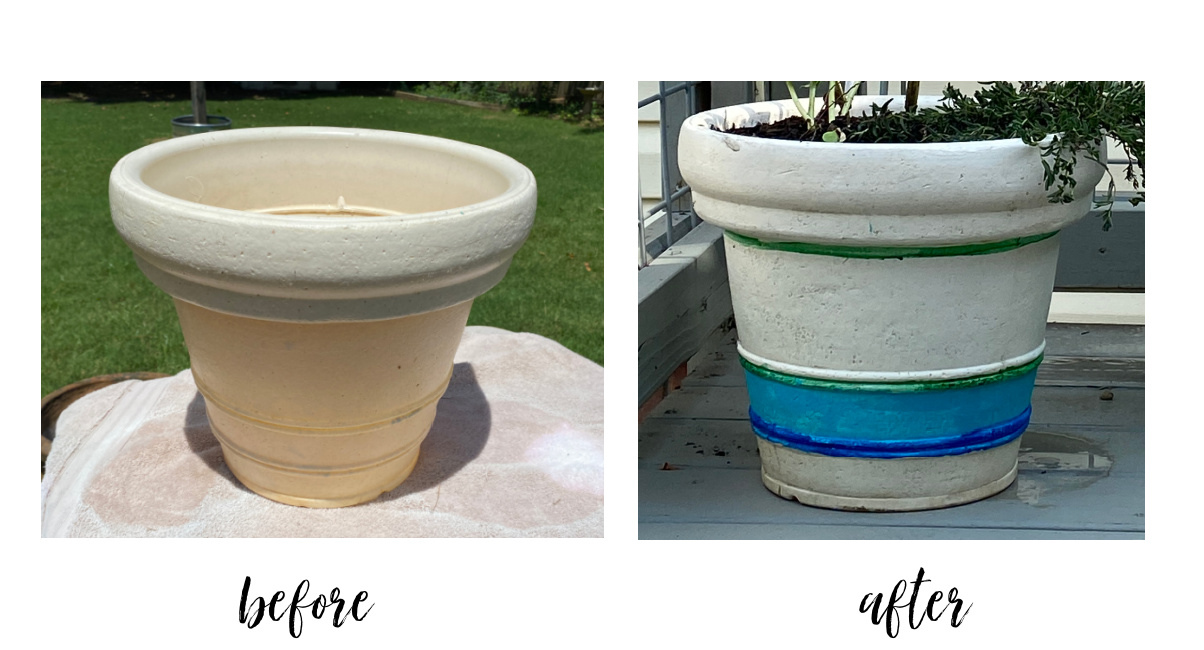
 This one was in decent shape so I left it unpainted. I just added some colorful stripes.
I am happy with this revived variety of planters that started as dingy old pots.
There is room to add additional bling and more colors should I want to do this later in the season. But, for now, I am anxious for the plants to settle and fill into the containers.

I will probably head to Lowes for some annuals to add more fabulous color. If you paint some planters this summer, post a photo and tag me on Facebook or Instagram!
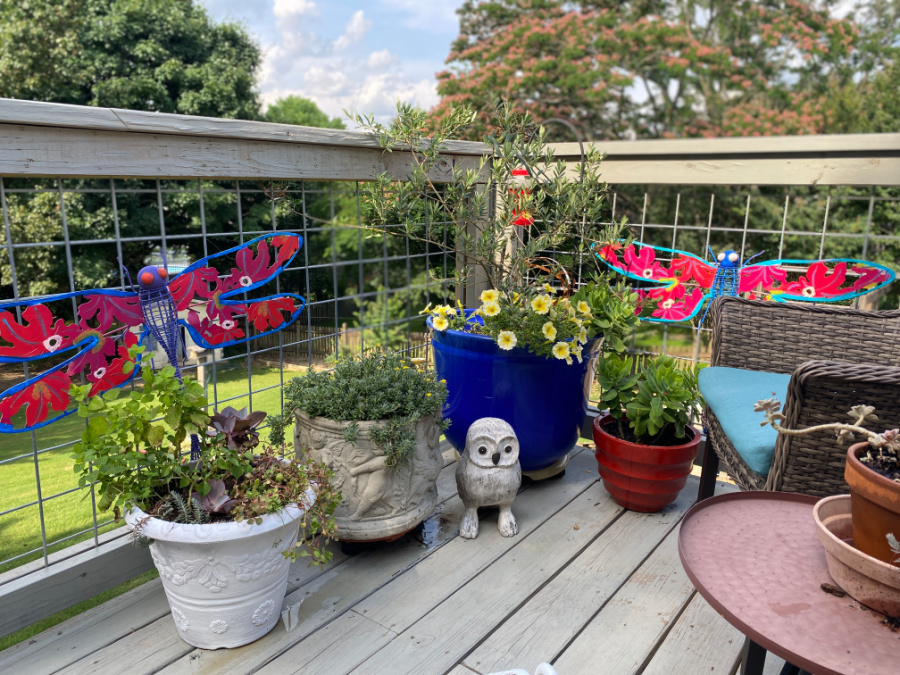
I think these refreshed containers all compliment my dragon flies from last month. You can read about that upcycle here.
I bought so many flowers a few weeks ago to decorate our entry porch. I need to hit the clearance shelves at Lowes again. Read about those incredible finds here.
As promised, here are the other posts from the Thrift Store Decor Team. Be sure to leave some comments and tell the girls that Sue at Blu sent you! Enjoy!
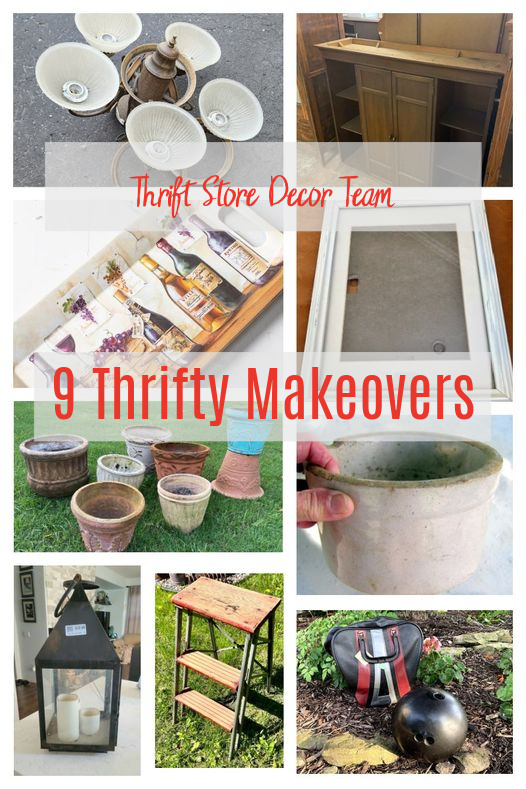
Black Matte Spray Painted Lantern – Domestically Speaking
DIY Chandelier Planter – My Repurposed Life
Succulent Crock Planter – Petticoat Junktion
DIY Upcycled Bar Cabinet – Our Southern Home
DIY Pressed Flower Art – My Uncommon Slice of Suburbia
Mosaic Bowling Ball Yard Art – House Of Hawthornes
Herb Themed Rustic Garden Stepladder – Organized Clutter
Patriotic Serving Tray – Reinvented Delaware
Upcycled Garden Pot – Shop At Blu (you are here)


I have painted several of my pots and they have held up beautifully! I just love the fun use of colors on all of yours! All are so pretty!
Thank you Christy. I can see more colors in the future.
Sue,
I love the refreshed look of your flower pots. I too, have a huge stash of old pots and containers that get a new look when needed. Great job. Pinned!
Thanks Gail! The power of paint never ends.
Suzanne, all of your pots are so colorful and fun!
Thanks Carlene. We are enjoying them.
Love all the pots – my fave is the one with the old world look – it’s really so pretty! I have some pots that need a little love – thanks for the inspiration! Pinned 😊
I like that one too…simple. Thanks Cindy!
So fun and colorful! A great update for your deck!
Thanks Maryann. You can never have too many plants.
All of the pots look so great with a fresh coat of pain and embellishments! I love that summer is here! Enjoy your gorgeous deck. xo
Thanks Kristin! Early summer this year as the heat is out of control already!
Love this post! I’m always on the lookout for cute containers for my flowers, and I appreciate the “before” and “after” pictures. The containers turned out great!
Thanks Penny. So many great planters are just faded and need refreshing!
Hi Jenna! Me too. Once you get the water schedule correct it is so easy to see them thrive!