How to Customize Pumpkins using the Hydro Dip Technique
As an Amazon Associate and member of other affiliate programs, I earn from qualifying purchases.
Last year we updated our kitchen. I was so excited by the new look that I didn’t decorate very much through the fall and winter. I’m ready for some added style this year. So I’ve decided to create some fabulous fall decor with custom colors to fit my kitchen. Let’s customize some pumpkins using the hydro dip technique!
The star of my kitchen is my hammered copper farmhouse sink. In staying with the copper theme, I have selected a variety of metallic paints for this project. Several weeks ago, I stopped by our local Old Time Pottery store. They had just put out their fall decor and I found these copper pumpkins. Of course I bought them for my kitchen.
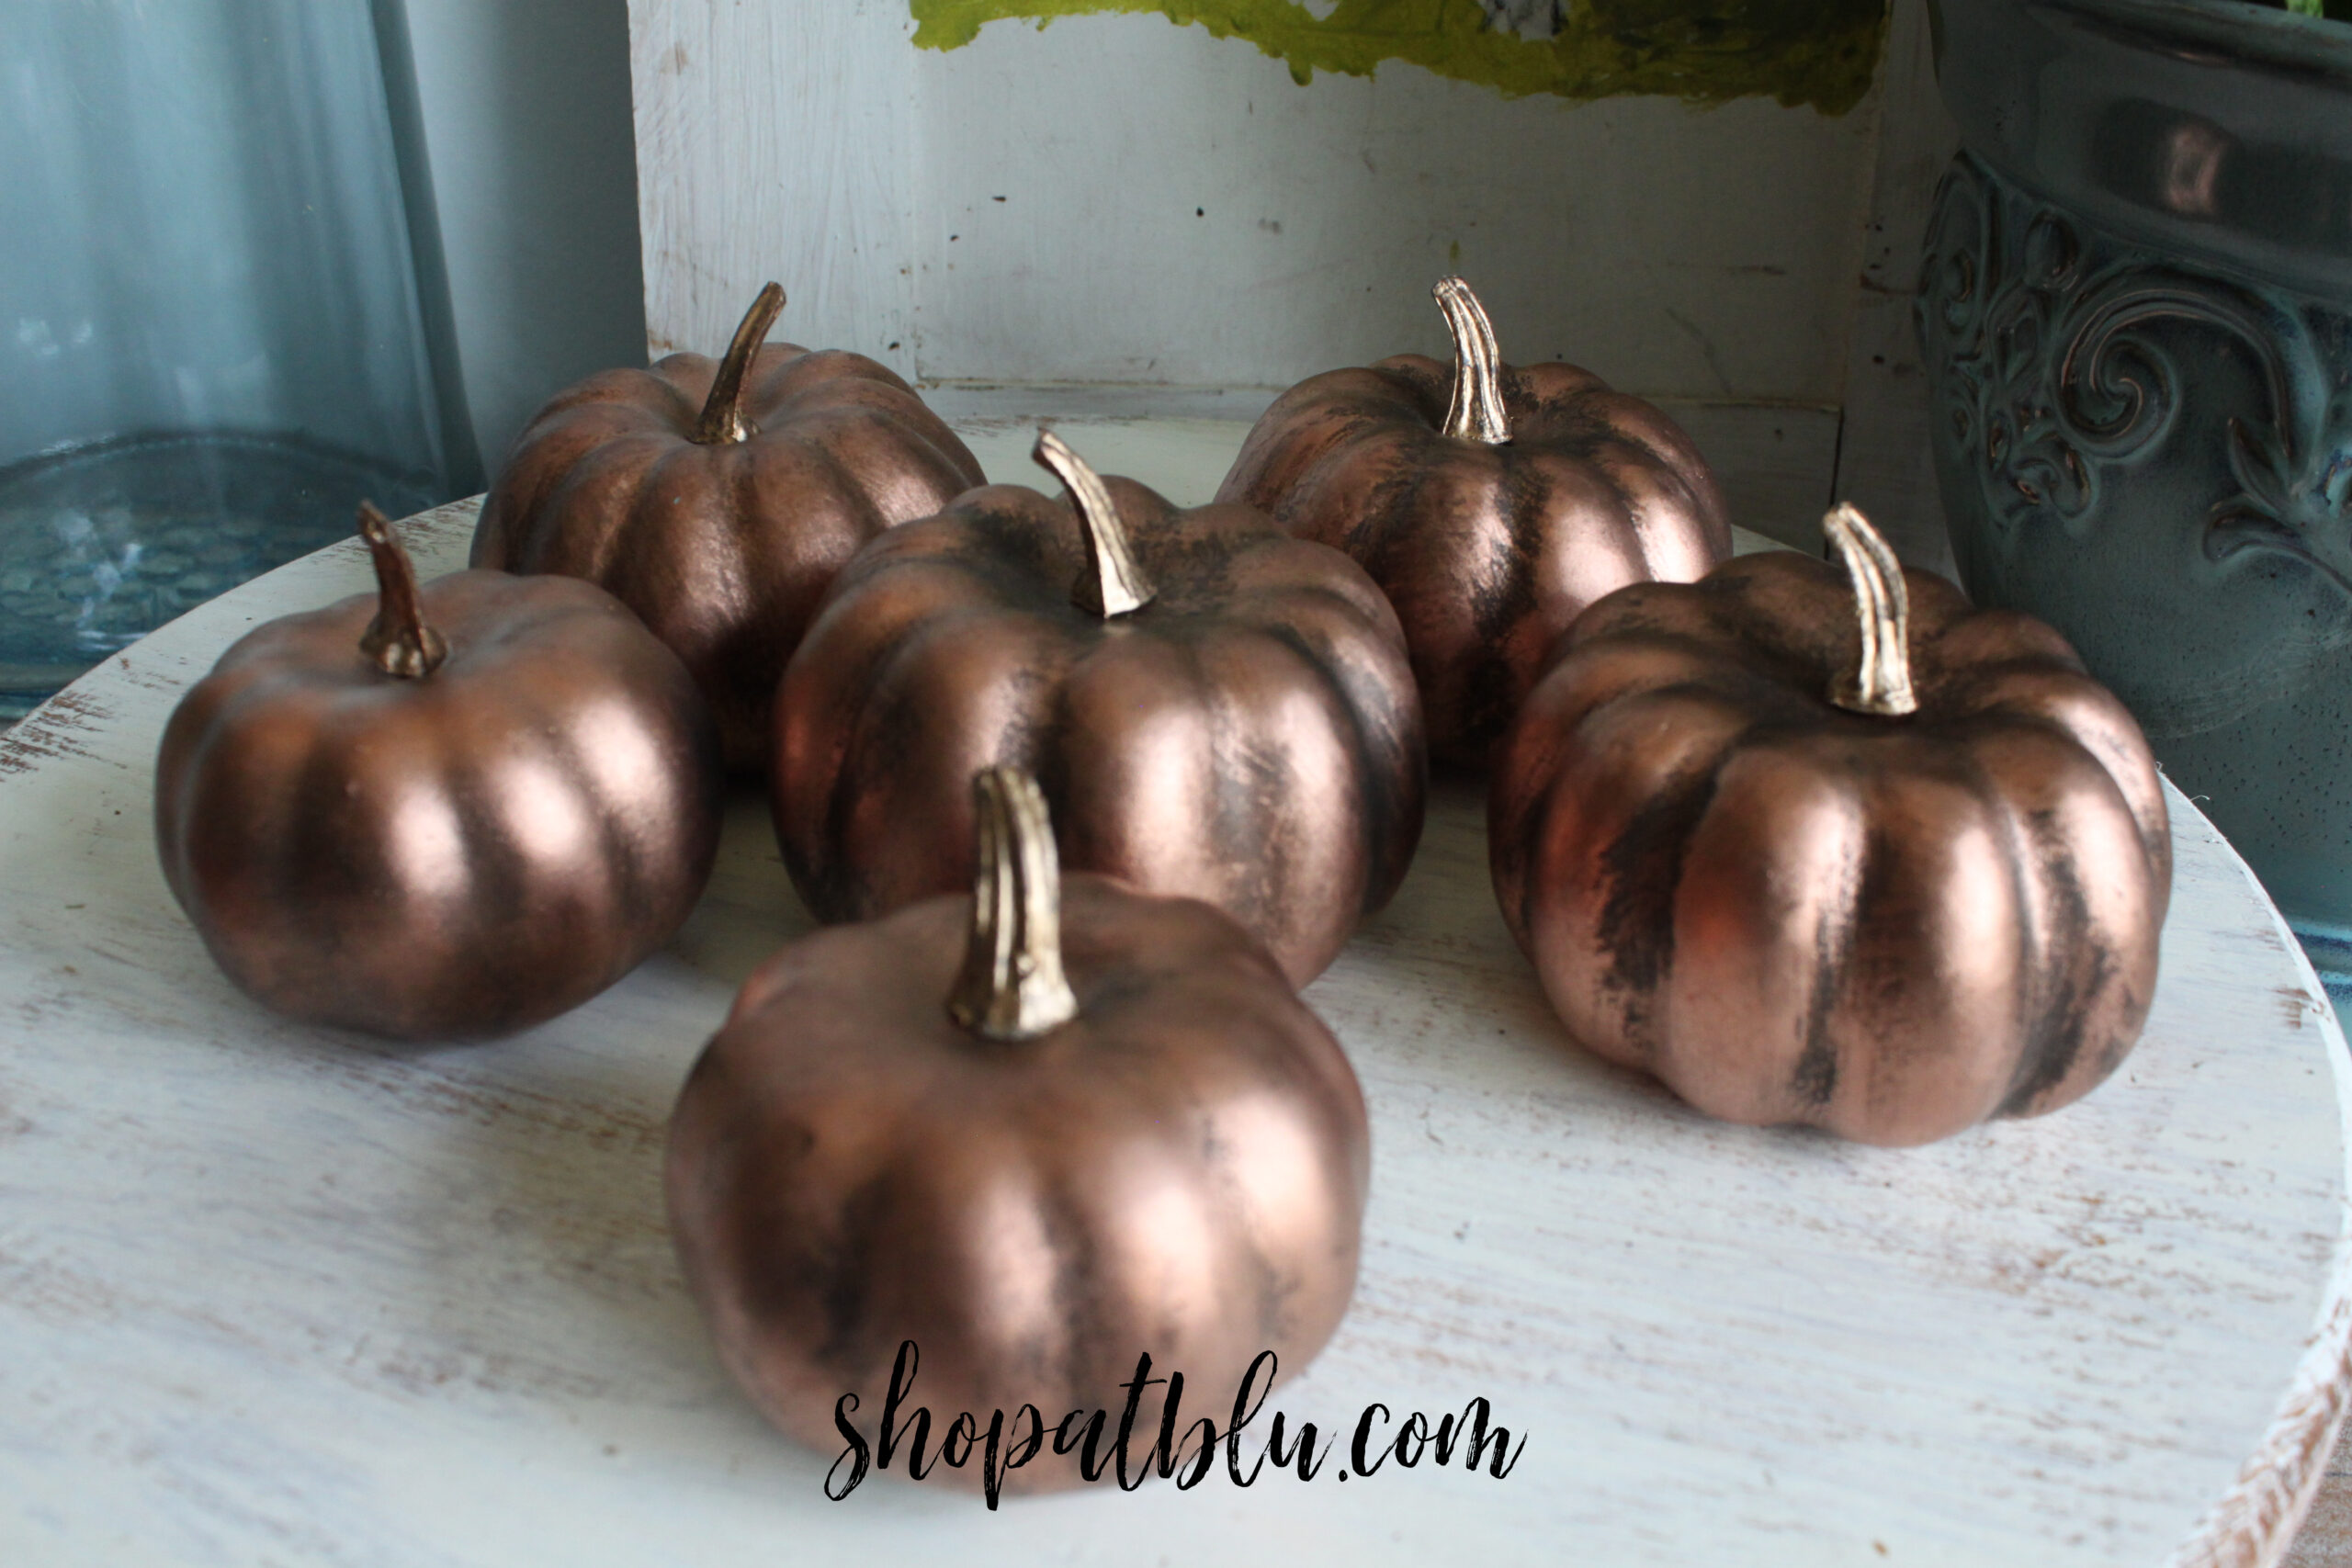
Why not decorate some pumpkins for the kitchen? I envisioned these pumpkins with multiple metallic designs. So I decided to research paint pouring and other techniques for creating unique designs. I read a few tutorials on hydro dip including one by my friend Kathy at Petticoat Junction. She covered all of the bases and her instructions were great. I decided to give it a try.
Getting Started
Here are the supplies I used:
- a 5 gallon bucket (any size will do)
- plastic trash bags to line the bucket
- an assortment of metallic spray paints
- gloves
- a flat surface to use for drying (I used cardboard)..
To prep the pumpkins, I gave each pumpkin a liberal spray of white Rustoleum spray paint. This would give the pumpkins a nice bright base for the metallics to really pop upon.
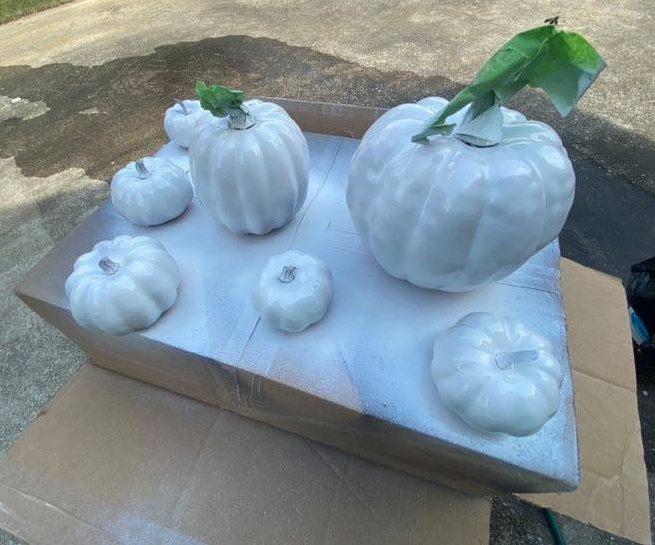 I used Frog Tape to mask off the stems since I wanted them to remain natural. Once the pumpkins dried, I was ready to dip.

I lined the bucket with plastic bags for ease in clean up. I filled the bucket with water and selected 3 colors of spray paint. I started with copper, gold, and silver.
The Process
Spray a liberal supply of each color, one at a time. I used the first color again at the end so there were 4 layers of paint on the top of the water. Then I simply dipped the pumpkin into the paint. Kathy suggested using a paint stick to push the excess paint off of the pumpkin (or item). I did not do this and there was some clumping of paint. I thought perhaps this was because some of the paint was old. But it was probably because I didn’t push the paint back from the pumpkin with the stick before removing it. Next time I will try that technique.
I did switch up colors a bit. My first batch was gold, copper, silver and gold.
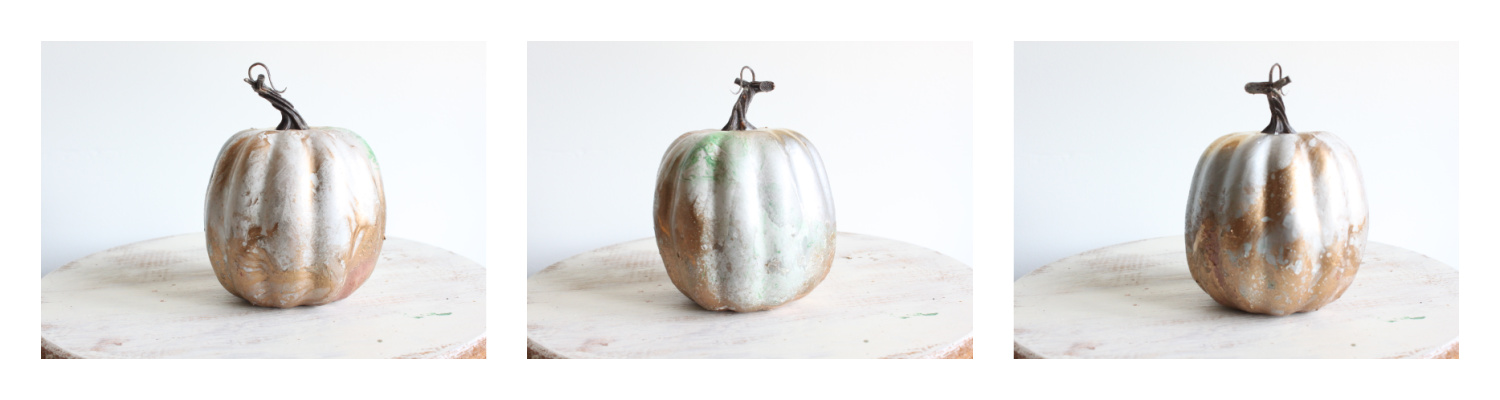
But these seemed a bit drab. So I added some green to the mix.
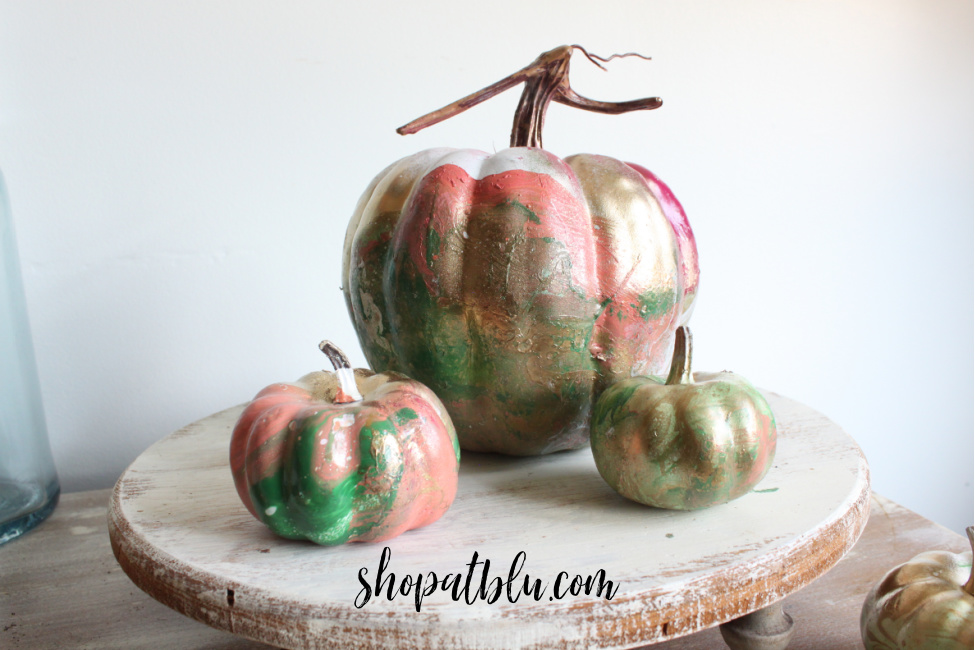
Why not go bolder? I added some fuschia and coral.
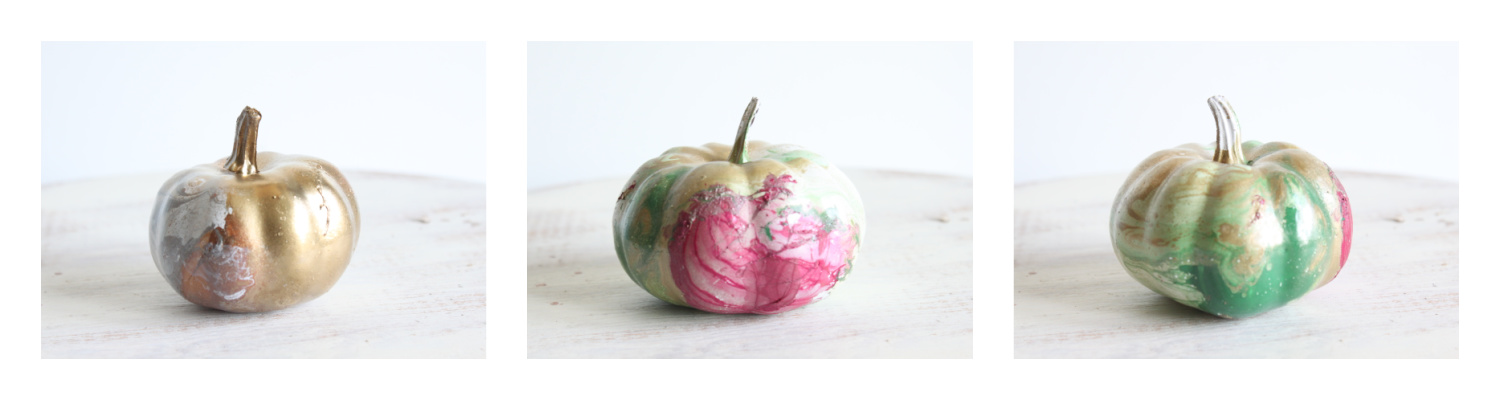
Next I added more green, gold, coral and fuschia. This was quite vibrant and I like this combination.
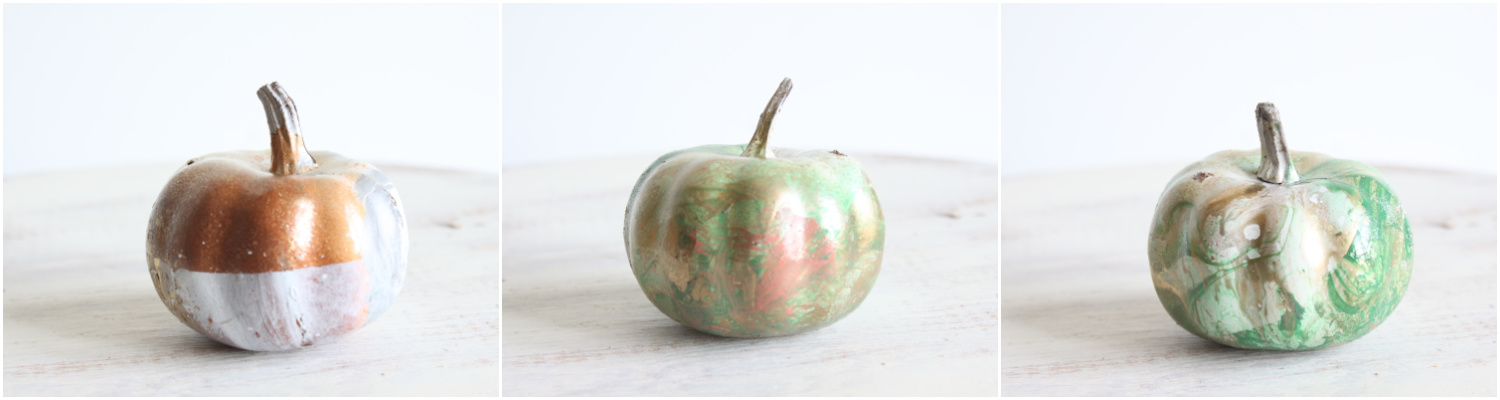
Switch It Up!
Some of the pumpkins turned out a little better than others. I would definitely recommend playing with the colors for you favorite combination. I ended up adding some white and re-dipping some of the pumpkins. Multiple layers really make the finished product so much more interesting.
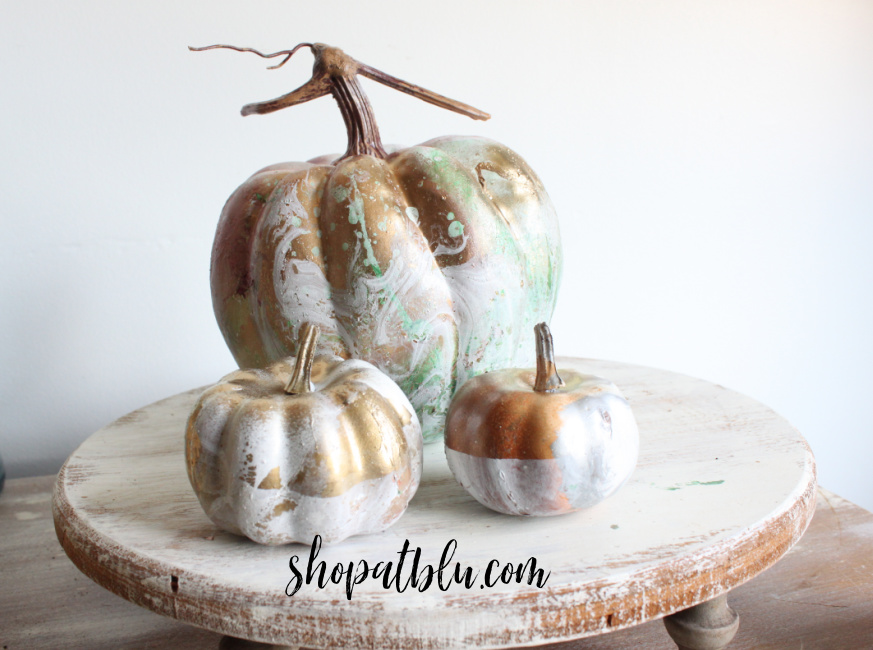
I may eventually add a little decoupage paper to some of the spots that still seem a little blotchy. I also touched up a few spots with the gold spray paint. But I will let these sit for a while and see how I like them.
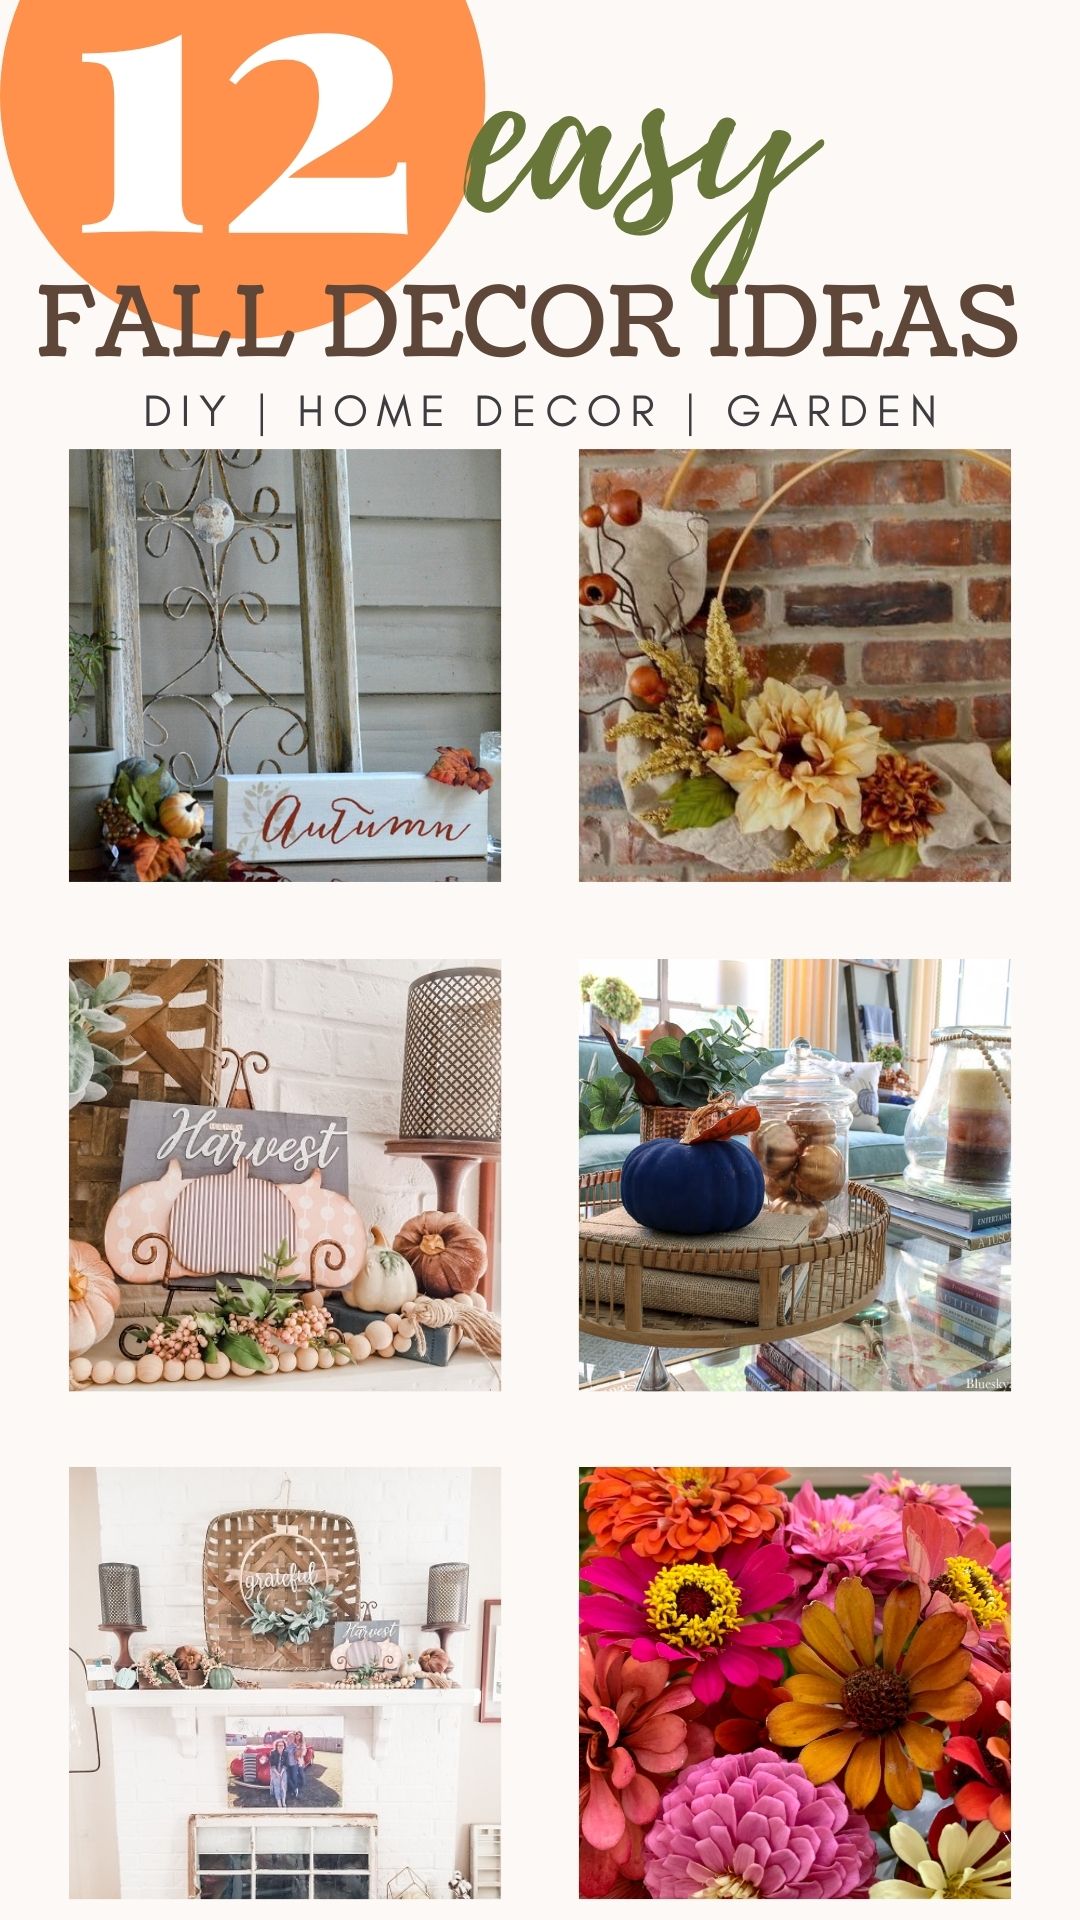
This was a fun project I completed as part of a blog hop with some friends…Harvest Hop 2021! Thanks to Juliet at A Loverly Life for coordinating this hop. Check out these other fall projects. You are sure to find some inspiration! At the end of these posts you will find an Inlinkz party with even more Harvest ideas! Feel free to link up if you have relevant projects! Enjoy!
Gathered in the Kitchen – Stephanie


I’ve never heard of this method! Such a cool result! Happy hopping!
It was alot of fun! I plan to use this on some other loved items that need updating!
Be still my heart -metallic pumpkins! Turned out great!
Thank you…I mean, can you ever have too many???
These turned out so cool! I love the one with a bit of green the most <3 – Thank you for joining the Harvest Hop!
Thanks! It’s been alot of fun!
I’ve never heard of this method of spray painting, but I’d definitely give it a try. I love all the metallics.
It certainly creates a unique finish! You will enjoy it.
What a beautiful way to paint pumpkins! I am so in love with this method and ready to give it a try! Thanks for your inspiration! Loved hopping with you, friend.
Thanks Leslie! I’m excited to try this on some thrift store finds!
I love the look you created! So beautiful and unique!