DIY Picture Frame with NO Power Tools
As an Amazon Associate and member of other affiliate programs, I earn from qualifying purchases.
Why do I always wait to the last minute for projects that have a deadline? I would say it’s because I have a retail store, The Blue Building Antiques and Consignment in Alabaster, AL, but I did the same thing with projects and papers in college. So apparently this is actually an innate part of my personality. I guess I just work better under pressure. Just to make me feel better, let’s pretend it really is because I have a retail store (which really is a valid reason). And as all retail owners know, you have a million projects to do! Magnify that DIY project list if you are a DIY junkie who want to do ALL OF THE PROJECTS. So when Gina Luker, blogger and coach extraordinaire at The Shabby Creek Cottage, threw out a DIY picture frame challenge, I was excited. And I needed a quick and easy project. So I decided to make a DIY picture frame with NO power tools…this would appeal to many beginners!
This post is for my friends who are still afraid of power tools, and for my friends who want to do a super quick project. Let’s make a DIY picture frame WITHOUT power tools!
Projects are even better when you already have the supplies laying around your house or garage or workshop.
Here are the supplies:
- several pieces of scrap wood
- Gorilla Glue Contact Adhesive Clear Grip and DAP Rapidfuse All Purpose Adhesive
- clothes pins
- photos
- paperclips
- pliers
- Ryobi cordless glue gun or staple gun (optional)
- small clamps or something to weigh down your frame while the glue dries
STEP ONE : Design your DIY picture frame
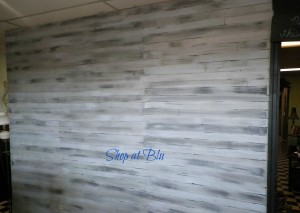
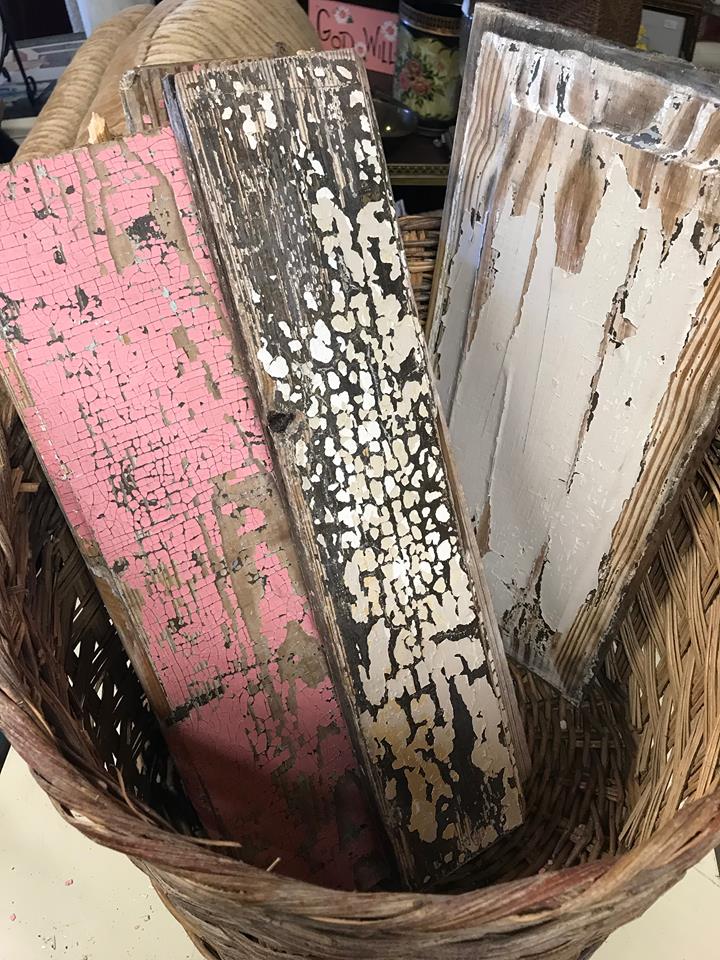
Find two pieces of wood that compliment each other and made a nice match. My wood pieces are actually pieces of antique doors. In November, I participated in Vintage Market Days of Birmingham. The sweet show coordinators, LaDon and Hannah asked me to bring some of our antique and vintage doors for decorating the venue. The doors are old and some are very heavy and a few were damaged in transport. If you’ve been in my store, The Blue Building, then you know that I don’t throw anything away that can be recycled or reused. So I dismantled the doors and saved the wood. Much of it is for sale at The Blue Building. The rest is awaiting use in some phenomenal project…like this DIY photo frame without power tools! Here is a post that tells you how I got this chippy goodness on these doors! And be sure to look for the pink door from which these panels originated.
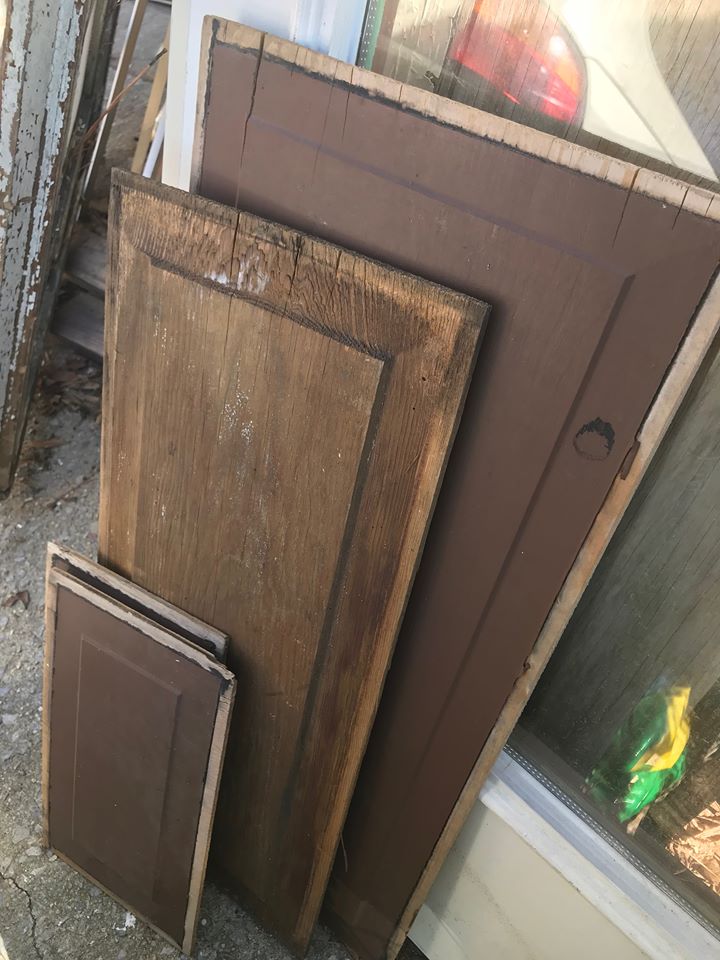
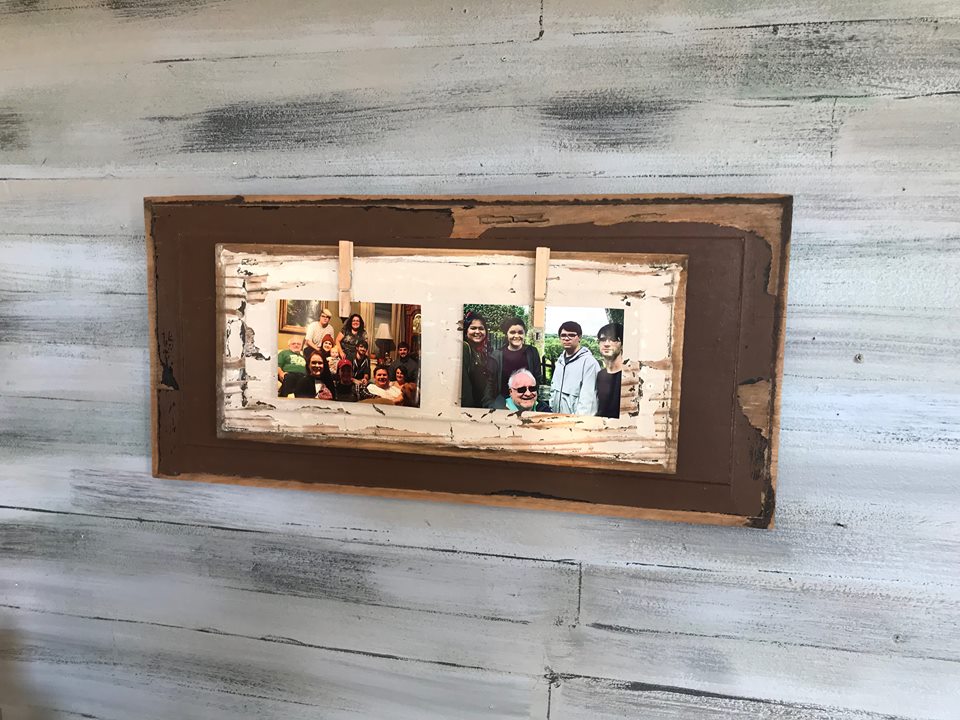
And how about these chippy beauties? One side was pink and one white. I selected white for this project so that the frame would be more versatile.
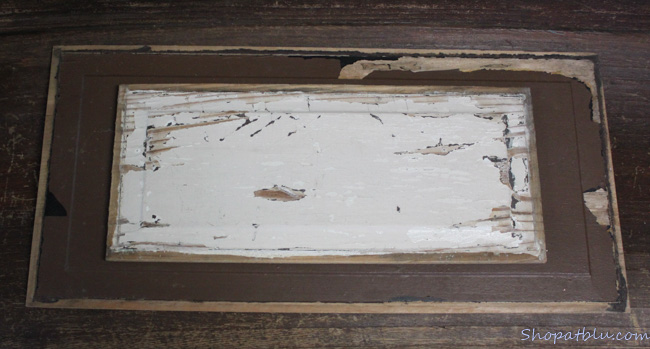
So select the size of wood that you need. I used two rectangular pieces. You can use square or any shape at all. My plan was to display more than one photo so I chose this size and shape. Lay out the wood, hold a few photos up to ensure the size is correct. Here is what I ended up using:
STEP TWO: Assemble your DIY picture frame
I glued the two pieces of wood with some gorilla glue. I tried this new product, Gorilla Glue Contact Adhesive Clear Grip.
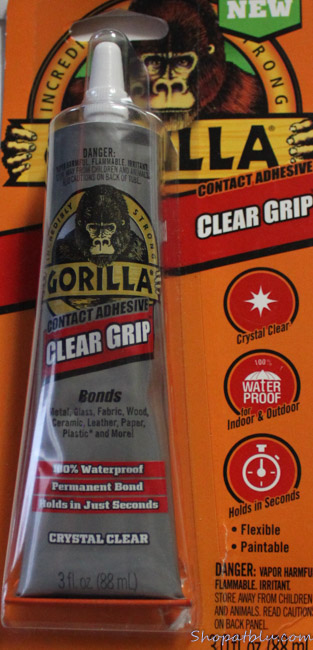
It is a contact cement. I remember my mom using something similar to repair broken figurines, candy dishes, and Christmas decor when I was little. The smell brought back memories! Do you remember the contact cement that came in a yellow and green metal tube?? I was anxious to try this product so I squeezed it liberally onto the wood and conjoined the two pieces of wood. The package says it bonds in just seconds but this did not. I am assuming it was because of the size of the piece. Perhaps a tea cup handle would bond instantly. I went to move the wood and it wiggled and moved. I couldn’t remember where my clamps were, so I placed heavy items on them to hold them firmly as the glue dried. Are you like me? Using whatever is nearby to get the job done?
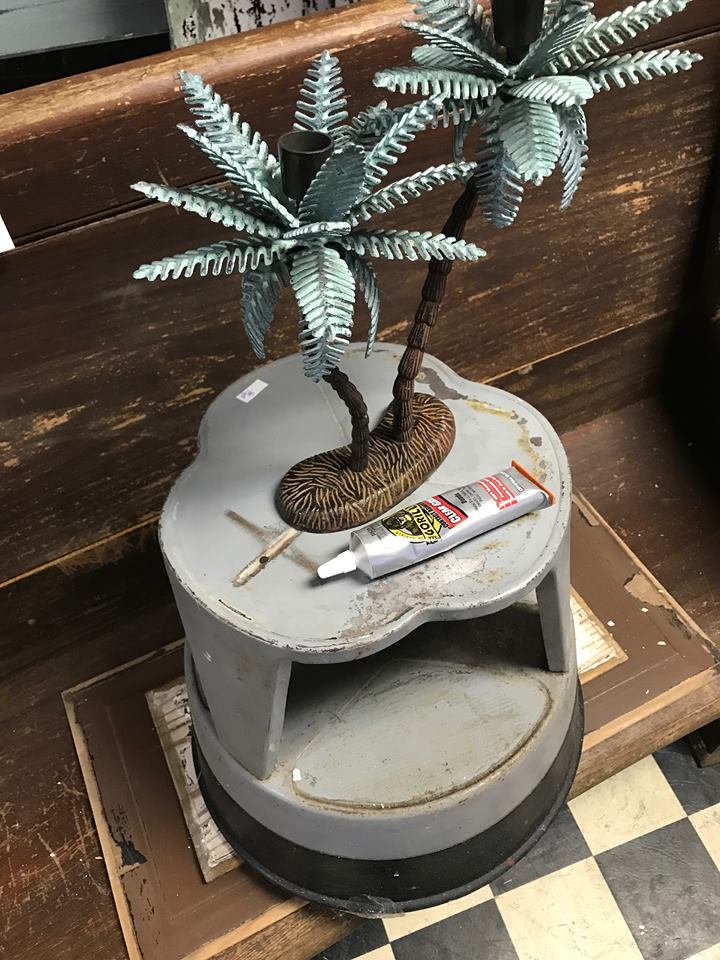
Haha. I started with the library stool but it wasn’t heavy enough so I grabbed this super heavy palm tree candelabra. Go ahead and laugh, but that candle stick is weighty! Still needed more weight so I admitted defeat and grabbed something with real weight.
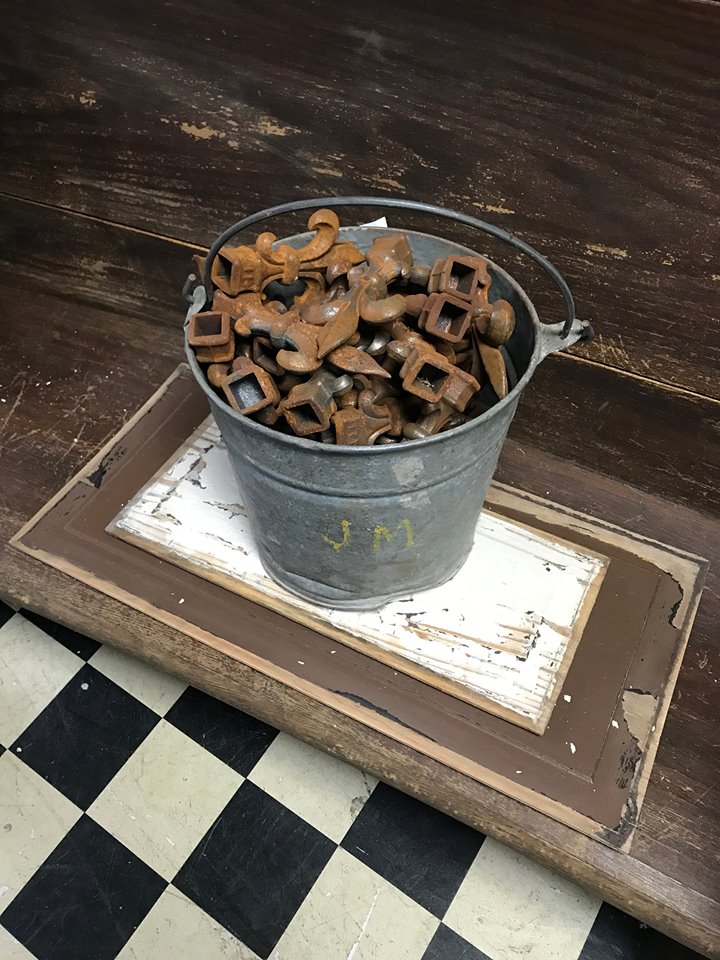
Everyone just happens to have a galvanized bucket full of wrought iron fleur de lis finials nearby, right? I thought so!
STEP THREE: Attach photo clips
I love the wood look and ease of clothes pins as clips to hold the actual photos. It would be so easy to switch out pictures. I was trying to decide whether to paint or stain the clothes pins. I decided that I liked the natural wood so I left them as it. But wouldn’t they be cute painted bright aqua or red?
Next, I place the clothes pins in different positions and actually clipped them onto photos and placed them randomly on the boards. I was using standard sized photos. So once I decided where I wanted the clothes pins, I was ready to secure them. I wanted the clothes pins to dry quickly to avoid the possibility of them moving or being knocked out of position. So I decided to us a different glue product.
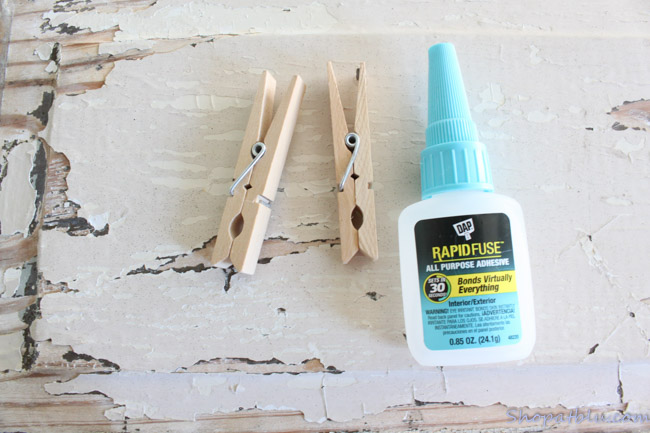
I grabbed some DAP Rapidfuse All Purpose Adhesive and applied a thin stripe to the back of the clothes pin and pressed it onto the wood. I held it there for about a minute and then gently released the pressure. It seemed good so I repeated the process with another clothes pin. I allowed an hour for complete drying.
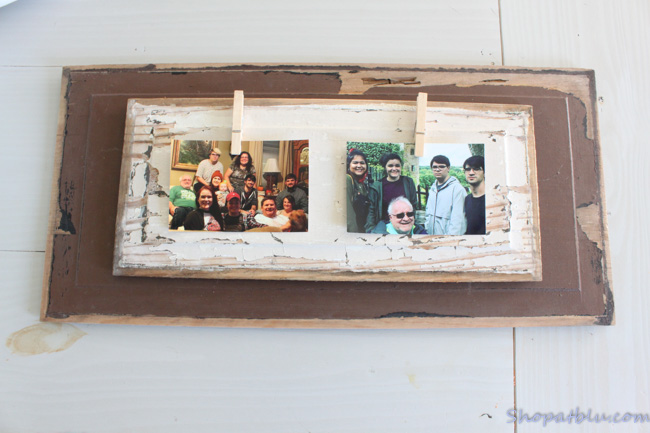
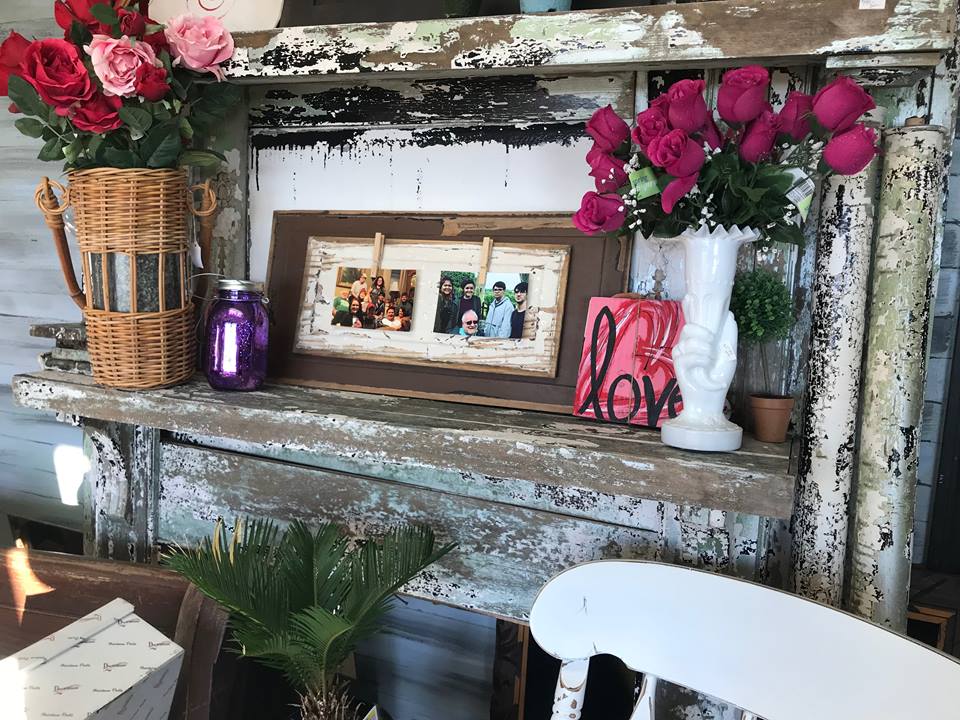
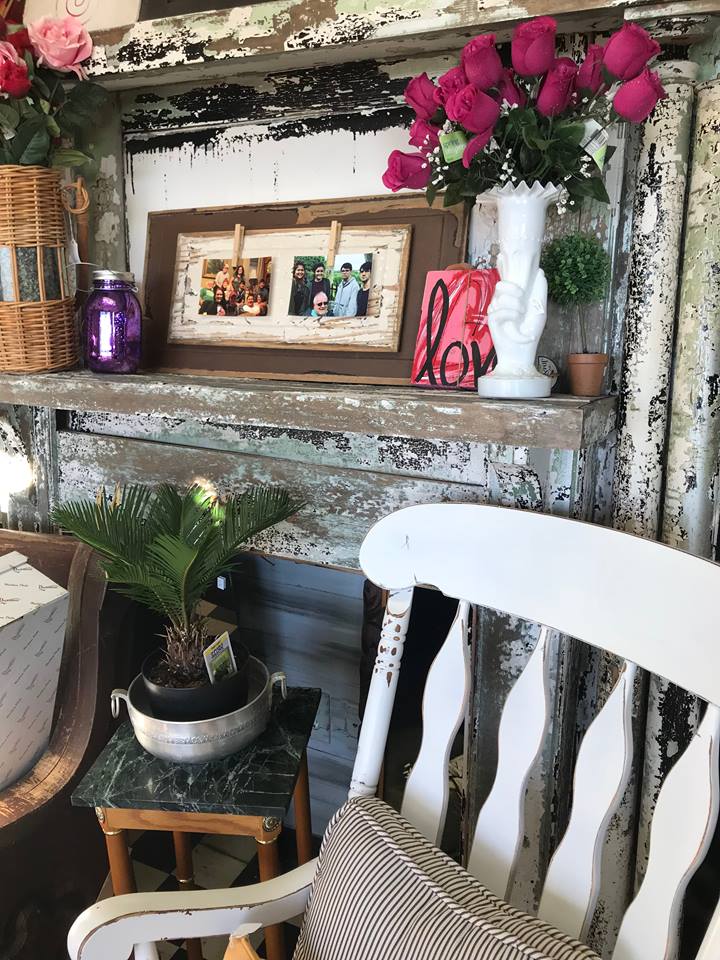
The frame is ready to prop onto mantle or bookshelf as is.
STEP FOUR: Attach hardware to hang
This last step is optional should you want to hang your frame on the wall. You have several options. I frequently make my own hooks to hang signs, etc. onto the wall. All you need are a few paper clips or Christmas tree hooks. Twist them like shown in the following video.
Once shaped, you can simple hot glue them into place on the back of your item. This technique is great for lightweight items. I would not use these on items heavier than one pound.
For heavier items, you can attach the hooks with a staple gun. The staples keep the hooks more permanently affixed, where as the glue can easily be removed or pulled off. And a third option is to buy saw tooth hangers or picture hanging hooks. These are available at Walmart or any hardware store.
I think I will make some of these in different sizes to take to Vintage Market Days of Mobile next month! They were super easy and, if I do say so myself, super cute!