Upcycle a Tray Table into a Repurposed Side Table
As an Amazon Associate and member of other affiliate programs, I earn from qualifying purchases.
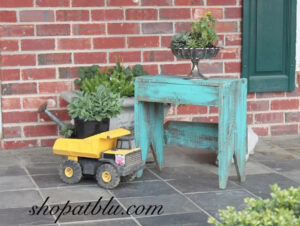
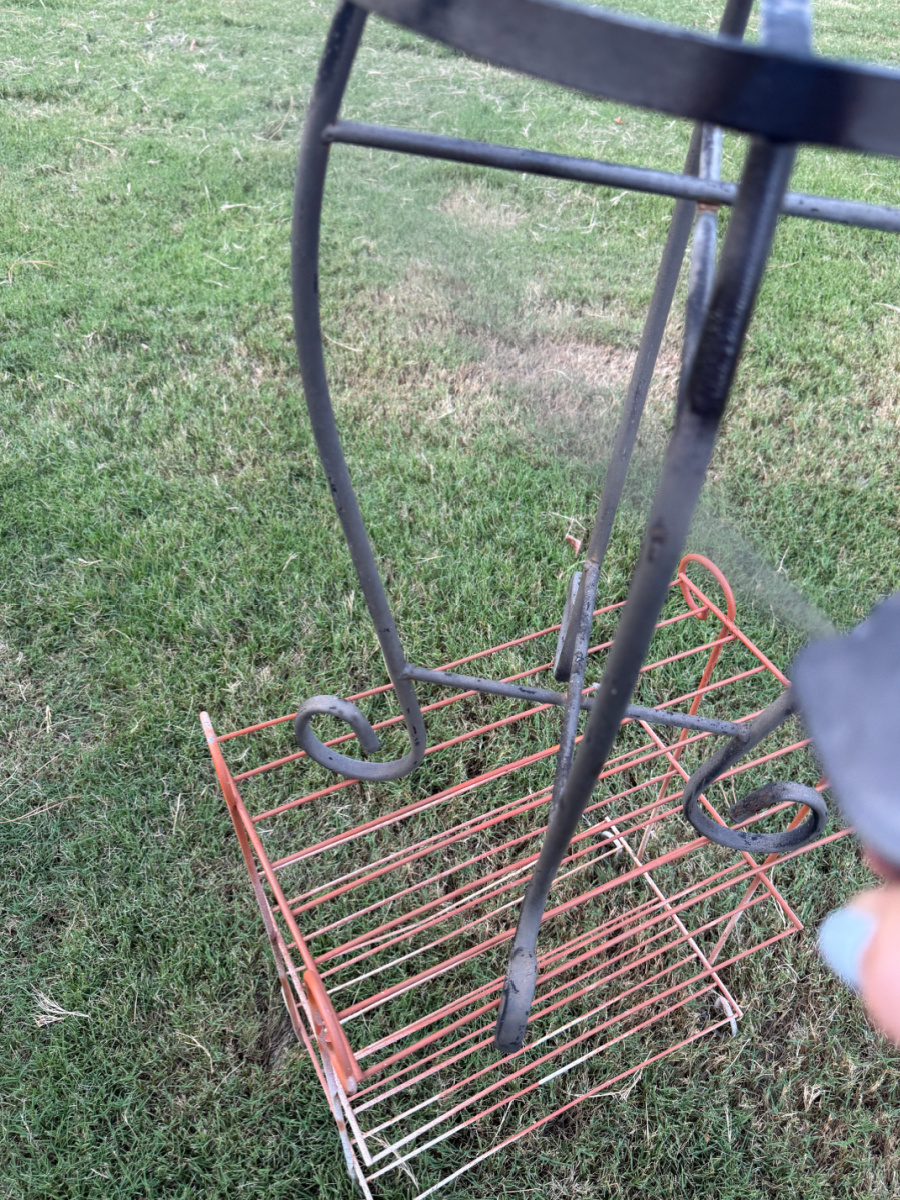
Mr. Blu needed a new side table beside his chair on our deck. You’ve gotta have a spot to put your drink or your sunglasses or sunscreen. I had this salvaged part of a table that I’ve been using as a plant stand.
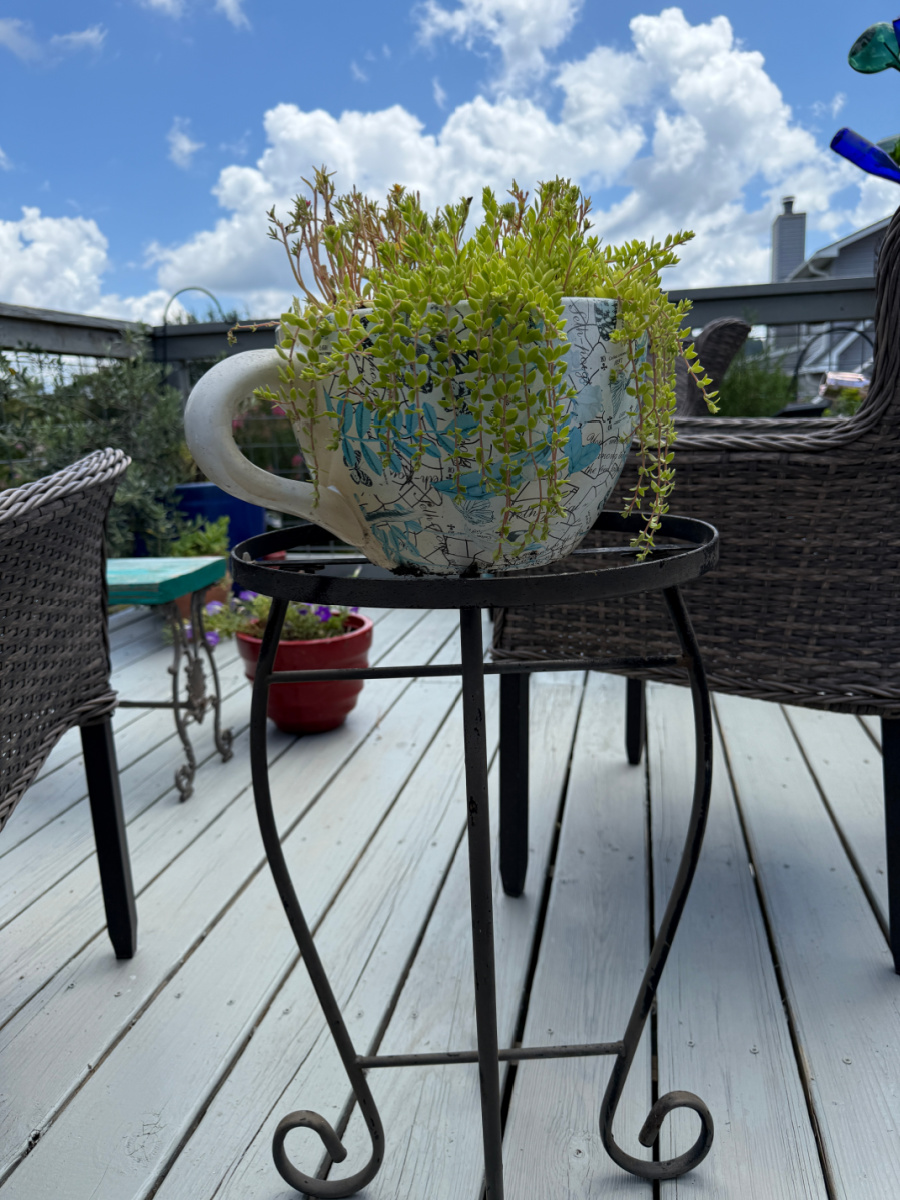
When I saw that V had placed this broken old tray table by the trashcan, the lightbulb went off.
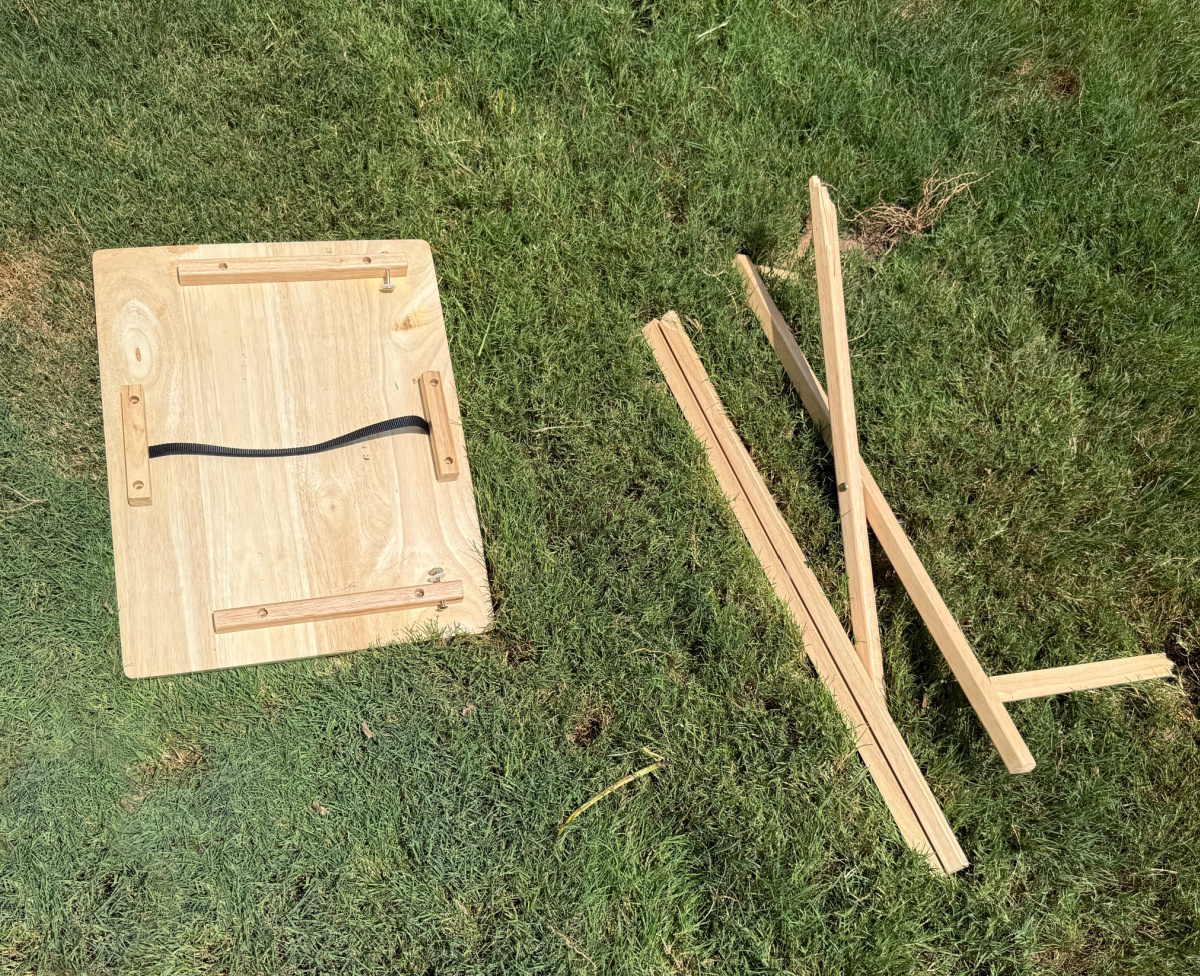
You can’t throw away perfectly good wood. That is a rule! Am I right? Let’s create a small side table from this old plant stand and this broken tray table.

That’s right! You guessed!
It is Thrift Store Decor Team Wednesday.
You will find a new post here every second Wednesday of the month when the Thrift Store Decor Team shares their monthly upcycle, recycle, thrift store makeover, decor ideas, and just plain creative decor ideas! All of the posts are at the end of this one! Be sure to click on them all for some fabulous inspiration.
Let’s make a top for Mr. Blu’s side table!
Prep the Top
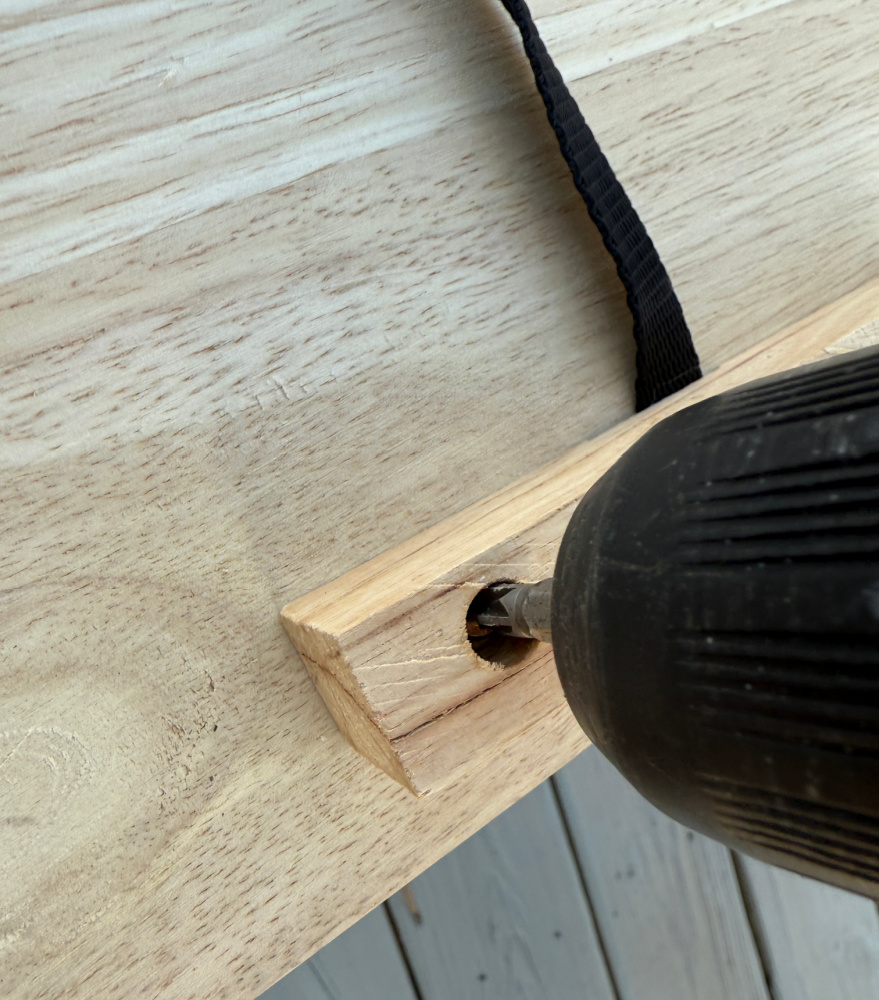
First, I removed the hardware from the back of the table top.
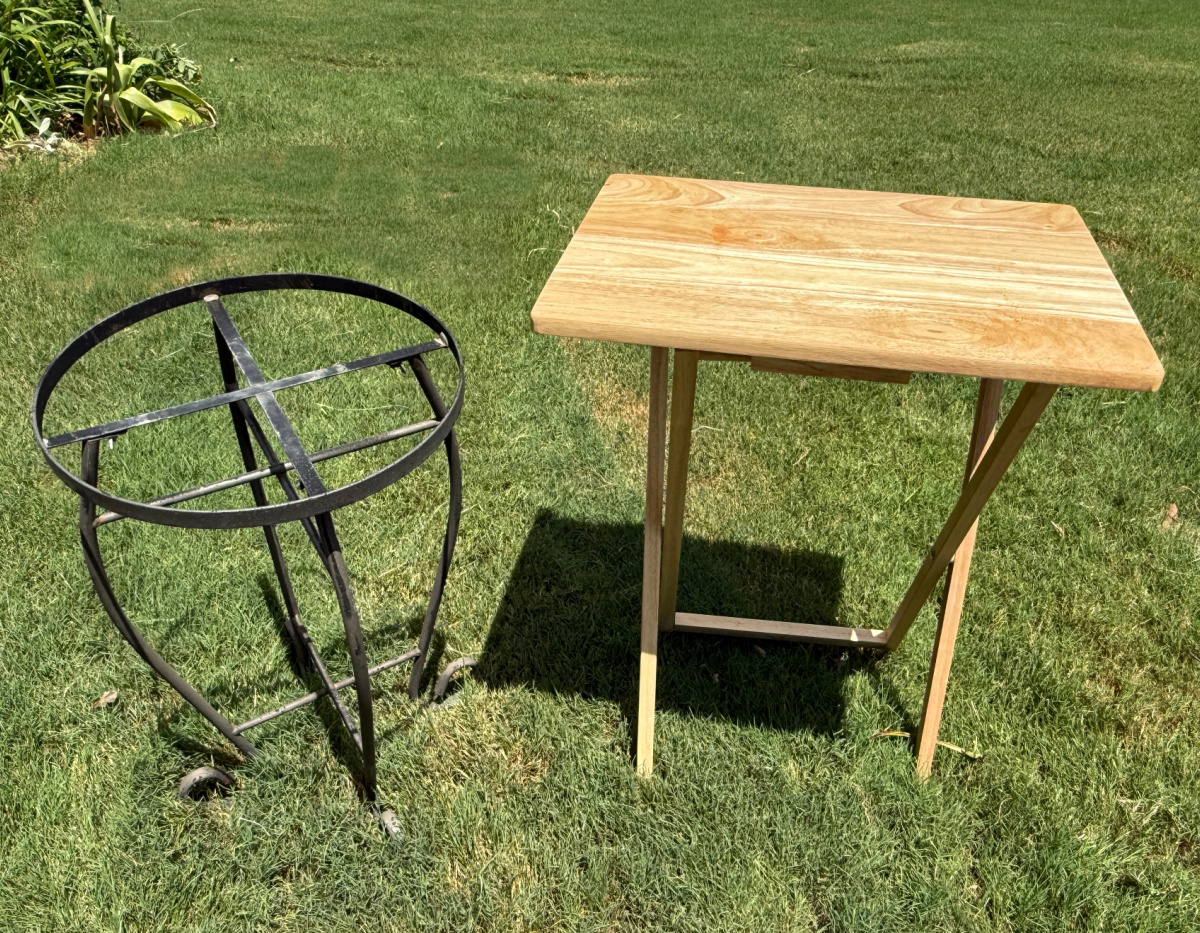
I set the plant stand on top of the woods to make sure it was a good fit.
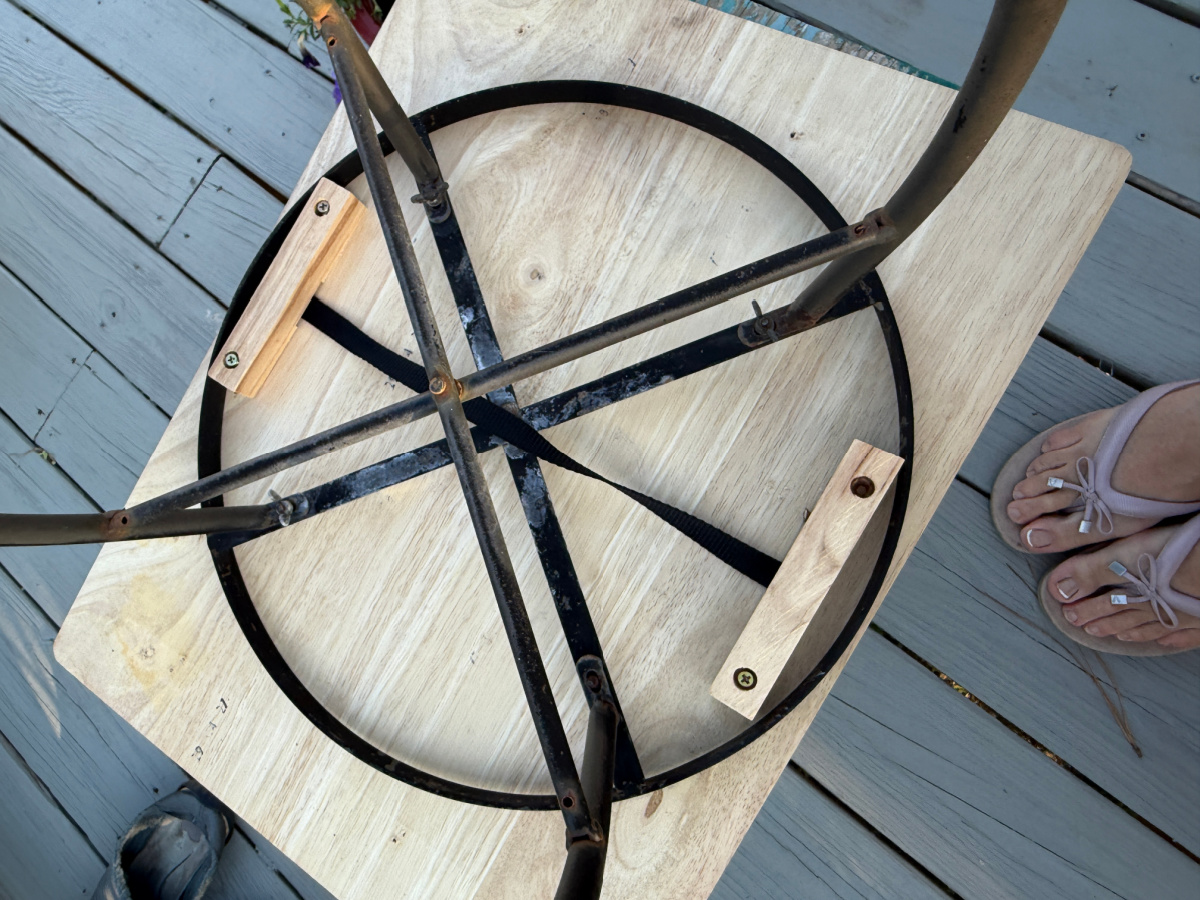
I would’ve I liked it to be a little bit bigger, maybe an additional inch or two in diameter. But this will work.
I traced the shape of the top of the plant stand onto the wood. I added about 3/4″ to the diameter to make to top a little wider. Then I added a bit more to make the table top extend a little more beyond the base.
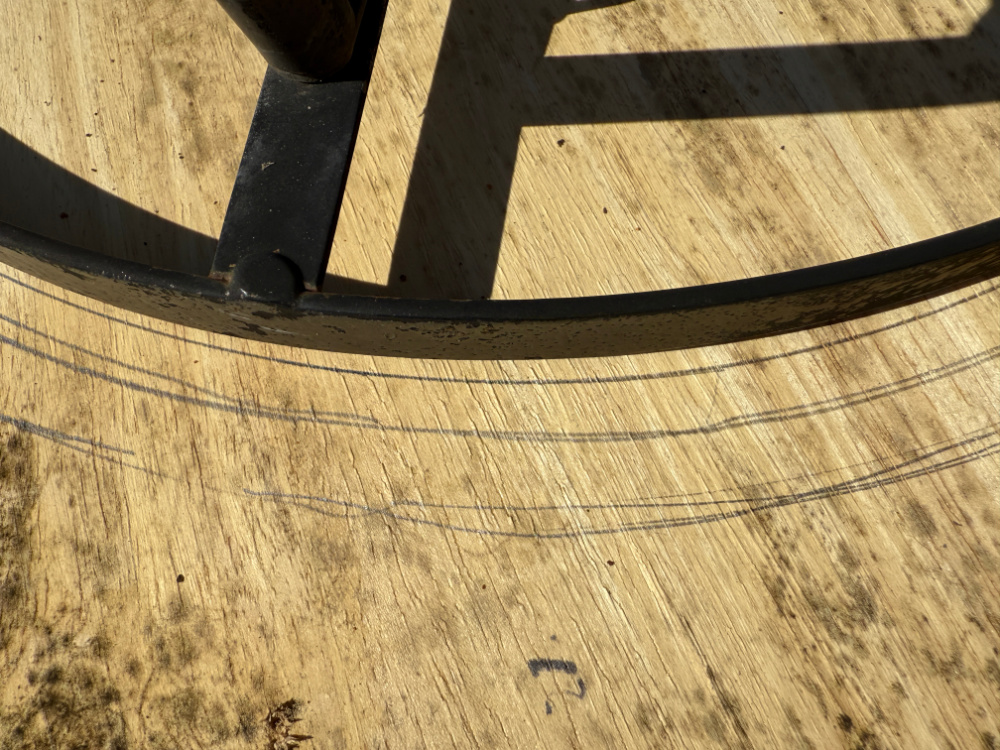
The proportions are off a little bit but this will still work. For a minute, I looked around for an alternate object to use for the table top. I did find an old pizza tray but decided to stay with the wood since the pizza tray had a small lip which meant I’d always be dumping rainwater out of the table top. So, wood top it is!
Cutting the Round
I grabbed my jig saw, Ryobi cordless of course.
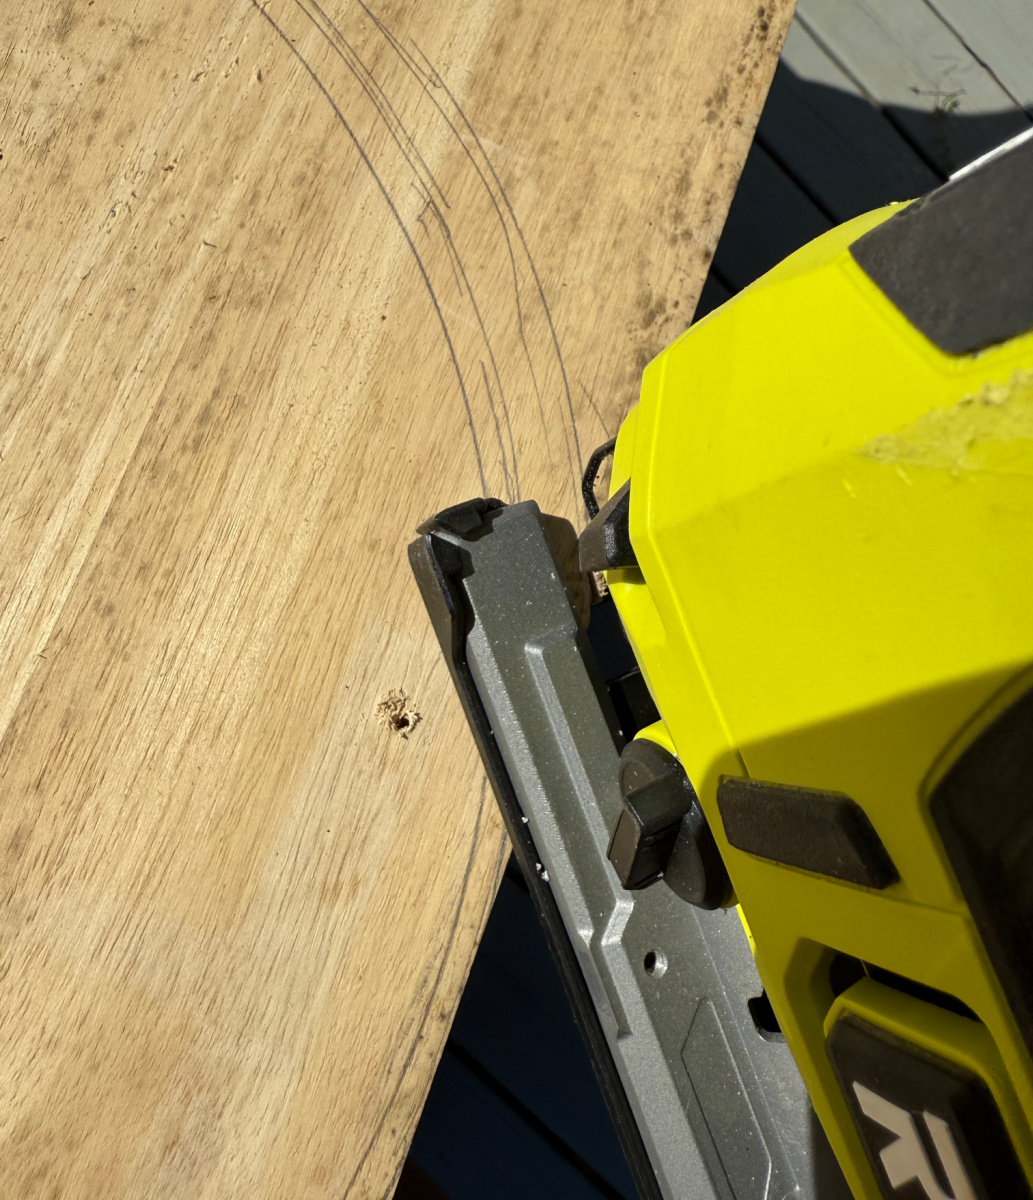
I cut along the pencil lines until I had my table top shaped. I certainly do need to practice cutting out the perfect round shape from wood. But this first attempt will be acceptable. It’s not a perfect circle since the wood was a bit too narrow. I can always use my sander to even out some of the mis-shapen circle.

After I had cut out the circle (believe me, I use that term loosely because she sure is quite the not-so-perfect circle), I used my electric sander to sand the edges.
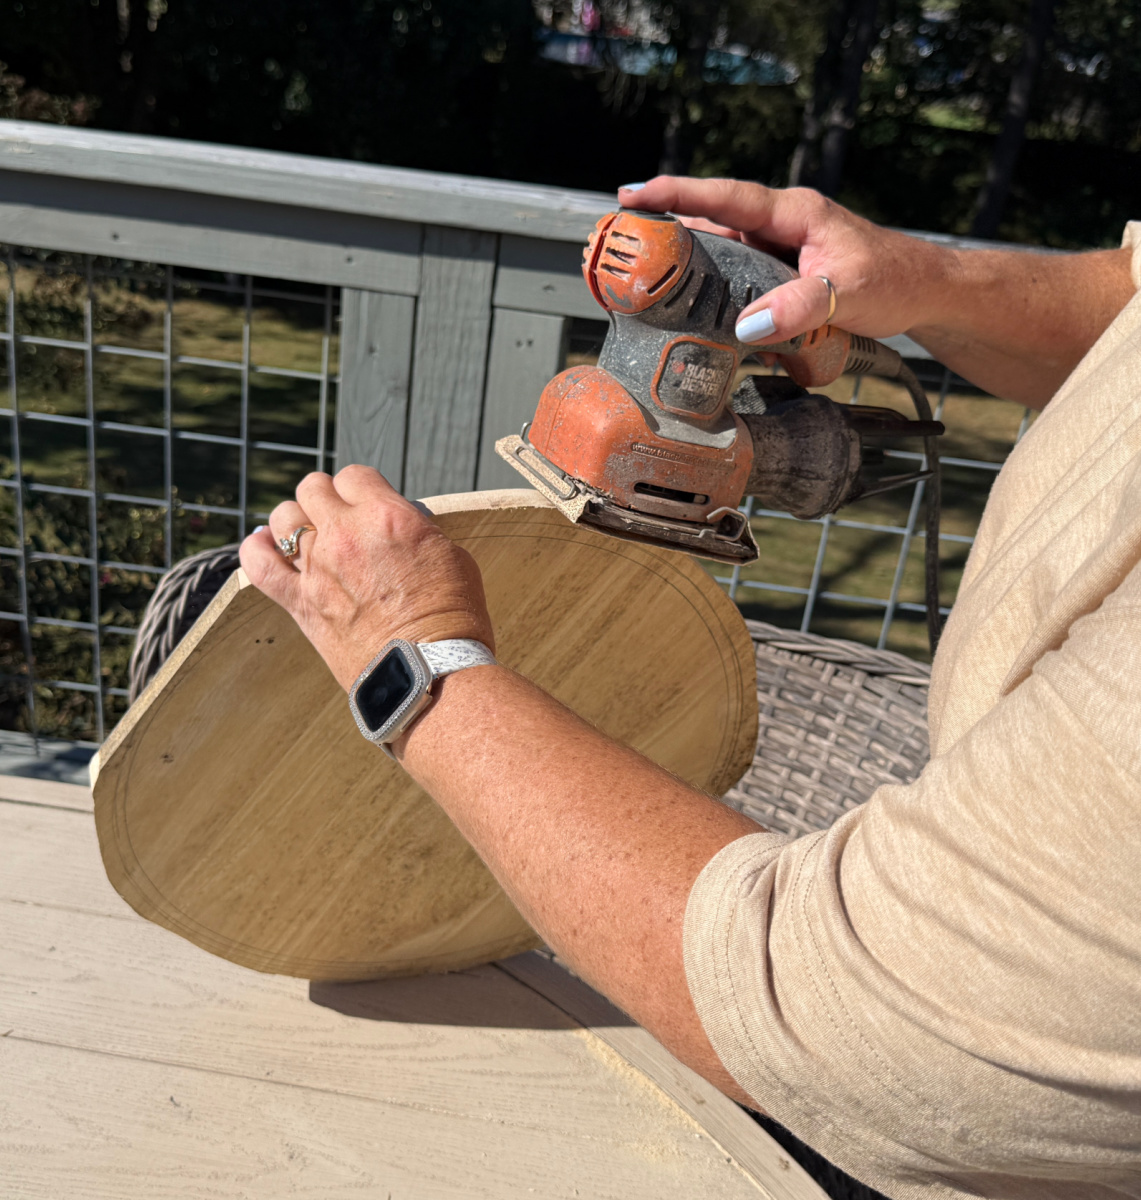
There are many tips and tricks on how to cut a perfectly round circle out of wood. Trust me when I say I will be tuning into these videos to learn how to master this skill. For now, my lumpy sort of circular table top will work.
I gave my wooden round a good sanding over the entire surface.
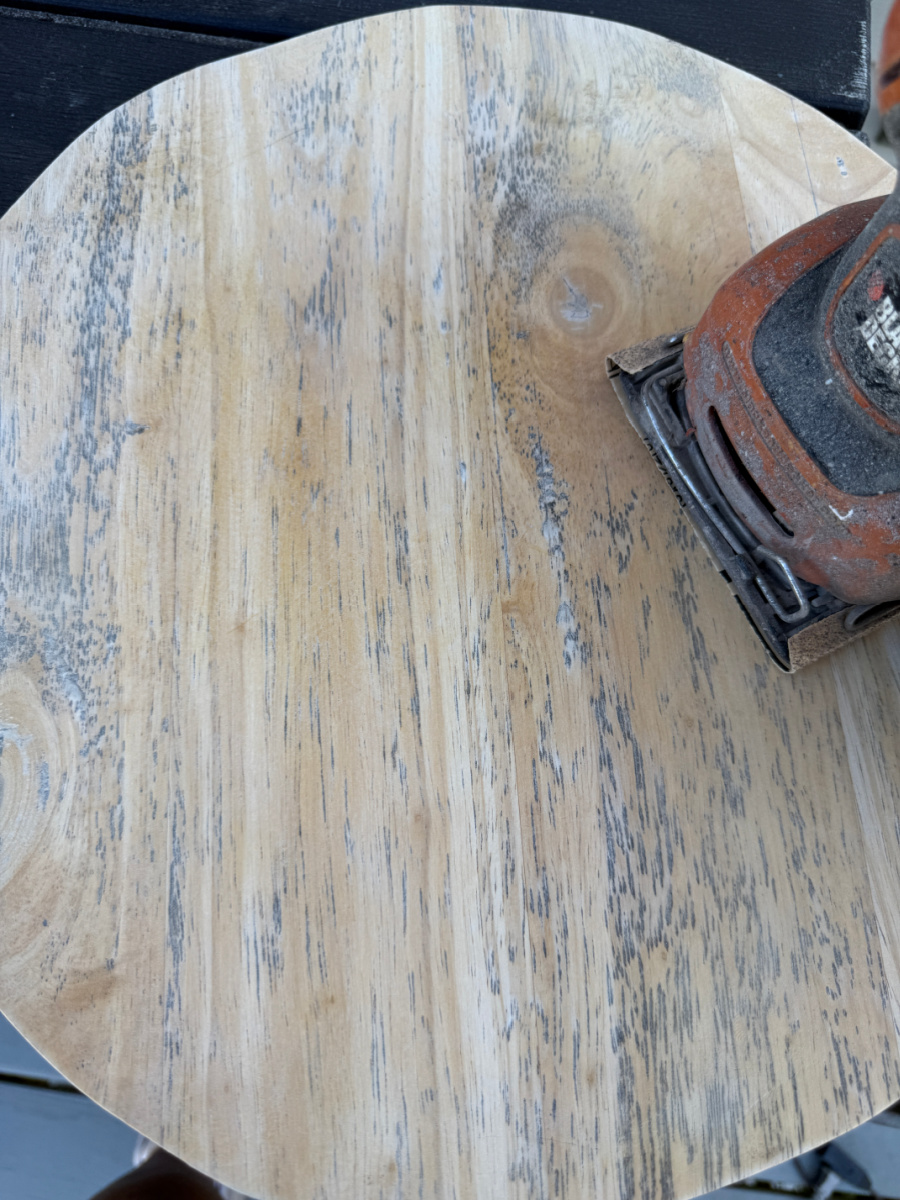
I had left the wood in on the deck exposed to the sun and rain when we went to the beach for 9 days. The wood really weathered during that time. So I will definitely be painting the wood.
Choosing a Design and Color
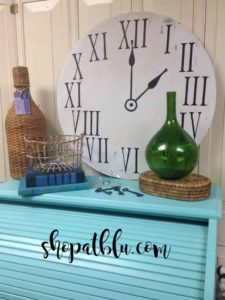
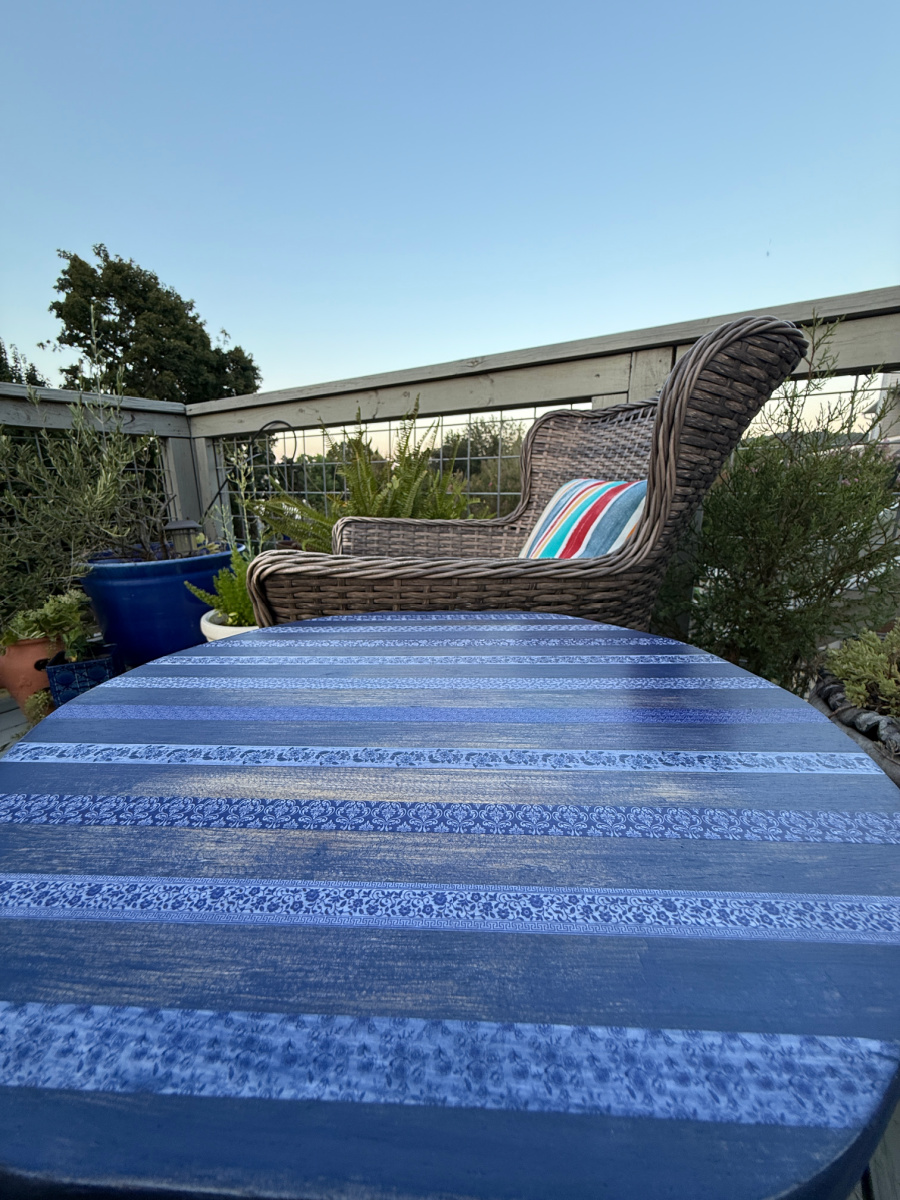
If you’ve been following me for even a short while, you already know what color I will be painting this table. I mean, my blog name is Shop At Blu…so blue it is.
I used Shaker Blue which is a discontinued color from Plaid Paint’s milk paint line. It is the perfect combination of navy blue bordering on a deep purple. I believe it is my absolute favorite blue of all time. And it saddens me so deeply that this color has been discontinued. It’s so old, that the paint was actually dried inside of the container. Refusing to admit defeat, I added some water and was able to salvage just enough paint to cover my wonky wanna be circular table top.
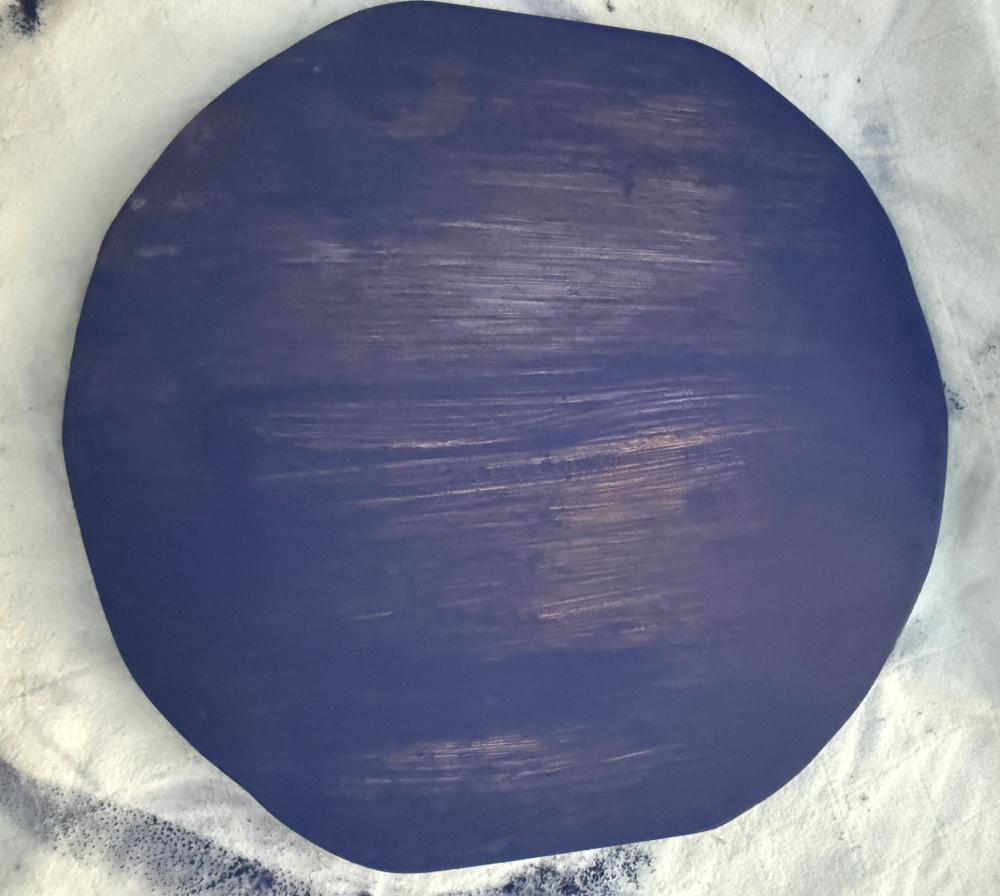
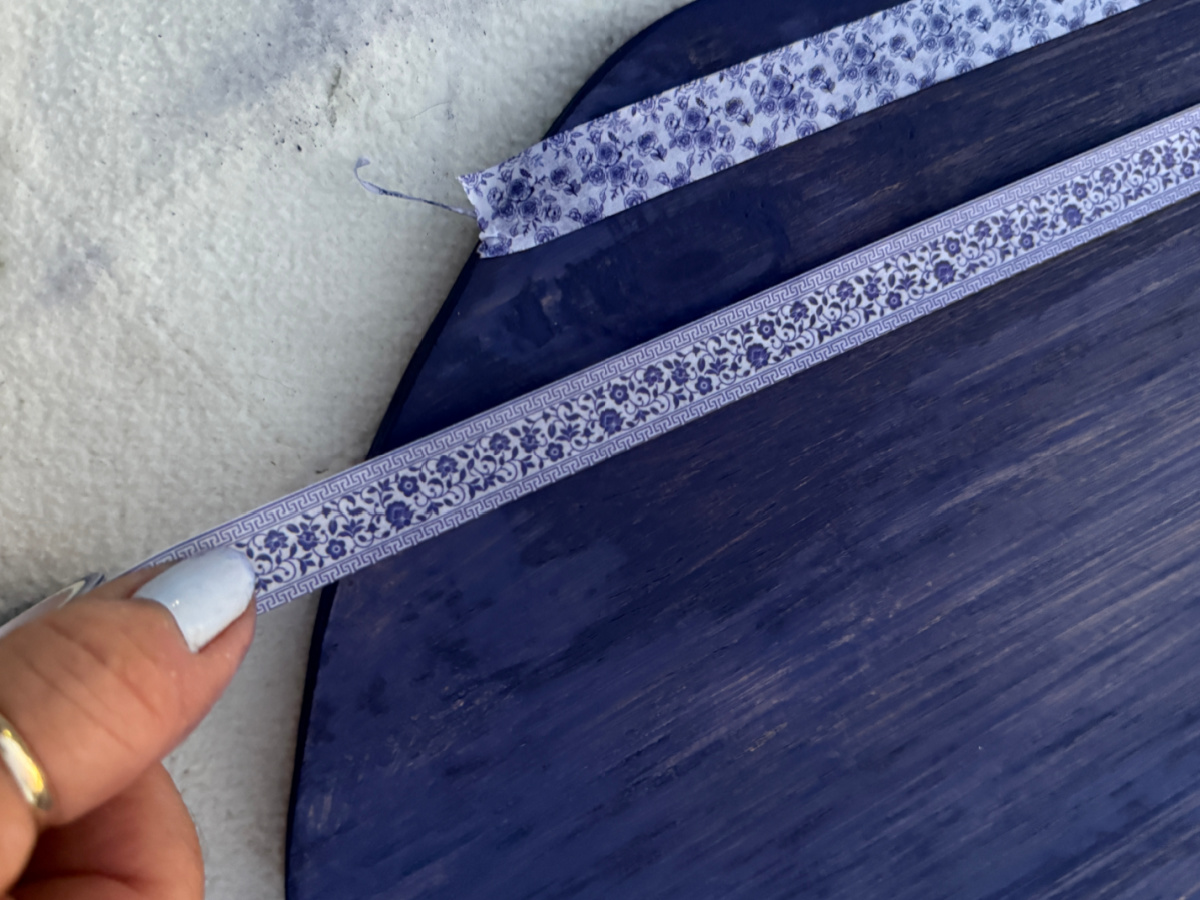
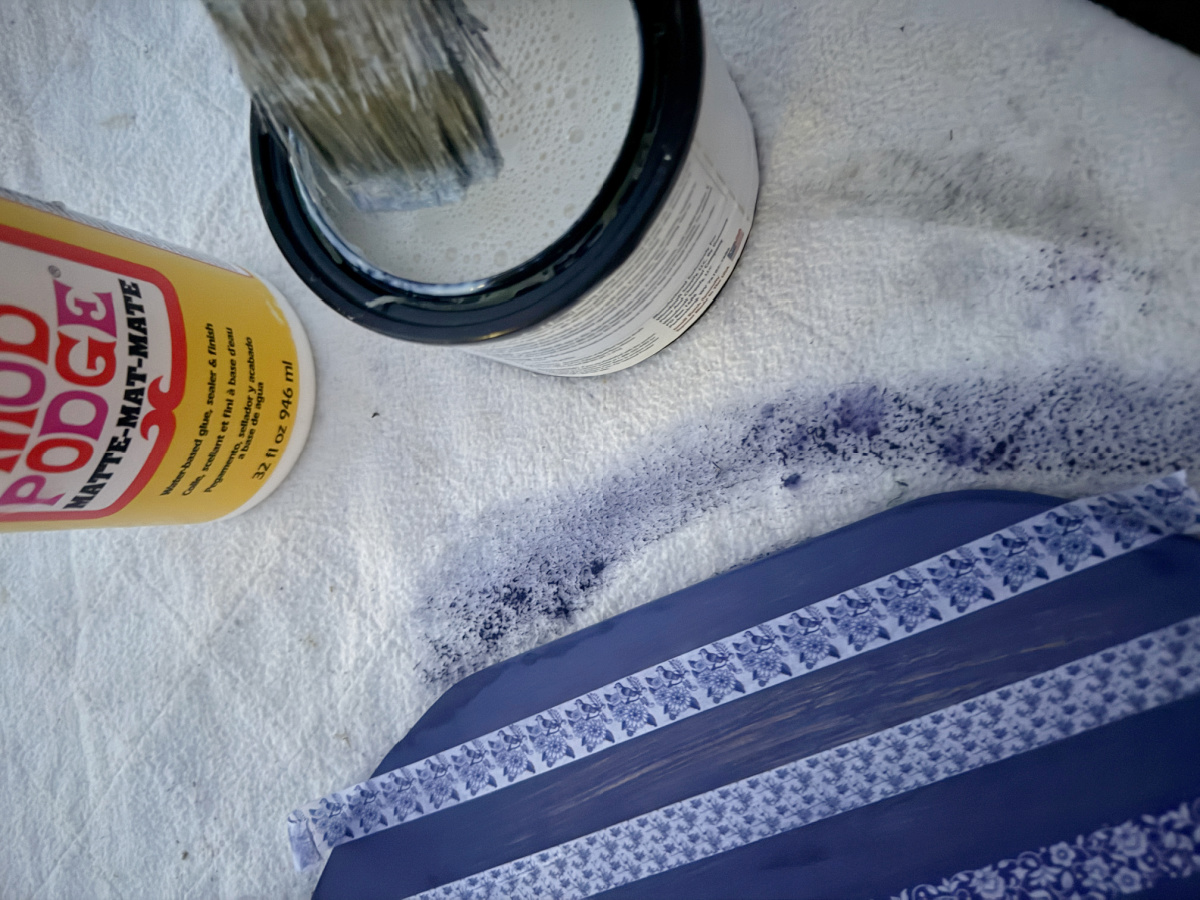
I’m also a big fan of washes and wood peeking through the paint so this was a light one coat application. The table top needed something more so I grabbed some washi tape and added some stripes.
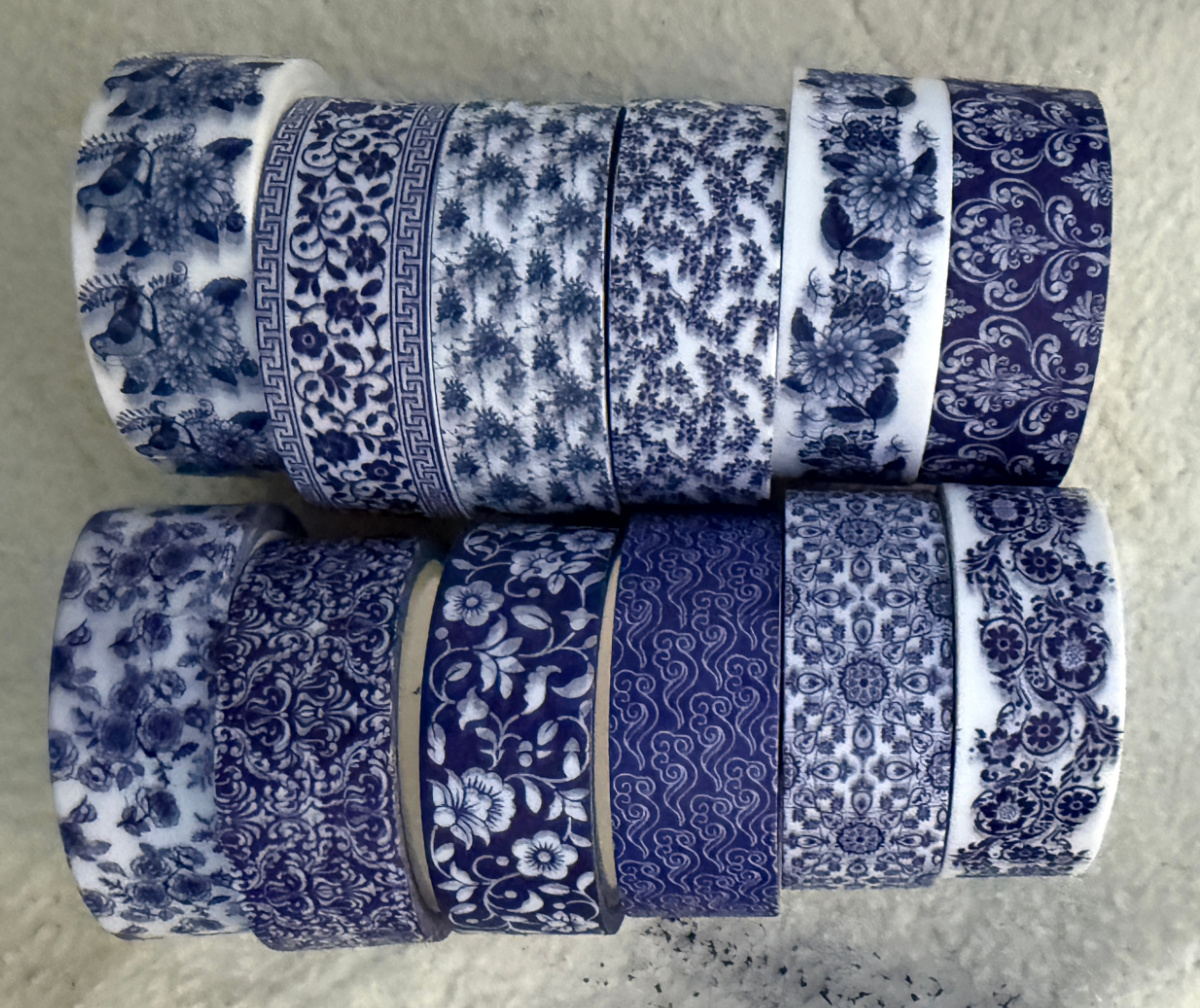
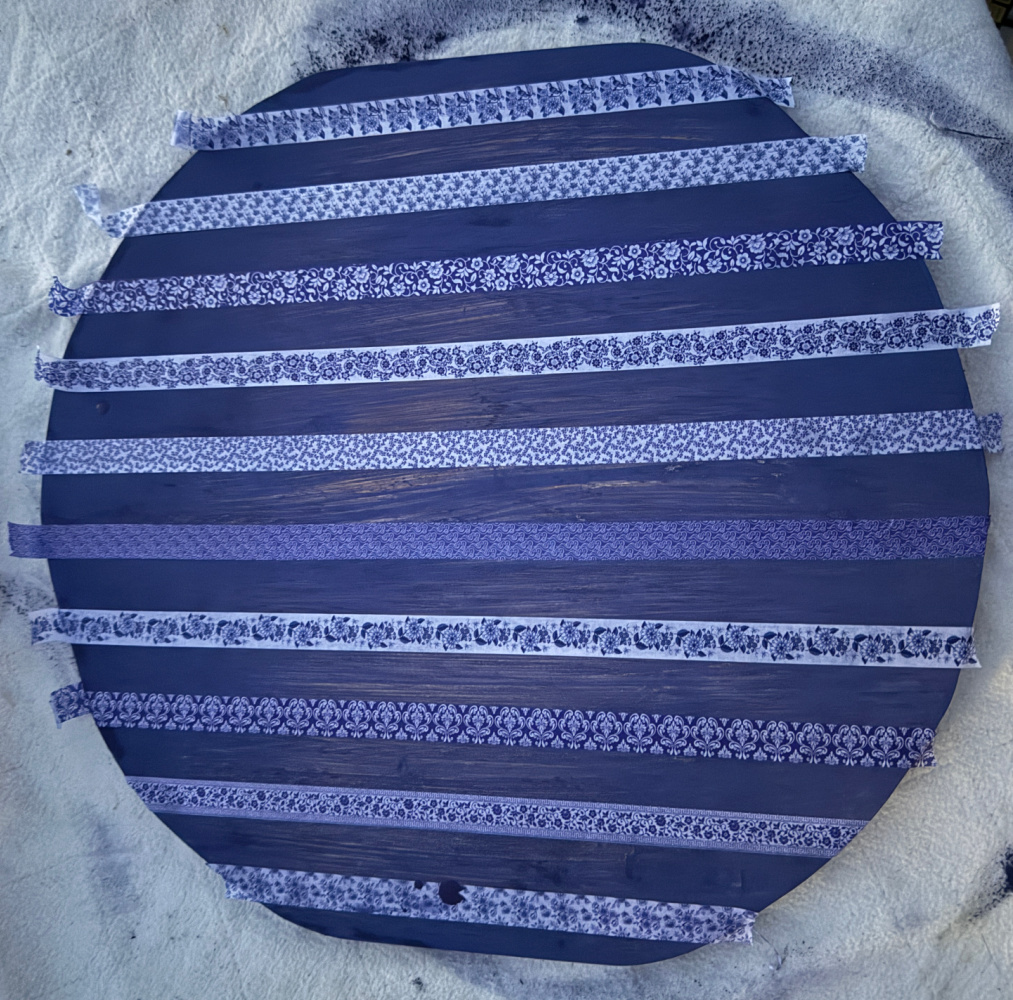
This is the fun part of creating. Do whatever you like! I spaced out the tape using a different unique design for each stripe.
I kept adding tape until I completed the pattern.
I sanded the edges of the table top to remove the excess washi tape.
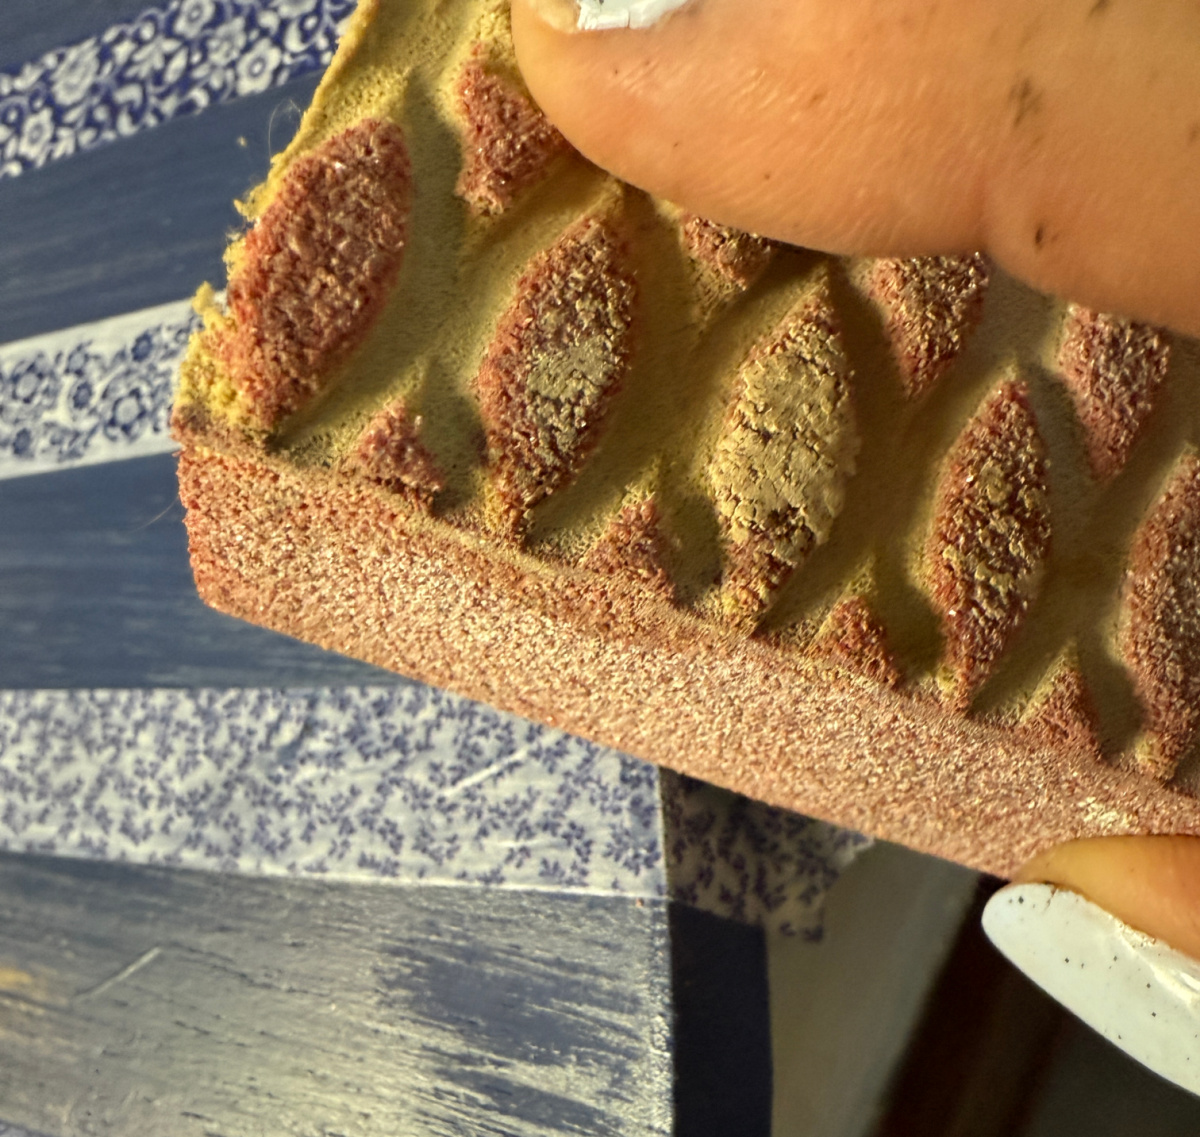
I also sanded the painted edge to give the table a bit of a distressed look.
I used a damp rag to remove the dust. I had the Mod Podge ready to go but decided to use another sealer.
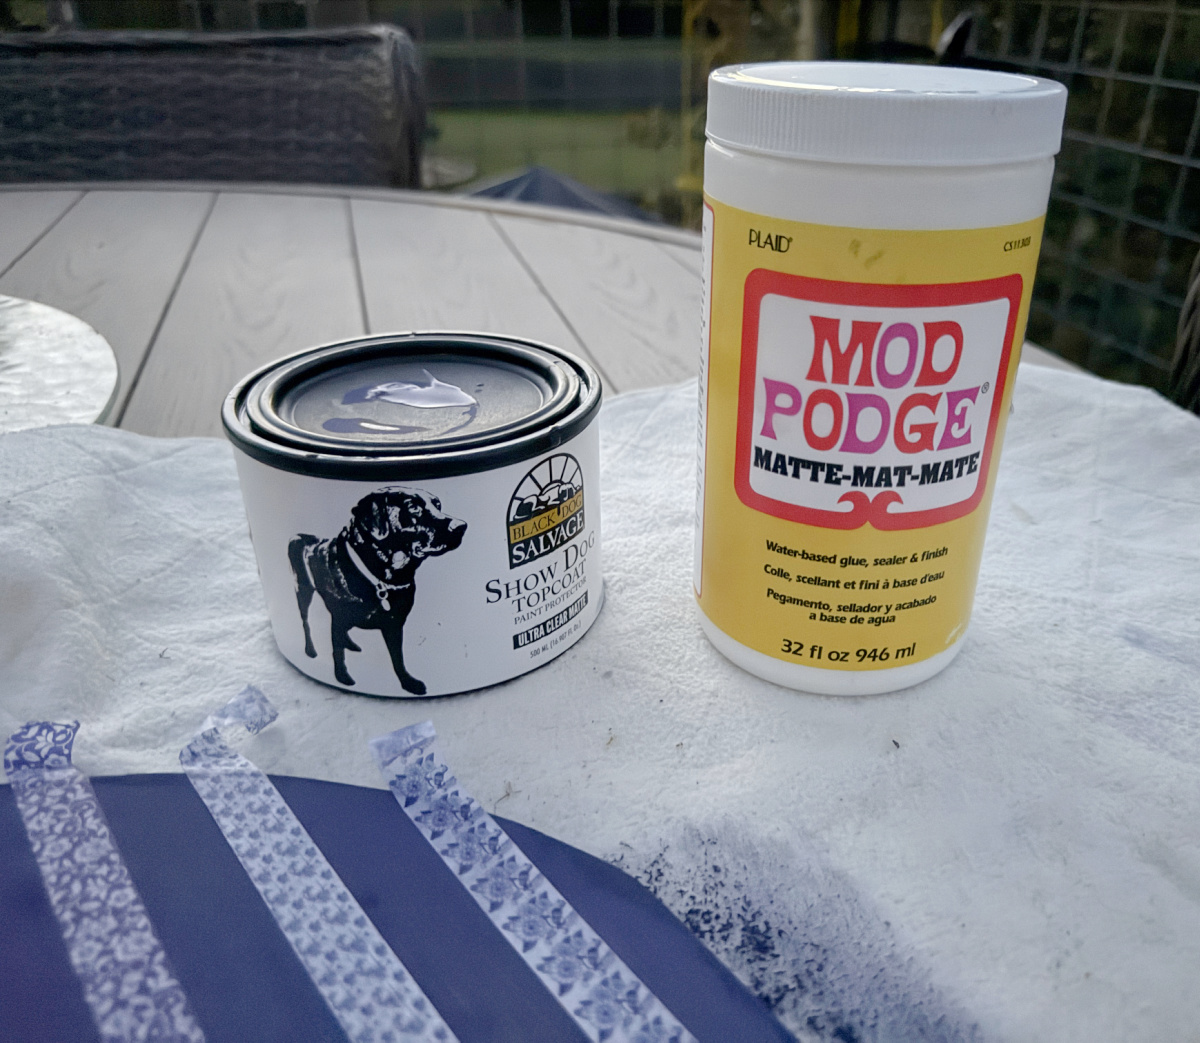
I gave the entire surface a nice coat of Black Dog Salvage Furniture Paint Show Dog Top Coat. I allowed this to dry overnight.
I finished with a generous coat of Crab Coat. Crab Coat has UV protectant so I know this will help prevent the gorgeous blues from fading in the intense Alabama sun.
I set the finished top onto the base to get a preview of the finished table.
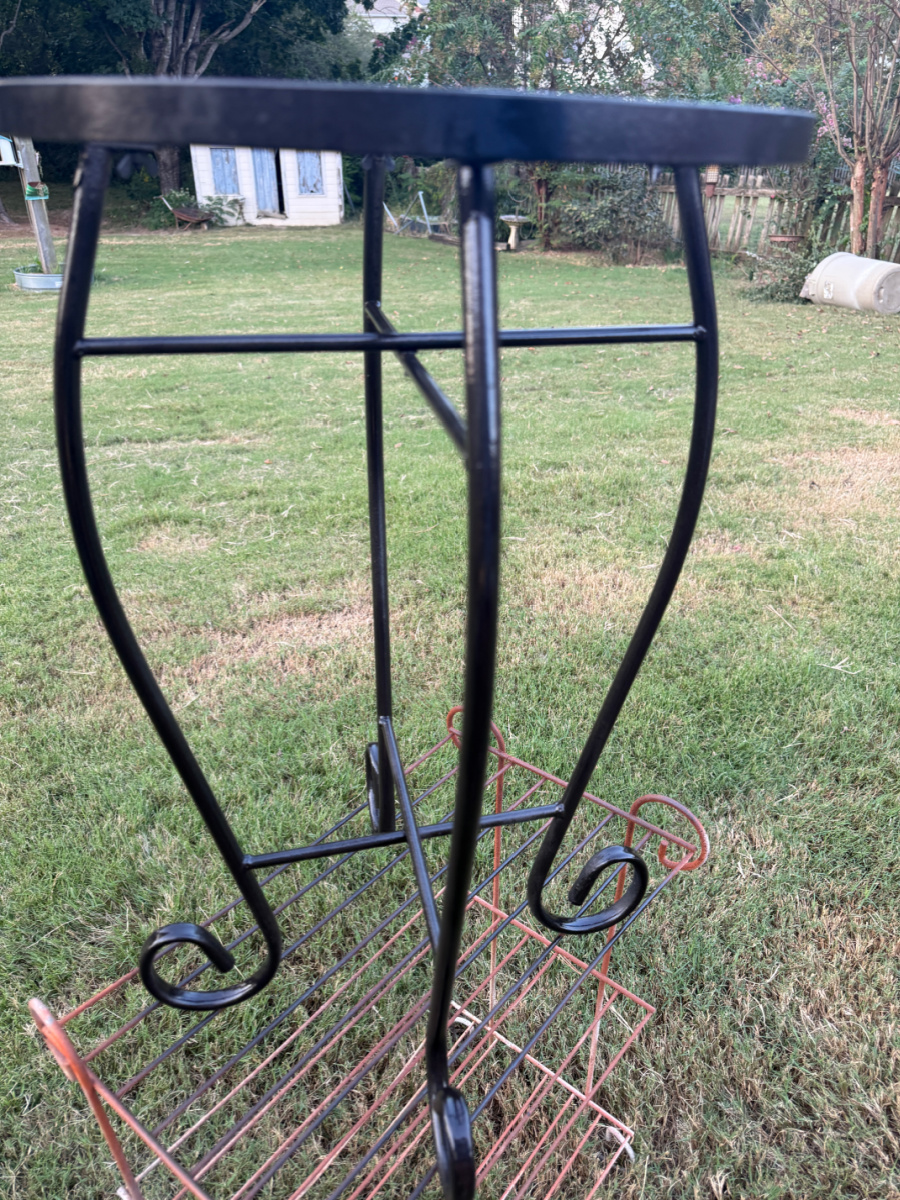
While the table top was curing, I turned my attention to the base. She really needed to be refreshed.

I
gave the table base a coat of Oil Rubbed Bronze with Rustoleum spray paint. I allowed this to dry, She looks so much better.
Time to attach the table top to the base. I used some construction adhesive, I just followed the original trace line and laid down a nice thick bead. I set the base onto the circle of glue and allowed it to dry.
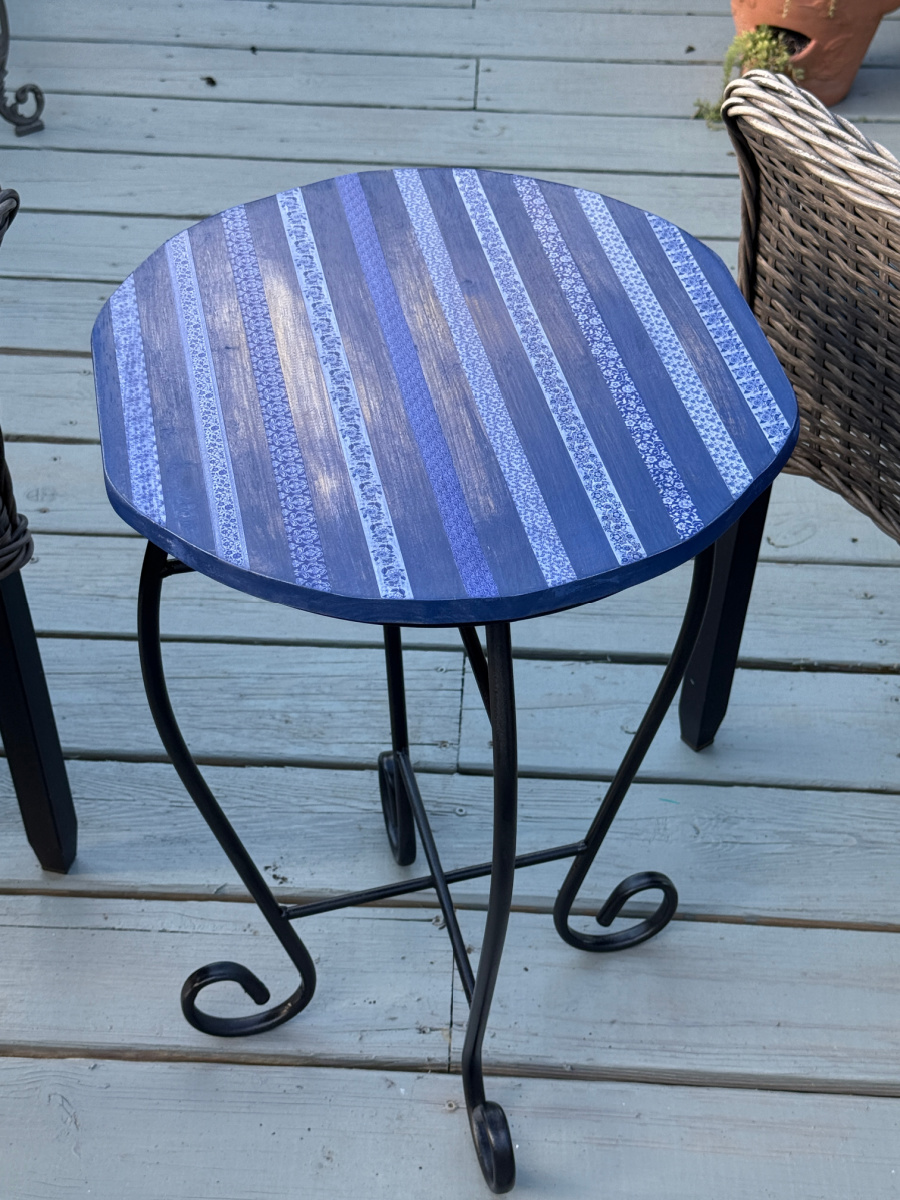
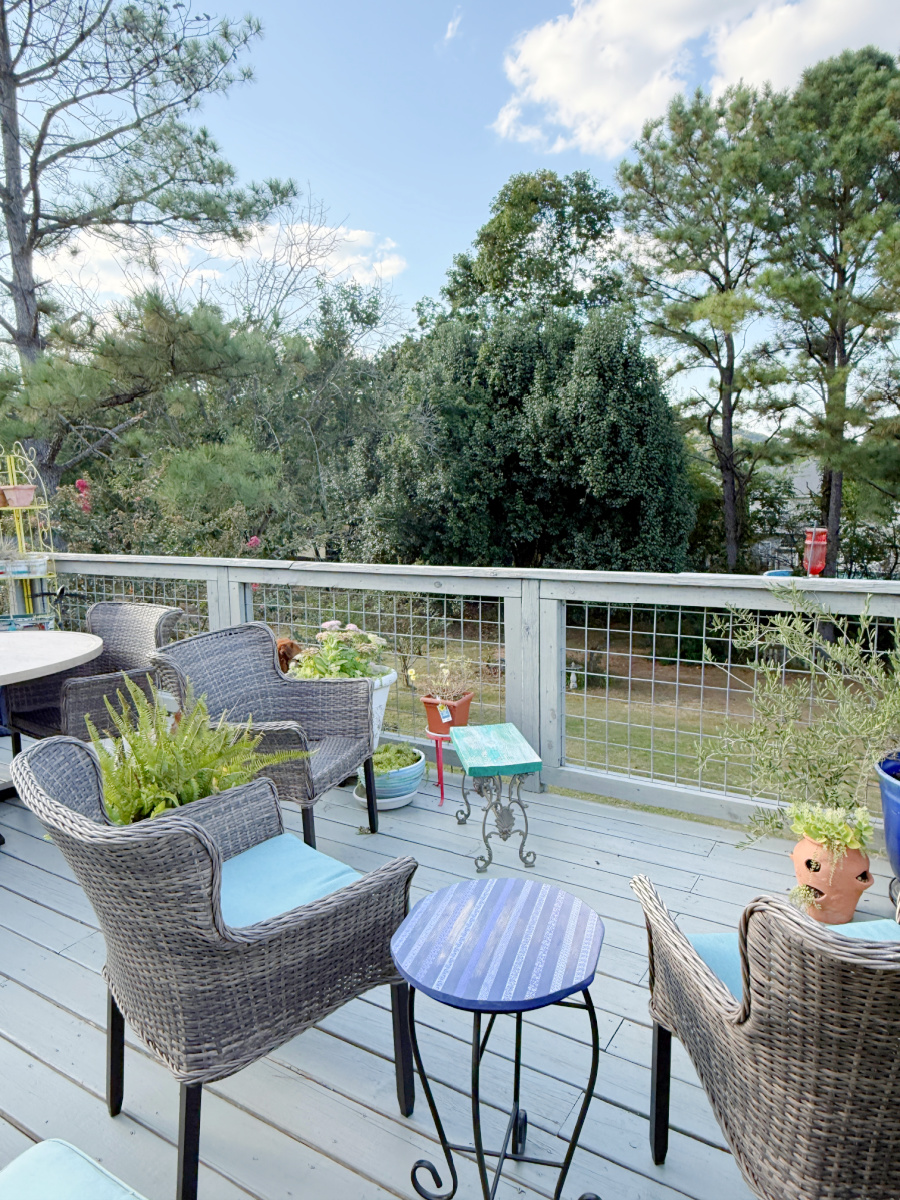
She is the perfect size.
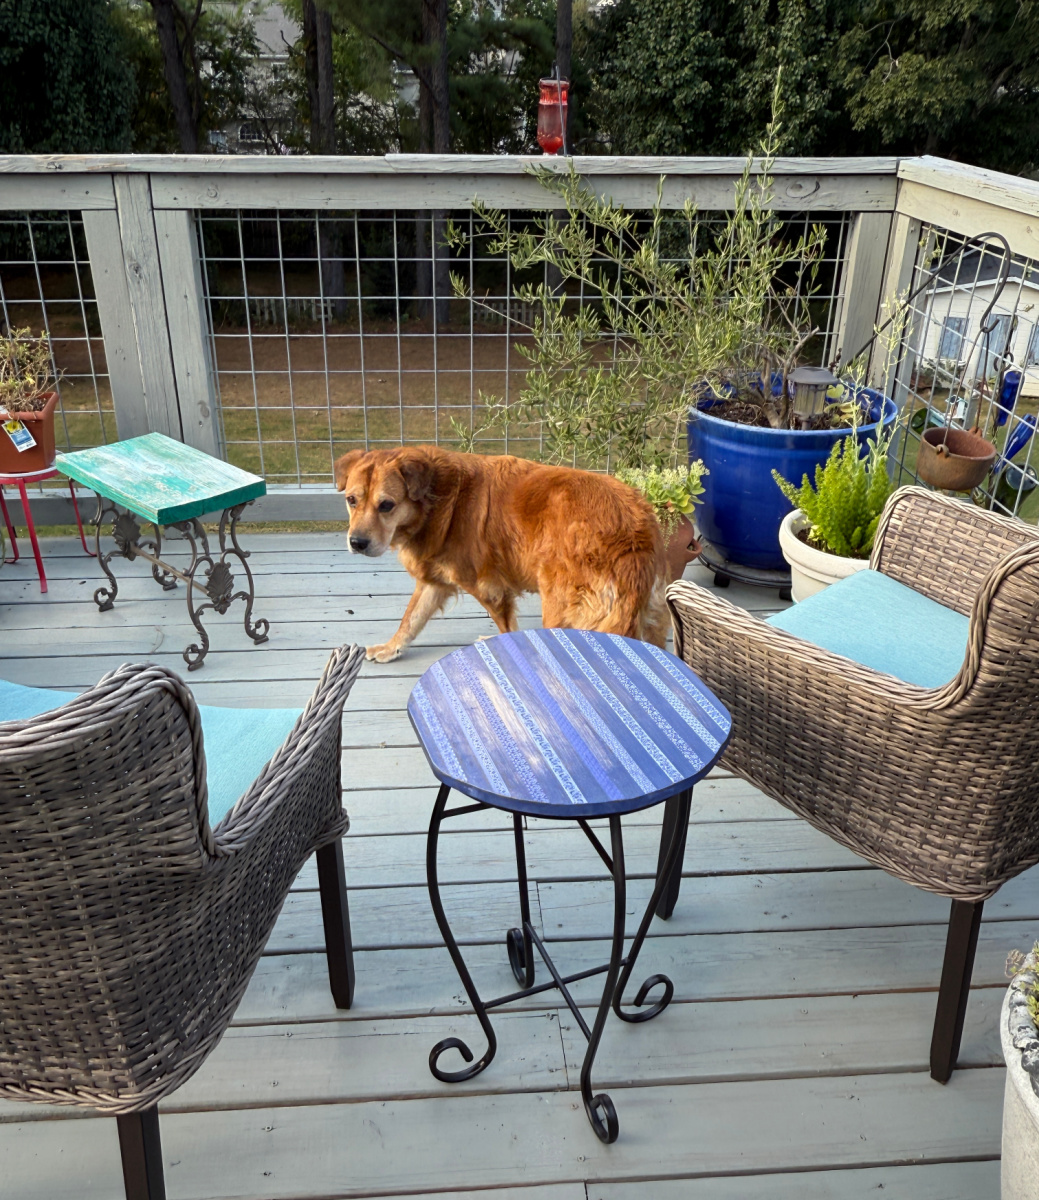
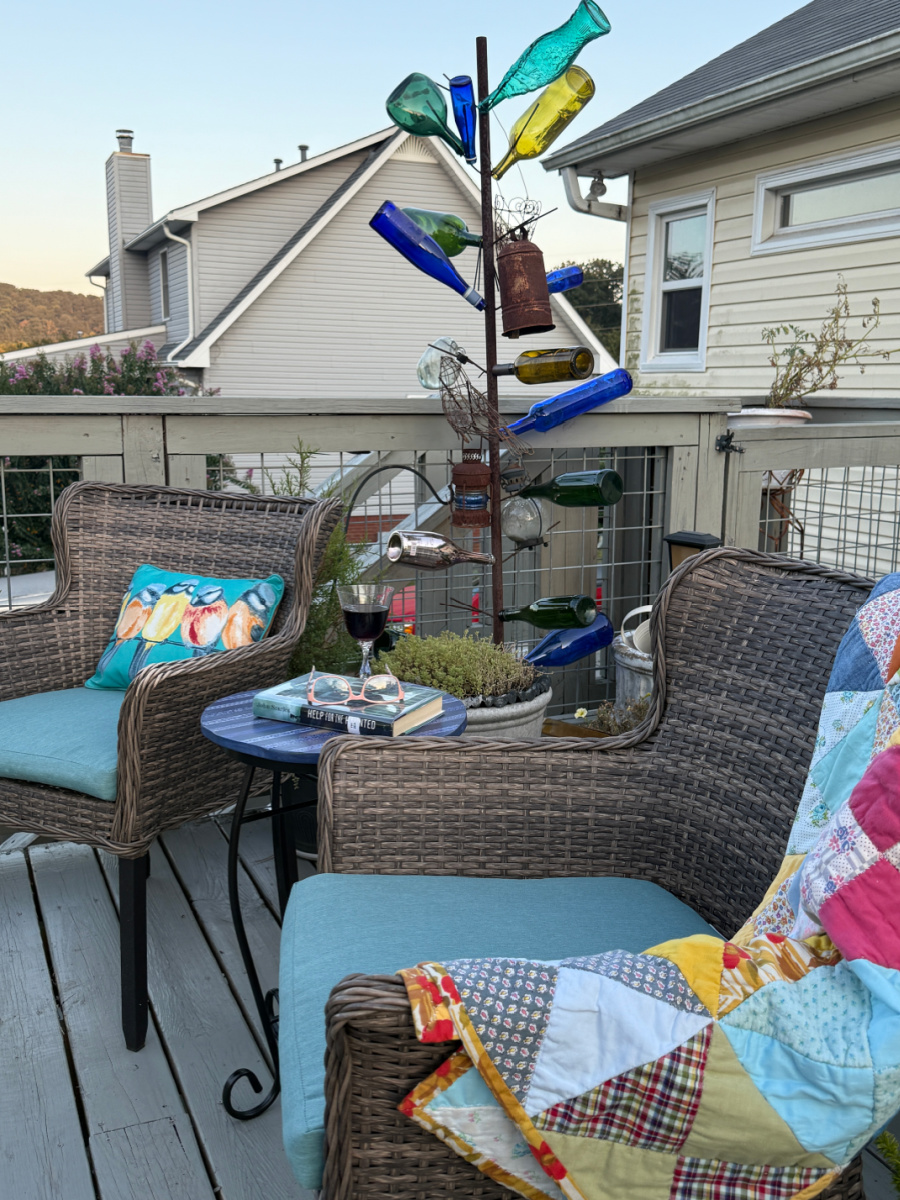
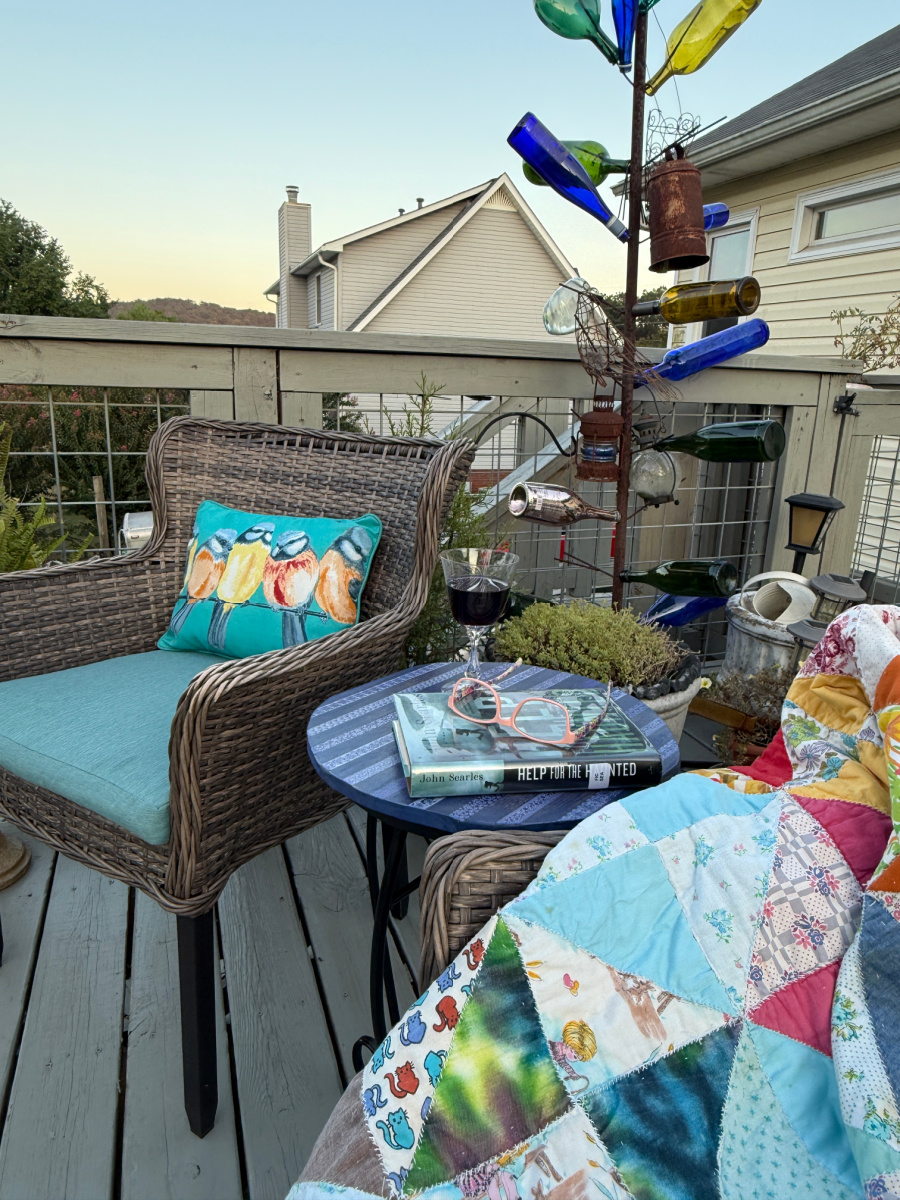
She sits nicely between two chairs.
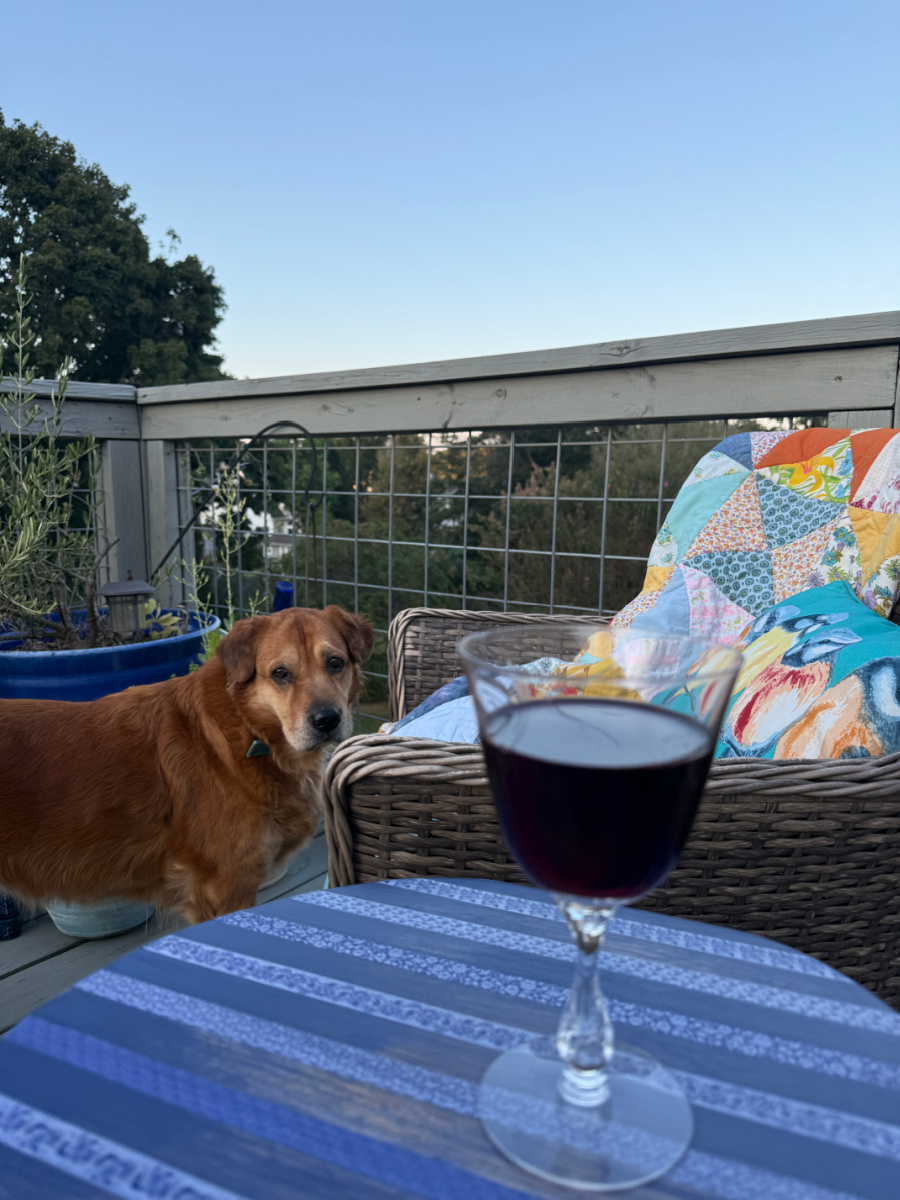
And Mia seems to approve.
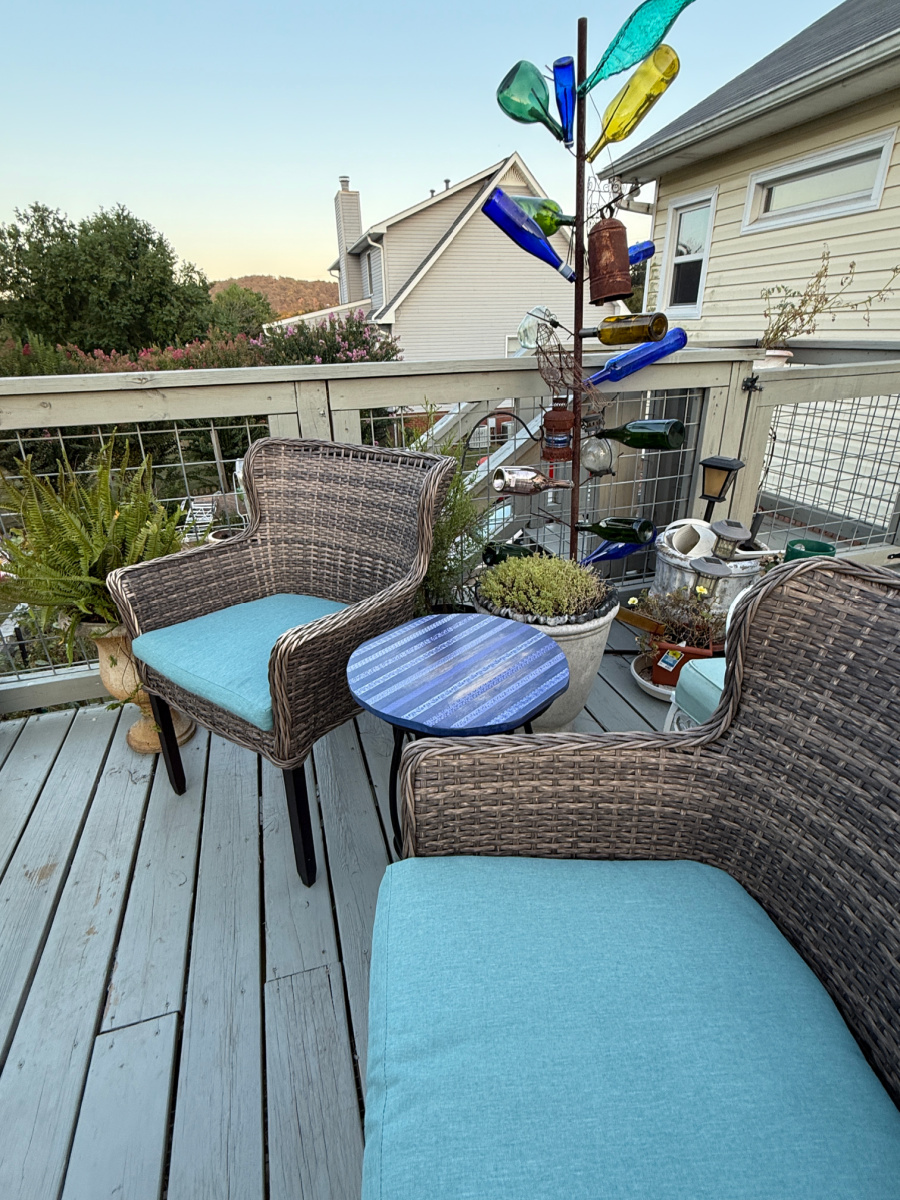
I tossed a few pillows onto the chairs and added a throw.
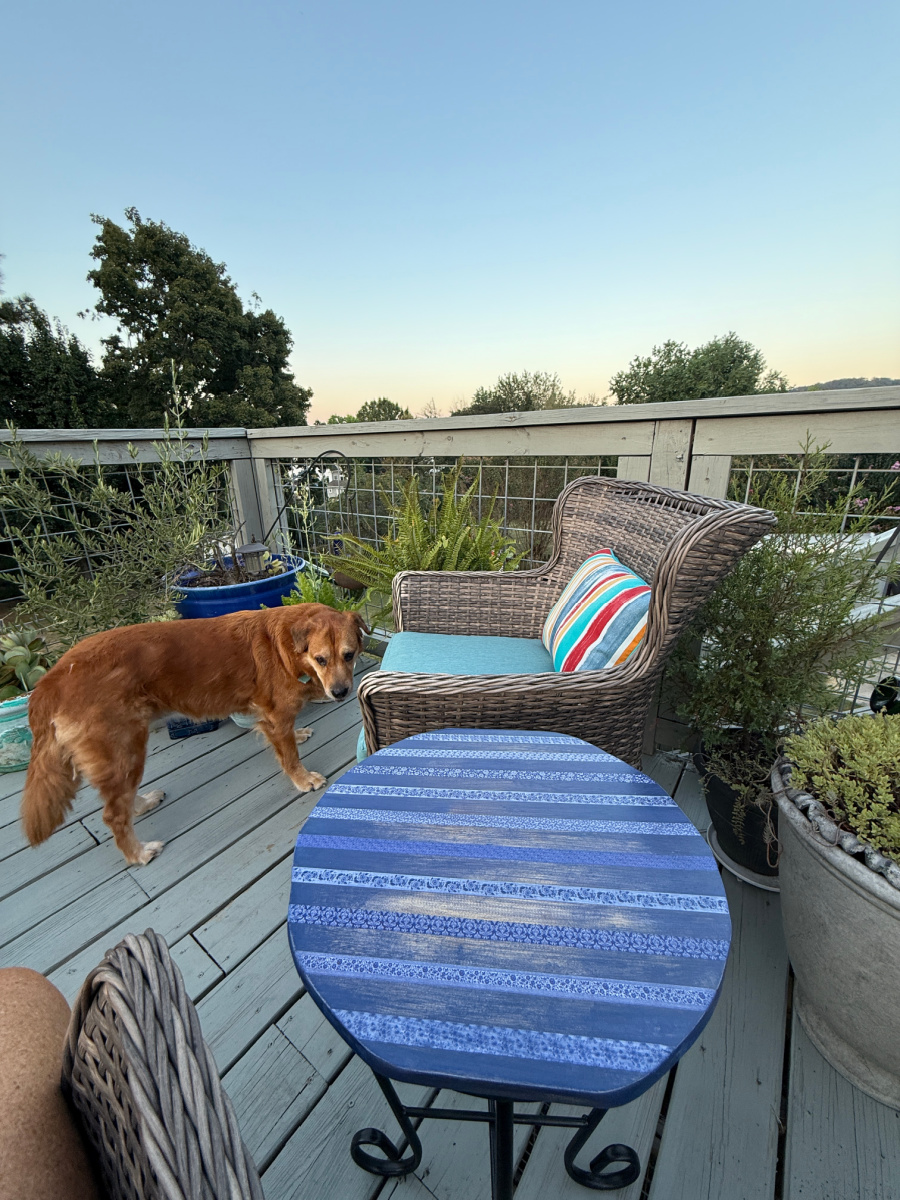
And of course the table is functional!
Pretty easy project! It’s looking like my fall colors on the deck this season will contain blue! What a shocker, right?
Cheers to the fall deck season!

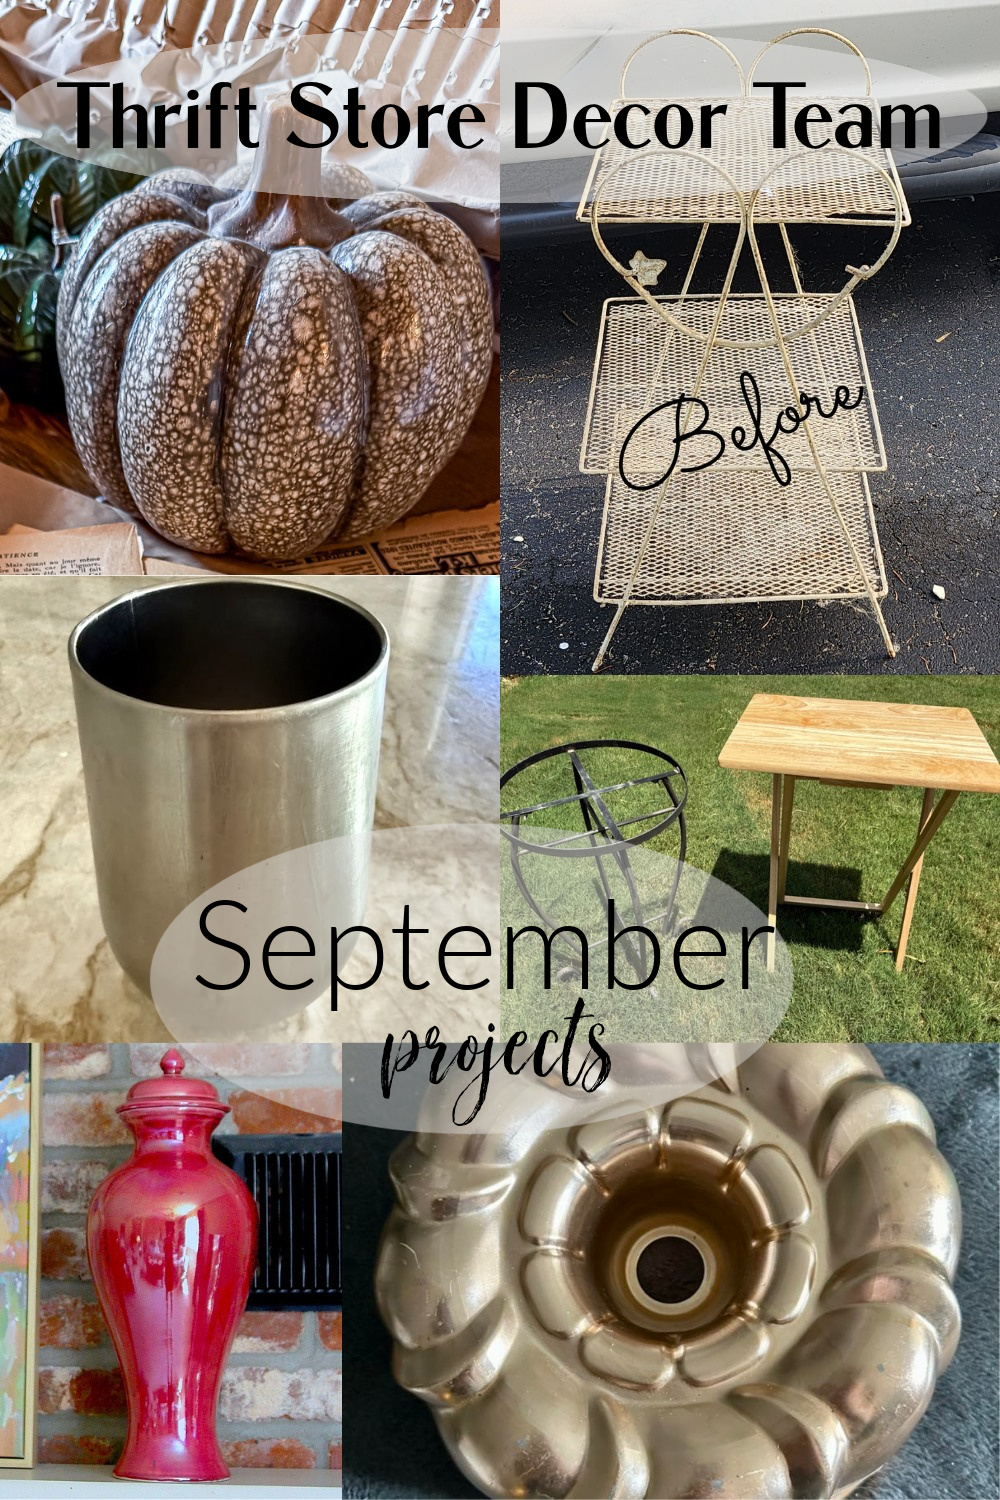
How to Make Paper Bag Pumpkins – Songbird
Paint a Plant Stand with Bold Colors – My Repurposed Life
How To Make a Hydro Dipped Epoxy Tumbler – My Uncommon Slice of Suburbia
Upcycle a Tray Table into a Repurposed Side Table – Shop At Blu
How to Paint a Ginger Jar – Petticoat Junktion
How to Make a Pumpkin Bundt Pan Craft – Our Crafty Mom