Thrift or Dollar Store DIY Spring Wreath
As an Amazon Associate and member of other affiliate programs, I earn from qualifying purchases.
I found this embroidery hoop at the thrift store a while back. It is a decent size with a diameter of 16″. I actually bought 5 of them for $1 each. With spring just about sprung here in Alabama (though I am sure we will have some lingering cold weather), it is time for a new spring wreath. This hoop will make a perfect wreath! After a quick trip to the Dollar Tree for some colorful florals, I was ready to build my dollar store DIY spring wreath.
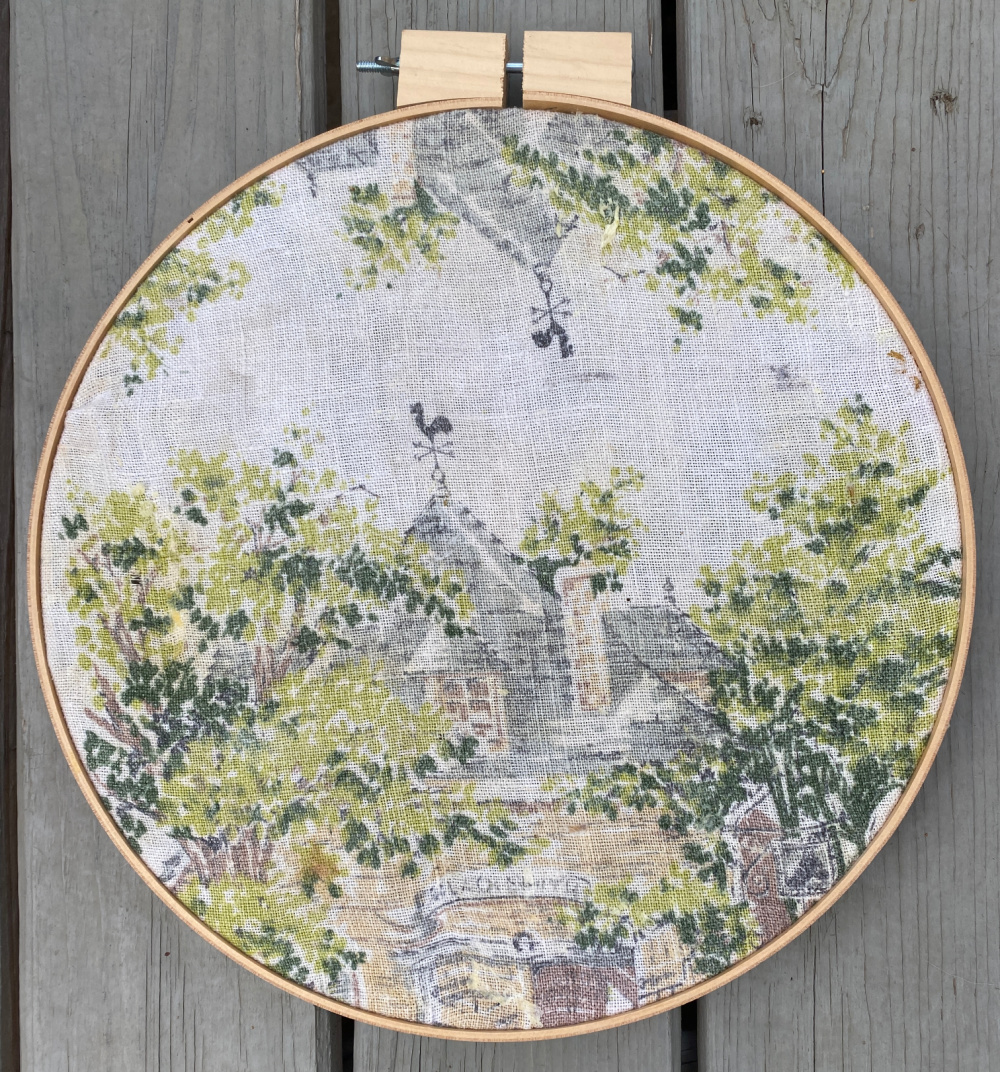
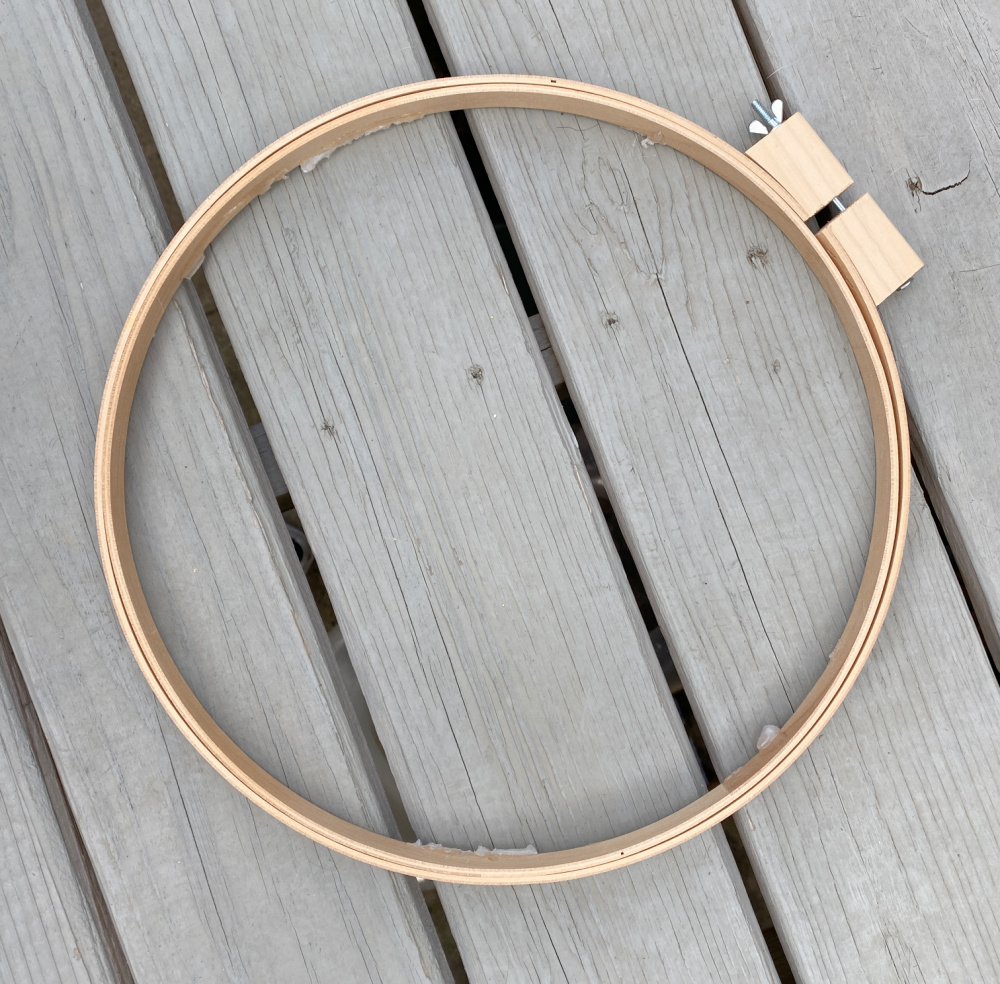
This picture makes the fabric look pretty good. In reality, it was stained and very thin. It had seen better days indeed. So I stripped out the fabric. The hoop had some residual glue along the edges so I used a utility knife to scrape it off.
I’m sharing this project for Thrift Store Decor Team Wednesday. That’s right! It’s the second Wednesday of the month and time for our monthly share of thrifty decor projects.
As always, at the end of this post, you will find links to all of the other team projects for this month. I can’t wait to see what skills the team is sharing for their projects.

Now, back to the creation of a thrift or dollar store DIY spring wreath!
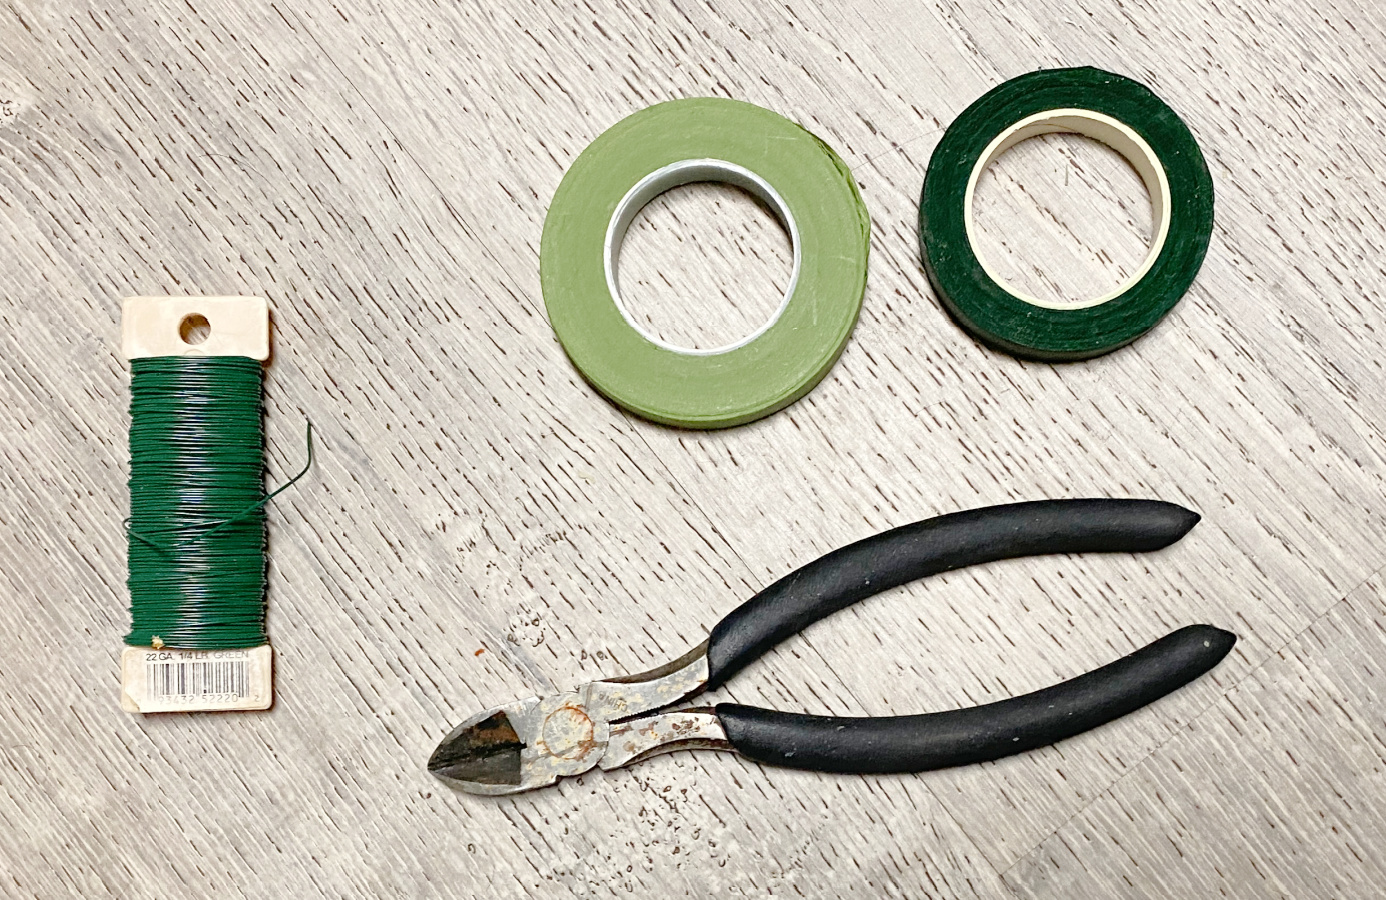
Supplies
- Large embroidery hoop or similar shaped wreath base
- silk flowers and greenery
- glue gun, paddle wire or florist tape (either will work)
- ribbon (optional)
I like the natural wood on this hoop so I decided to leave it as in instead of applying paint. You could paint it, wrap it with fab or ribbon, embellish it with jute or other items. I am going with simpler is better for this wreath. So natural finish it is!
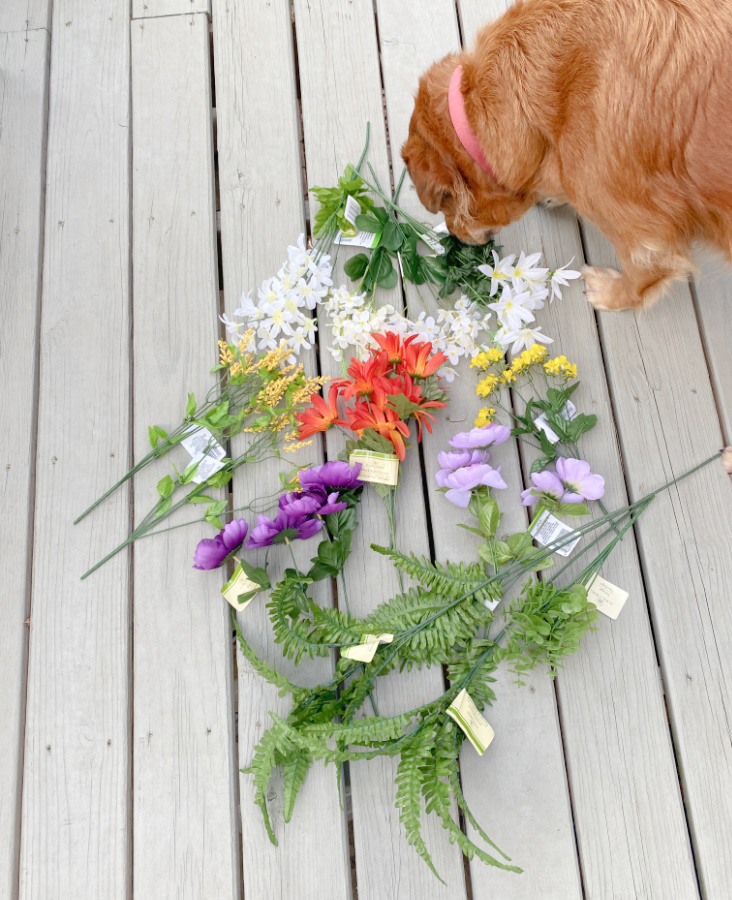
I stopped by the Dollar Tree and grabbed some colorful spring floral stems. I couldn’t resist the faux ferns either.

The next step is very, very important. Be sure to have your assistant inspect the flowers and suggest a design. Maybe you are lucky, like me, and your assistant has a good eye for design.
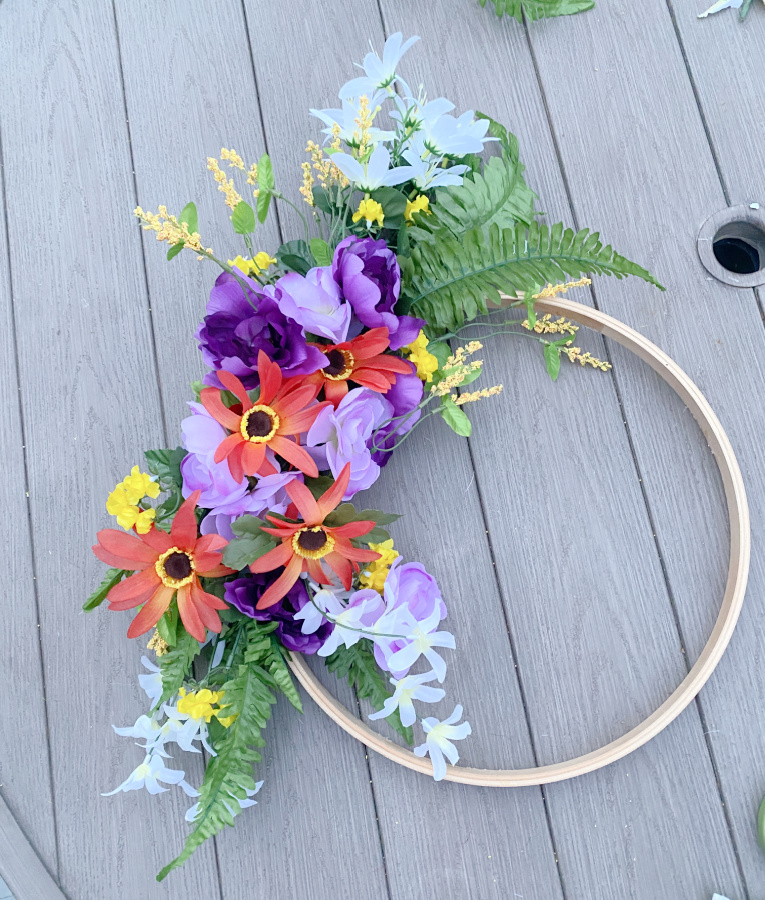
I laid the hoop on a flat surface and simply placed the greens and florals around the hoop until I had a design that I like. You can make the wreath as full or as simple as you like. I was going for a thin wreath with heavy floral design on one side of the wreath.

Start with a base of greens.
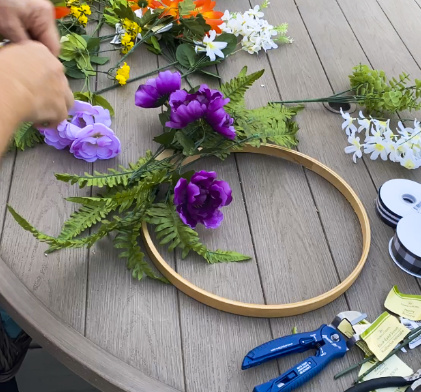
Then add your individual stems one by one.
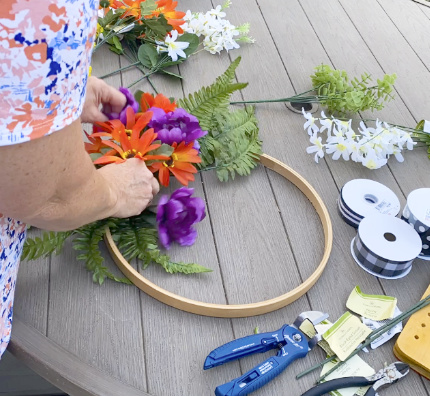
Continue adding more colors and flowers.
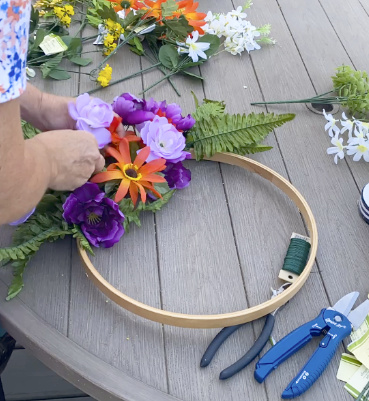
Once you are happy with the design, start to secure your florals to the wreath. You can use hot glue, floral tape, or paddle wire.
I am going to use my wreath on my front door which gets full on southern sun ALL DAY LONG. Because of direct exposure to and the high heat of the sunlight. I opted not to use the hot glue.
Wrap the wire around and through the stems to secure them to the hoop. Just keep wrapping the wire over the stems and under the hoop until the flowers are securely fastened to the hoop. You can also wire your florals and greens together into one large unit and then wire the entire floral unit onto the hoop. Both methods work. Just use whatever method you are more comfortable with.
The wire is green so it blends with the greenery.
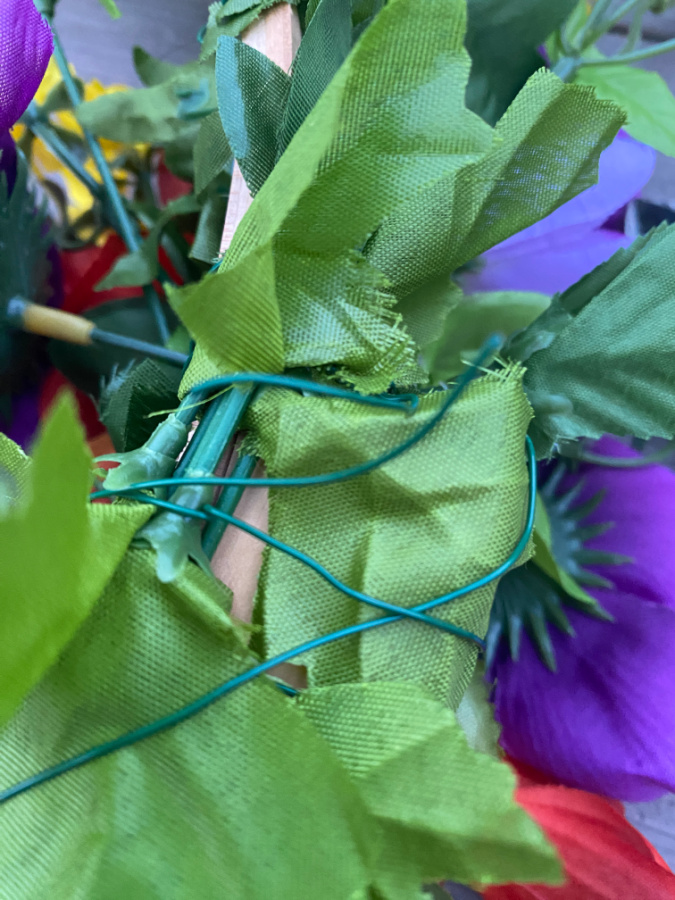
Most of my flowers are on wire stems. I can bend and shape them in whatever direction I desired. So I didn’t have to be overly careful on how I wrapped the wire around the stems and hoop. If the flower wasn’t in the optimal spot, I twisted the stem to make the flower more or less visible.
Final Step…Or Not
The last step was to add a bow. I decided on a whimsical and arty look. This ribbon is from Old Time Pottery. At $2.99 to $4.99 per roll, it was quite affordable.
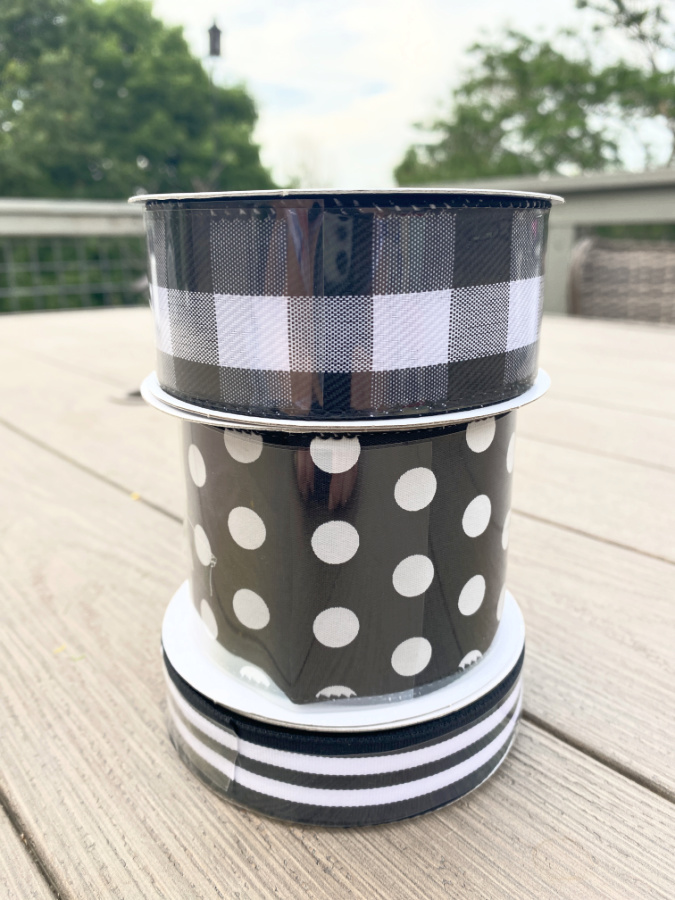
There are many ways that you can make a bow. Or you can simply buy one! I made my own bow.
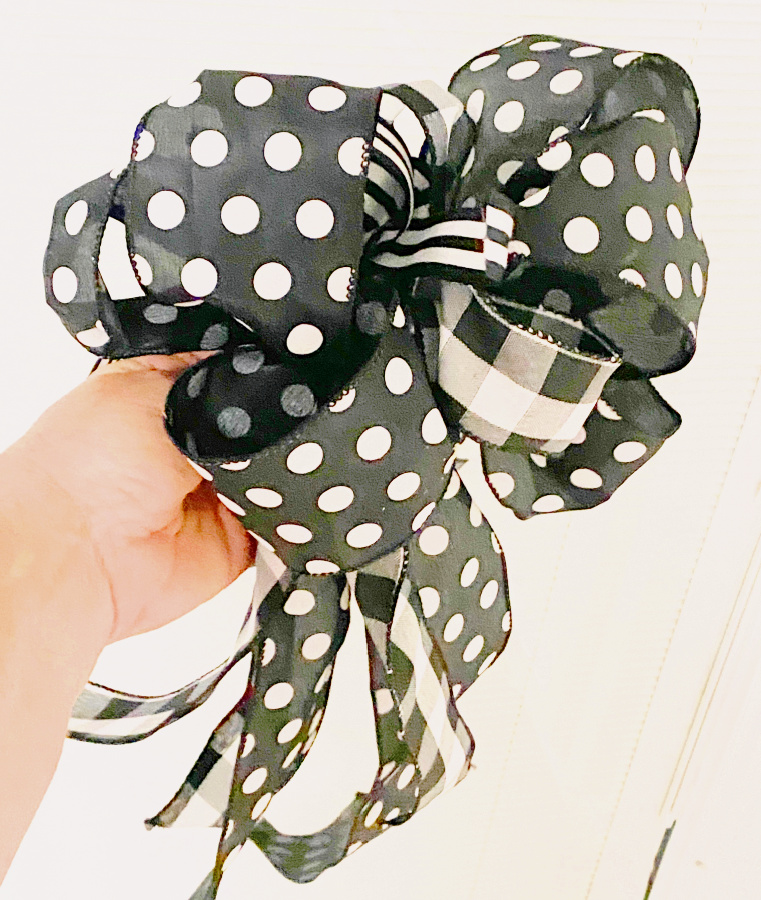
But, it was little too busy for this wreath.
I just couldn’t get the look I was going for. I even tried the bow on the other side of the wreath.
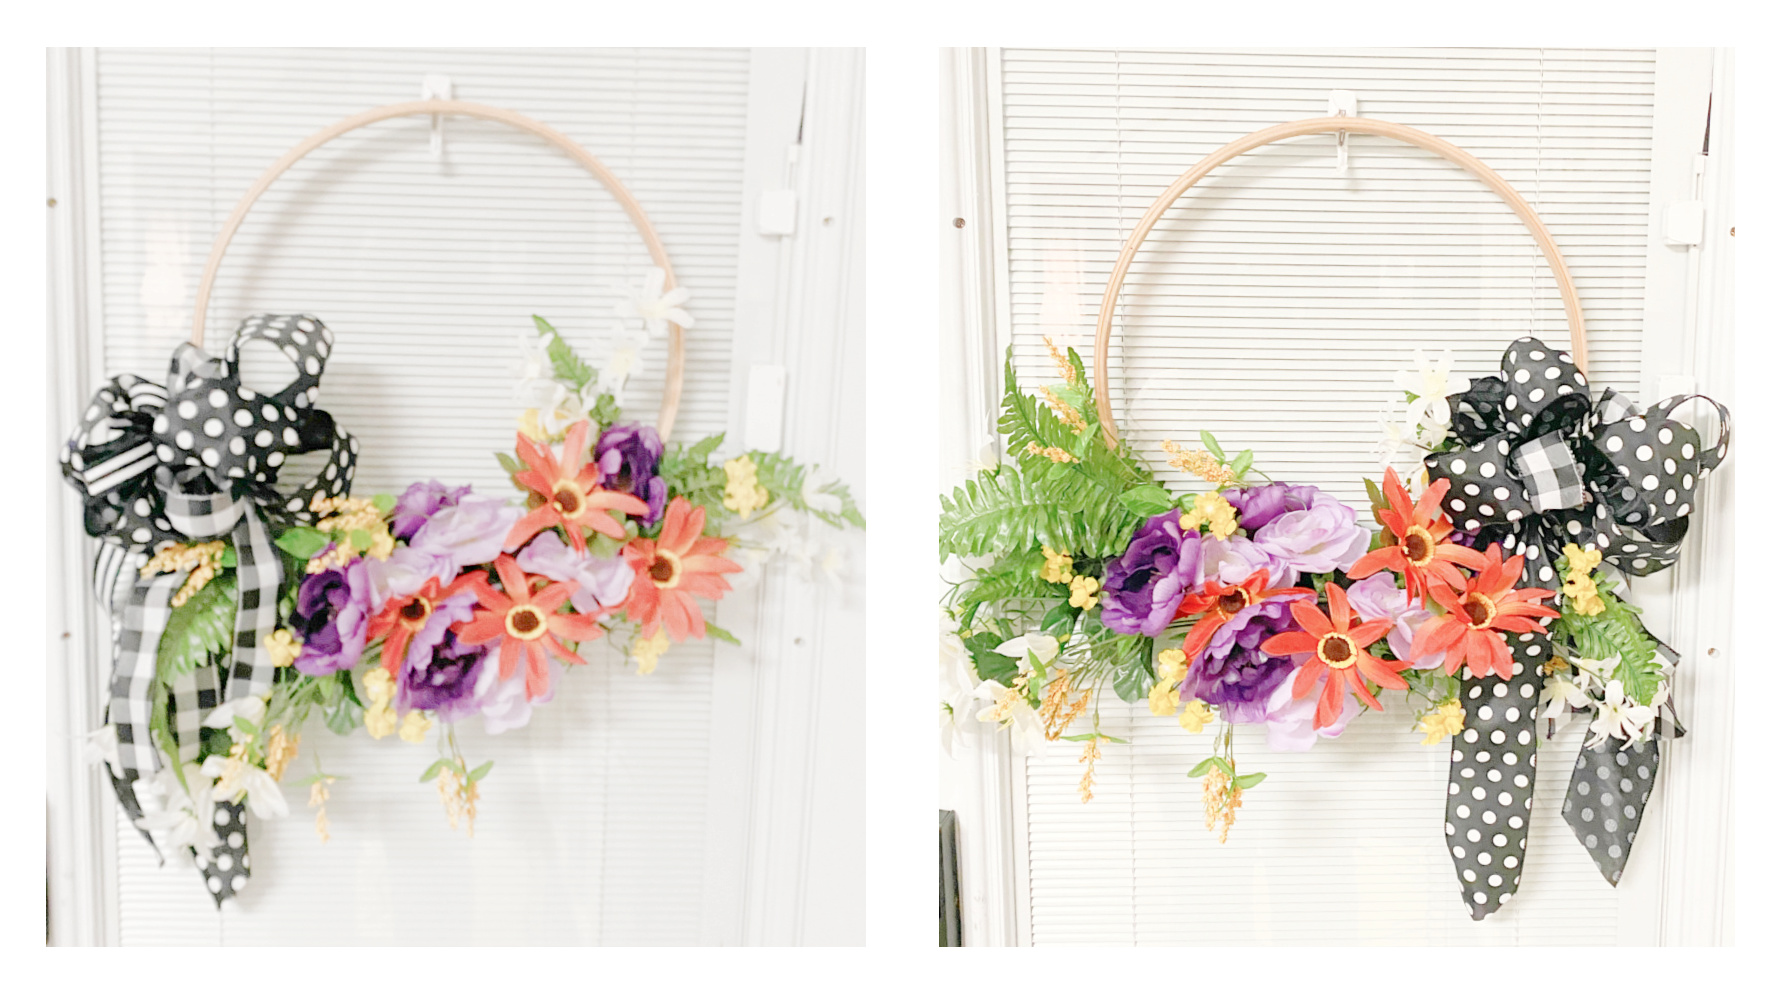
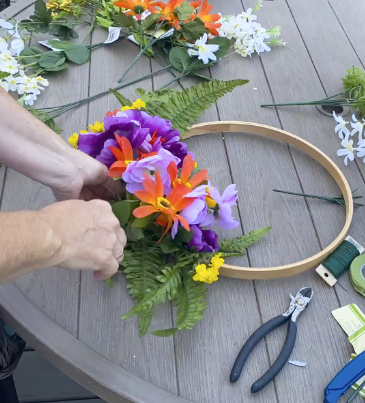
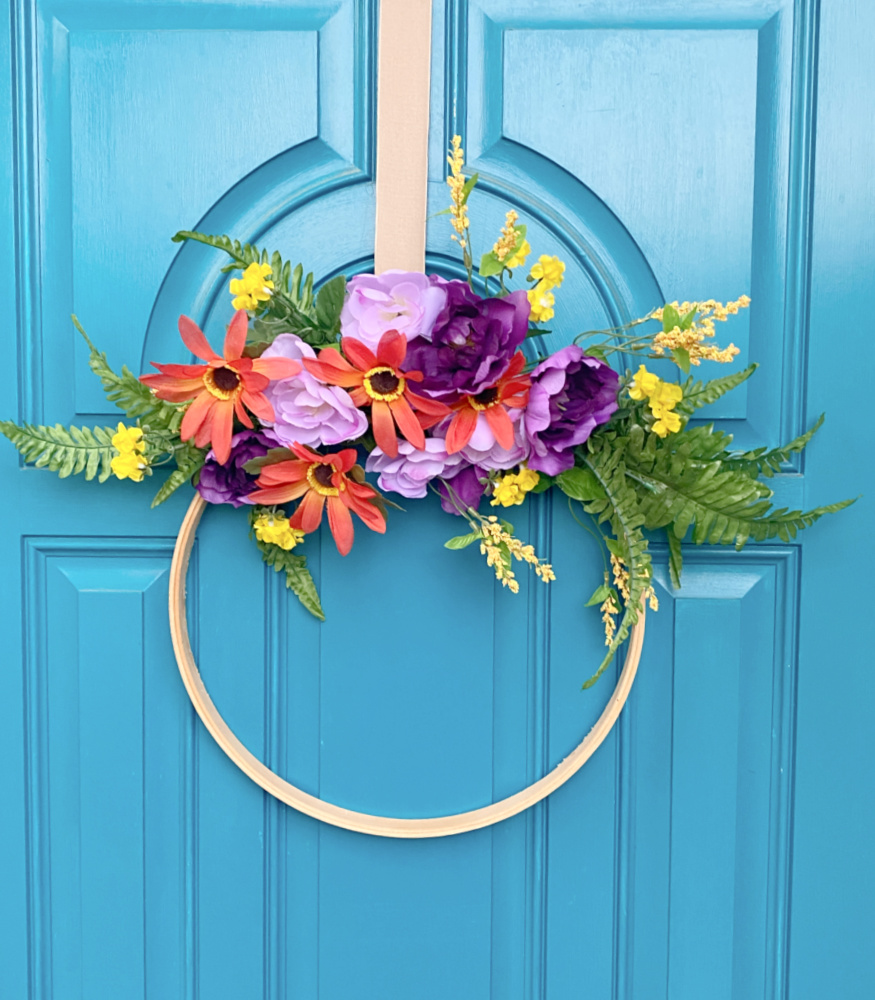
Remember what I said earlier about “simpler is better”? Whew! I had really added too much to this wreath. So I stripped it down.
I put the bow aside and removed the white flowers.
Much better. Don’t be afraid to start over! I can’t tell you how many times I have walked away from a project in order to return with a clearer vision. Take a break. Clear your mind. Or simply take a break.
I’m really happy with these vibrant colors. I still think they would look great with the black and white whimsical ribbon. I’ll have to think on a project to showcase those combinations. Do you like to combine colors that don’t traditionally mesh
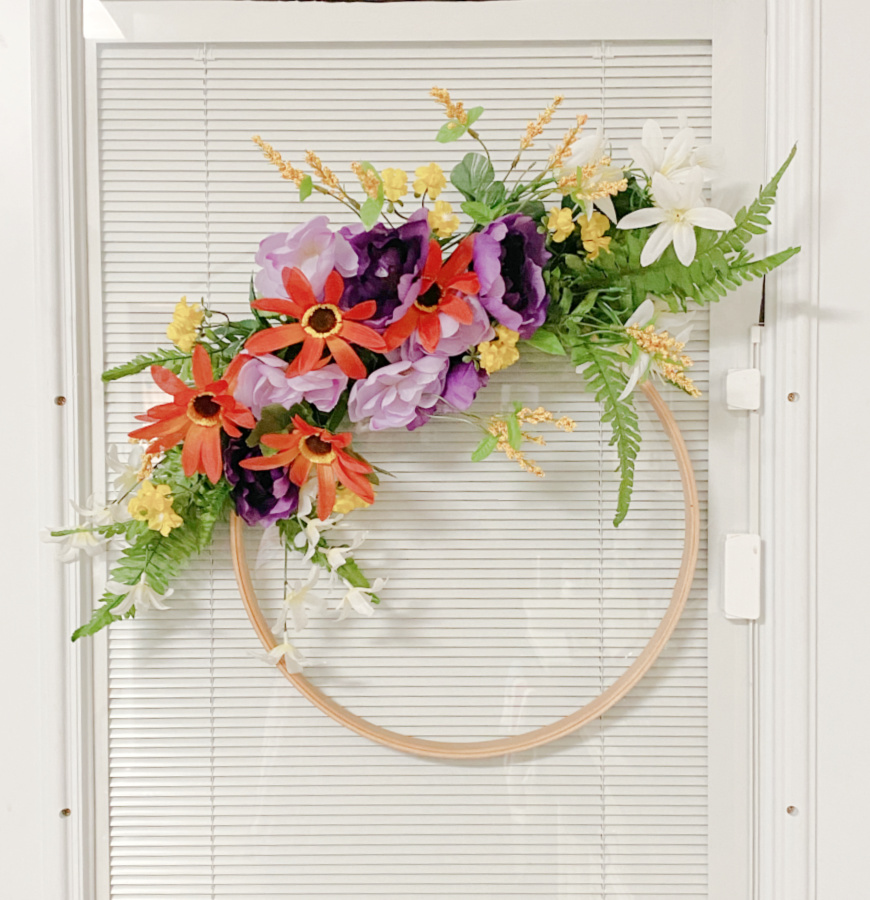
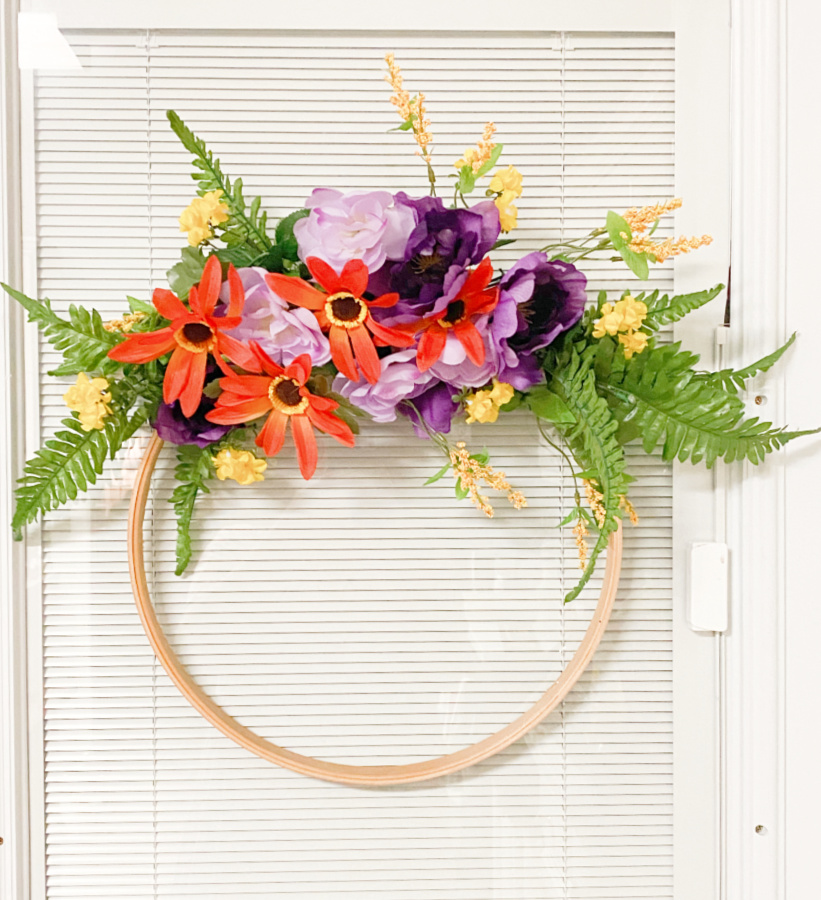
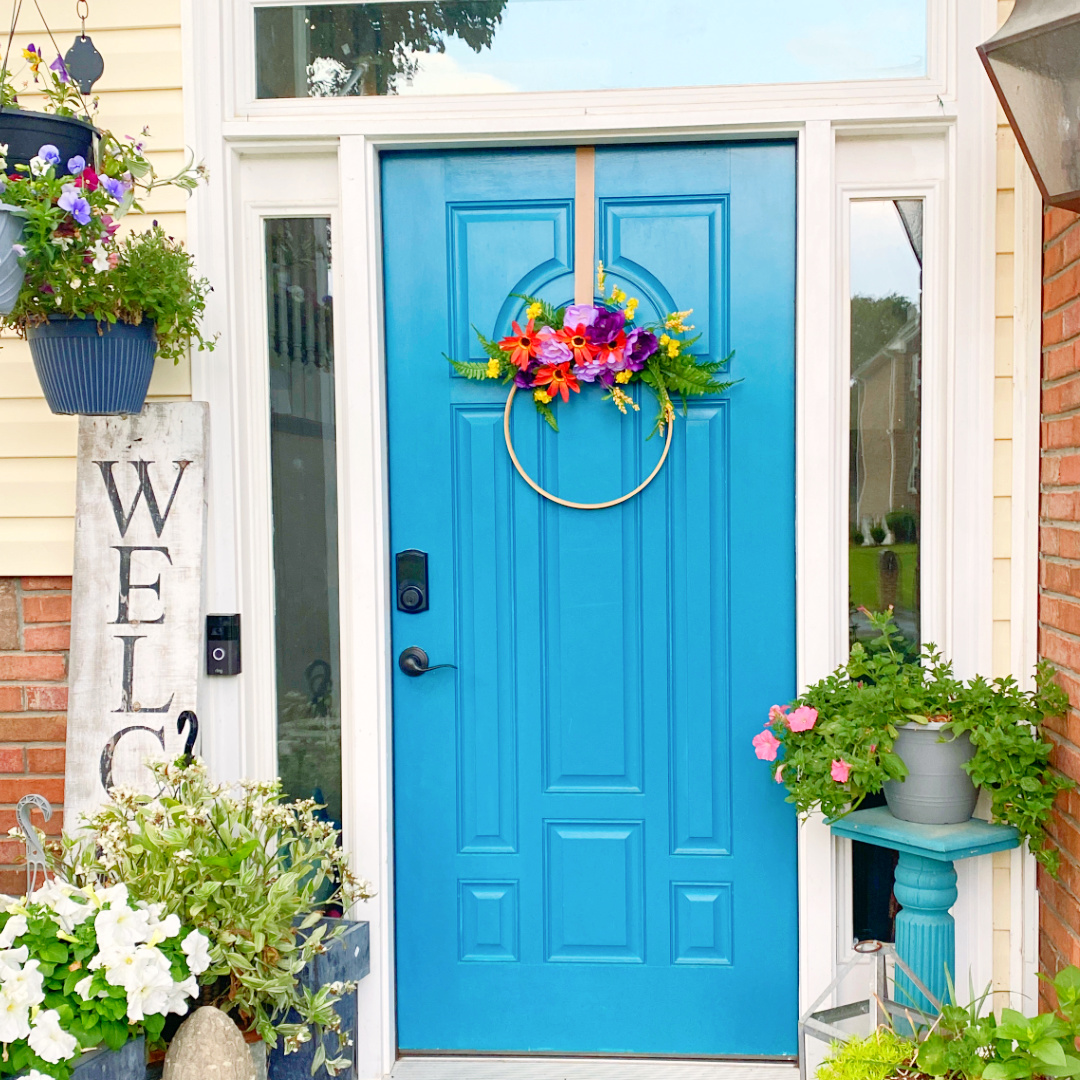
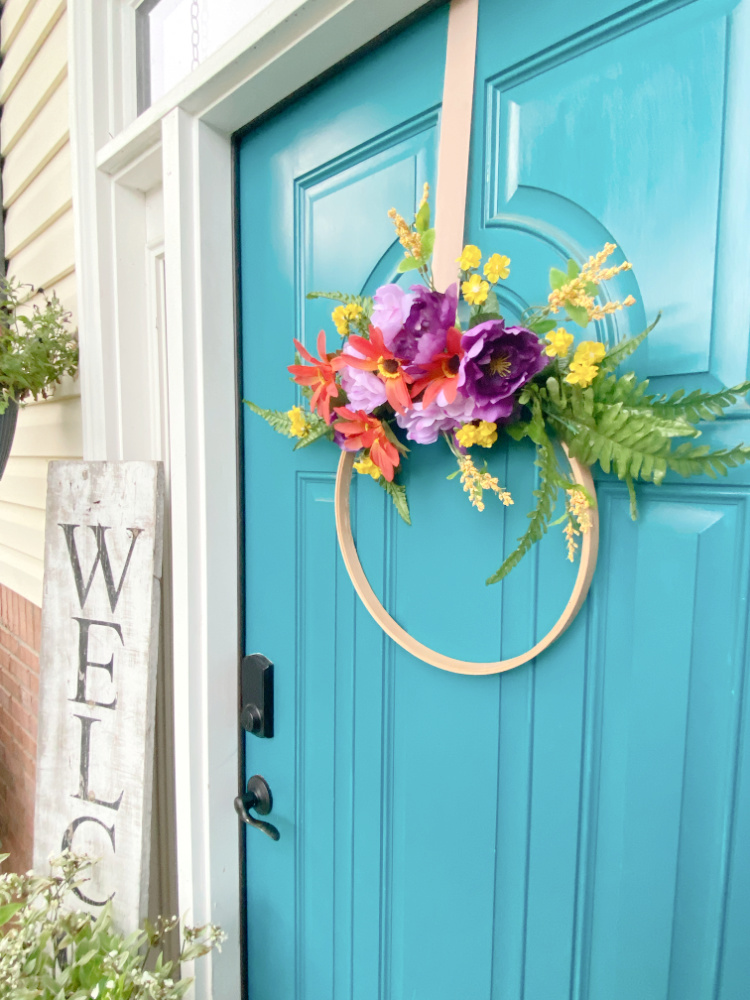
And here she is on the front door.
Will you be using bold colors this season?
Thrift Store Decor Team Projects
And here are this month’s Thrift Store Decor Team Projects. Let me know if you try any of these! We love to hear what you are working on!
Shop at Blu (that’s me…you are here)!


I love the end result of your new wreath. The colors look fabulous hanging on your pretty blue door!
Would you believe that I’ve never made a wreath–ever! hahaha
pinned!
gail
Thanks Gail! And, no, I don’t believe you. But then again, no power tools were involved. Haha.
Firstly thank you for dropping in at EsmeSalon and leaving a comment. With that I am visiting you and love your blog. I wish to invite you to come and share your posts with us weekly and you can be our next featured post.
We’re open Monday through Saturday every week.
You will find the linkup information (1) In the Top bar under Blogging: Weekly Senior Salon Pit Stop OR 2nd image In the sidebar
We hope to meet you there virtually
Thank you Esme! I just discovered you this week. I will be stopping by regularly.