How to make Wood Slices as Ornaments and Gift Tags
As an Amazon Associate and member of other affiliate programs, I earn from qualifying purchases.
With all of the delays in shipping and many of the selection in stores being unusually low, I decided to be a little more creative this holiday season. Here are instructions on how to make wood slices as ornaments or gift tags! These cuties can serve double on Christmas!
Free Product for Wood Slice Ornaments
I started with a branch from one of the trees in our yard. The branch was about 2.5 inches in diameter. You can use a branch that is larger or smaller. It’s totally your personal preference. 2-2.5 inch circles provide adequate space to write names. If you have longer names to write, I would select a thicker branch from which to cut your wood slices.
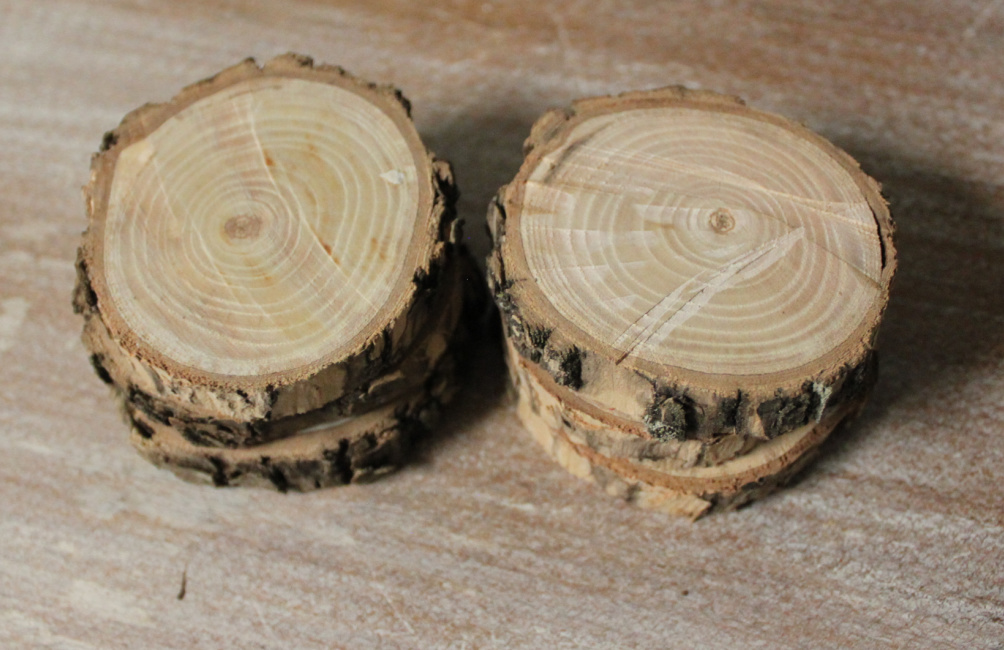
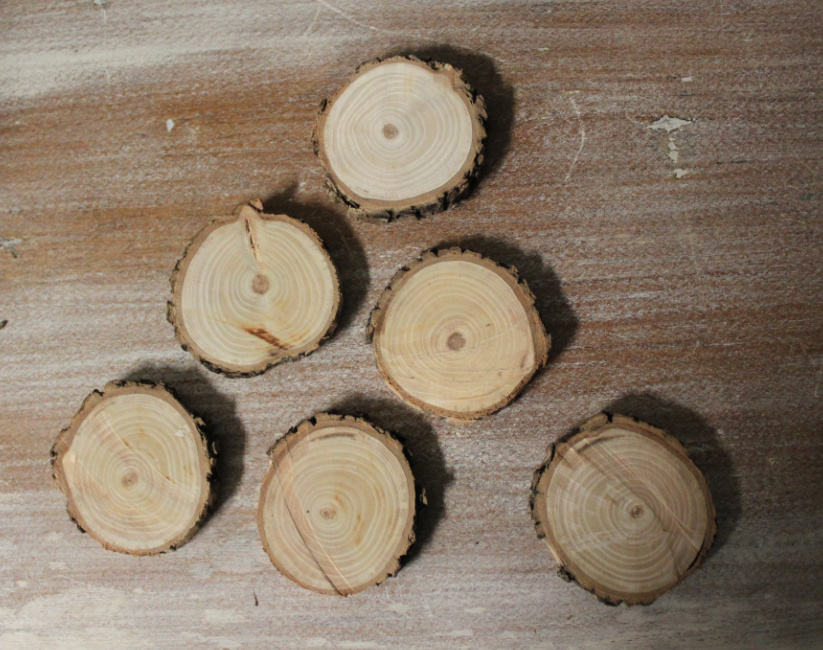
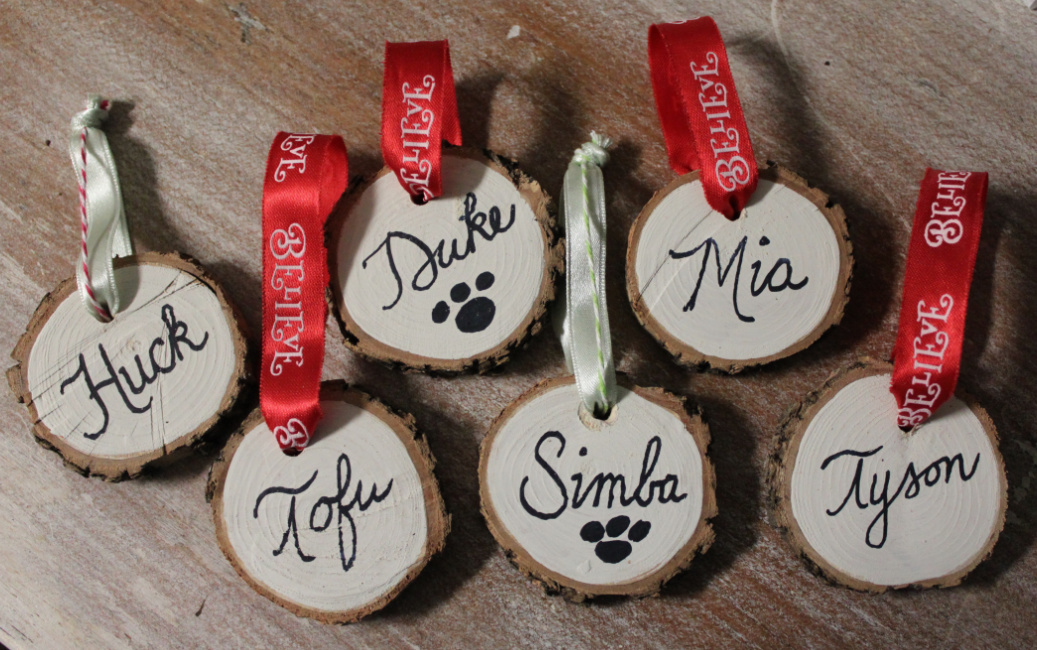
I used my electric miter saw to cut my branch into approximately one inch centimeter slices, or just under 1/2 inch thickness. You can cut as many or as few wood slices as you desire. I cut six to start just to see if I liked the final product, which I do! So I will be cutting some more soon.
Select a Style
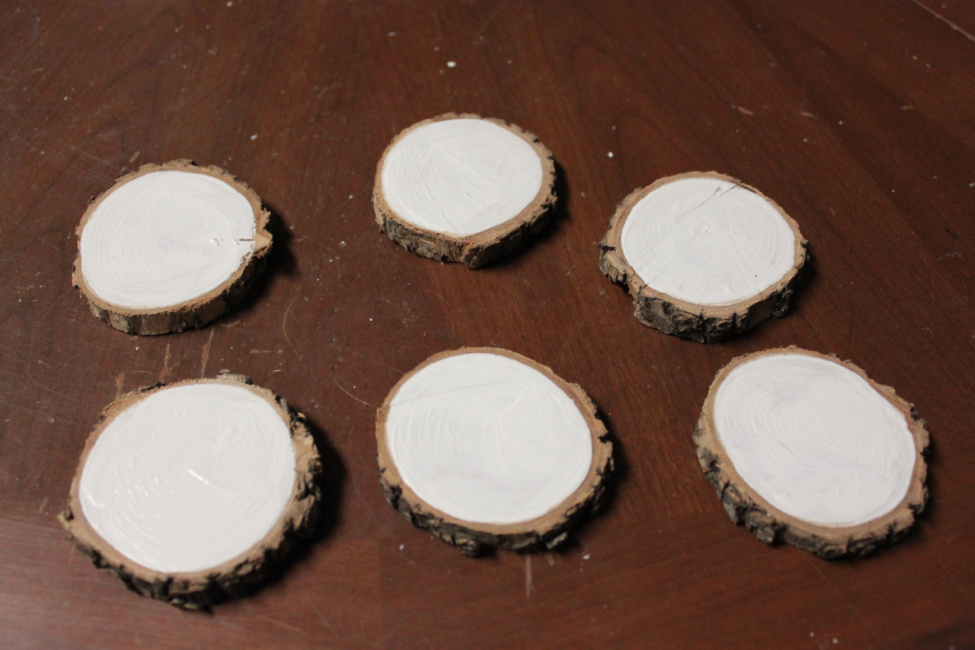
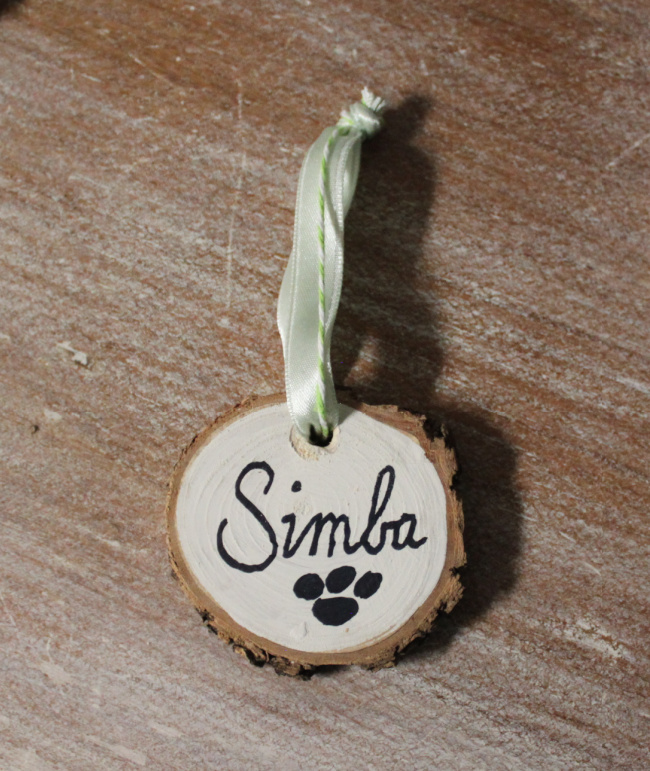
Once you have your slices, you can decide on a color scheme or theme for your slices. I considered simply writing the names on the plain wood slices without painting or otherwise embellishing them at all. You could simply write your name with a paint marker and be finished. But I decided to paint a white circle on each slice to start.
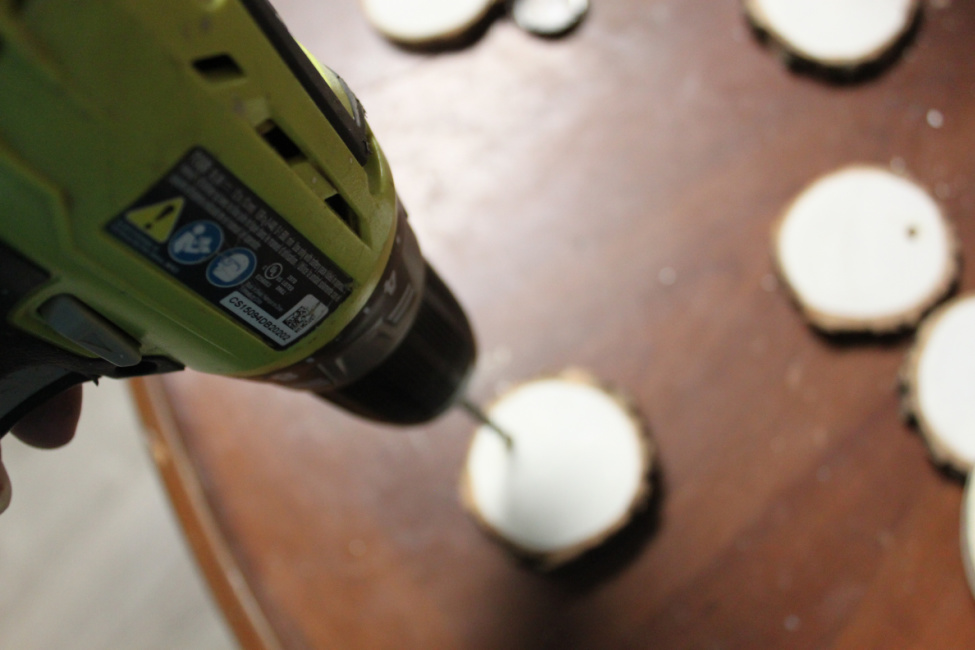
After the circles dried, I simply grabbed a black chisel tipped marker and wrote a name across each slice. You could use any color marker to write your names. Or you could use colors to match your wrapping paper if you are using your wood slices as gift tags. Drill a hole in the top of the DIY wood slice ornament.
Final Touches
Add your ribbon to hang your ornament or attach your tag. Use whatever color you’re feeling. Hang those babies on your tree, wreath, or stocking. Or adorn your gifts with your new gift tags.
I hope you’ve enjoyed this little tutorial. And I hope you found a little inspiration for a new project of your own!

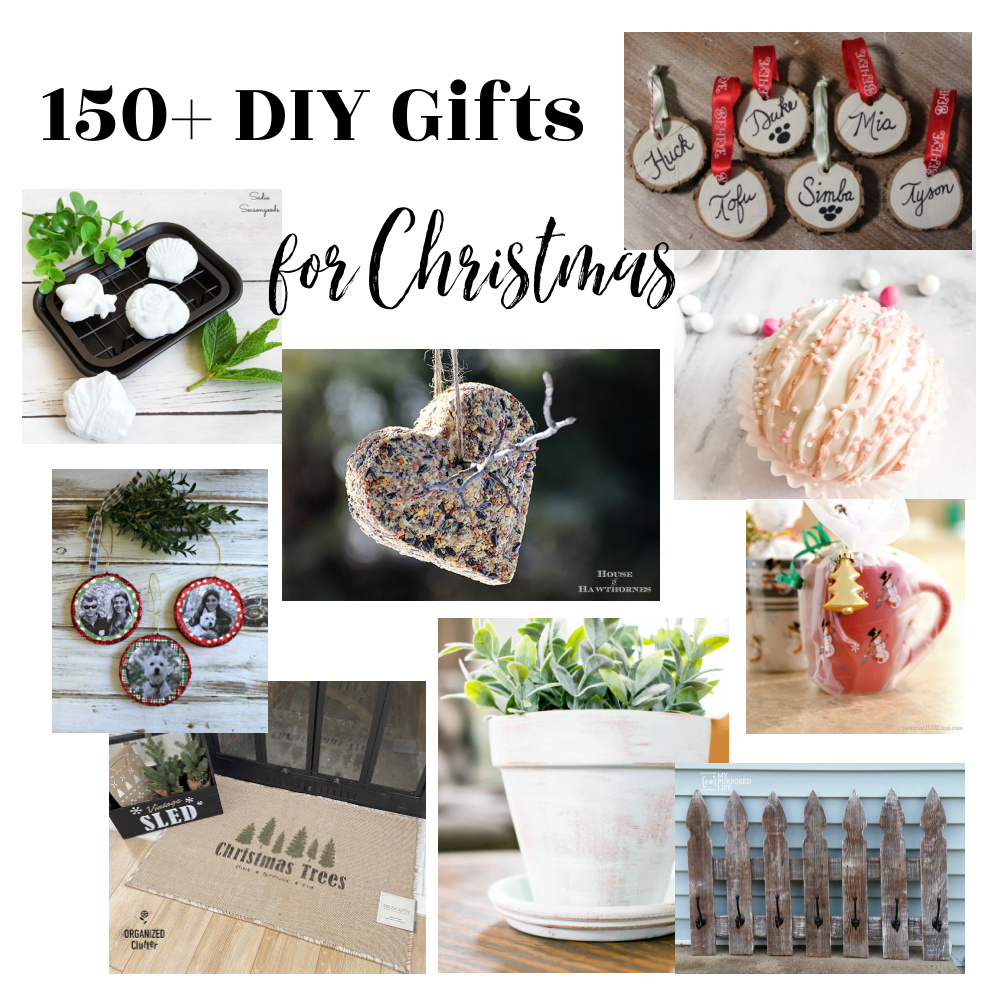
I’m sharing this little project with my Thrift Store Decor Team friends. Check out our selection of DIY gifts!


I love these ornaments Suzanne! Merry Christmas!
Thanks Cindy! Merry Christmas!