How to Install Luxury Vinyl Plank Flooring
As an Amazon Associate and member of other affiliate programs, I earn from qualifying purchases.
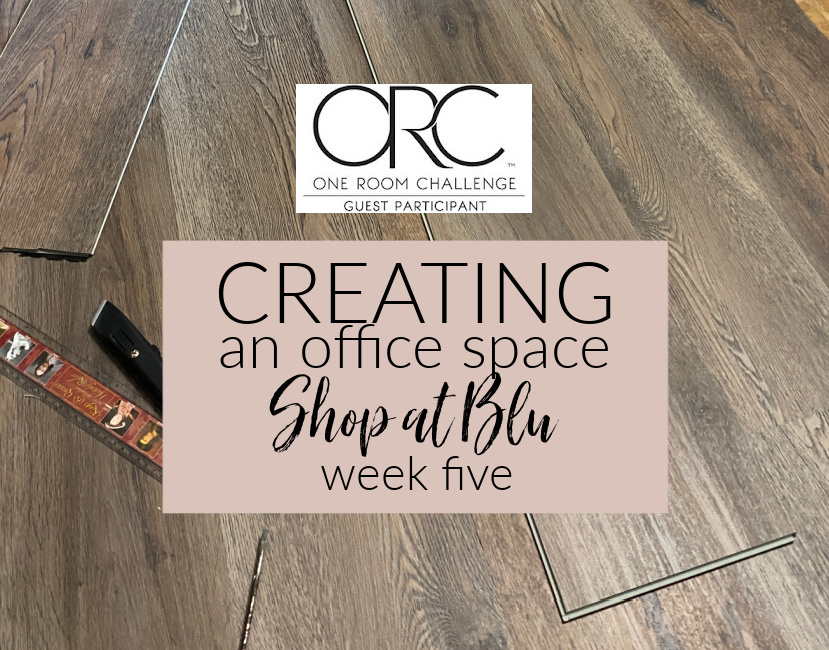
It is week 5 of the One Room Challenge and my focus is to install my flooring!
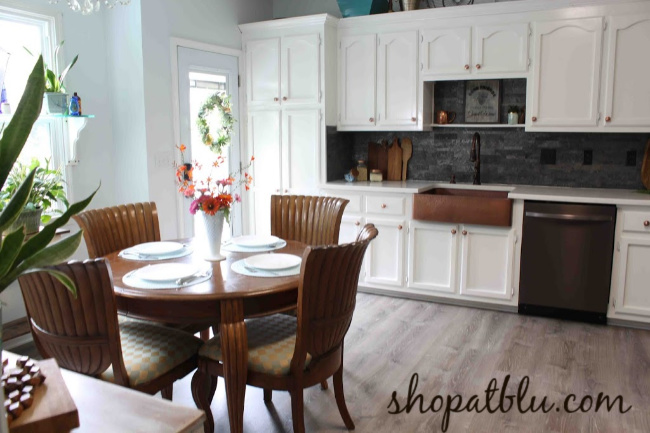
My product of choice is Life Proof Luxury Vinyl Plank from Home Depot. Our contractor installed this in our kitchen in a grey called Sterling Oak. Here is the post about the floors Let’s Talk Kitchen Floors.
And here is the post on My Tuscan Inspired Kitchen.
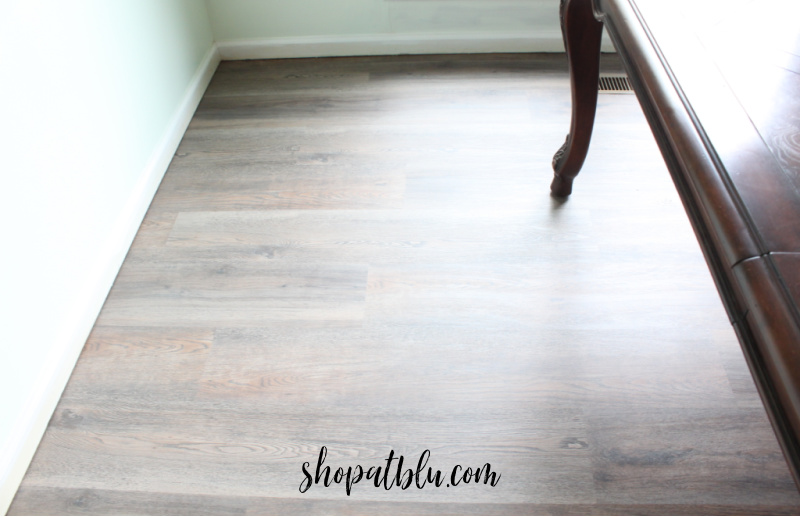
 He also installed LVP throughout our main living area in Tupelo Oak. I am using the remaining Tupelo Oak for the office floor.
Did I mention that this is my first attempt at installing LVP? I tried some laminate flooring of really poor quality a few years ago. I did a very small room. It turned out ok but it was very difficult to install. Buying a quality product makes a big difference. Also, using the correct tools makes a huge difference! Duh! Do your research and if possible, watch someone else complete a task before you start a project.
I started at the entry to the room. The process is actually quite simple. Like any newly acquired skill, practice is key.
Where to Start with LVP Install
Since this room entry is off of the main hallway, I will be adding onto the hallway floors. Again, it is the same product so this is the perfect scenario.
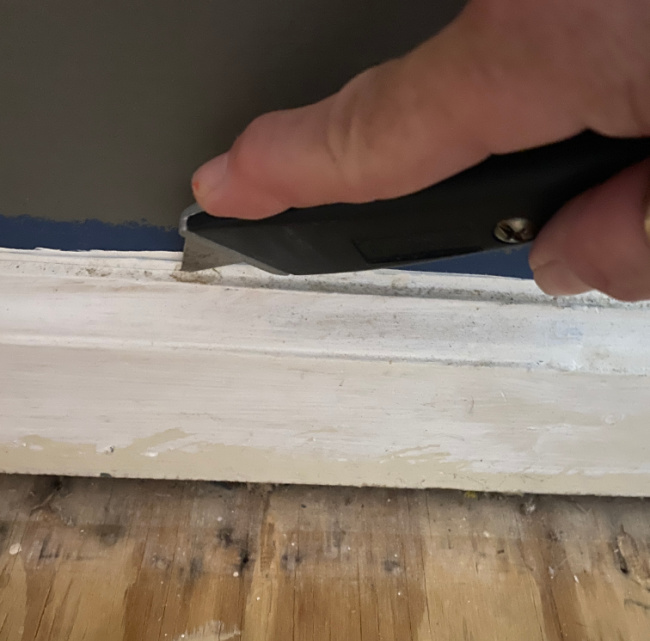
Start by removing your molding. Sometimes you can avoid this step. But it can be quite frustrating to try to wiggle long pieces of LVP under the molding. So, it may be easier just to remove it for the floor install and then reattach it at the end.
Start by scoring the caulk along the top edge of the molding. I used a sharp razor knife.
Then carefully pry the molding from the wall using a flat head screw driver or, preferably, a pry bar like this one:
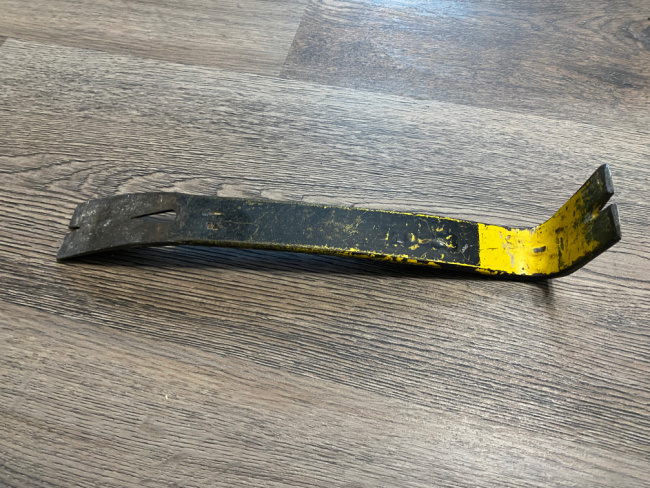
Once the molding starts to come free you can push the pry bar down farther behind the molding and remove it completely. Some people place a piece of 2 x 4 or wood behind the pry bar to prevent damage to the dry wall. This is a great idea if your molding isn’t coming off very easily.
In prep to replace the molding, remove the caulk with a scraper so there is less to do when it is time to reinstall the molding.
The entry is only 36 inches wide so I had to start by trimming the LVP to size.
- Measure the width you will need. You can simply lay most of your planks as is and without cutting them.
- You will need to trim some planks to fit. Score the plank with a razor knife. Use a straight edge as a guide.
- Snap the plank along the score line which will break the plank nicely into two pieces.
- Gently tilt the plank to be installed under the previous plank. Wiggle and tap into place.
- Using a tapping block placed along the edge of the plank, gently tap it with a rubber mallet until the planks are positioned perfectly. Do this for both vertical and horizontal fit.
Of course the process gets easier and easier. The first 2-3 planks will be the hardest to install as you are familiarizing yourself with the material, the tools, and the process. Keep going until you are finished. You will be done in no time at all.
Helpful Tips to Install Flooring:
- Use the mallet to tap the planks into place. It’s a great tool and since it is rubber, it will not damage the planks.
- Make certain your floor is clean and smooth. Sometimes the planks will resist fitting together perfectly. This may be due to debris on the floor.
- When the planks do not fit perfectly, remove the plank and clean the back with a cloth to remove any debris. You may need to use a scraper to remove debris from the floor.
I completed the install over the course of 4 days. It was breezy some days here in Alabama but the temperature was just at 90. I was sweating like a champ. So I would stop for a while and then start again. I finally turned the air conditioning on earlier in the day. That helped speed the process.
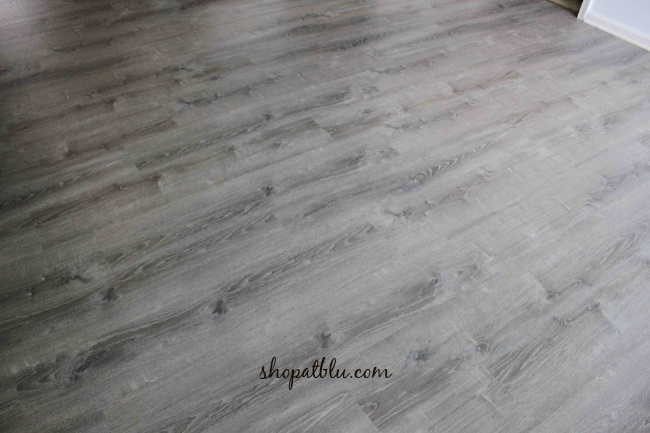
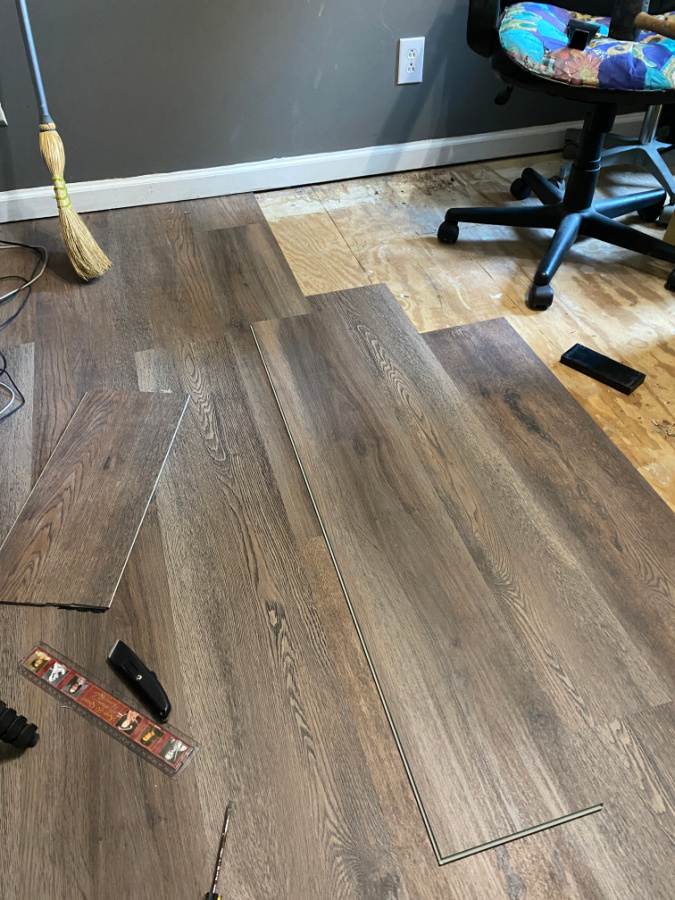
Here is a progress photo:
I’m so happy with the floors! But, as with all projects I start in my house, I’m now second guessing my original paint choice. Time to make some serious decisions. Next week is paint week! Then the fun begins with filling the room.
You can see all of the progress from all of the Featured Designers and Guest Participants HERE.