How to Prep Fresh Pinecones in Crafts and DIY Decor Projects
As an Amazon Associate and member of other affiliate programs, I earn from qualifying purchases.
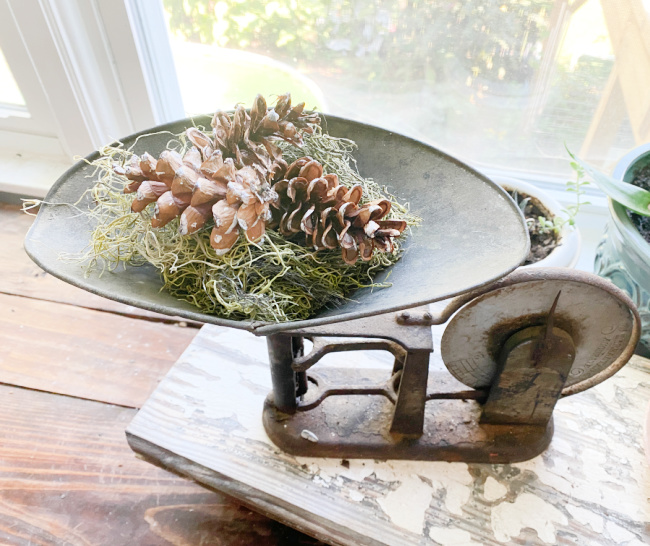
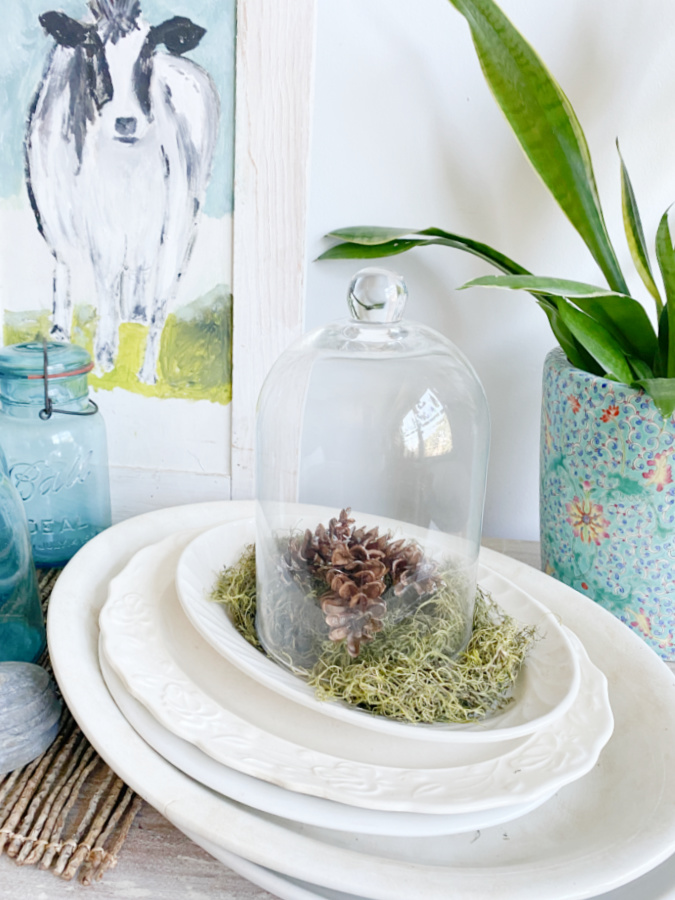
My next door neighbor, Cindy, has a pine tree that drops the cutest little pinecones. Over the years they’ve gotten bigger. And every year, I grab some and plop them into a dough bowl inside of the front door or load them into a lantern on the front stoop.
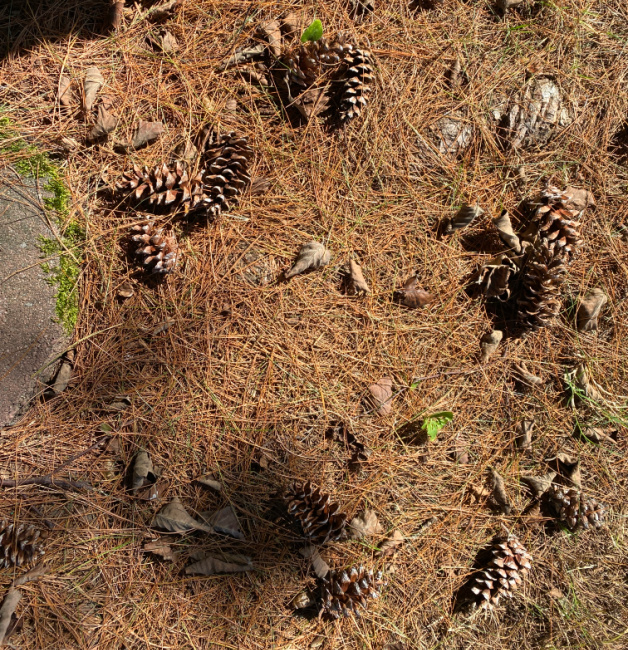
With cooler weather right around the corner, pinecones make great decor for both fall and for winter. And the best part of decorating with pinecones? You can find them for free! I’m here to teach you how to get rid of the sicky sap, pine needles and debris that are gathered when you forage for pinecones. Let’s prep some fresh pinecones for use in DIY decor and crafts projects!
If you are joining me from Cindy at Cloches and Lavender, welcome! Cindy is a wiz with baskets and I’m anxious to see what she has prepared for you today.
I am sharing this post as part of the Fall Inspiration Fall Hop! Cindy from Cloches and Lavender is our gracious host. If you haven’t visited her blog yet, swing on by and let her know that I sent you. The next stop on the hop is my good friend Julie at A Loverly Life. Juliet is showing you how to make delightfully easy fall garland.
At the end of this post are the links to all of the bloggers who are participating. It’s a small but mighty group and I know you will be thrilled! Now, lets get busy prepping our pinecones for use in our crafts and DIY projects.

The Problem with Pinecones
If you have gathered pinecones, I mean more than one or two, you know that those little buggers can be pretty sticky. There is inevitably pine sap on most of those pinecones and that means there will be pine sap all over your fingers. Besides the sticky factor, pinecones can also harbor itty bitty bugs and such that you probably would rather not have inside of your home. Have you wondered how to get that pine sap off of the pinecones and how to ensure those bugs are gone? Follow these tips and you will surely be happy with your pinecones and crafts as your fingers will be sap free.
I tested two methods to see which was more effective. And I’m sharing the results with you.
Method No. 1: Baking
The first method is baking. Did you know that baking your pinecones at a low temperature eliminates both the sticky pine sap and the bugs! I was a little skeptical. So I tried it.
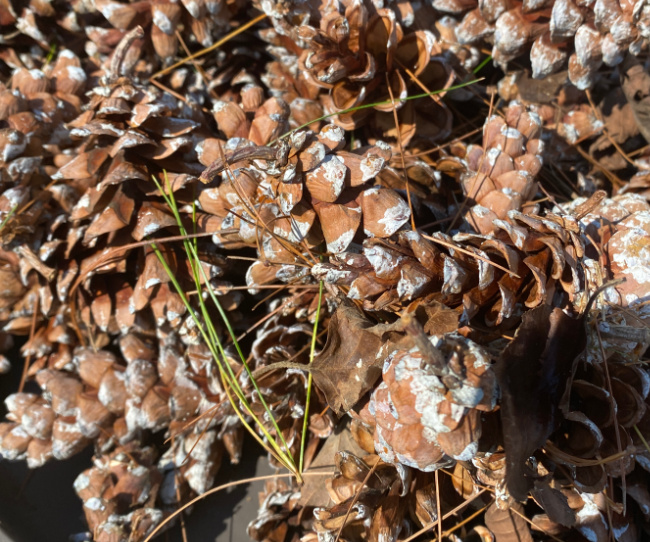
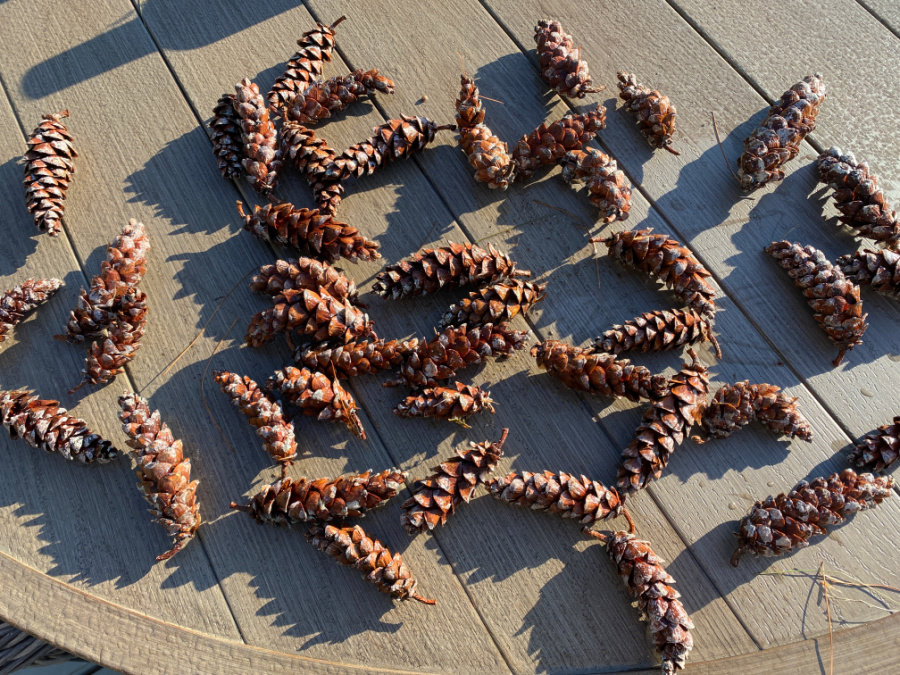
I harvested the pinecones from my and Cindy’s yards. Pinecones are sticky and they are messy. Be sure to pick out all of the pine needles, leaves, and debris that can be tucked into or sticking to your pinecones. Be prepared as this is a daunting task while your fingers are covered in sap.
My yard has pinecones too. But they are larger and have super pointy spikes on them. After grabbing just 4 or 5 from my yard, I abandoned the task. It was like grabbing sharp needles. I considered grabbing some gloves but the sharp edges would still remain after cleaning.
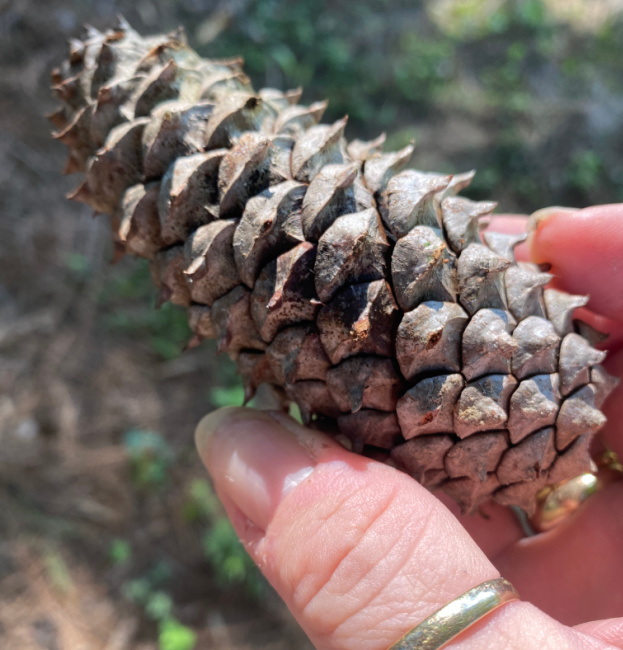
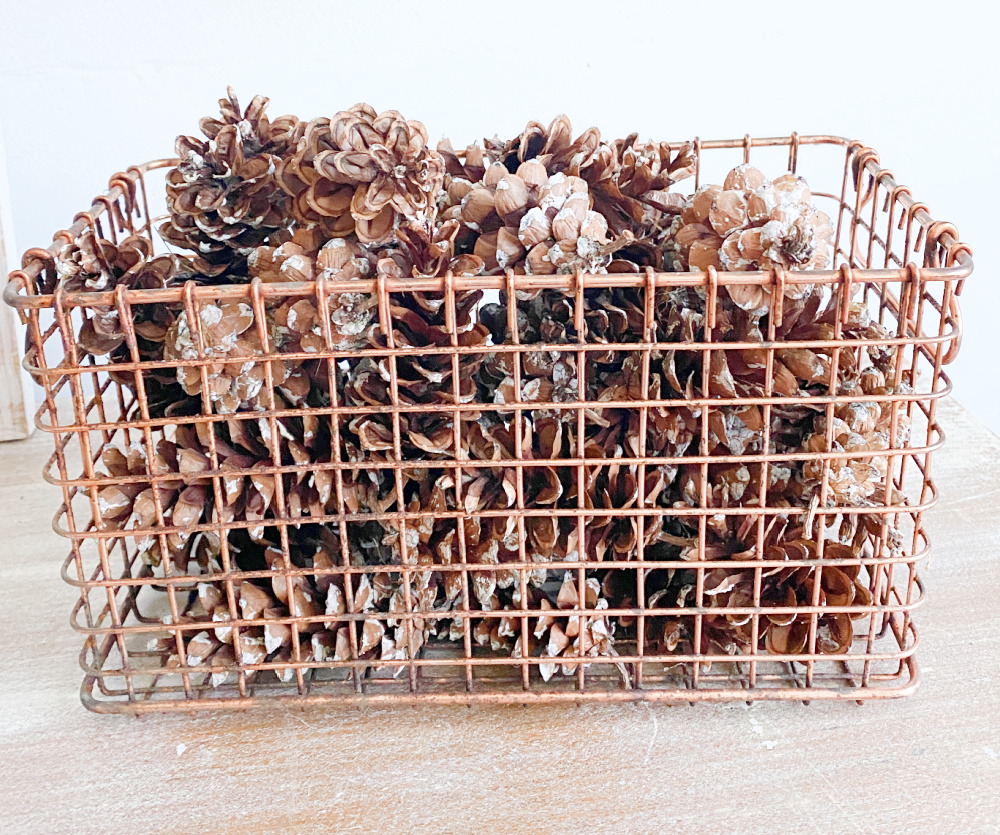
I really don’t want to have to deal with painful pinecones in my decor so I decided to only use the pinecones I had already gathered that had rounded edges.
Gather your pinecones and do your best at cleaning the debris, leaves, and pine needles from the pinecones.
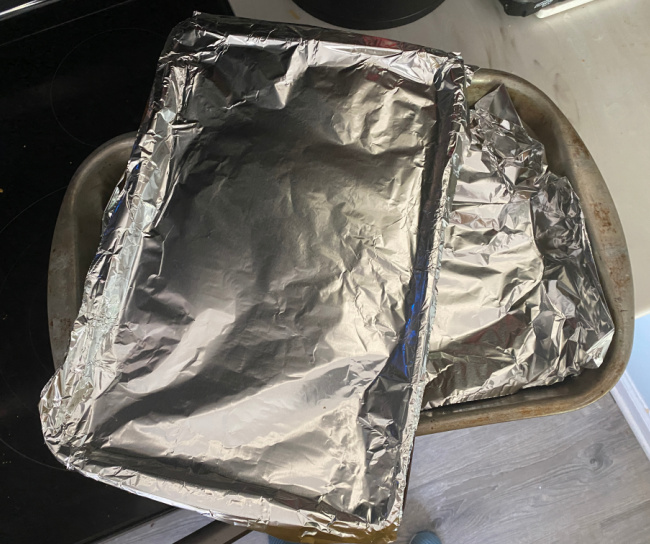
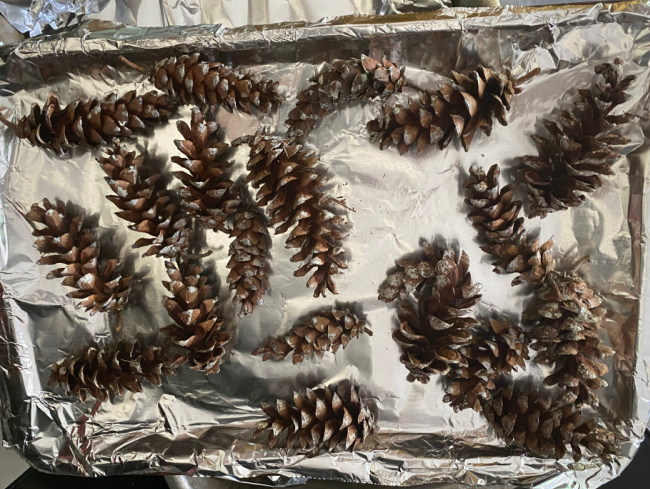
Preheat the oven to 200 degrees. Line a baking tray or two with aluminum foil.
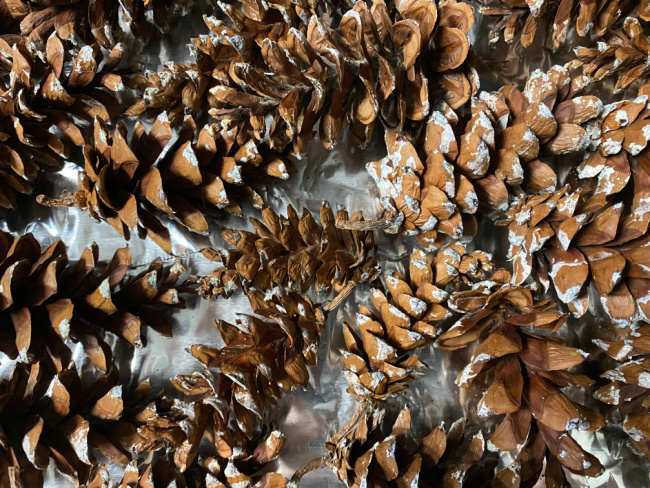
Place the pinecones on the foil covered tray in a single layer and bake for 20 minutes.
I wasn’t messing around. I loaded up those cookie sheets.
Simply set the trays in the oven and bake for 20 minutes.
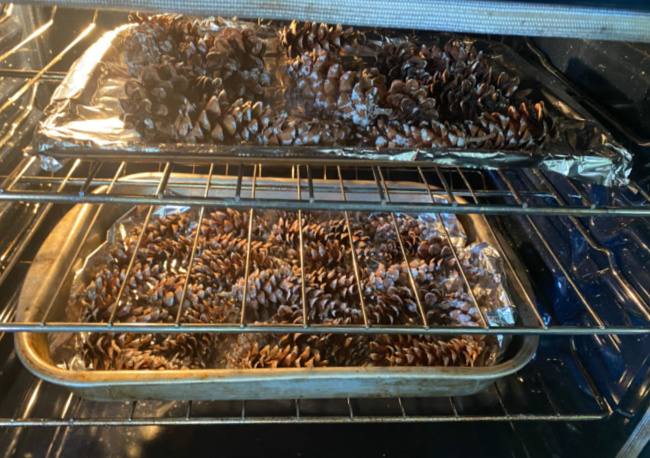
I made sure the oven was preheated.
After baking, I set the trays on the stove top to cool. I couldn’t resist handling a pinecone or two. I was a bit disappointed because I could still feel some sticky sap. But, with all things in life, sometimes, you must simply trust the process. So I stepped away and let them cool completely. Once the pinecones were cooled off, I handled a few and amazingly, they were sap free! Not a sticky pinecone in the bunch. Success! I supposed the sap completely dissolves in the cooling process.
Method No. 2: Vinegar and Water Bath
The second method is to soak the pinecones in a solution of vinegar and water. I used one gallon of warm water and added one cup of vinegar.
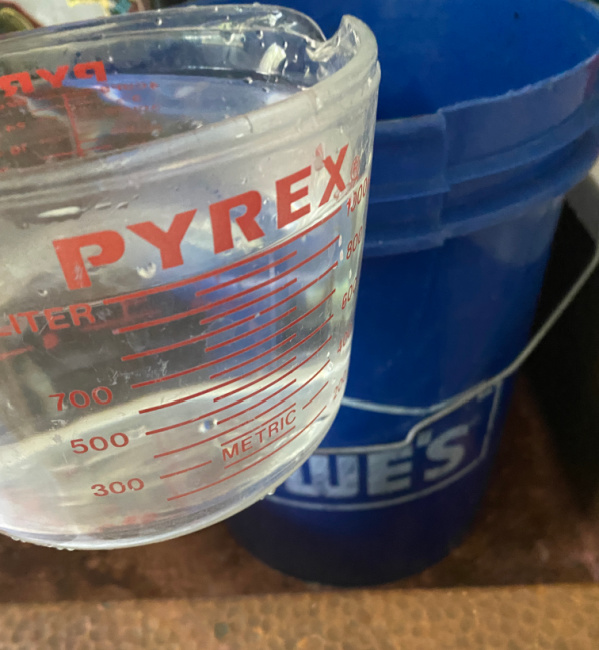
Mix the solution and dump in the pinecones.
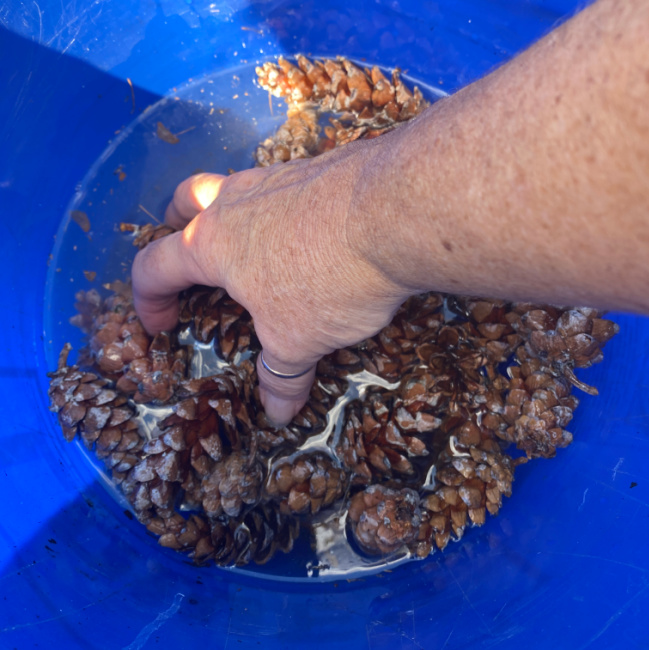
I stirred the pinecones around to make certain they were covered with vinegar and water.
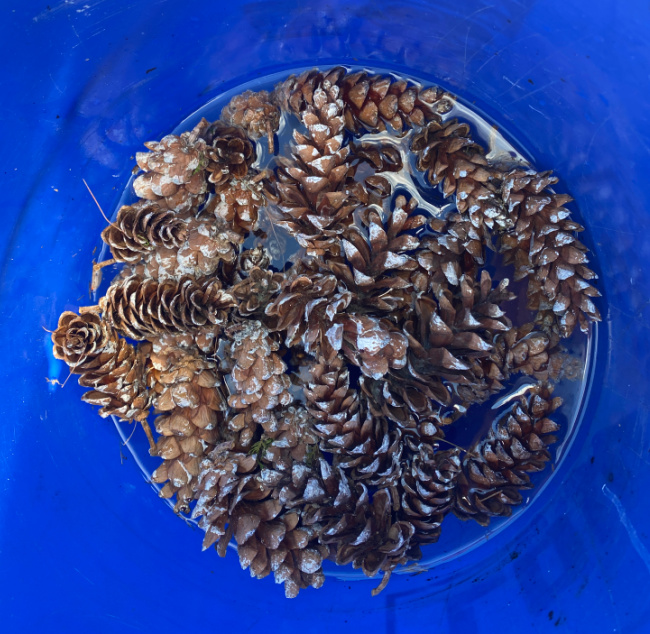
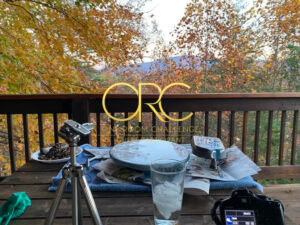
I made sure the pinecones were submerged by placing a watering can on top of them since they wanted to float to the top of the bucket. I let them soak overnight and then drained the bucket. In that process alone, my hands became sticky. I laid them in the sun to fully dry.
After two hours, I checked them. I flipped them over for the underside to dry. There was less sap but my hands still became sticky. I left them to dry for another 2 hours. Again, once completely dry, the pinecones were sapless!
While both methods did seem to eliminate the bugs and sap, the oven method was less entailed and much quicker. I simply cleaned the pinecones, loaded them onto the foiled tray, baked for 20 minutes, and allowed them to dry. This process did not entail stirring, weighing down pinecones or extensive drying in the sun.
While the vinegar and water method was also a success, the pinecones did take several hours to air dry in the sun. And remember, I had to flip them for the second side to dry. So if you have small children and time to spare in a sunny area, this may be the method for you.
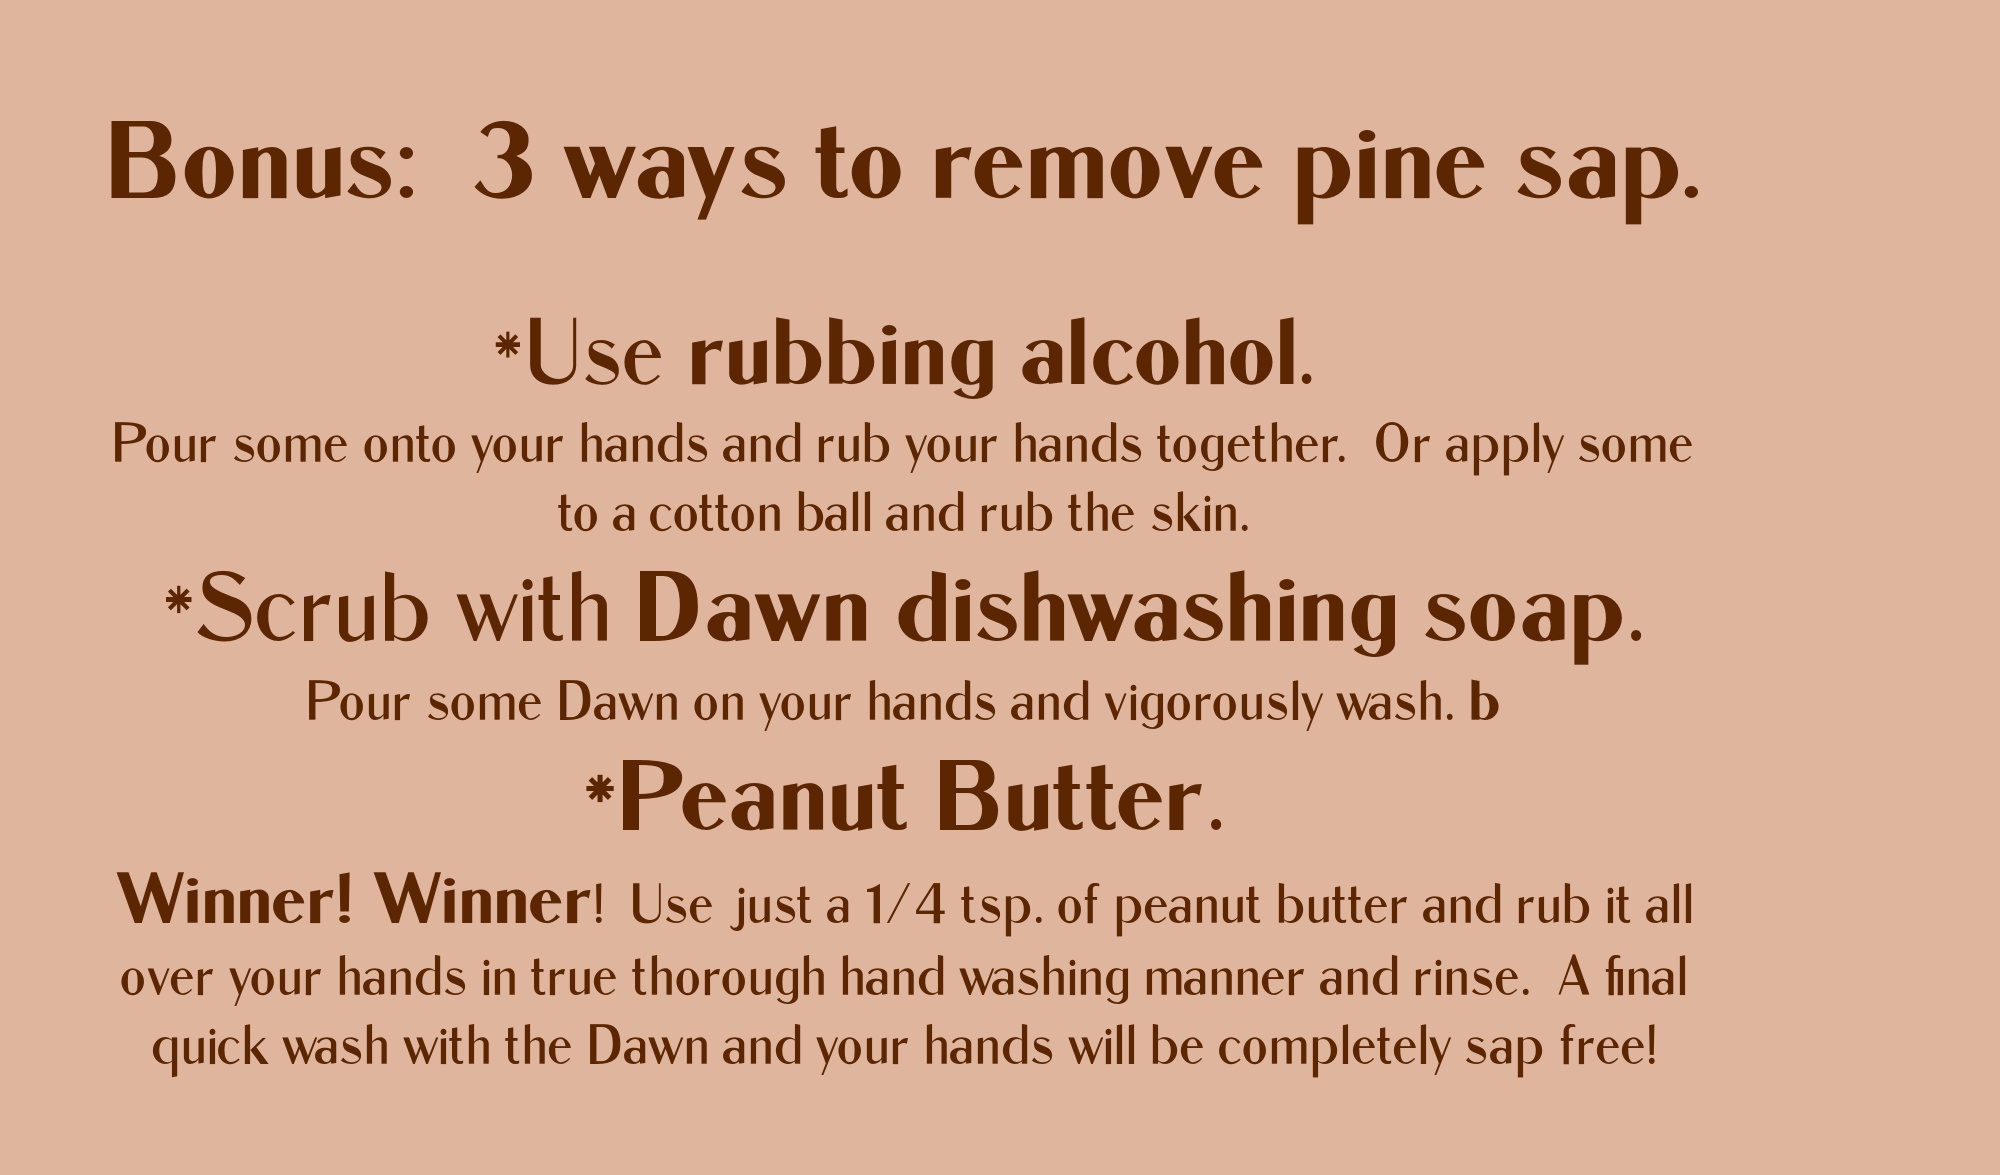
As much as prepping the pinecones was indeed fun, I also tried 3 methods to remove pine sap from your fingers. This was indeed the most useful test of the day!
So, my crafty friends, now that your hands are clean and your pinecones are prepped…get busy! I want to see all of your pinecone projects!
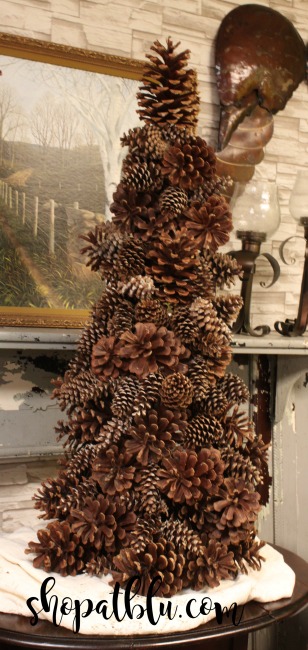
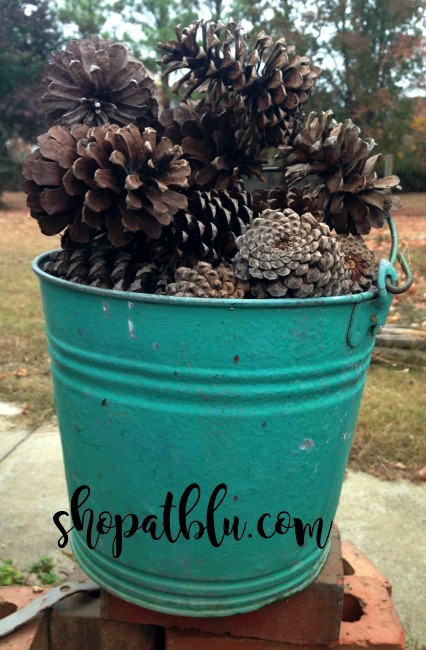
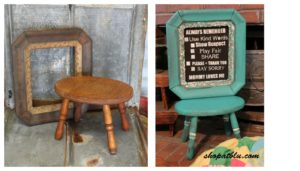
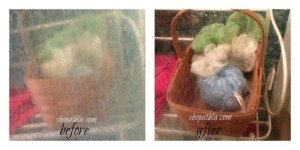
Here are a few of mine from the past:
Since I now have fresh pinecones ready to go, I’m off to create!

The Fall Inspiration Blog Hop
As promised, here the a few other fabulous fall projects from my creative friends.
Cindy at Cloches and Lavender: Basket Decor
Suzanne at Shop at Blue (You’re here): How to Prep Fresh Pinecones for DIY Decor Projects
Juliet at A Loverly Life: Easy DIY Fall Garland
Robyn at Robyn’s French Nest: How to Use Dried Gourds in your Fall Decor
Kimberly at From Farmhouse to Florida: Fall Decorating Ideas for A Fabulous Table


So many great ways to prep pine cones! I do miss my evergreen trees and all their pines cones. Thanks for sharing all these great tips! So much fun hopping with you!.
Thanks Kimberly! Harder to find in the south but they are here!
Pinecones are my favorite well, besides acorns! Thanks for sharing!
I need to find a good acorn source!
Pinecones are so fun for fall and free decor is always a win! Great Ideas!
Thanks Robin! Nothing screams fall to me like gourds, pinecones and acorns.
Great suggestions for using pinecones, thanks for sharing