How to make a table riser
As an Amazon Associate and member of other affiliate programs, I earn from qualifying purchases.
Are You in on the Table Riser Craze?
Have you seen all of the cute table risers all over Instagram and Pinterest? I’ve seen some beautiful examples at Vintage Market Days as well. With a garage full of wood and architectural odds and ends, I decided to make one for myself! Here are several designs to help you make your own table riser.
Step One: Plan a Design
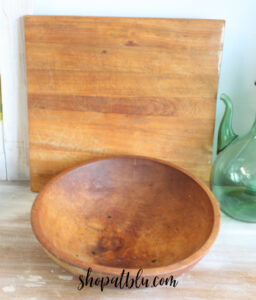
Once you know what size you need, you can look for a base and for legs for your table riser. I have gathered some items that I had in my garage just to show you how easy it is to find material to make a table riser.
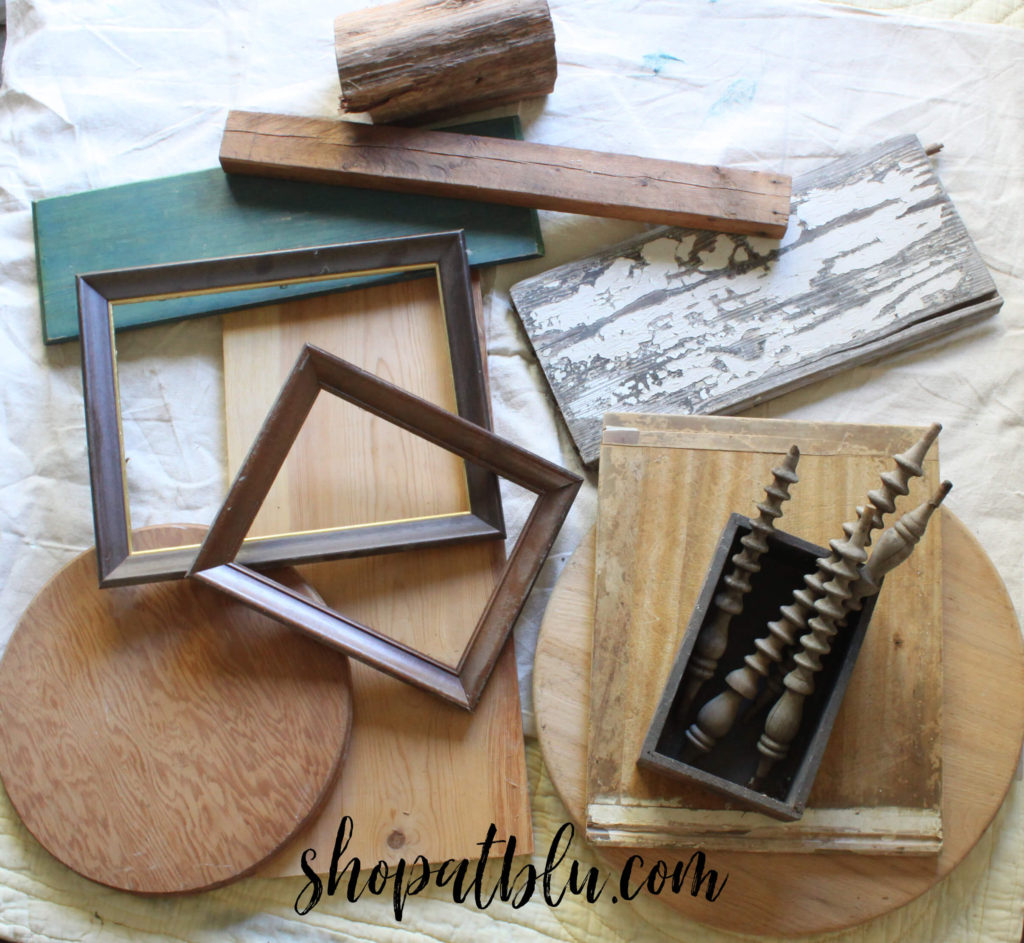 While I had all of these items in my garage, I realize that not everyone might. Be creative and shop the road side salvage piles or the local thrift store. There are so many discarded items that will work for the base of your table riser. Here are some suggestions:
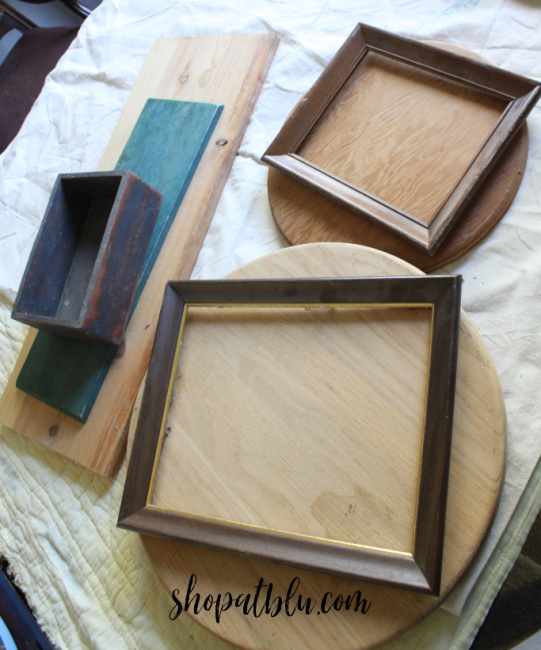
- an old picture frame. Simply use the picture backing as your base or add some cardboard from a cereal box or some luan (thin wood that you can purchase at Home Depot or Lowes). If you use cardboard, you may need several layers to make the base stable enough to hold heavier objects.
- a wooden round shape from a craft store or an old lazy susan
- an old cutting board
- a spare wood plank
- an old wall shelf
Here is a piece of molding that was leftover from my Entryway Makeover. It is small and just a remnant. But it is the perfect size for a small table riser that could be used in a bathroom or on a side table.
Here are some ideas to use as legs for your table riser:
- an old 2 x 4 or 1 x 1 piece of wood. Simply cut into wooden blocks to use as your riser legs.
- large wooden craft beads
- spindles from an old chair or bed
- tuna cans that have been emptied and cleaned
- lids from an old ketchup bottle.

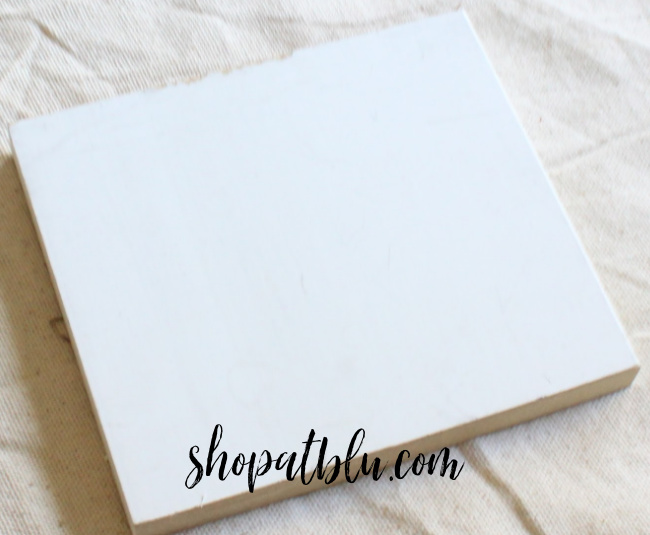
Once you know the shape and size of the table riser you want to create, you can shop your house or garage for items that might be the same size as the table riser base and legs that you want to make. You will be amazed at what you can find around the house instead of running to the craft store to purchase supplies. Once you assemble the table riser and add some paint, your table riser will look like it was custom made with professional materials!
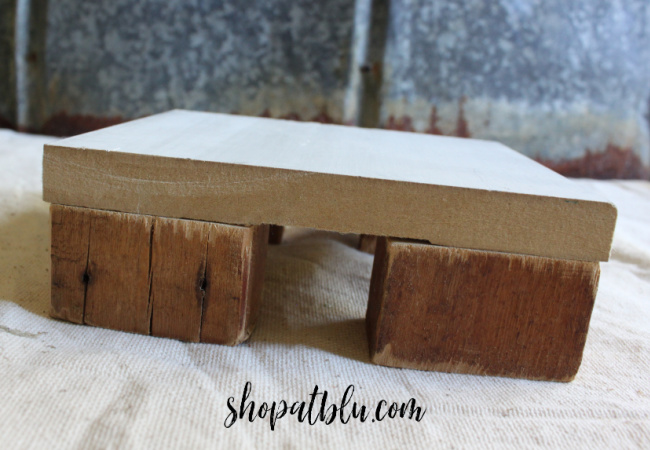
Table Riser from Molding
Here is the molding piece with wooden blocks attached. I tried leg placement near the edge of the base and tried them at different angles with short and long sides facing out.
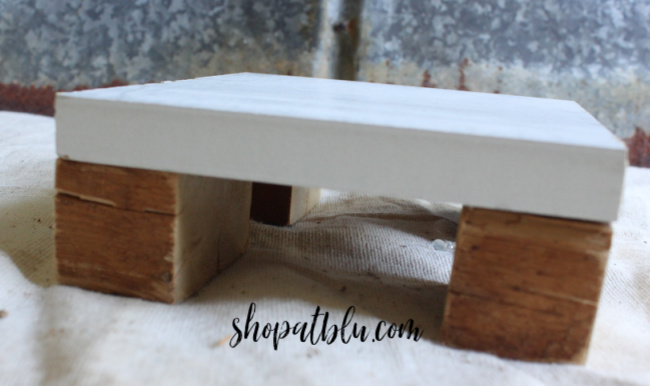
For simplicity’s sake, I simply attached the blocks with a glue gun. Being a smaller base with larger block legs, the glue should suffice. A hammer and two nails in each block would better secure the table riser. I definitely recommend nails or staples for a larger riser.
Use Vintage Parts
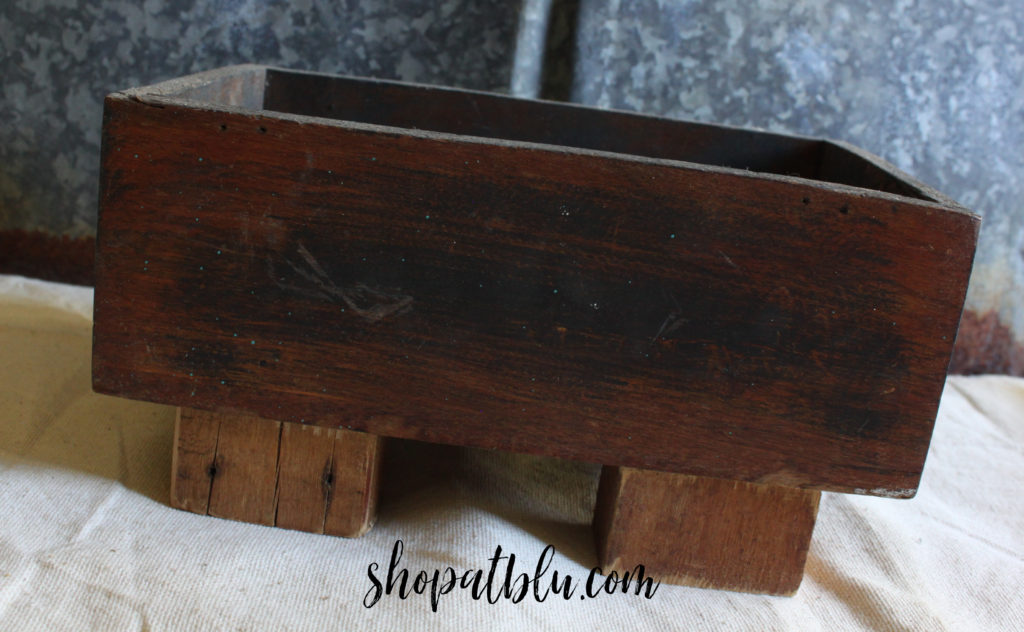
I have these old bed posts in my garage. They are from a beautiful headboard and footboard that was plain and simply left out too long in the elements. The bed literally fell apart. But isn’t that what salvage is all about? Using what is left! I guess that makes me the Salvage Queen! So these will be the legs on my riser(s). Not really sure at this point how many I will be making! So I simply cut enough for 4 large risers and 4 small risers.


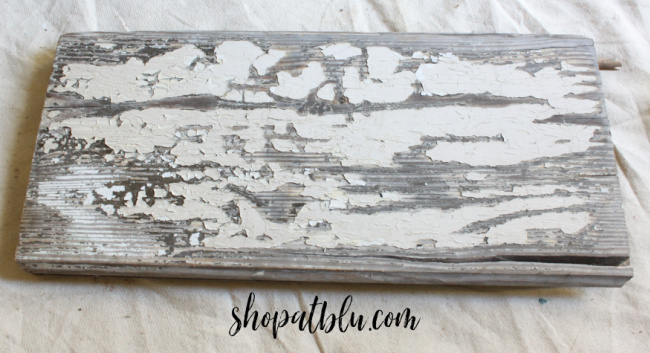
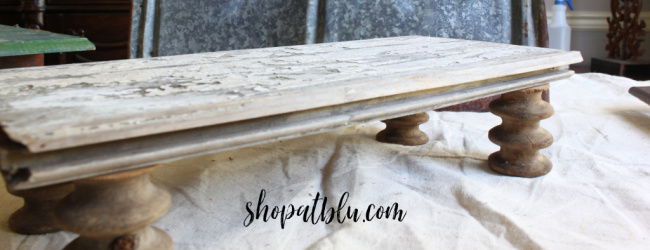
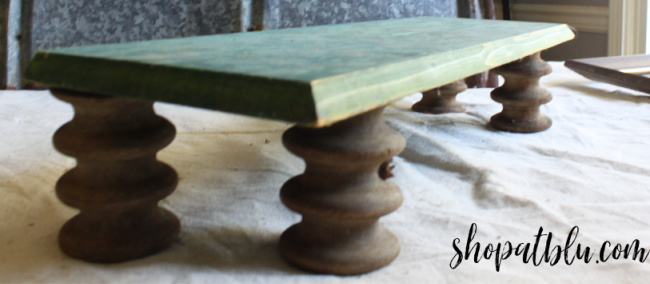
I am an uber distressor with a fascination and love for all things chippy. So my choice for a base for my custom riser is an old piece of an antique door.
Try Different Combinations of Legs and Placement
I played with different combinations of the wooden spindle parts. You can achieve different looks by placing your legs closer to the edges of your base or by moving them inward toward the center of your board. Play around with different locations of the legs until you find one that make you happy.
Here are the legs at the edges of the wood base:
Here are the legs placed closer to the center of the wood base:

And here is my favorite complete table riser:

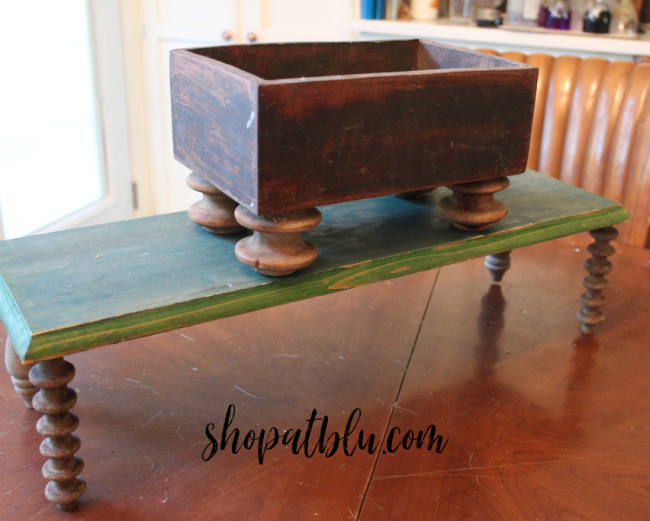
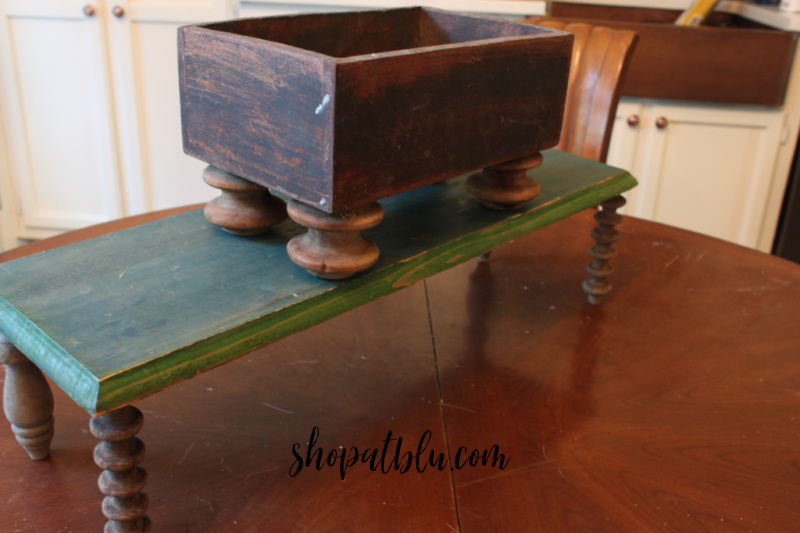
Wooden Box Table Riser
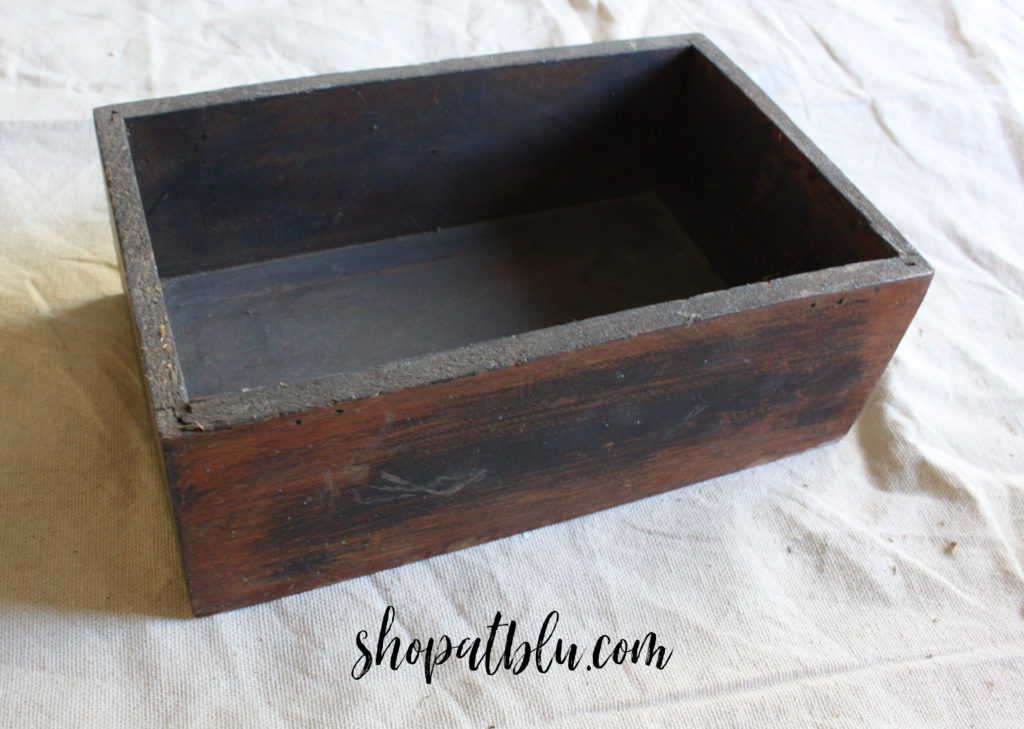
I think I will use this one in the bathroom for makeup or lotions. Again I tried a few different leg designs and placement and picked the one I liked the best.
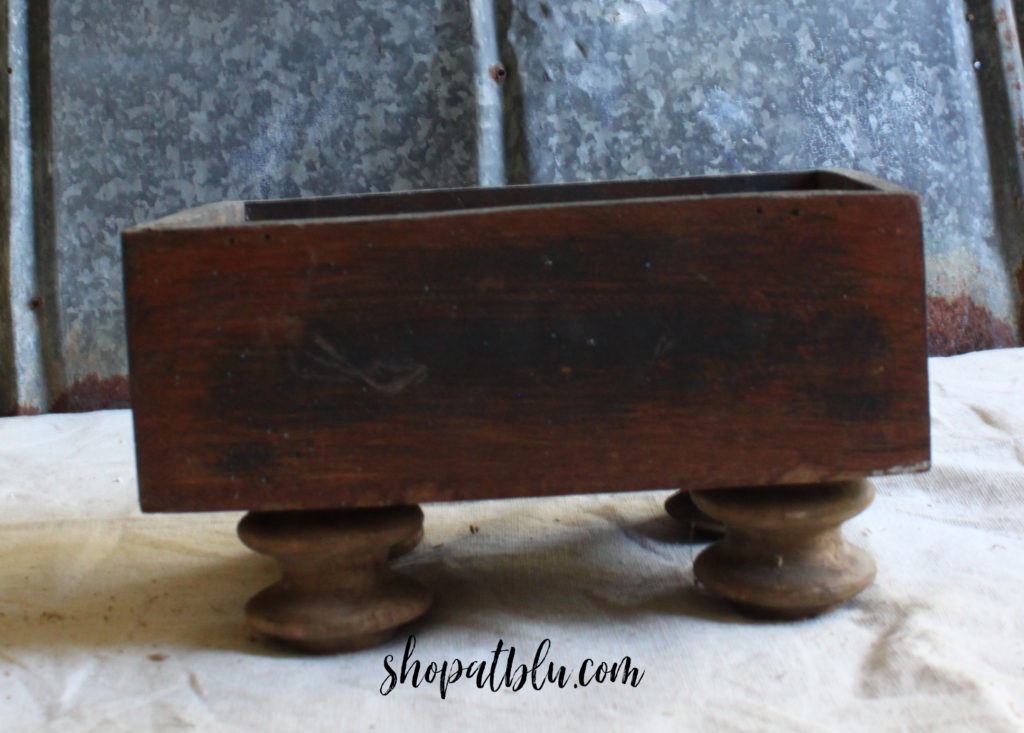
To attach the legs, I simply applied some glue to the legs and set them in place. Then, I used my Ryobi cordless stapler to secure the legs in place. A hammer and two nails in each leg will secure your table riser sufficiently. You can paint the assembled riser or leave it as it. I love the rustic look so I am leaving it as is for now. If I decide to use this in my kitchen or bathroom, I will paint it white. Again, choose the look you love!
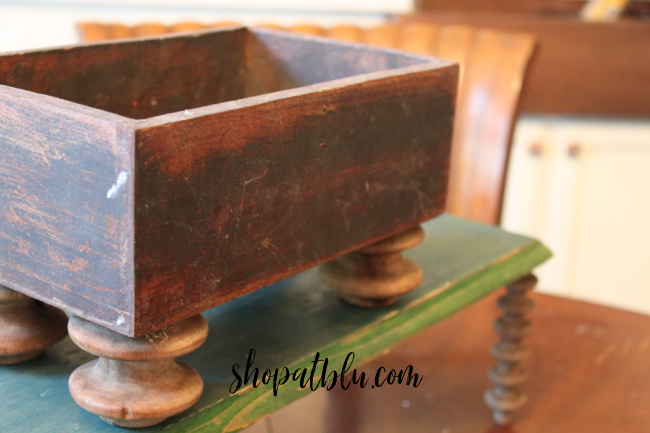
Table Riser from a Wooden Wall Shelf
And here is another version of the wood riser using a piece of an old wooden wall shelf. This is the long piece that came in a kit with two side brackets.
Again I assembled the legs in several ways. I selected my favorite.
I decided not to paint this one since I love the rustic look. But it really would be great painted white!
Small Round Table Riser
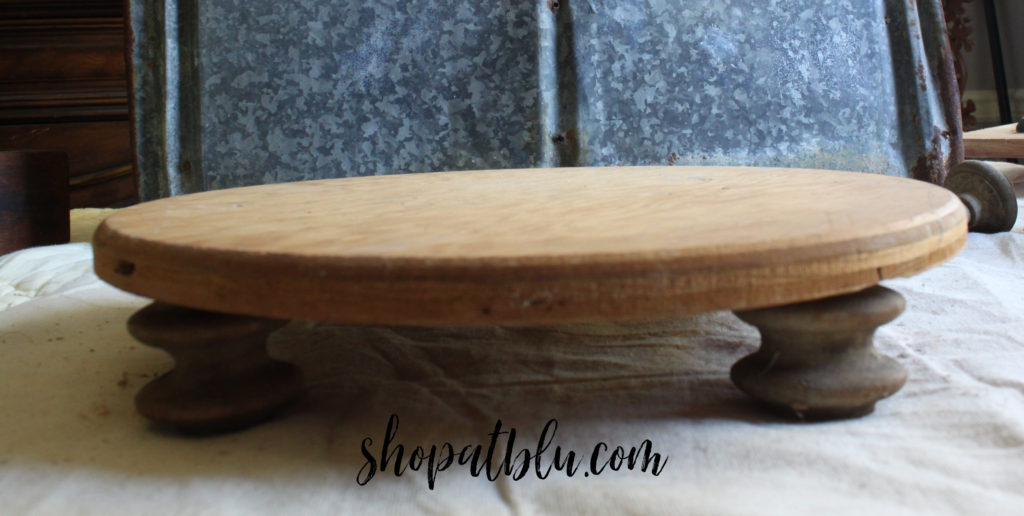
This table riser base is a wood round. You can purchase these at the craft or home improvement store. This piece is actually the top of an old Lazy Susan. You can get creative with your legs too if you don’t have any spindles or a way to trim them. Use large wooden beads or blocks of wood. or even candlesticks. Be creative! Use old tuna cans or ketchup lids! These will paint up well and best of all…they are free!

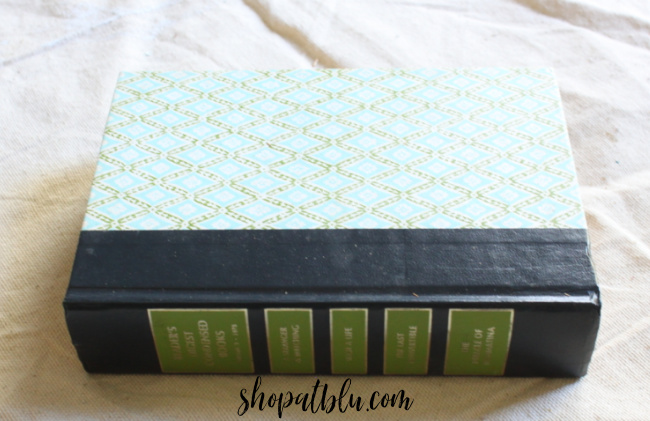
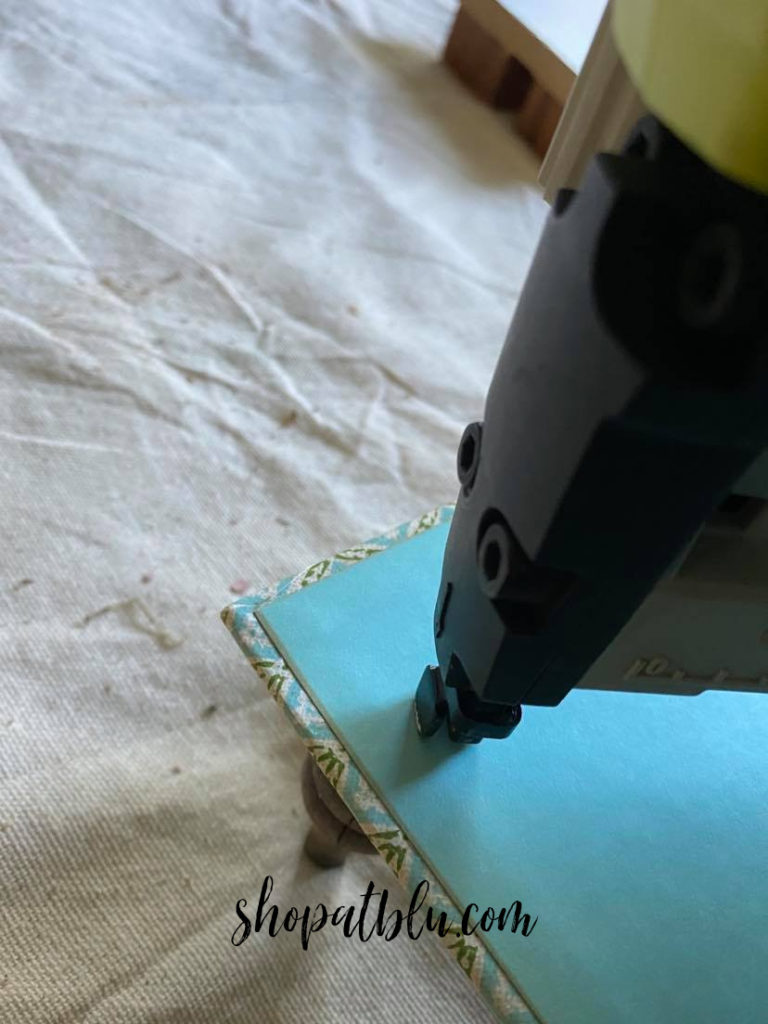
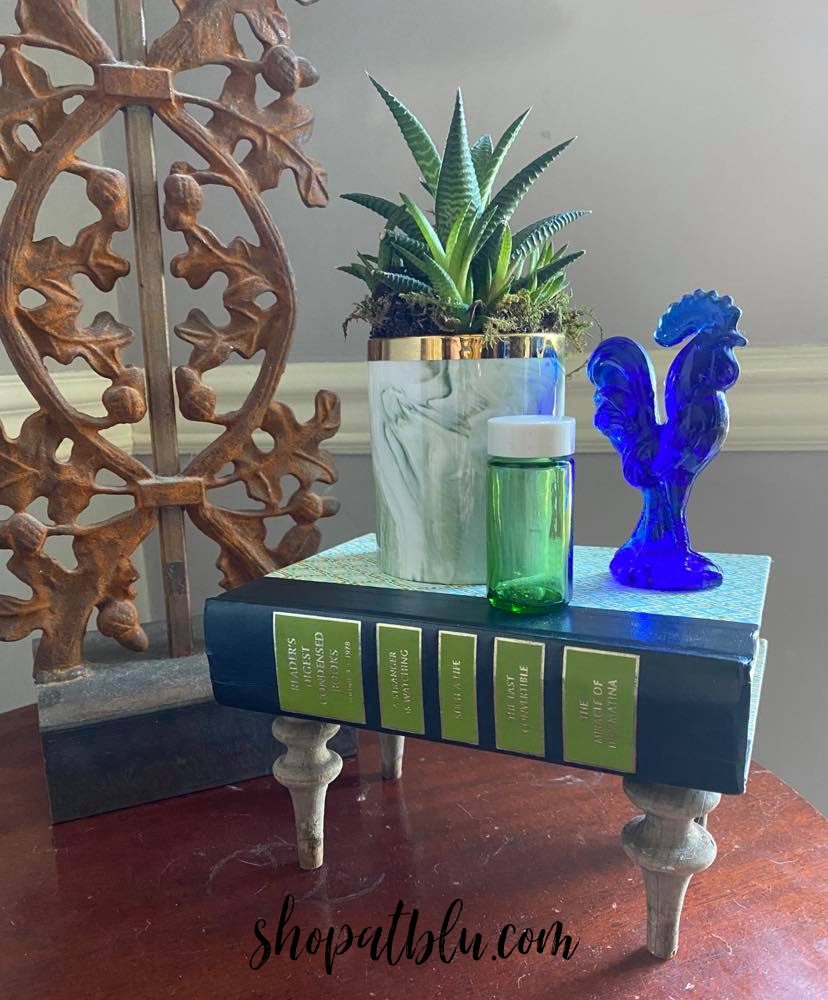
Vintage Book Table Riser
This one turned out so cute. And it was super easy. I used a vintage book.
I used my Ryobi cordless (yes, CORDLESS) glue gun to glue some legs onto the book.
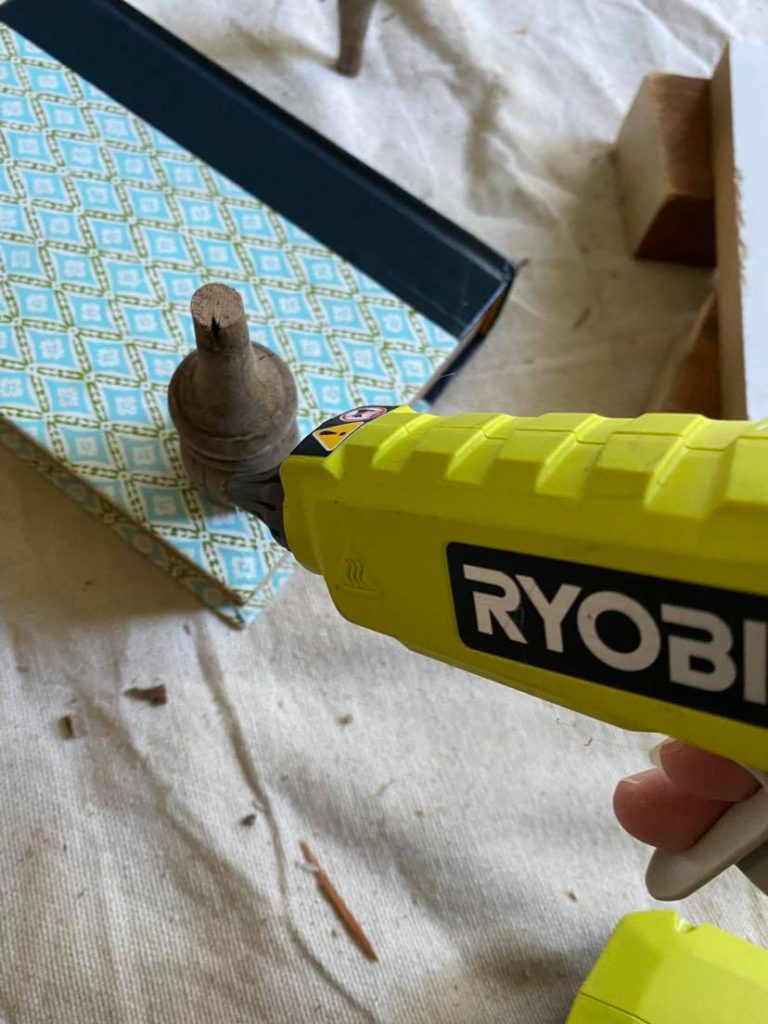
For added strength, I used my Ryobi cordless stapler to secure the legs to the book.
This one is definitely a keeper! I can move this around to different rooms! It would even be great on a bathroom vanity.
And here are all of the table risers that I made:

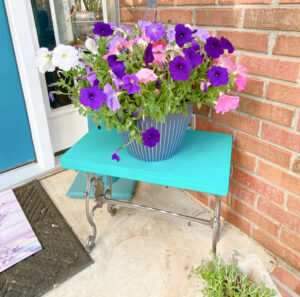
And I had some fun using my new riser to decorate the kitchen table!

Can’t wait to move on to the dining room. I am working on the dining room for the One Room Challenge. You can see the before, the progress, the struggles!
 m
m
This post is part of a challenge with a wonderful group of blogger friends. Check out all of their posts below! These ladies are so very creative and so talented. Be prepared to be amazed!
Happy Thanksgiving Friends!


6 Comments