I am excited to be partnering with DecorArt for this post! I received free product in exchange for sharing my project!
I have built a business around taking old used up decor items including furniture and restoring them for new and improved use. So when the Fab Furniture Flippin’ Contest’s January theme of Make a Statement as announced, I was excited! My biggest problem was choosing what item to refurbish! As always, this contest requires that we flip a piece of furniture. Since I find 90% of my items from thrift stores, yard sales, trade sites or curbside, I had a huge inventory to choose from. And then, Bobby Lee stopped by! Bobby Lee is a family friend who was on his way to the thrift store to drop off some unwanted items. He was kind enough to stop by and see if there was anything I wanted from his goody stash. And there she was…my item for the contest–a dated rattan side cabinet, soon to be a recycled rattan side cabinet!
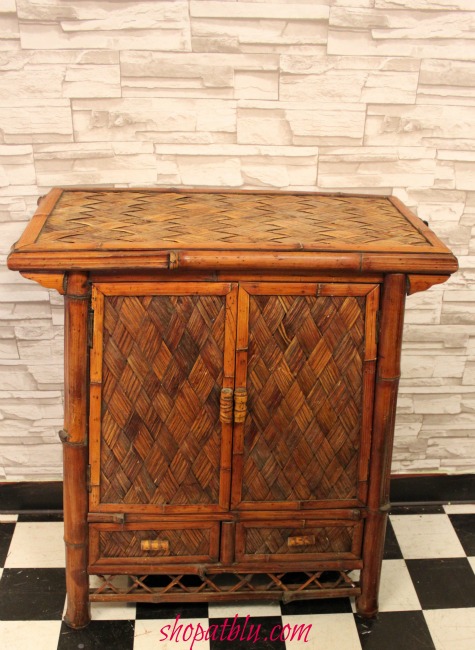
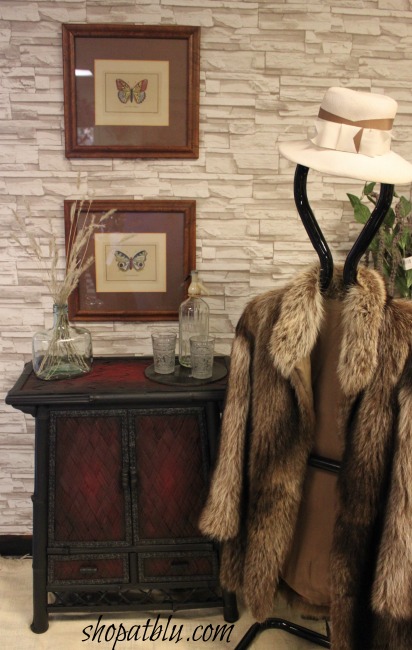
She certainly has seen better days. While the natural look served it’s purpose, girlfriend was quite ragged and in need of a pick me up! A small recycled rattan side cabinet like this could be used in a number locations in a home–kitchen, bathroom, hallway, dining room for linen storage, screened in porch, kids room, entryway. Yes, this piece is a keeper and definitely worth salvaging!
This month’s sponsor of the FFFC is DecoArt. They have a wonderful selection of paints for EVERY crafter! Acrylics, glass paints, furniture and home decor paints, body paint, sealers, etc. I was familiar with their line of American Decor paint because we received samples two years ago at The Haven Conference. I used their chalky finish paint on a piece just recently. It sold within 2 days! They have a fantastic selection of colors! This is a sponsored post and I received free product for participating in this contest!
For this project, I selected Carbon, a black and Romance, a vibrant red. DecorArt was also kind enough to supply a sealing product. I chose their soft touch varnish because every painter knows you MUST seal your final masterpiece!
For some reason, rattan screams Asian to me. I am not a huge fan of asian decor, though I love a great asian accent piece. However, those colors seemed appropriate for this project. I wanted to use the black as a base for this piece and blend it with the red for a muted, gradiated look. I often have these goofy ideas at the beginning of a project but the project always kind of takes over and I end up with something different at the end. I thought the black and red might be a little boring and possibly too bold so I ordered some washi tape to help pull the colors together. I wasn’t sure if I would use it or not but thought I would give it a try!
FIRST STEP:
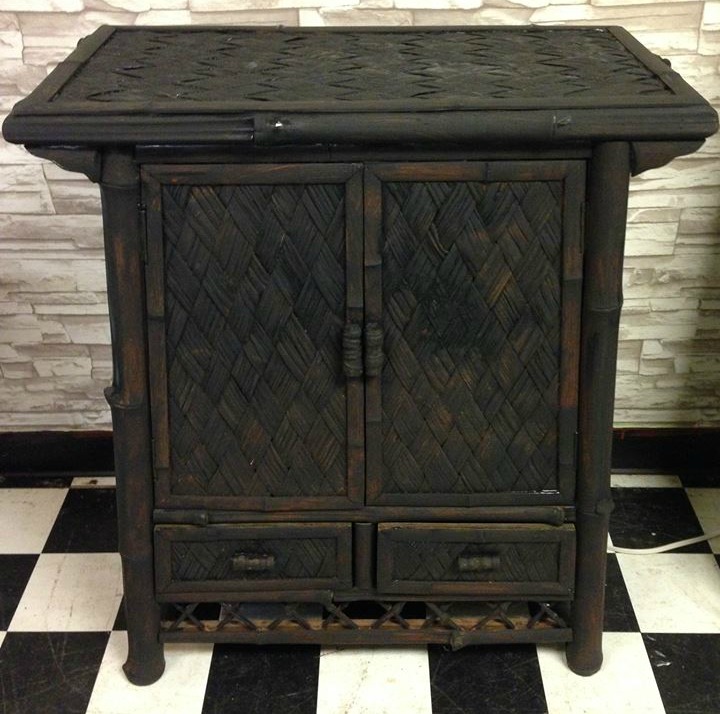
I applied one liberal coat of black to the entire piece. Usually when I paint an item with alot of texture (like rattan or wicker) I will use a paint sprayer. A sprayer allows you to get into all of the cracks and crevices quickly. As I only had one 12 0z. jar of black, I opted to hand paint. I am sure there was enough paint, but as I said, my projects tend to wander from the planned route and I was afraid, should that happen, I could be short on paint! I just applied the paint normally and then swirled the brush to get into all of the grooves. Here’s a video showing the technique:

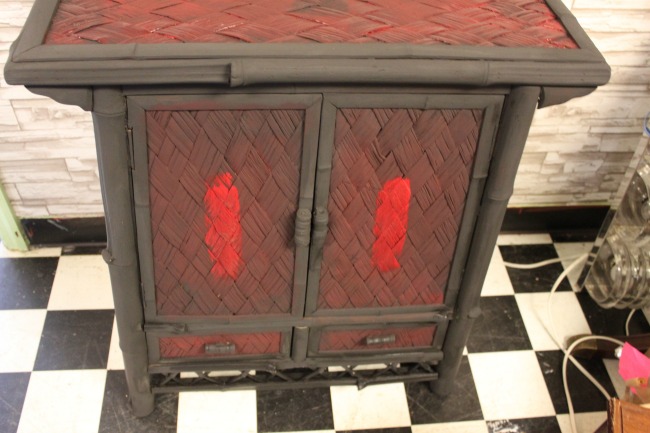
The paint was thicker than I expected but went on super smoothly! Here is the cabinet after one coat.
SECOND STEP:
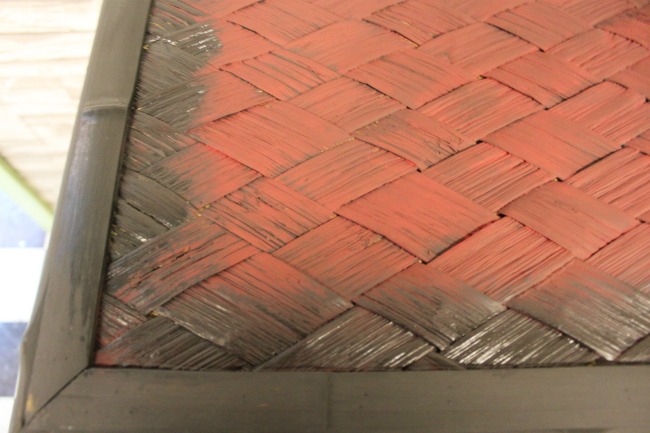
I applied a second coat to the edges and any area that would not have any red paint so that the black was rich and solid. Then I started to dry brush the red on the sides of the cabinet. I wanted the centers of the sides, the top, and the doors to have more of a vibrant solid red with the red toning down as it spread to the edges, which would remain solid black. The look I was going for was a vibrant red center radiating outward and blending into the black. I applied the red to the centers of these areas and then used alternating black and red dry brushing to blend the colors.
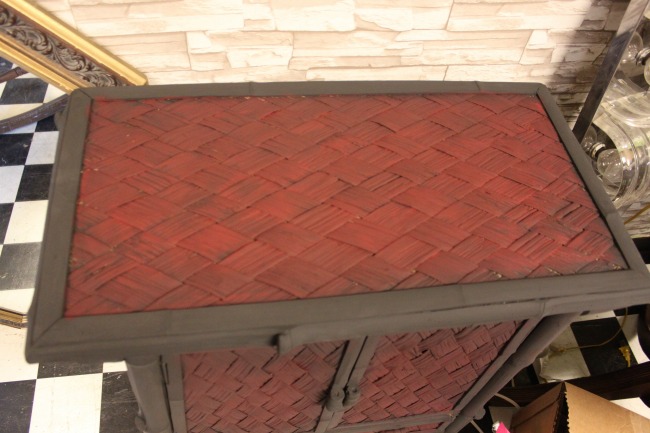
The next few steps consisted of alternating applications of Carbon and Romance and then blending to obtain the look I wanted.

THIRD STEP:
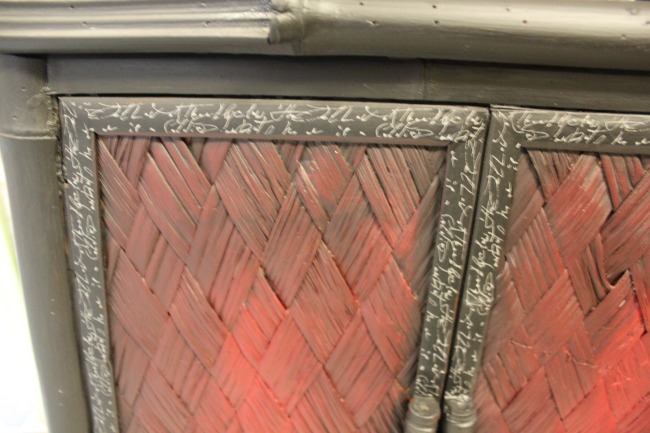
I have never used washi tape before so I needed to make certain that it would adhere. Washi tape has a sticky back that adheres nicely to the piece. I edged the doors with the washi tape and was quite pleased with the result. DecoArt was kind enough to supply a finish of our choice. I selected their varnish. I used this to seal the entire piece. I was careful to rub the tape with my finger to ensure a good seal and to eliminate any air bubbles that may have occurred during application.
Be sure to let each coat dry. You really won’t see the final product until all of the paint layers have dried. I found that I needed to apply more red, let that dry, and then feather the black into the red. Applying red and black at the same time caused the red to become too muted and lose its vibrancy. Don’t get frustrated…just let it dry and work at it until you get the perfect look!
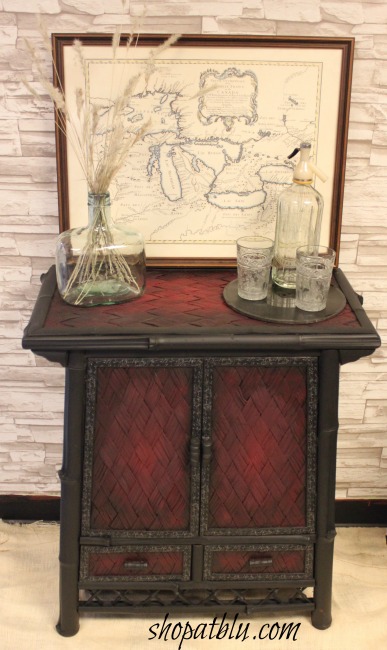
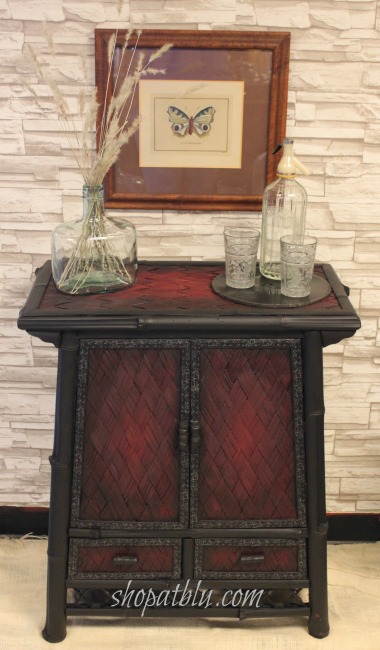
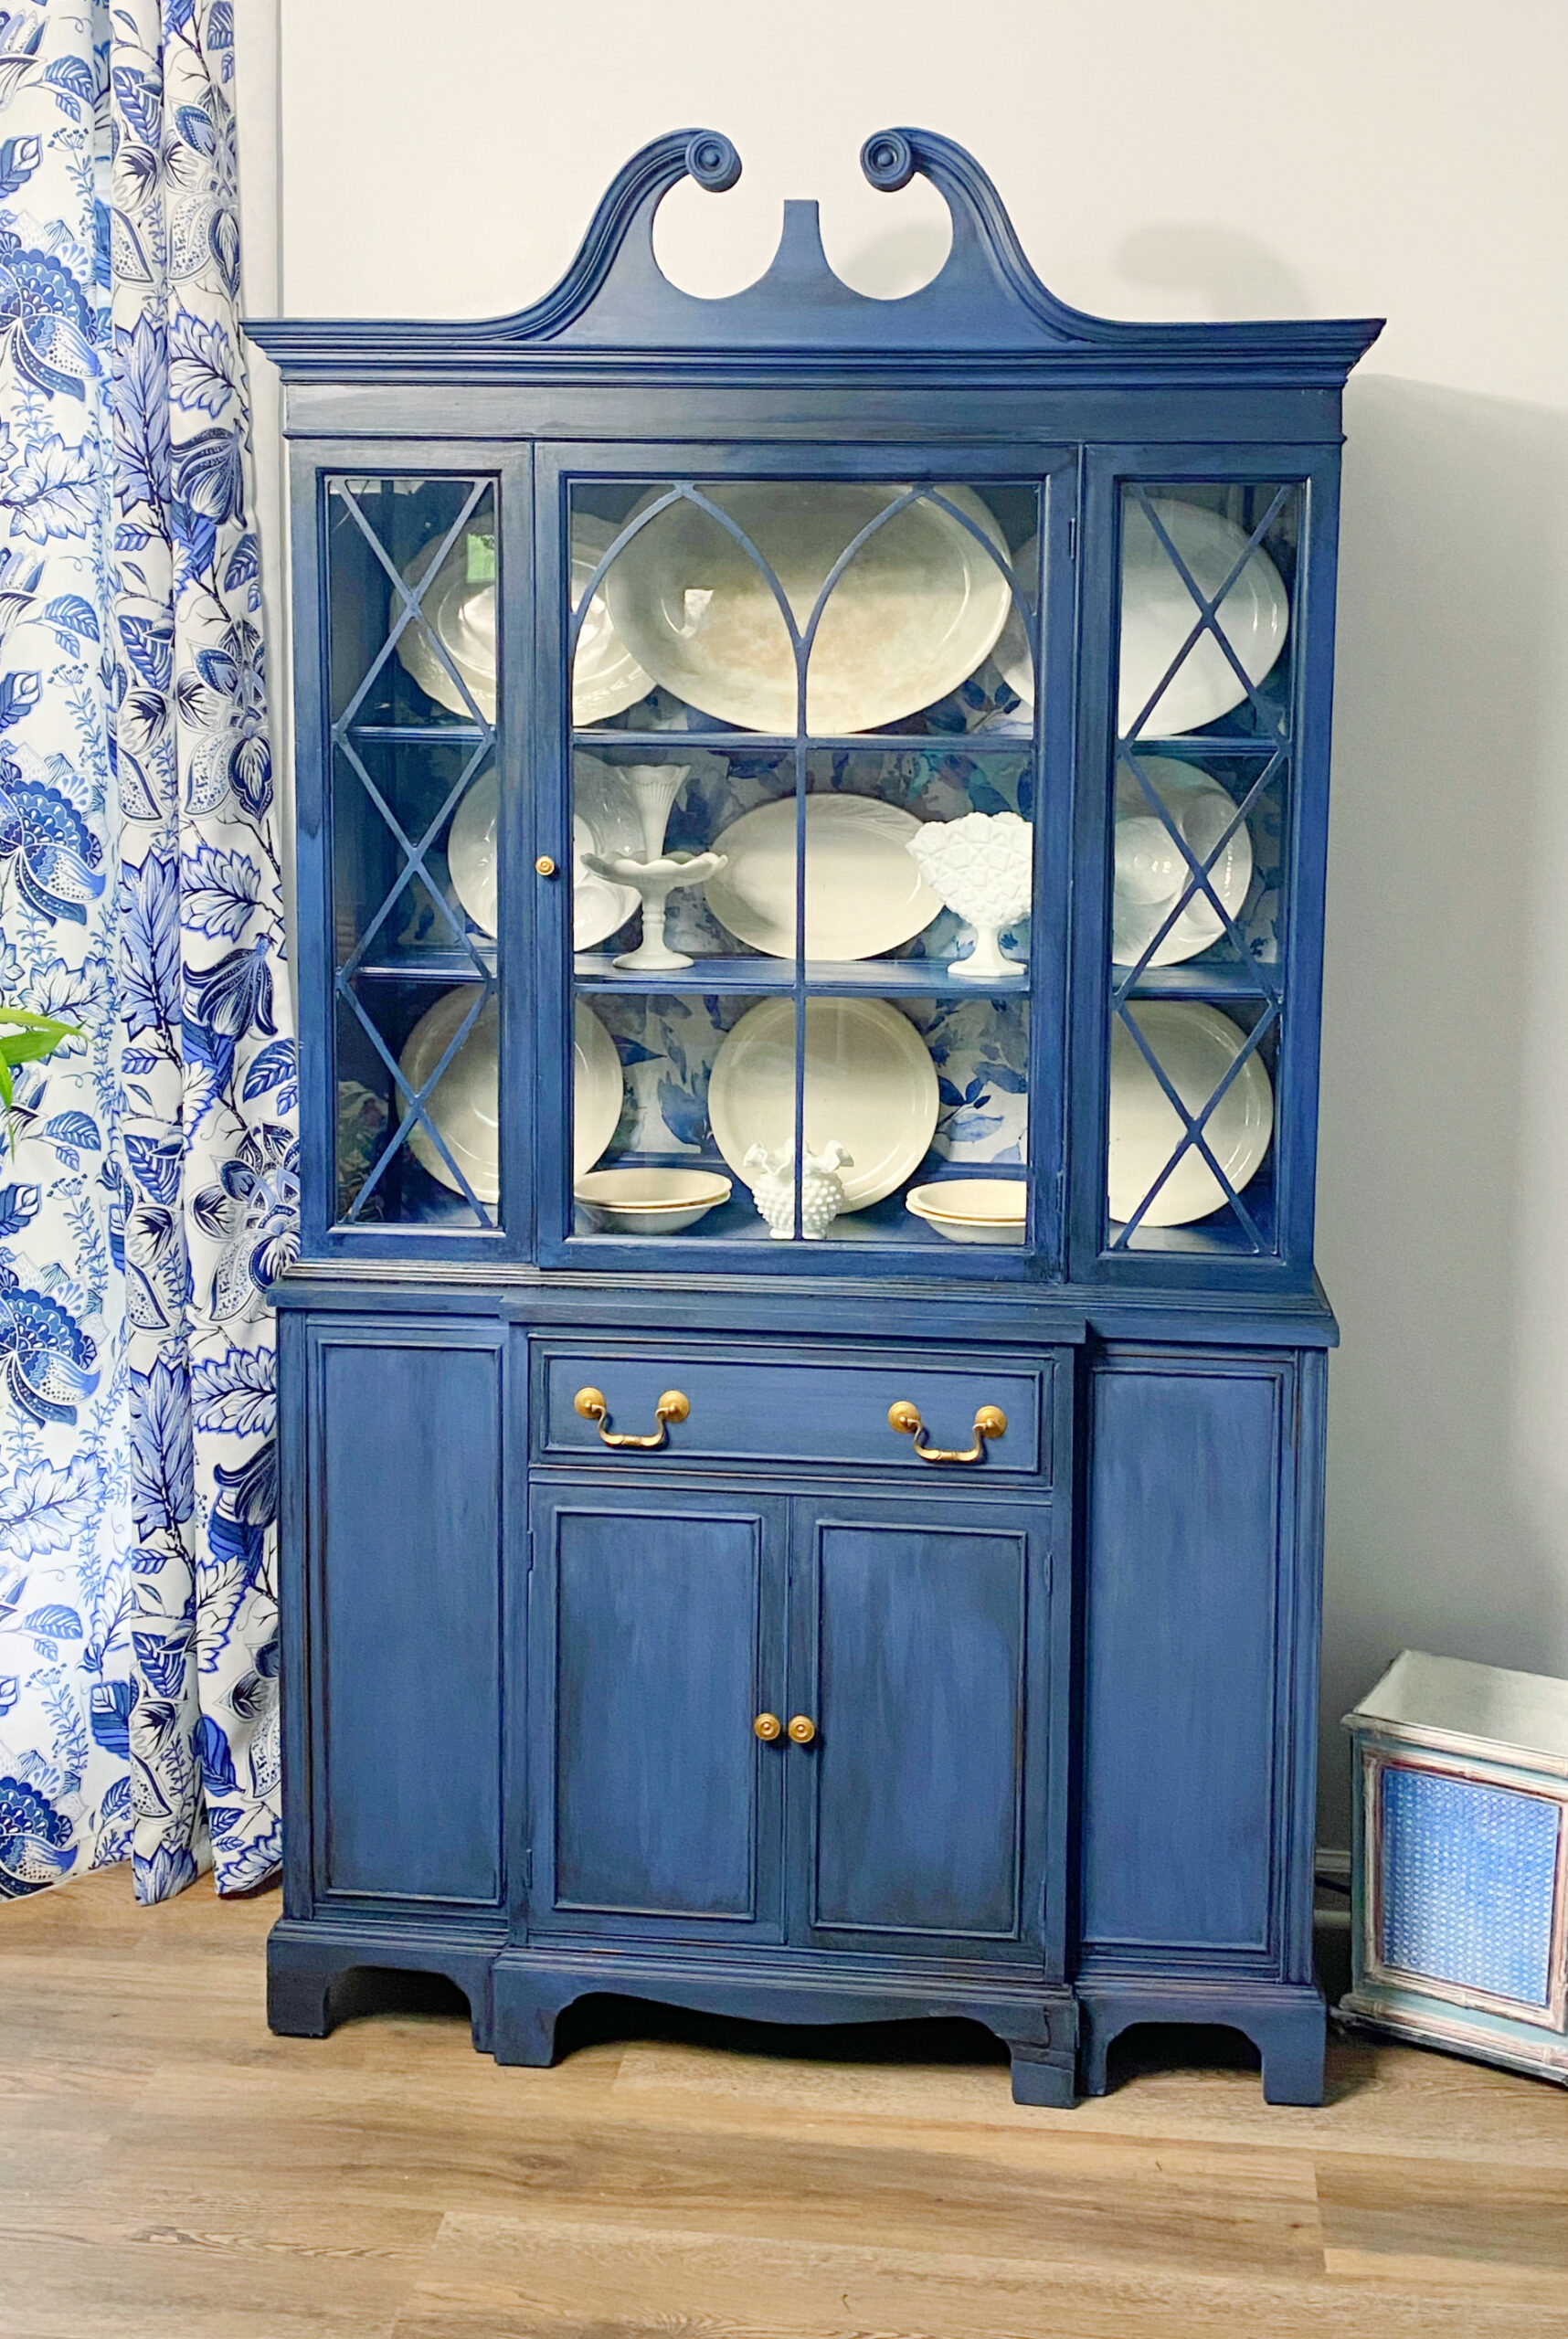
Here is the final product:
Special thanks to my wonderful friends at The Fab Furniture Flippin’ Contest for the opportunity to try these wonderful products!

Please hop on over to visit this month’s hosts, Charlotte from Ciburbanity and Carrie from Thirty Eight Street. Both of these talented ladies have complete projects with product from this month’s sponsor.
If you are a blogger who is interested in participating in future contests, send an email to info@fabfurnitureflippincontest.com.
And be sure to check back next month as I am participating yet again! Whoohoo!


Comments 6
Wow! This cabinet looks fantastic, I love the colors you chose. Great job!
Thanks Mary! It was either black/red or beachy and I’ve done sooo much beachy lately!
Oh I love this!!! Time to make a trip to the thrift store!!!
Yes! So much potential there!! Thanks for stopping by!
Wow, the transformation was incredible! It really started out looking like a 1980’s piece of furniture and you transformed it to a nice modern piece! Loved the layers you put into it. Really great job!!
Thanks Jenn! It was a fun project! I love creating texture!